

This post is sponsored by Fairfield World. All opinions expressed are my own.
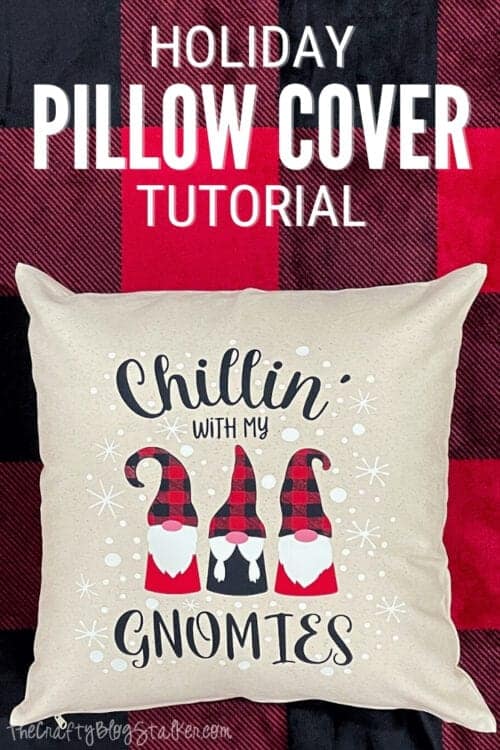
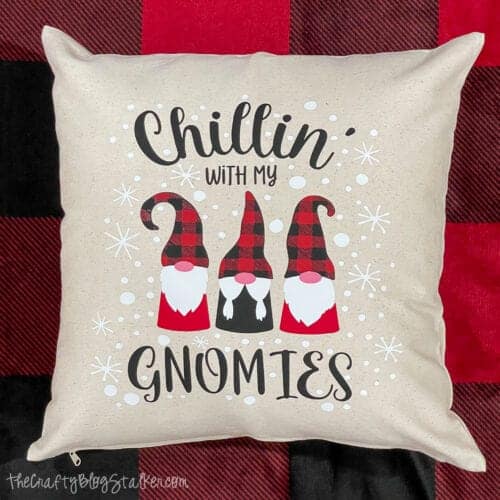
Decorate for the holidays with a festive Chillin' with my Gnomies throw pillow. Below is the complete Holiday Pillow Cover Tutorial!
Yay! It is the holidays and that means crafting and creating in all sorts of fun holiday ways.
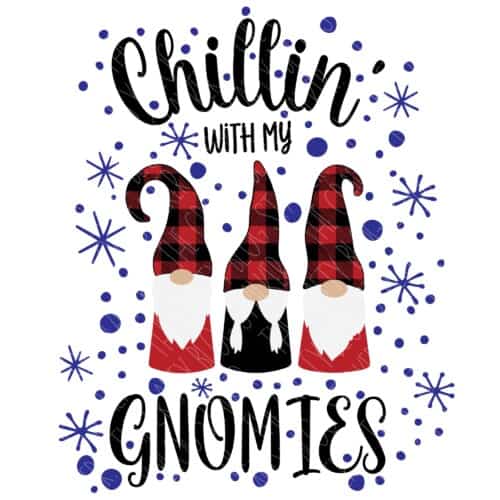
Have you seen all of the fun holiday items with gnomes on them? They are so stinkin' cute! So I decided to join in on this gnome fun and create a gnome svg file that you can use too!
Grab the Chillin with Gnomies SVG Cut File.
Craft Tutorial Video:
Like videos? I have a video tutorial for you! Please subscribe to my YouTube Channel so you don't miss out on any future video tutorials!
Supplies You'll Need to Create this Project:
This post contains affiliate links.
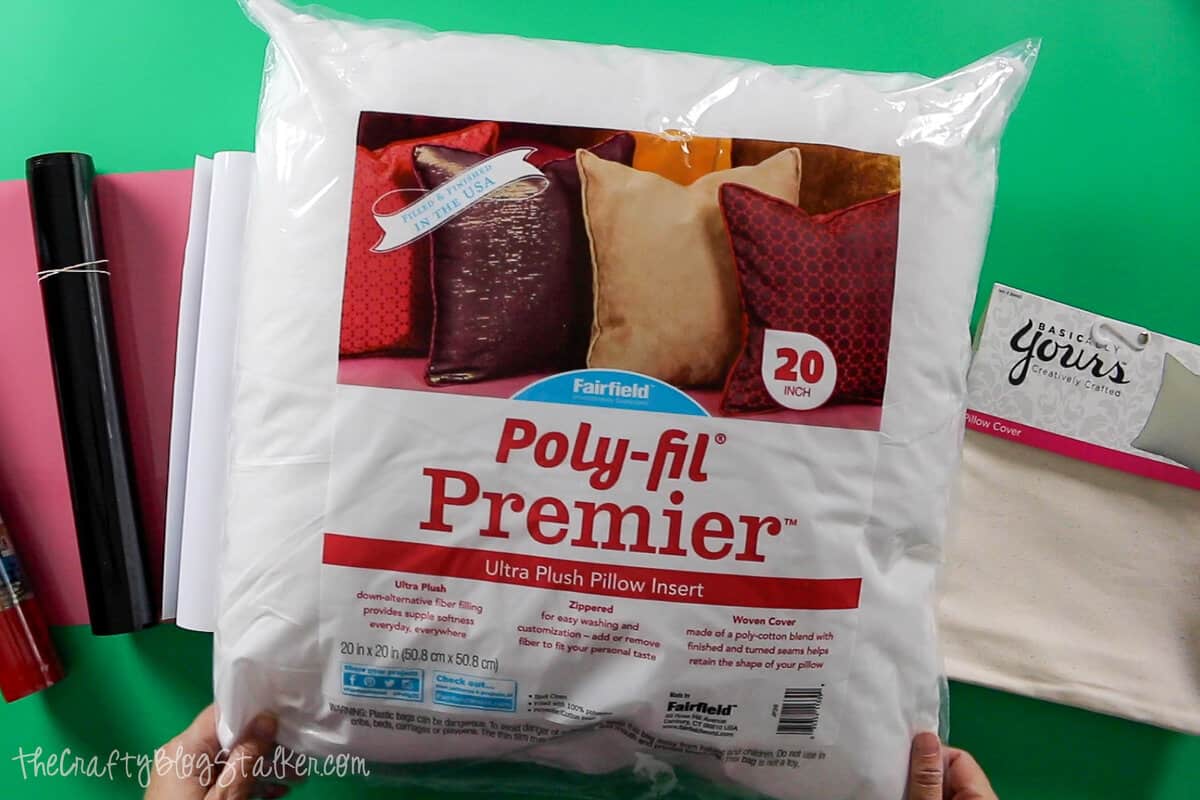
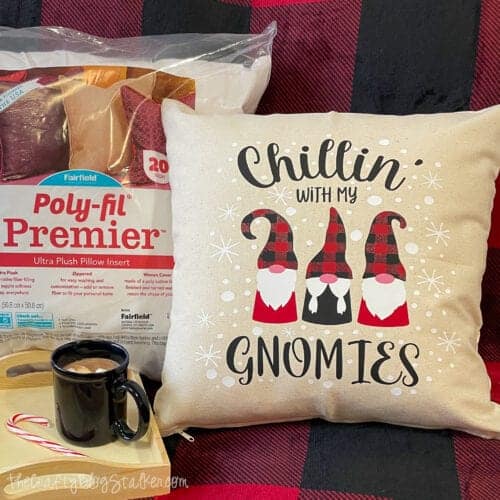
- Fairfield World 20 inch Pillow Insert
- 18 inch Pillow Cover
- Cricut Cutting Machine
- Chillin' with my Gnomies SVG File
- White, Red and Black Heat Transfer Vinyl
- Weeding Tools
- EasyPress
Cut the File in Cricut Design Space:
Open the SVG file in Cricut Design Space.
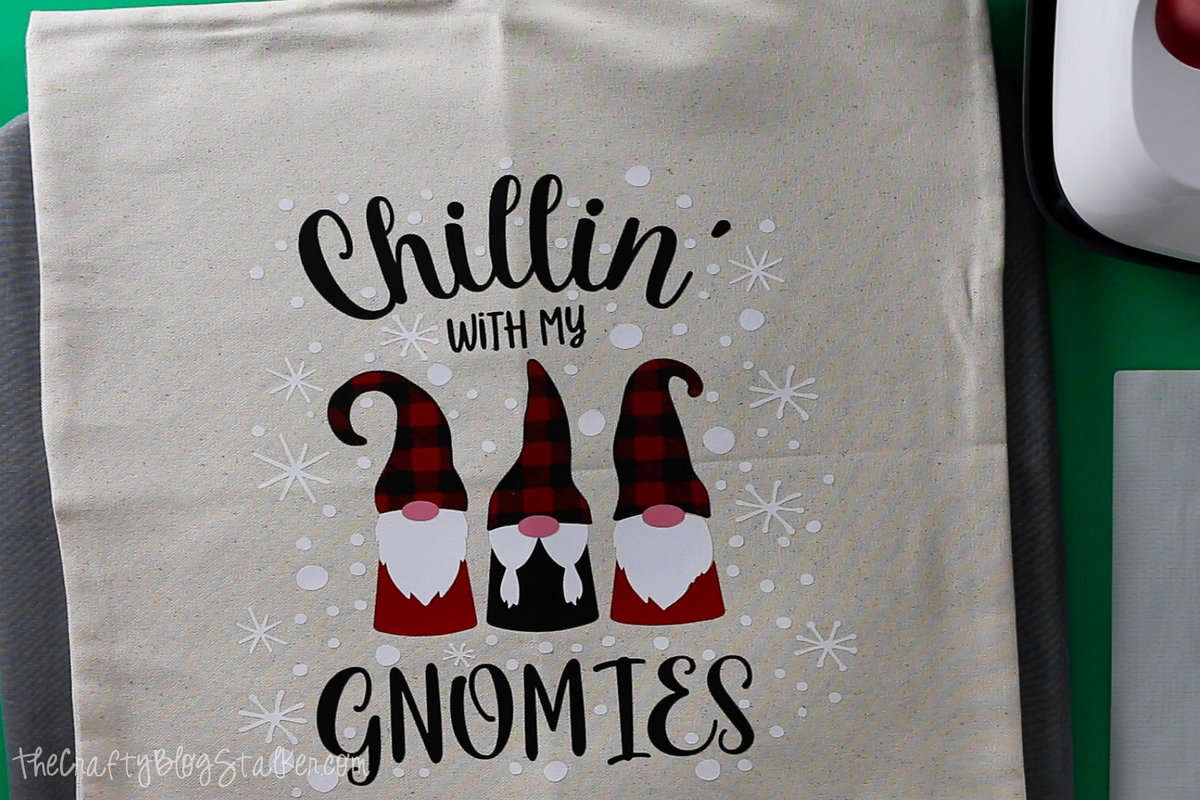
We are creating with a 20 inch pillow, so for mine, I sized the design as large as I could make it, which is 11.5 x 11.5 inches. This is a vertical design, but I stretched the design to make it square. As you can see it doesn't affect the design much at all.
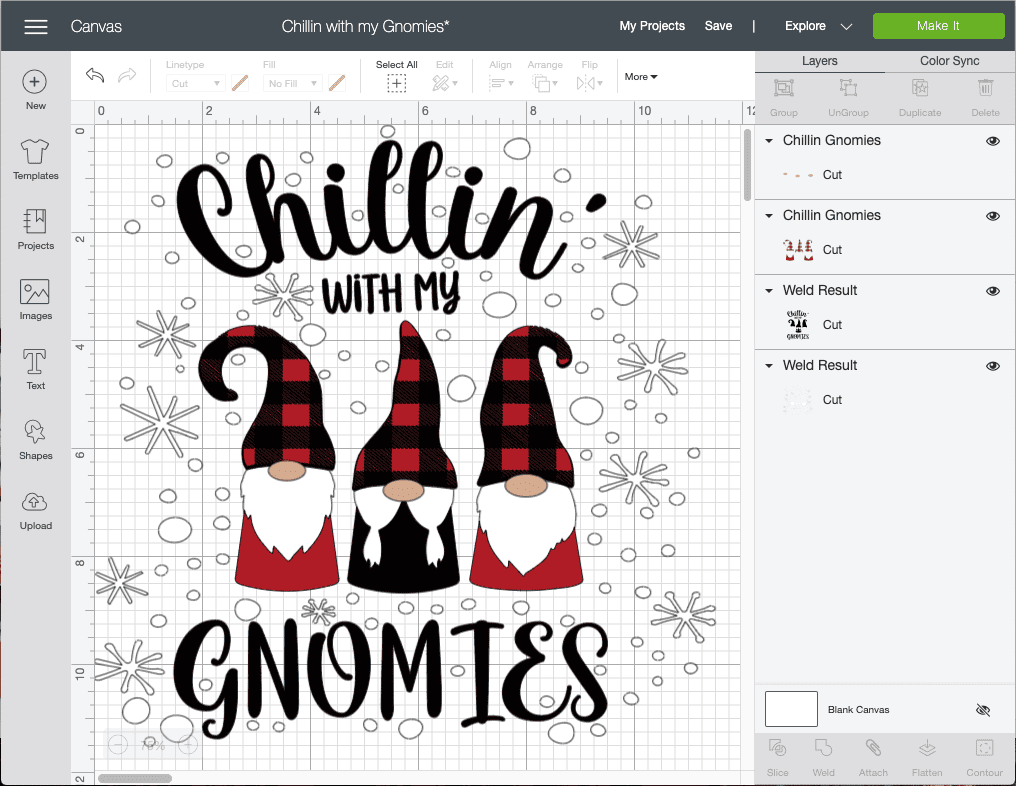
The file comes with a couple different layers so you have a lot of options when creating with this design. But we don't need them all.
Delete the black plaid hat layer, and weld the beard and snow layer.
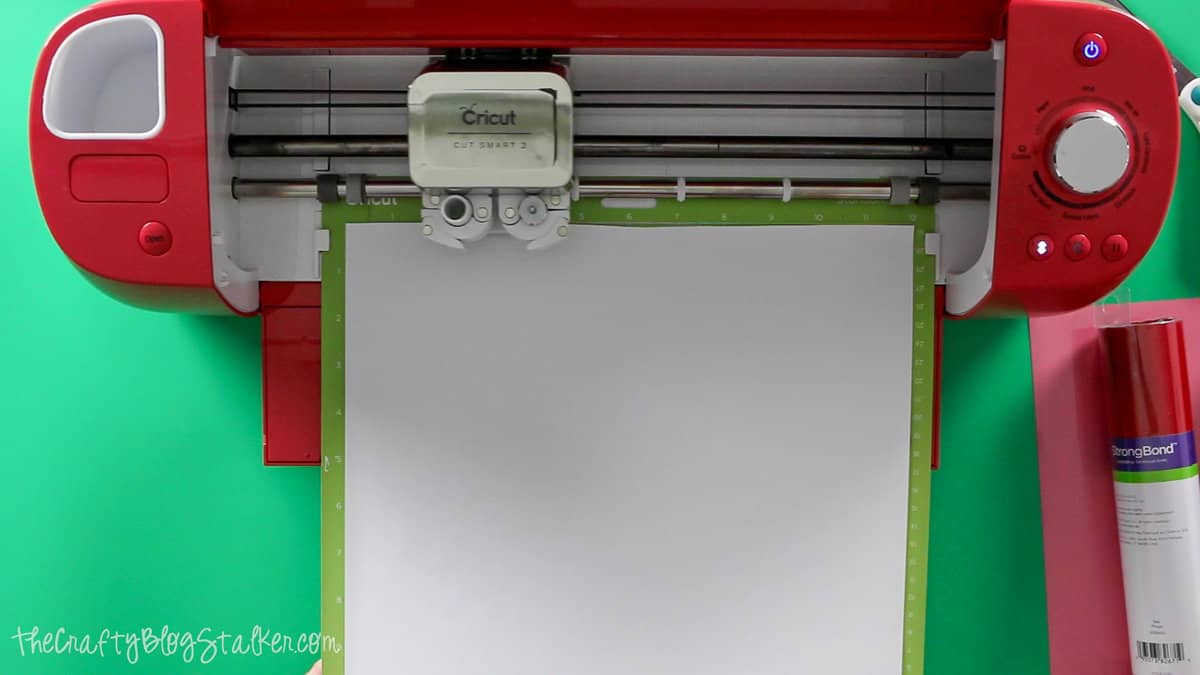
Place the iron-on shiny side down on a cutting mat, and make sure you select Mirror Image on each layer before you begin the cut.
Follow the prompts in Cricut Design Space to cut the image out.
I cut on a Cricut Explore Air2 but you could also cut this out on the Cricut Maker.
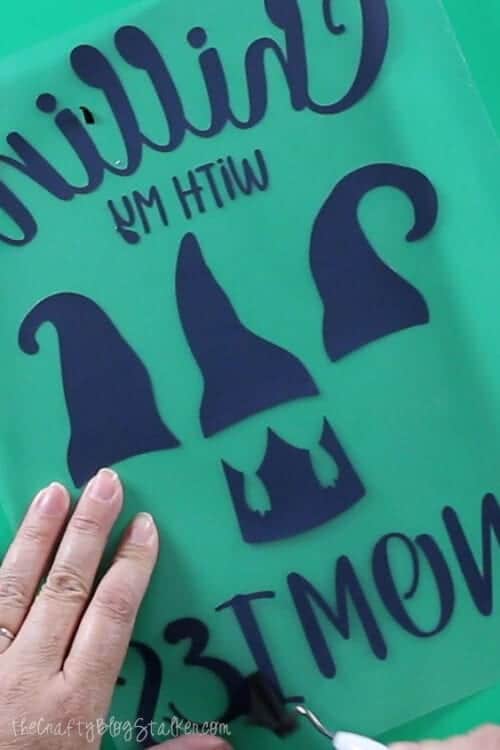
Once the image is cut, weed the excess iron-on vinyl from the backing sheet. Don't forget to remove the center of the letters!
Applying the Design to the Pillow Cover:
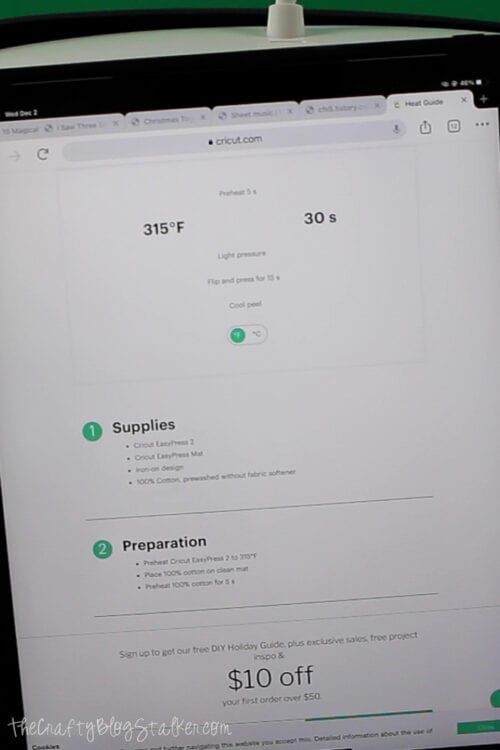
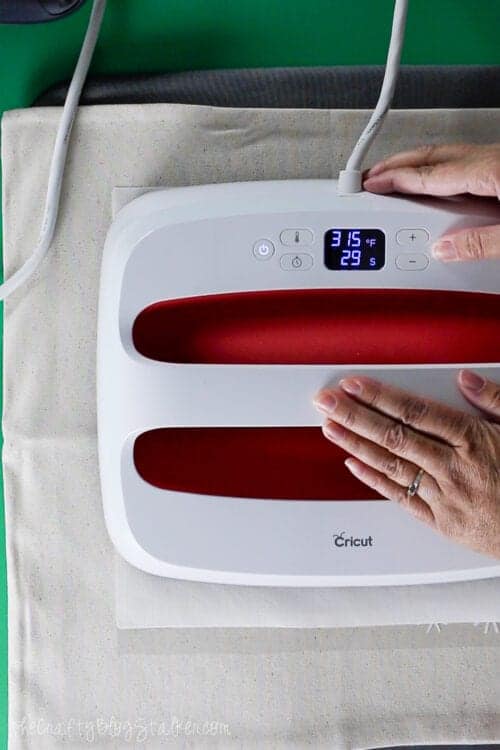
Using the Cricut Heat Guide, figure the temperature and time needed to apply the iron-on design.
While the EasyPress is preheating let's talk about the layers of the design. For this Gnomies design, we need to apply the layers in a certain order so everything is stacked correctly.
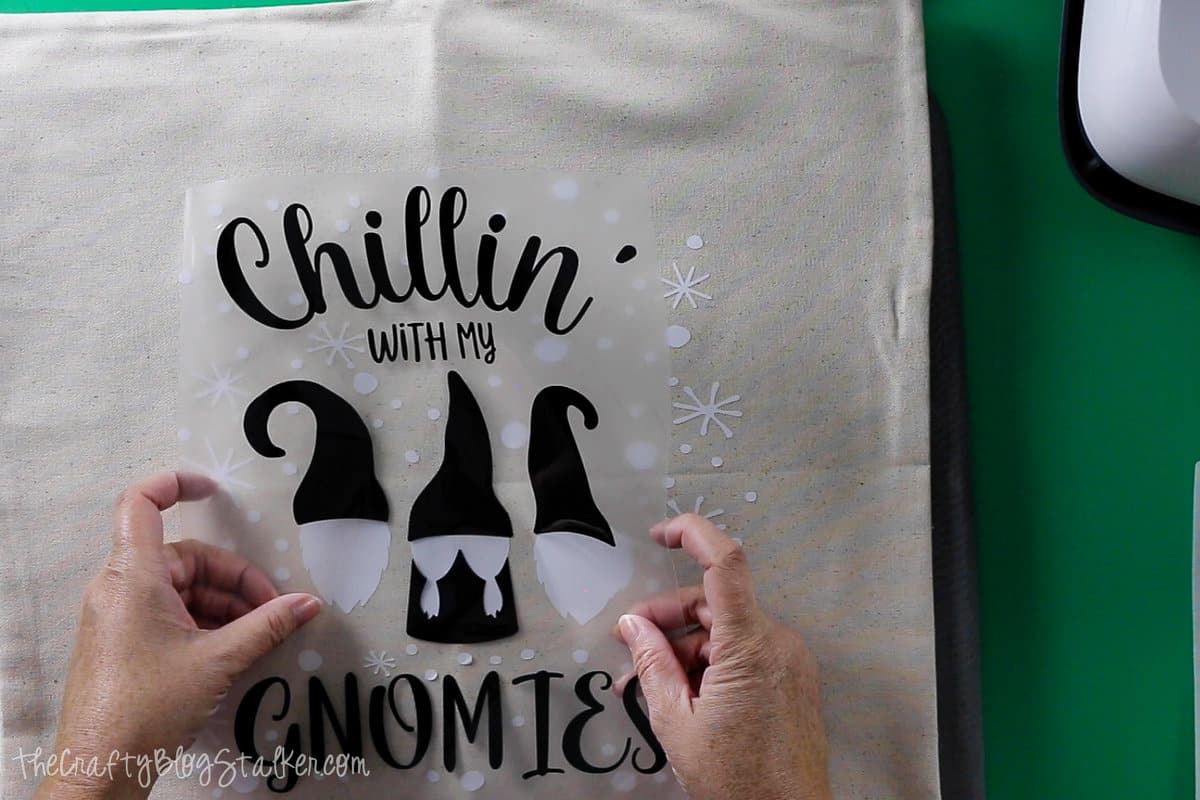
The order we will go in is white, black, red, and last pink for the noses.
To find the center of the white design, lightly fold the white layer together and crease the center goin both ways.
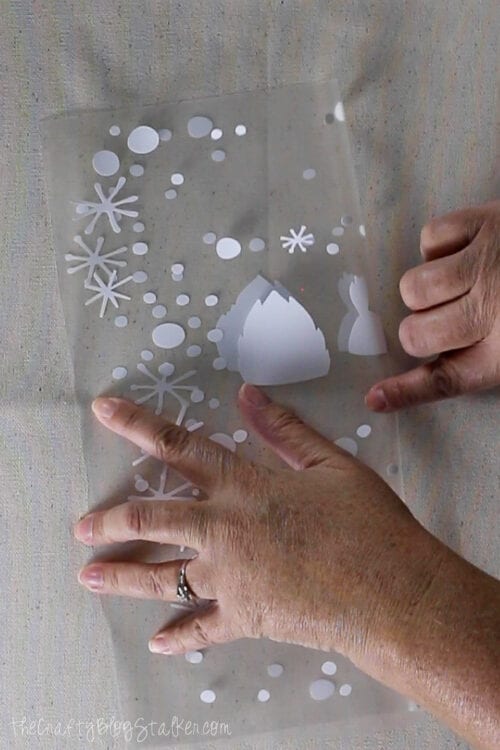
Create a center crease on the pillow cover as well. Folding in half in both directions and ironing the center crease down.
Align the center crease on the white heat transfer layer and the pillow cover.
Press into place.
Once cooled, removed the plastic backing sheet from the iron-on.
Next, align the black layer using the white beards as your guide.
Once in place, press with the EasyPress. Let cool and remove the backing sheet.
Next is the red layer. Line this layer up using the plaid in the hats and the black hats already pressed.
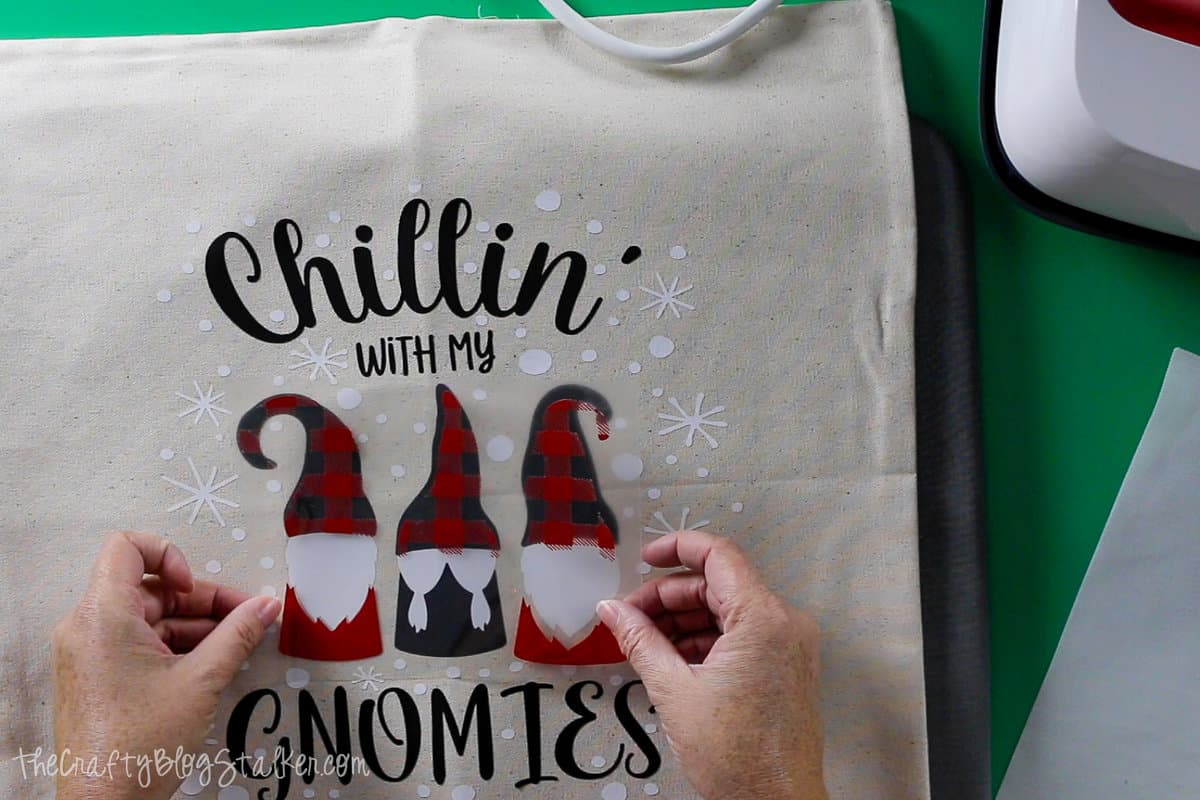
Press into place and let cool before peeling back the plastic sheet.
Last is the little pink noses.
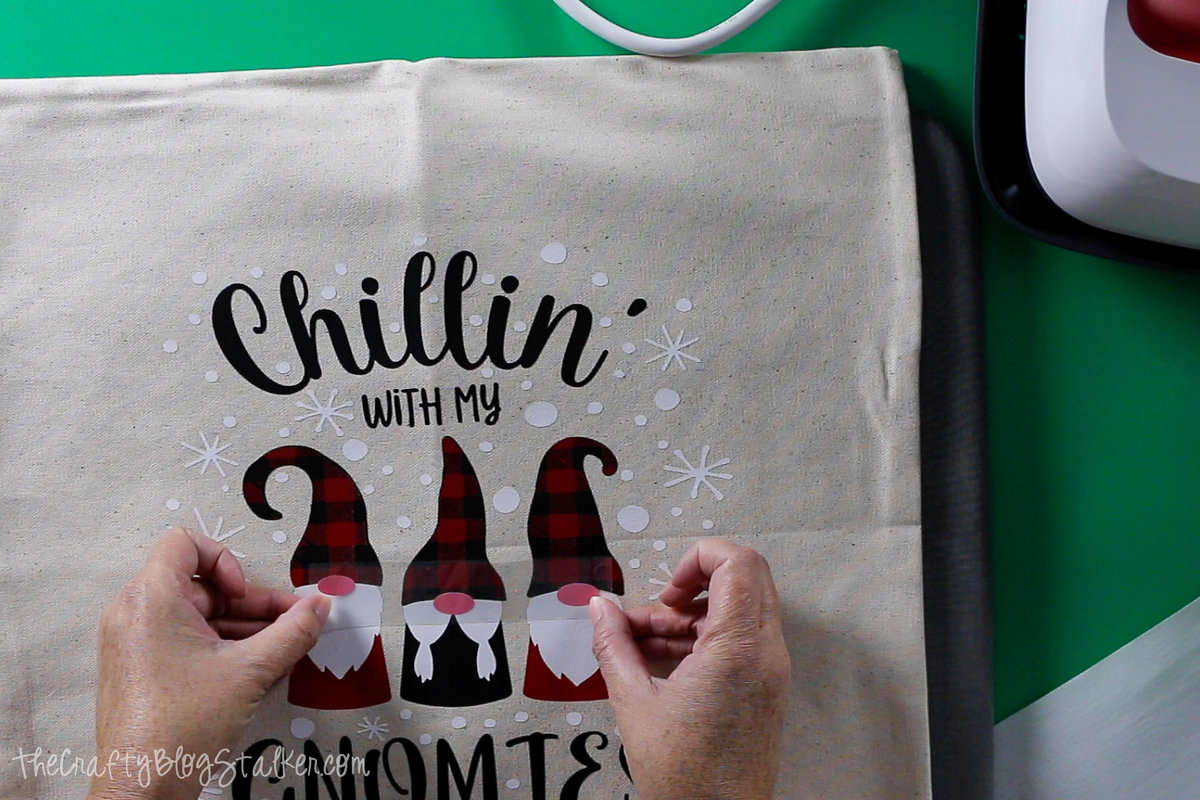
Press into place and again, let everything cool before the backing sheet is removed.
Stuff the Fairfield Pillow insert into the pillow cover and your cute Chillin' with my Gnomies pillow is ready for the couch!
You may have noticed that we used an 18-inch pillow cover and a 20-inch pillow. You want to use a case that is a bit smaller than the pillow so that the pillow is nice and fluffy. A case that is the same size as the pillow can look flat.
Crafting Essentials
- The Cricut Cutting Machine is easily my favorite crafting tool. We use it in so many of our tutorials!
- These MakerX Crafting Tools are perfect for keeping in the craft room and are always ready when needed!
- This Fiskars Paper Trimmer is easy to use and cuts nicely without frayed edges.
- These Scotch Precision Scissors cut like a dream, and you get multiple pairs in a pack!