

This guide on painting a chalkboard wall shows how to create a fun, creative feature wall that works in any room of the house.
At the time, this project was honestly the last thing that needed to happen in the middle of everything else going on in the house.
There was already a finished living room makeover upstairs and a kitchen renovation happening downstairs, but somehow a chalkboard wall still got added to the list.
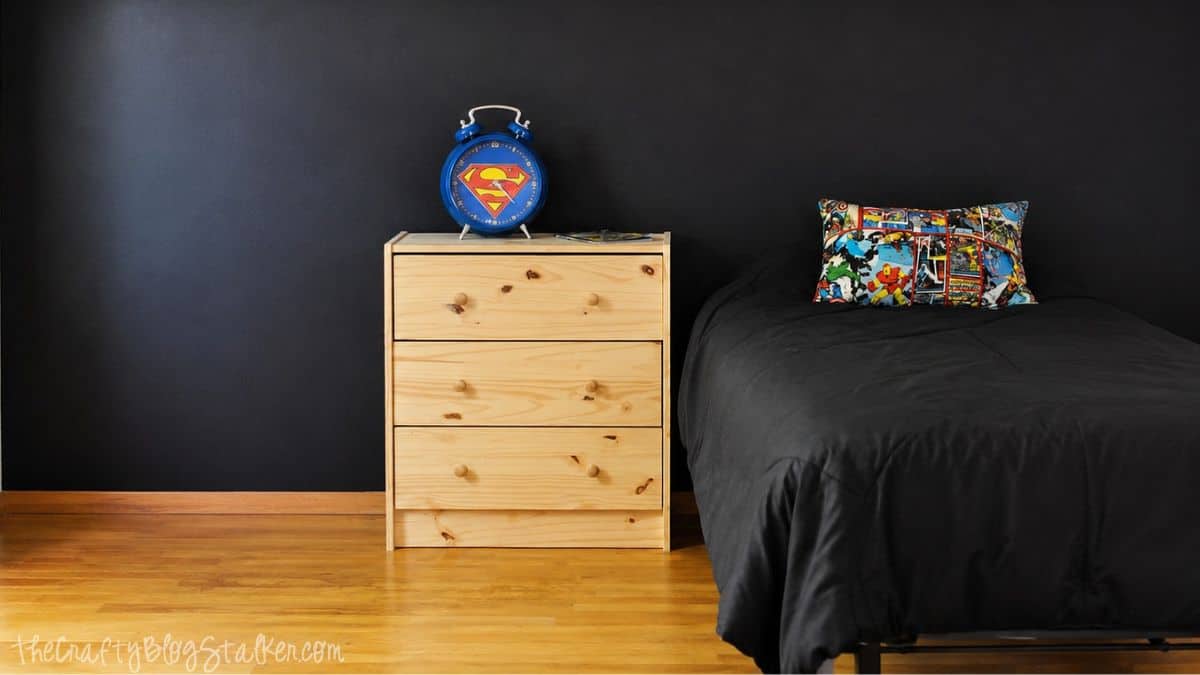
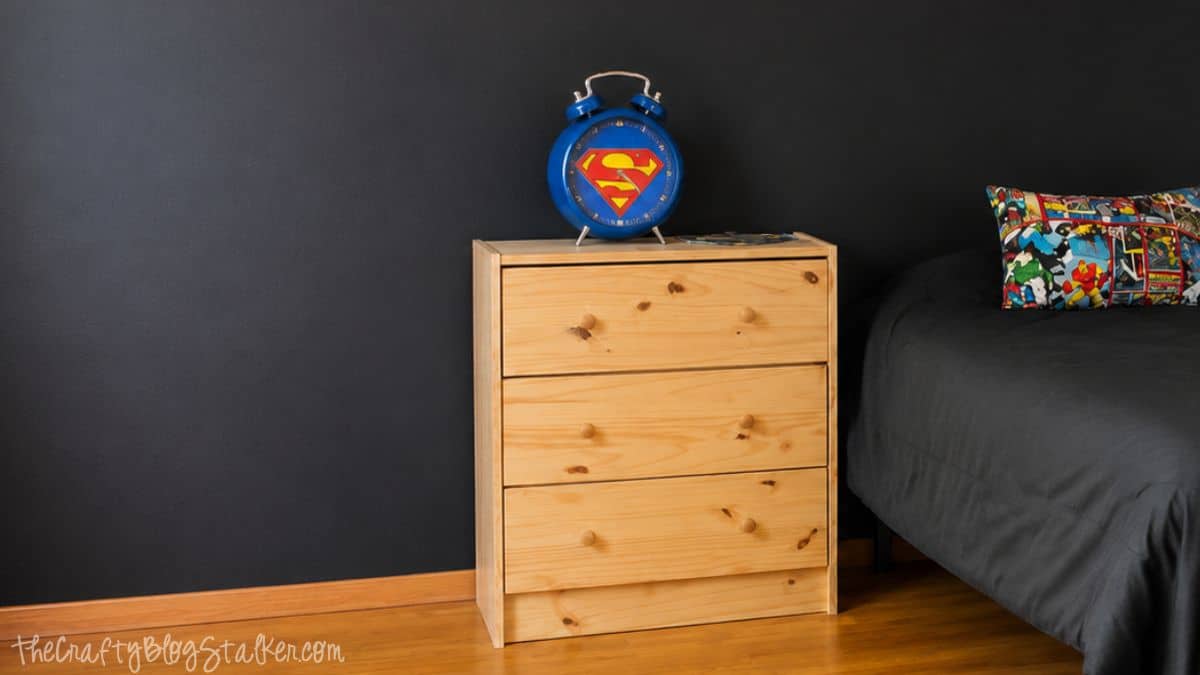
This bedroom makeover was all for a little boy who had been waiting forever for his superhero room, and the chalkboard wall felt like the perfect feature to make the space feel extra fun.
Even with the mess, paint splatters, and total chaos happening everywhere, seeing how excited he was made the whole project completely worth it.
Jump to:
Skill Level: Beginner
Total Time: About 2-3 hours, plus a few days of drying and curing time before using chalk on the wall.
Supply List
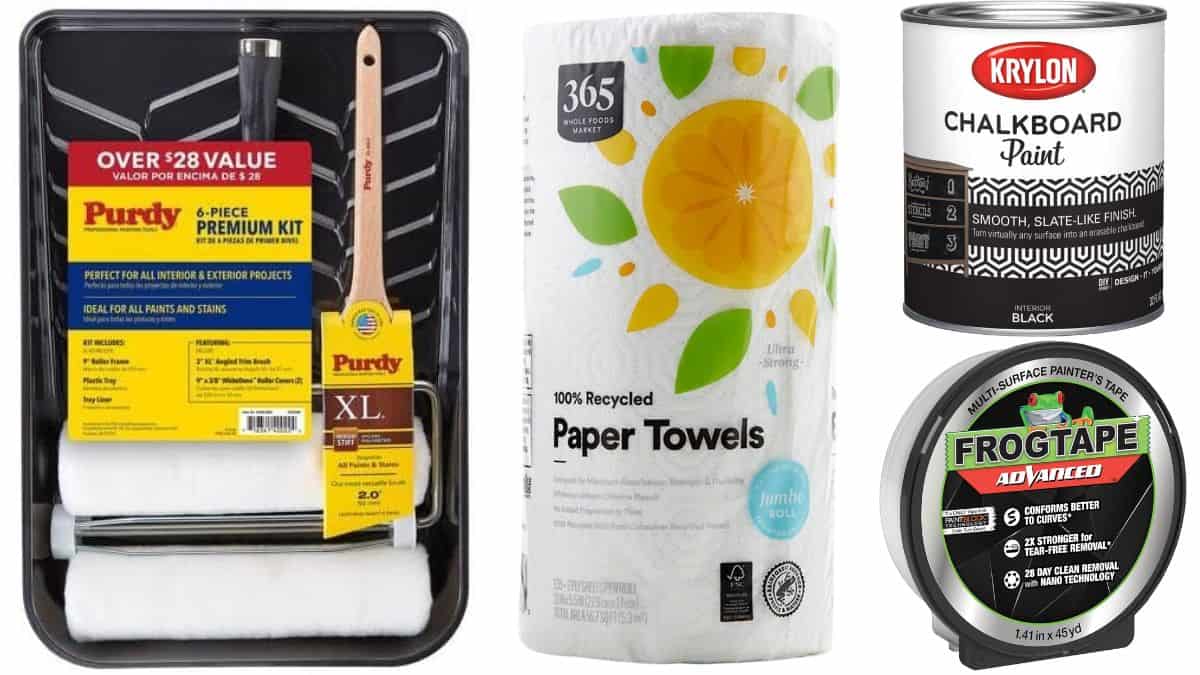
The amount of chalkboard paint needed will depend on the size of the wall you plan to cover.
A standard gallon of paint usually covers around 350 to 400 square feet with one coat.
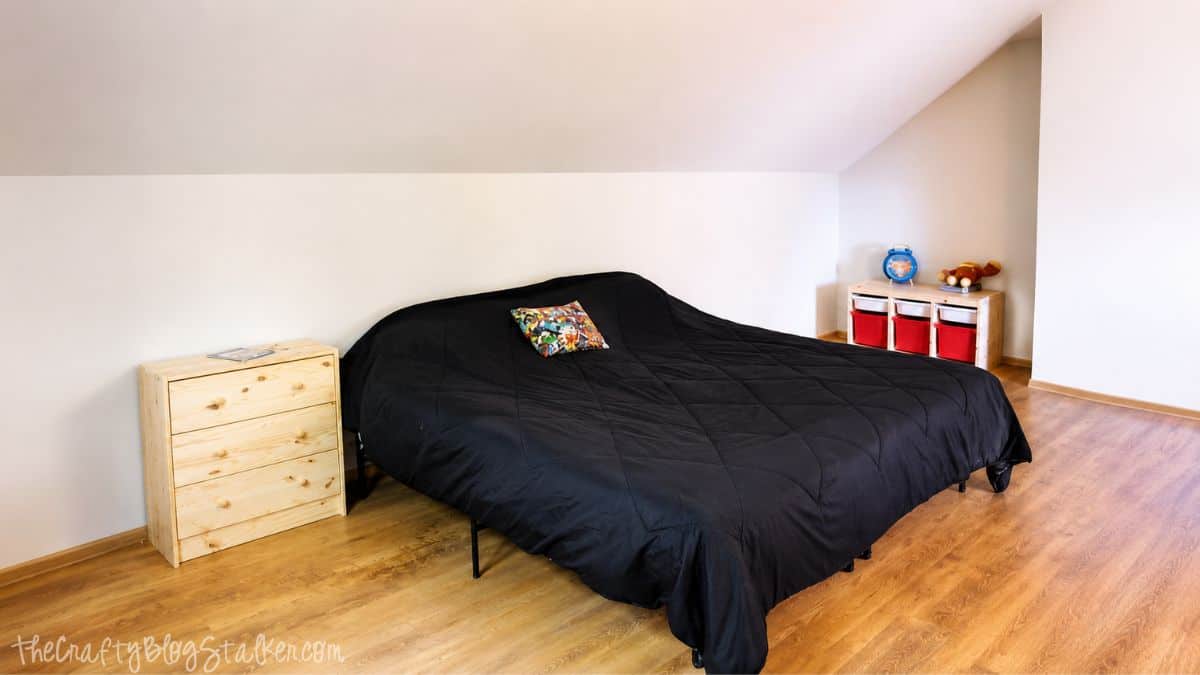
Before the Chalkboard Wall
One of the best things about this house was the huge upstairs bedrooms. Even with a king-size bed in the room, there was still plenty of open floor space for the kids to play.
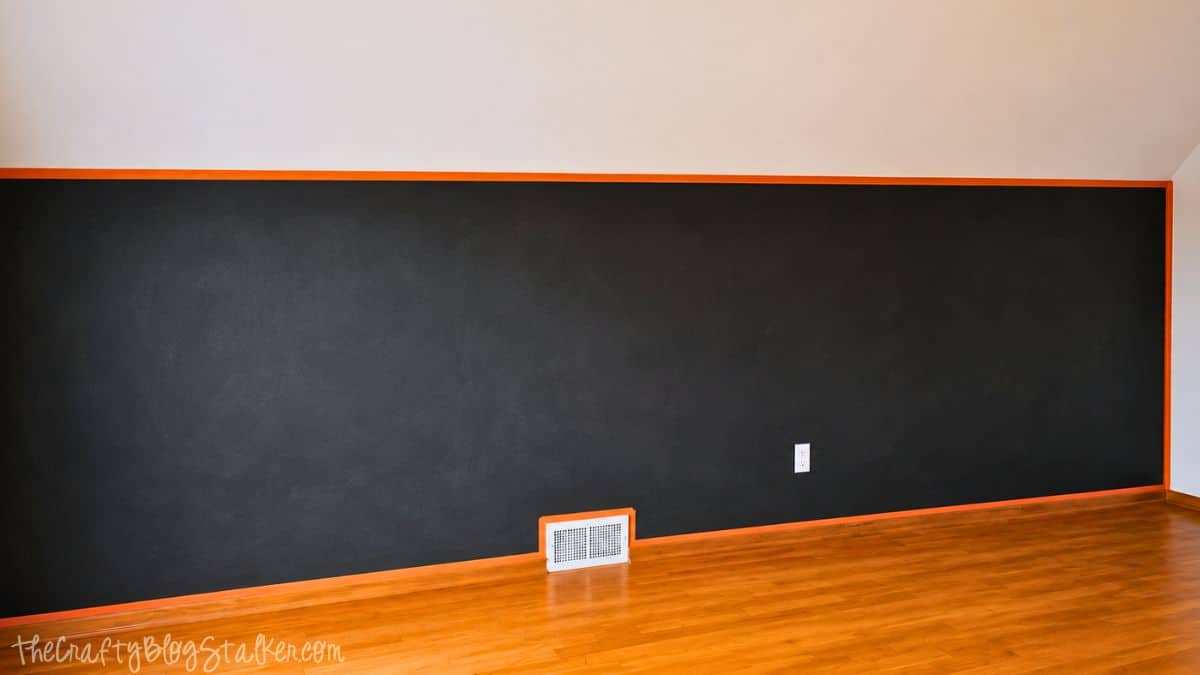
For this project, the chalkboard wall was painted on the short wall directly behind the bed. The only slightly annoying part was the rounded corner where the wall met the ceiling. It was not a clean straight edge, which made taping everything off a little tricky.
Using FrogTape Advanced made a huge difference in achieving crisp paint lines around those awkward corners. Sometimes the right tape really does save a project from becoming frustrating.
Preparing the Wall
Before painting, the wall needs to be clean and free of dust or dirt. If the wall has rough spots or texture, lightly going over it with sandpaper helps create a smoother surface for the chalkboard paint.
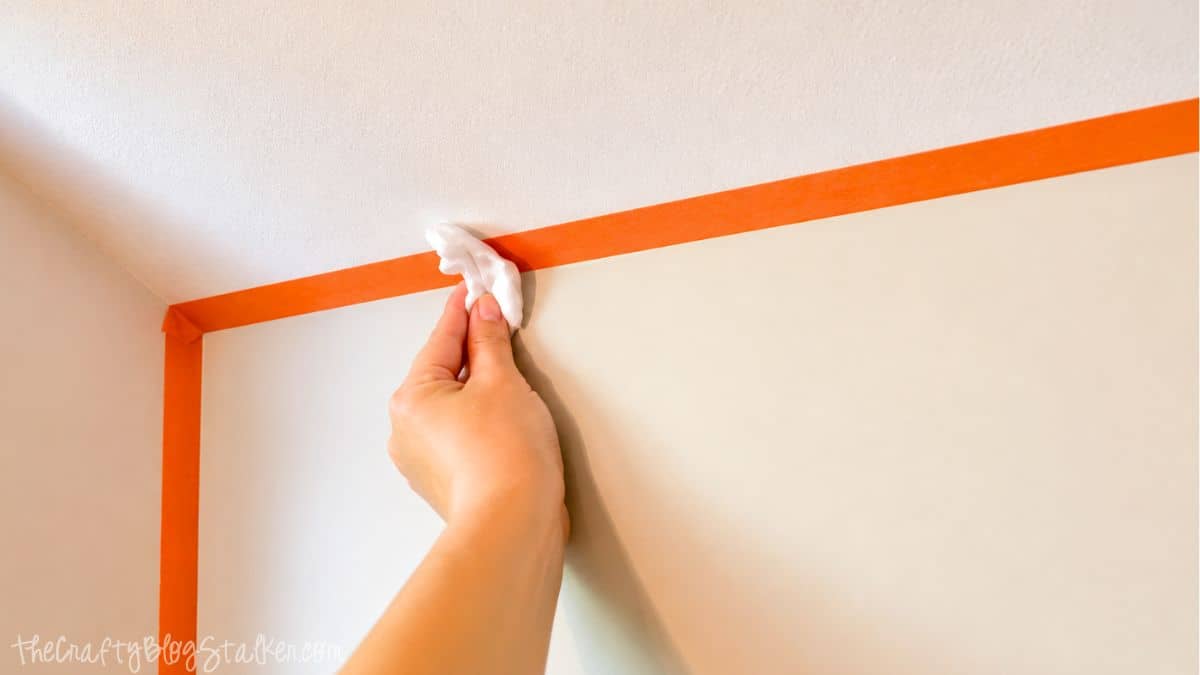
Once the wall is prepped, apply painter's tape around the area you plan to paint. Taking a little extra time here really helps later when it is time to remove the tape.
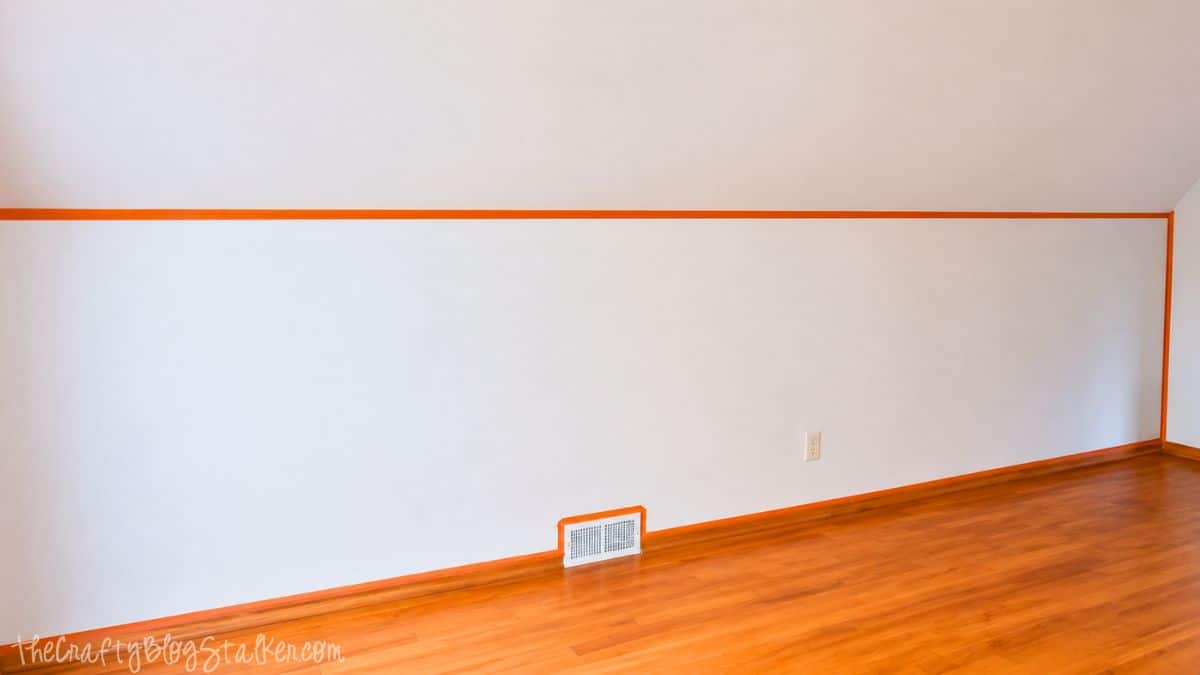
One little trick that helps a lot is running a damp cloth or paper towel along the edges of the tape after it is applied.
This helps seal the tape to the wall so paint does not sneak underneath and ruin those clean lines.
Painting the Chalkboard Wall
Start by using a paintbrush around the edges and corners where the roller cannot easily reach. Then use a roller to fill in the rest of the wall with chalkboard paint.
Depending on the color underneath and the paint brand you use, you may need a second coat for full coverage. Let the first coat dry completely before deciding if another coat is needed.
Once the paint is dry to the touch, slowly peel the tape away from the wall in one smooth motion.
Pulling it off too quickly can sometimes pull fresh paint with it, and nobody wants to fix that afterward.
Conditioning the Chalkboard Wall
After painting, the hardest part is waiting. The chalkboard paint needs a few days to fully cure before it is ready to use with chalk.
Before anyone starts drawing all over the wall, the surface needs to be conditioned first. This sounds fancy, but it is actually really simple. Rub the side of a piece of chalk over the entire wall and then wipe it clean with a dry cloth or paper towel.
This step helps prevent permanent ghost lines from appearing after erasing drawings. It only takes a minute and makes a big difference.
A Fun Wall That Actually Gets Used
One of the best things about a chalkboard wall is that it actually becomes part of everyday life. It is not just something pretty hanging on the wall that nobody touches.
This same technique works in bedrooms, playrooms, kitchens, offices, or anywhere that could use a little creative space.
Kids love it because they can draw freely, and honestly, adults end up using it just as much for notes, doodles, and reminders.
There is just something fun about having permission to write directly on the wall.
More Bedroom Ideas
Can you have too many bedroom decorating ideas? I don't think so! Here are a few more fun ideas to try next.


Hi, I'm Katie!
I'm so glad you're here. Want to make something fabulous? I'm here to help!
Crystal
The next time I paint, I'm definitely going to use the Liquid PaintBlock® EdgeSealer™. I always wondered how people got such crisp lines. Somehow I always end up with at least one spot that bleeds under the tape. The chalkboard wall looks great!! Thanks for the tips!!
Mary Beth @ Cupcakes and Crinoline
I love how this wall turned out and FrogTape is amazing. I love it. I have some paint projects in the works and I'll be stocking up on it.
Nicole
Can;t wait to see it all colored on. I would love to do this in my son's room, but it is very small and I worry the dark paint would make it even smaller
Heather
What a great product!! Frog Tape has the best solutions for painting! Love your chalkboard wall!
malia
Love this! I was thinking about doing something similar so thanks for posting this tutorial!
Donna
How do you condition the wall? Can you tell me about this last step? thanks
Kelly
So...I just read another blog and figured out he conditioning part, which is apparently VERY important. It's easy, essentially use a piece of chalk to color the entire chalk painted surface and then wipe to leave a layer of chalk dust on it. I believe this person said it allows for best eraseability.
Jennifer
We’re you able to paint the chalkboard paint directly on the textured paint? If so; Is it easy to use (write on) and clean?
Everything I’ve read previously says walls must be completely flat...yikes, if it works with slight texture that would be fantastic!!