

See why I love my Cricut Explore Air as we make a funny bathroom sign using heat transfer vinyl. The stepped-out pictures and video tutorial are below!
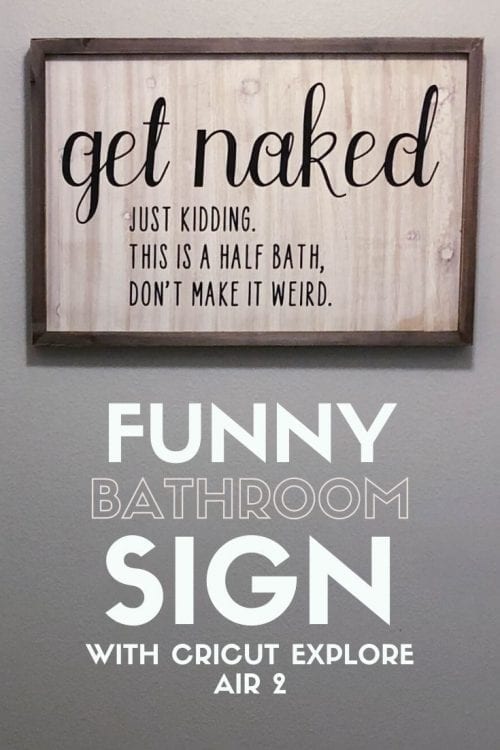
There is a half bath right off our kitchen that gets used daily, but it is very boring. There are absolutely no decorations in there whatsoever! Well, today that is going to change!
Of course, I turned to my Cricut Explore Air 2 to help me create my fun decor. As I was designing I couldn't stop thinking about why I love this machine SO MUCH and I thought it might be fun to share those reasons with you!
5 Reasons Why I LOVE my Cricut Explore Air 2
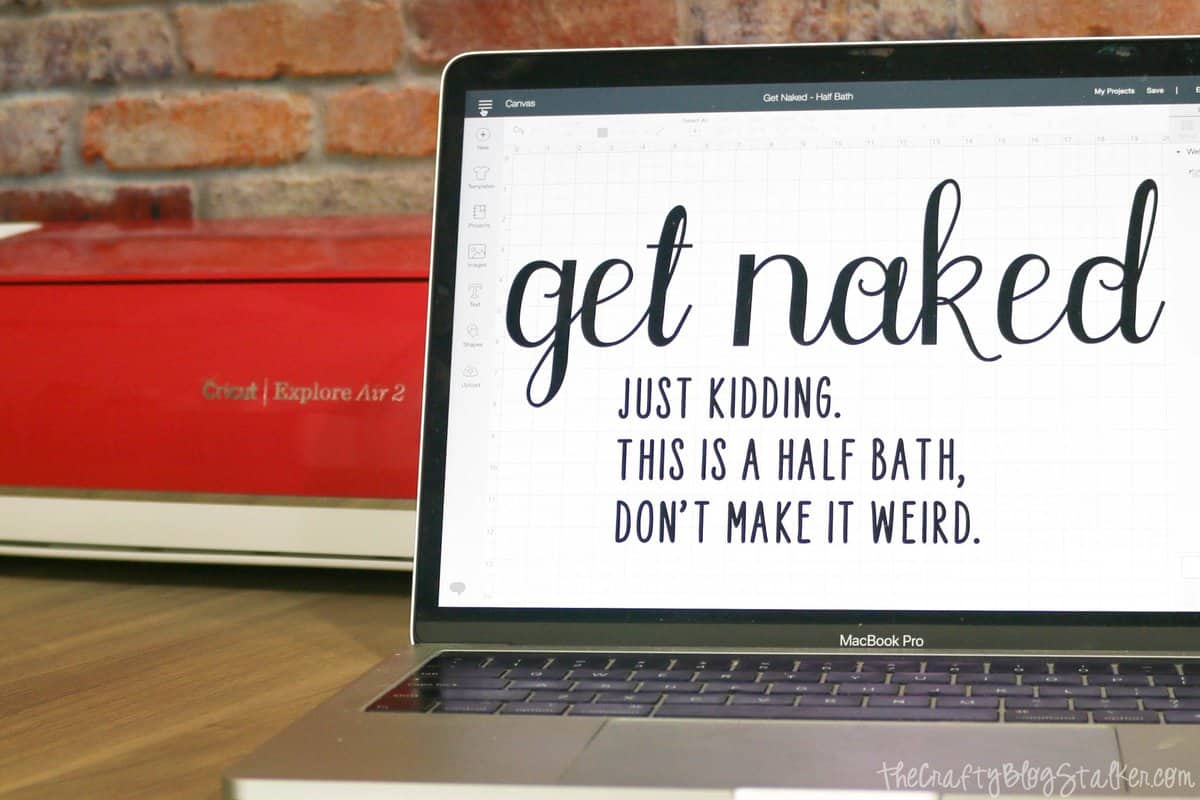
Reason #1: I love my Cricut Explore Air 2 because Cricut Design Space is so easy to use! I can access the program through the app or website and am able to access all of my saved files from any device.
Even though I can design anywhere, my favorite place to design is on my laptop. I like having a big screen to create my design.
But as soon as I am ready to cut I pull out my cell phone.
Reason #2: I love my Cricut Explore Air 2 because I can cut from many different devices! My Cell phone is always by my side and it is so easy to pull up the Cricut Design Space App and send the design to my cutting machine and not have to lug my laptop around.
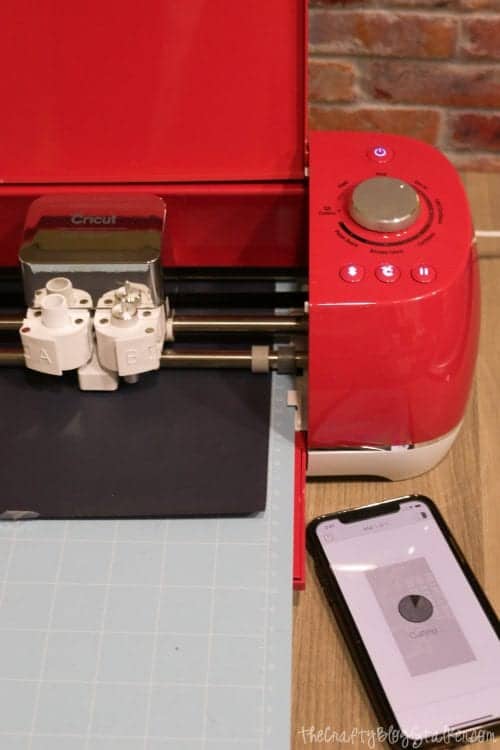
Reason #3: I love my Cricut Explore Air 2 because I can connect via Bluetooth, so no cords are needed! Ok, so you still need the cord to plug the machine in for electricity, but you don't have to be bound with a cord to your computer or device to cut!
I know it's kind of hard to tell in this picture but the power button is lit up with a blue light which means the machine is connected to my device through Bluetooth!
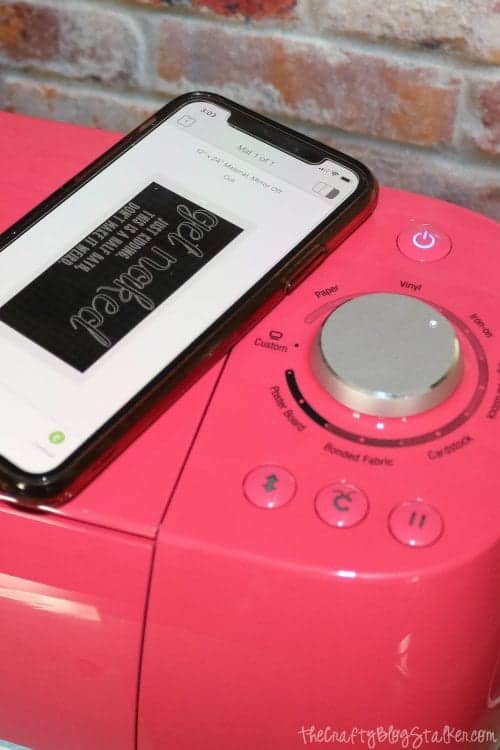
Reason #4: I love my Cricut Explore Air 2 because there are so many different materials I can cut! As you can see on the dial there is paper, vinyl, iron-on (heat transfer vinyl), light cardstock, cardstock, bonded fabric, and poster board.
But do you see that custom setting? There are so many more things it can cut! In fact, you can find a list here of 107 materials that the Cricut Explore Air 2 can cut, and the different settings to put each material at.

Reason #5: I love my Cricut Explore Air 2 because the possibilities are endless as to what you can create! With all of those different materials, you can really design and create whatever you can dream up! Like fashion accessories, jewelry, party decorations, handmade cards and banners, and home decor just to name a few.
It really is an amazing machine!
Speaking of home decor, are you ready to get to the tutorial?
Supplies Used to Make a Funny Bathroom Sign
Some links may be to similar items when exact items couldn't be found online.
- Cricut Cutting Machine
- Get Naked - Cricut Design Space
- LightGrip Mat
- Iron-On Vinyl
- Weeding Tools
- EasyPress 9x9-inch
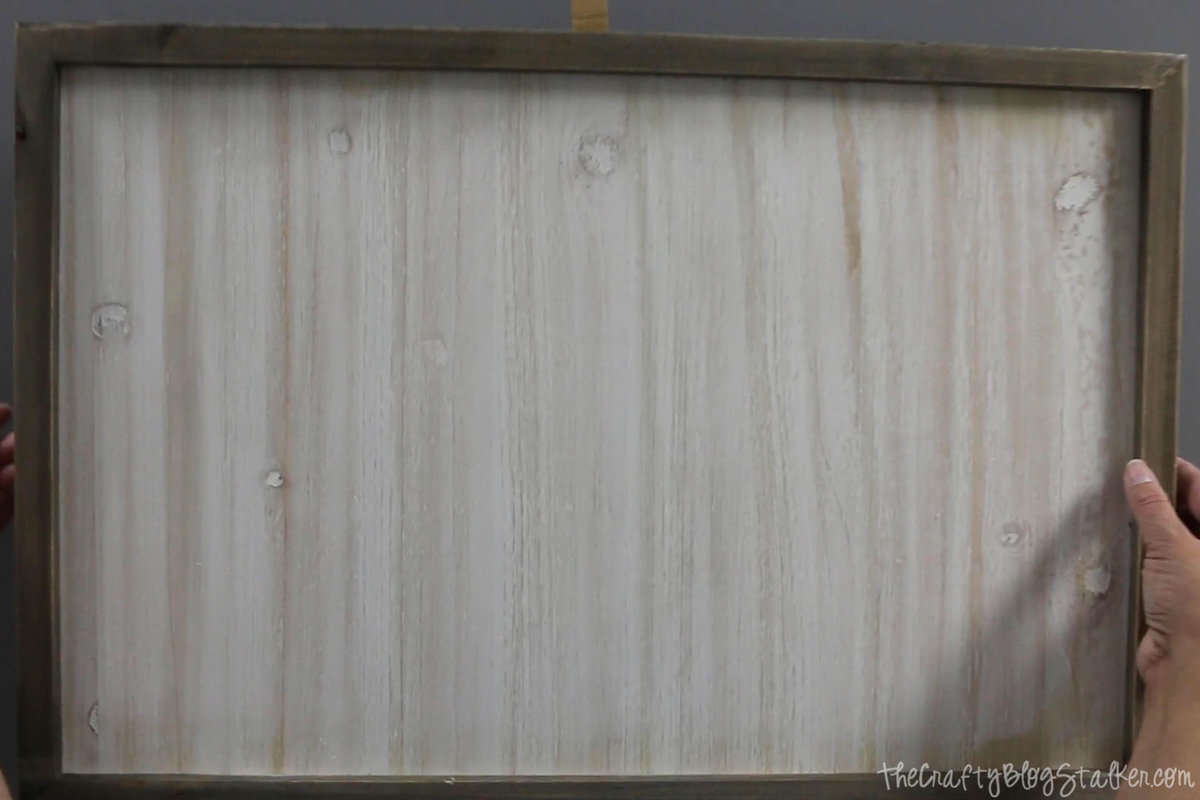
- Wood Sign
Funny Bathroom Sign Video Tutorial
Like videos? I have a video tutorial for you! Please subscribe to my YouTube Channel so you don't miss out on any future video tutorials!
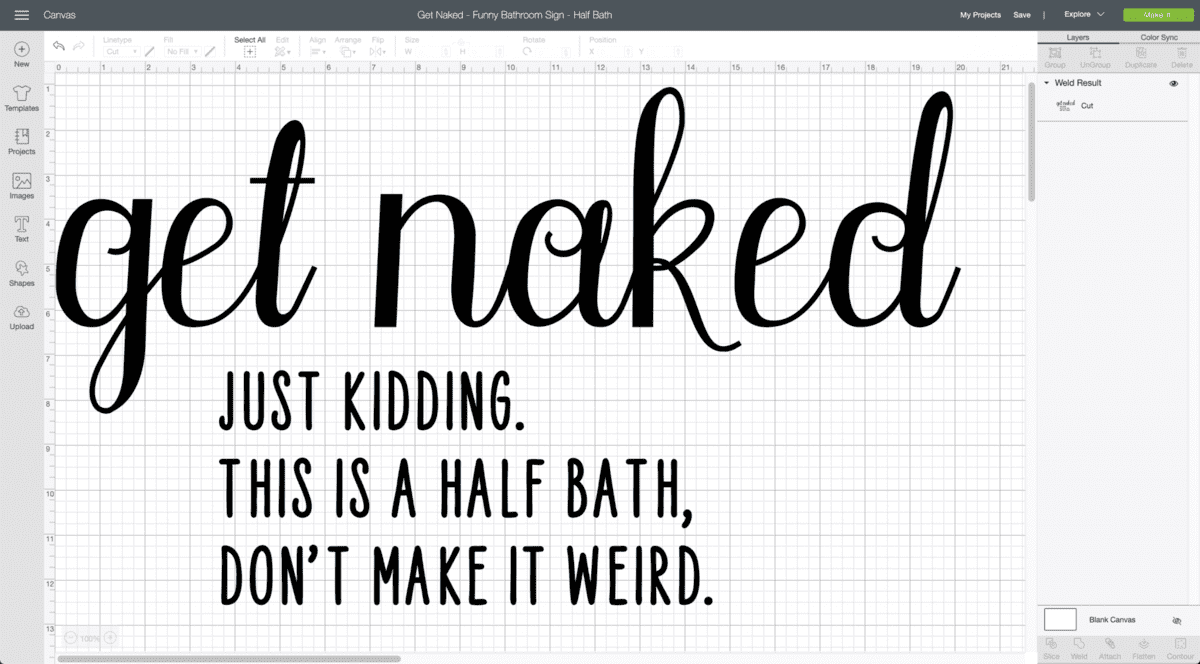
Cutting the Design with Cricut Explore Air 2
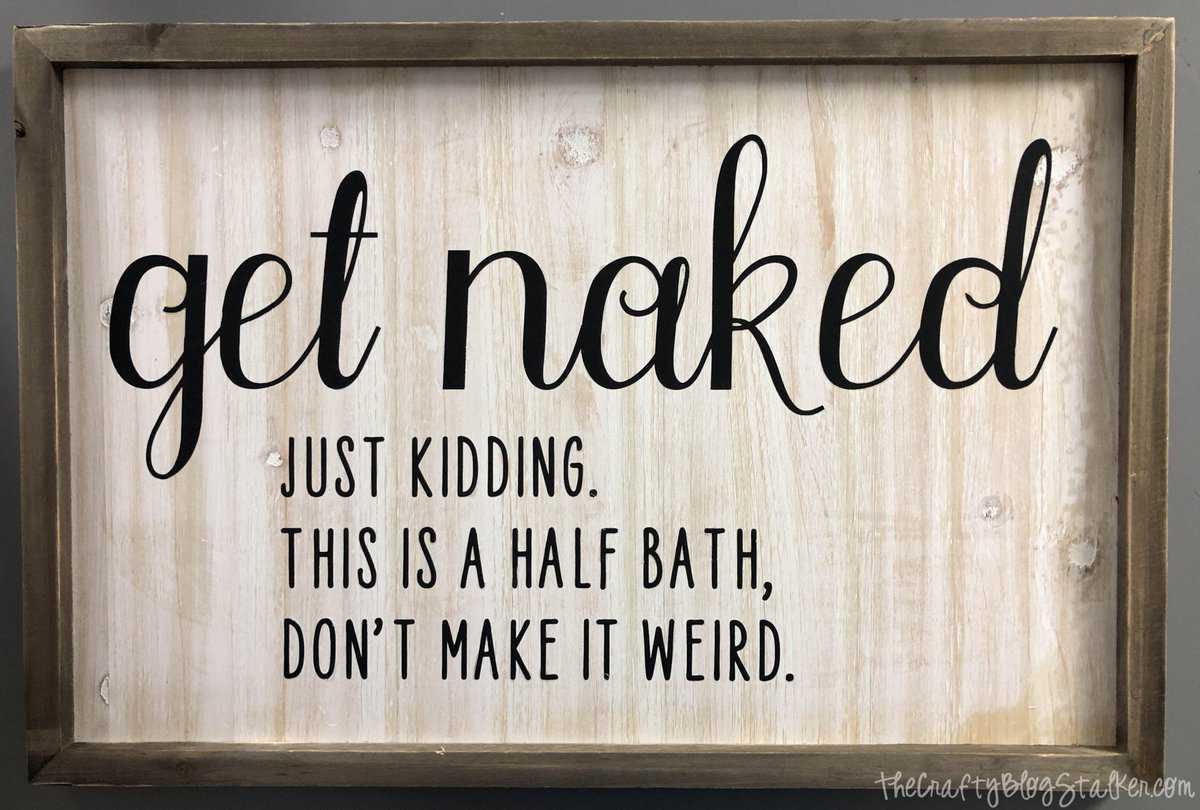
Open the "Get Naked" Canvas in Cricut Design Space and size to fit your sign. My sign measures about 23 x 15 inches, so I sized the design as big as I could make it which is 11.5 x 20 inches. But if you are using a different-sized sign you can adjust the size before cutting.
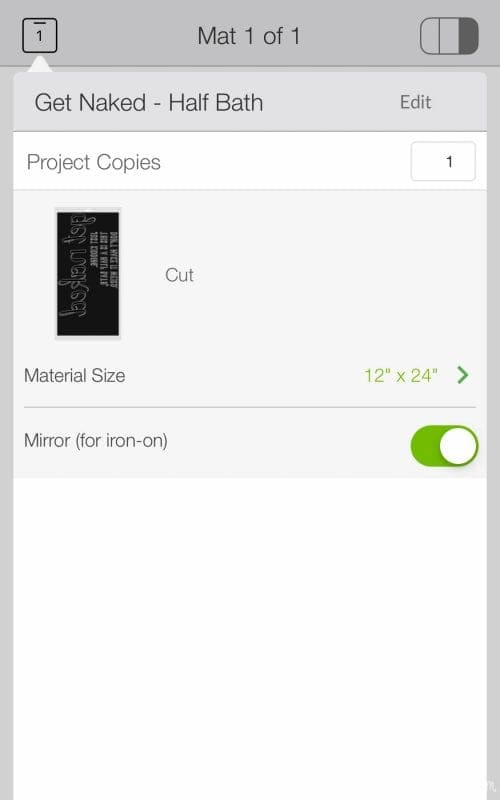
As stated above, this is when I went to my phone and cut from that device since I can connect via Bluetooth.
While on the mat preview screen, select mirror to flip your design. Iron-on material should always be mirrored when cutting since you lay the material on the mat upside down, with the shiny side down.
Follow the prompts from Cricut Design Space and when the arrow button blinks on the machine, load the mat and iron-on material.
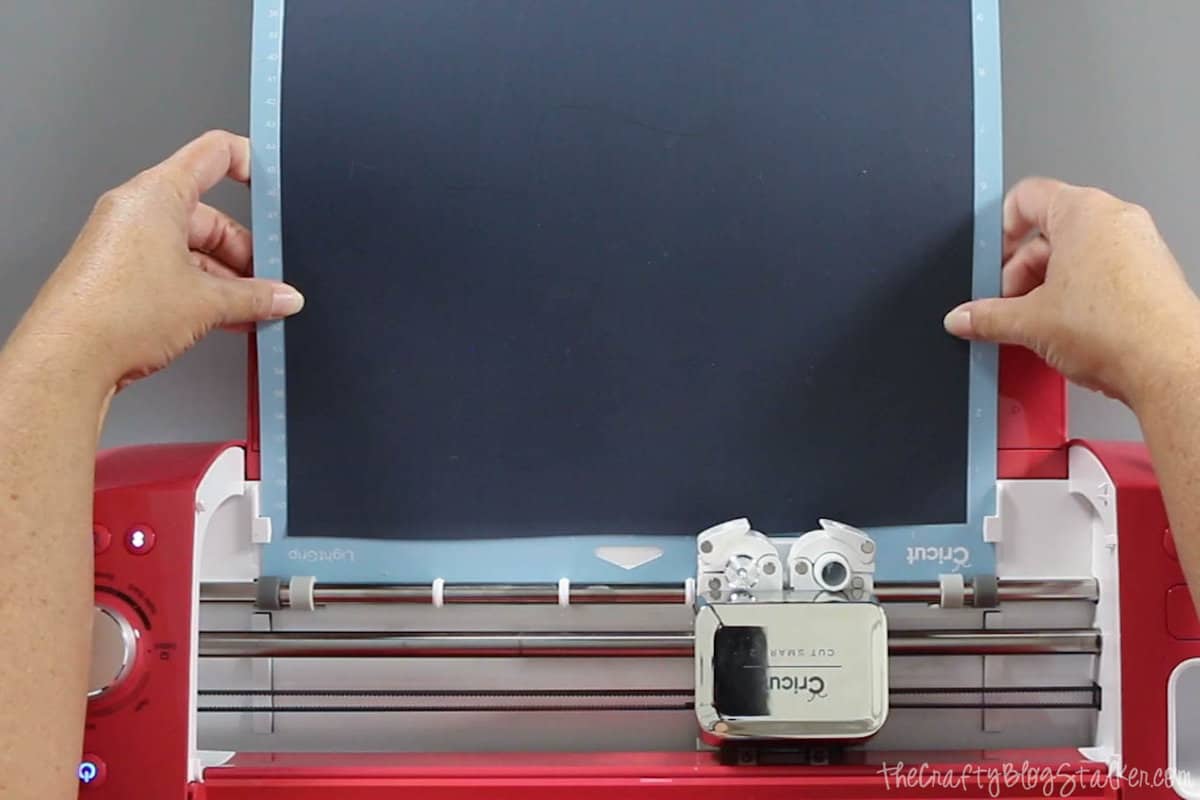
When the Cricut Logo light blinks it is ready to cut, so simply press the blinking button to begin.
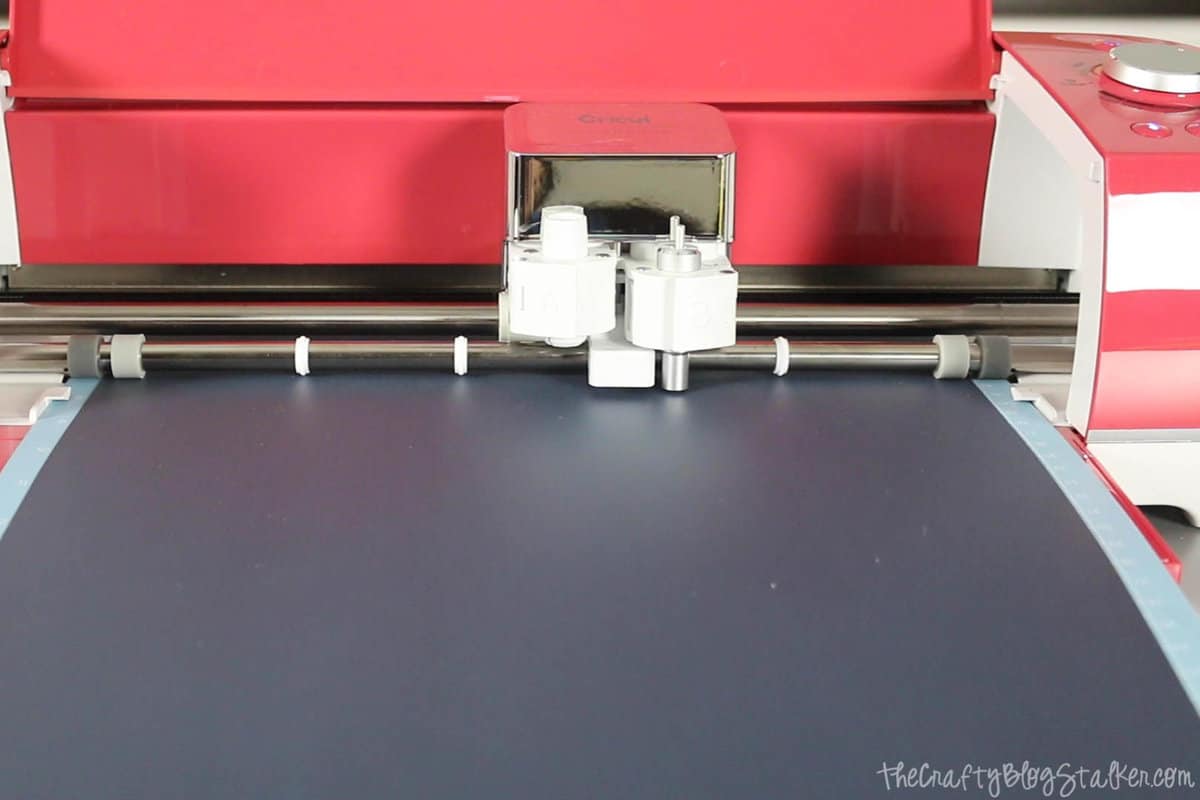
When the design is finished cutting, the logo light will blink again. Press the blinking light and your mat will unload from the machine.
Carefully peel back the iron-on to remove it from the cutting mat.
Weed the Design
Weeding means removing the excess material you don't want from your design. In this case, we are only keeping the words, but for some projects, you want to keep the negative design.
The weeding tools are super helpful in picking up the iron-on so that you can remove it from the backing sheet.
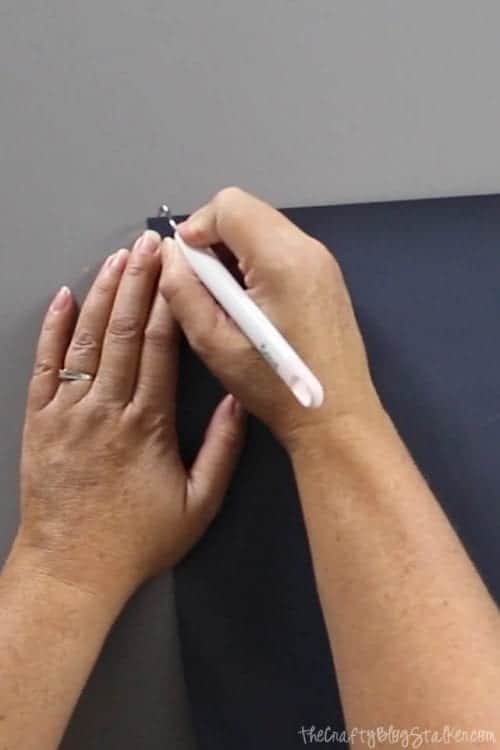
I like to start in the corners and remove the inside of the letters last.
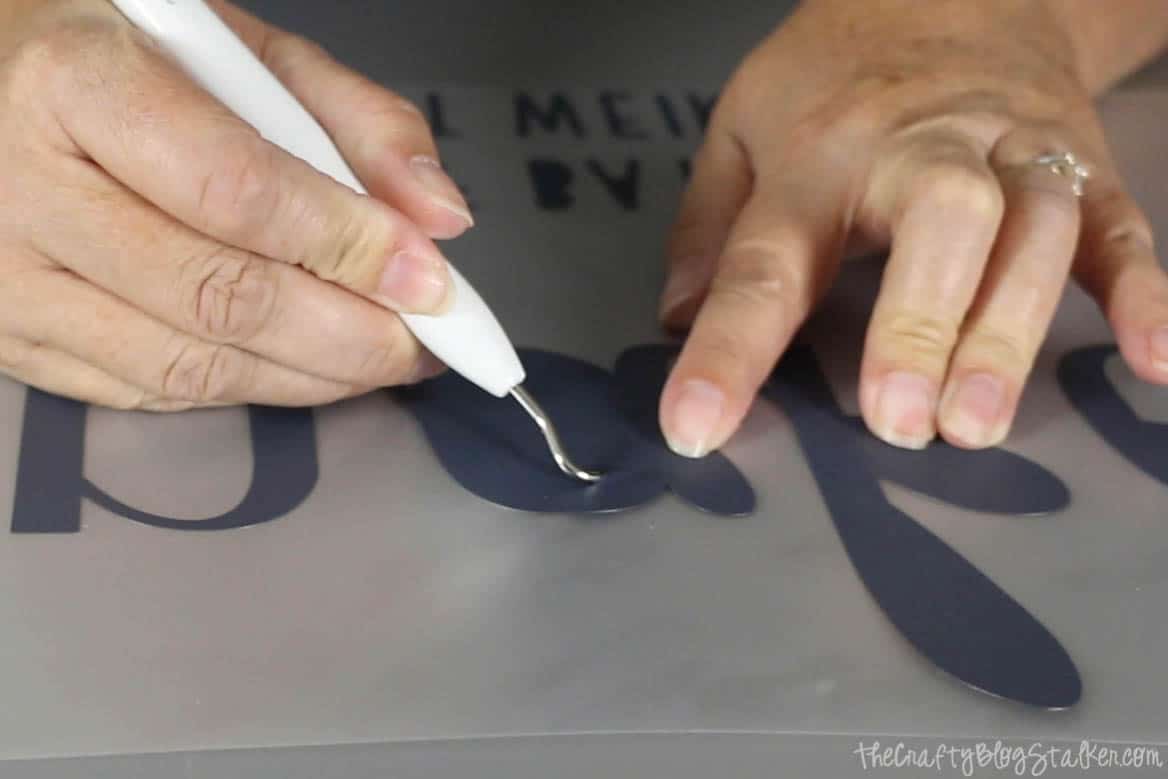
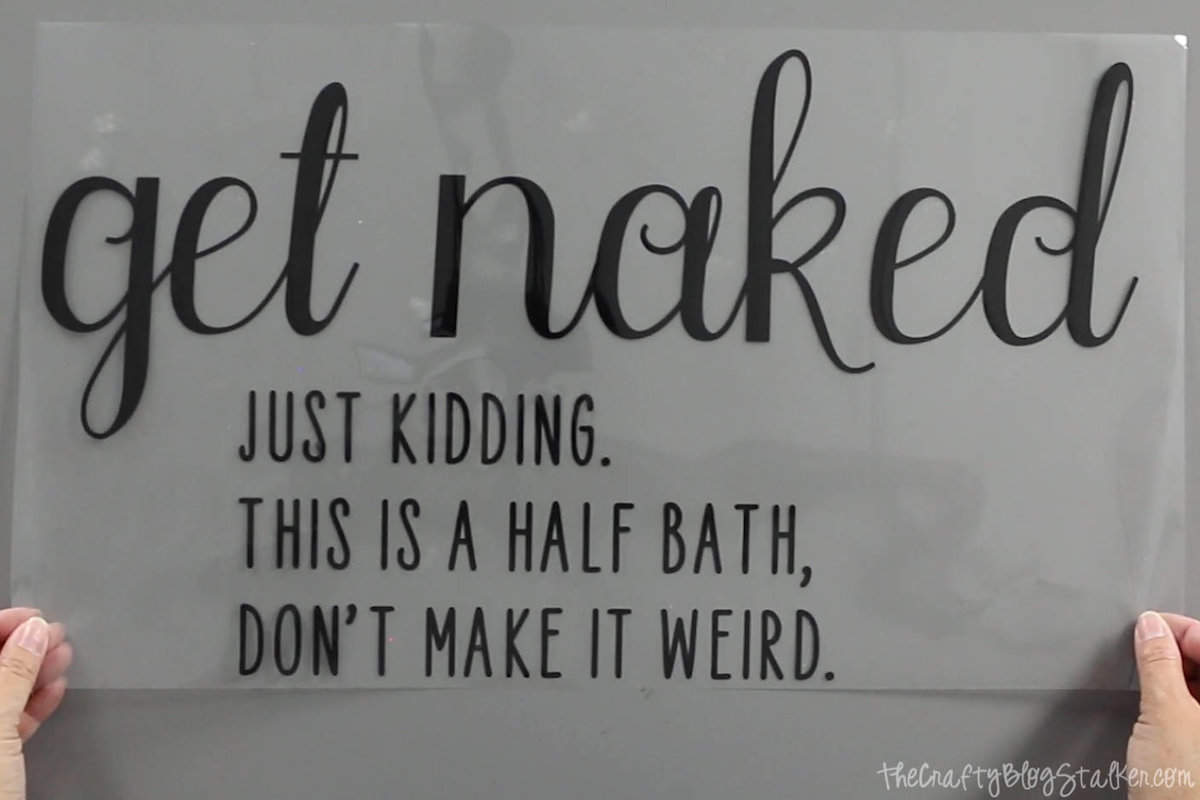
Remember, we cut the design out mirrored so everything will be backward. Flip the iron-on sheet over to see what your cut-out design looks like after being weeded!
Applying the Iron-On to the Wood Sign
To apply the iron-on we are going to use the Cricut Easy Press. Online, you can visit the Cricut Heat Guide, enter the transfer material and base material and the guide will tell you what to set the temperature and time at.

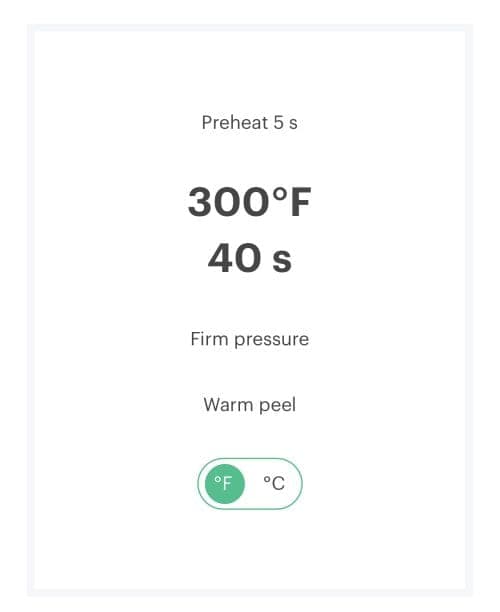
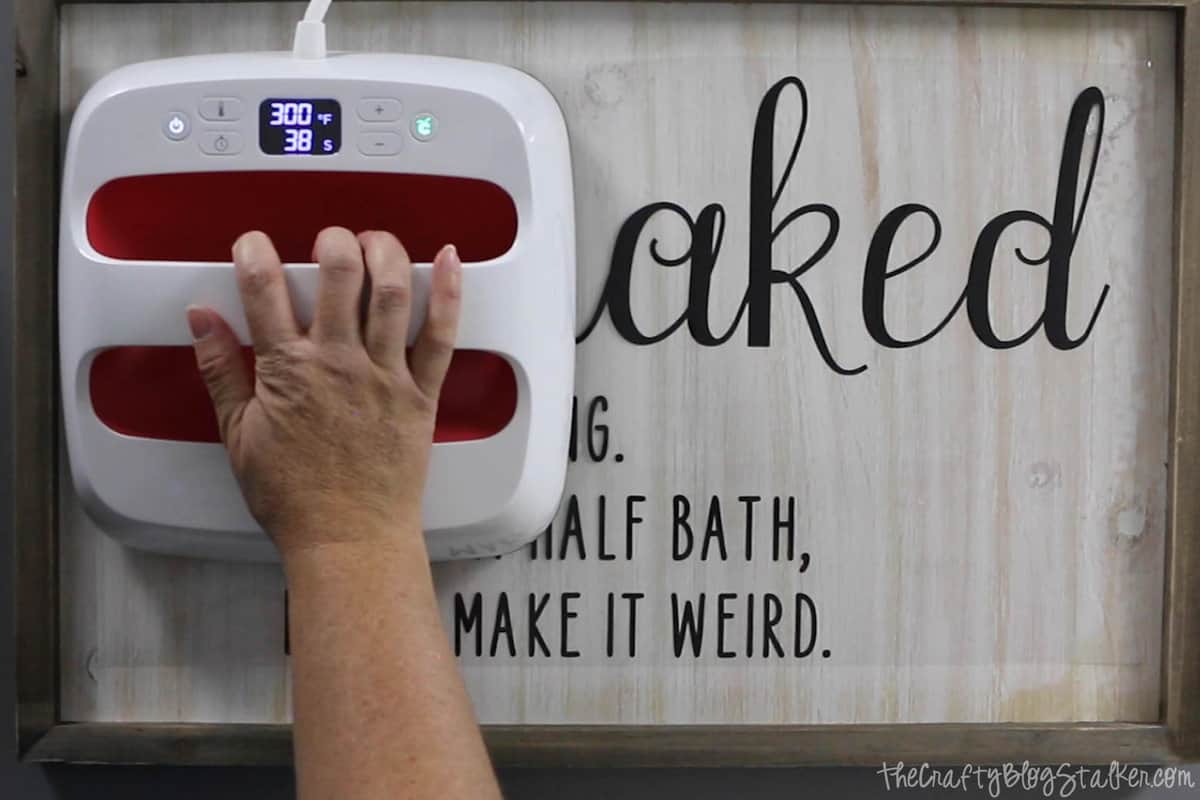
Since this is a larger project, it will take several applications of the Heat Press. I like to move in a clockwise direction so I can remember where I have been. Start in the upper left-hand corner and apply heat and pressure for 40 seconds, and then move to the next area overlapping just a bit.
Slowly peel back the clear sheet and if any of the iron-on doesn't stick, lay the sheet back down and reapply the Heat Press for another cycle. Then retry peeling back the clear sheet.
There will probably be a couple areas that need the heat press again. Don't get frustrated, simply apply the Heat Press again and keep slowly peeling until you can remove the entire backing sheet.
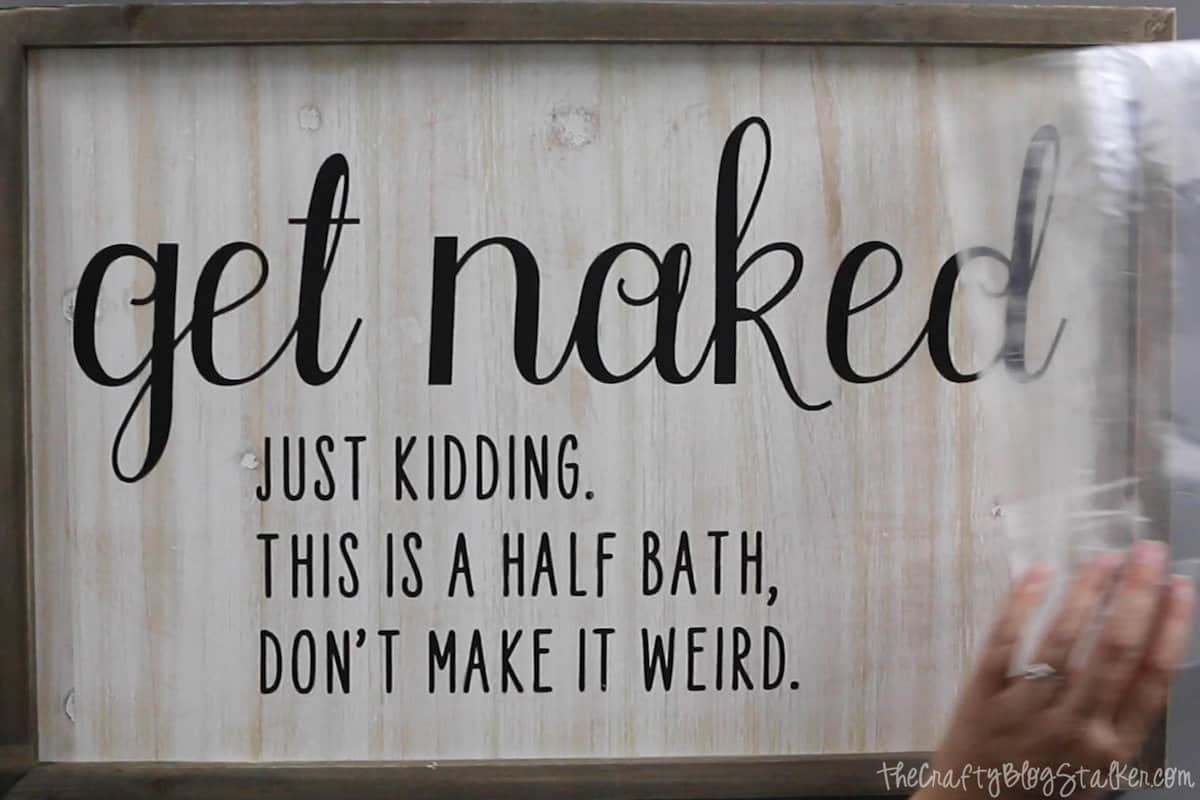
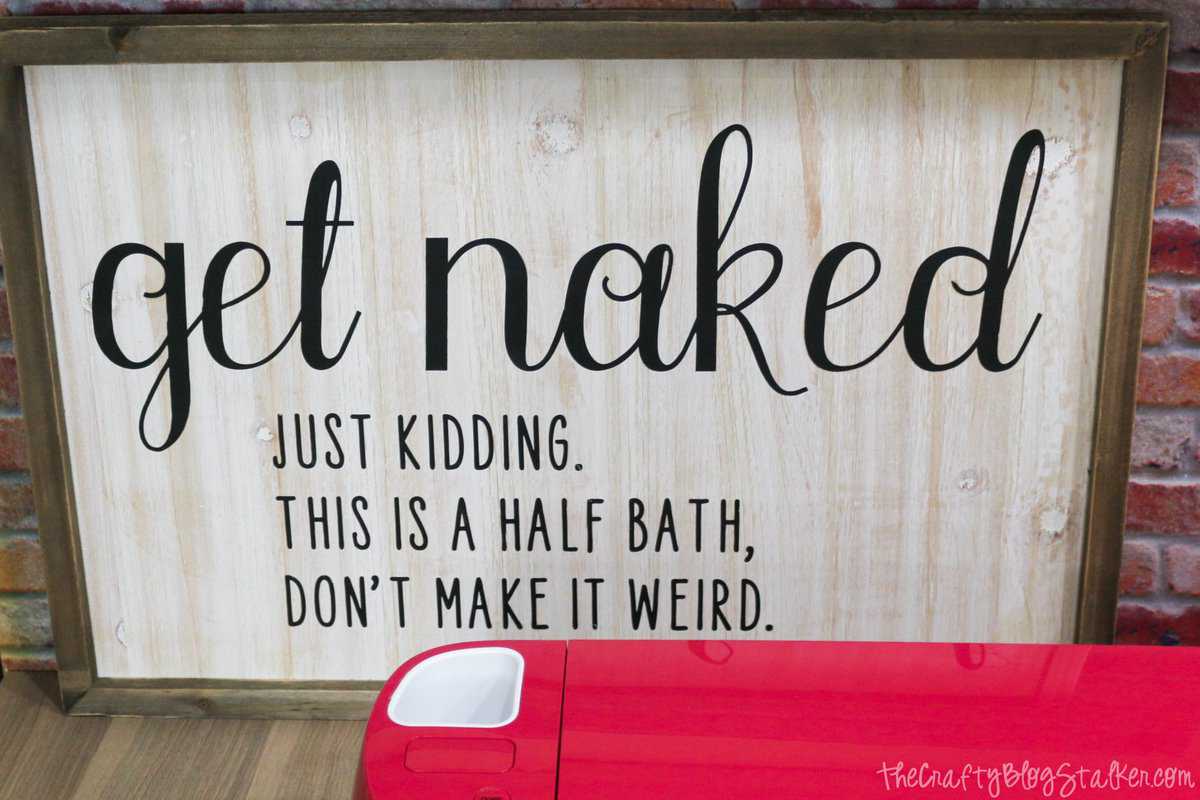
Doesn't the finished sign look AMAZING! I absolutely love it!
I can't help but smile every time I go into our half bath, and now it's not such a boring room!

Crafting Essentials
- The Cricut Cutting Machine is easily my favorite crafting tool. We use it in so many of our tutorials!
- These MakerX Crafting Tools are perfect for keeping in the craft room and are always ready when needed!
- This Fiskars Paper Trimmer is easy to use and cuts nicely without frayed edges.
- These Scotch Precision Scissors cut like a dream, and you get multiple pairs in a pack!
Julian
Hello: How much is the machine?
Katie
It really depends on what machine you get. The smallest and newest machine is Cricut Joy. It costs $179. The Explore Air 2 is $199 and the Maker is $369. The first thing to look at is what you want to be able to create with the different machines because each has different capabilities. But feel free to ask about any questions you have!
Co Co
I have had my Cricut Maker 3 for a year now and still can't figure out Design Space. I'm hoping this will help. I'll let you know! Lol