This post may contain affiliate links. For more information, please see our disclosure policy.
You can make a pair of DIY Leather Earrings with this template and the Cricut Maker! Handmade jewelry you will be proud to show off!!
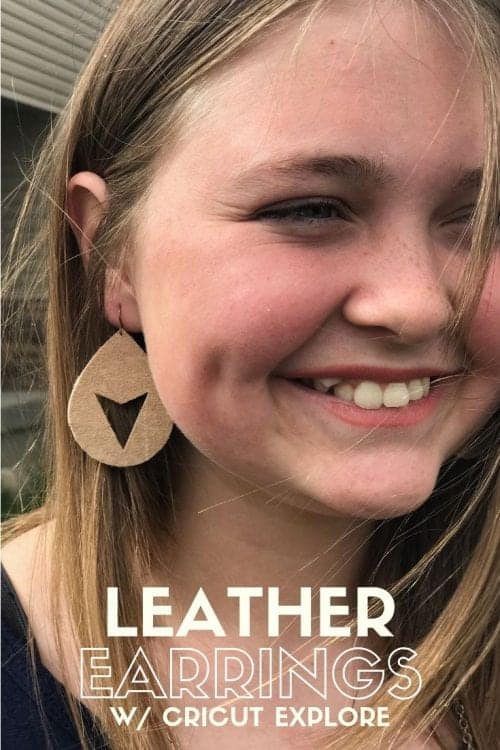
Have you noticed the leather earring trend? Everyone is wearing them and they are a gorgeous accessory to any outfit!
These DIY leather earrings have become a favorite of mine and I wear them nearly every day! Can you believe I made them with my Cricut Explore? Well it's true, I did! And today I'm going to show you how so you can make your own. You will love them too!

AD: Shop Cricut.com
Supplies Used for Leather Earrings
Some links may be too similar items when exact items couldn't be found online.
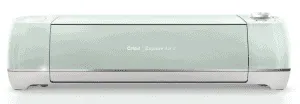
- Cricut Maker or Explore
- Leather Earrings in Cricut Design Space
- Deep Cut Blade
- StrongGrip Mat
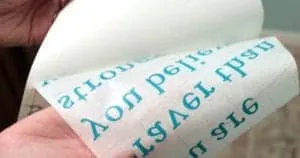
- Transfer Tape
- Scrap Leather
- Awl
- Earring Hooks
- Jewelry Pliers - 2 pairs
Like videos? I have a video tutorial for you! Please subscribe to my YouTube Channel so you don't miss out on any future video tutorials!
DIY Leather Earrings with the Cricut Maker
Using scrap leather makes this project much cheaper than buying full sheets of leather. It's harder to get specific colors or textures of leather when you buy the bags of scrap, but it should still give you a good selection.
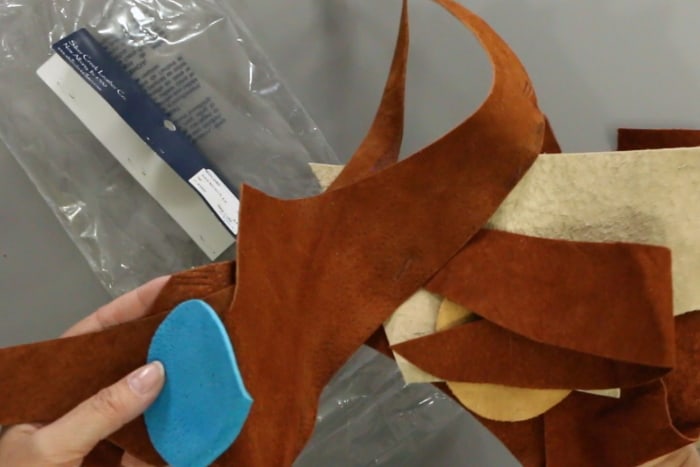
Begin by trimming a piece of leather to fit the earrings. If you make the earrings the same size as mine you will need a piece about 4 x 3 inches. Also, cut a piece of transfer tape of the same size.
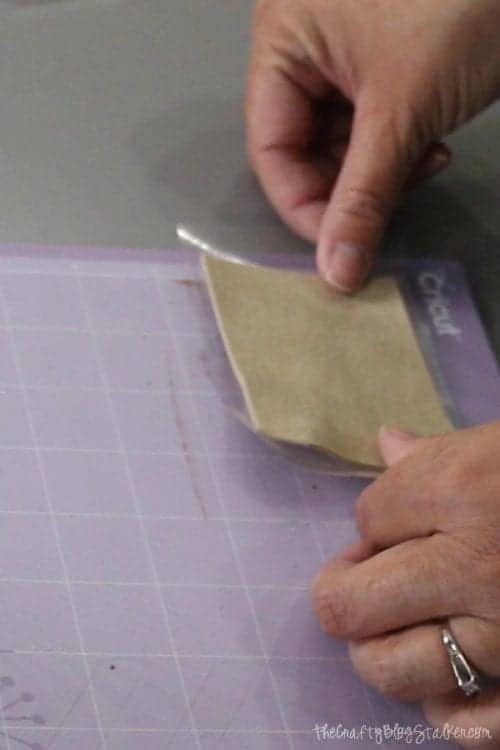
Lay the leather square on the peeled transfer tape with the bottom of the leather touching the sticky side of the transfer tape. This will help save your mat so the leather won't leave a leather residue on the mat.
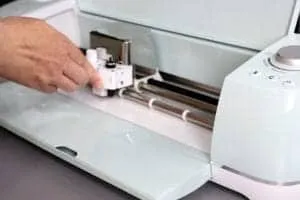
Make sure to have the Deep Cut Blade installed. Turn the dial to custom and choose leather from the drop-down menu cut screen in Cricut Design Space.
Want to know How to Install the Deep Cut Blade into the Cricut Explore? I have a post and a video to show you exactly how. How to Install the Deep Cut Blade in the Cricut Explore.
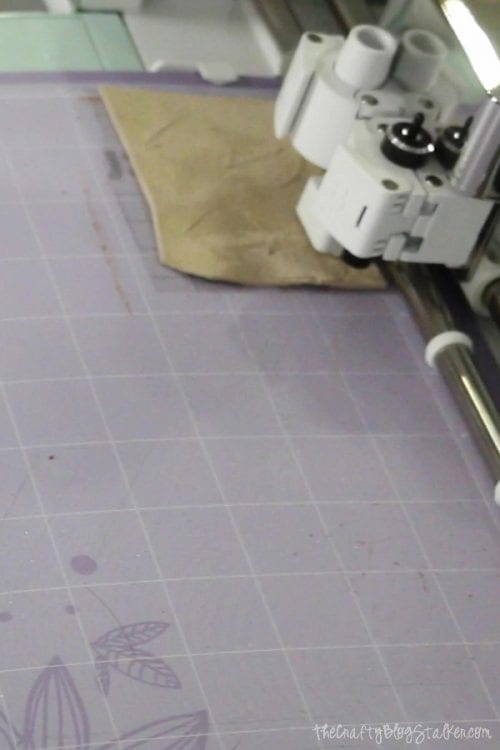
After the leather is cut, peel off the cutting mat and remove the transfer tape from behind the leather.
Since leather is a natural material, there was a side of one of the earrings that didn't quite get cut all the way through. This is ok, simply take a pair of scissors and trim if necessary.
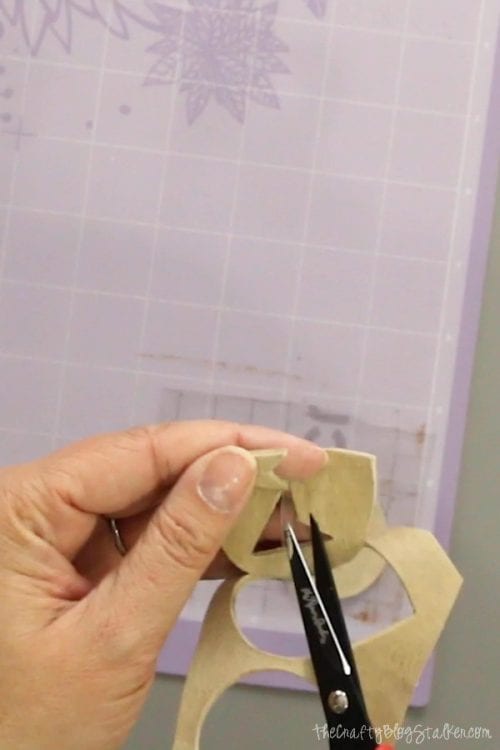
There is a small hole cut into the top of the earrings but since they are so small you may need an awl to poke into the leather to make those holes more pronounced.
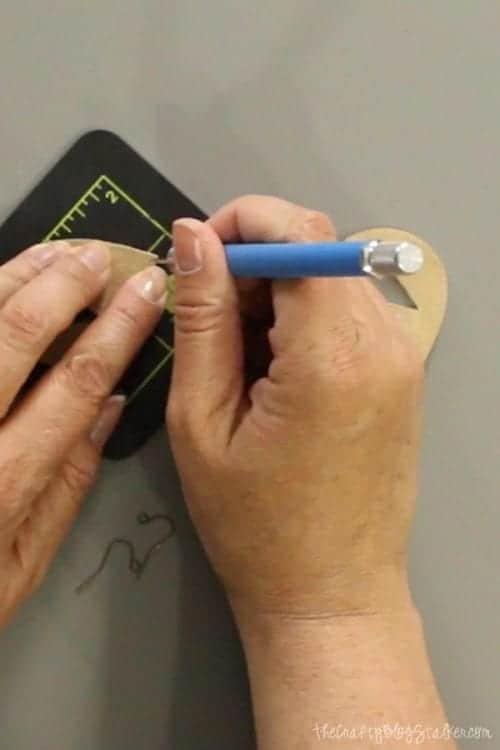
To open the loop at the base of the earring hook, take two pairs of jewelry pliers, one in each hand, each holding a side of the loop. Hold one side straight and twist the wrist of the other hand. You don't want to pull the loop open, instead, you twist. This will keep the shape of the loop.
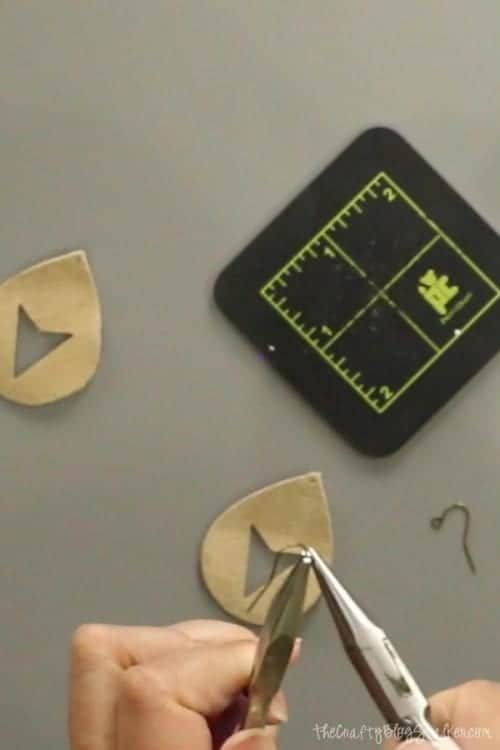
Put the opened loop through the small hole at the top of the earring and twist it close with the two pairs of jewelry pliers.
Repeat with the other earring hook and you have a pair of DIY leather earrings!
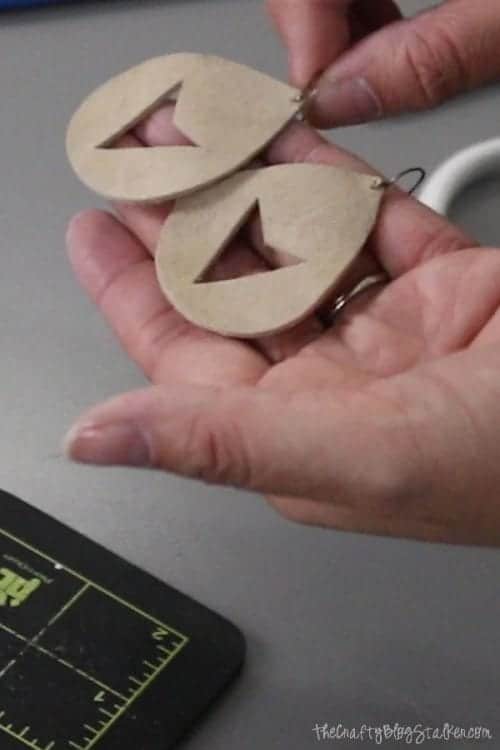
Aren't they so cute?!
Pair your DIY leather earrings with the matching Leather Chevron Necklace and your outfit is complete!
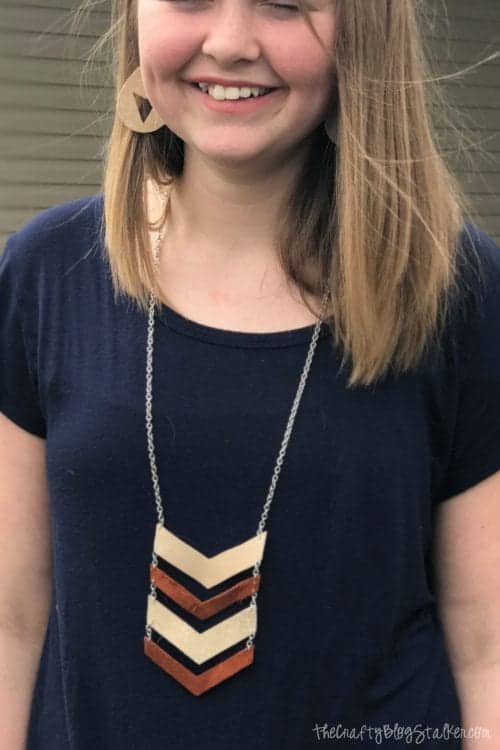
What is your favorite accessory to add to an outfit? Is it jewelry, a scarf, or a handbag?
Our Crafting Essentials:
- The Cricut Cutting Machine is easily our favorite crafting tool. We use it in so many of our tutorials!
- These MakerX Crafting Tools are perfect for keeping in the craft room and are always ready when needed!
- This Fiskars Paper Trimmer is easy to use and cuts nicely without frayed edges.
- These Scotch Precision Scissors cut like a dream, and you get multiple pairs in a pack!




Gloria garza
This is really a great idea. I have a jacket and I am planning to make an earring from the jacket. Thank you for this amazing Idea!!