

This post is sponsored by Cricut. All opinions expressed are my own.
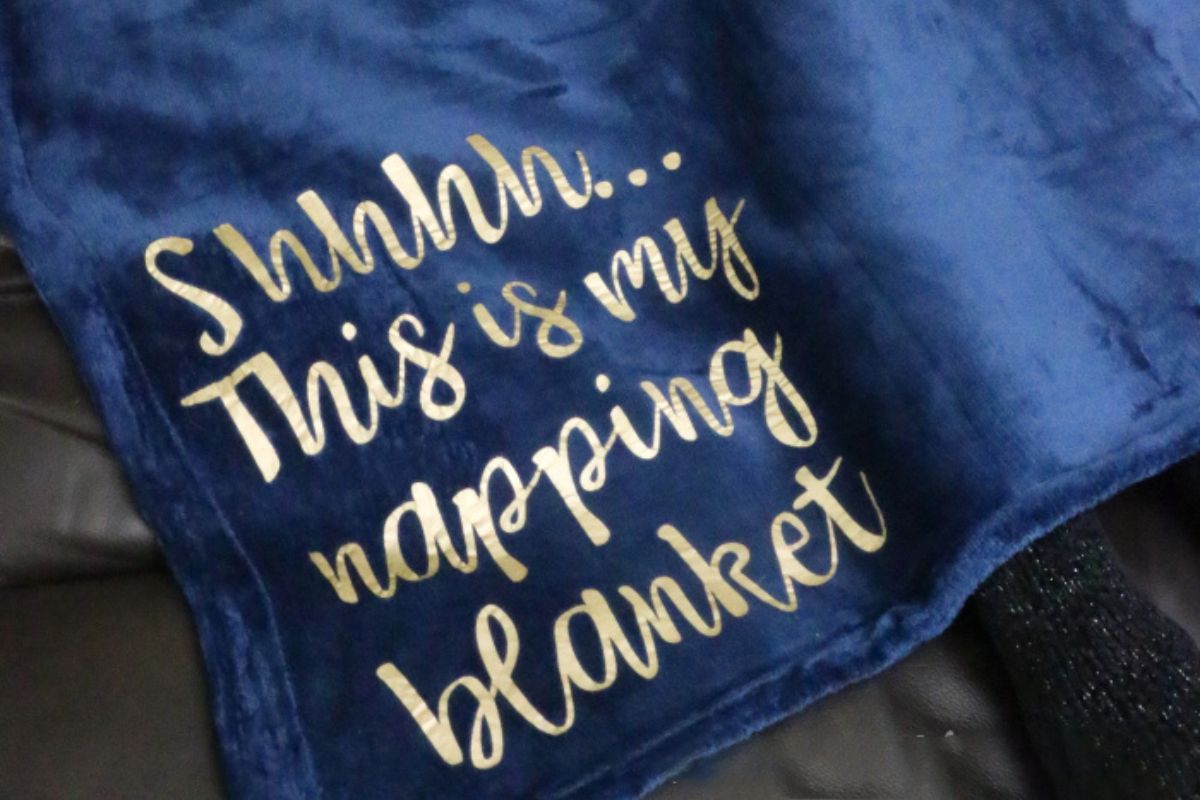
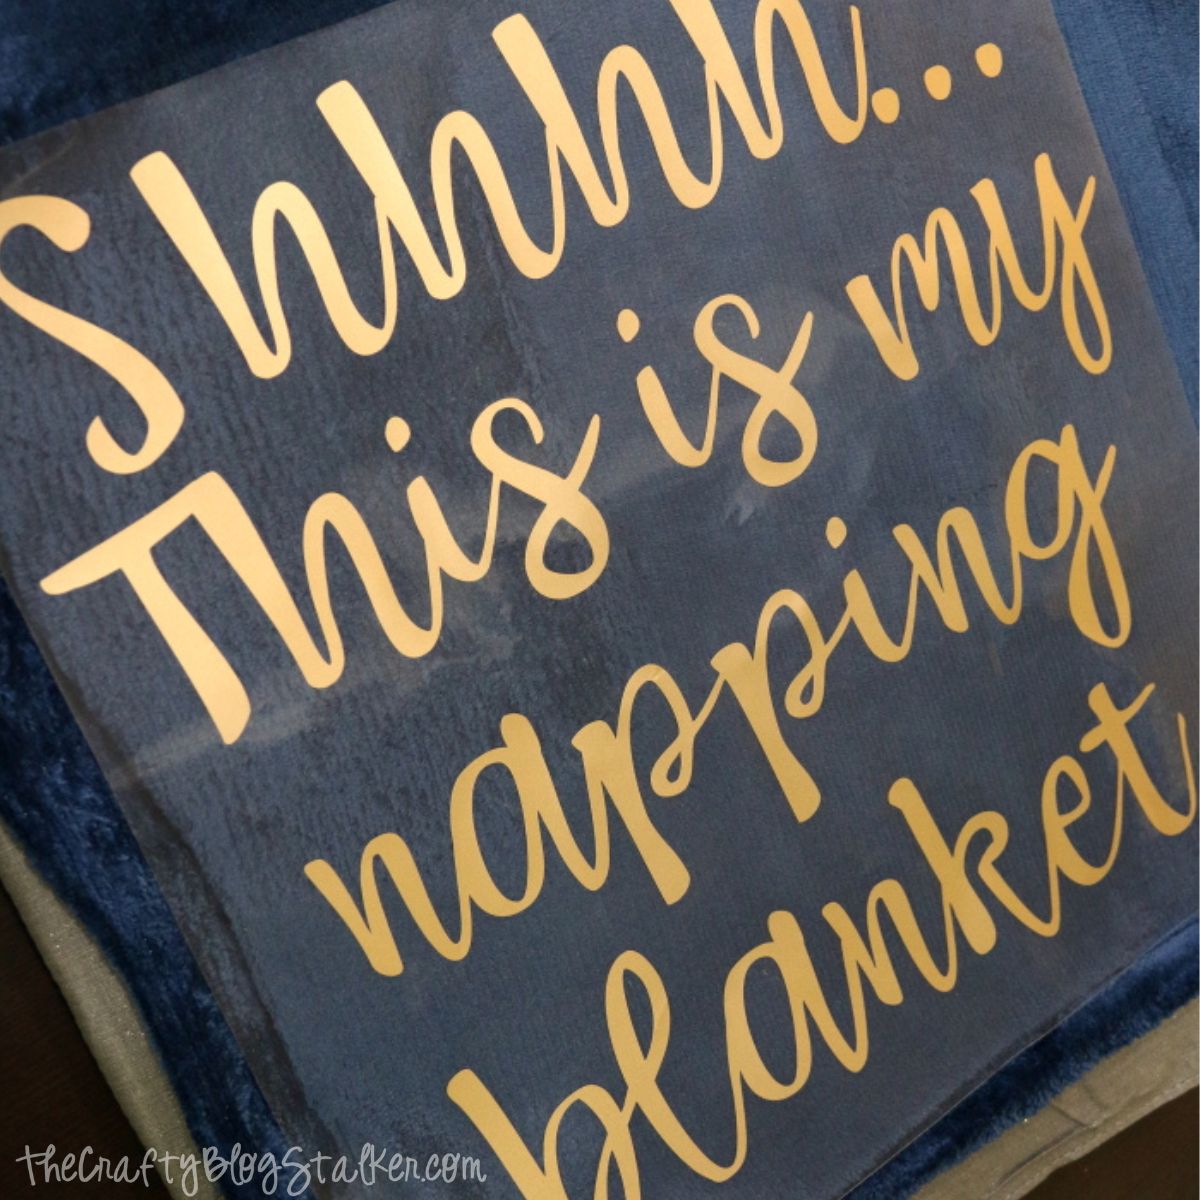
Create the perfect snuggly gift! Follow this guide to apply heat transfer vinyl on Fleece blankets for a custom, cozy touch.
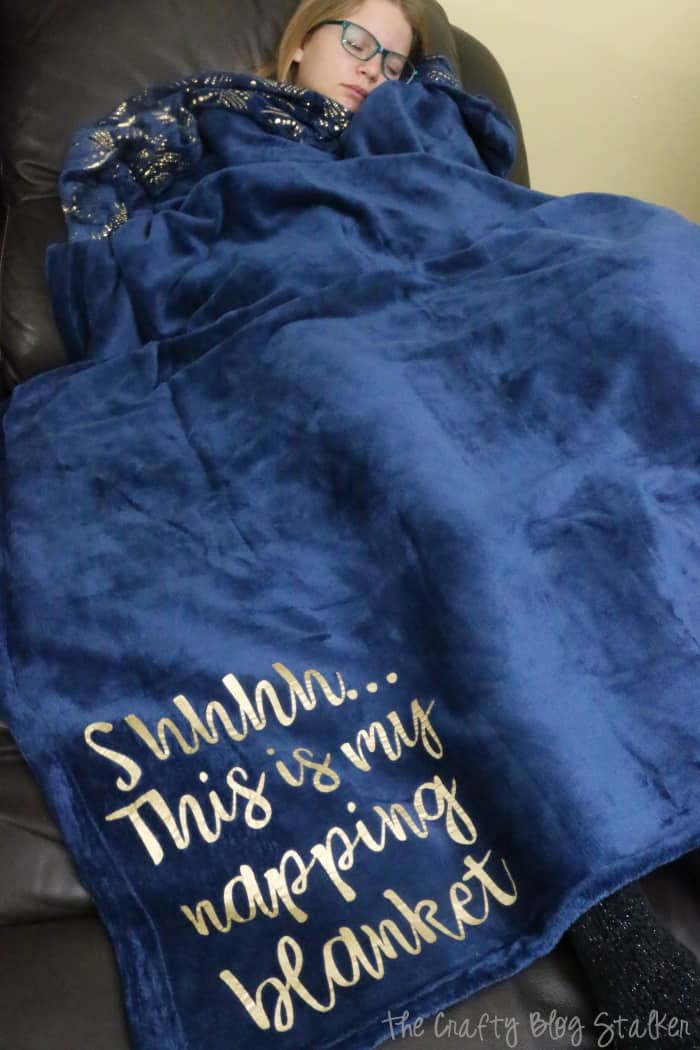
Soft, cuddly blankets are a favorite of mine, and nothing is better than curling up in a snuggly blanket to watch TV.
This almost always turns into a little cat nap, and now I have a blanket for those perfect afternoons!

Craft Tutorial Video
If videos are your thing, you're in luck-I've got a full tutorial ready for you!
Subscribe to my YouTube channel and stay inspired with every new project.
Iron-on Vinyl or Heat Transfer Vinyl?
Before we start, I want to clarify the difference between Iron-on Vinyl and Heat Transfer Vinyl, also known as HTV.
The difference is only the name. Iron-on and Heat Transfer Vinyl are the same material.
It is a vinyl material with a substance that adheres when heat is applied.
In this tutorial, I refer to it as Iron-on, but if you know it more as HTV, just know it is the same material.
Cricut Design Space
The cut file for this project is ready to go on Cricut Design Space.
The file is 11.5 inches wide and as large as possible. If this size works for you, select Make It. If you need to adjust the sizing, select Customize.
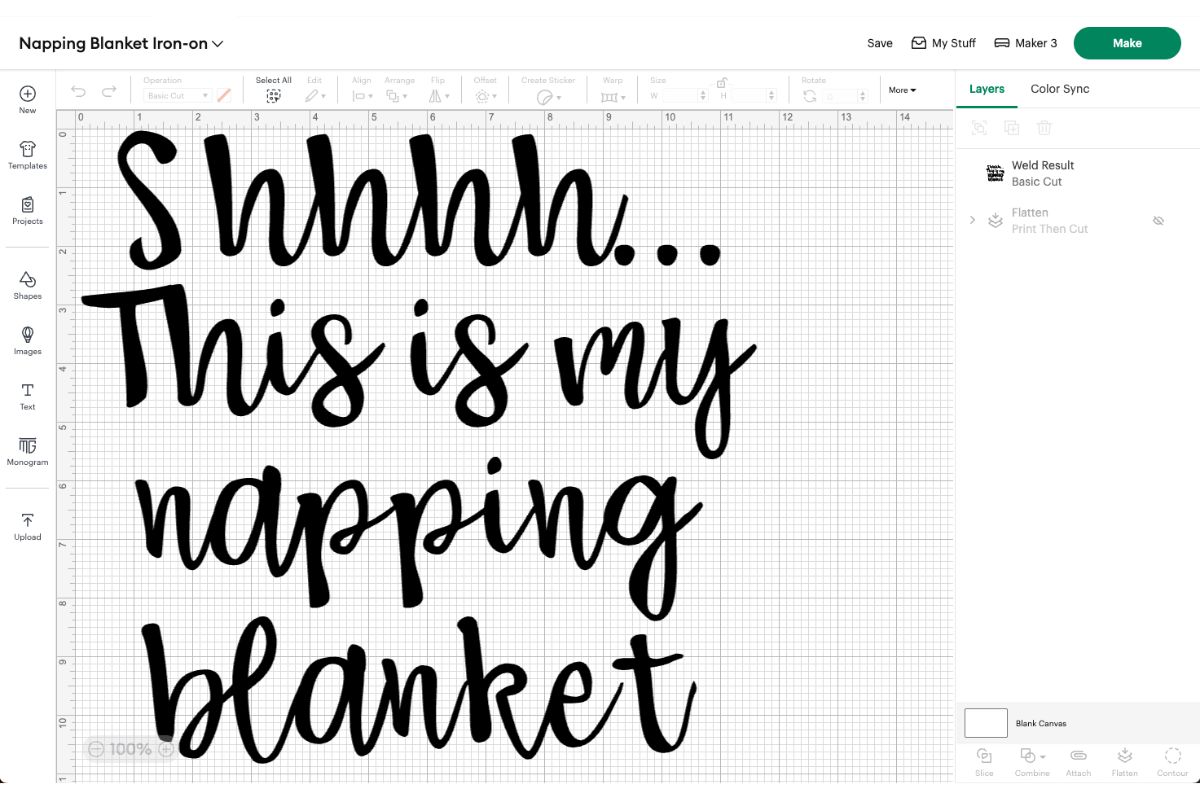
Place the iron-on shiny side down on the light-grip mat, and make sure to Mirror the design before you begin the cut.
Follow the prompts in Cricut Design Space to cut the design.
I cut this out on a Cricut Maker, but all Cricut machines cut iron-on vinyl, so it will work with any machine.
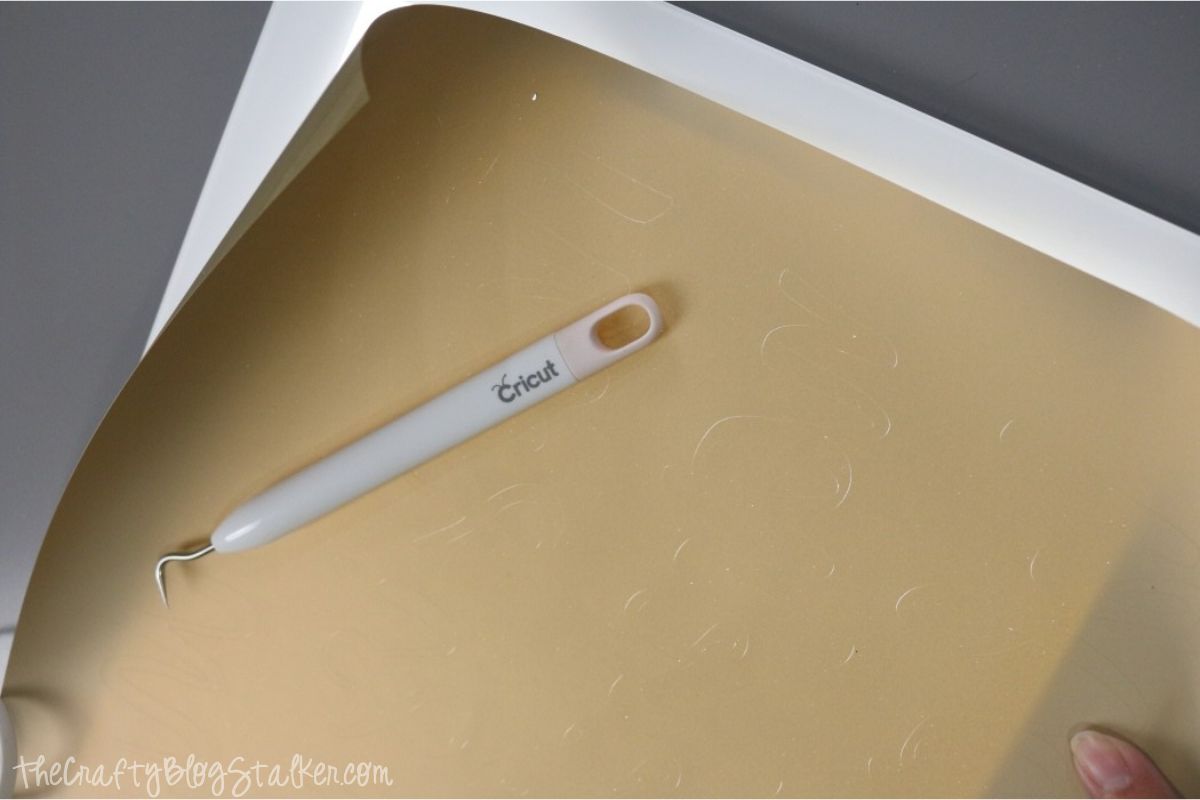
Weed
Once the image is cut, weed the excess iron-on vinyl from the backing sheet.
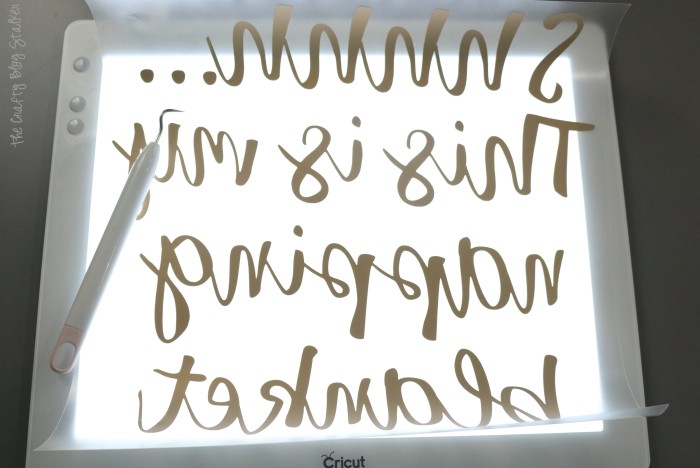
The BrightPad is super helpful during this step because it shines light through the lines, allowing you to see the areas you need to weed.
Don't forget to remove the center of the letters!
Apply
For this blanket, I want the lettering to be in the bottom left corner, where it is readable by others, not the one wearing it.
I eyeballed the placement, but you can use a ruler to place the vinyl perfectly.
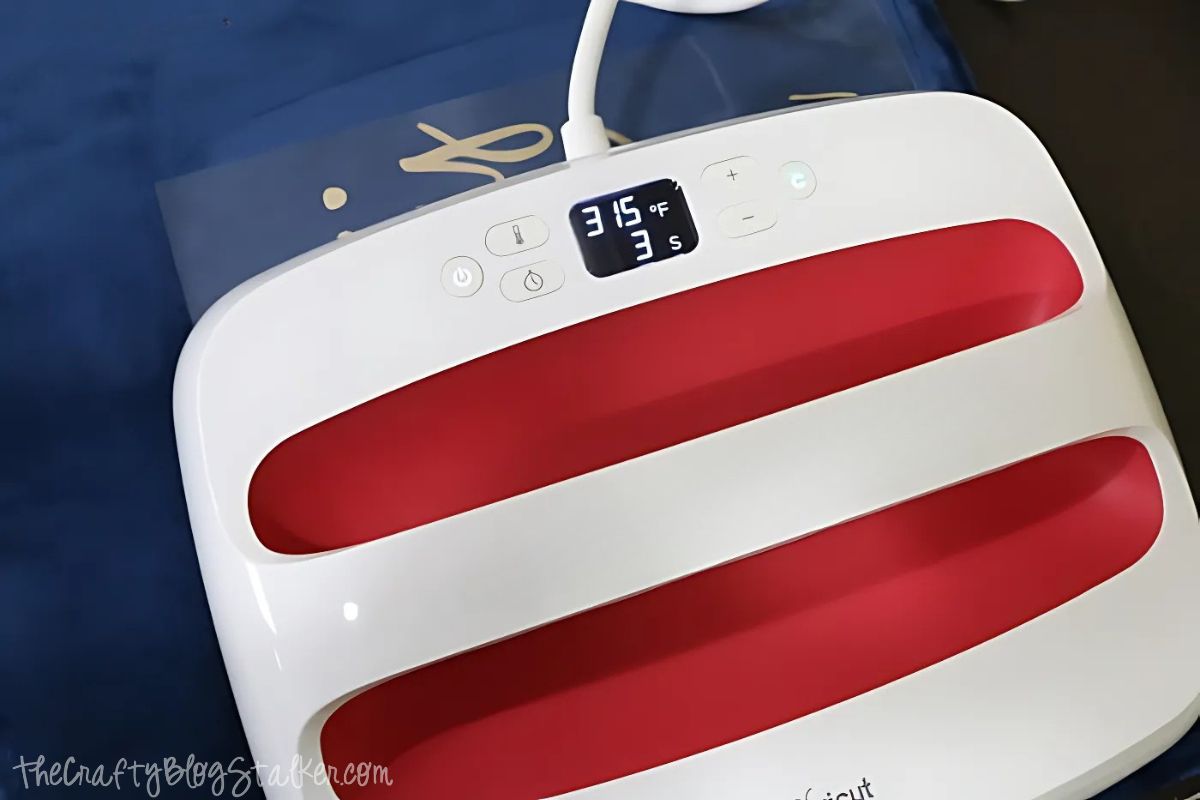
I am using the large EasyPress. The heating surface measures 12 x 10 inches and is excellent for larger-sized projects like totes, pillowcases, or blankets!
Visit the Cricut Heat Guide online to know exactly what temperature and time to set your EasyPress.
Enter the type of iron-on you are using and the base material, and the guide will give you all the information you need. It even tells you whether to peel the backing while the material is still warm or to let it cool!

For my iron-on and blanket material, I set the Cricut Easy Press to 315º Fahrenheit and 30 seconds.
My cut image is a larger than the heated surface of the press, so I pressed twice, moving the EasyPress over to cover the second half after the first cycle was finished.
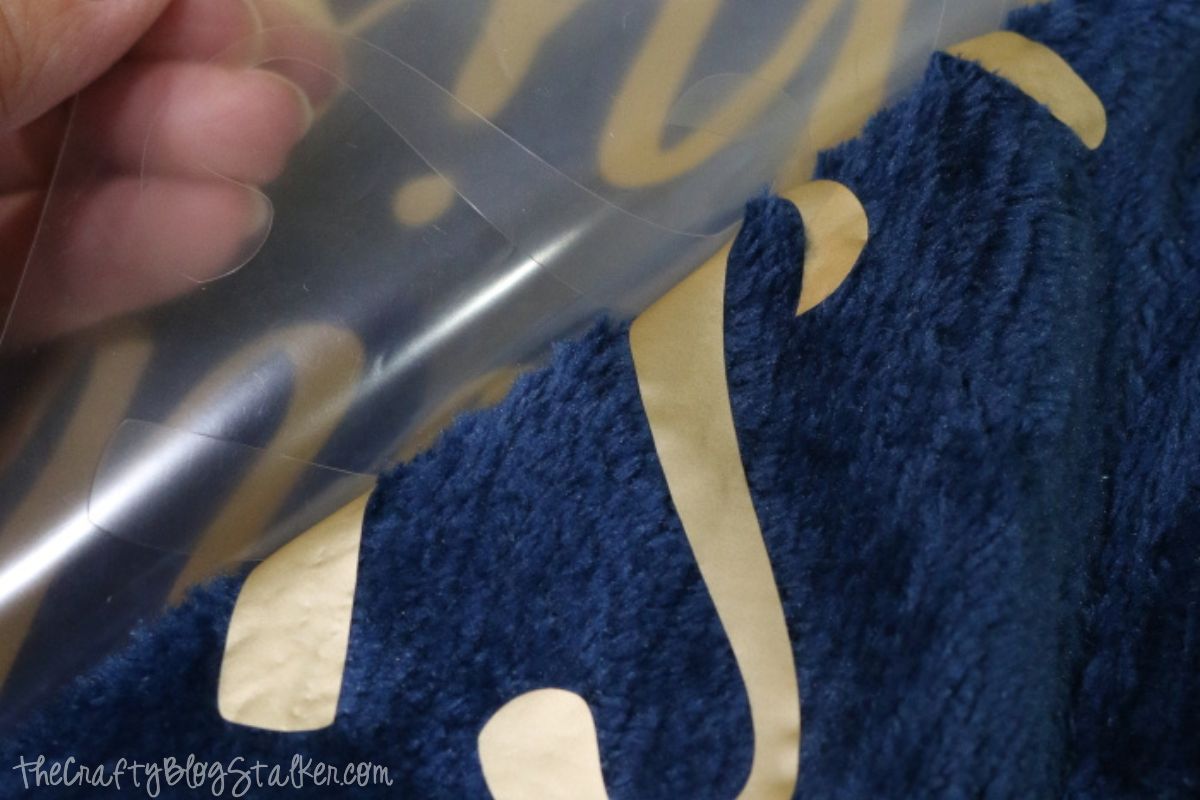
Slowly peel back the iron-on backing off of the blanket.
With the blanket's plushness, it may be tricky to get the peel started. It doesn't act like it wants to come off, but it will, and after it gets started, the rest peels nicely.
If the iron-on doesn't stick, reapply the carrier sheet and apply another heat cycle.
Final Thoughts
This is my new favorite blanket! It is super cuddly, and I love the saying on it.
I would recommend that you purchase a blanket with a low pile. If the fabric strands are long, I don't think the iron-on will hold up as long.
A blanket like this makes a great gift! I made one for my sister and my mom, and they loved them!
UPDATE: I originally made this blanket in 2018 and am still using it! The iron-on still looks excellent, and the blanket is still super comfy.
More Cricut Ideas
Want more craft ideas using a Cricut. Here are a few more fun ideas.
Dorothy
I love your blanket! Can you tell me how well the vinyl adheres to a plush blanket? Is there a reason you used the gold foil vinyl - other than the look you wanted - such as it adhering better? Thank you so much!
Katie
Hi Dorothy!
Thank you, I am so glad you like the blanket!
The only reason I went with the metallic iron-on is that it matched the blanket that I purchased for the project. I have never had a problem with any of the Cricut Iron-on vinyl sticking to the fabric. So I can't really say one type sticks better than the other. But, we are using the blanket and the iron-on hasn't peeled at all. Still in perfect condition, even after a couple of washes.
I hope that helps!
Melissa
Help! When I click on the link for the image for the design it doesn't take me to the image on design space it takes me to the cricut shopping website. What am I doing wrong?
Katie
Thank you, Melissa! Thanking you for bringing this to my attention. I have fixed the link. Follow this link to get to the Cricut Design Space File http://shrsl.com/1zqvz
Victoria
I love this blanket. Is there a SVG file for the text? If so where is it located. When I hit the link it goes somewhere else.
Katie
Thank you, Victoria! Thanking you for bringing this to my attention. I have fixed the link. Follow this link to get to the Cricut Design Space File http://shrsl.com/1zqvz
Teresa Morgan
None of your links work 🙁
Katie Adams
Can you tell me where you are trying to go so I can help you?
The links are working on my end but I know that can be frustrating. Let me know what you're trying to do so I can help.
sam
Love how your blanket turned out! Are you able to share the name of the font that is used for this project?
Katie
Thank you so much! It is the Babette Font in Cricut Design Space.
Tracy Buckendorf
Do you know what heat setting could be used on an iron when using it for the vinyl transfer?
Katie Adams
I am sorry but I don't know the regular iron settings for HTV. You could try it on a scrap piece to check for temp and time.
Liz
Hi, when I have tried to do this project, with fluffly blankets, when I peel off the vinyl, it always ends up wrinkly no matter what I try. Any way to fix this? Thanks!
Katie Adams
Not really, it is taking in the shape behind the HTV. I would suggest using less fuzzy blankets. You can still use soft blankets just make sure they don't have too much pile. The faux velvet blankets work well. That is what I used.
Christine Kauffman
Hi,
It looks like some of your letters didn’t adhere solidly. Does it just look like that in your video or is that an issue with blankets?
Thanks
Katie Adams
Hi Christine, Everything adhered perfectly. I am still using the blanket with no issues and it has been washed several times.