

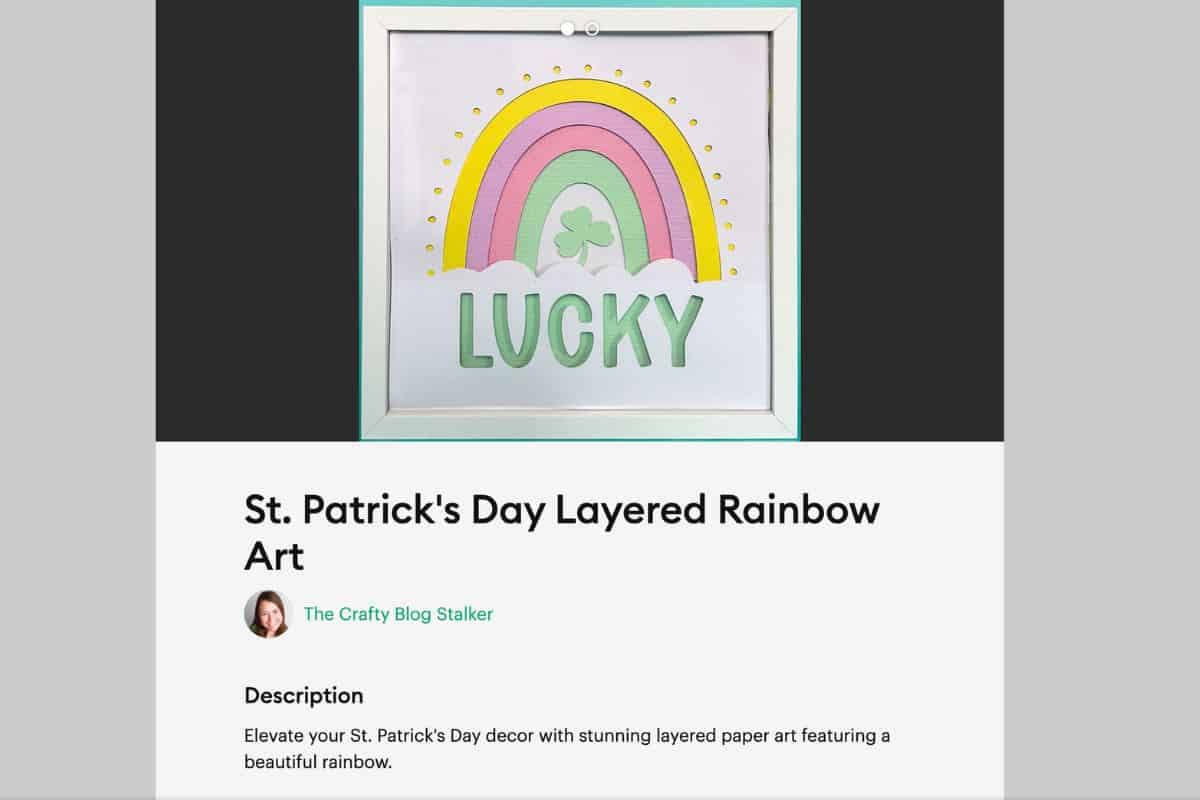
Get into the St. Patrick's Day spirit with this festive layered paper art project made with Cricut! Create a charming decoration for your home.
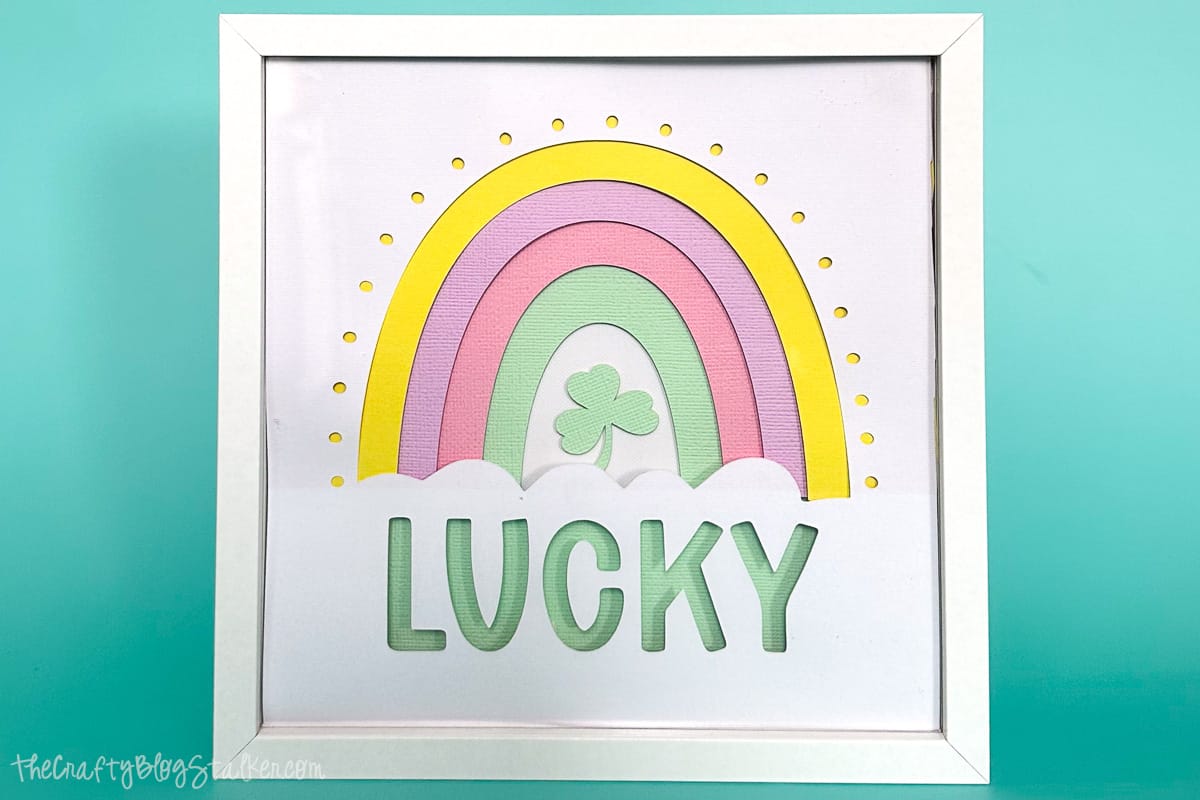
Get ready to add some festive flair to your home decor with this delightful St. Patrick's Day layered paper art project!
With the help of your Cricut machine, you can easily create a charming decoration that celebrates the luck of the Irish.
Let's dive into this fun new project and bring a touch of green to your home for the holiday season!
Craft Tutorial Video
If videos are your thing, you're in luck-I've got a full tutorial ready for you!
Subscribe to my YouTube channel and stay inspired with every new project.
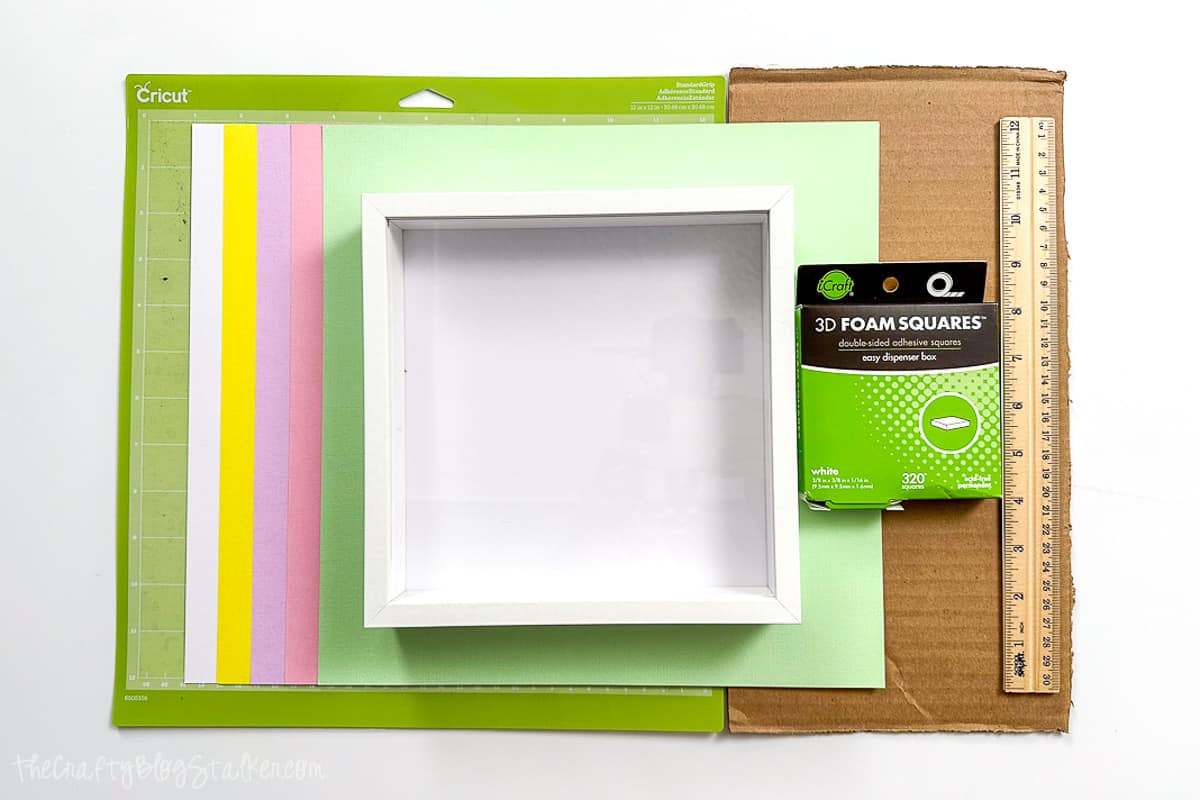
Supply List:
Some supplies were gifted at no cost. When exact item are unavailable online, links may point to comparable products.
- Cricut Cutting Machine
- Cricut Design Space Project
- StandardGrip Mat
- Pastel Cardstock Sampler
- Adhesive Foam Squares
- 8x8 Shadowbox Frames
- Ruler
- Cardboard Scraps
You can substitute craft papers of any color or pattern for this project.
This project can be cut on a Ventuire, Maker, Explore, and Joy. All machines do have a threshold for size so you will need to cut within your machine's capabilities.
Measure:
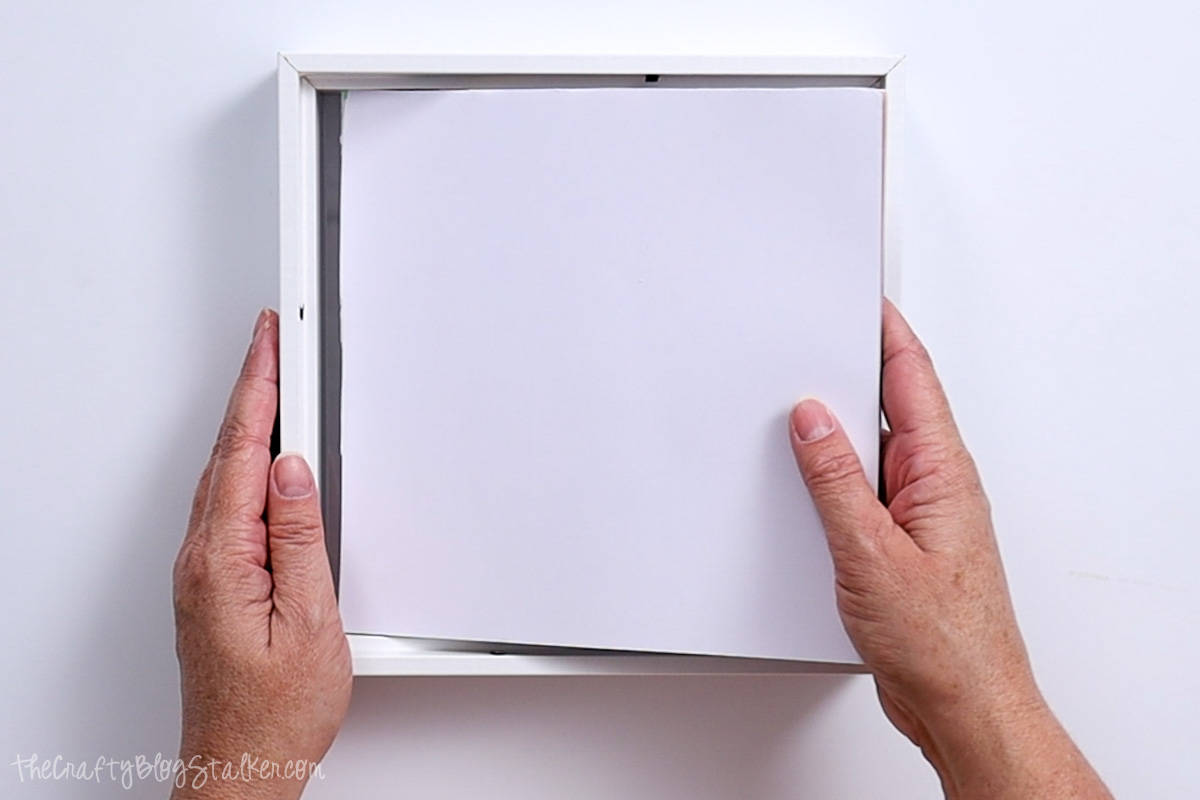
Before you cut the project in Cricut Design Space, measure the inside of your frame.
My frame is an 8x8 frame but an 8x8 inch piece of paper won't fit inside. All frames are different so it is important to measure.
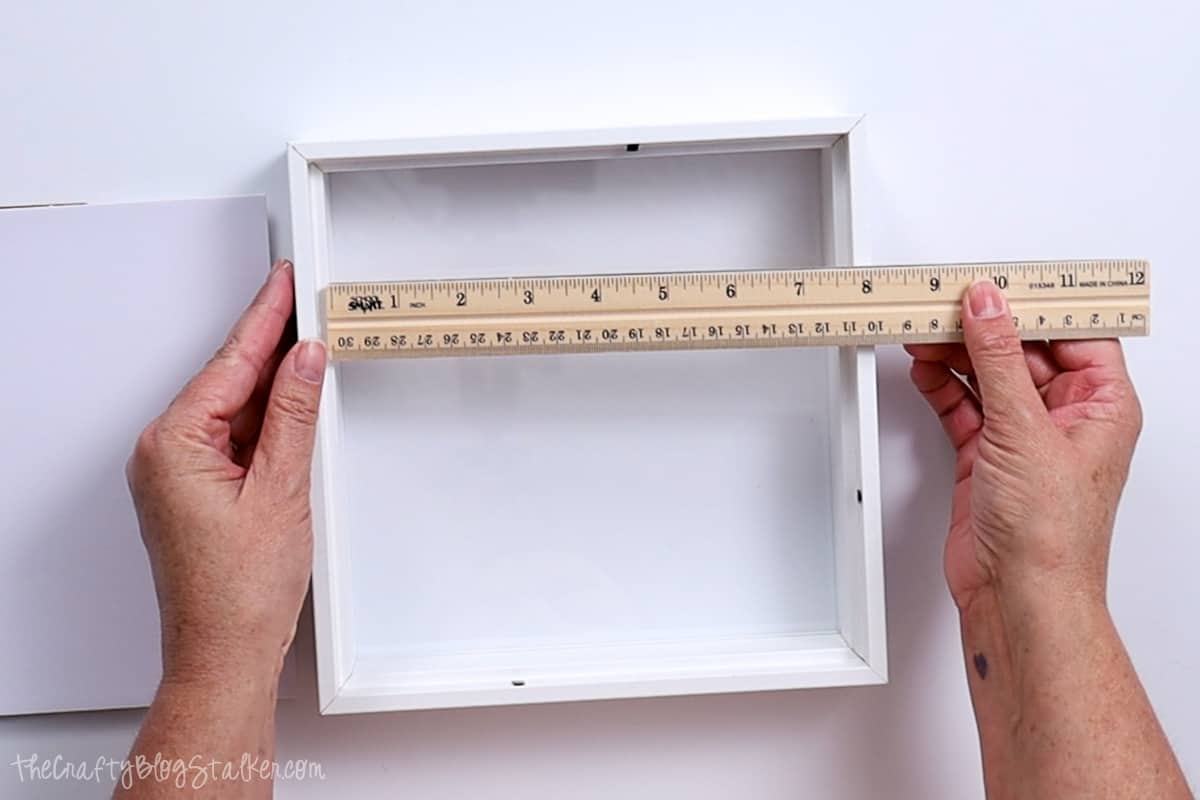
My frame had a bit of a lip on the inside so it was hard to get an exact measurement.
So I started with an 8x8-inch piece of cardstock and kept cutting it down until it fit inside.
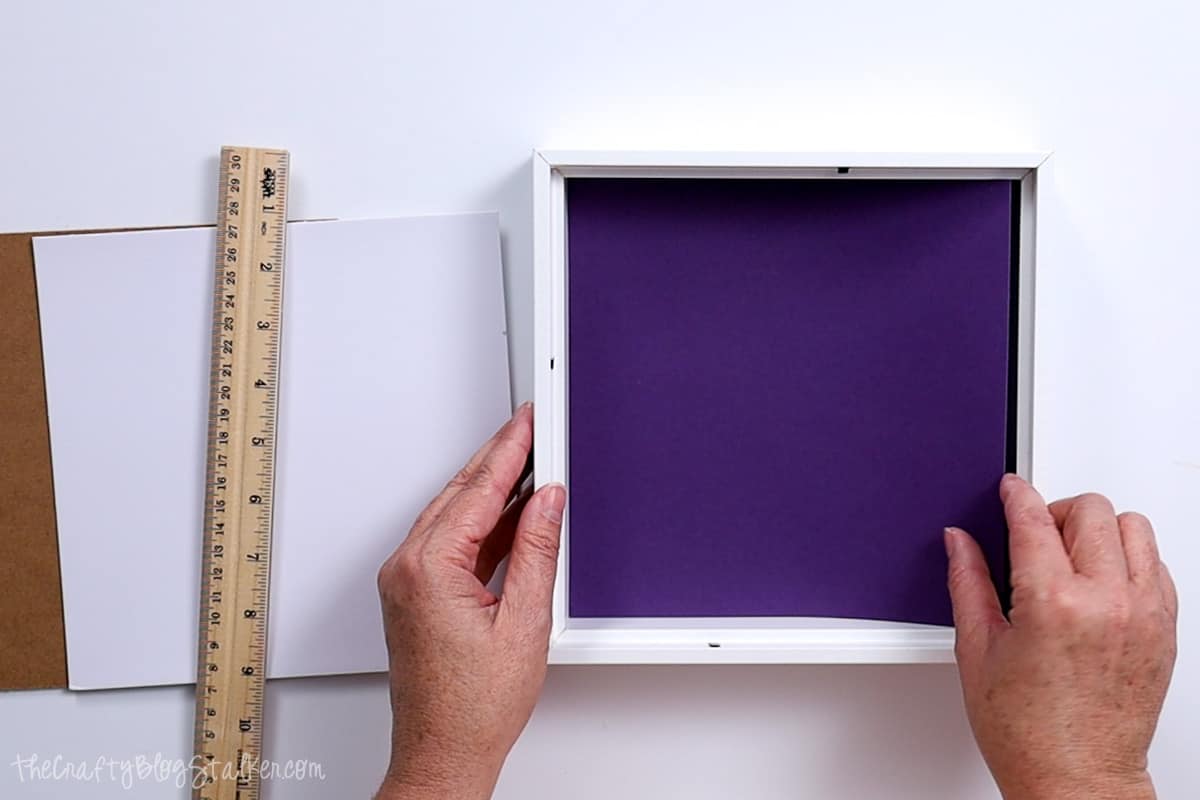
My square fit snuggly at the 7 ⅝. I wish I would have gone just a little bit smaller to see 7 ½ inches to accommodate the layers that might not all line up perfectly.
Cricut Access:
This shadow box design is a project inside Cricut Design Space. Since the design uses CDS elements, there is not an SVG file to download.
If you have Cricut Access all pieces of the design are available to you at no extra charge.
If you don't have Cricut Access, you really should get it!
With Cricut Access you get 750k+ images, 700+ fonts, and over 100k customizable projects! You will never run out of project ideas.

Pay either $9.99 a month or $95.98 a year and you'll also get a free $10 coupon every 3 months and 10% off your cricut.com purchases.
It's such a great deal!
Cricut Design Space:
The Lucky Layered Rainbow Art is almost ready to cut.
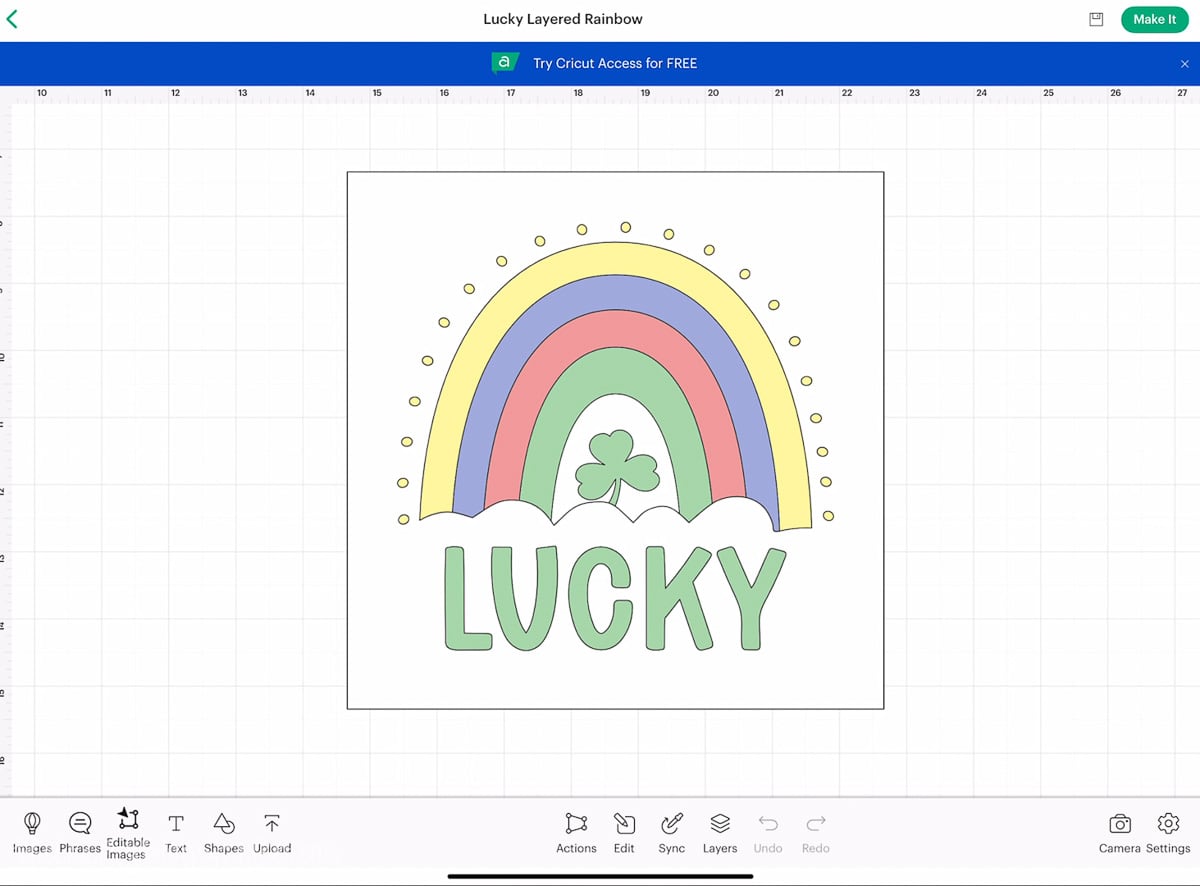
Make sure to change the size to fit inside your frame.
Highlight all layers, and enter the new cut size. When you hit enter, it will adjust all layers.
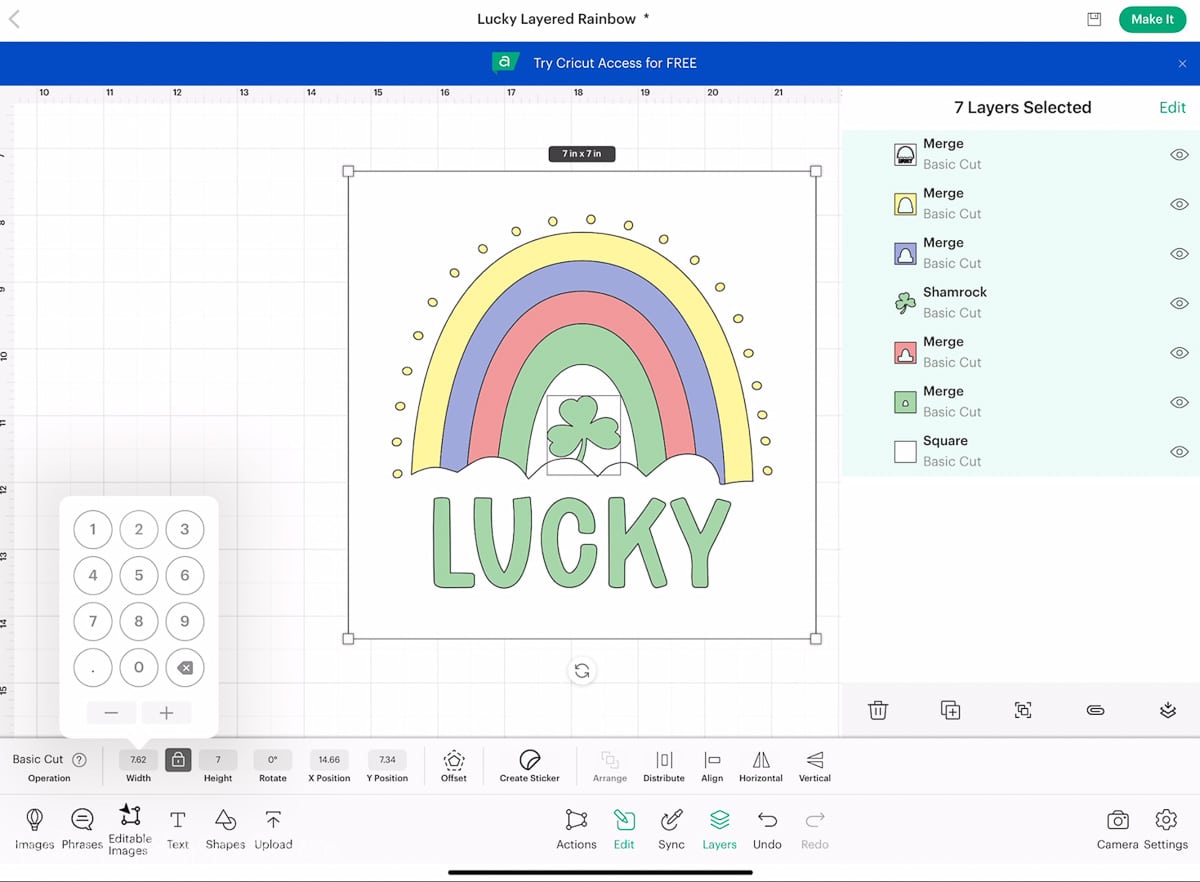
Click on Make It.
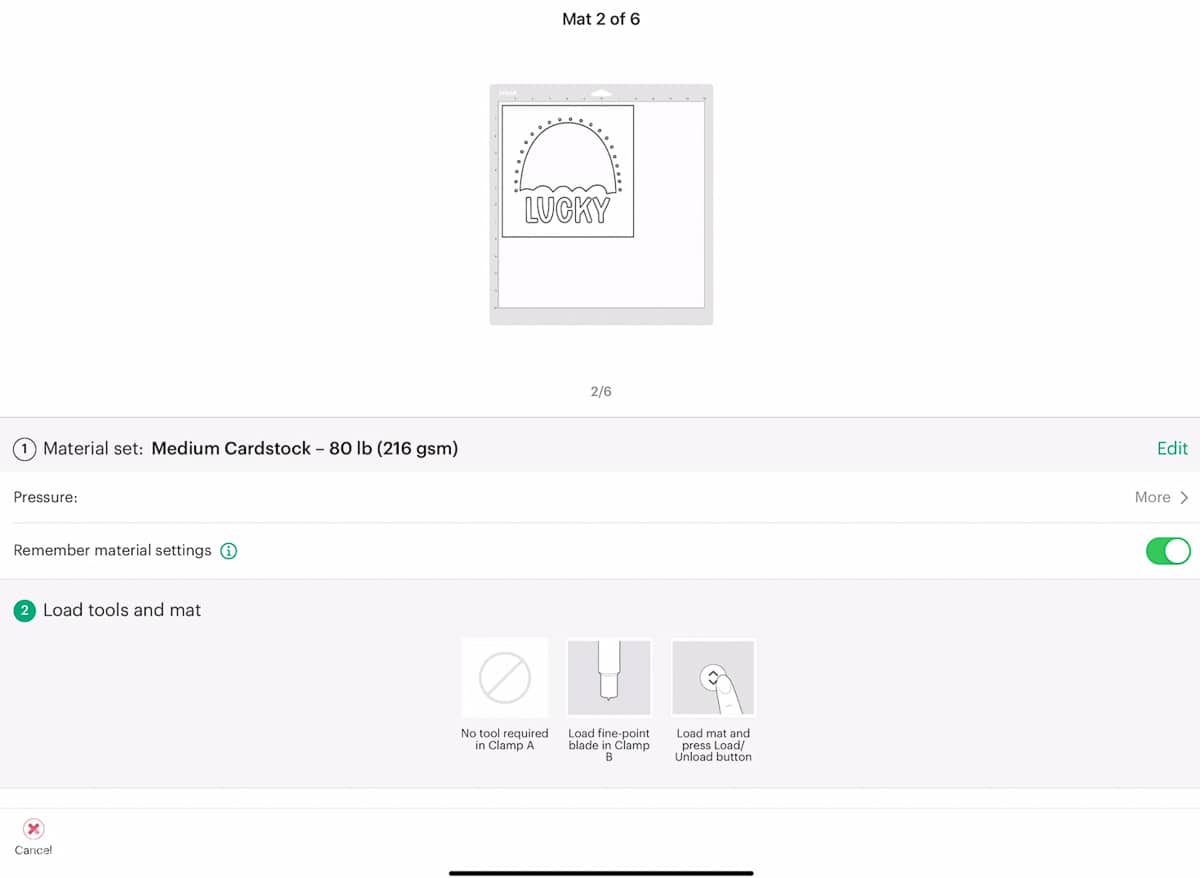
This is the Mat Preview of the project.
On the green mat, I tapped the shamrock to highlight it, and then moved it to the inside of the arch to save on paper.
This is optional but I wanted to point out that you can move the pieces around on the mat if you'd like.
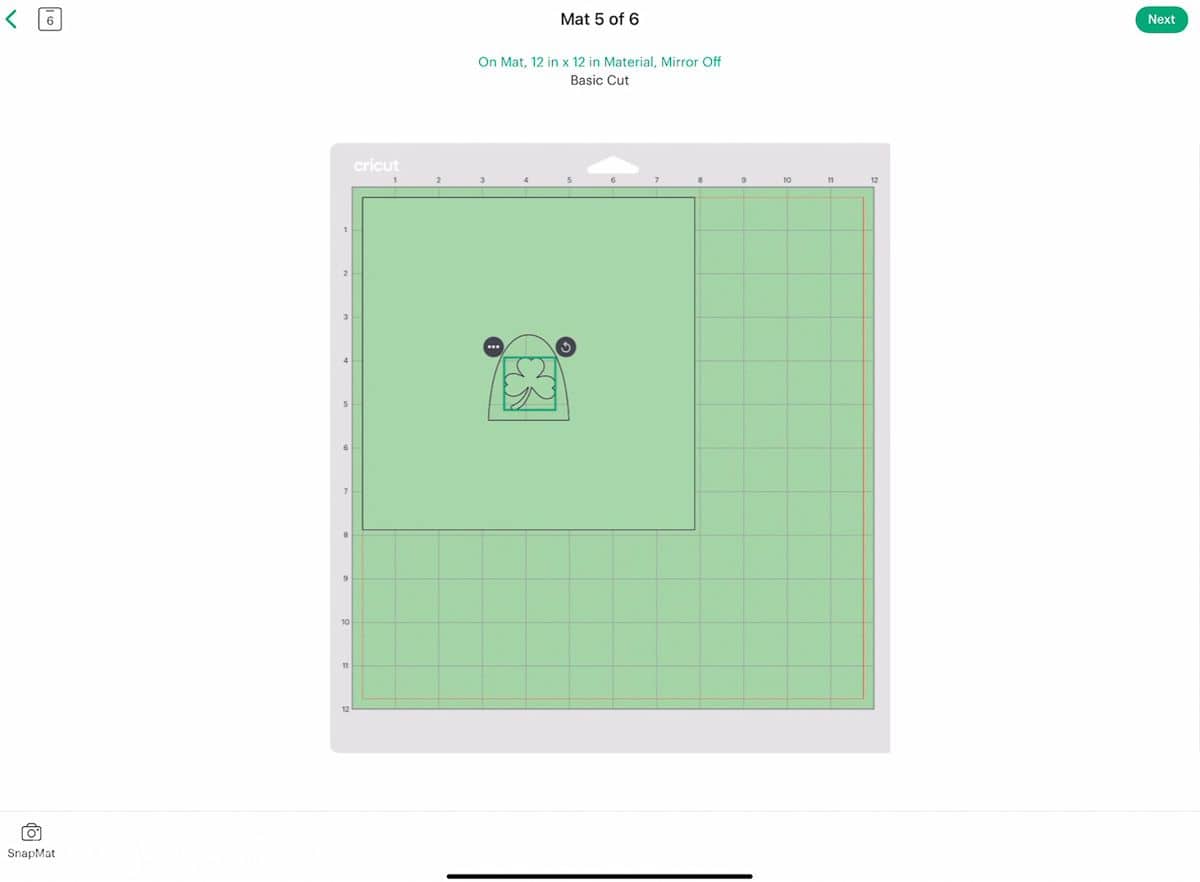
Once the mats are arranged, click Next.
Here you select your materials and I chose Medium Cardstock - 80lb.
I also selected More under Pressure (I always do this when cutting paper to make sure I get a nice crisp cut), and Remember Material Settings since the material isn't changing between mats.
Cut:
Cricut Design Space will tell you what color of cardstock to load next. Our first mat is white, so I am going to start by applying white cardstock to my mat.
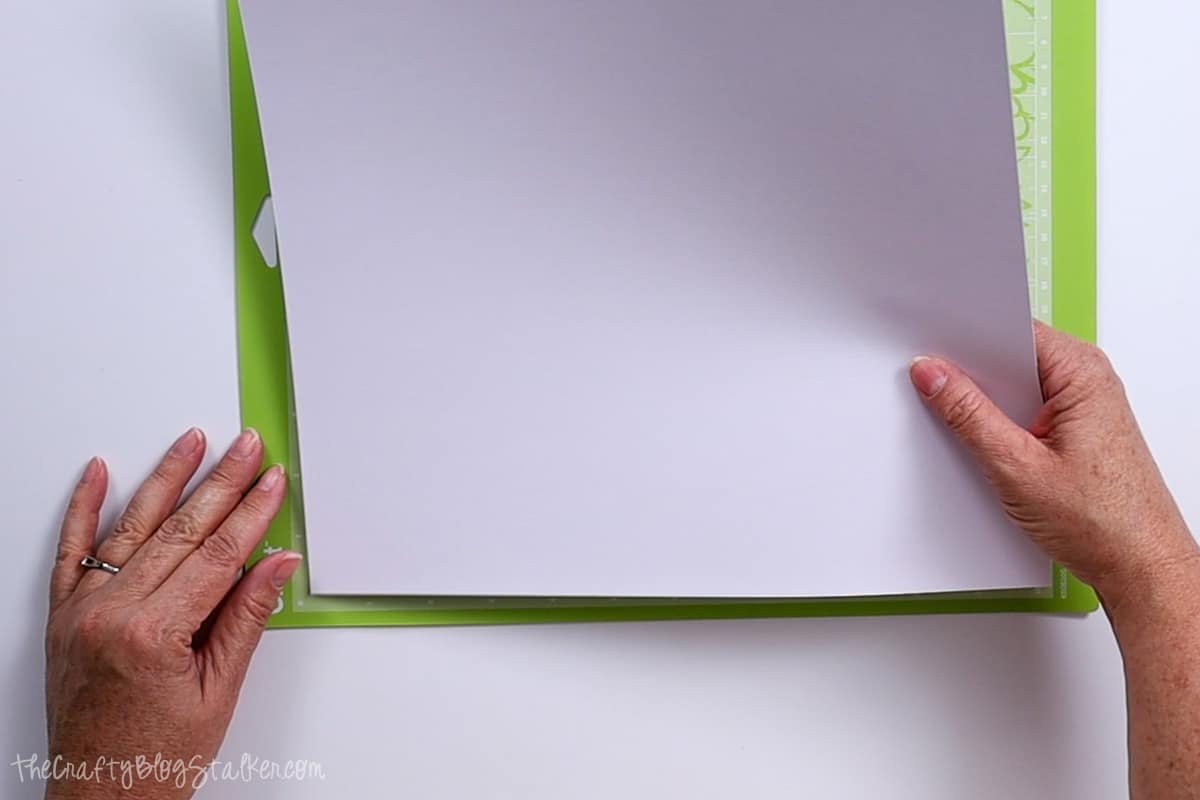
Remove the protective film from the StandardGrip Mat.
Line the paper on the mat by using a corner of the grid as your guide.
When the arrow light is blinking on your machine, insert the mat, and hit the blinking light for the machine to grab ahold of the mat.
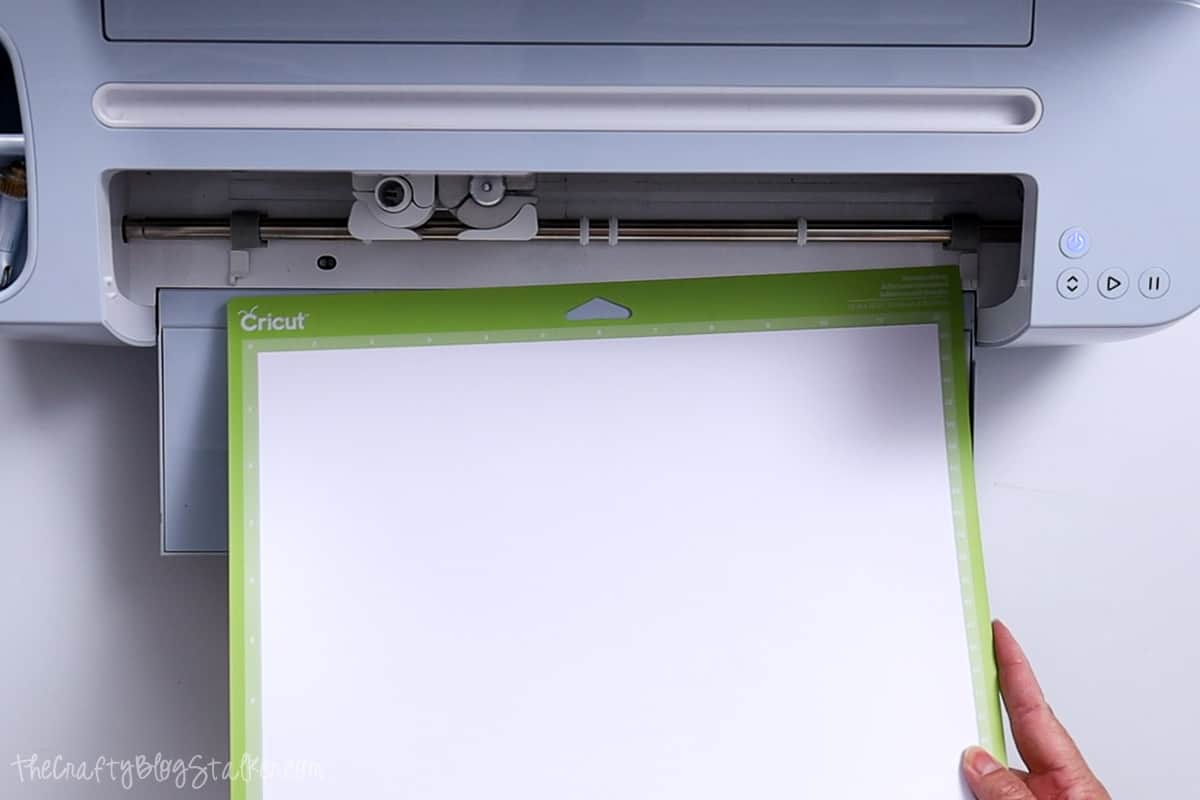
The machine will slide the mat in and out as it measures and make sure it is loaded correctly.
When the play light blinks, it is ready to cut. Tap the play button to begin the cut.
When the cut is done, hit the blinking arrow light to eject the mat.
To remove the cut design from the cutting mat, turn the mat face down, and peel the mat away from the paper.
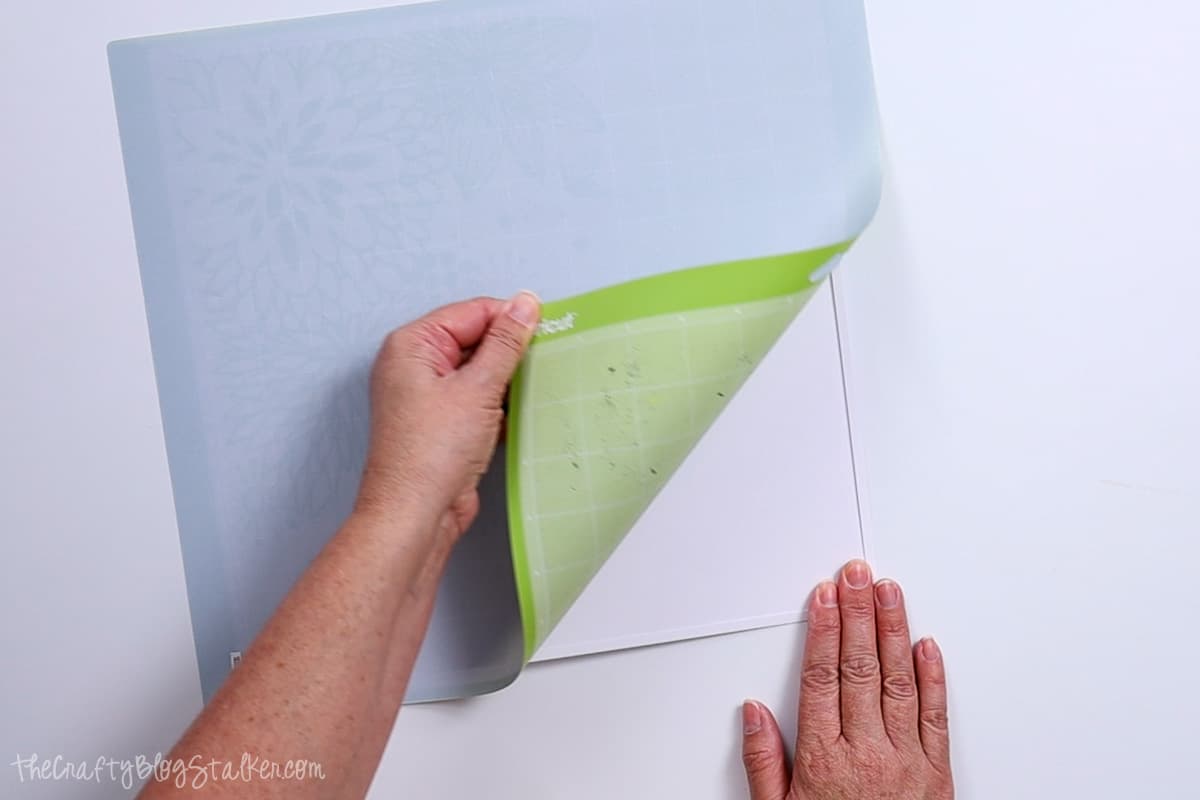
If you remove the paper from the mat facing up, it will curl the paper, and we don't want that.
Layering:
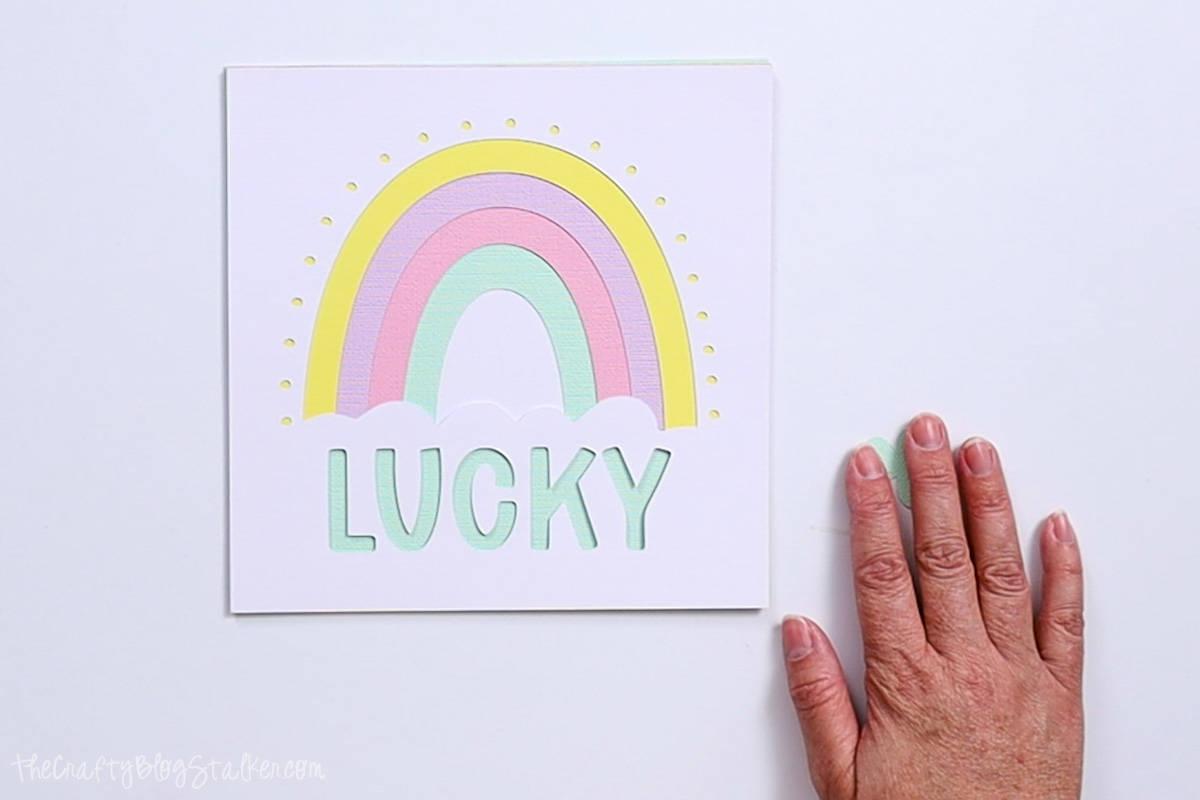
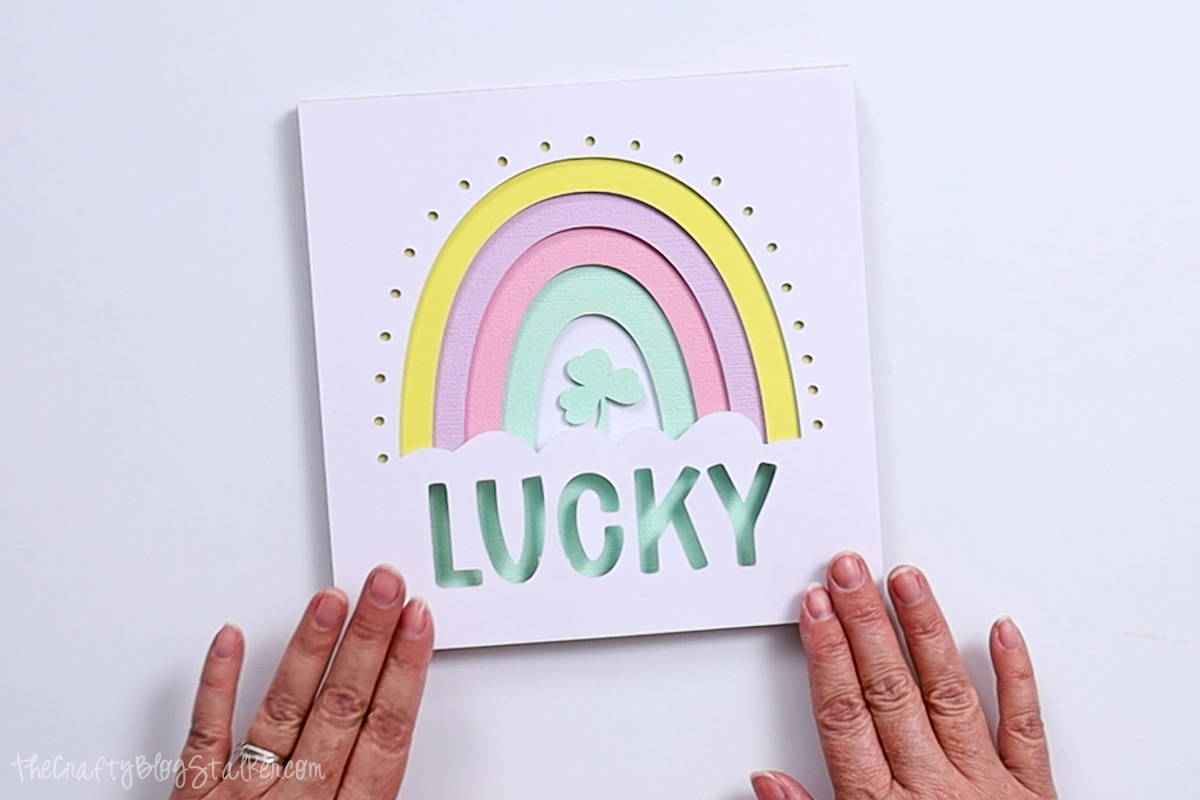
Here are all six layers cut out. Sorry that the white layers are kind of hard to see on my white tabletop.

Stack the layers with the largest hole/design on top, ending with the square on the bottom.
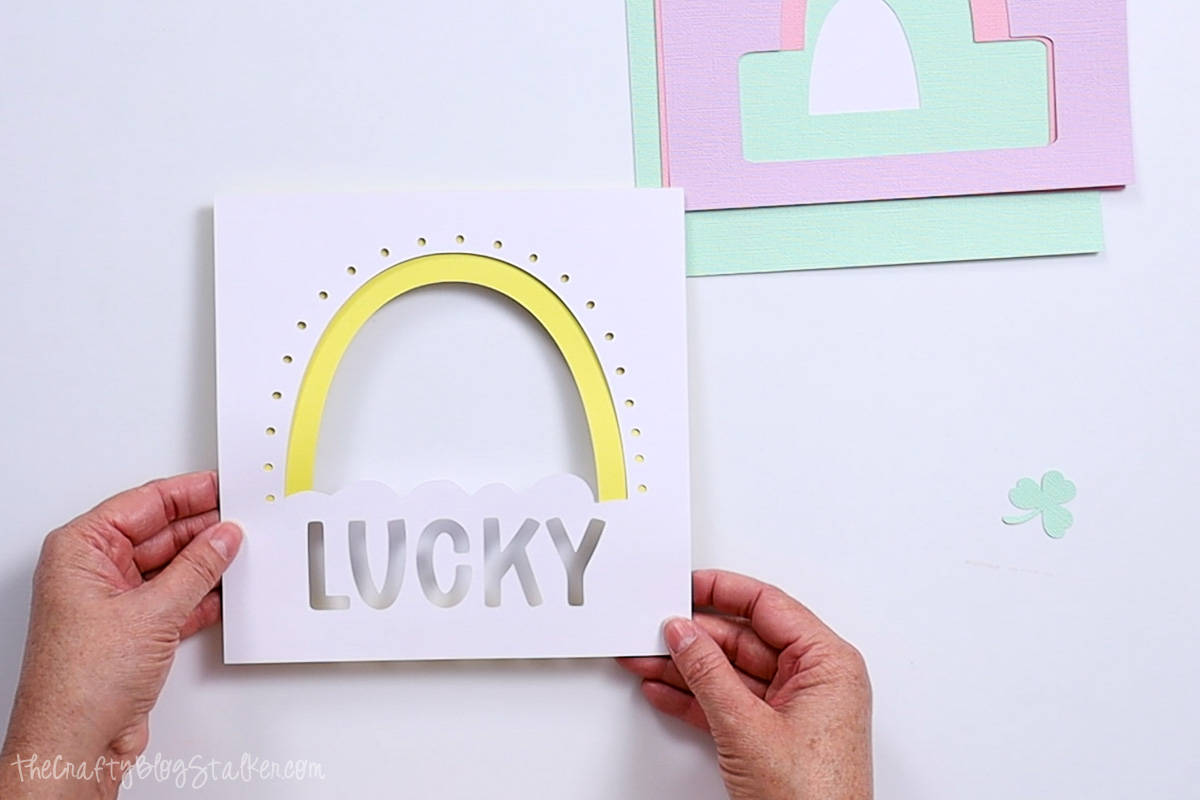
If you wanted, you could leave the layered artwork just like this, but I am going to assemble using some foam adhesive squares to give the paper art a bit more dimension.
Turn the top white layer face down and place many foam squares all over this top layer. Put several squares around the word Lucky, as well.
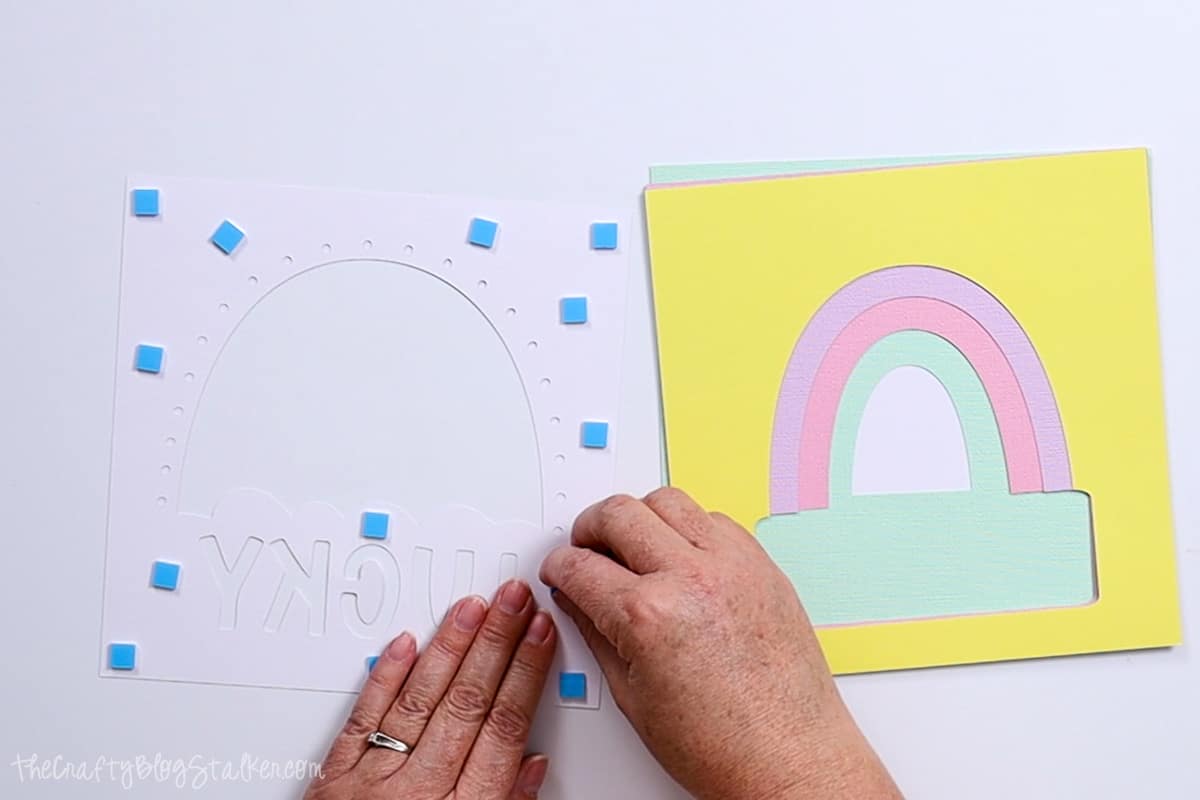
My foam layers have a backing to peel away to reveal the sticky on the other side. they are kind of a pain, but hey, it's what I have.
After all of those back are peeled off, carefully layer the top layer onto the second layer, keeping the edges as square as possible.
Turn the stack over facing down, and place more foam squares all over the back of the second piece.
Where the squares are showing around the word Lucky, layer another square.
Then apply the stack to the third layer.
Repeat, adding foam squares to each layer, and adding them to the stack until all of the layers have been joined.
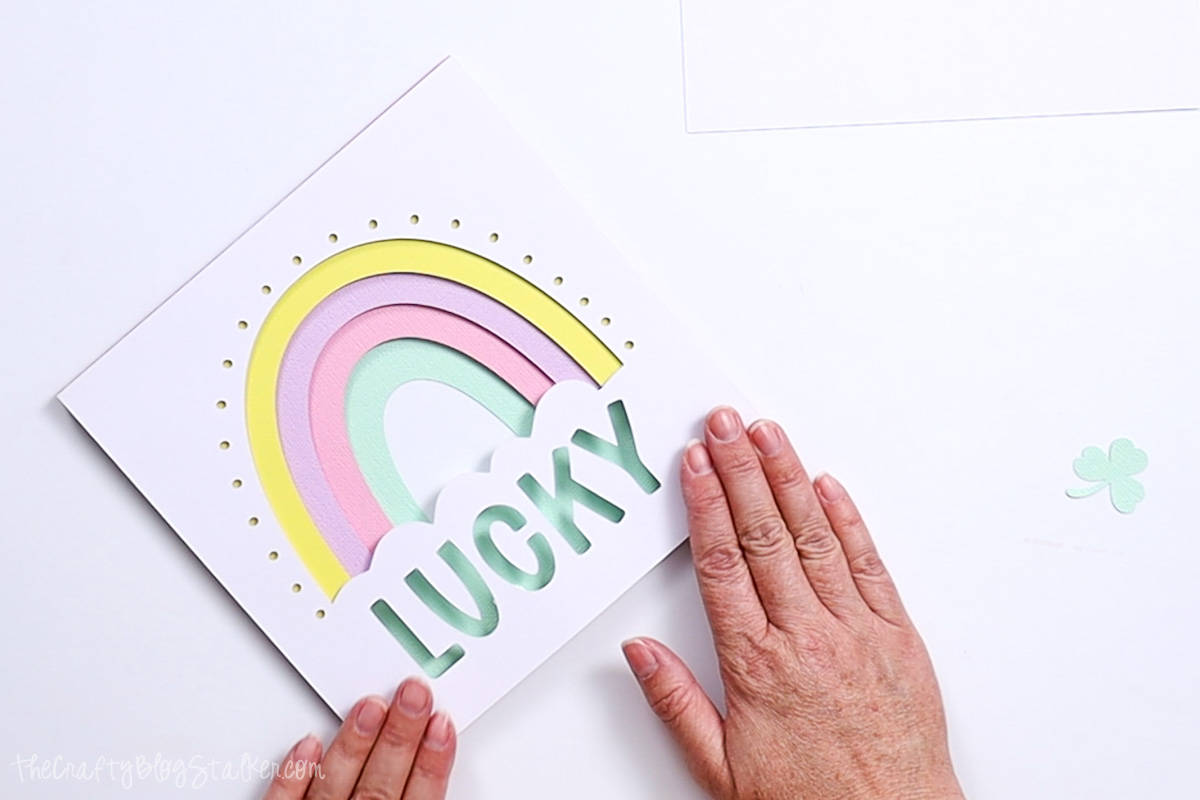
Don't forget the shamrock! Add a foam square to the back of the shamrock, and tuck it behind the front cloud cut-out.
Frame:
Place the layered paper art inside the shadow box frame face down.
there was still a lot of space in my shadowbox frame, so I cut squares of cardboard and placed them behind the art.
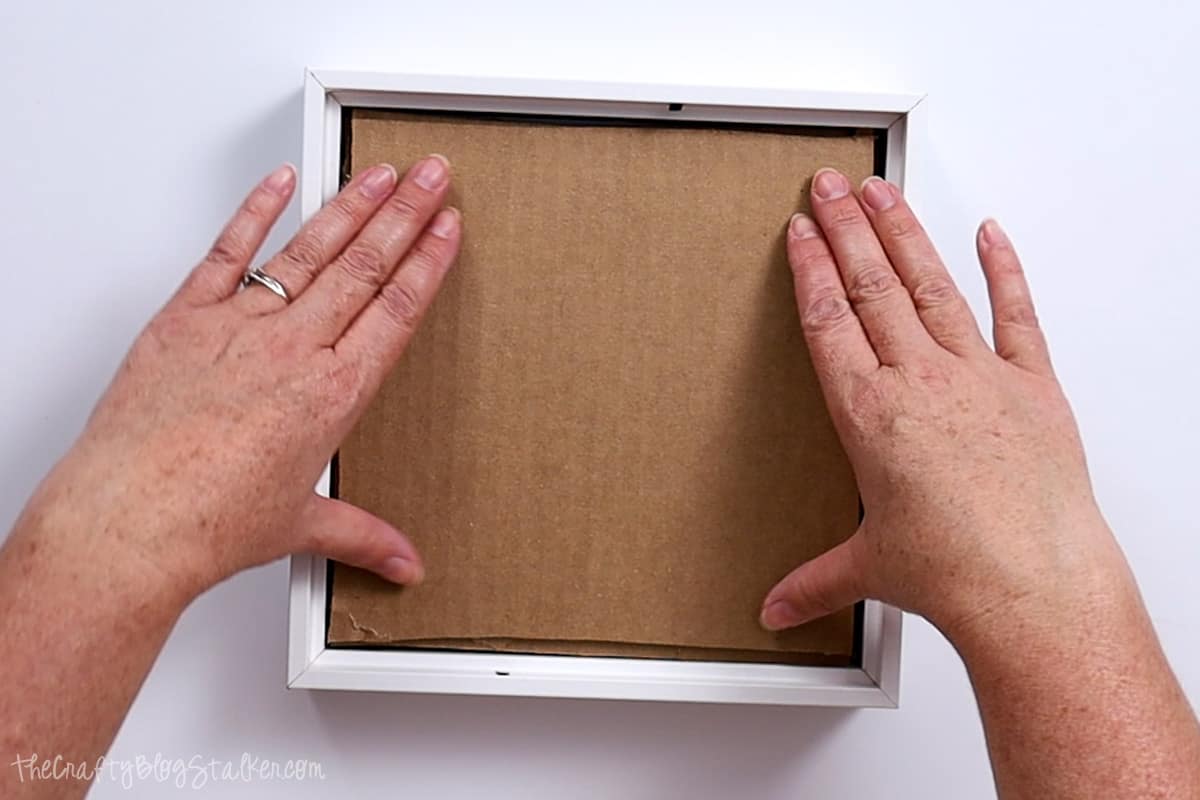
Place the backer on the frame and push the pinchers back down.
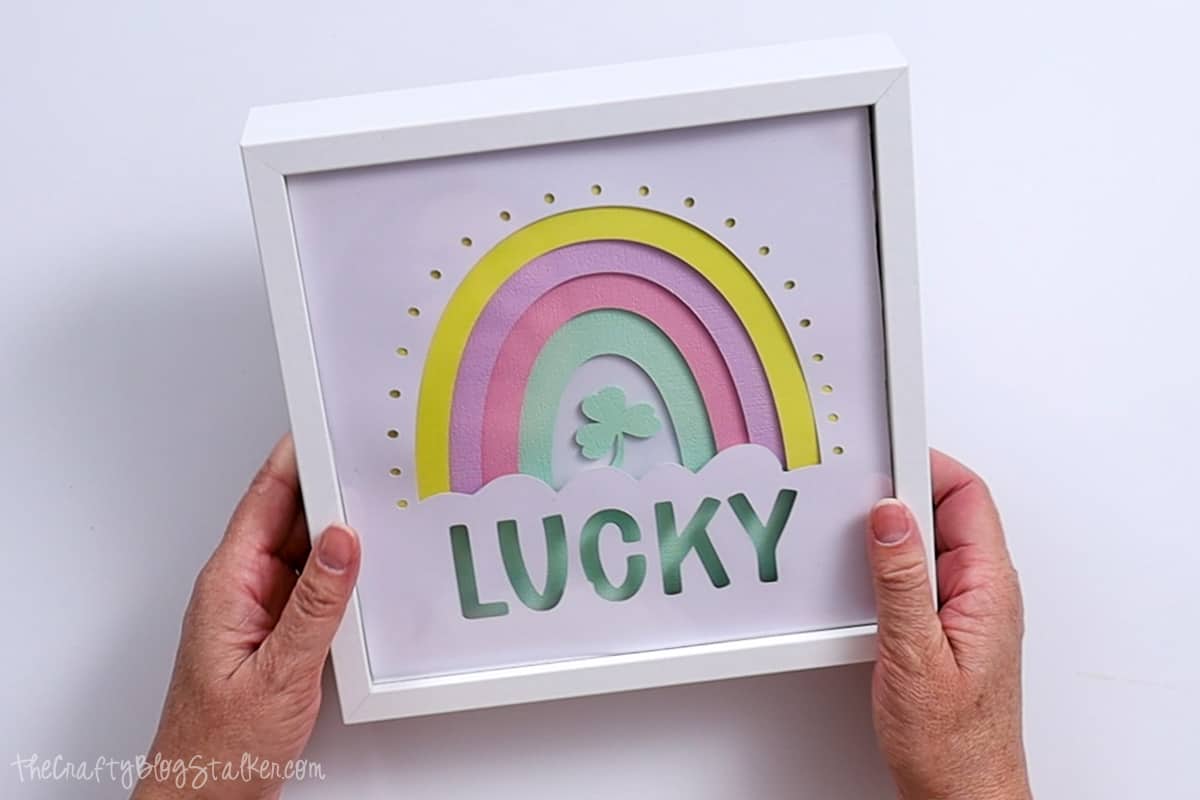
Your artwork is completely finished and ready to put on display!
Crafting Essentials
- The Cricut Cutting Machine is easily my favorite crafting tool. We use it in so many of our tutorials!
- These MakerX Crafting Tools are perfect for keeping in the craft room and are always ready when needed!
- This Fiskars Paper Trimmer is easy to use and cuts nicely without frayed edges.
- These Scotch Precision Scissors cut like a dream, and you get multiple pairs in a pack!