

Make a Halloween-themed skeleton banner with your Cricut and a free SVG. This spooky paper craft is perfect for easy Halloween decorating.
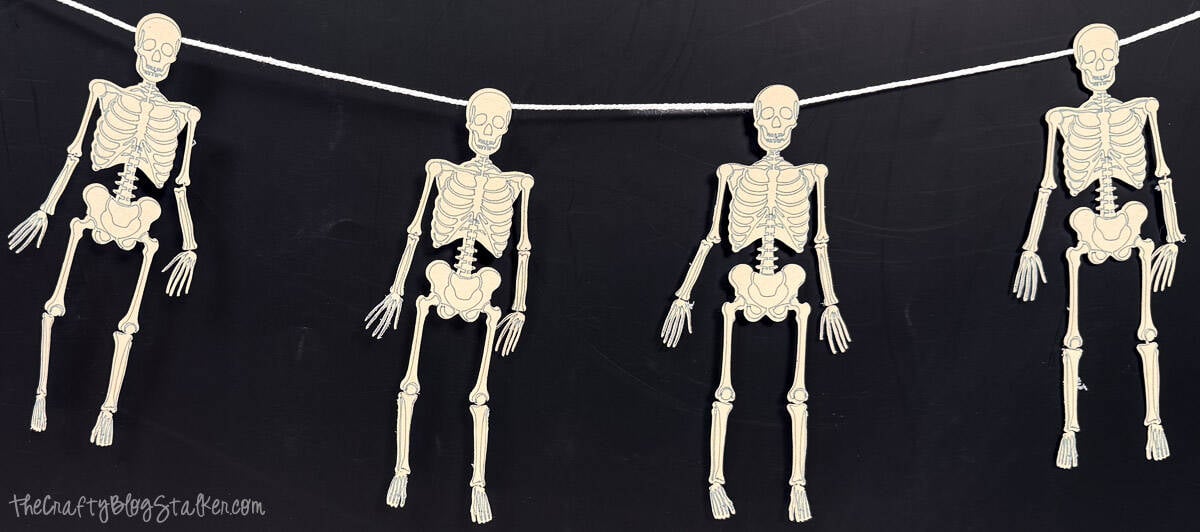
I love Halloween decorations that are a little spooky but still fun, and this skeleton banner fits right in.
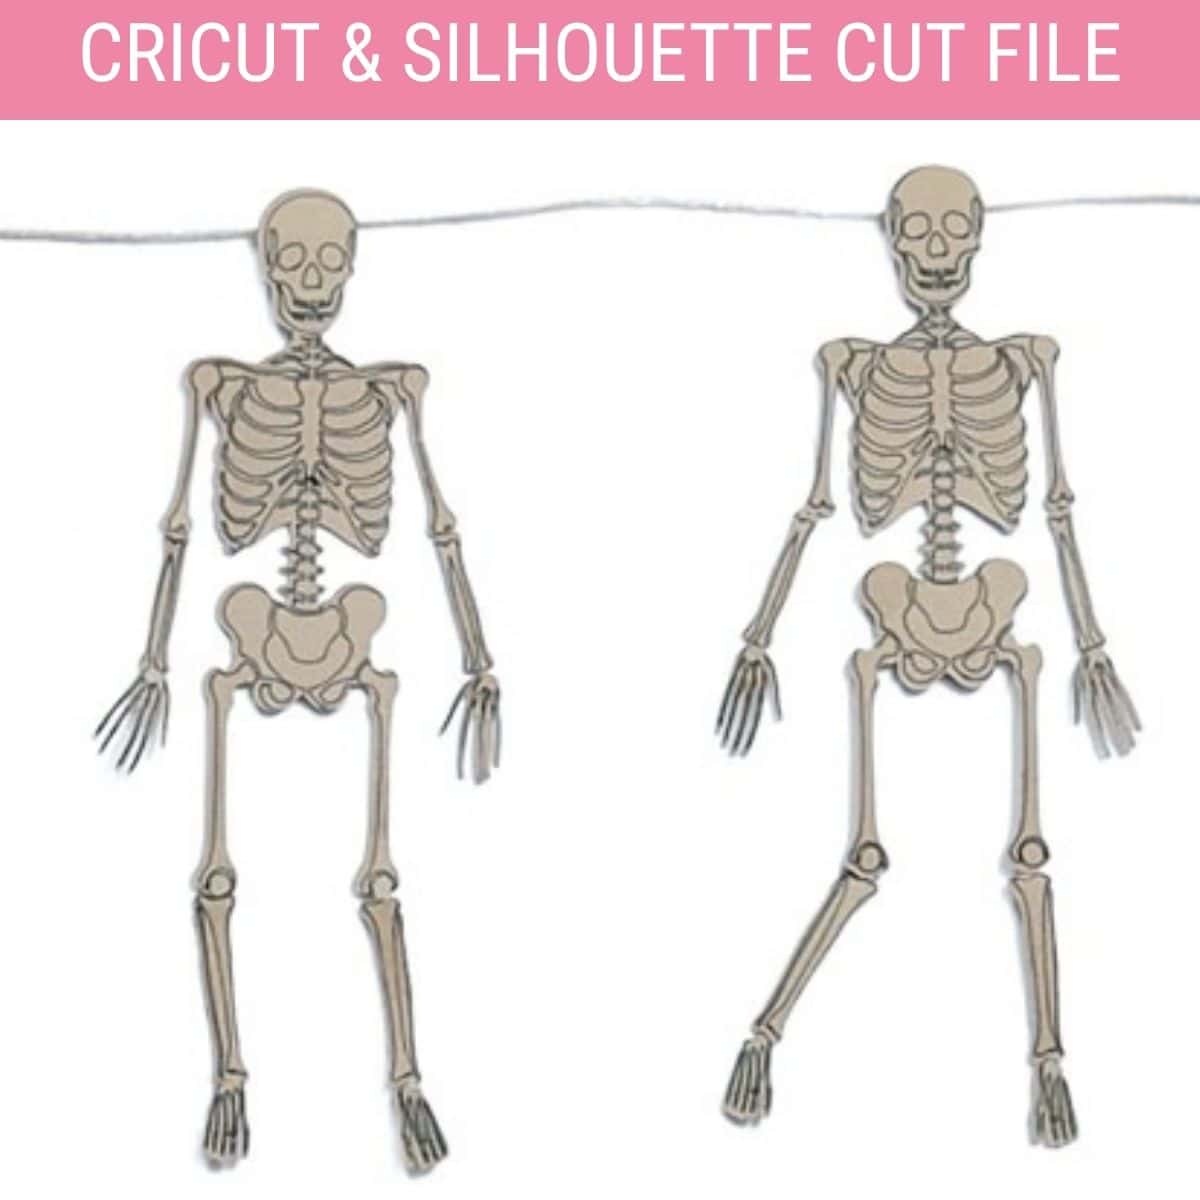
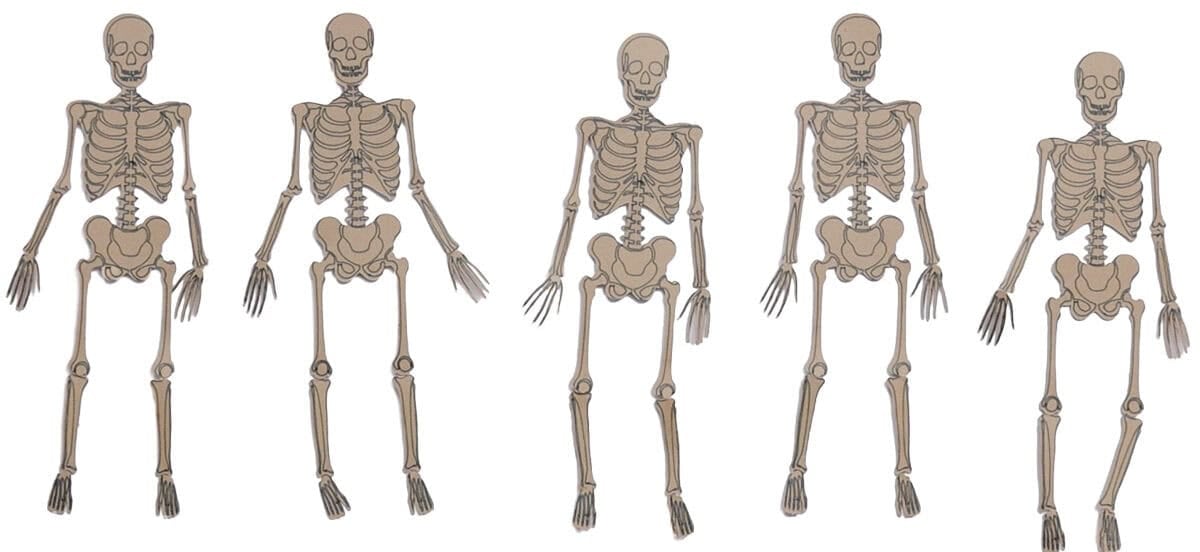
I made the skeletons with my Cricut and a free SVG that includes drawn bone details, so each little skeleton has plenty of personality.
The arms and legs are connected with embroidery floss, which lets them dangle in different poses once they're hanging.
They're more friendly than frightening, making this an easy Halloween craft for your home, a party, or even a classroom.
Jump to:
Skill Level: Intermediate
Estimated Cost: $10 - $15
Total Time: 2 hours
Craft Tutorial Video
If videos are your thing, you're in luck-I've got a full tutorial ready for you!
Subscribe to my YouTube channel and stay inspired with every new project.
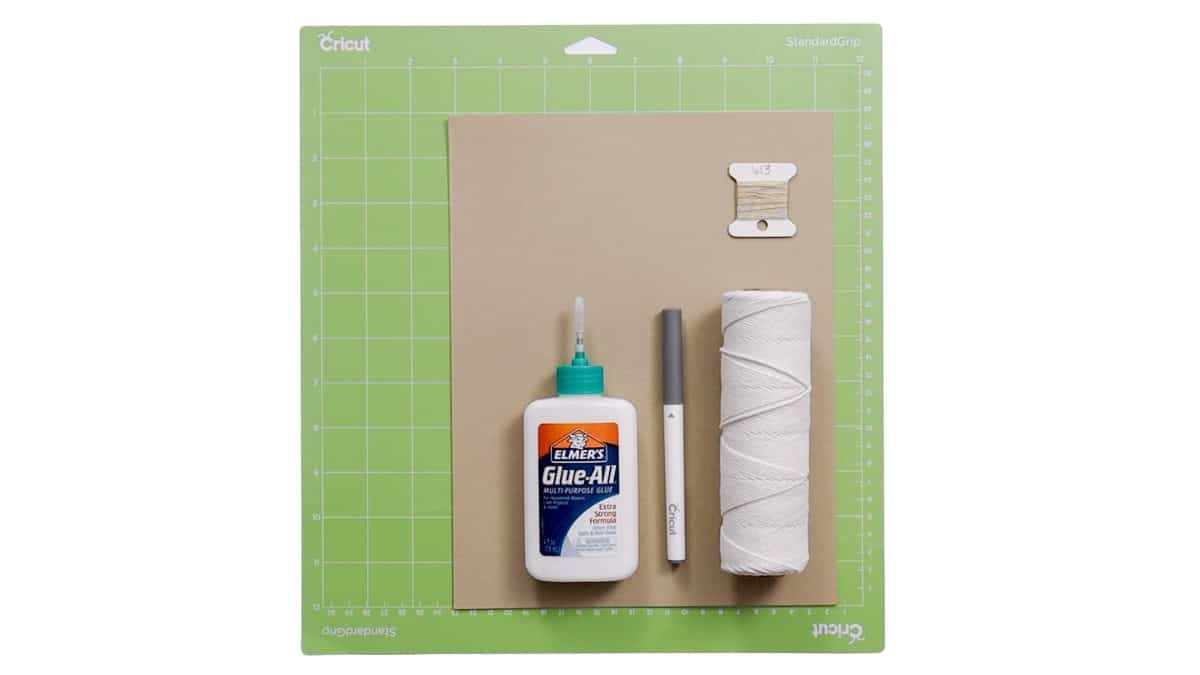
Supply List
- Cricut Cutting Machine
- StandardGrip Mat
- Posable Skeleton SVG
- Cardstock
- Pen
- DMC Floss
- Cord
- Scissors
- Glue
Grab the Free Posable Skeleton SVG
The Posable Skeleton SVG includes separate pieces for the head, body, arms, hands, legs, and feet, plus bone details drawn with your Cricut pen.
I made my skeletons about 5 inches tall, which worked well for the banner.
I don't recommend making them much smaller because there are several small pieces and details to cut, draw, and assemble. Going larger should be no problem and would be really fun for bigger Halloween décor.
Setting Up the SVG in Cricut Design Space
Upload the Posable Skeleton SVG into Cricut Design Space and add it to your canvas.
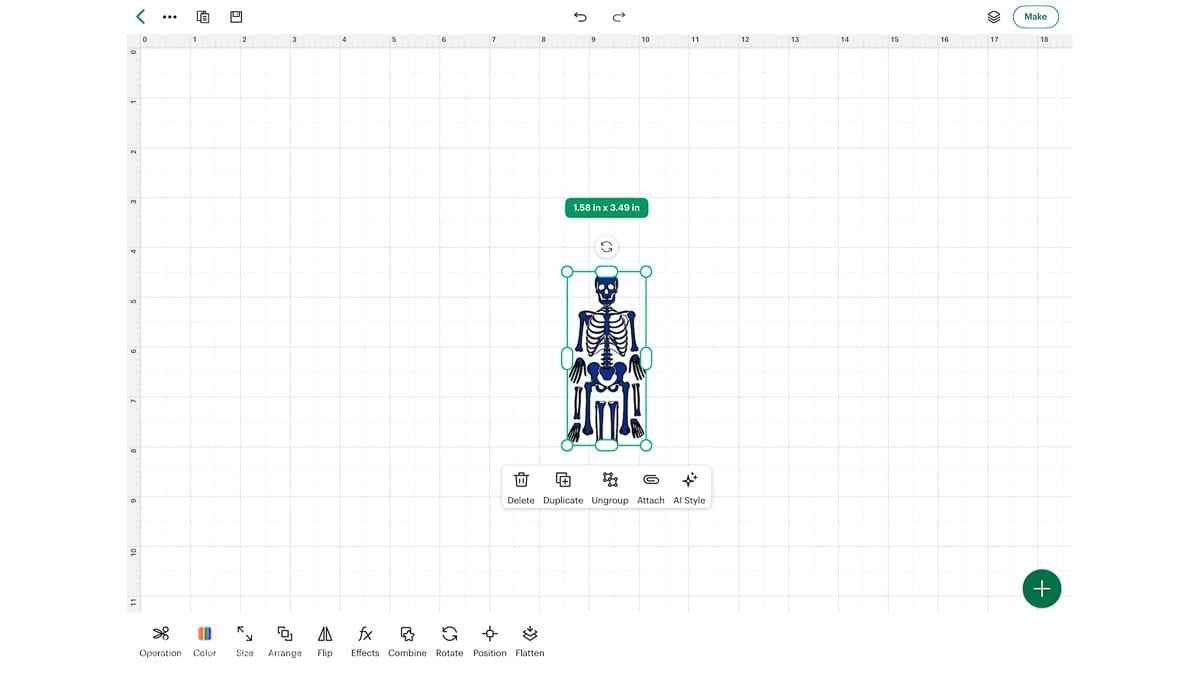
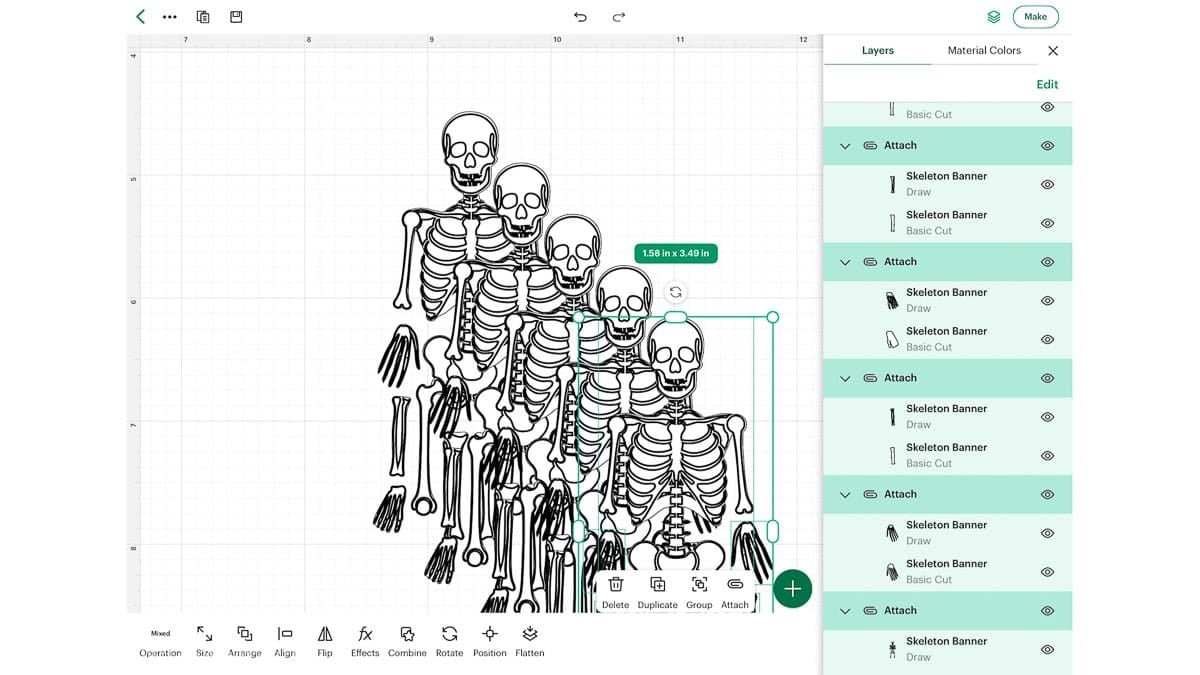
The SVG contains both cut and draw layers.
When you first upload the file, the draw details will appear in Design Space as cut lines, so you'll need to change those layers to the Draw operation before sending the project to your Cricut.
Highlight the design, open the layers panel, and ungroup.
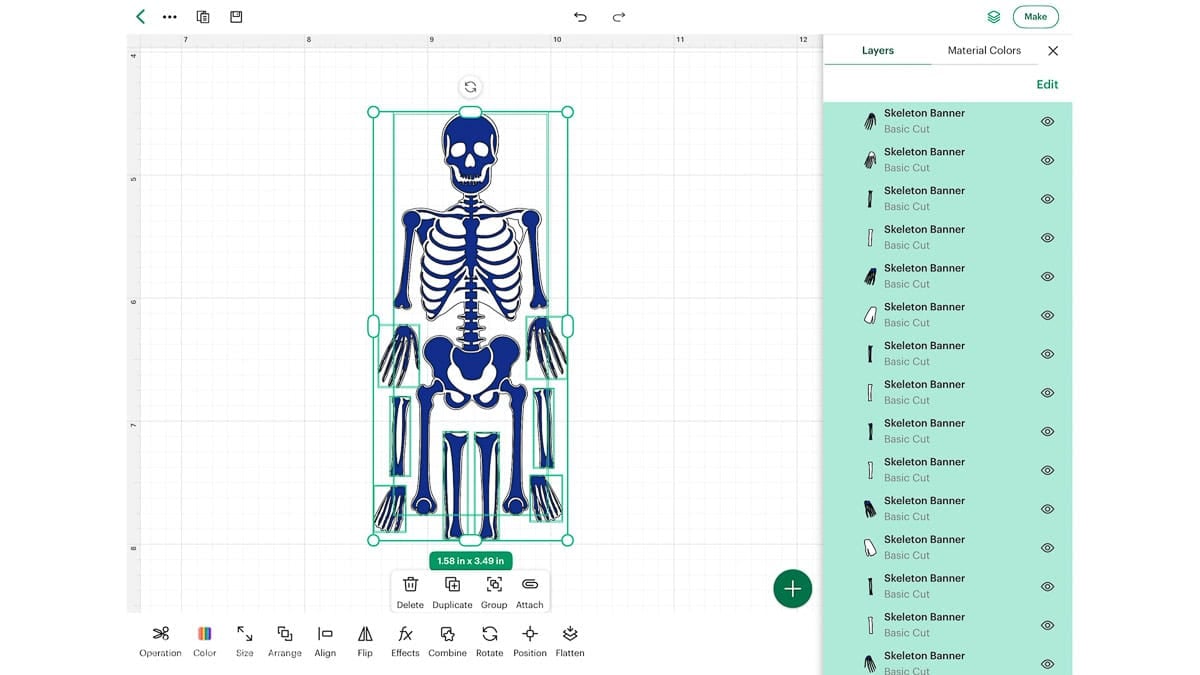
The blue layer is the line you need to change to Draw.
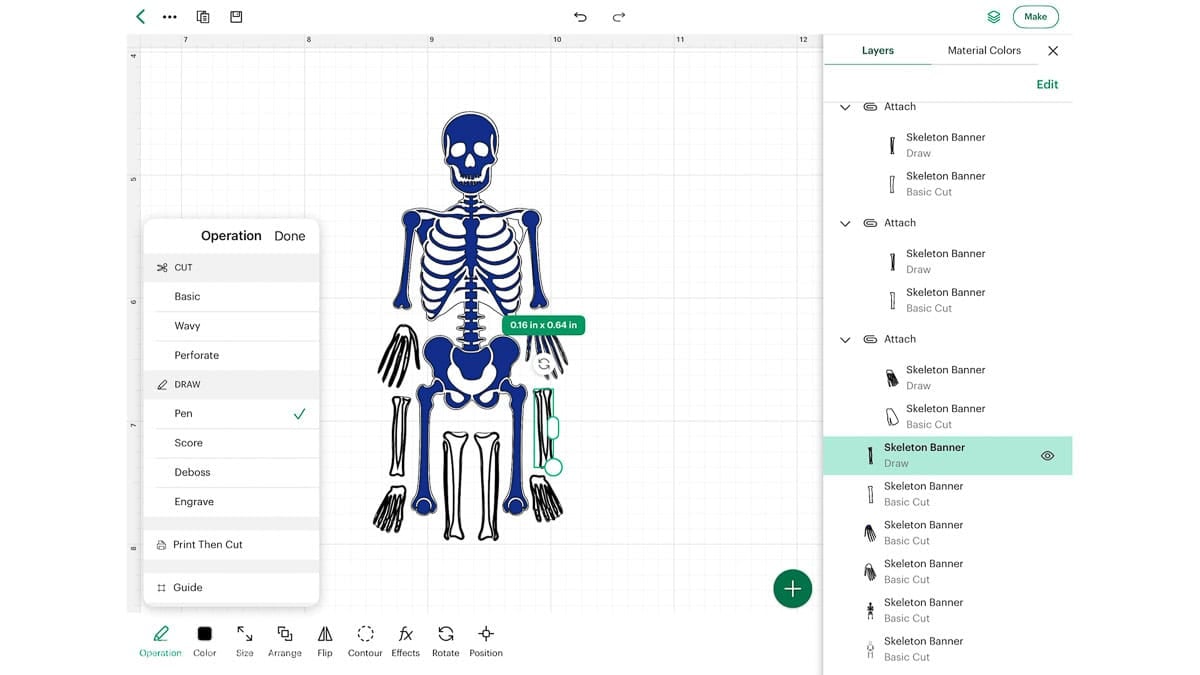
So, moving down the layers panel, highlight a blue shape, click Operation, and change it to Draw. Then attach it to the piece below.
Attaching them tells Design Space exactly where those details belong when the Cricut draws and cuts the cardstock.
Once you've set up one skeleton, duplicate the finished design to make as many skeletons as you'd like.
I used five for my banner, so I duplicated my original four times.
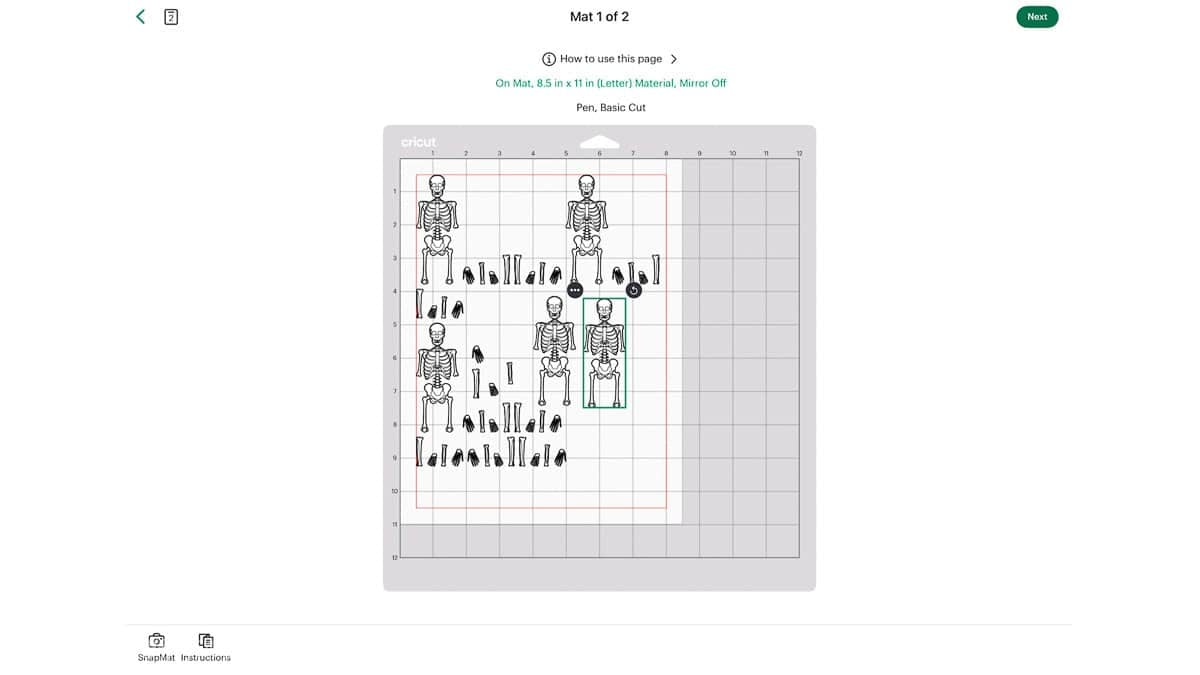
Before cutting, check the mat preview to make sure all of the pieces fit correctly on your cardstock.
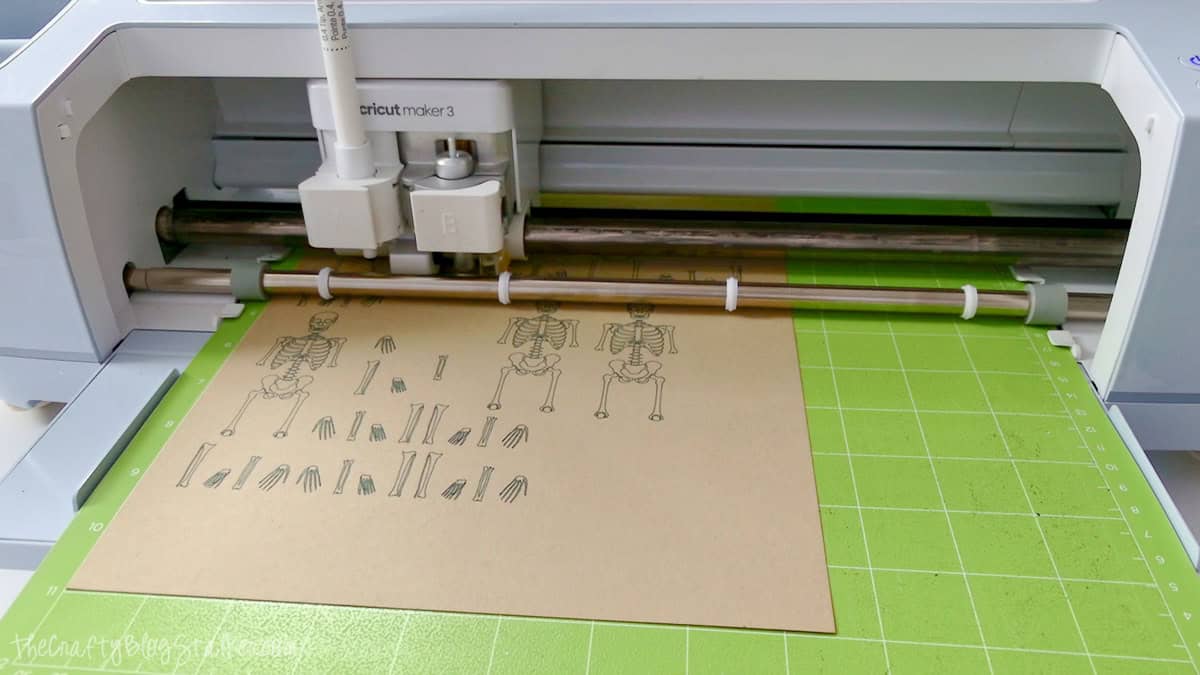
I used 60 lb. cardstock with More Pressure because I find the extra pressure gives me cleaner paper edges.
Follow the prompts in Design Space for loading the pen and Fine-Point Blade.
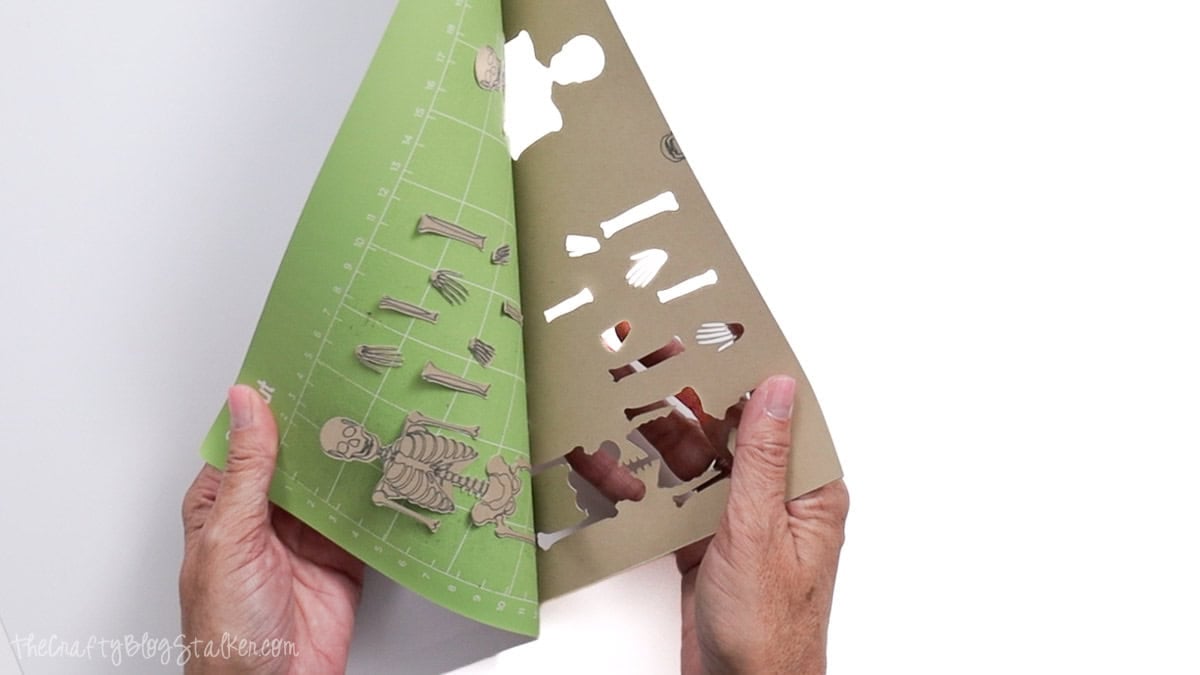
These pieces are small, so take your time removing them from the mat.
I like to turn the mat over and gently bend the mat away from the cardstock instead of pulling the paper up from the mat.
Tips for Assembling Your Skeletons
This project has quite a few little pieces, and once you have several skeletons cut out, things can get confusing quickly.
Before assembling anything, I like to arrange all the pieces into complete skeletons, so I know everyone has two arms, two hands, two legs, and two feet.
One easy way to check the placement is to look at the hands and feet. The thumbs should point inward toward the body, and the big toes should point inward too.
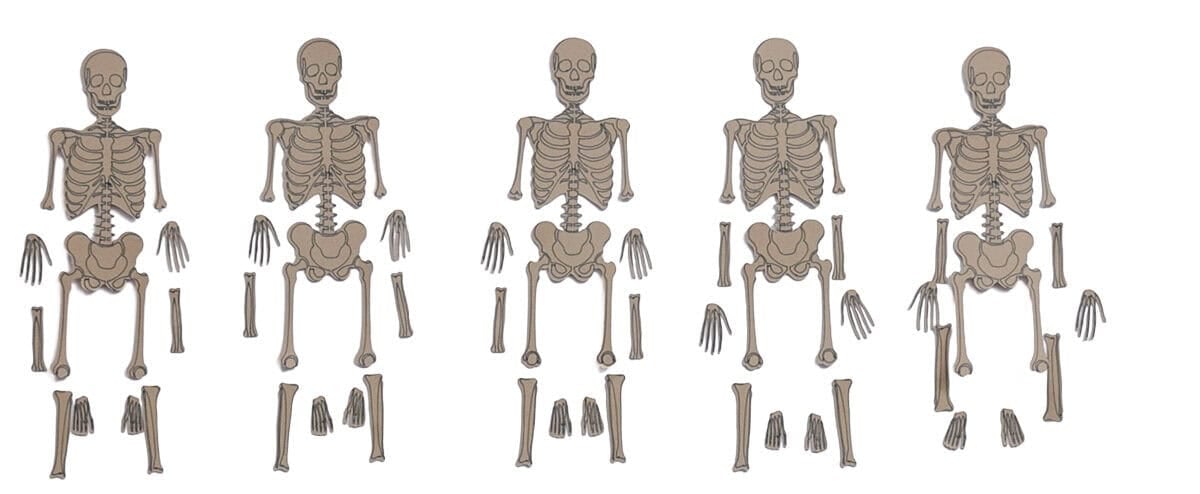
Assembling the smaller skeletons is a bit more tedious than with larger ones, but I love how the smaller skeletons look.
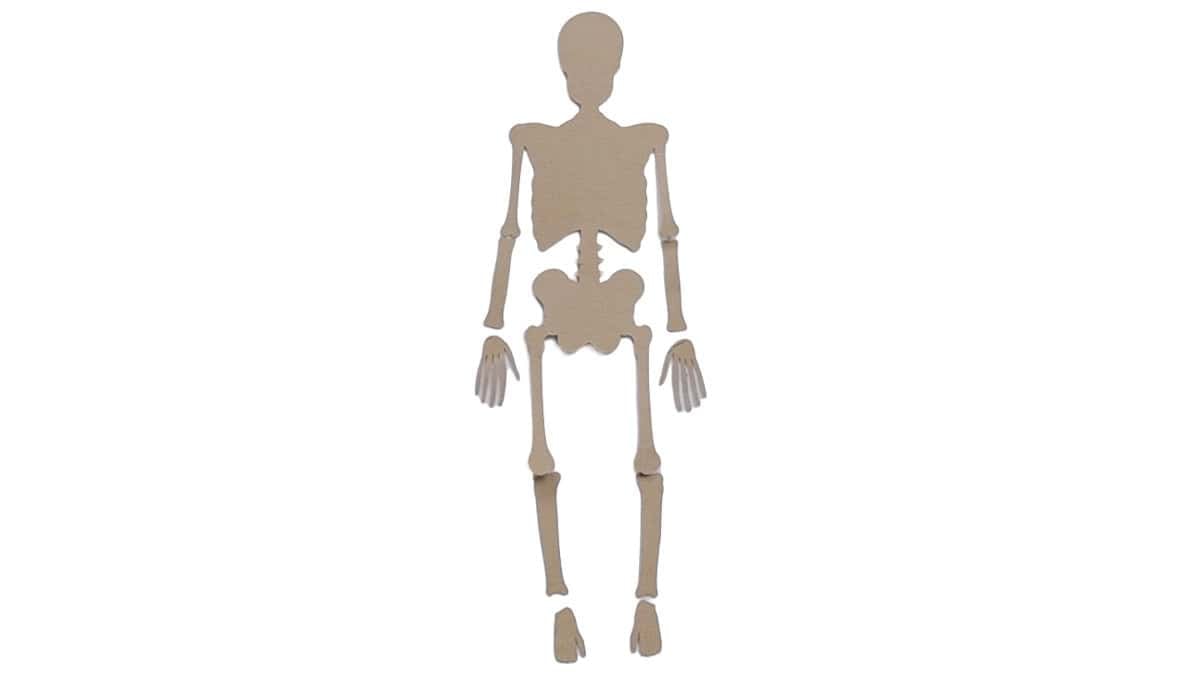
Work on one skeleton at a time, and turn all the pieces over so they face down.
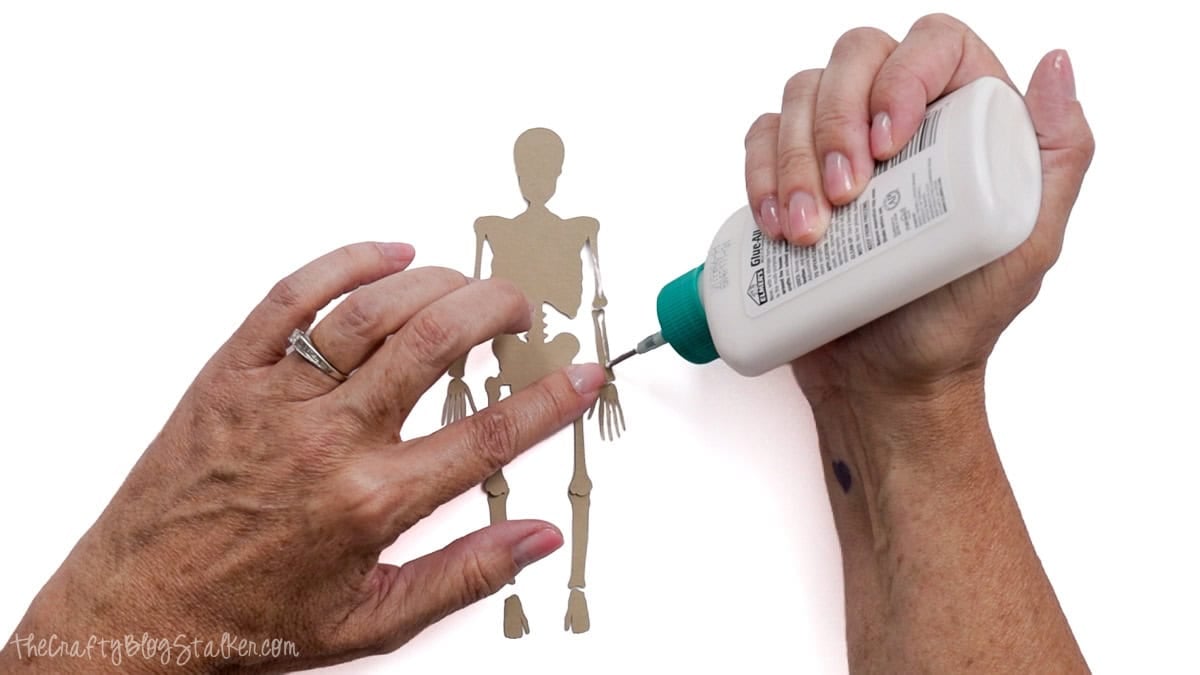
I used DMC embroidery floss to connect the pieces instead of gluing the joints directly together.
Leaving a little space between the connected pieces gives the arms and legs more movement, while placing the pieces closer together makes them move less.
DMC floss has six individual strands, and I separated mine into two groups of three. This keeps the connection lightweight while still giving the paper pieces something flexible to hang from.
A thin line of glue is all you need to hold the floss in place.
You can add a little more glue over the floss for extra security, but don't go crazy, or you'll be waiting even longer for everything to dry.
Fair warning, assembling five little skeletons is surprisingly tedious.
It isn't difficult, but it's a great project to work on while watching a scary movie or something equally festive.
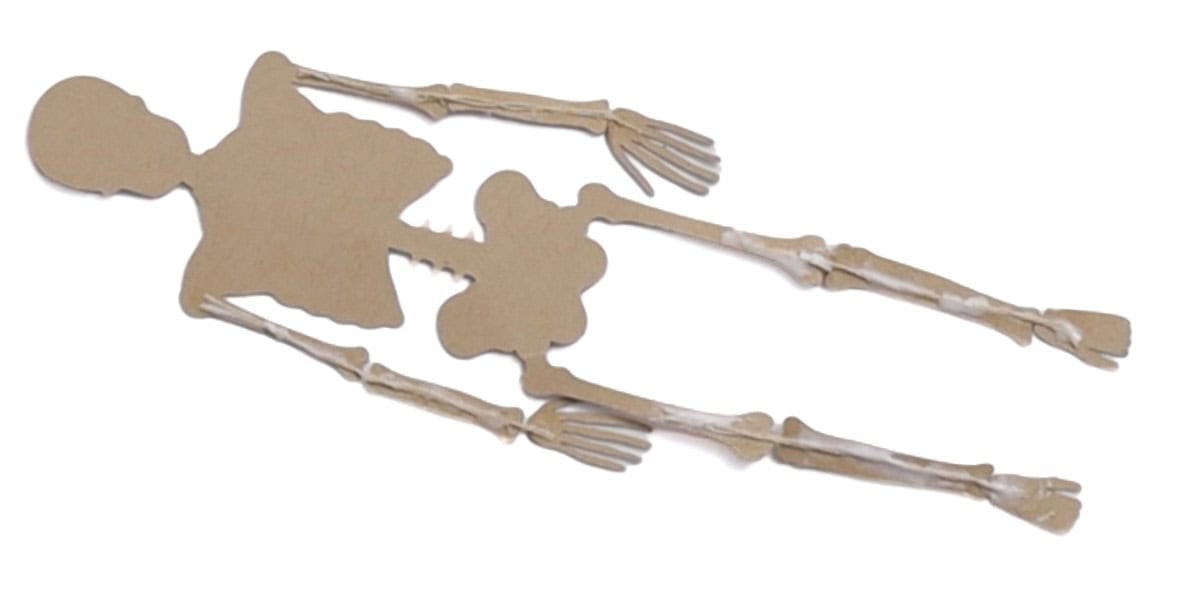
Once you turn them right side up, all that fiddly work is worth it. I love that every skeleton can be positioned a little differently.
Creating and Displaying the Banner
Once the skeletons are assembled and completely dry, they're ready to turn into a banner.
Space them evenly along your cord before attaching anything so you can adjust the placement and decide how long you want the finished banner to be.
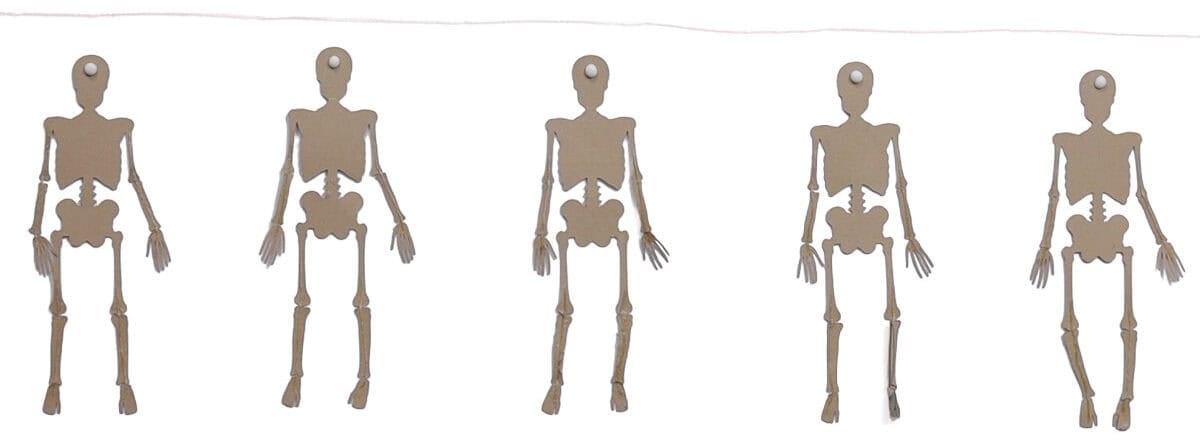
I attached mine with glue and waited for it to dry. In hindsight, hot glue would have made this part much faster, especially after I'd already spent plenty of time waiting for the skeleton joints to dry!
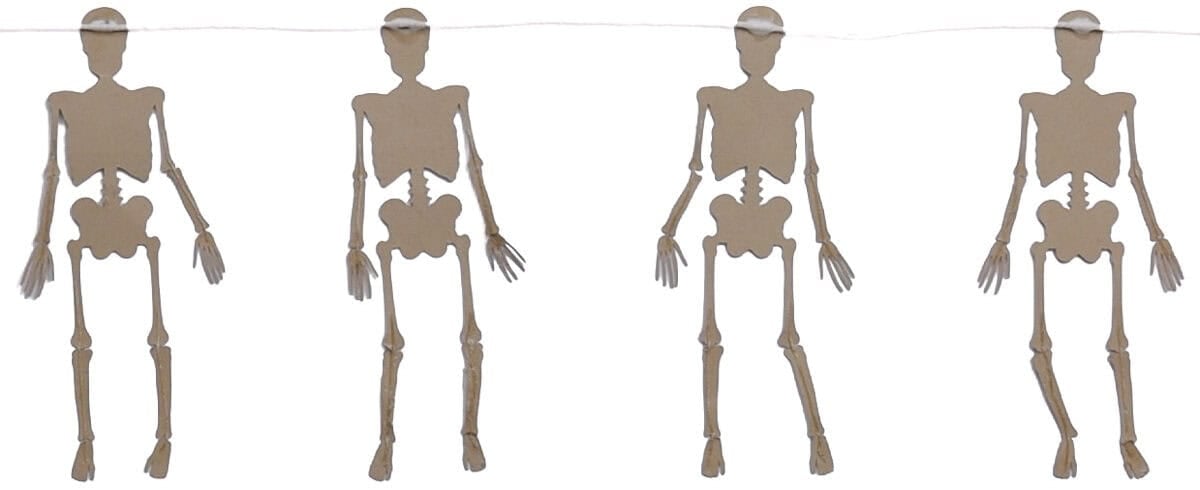
Whichever adhesive you choose, make sure everything is completely secure before picking up the banner.
The paper skeletons are lightweight, but you don't want one making a dramatic escape the first time you hang it.
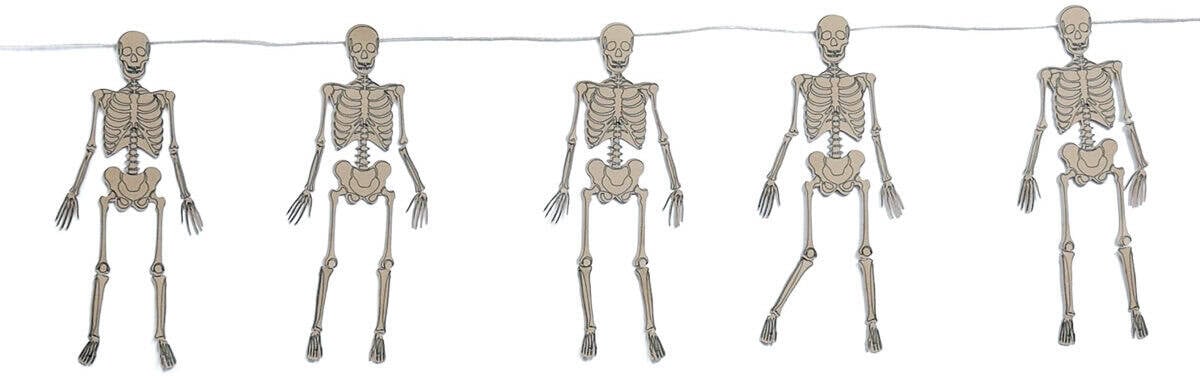
This would also be a cute decoration for a Halloween party.
Add it near the candy or dessert table, use it with a spooky Halloween party theme, or hang it somewhere your guests can see all of those little skeletons showing off their best looks.
Frequently Asked Questions
Mine are about 5 inches tall. You can resize the SVG in Cricut Design Space, but I don't recommend making the skeletons much smaller because of the small pieces and drawn details.
Yes. Making them larger can actually make assembly easier because you'll have more room to work with the individual pieces.
The SVG contains details that are intended to be drawn with a Cricut pen. If those layers import as cut lines, change their Operation to Draw and attach them to the corresponding cardstock pieces before cutting.
Attaching keeps the drawn bone details in the right position on each skeleton piece when you send the project to the machine.
I used 60 lb. cardstock and selected More Pressure for the cut. A cardstock that is sturdy enough to hold its shape but not too heavy for the small details works well for this project.
You can experiment with another thin, flexible string, but keep it lightweight so the small cardstock pieces can still move freely.
Try it on a mantel, mirror, doorway, shelf, classroom bulletin board, or Halloween party table. Since it's made from cardstock, I recommend displaying it indoors where it won't be exposed to moisture.
Need help with this project?
Click a button below to ask AI how to make the skeleton arms and legs move more.
More Halloween Cricut Crafts
Once the skeletons are hanging, keep that Cricut going!
Here are a few more Halloween Cricut crafts to help you decorate, make party décor, or create something fun for the kids this Halloween.

Hi, I'm Katie!
I'm so glad you're here. Want to make something fabulous? I'm here to help!
Ginger@gingersnapcrafts.com
Cute...yet spooky! Love it. 🙂
Katie
Thanks so much Ginger! I had a lot of fun with these little guys : )
Sarah
This is so cute. I love all the glitter.
Katie
Thanks Sarah! I'll be sure to stop by : )
Emmy
Getting ready for fall but not Halloween yet 🙂 Love your skeletons so cute!
Katie
Yeah, I kind of jumped a head a little... I'm still not done with my fall stuff : ) Thanks for stopping by Emmy! Have a great day!
Vanessa Barker
This is too cute! is that an oxymoron?! love it
Katie
Thanks Vanessa! Not sure if that's an oxymoron or not... but I use that phrase all the time ; )
Angie @ The Country Chic Cottage
This is ADORABLE!!!
Katie
Thanks so much Angie! : )
Noreen
I love your skeleton banner - it's right up my alley! You did quite a bit of work putting the skeletons together.
Katie
Thanks so much! Yes, putting those little guys together took some time, mainly because they are so small to work with. So glad you like it 🙂
Jamie @ Love Bakes Good Cakes
What a great idea for Fall! I am hosting an "It's Fall Y'all ~ Linky Party" .... I would like to invite you to share this project, and other Fall related projects/recipes, you may have. All links will be pinned to a board dedicated to the party. You can find the party at Love Bakes Good Cakes. Hope to see you there!
Katie
Thanks so much, I'll head over and link up : )
Tausha
I love this!!! I love that you used the pallet as a background. I am thinking that I have the perfect place for both! Thanks, as always-for the fantastic inspiration!
Tausha
sassystyleredesign.com
Katie
Thanks Tausha! I love that pallet backdrop... I just keep carrying it around my house, lol
Tausha
I love this!!! I love that you used the pallet as a background. I am thinking that I have the perfect place for both! Thanks, as always-for the fantastic inspiration!
Tausha
sassystyleredesign.com
Kristina
This is cool! I LOVE skeletons!
Katie
Thanks Kristina, I had a lot of fun with these little guys!
Katie
I absolutely love that! I love the orange ones the best.
Katie @ Horrific Knits
Katie
Thanks Katie, the orange ones are my favorite too : )
Niina
The orange skeletons are awesome!
Katie
Thanks so much : ) They were so fun to make!
Ginger@gingersnapcrafts.com
Featuring YOU today!
Ginger @ GingerSnapCrafts.com