



Make Halloween candy gifts with your Cricut and a free Jack-O'-Lantern SVG. These cute treats are perfect for parties, friends, and neighbors.
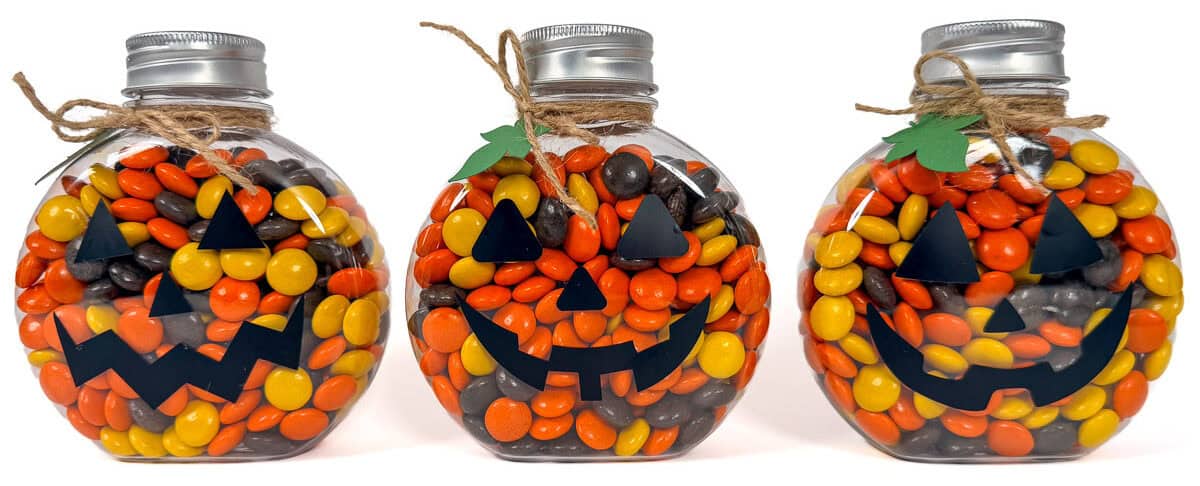
Halloween is one of my favorite holidays because I love that perfect mix of cute, fun, and just a little spooky.
These candy gifts for Halloween are easy to make with your Cricut, turning simple sweets into adorable Jack-O'-Lanterns using my free SVG.
I originally made them for my coworkers and my kids' teachers because I love giving little gifts that let people know they're appreciated.
If you need an easy Halloween treat for teachers, friends, neighbors, or coworkers, grab some candy and let's make a few!
Jump to:
Skill Level: Beginner
Estimated Cost: $5
Total Time: 20 minutes
Craft Tutorial Video
If videos are your thing, you're in luck-I've got a full tutorial ready for you!
Subscribe to my YouTube channel and stay inspired with every new project.
Supply List
Some links may lead to similar items when the exact item is unavailable.
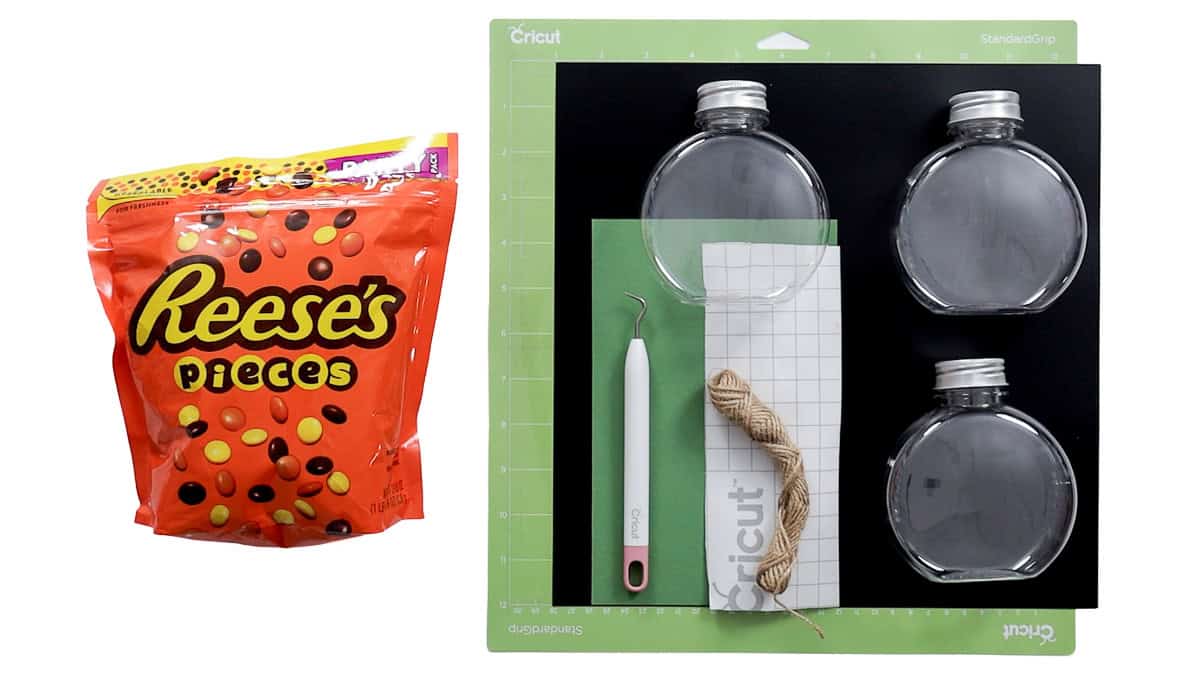
- Cricut Cutting Machine
- Jack-O-Lantern Faces SVG Bundle
- StandardGrip Mat
- Green Cardstock
Black Vinyl
- Weeding Tools
- Transfer Tape
- Round Plastic Food-Safe Bottles
- Food-Safe Gloves
- Twine
- Candy

Grab the Free Jack-O'-Lantern SVG
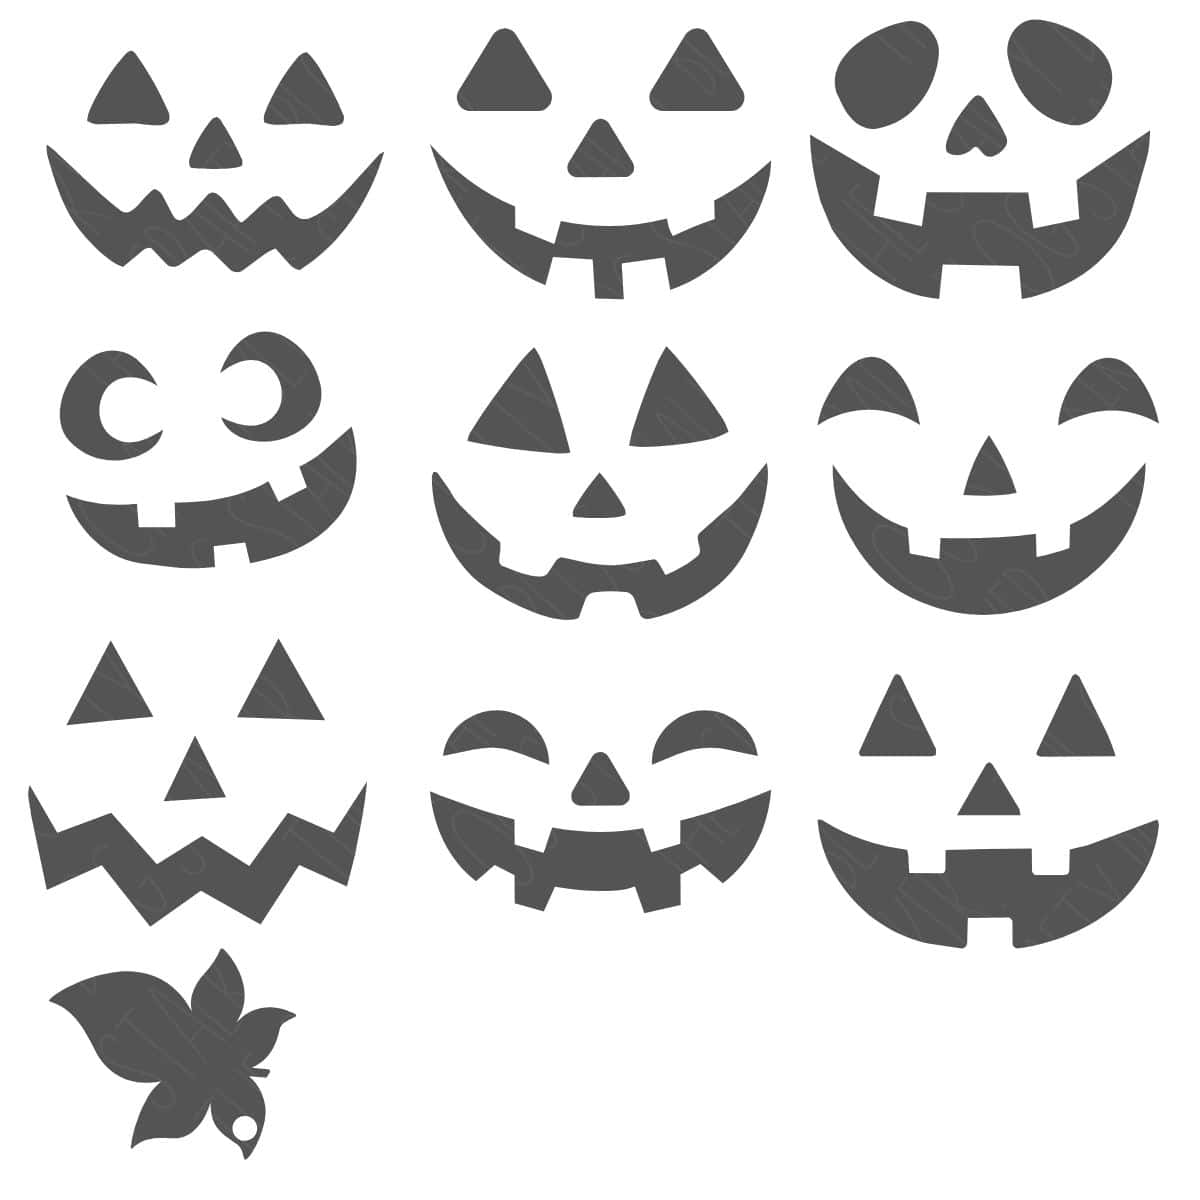
The SVG bundle includes nine different Jack-O'-Lantern faces, so you can give each candy container a different expression. There is also a leaf design to add that final little pumpkin detail.
Make the Jack-O'-Lantern Candy Containers
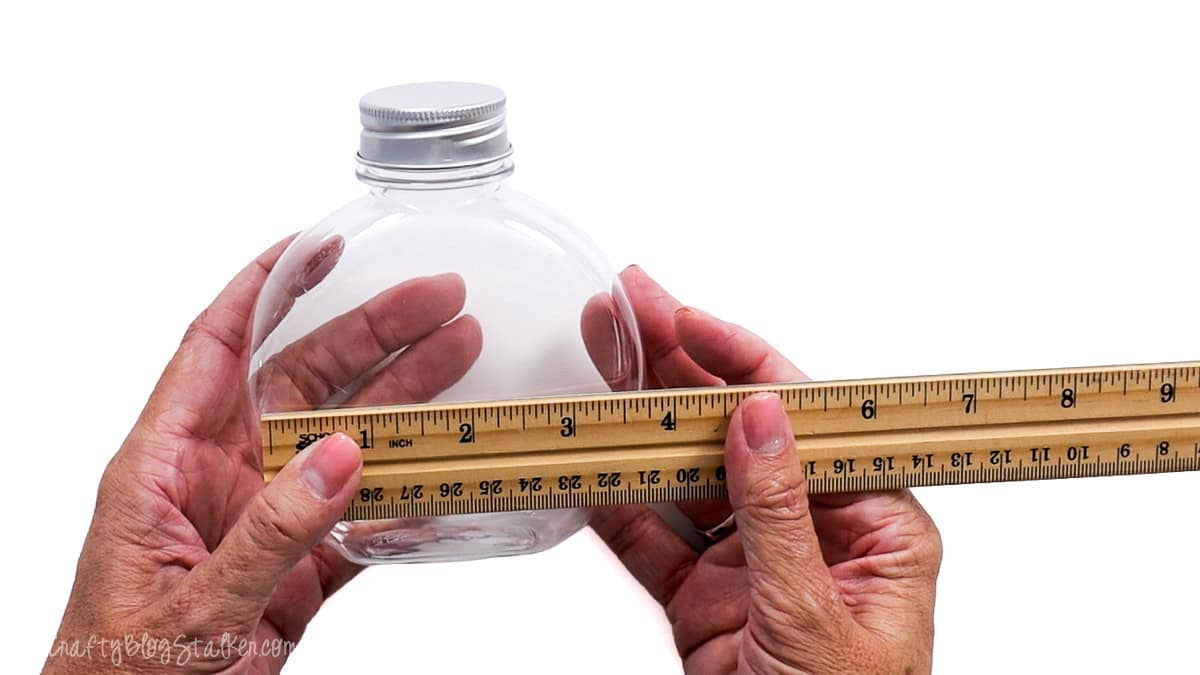
Before opening Cricut Design Space, measure the front of your candy container so you know how large to make the vinyl face.
A container with a fairly flat front works best because adhesive vinyl can wrinkle or pucker when you try to apply it over a strongly curved surface.
The usable area on the front of my bottles measures about 3.75 by 3.5 inches, so I sized each Jack-O'-Lantern face to about 2.75 inches.
This leaves enough room around the design so the face doesn't feel crowded.
Open a new project in Cricut Design Space and upload the Jack-O'-Lantern Faces SVG Bundle.
Ungroup the designs so you can work with each face individually.
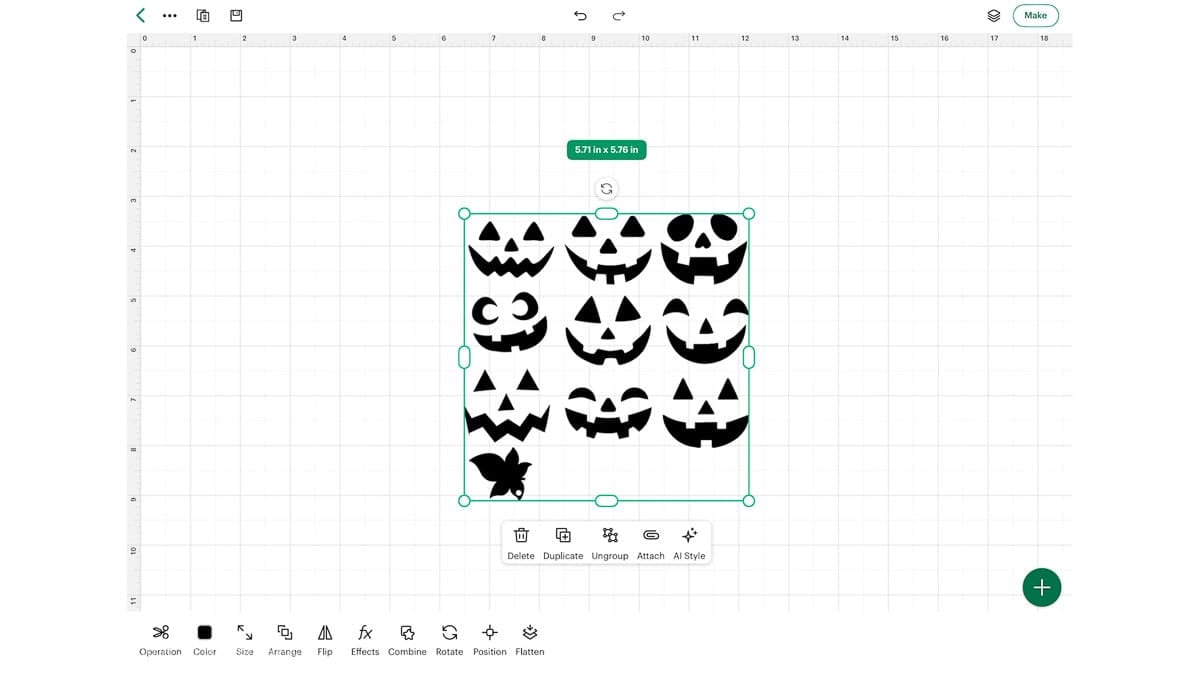
Choose the face or faces you want to use and resize them to fit your containers.
I'm making three Halloween gifts, so I picked my three favorite faces and deleted the designs I wasn't using.
Change the leaf to a different color in Design Space so Cricut places it on a separate mat.
Since I'm making three gifts, I also duplicated the leaf until I had one for each container.
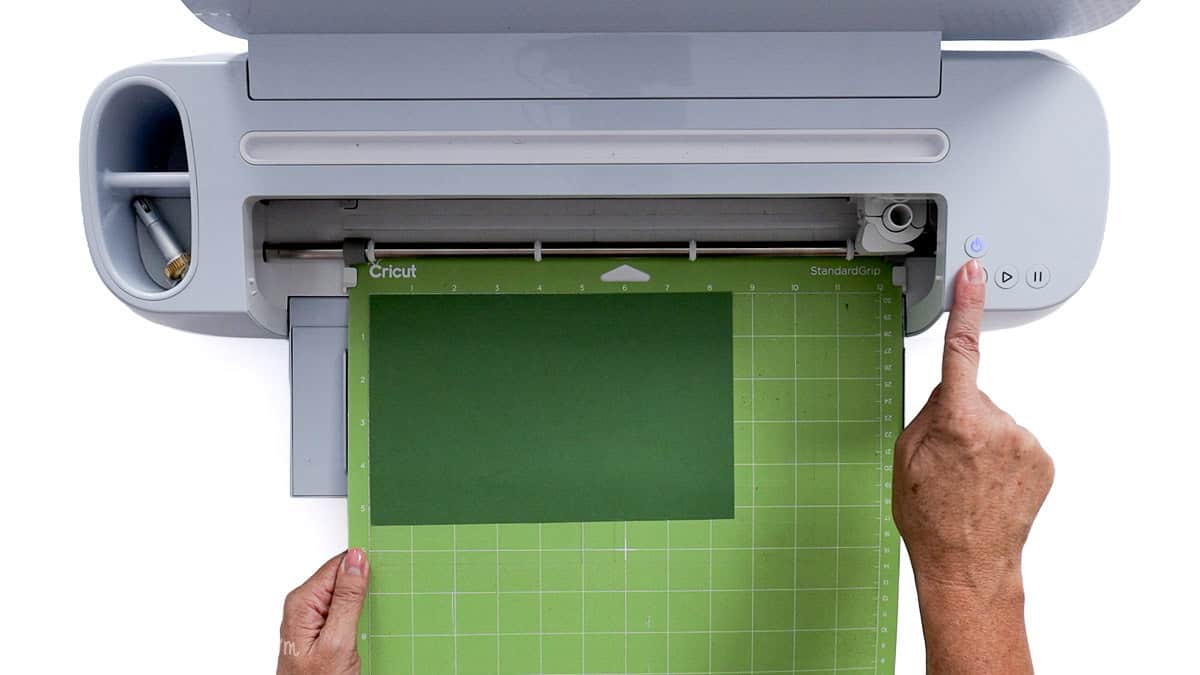
When everything is sized and ready, click Make and follow the prompts in Design Space. Cut the leaves from green cardstock and the Jack-O'-Lantern faces from black adhesive vinyl.
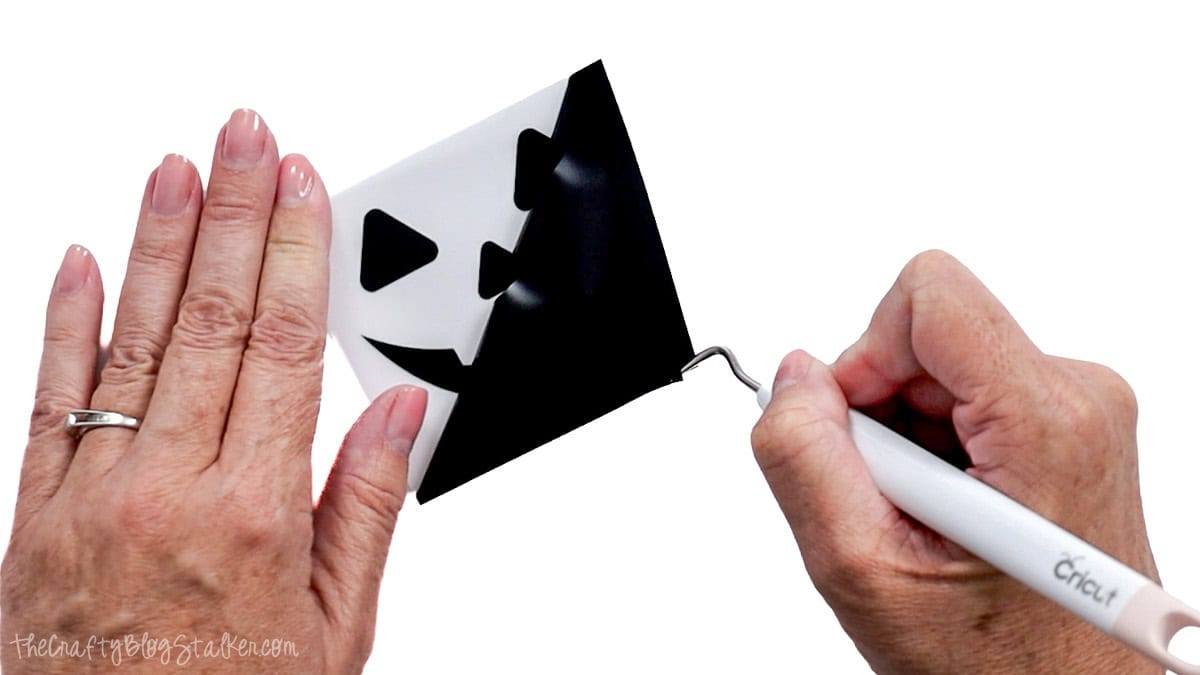
After cutting the faces, use a weeding tool to remove the excess vinyl from around and inside each design.
Cover each vinyl face with transfer tape slightly larger than the design.
Scrape over the transfer tape to help the vinyl stick, then peel away the paper backing.
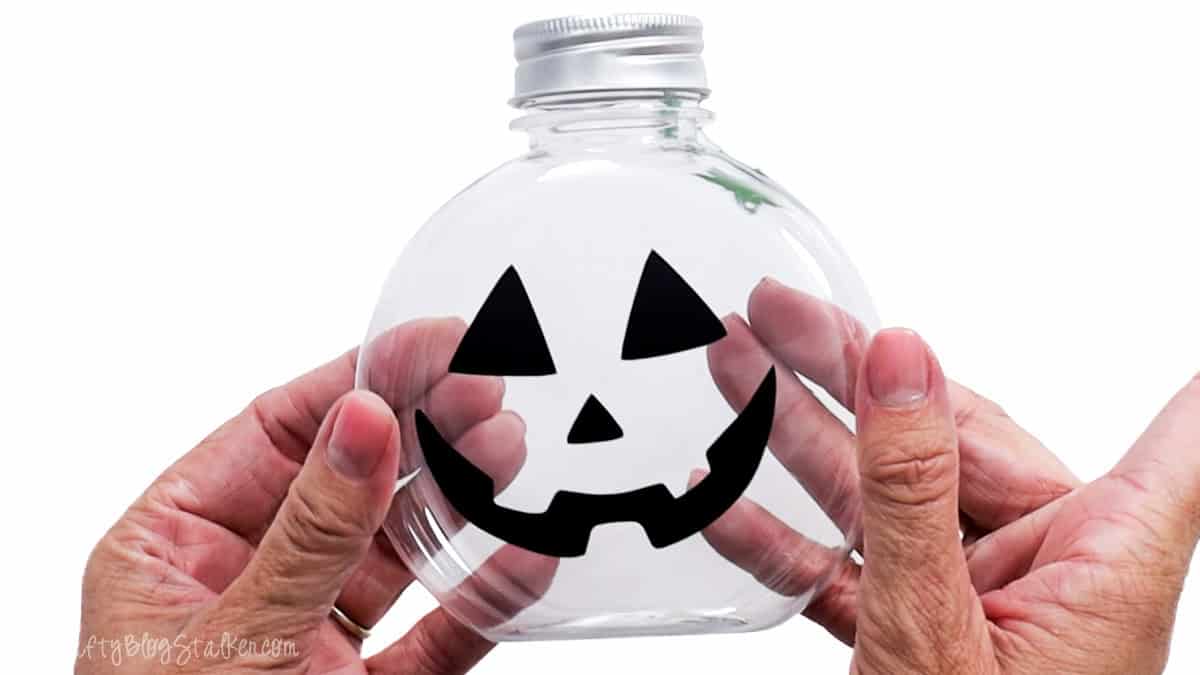
Center the face on the front of the container and press it into place.
Go over the design again with your scraper before carefully peeling away the transfer tape.
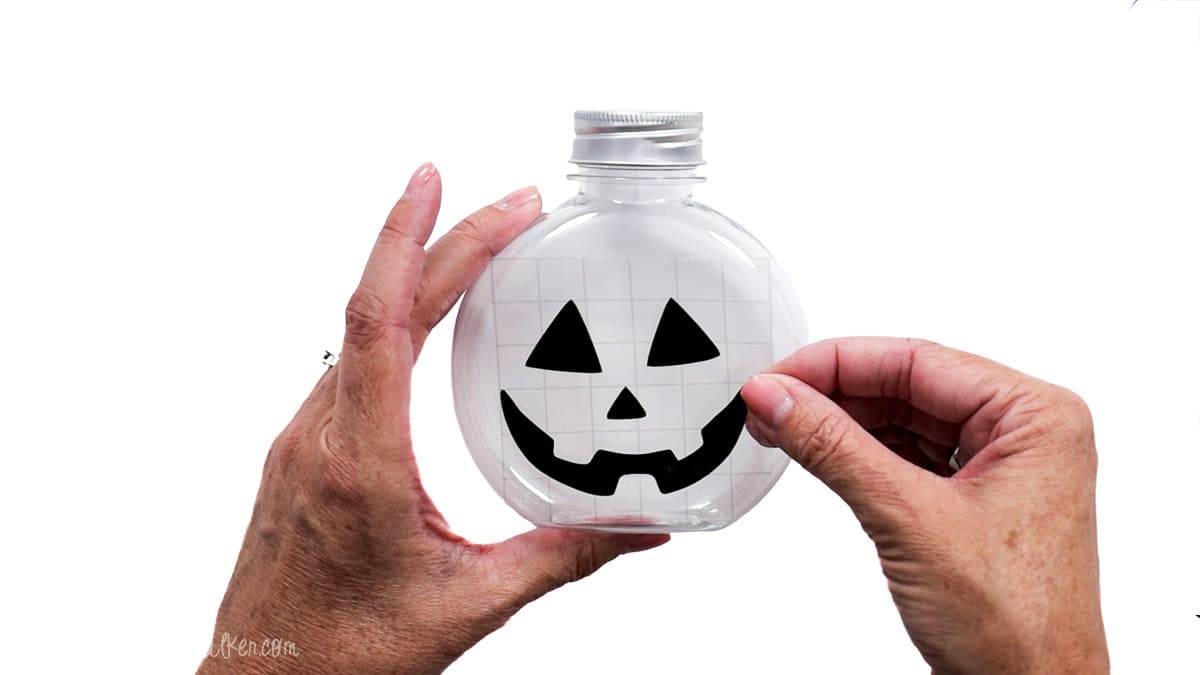
Take your time applying the vinyl, especially if your container has a slight curve.
Working from the center outward can help keep the design smooth.
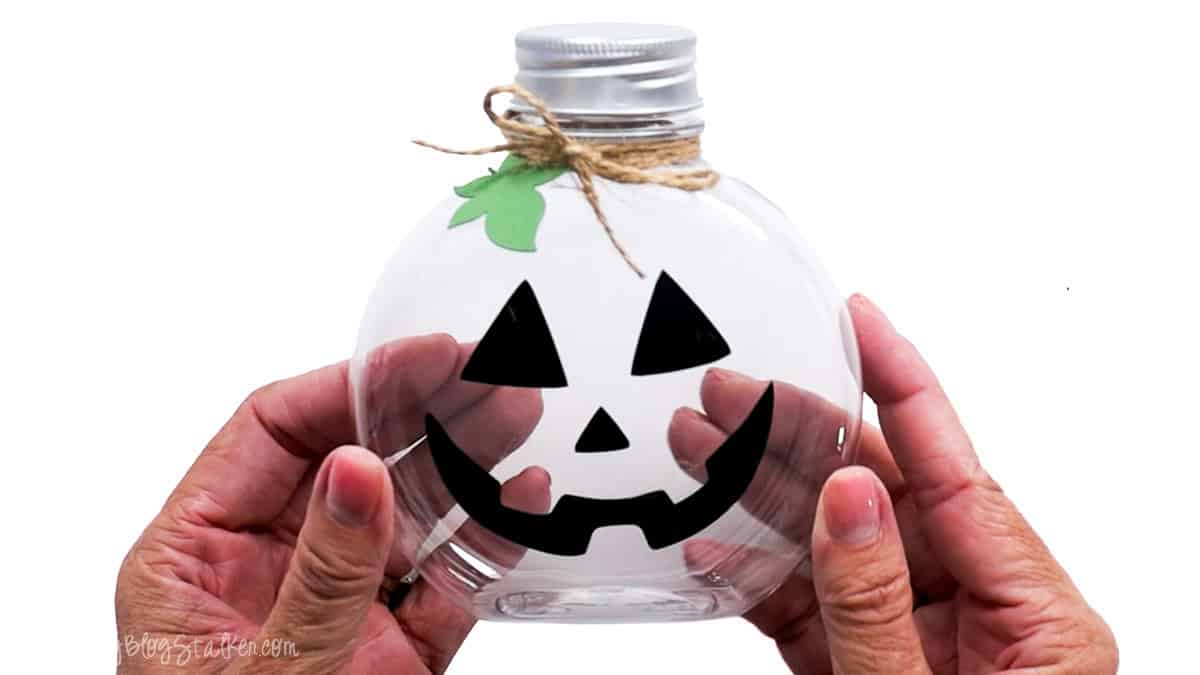
Cut a piece of twine about 14-15 inches long.
Wrap it around the top of the container just below the lid, thread the cardstock leaf through, and tie the twine into a bow.
Trim the ends as needed for a neat finish.
Fill Your Halloween Candy Gifts
For the candy, I chose Reese's Pieces because the orange, yellow, and brown colors look so good inside the little pumpkins.
You can use any candy that fits through the opening, though, so this is an easy project to customize around someone's favorite flavor or treats.
Small wrapped candies are a great option for teachers, neighbors, coworkers, or party guests. You could also fill the containers with milk chocolate pieces or other colorful Halloween candy.
If you're using unwrapped sweets like I did, put on food-safe gloves before handling the candy. Since these are gifts for other people, I don't want to touch their food with my bare hands.
To make filling the narrow bottles easier, I rolled a clean piece of paper into a simple funnel and poured the candy through the top. Once they're full, screw the lids back on, and they're ready to give
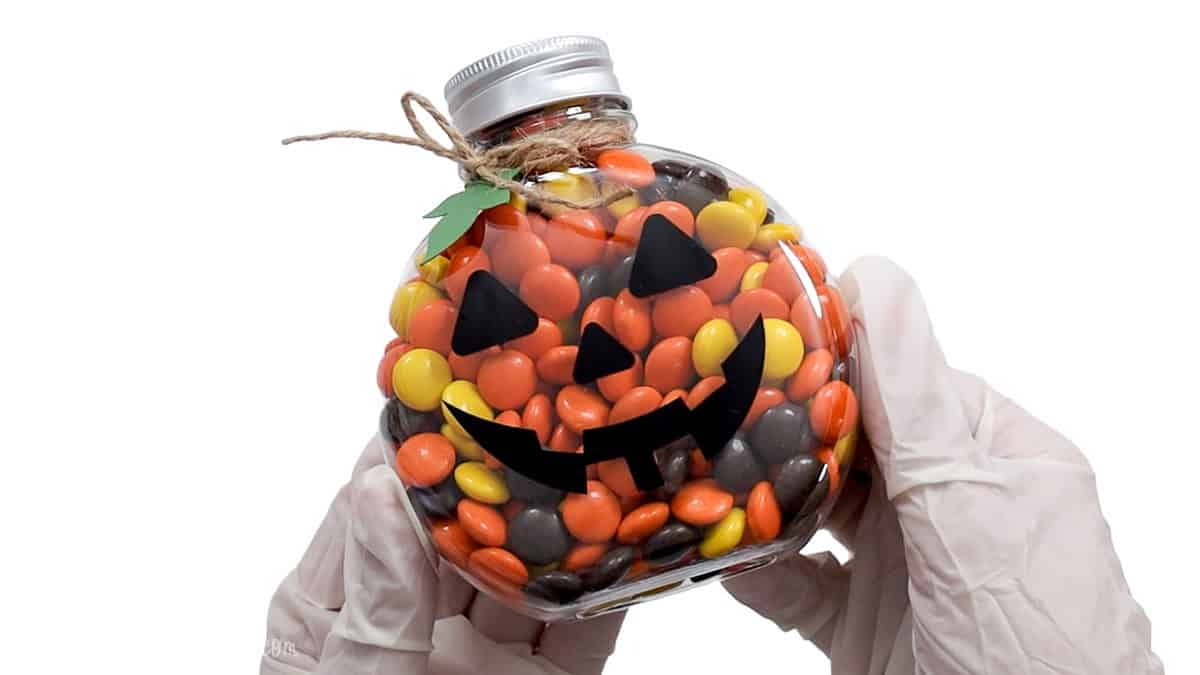
These are such a fun alternative to handing someone a regular bag of Halloween chocolate.
Set several out as favors for a Halloween party, make them for your kids' teachers, or surprise friends and neighbors with a little something sweet.
Frequently Asked Questions
Choose candy that easily fits through the opening of your container. Reese's Pieces are perfect for the pumpkin look, but you can use colorful Halloween candy, chocolates, wrapped treats, or whatever sweets the recipient likes best.
Absolutely. The container doesn't have to be pumpkin-shaped for the idea to work. Look for a clear, food-safe container with a flat or only slightly curved front so the vinyl is easier to apply.
Regular adhesive vinyl works well for the Jack-O'-Lantern faces. Since the vinyl is applied to the outside of the container and doesn't touch the candy, it's used only as decoration.
You could cut simple Jack-O'-Lantern faces from adhesive vinyl by hand, but a Cricut makes it much easier to get clean, detailed designs and make several matching gifts at once.
Yes! Make several faces from the SVG bundle and fill the containers with your favorite treats. They're cute enough to use as Halloween party decorations before guests take them home.
Kids can help choose their favorite Jack-O'-Lantern faces, select the candy, and add the finishing touches. Depending on their age and Cricut experience, an adult may want to handle the cutting and vinyl application.
Need help with this project?
Click a button below to ask AI for other container ideas for this project.
More Halloween Ideas
Looking for more cute Halloween projects and treats? Here are a few more fun ideas to make for your home, family, and friends.

Hi, I'm Katie!
I'm so glad you're here. Want to make something fabulous? I'm here to help!
Talya Tate Boerner
I don't give gifts, but I am all about the Halloween decorating. Cute idea!
Tammy Chrzan
I love this!!! Absolutely gorgeous!
This is perfect as a decoration as well as a treat...
Thank you for sharing this,
Tammy
Mary Beth
This is so cute ~ thanks so much for sharing at this week's Project Inspire{d} ~ sharing and pinning!
Have a crafty week.
Hugs,
Mary Beth
Jamie @ Love Bakes Good Cakes
Such a cute - and easy - project, Katie! Thanks for sharing at this week's All My Bloggy Friends 🙂 Have a great weekend!
Katelyn
Very cute and cheap! Found you on the follow Friday Follow along link party!
Mel {MamaBuzz}
This is such a cute gift idea! Thank you for sharing on Inspire Me Wednesday!
malia
Hi Katie, These are so cute! Thanks for linking up at Project Inspire{d}. I featured you this week!
Cheryl King
What a fun idea. Thanks for sharing on Thrifty Thursday!
Ruth Soukup
These are so incredibly cute Katie. I love that they are cheap and so easy to make. I am going to have to try and whip these up before Halloween. Thank you for linking up to Thrifty Thursday.
Tiffany
What a cute idea. Found you from Five Little Chefs link party
Summer Rumsey
LOVE this - what a cute idea! Thanks for linking up to my linky party!