



These stained Christmas wood ornaments are easy to make with wood stain and white paint! Add a rustic touch to your Christmas tree with this simple craft.
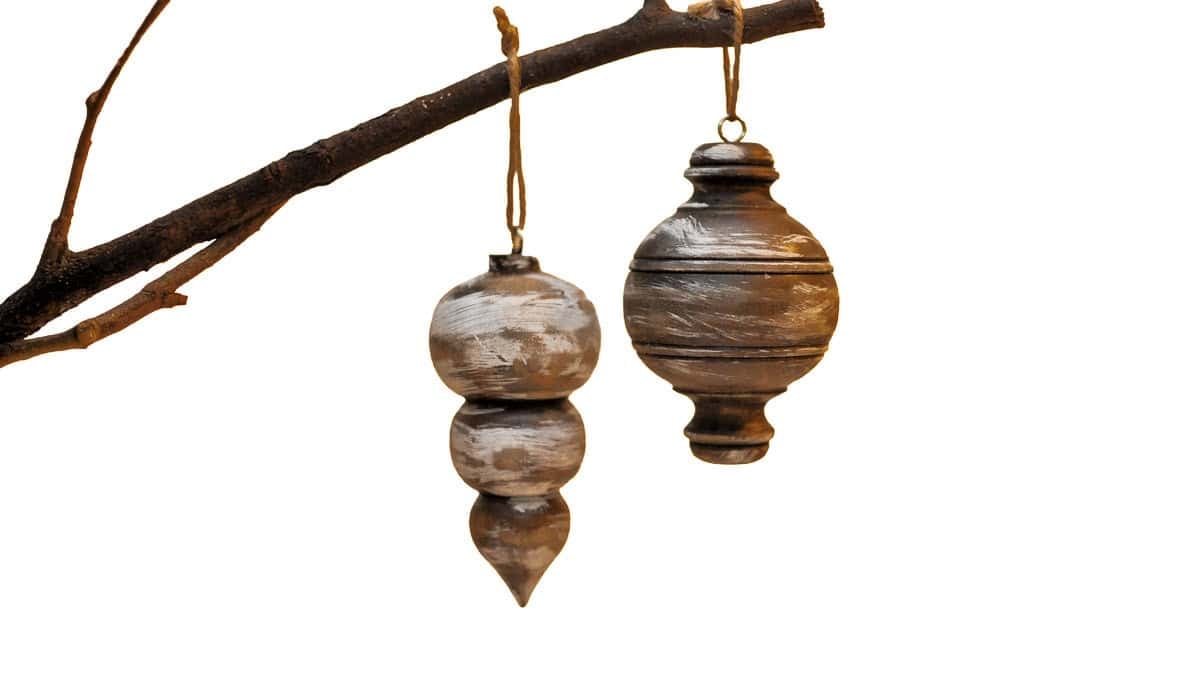
I was walking through Michaels when I saw these unfinished wooden ornaments. I just knew I needed to bring them home with me!
How could I say no to a piece of wood just waiting for a little stain and paint?
The dark wood stain and white paint look so pretty together. I can't wait to hang these on my rustic woodland Christmas tree!
If you love making handmade ornaments like I do, be sure to check out 9 more DIY Christmas ornament ideas at the bottom of this post!
Jump to:
Skill Level: Beginner
Estimated Cost: $5-$15
Total Time: 30 minutes
Supply List
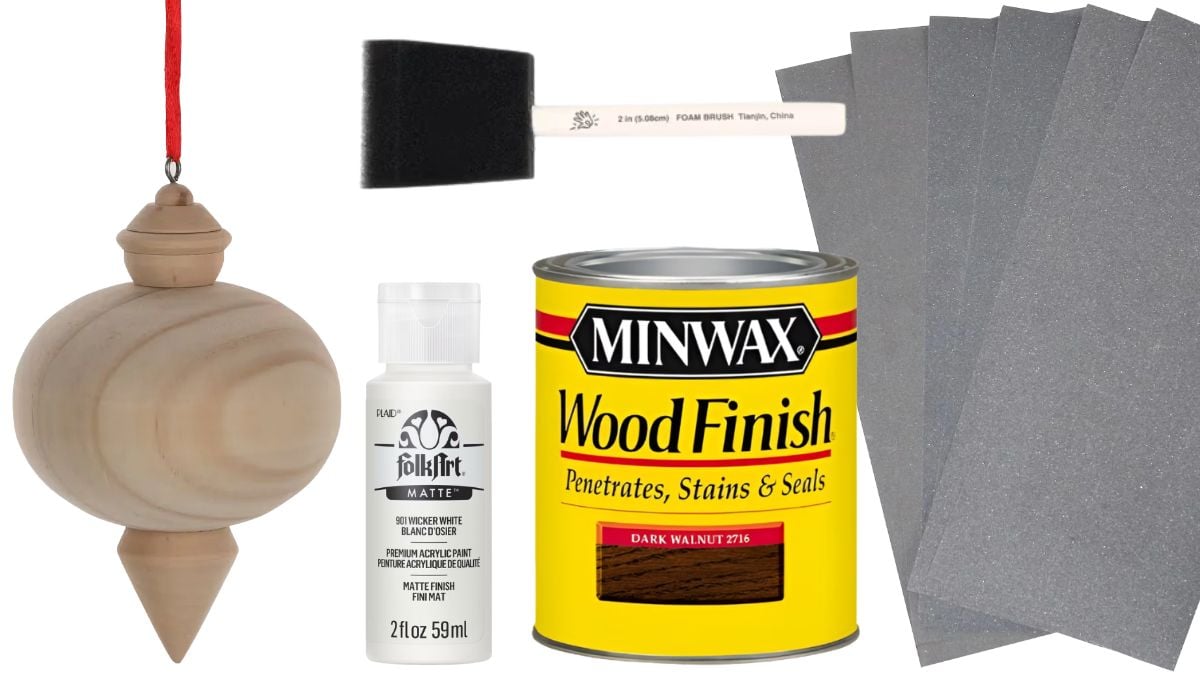
The exact ornament shape I used isn't in stores anymore, but Michaels has lots of other unfinished wood ornaments that will work just as well.
Look for ornaments with carved lines or raised details. Those little grooves turn out so pretty once you add the dark stain and white paint.
You can use plain wood shapes too if that's what you have at home. Stars, trees, snowflakes, and round ornaments would all be super cute!
How to Make Stained Wooden Christmas Ornaments
These ornaments caught my eye because of their pretty shape and carved details. I just knew they would look great on my rustic woodland Christmas tree.
The dark walnut stain warms the wood, while the white paint gives each ornament a worn, old-fashioned look.
You don't need any special painting skills for this project. In fact, the less perfect your paint looks, the better it turns out!
Prepare the Wood Ornaments
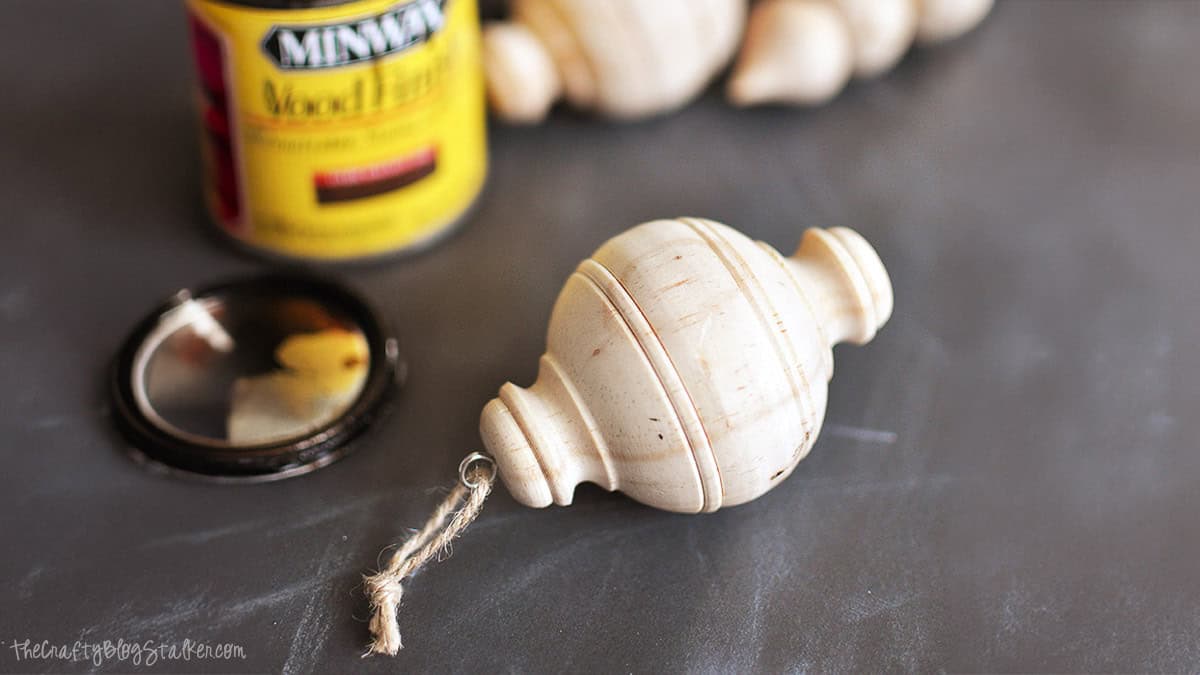
Start with clean, unfinished wood ornaments.
If the wood feels rough, lightly sand it to smooth out any sharp spots. Wipe away the dust with a clean cloth.
If your ornaments already have twine hangers, you can leave them in place or remove them while you work.
Cover your table with a drop cloth or scrap cardboard to protect it from the stain.
Because wood stain can have strong fumes, work outside or in a well-ventilated space. Follow the safety steps on your stain container.
Apply the Dark Wood Stain
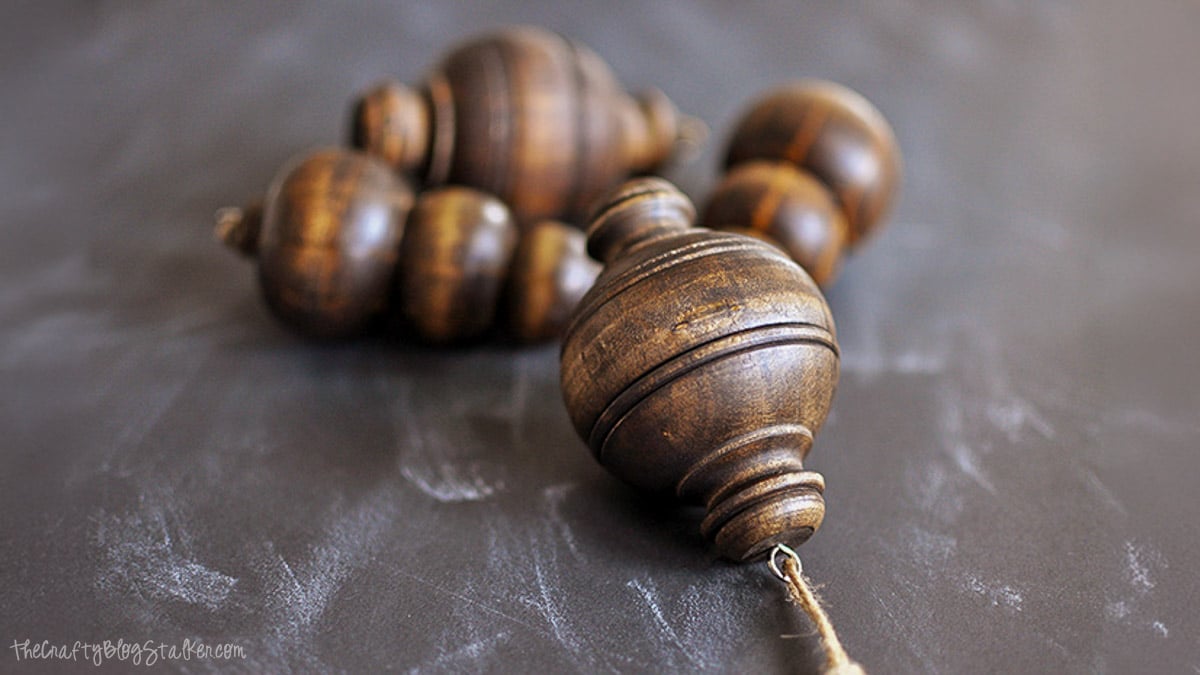
Use a foam brush to apply the dark walnut stain over the ornament.
Be sure to get the stain into all the little cracks and carved lines. Those details are what make these ornaments look so pretty!
Once the wood is covered, use a clean cloth to wipe away the extra stain. Let the stain soak into the wood without leaving thick, wet spots on the surface.
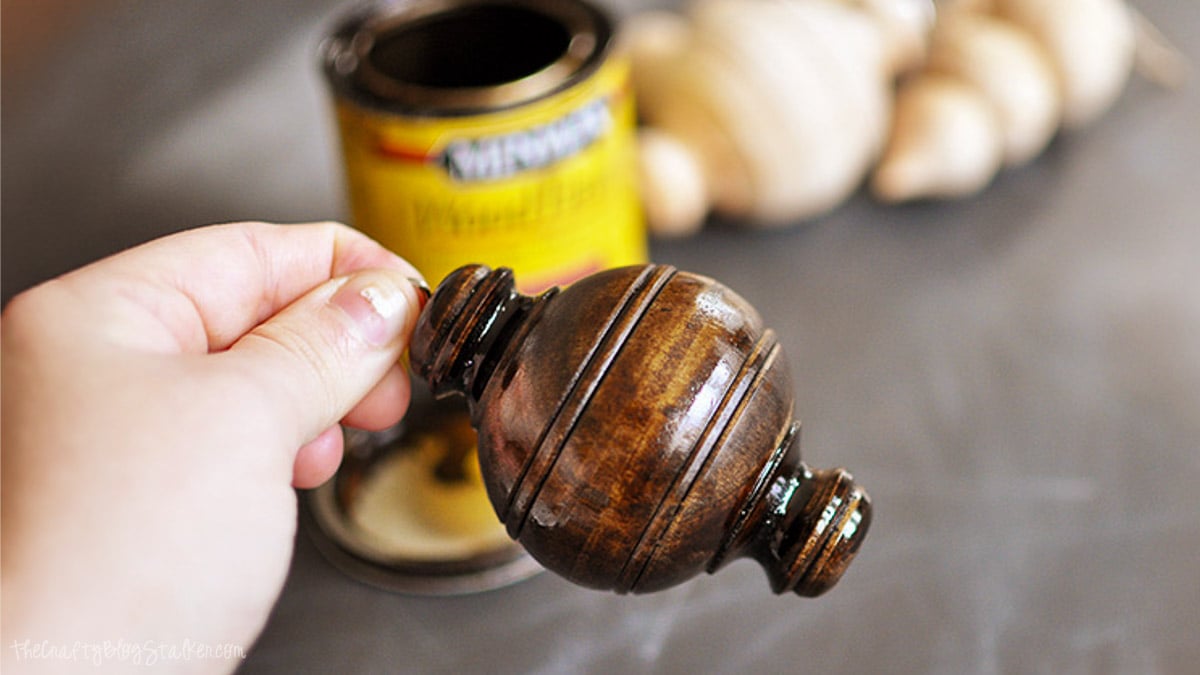
Don't forget to check the edges and any small grooves where stain may collect.
Set the ornament on a protected surface and let it dry fully, following the time listed on your stain container.
Handle used stain cloths as directed on the label. Some oil-based stain rags can catch fire if they are left in a pile.
Add White Paint
Once the stain is fully dry, add the white paint.
Grab a clean foam brush and dip just the tip into your white acrylic paint.
You only need a tiny bit of paint for this step. Dab most of it off onto scrap paper before touching the ornament.
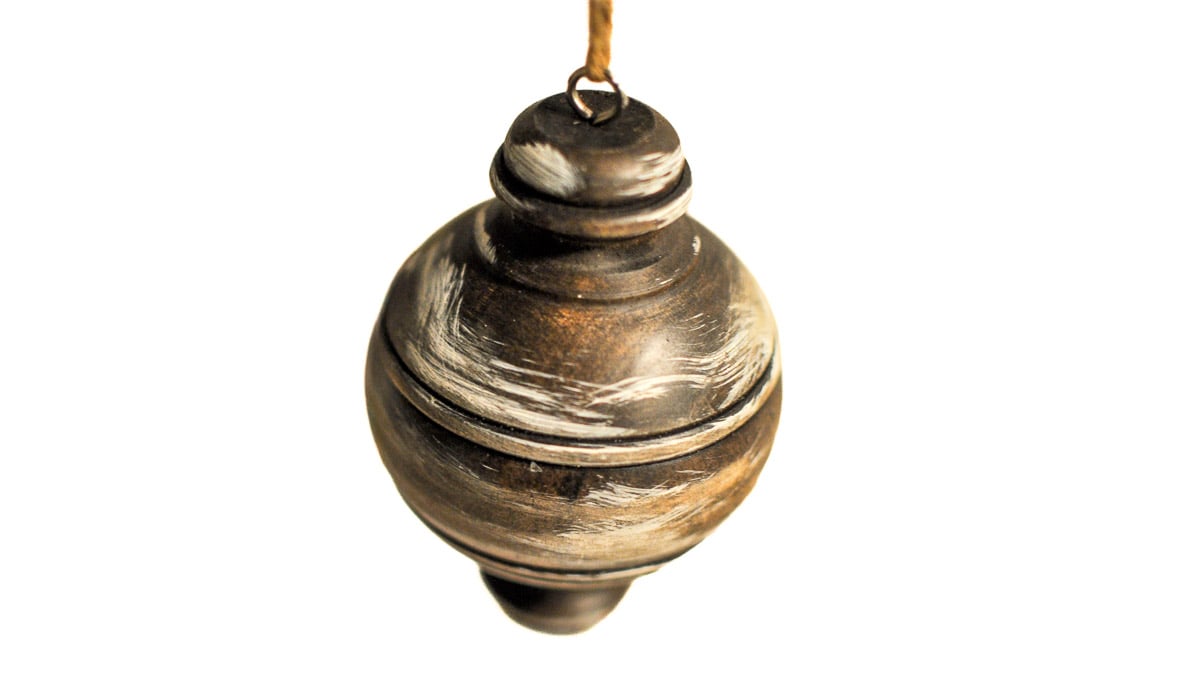
Lightly brush the white paint over the raised parts of the wood. Let some of the dark stain peek through so your ornament has that pretty, worn look.
This is called dry brushing, and it's a great way to add a little color without covering the wood.
Don't worry if every brushstroke looks a little different. A bit of uneven paint just adds to the rustic charm!
Let the white paint dry before moving on.
Sand for a Distressed Finish
Once the white paint is fully dry, grab a piece of 220-grit sandpaper.
Gently rub the sandpaper over the painted areas to remove a little of the white paint.
Focus on the edges, corners, and raised details where paint might wear away over time.
You don't need to sand very much. Just a few light passes will let the dark wood show through and give your ornament that old, loved look.
Wipe away any sanding dust with a clean, dry cloth.
If you sand off too much white paint, just add a little more with your foam brush and try again. No worries!
That's it! Your stained wooden Christmas ornaments are all done and ready to hang!
Add a Hanger and Decorate
If your ornaments came with twine hangers, they're ready to go.
If not, thread a piece of twine or ribbon through the hole at the top and tie the ends together.
I love using twine because it looks so nice with the dark stain and white paint. But you can use ribbon or yarn too if you like!
Hang your finished ornaments on your Christmas tree, add them to a wreath, or tie them onto wrapped gifts for a little extra handmade touch. There are so many ways to use them!
You could even make a set to give as a Christmas gift. They would be so sweet for someone decorating their first Christmas tree in a new home!
I love how these turned out. They fit right in with my rustic woodland Christmas theme!
Frequently Asked Questions
I used dark walnut wood stain because I love the deep brown color. It looks beautiful with white paint and gives the ornaments a warm, rustic finish. Use a lighter stain if you want a softer look.
Yes! You can use acrylic paint over wood stain once the stain has fully dried and cured as directed on the label. If the surface still feels sticky or oily, wait longer before painting.
Use a foam brush with a very thin coat of white paint and lightly brush it over the stained wood. Once the paint is dry, gently sand the edges and raised areas with fine sandpaper. This lets the darker wood show through and gives the ornament a worn look.
Yes! You can use brown acrylic paint instead of stain for a similar look. The paint will cover more of the wood grain, but you can still add white paint and sand it for a rustic finish.
You don't have to seal these ornaments if they will be used indoors and handled with care. For extra protection, you can add a clear finish that works with both stain and paint. Test it on a small spot first to make sure it doesn't change the colors.
White is my favorite because it stands out against the dark wood, but you could also try cream, soft green, red, or gold. These colors would look lovely on a classic Christmas tree.
Need help with this project?
Click a button below to ask AI for other paint and stain color combinations that would look good on wooden Christmas ornaments.
More DIY Christmas Ornaments
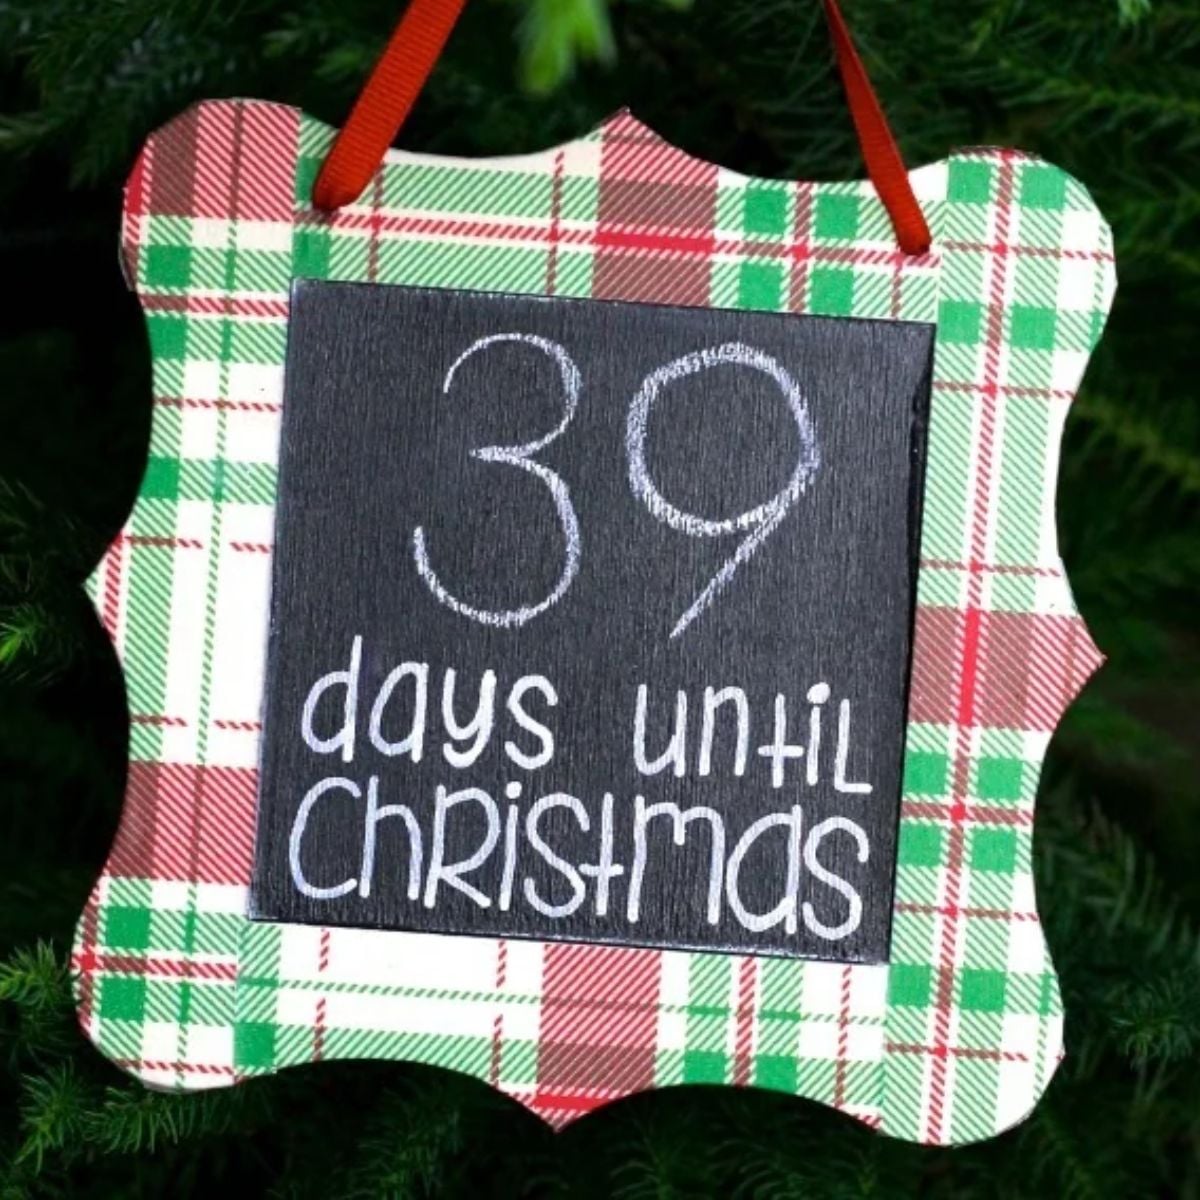
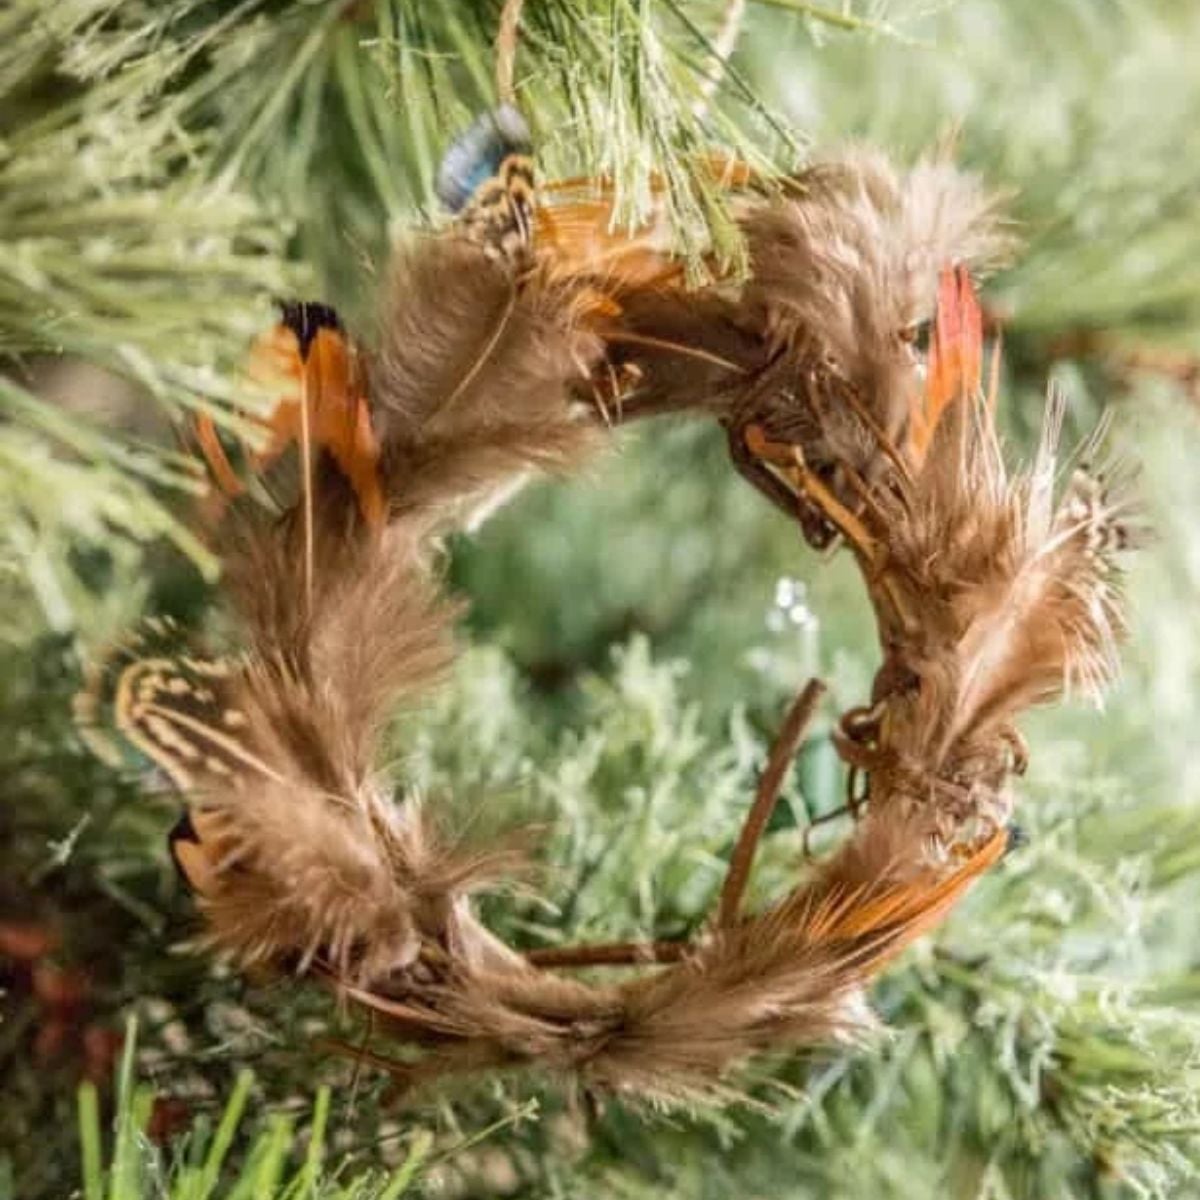
I love making handmade ornaments. There are so many fun ways to decorate a Christmas tree!
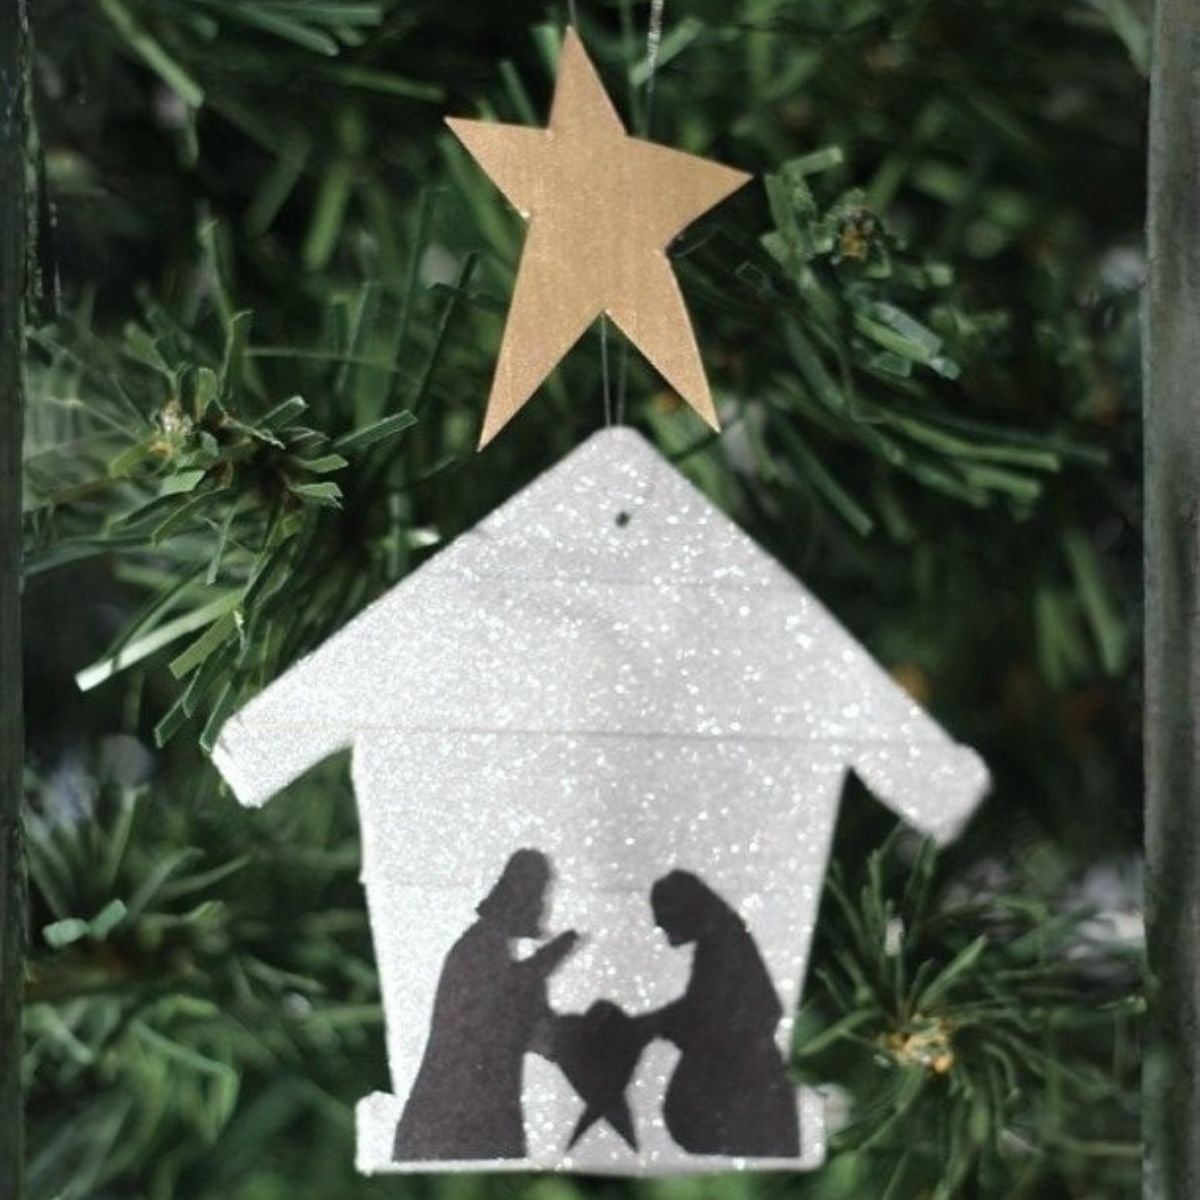
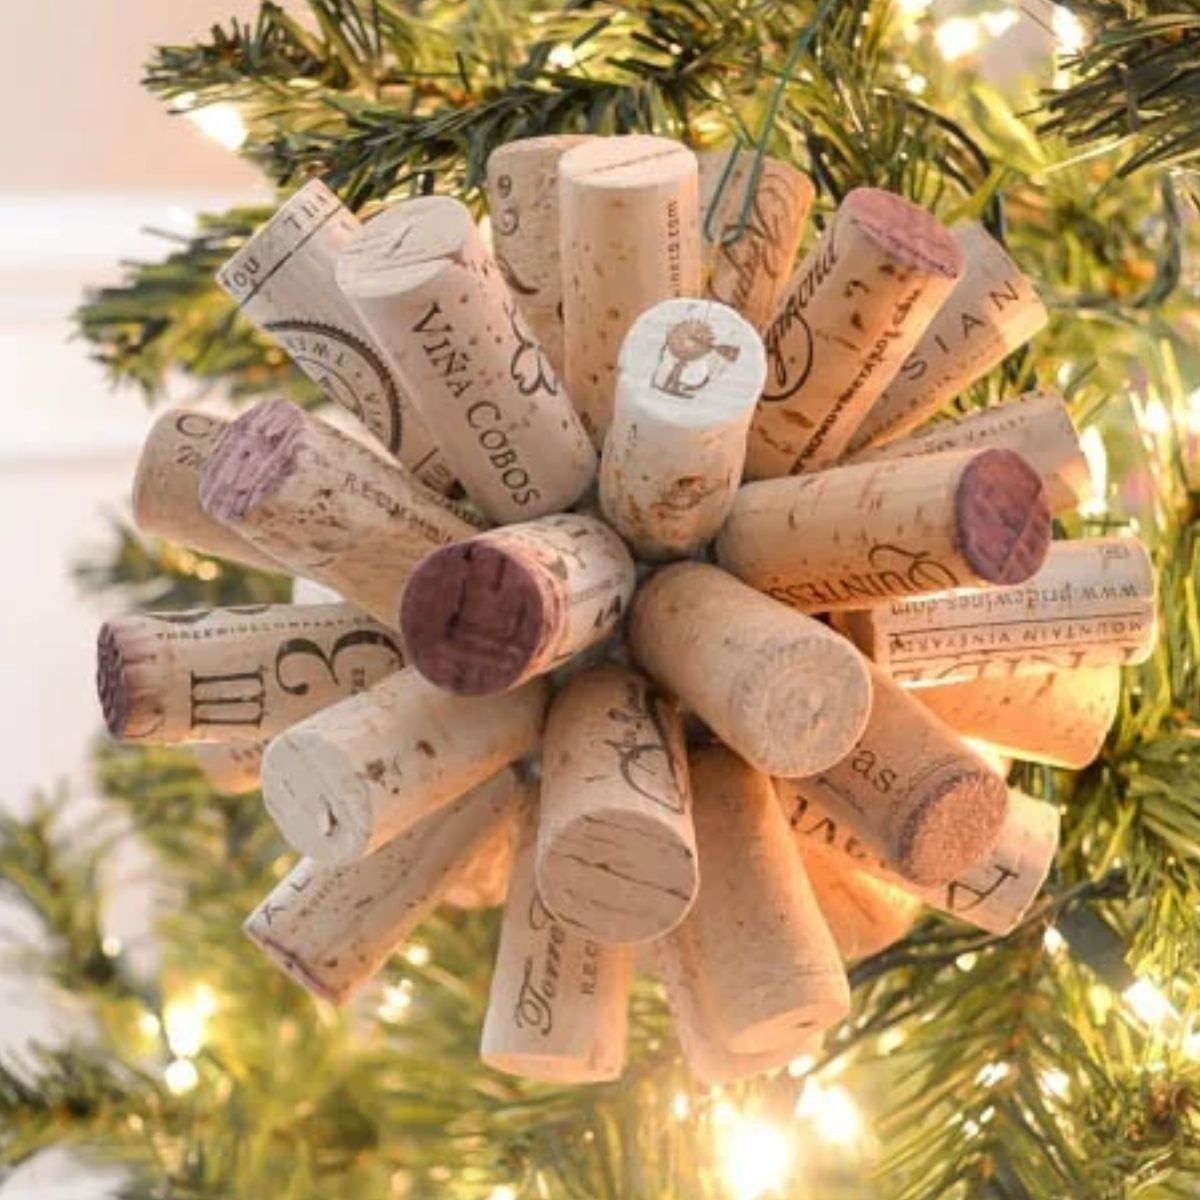
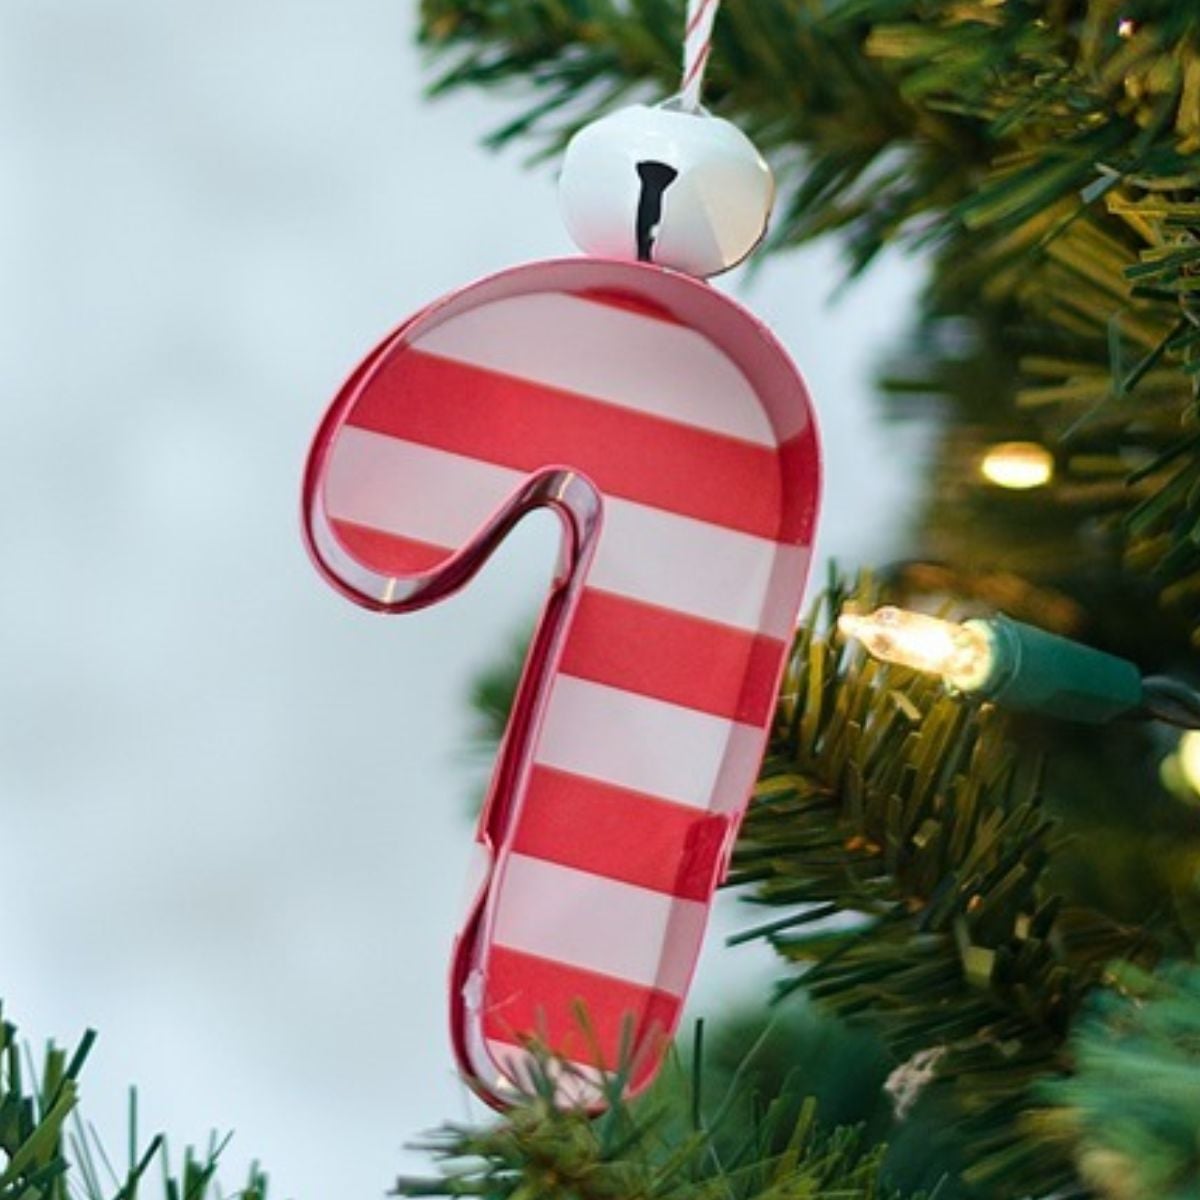
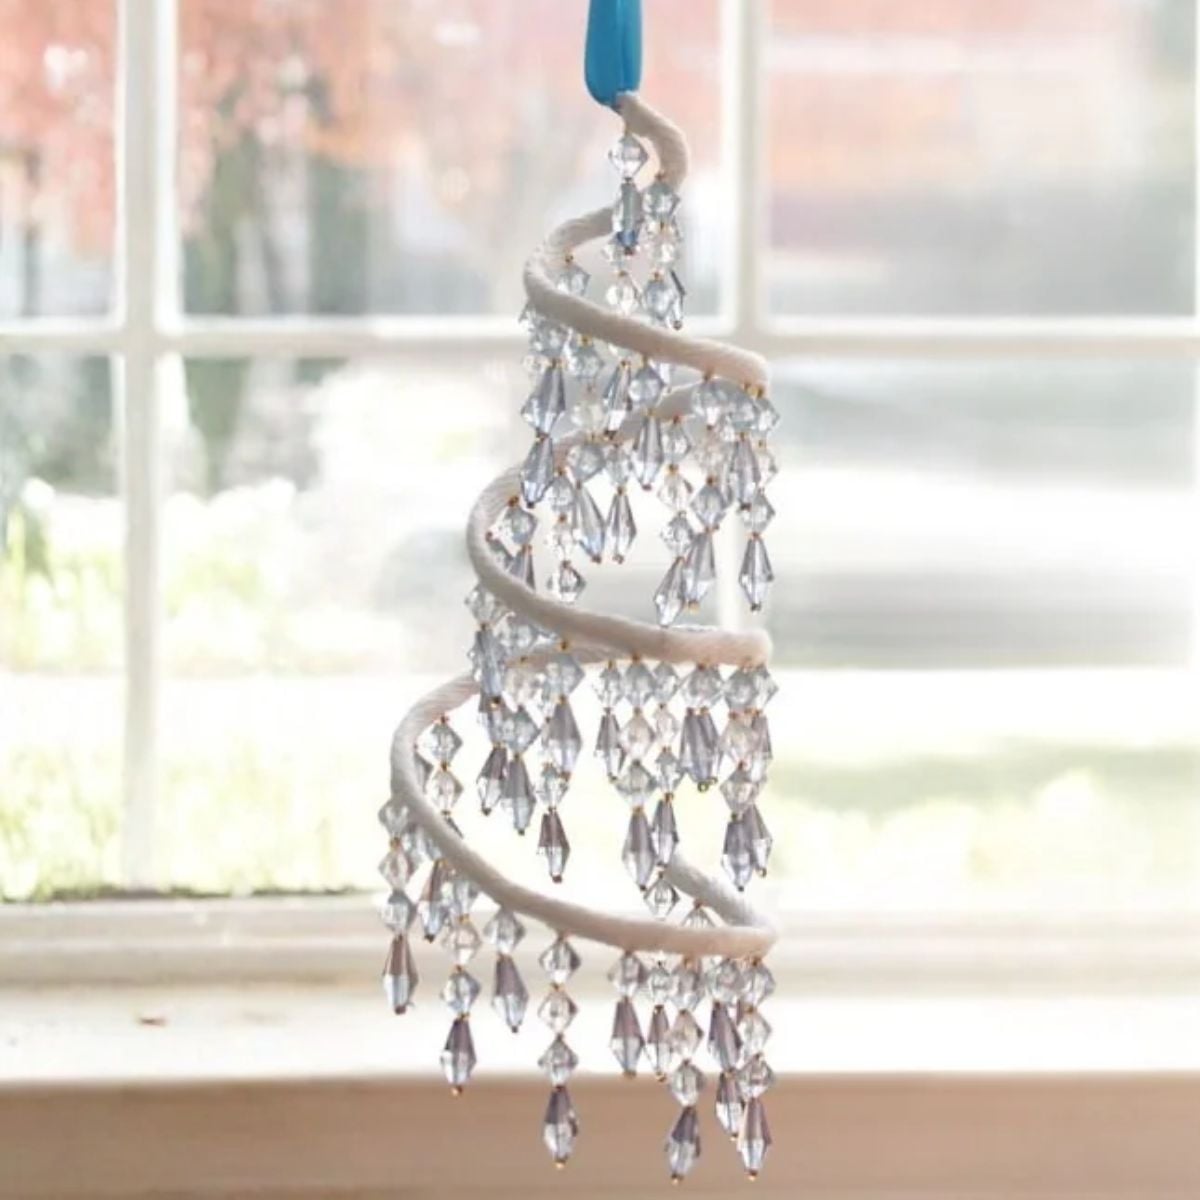
Here are a few more ornament ideas from other creative bloggers and my own craft projects.


Hi, I'm Katie!
I'm so glad you're here. Want to make something fabulous? I'm here to help!
Marie@The Interior Frugalista
I picked up a bunch of those awesome wood ornaments at Michael's too. Love the stained idea! Doing a little something different with mine which is what is so cool about these ornaments - so many possibilities.
Linda @ It All Started With Paint
My absolute favorite!!! I ADORE everything about this project -- and your photography is just stunning!
🙂 Linda
Lisa@2perfectiondecor
Great idea!! I didn't know Michaels sold unfinished ornaments like that. Can't wait to try! Thanks!
Shelly
So, so pretty! I love the vintage rustic look! Thanks for sharing!
Ashley@Biggerthanthethreeofus
I really like these and they are so unique. I think you could do a ton of different plays on these and they would just be adorable.
Valerie
So I realize that this post is four years old but these are SO CUTE! Any idea where I can find the ornaments now? I looked at Michaels this weekend and don't think they sell them anymore 🙁
Olivia
SO pretty! I love it! Snowflakes are such classics. I’m always drawn to them