

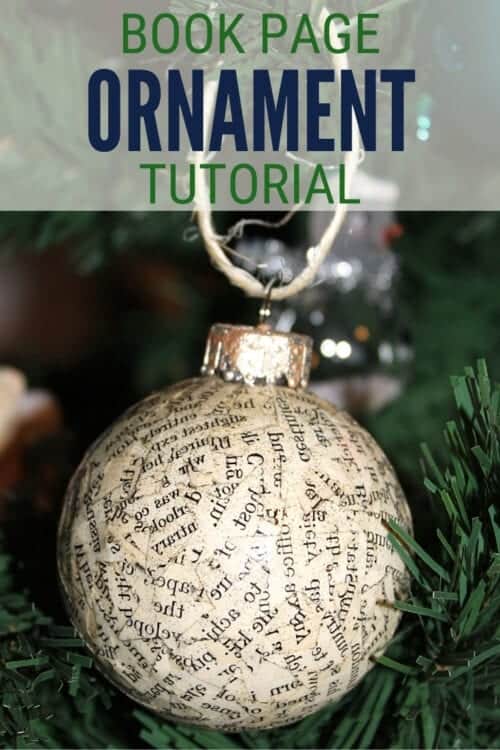
Are you a book lover? Decorate your Christmas Tree with a handmade Book Page Christmas Ornament.
Every year my family does a Handmade Christmas Ornament Exchange, and it is my very favorite family tradition!
How an Ornament Exchange Works:
There are 8 of us who participate, so that means everyone makes 8 of the same ornament.
Then we get together and exchange our ornaments and everyone ends up with 8 different ornaments!
We usually do this around Thanksgiving, but due to Covid-19, this year everyone is shipping the ornaments to me. I will then sort and ship them back. This tradition is so important that I am not going to let a pandemic get in our way.
These ornaments have become a keepsake to me and I love decorating my tree every year pulling out the ornaments from years past. It really is a fun tradition.
Supplies You'll Need to Make This Craft:
Some links may lead to similar items when the exact item is unavailable.
How to Make Christmas Ornaments:
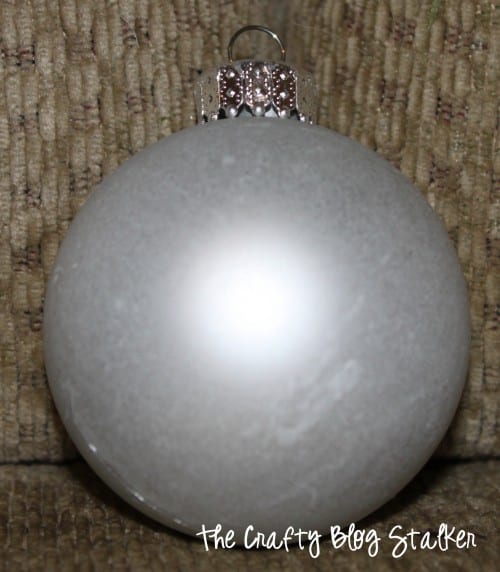
Start with a plastic ball ornament. I like that it won't break ensuring that my ornament will last even longer.
The old book that I used was purchased at my local goodwill.
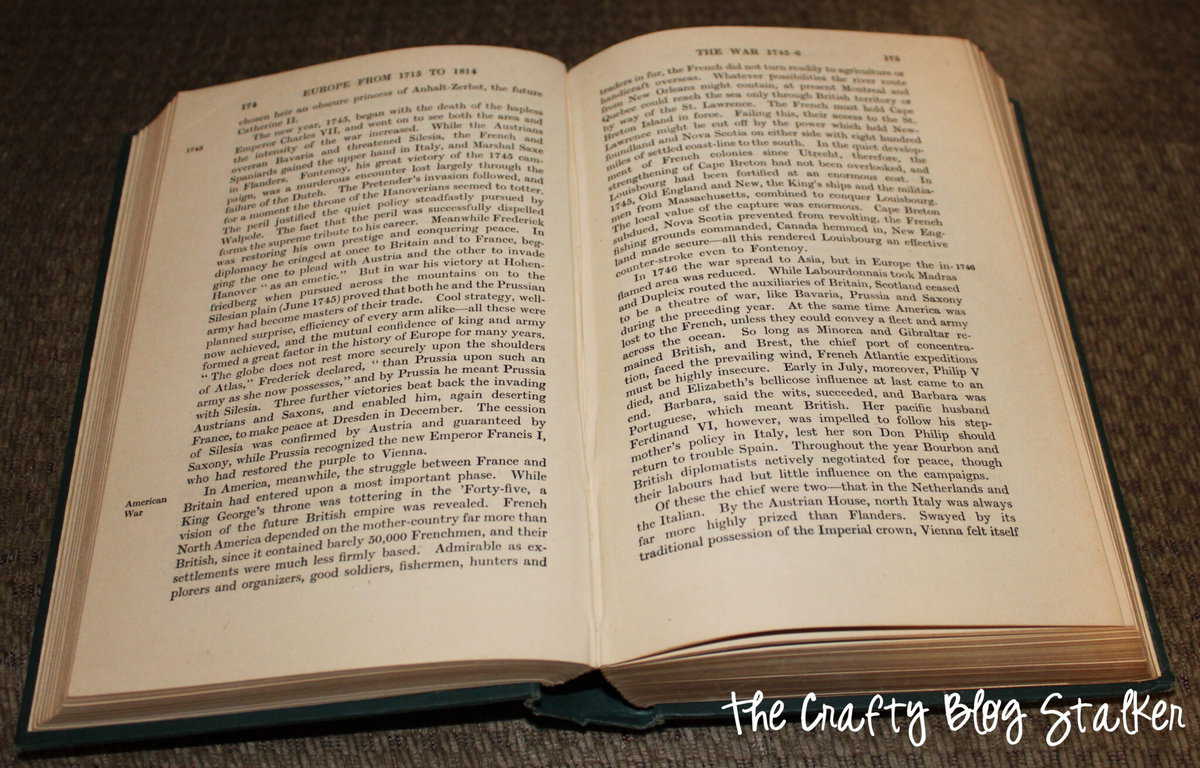
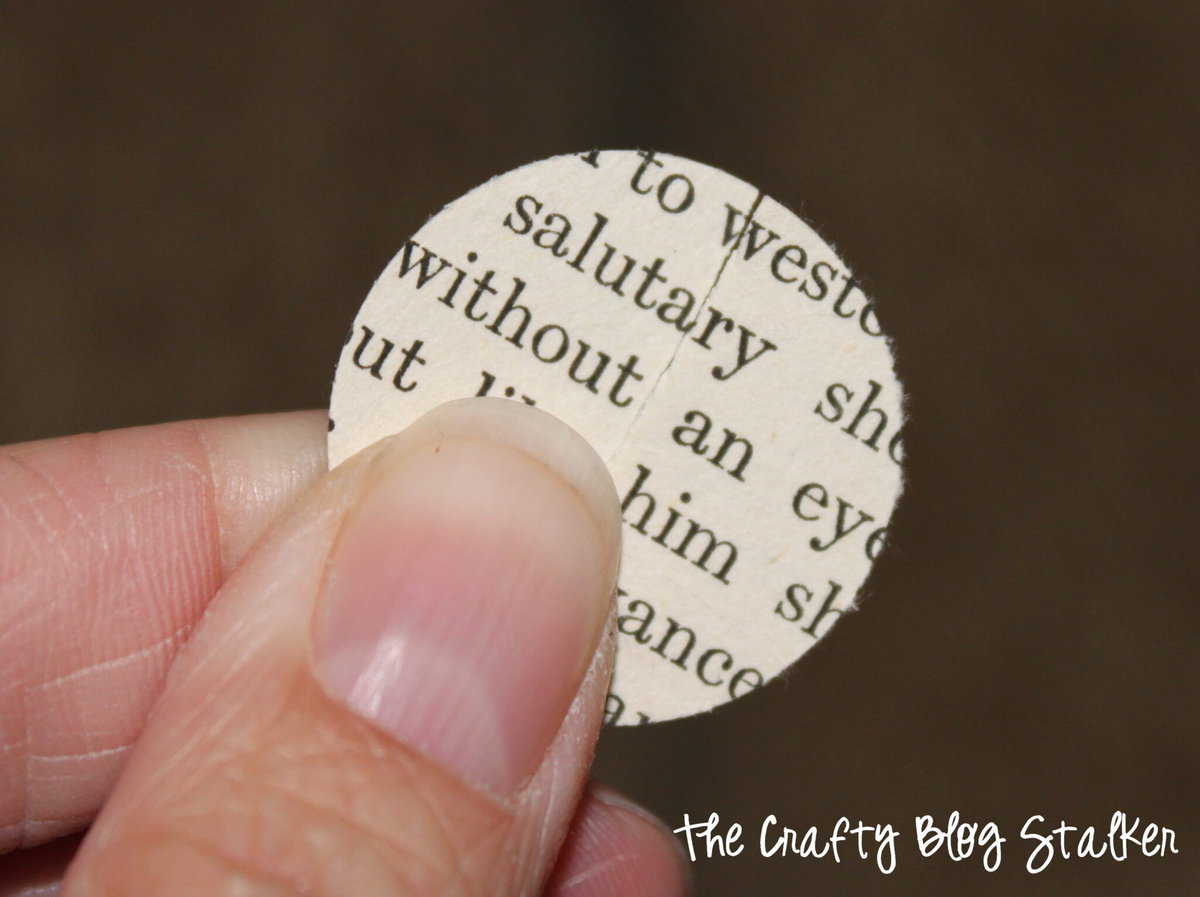
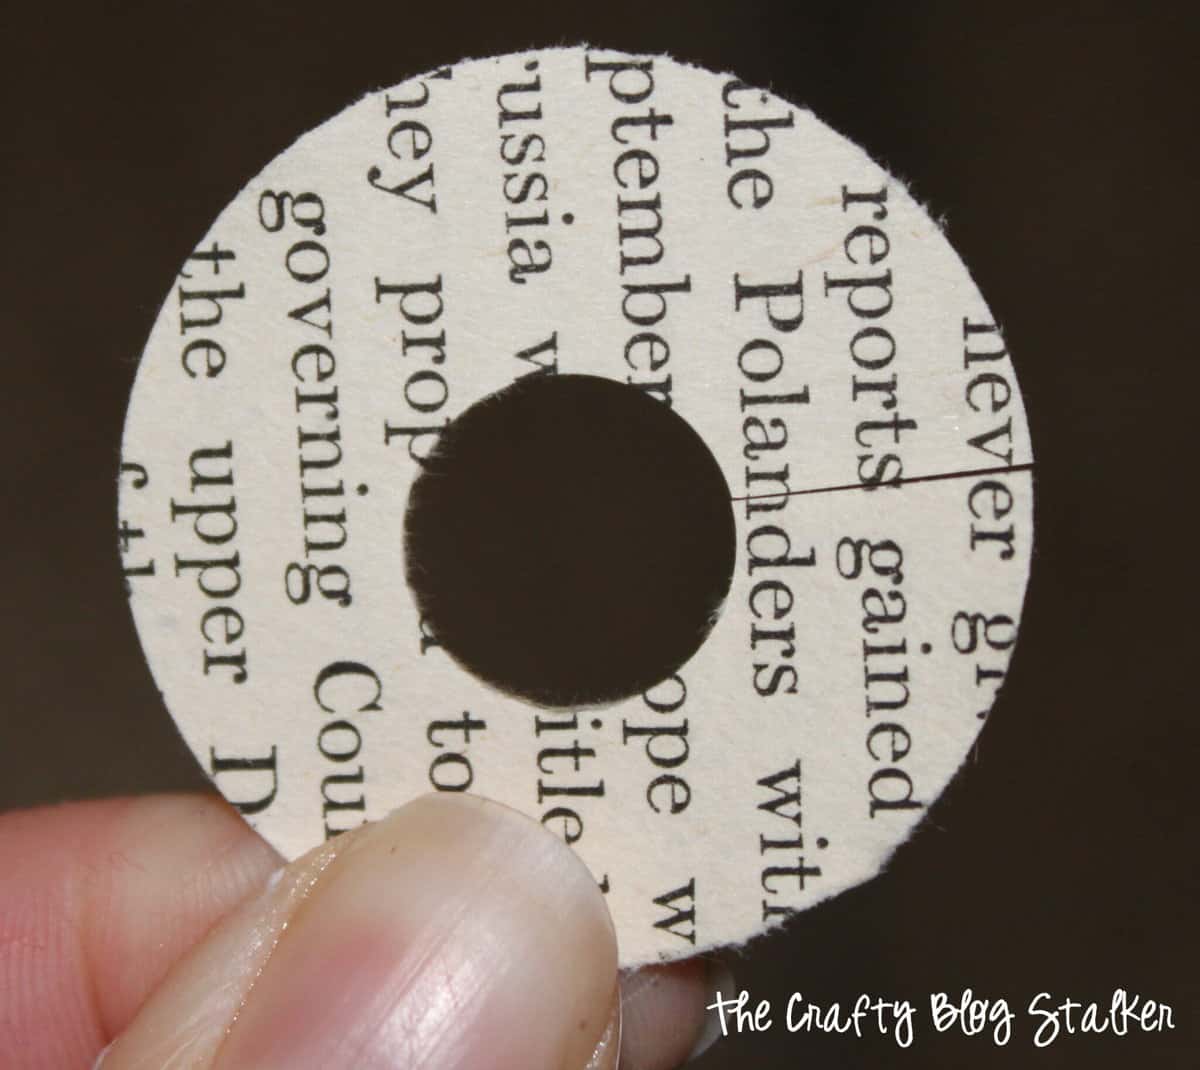
Tear the pages out and begin punching circles with the paper punch.
Cut a slit halfway through the circle with a pair of scissors. This will make the paper circle look nicer on the round ornament.
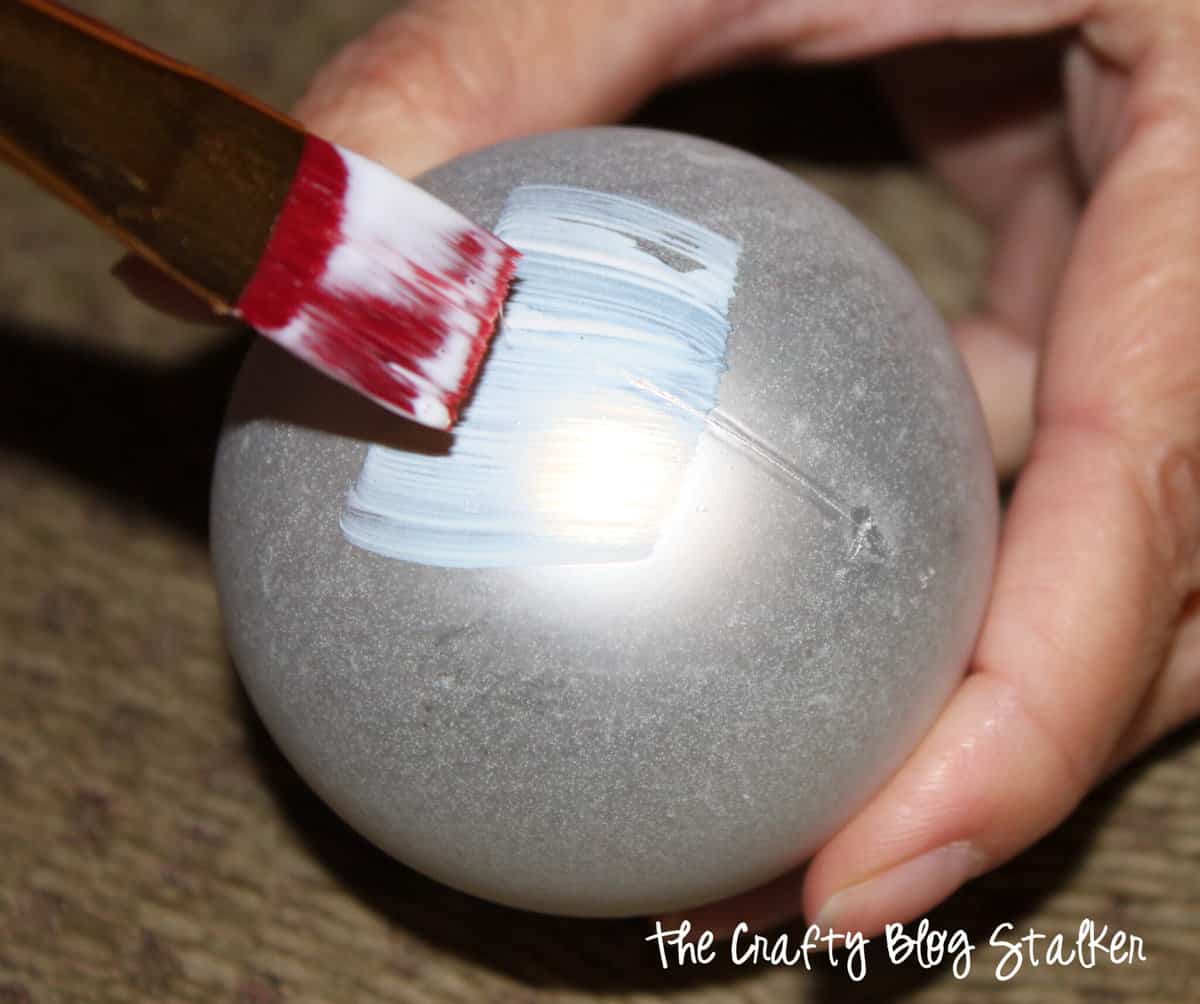
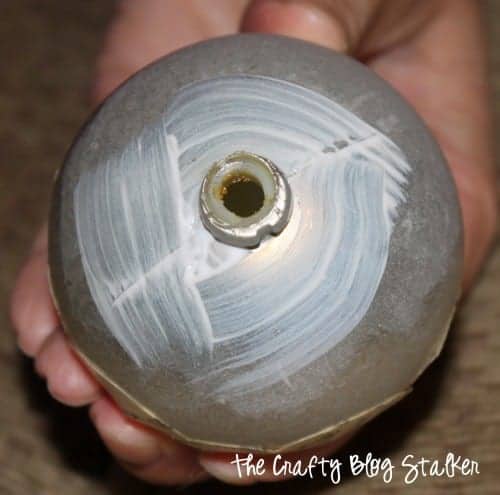
Dip the paintbrush in Mod Podge and paint a small area.
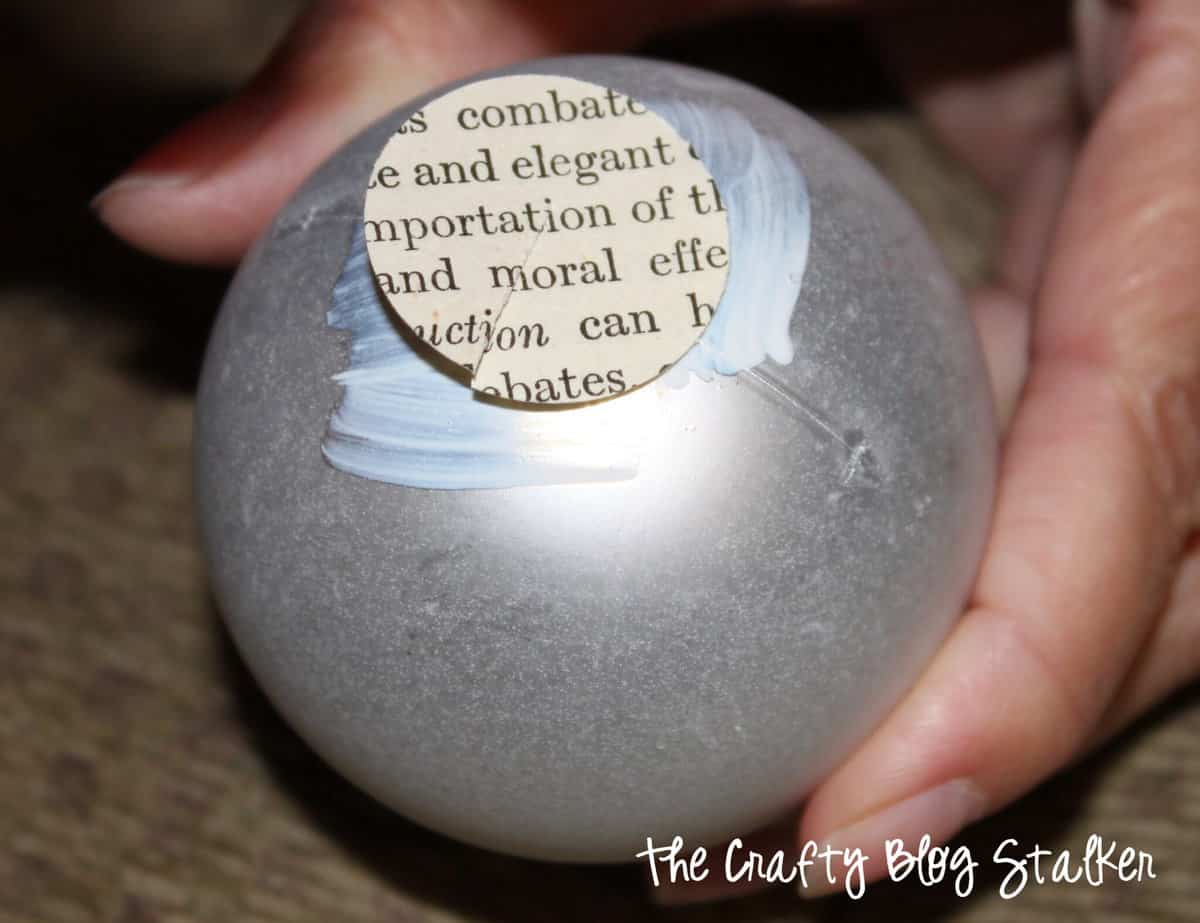
Apply one of the paper circles and press it down.
Paint another layer of Mod Podge over the top of the paper circle as well.
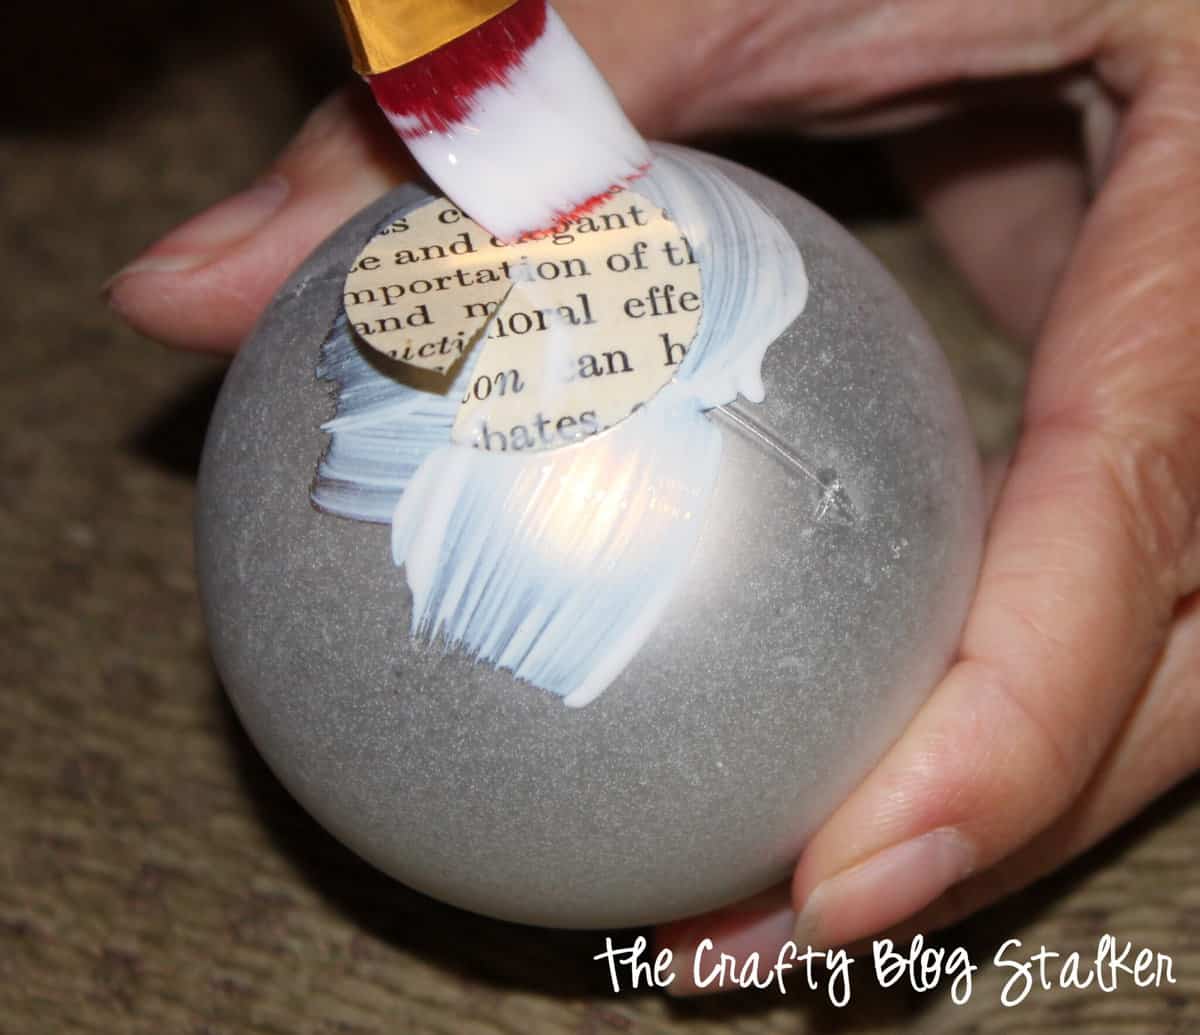
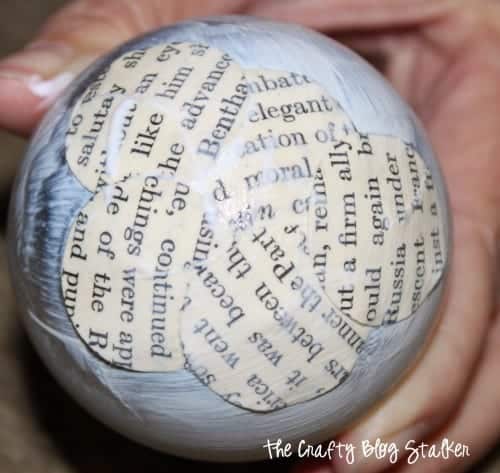
Continue moving around the ornament to cover it completely.
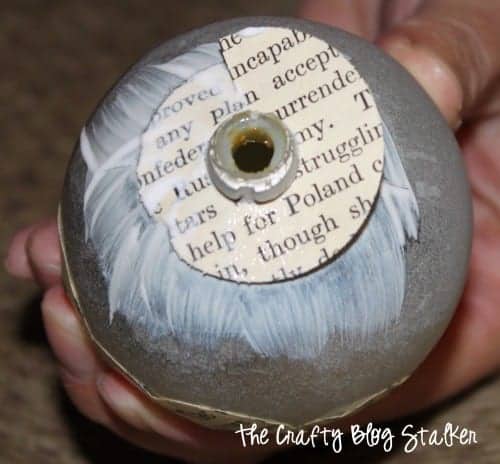
When you get to the top, cut a small hole in the center of one of the paper circles. The size of this hole depends on the size of the top of your ornament.
With Modge Podge paint around the top of the ornament.
Put the paper circle around the opening. Again, cover with another layer of Modge Podge.
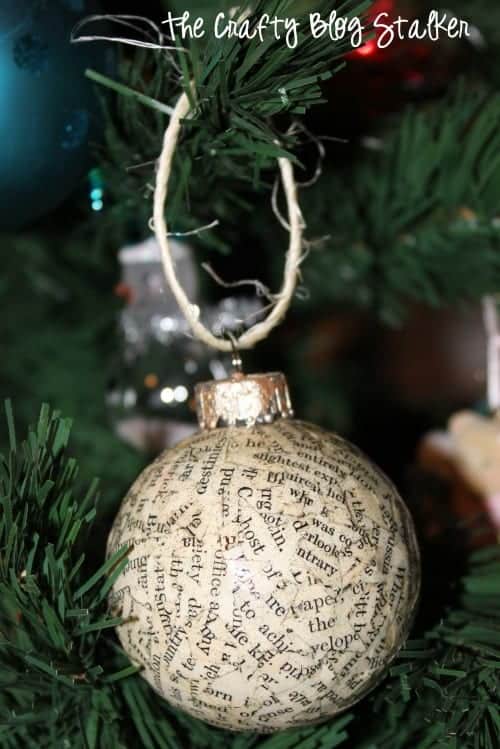
When the ornament is dry, apply a layer of glitter spray paint to give the ornaments some sparkle. (It's hard to see in the picture.)
I really do love how my ornaments turned out and I am super excited to exchange them!
When you make these Christmas ornaments please share a photo! We'd love to see them.
Crafting Essentials
- The Cricut Cutting Machine is easily my favorite crafting tool. We use it in so many of our tutorials!
- These MakerX Crafting Tools are perfect for keeping in the craft room and are always ready when needed!
- This Fiskars Paper Trimmer is easy to use and cuts nicely without frayed edges.
- These Scotch Precision Scissors cut like a dream, and you get multiple pairs in a pack!
Ella
This is amazing ! And I love how simple it is to make too – definitely something I could do with my toddler. Thanks for sharing!
Katie
I am so glad that you love it. It would be a fun family project. ❤️
Linda
What size ornament did you use? I love this idea. I’m hoping to make some to give away at a book convention.
Katie Adams
I am sorry but I do not know the exact size without having to dig out my Christmas ornaments from storage. Although, this technique should work for any size ball. I think this is a great gift for a book convention!