This post may contain affiliate links. For more information, please see our disclosure policy.
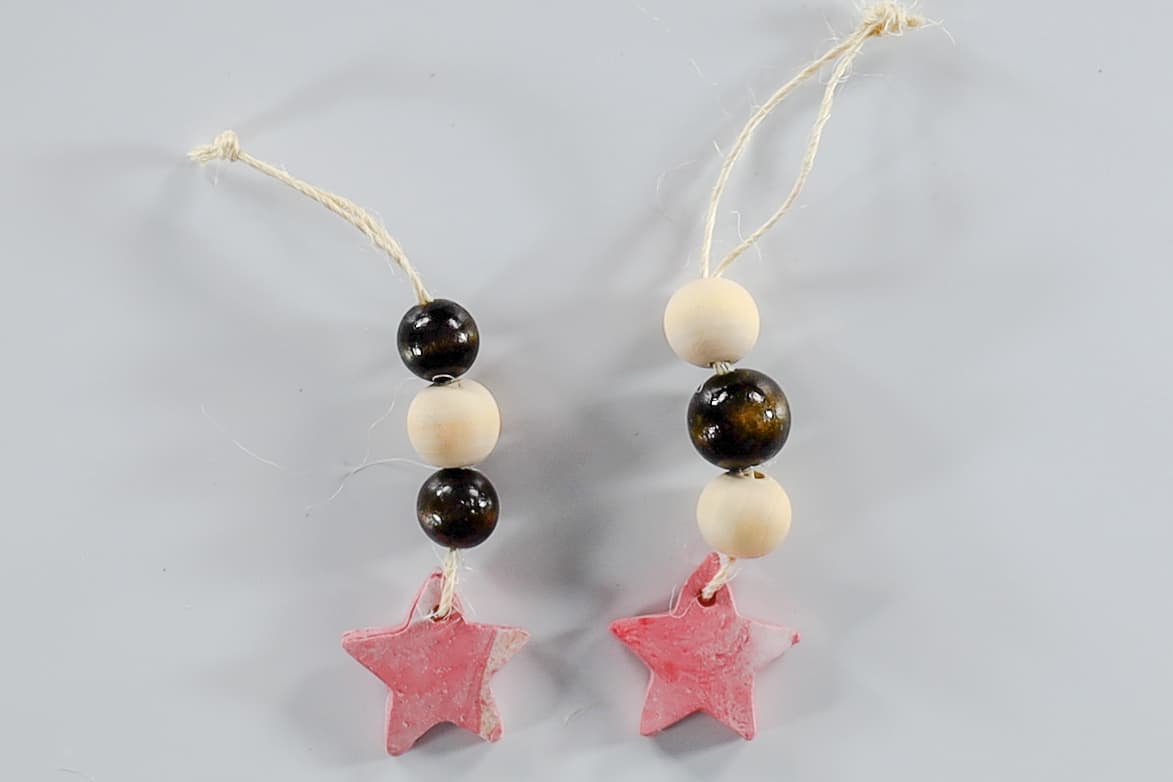
Make your own Christmas beaded star ornaments with wood beads, baking clay, and a few easy steps. This craft allows you to customize the color, and size of your ornament.

Making my own Christmas decorations is one of my favorite holiday traditions!
It is so fun pulling them out each year, and recalling the memories as I place them on my Christmas tree.
This ornament would be great to make with toddlers or preschool-aged children. They love to play with clay!
Craft Tutorial Video:
Like videos? I have a video tutorial for you! Please subscribe to my YouTube Channel so you don't miss out on any future video tutorials!
Supplies You'll Need to Make This Craft:
This post contains affiliate links.
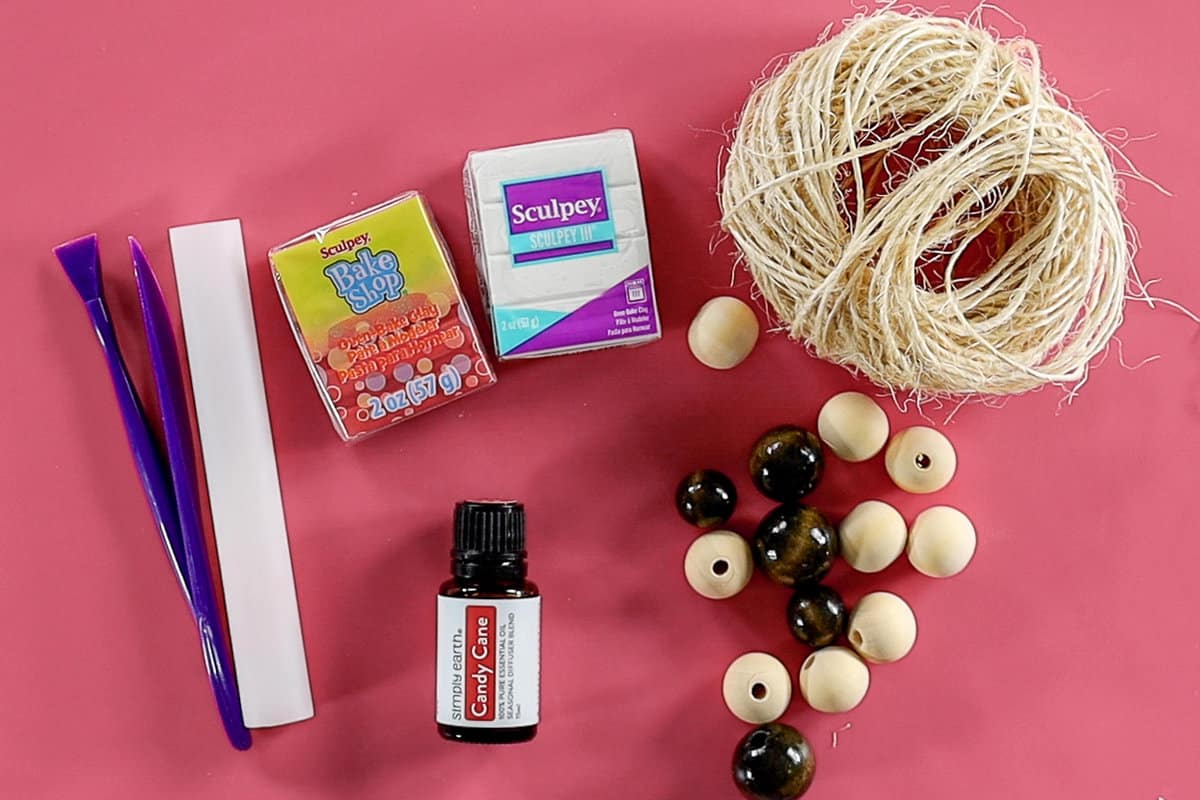
- Oven-Bake Clay Red, Glitter Gold, and White
- Clay Tools
- Star Mini Cookie Cutter
- Twine
- Wood Beads
- Scissors
- Silicone Mat (optional)
- Candy Cane Essential Oil Blend (optional)
Combining the Clay:
When working with clay, I like to work on a silicone mat. It protects my work surface and it is super easy to clean.
For my mixture, I am using 1 ½ logs of white, ½ lot of red, and 1 log of gold glitter.
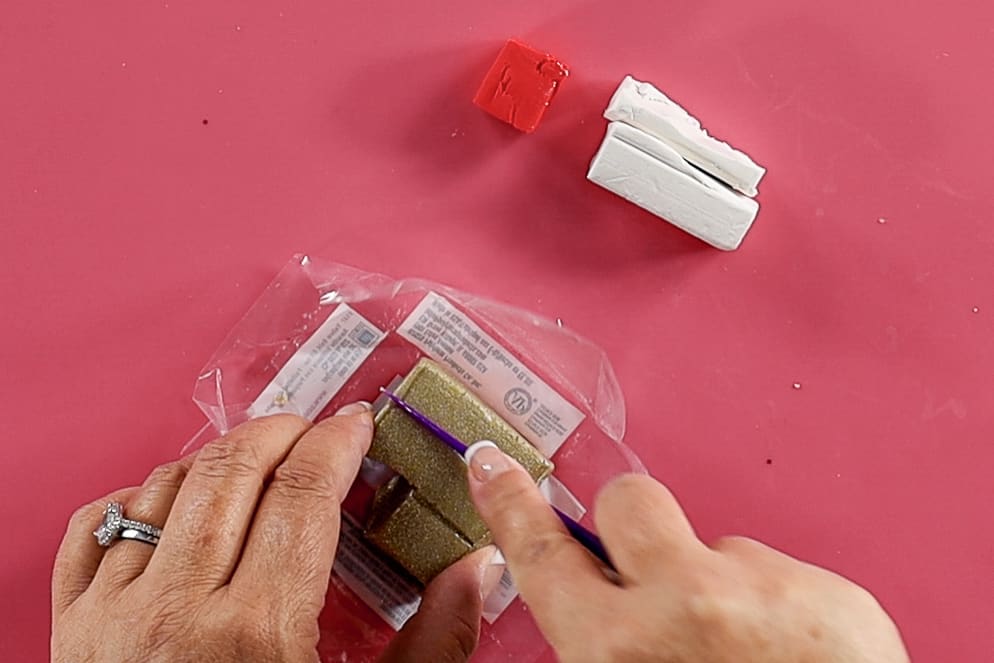
When you first start kneading the clay it is tough and hard to manipulate, but the more you massage it the more flexible and pliable it becomes.
I like to always start with my clay being shaped into a ball because then I know it is past the hard stage.
Next, roll the different clays into snakes that you then wrap around each other.
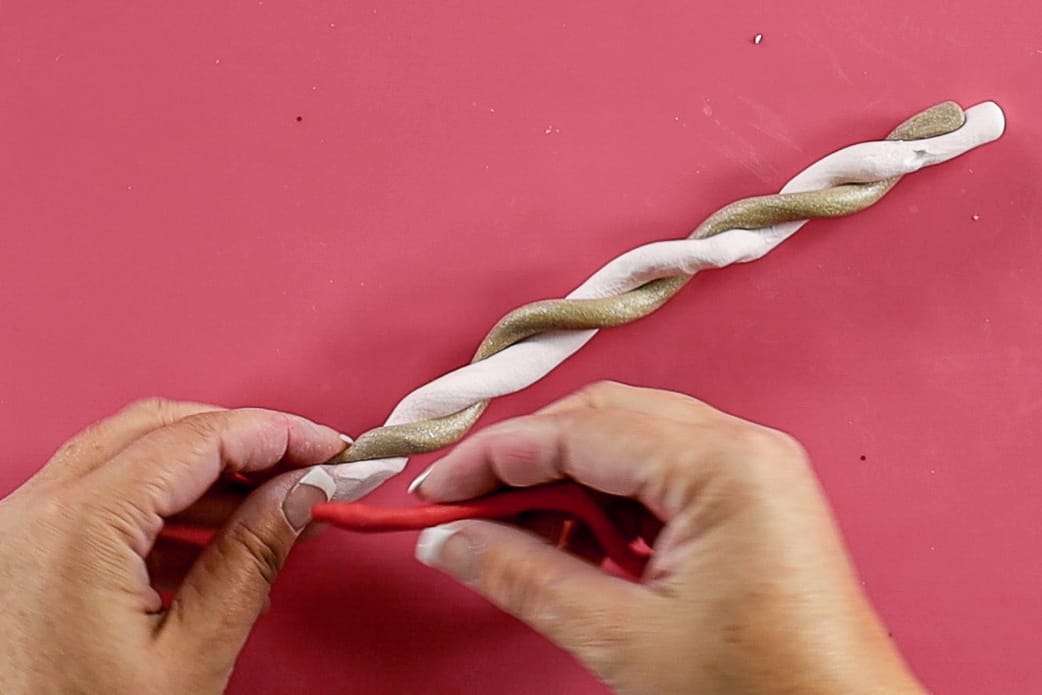
Then fold the twisted clay rope in half, and then in half again.
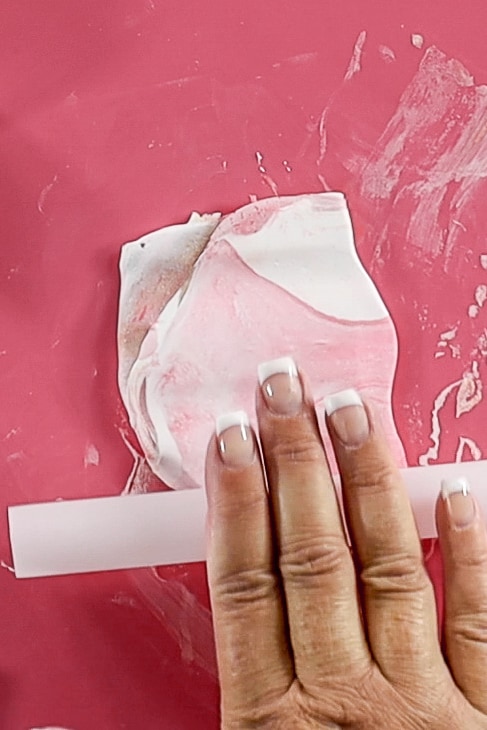
Begin rolling the clay out with a clay roller.
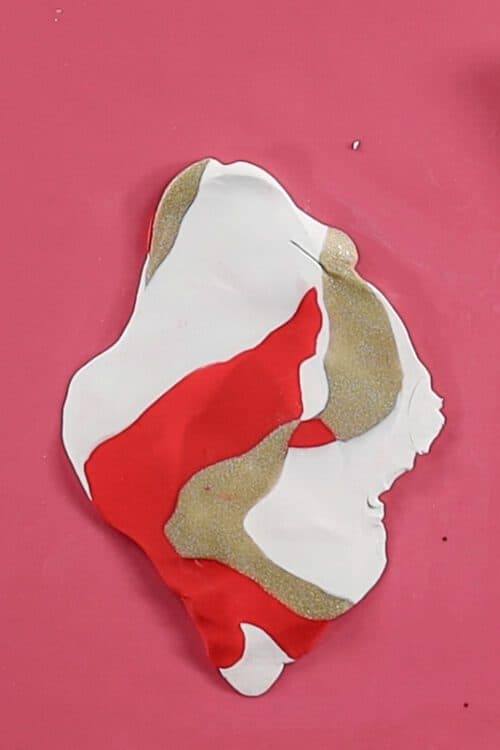
Add 8-10 drops of Candy Cane essential oil blend, on top of the rolled-out clay.
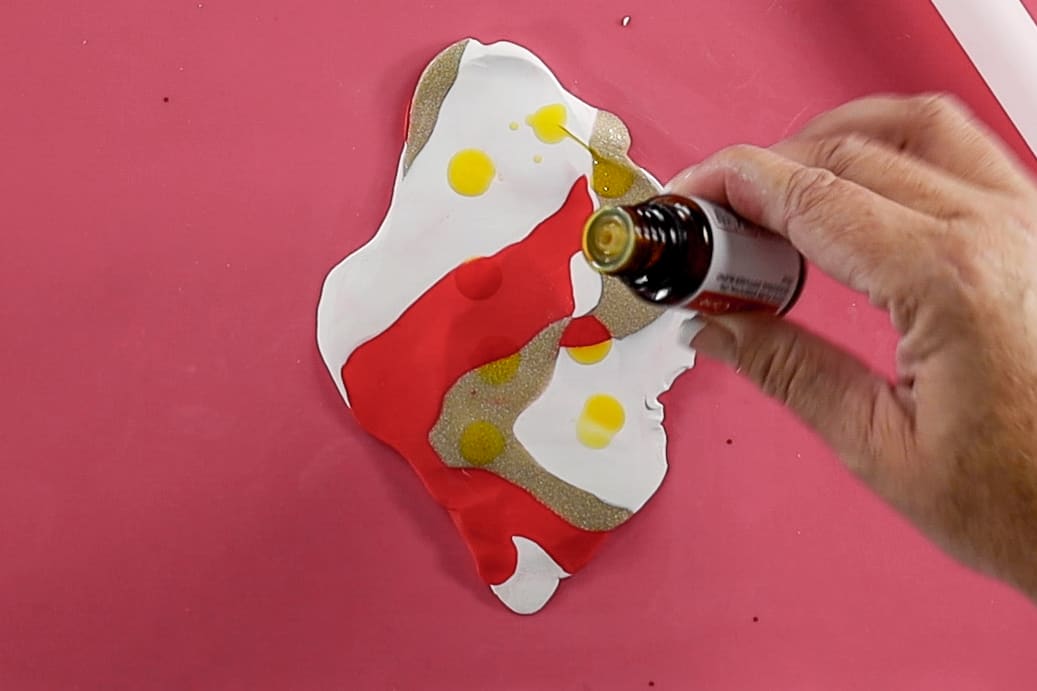
Fold the clay and roll it out at least two more times.
For the second time add 8-10 drops of the essential oil.
Again fold and roll out the clay.
If the clay becomes too wet, you can add a pinch of cornstarch to thicken the clay back up.
Making the Clay Star:
For the final time, roll the clay out nice and smooth with a depth of about ¼ inch.
Use the mini star cutter to cut the stars out of the clay.
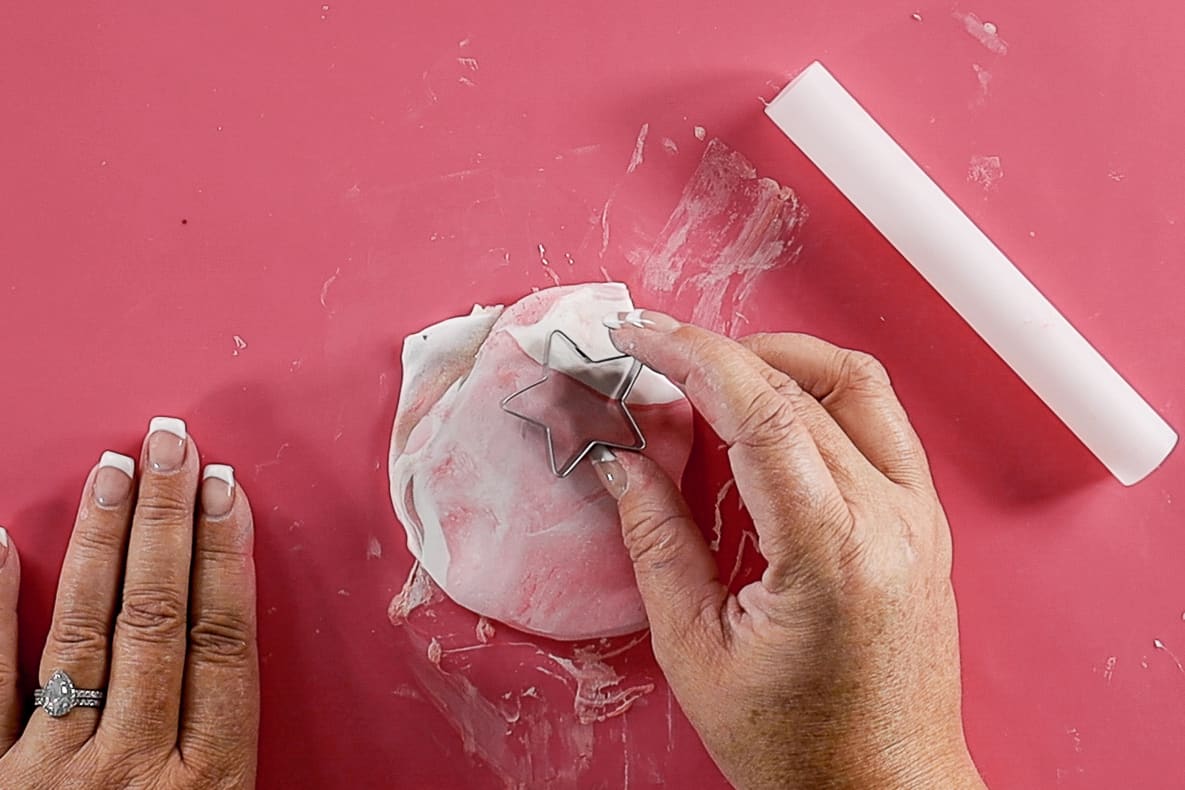
Gently push the stars out of the cutter with a finger.
If you leave a mark on the clay with your nail it is ok. Use the roller with hardly any pressure and go over the stars to remove any marks or flaws.
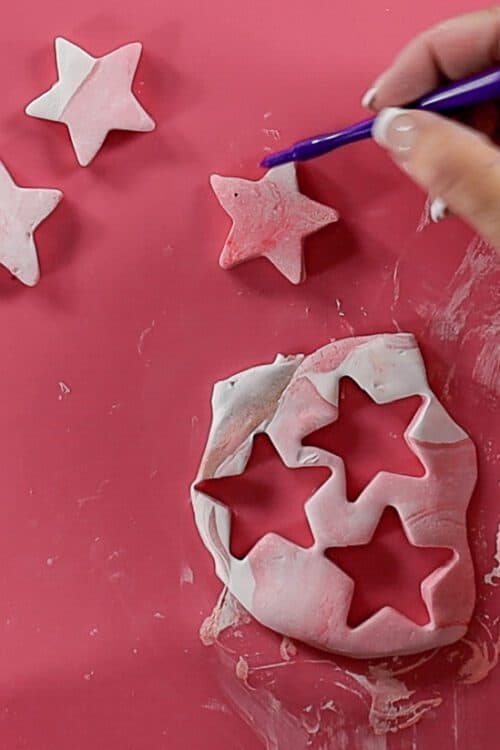
Using the hole maker clay tool, press the tool into one of the points of the star.
Turn the clay star over and poke the hole from the other side.
Baking the Clay:
Preheat your oven to 275°.
Set the clay stars on an ungreased cookie sheet and place the cookie sheet in the oven for 20 minutes.
Let them sit and cool before removing them from the cookie sheet.
Assembling the Ornaments:
To assemble, have your twine, beads, clay stars, and a pair of scissors all within reach.
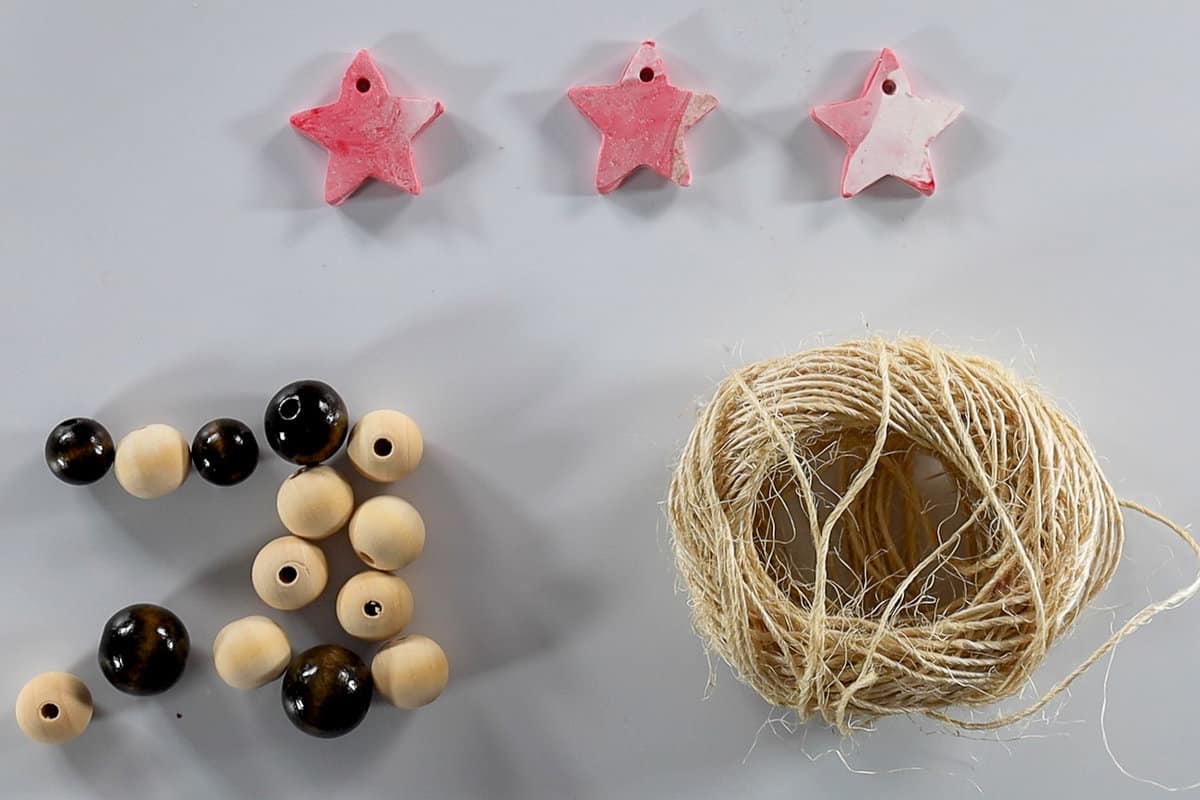
Cut a length of twine about 8-10 inches long.
String one end of the twine through the hole in the clay star.
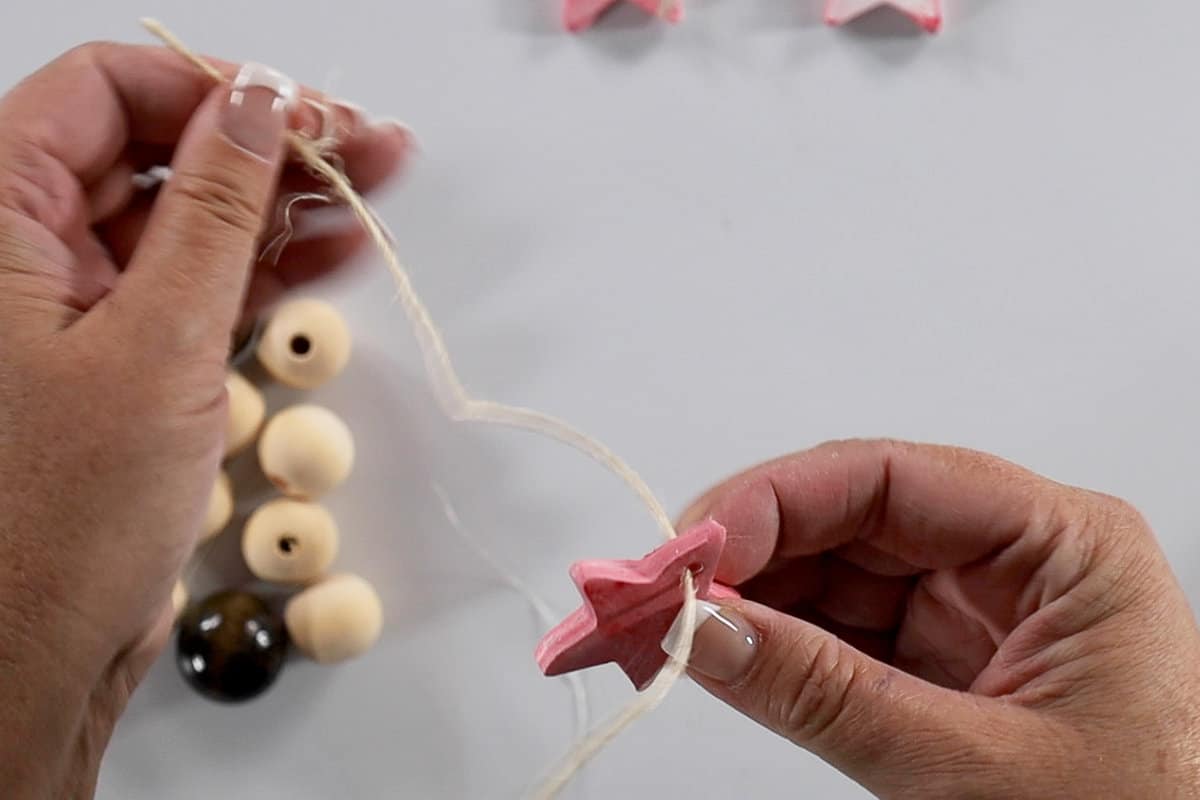
Pull the star to the middle of the twine, and fold both ends up to meet each other.
Thread both ends of twine through a wood bead.
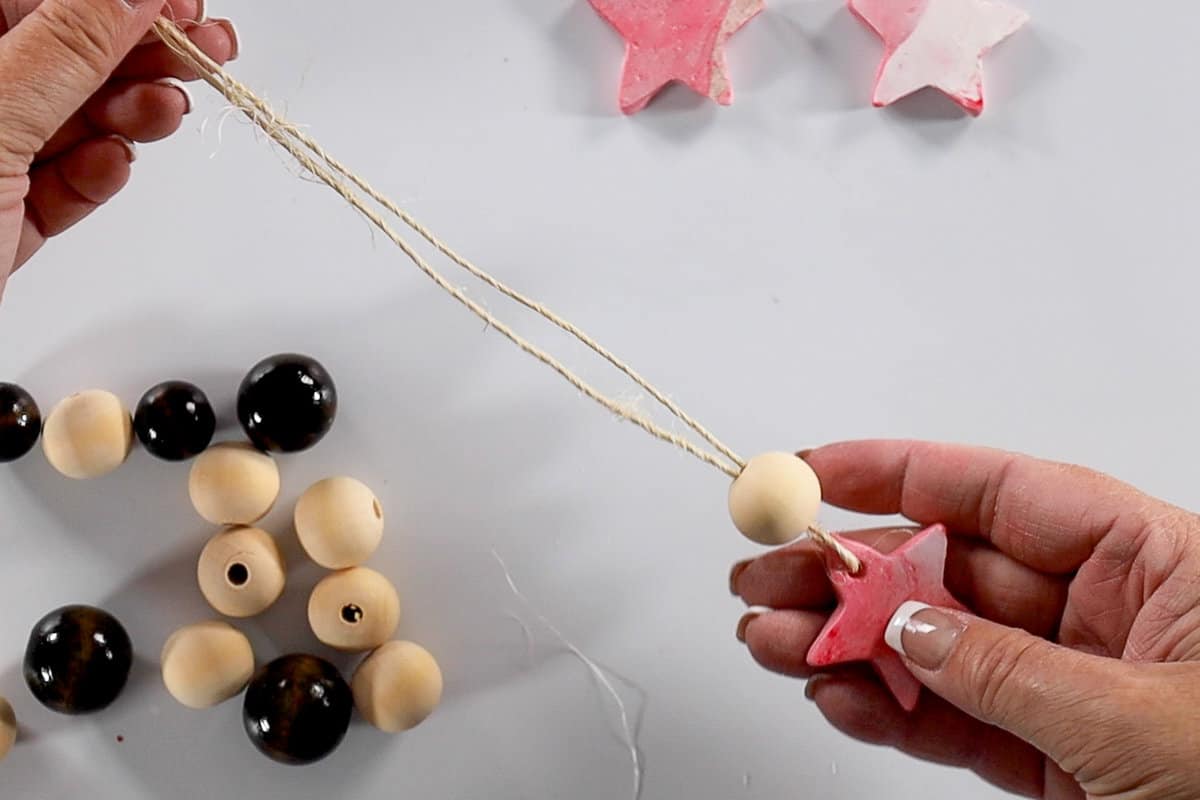
Add two more beads, threading both ends of the twine through the beads.
I had some stained beads that I alternated between the natural wood beads, but you can do it however you want.
Leave a couple inches of twine after the last bead, and then tie a knot at the end of the twine.
The extra bit of twine gives you a loop to hang your ornament.
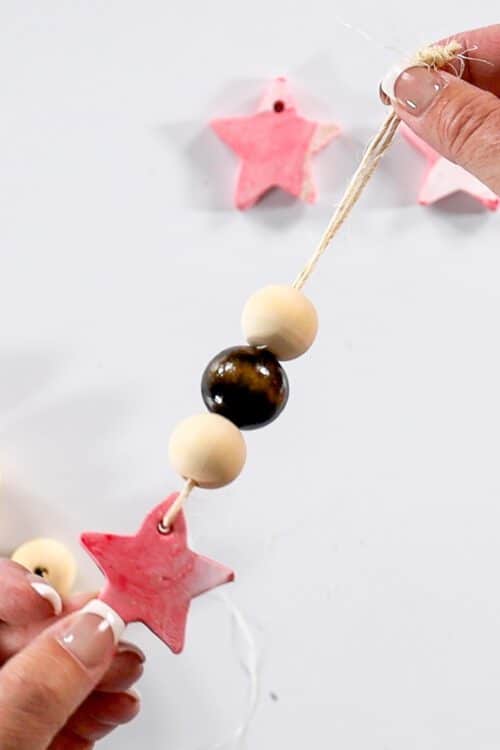
I think they turned out so cute! What do you think?
Don't forget, handmade ornaments also make great gifts!
Our Crafting Essentials:
- The Cricut Cutting Machine is easily our favorite crafting tool. We use it in so many of our tutorials!
- These MakerX Crafting Tools are perfect for keeping in the craft room and are always ready when needed!
- This Fiskars Paper Trimmer is easy to use and cuts nicely without frayed edges.
- These Scotch Precision Scissors cut like a dream, and you get multiple pairs in a pack!









Leave a Reply