

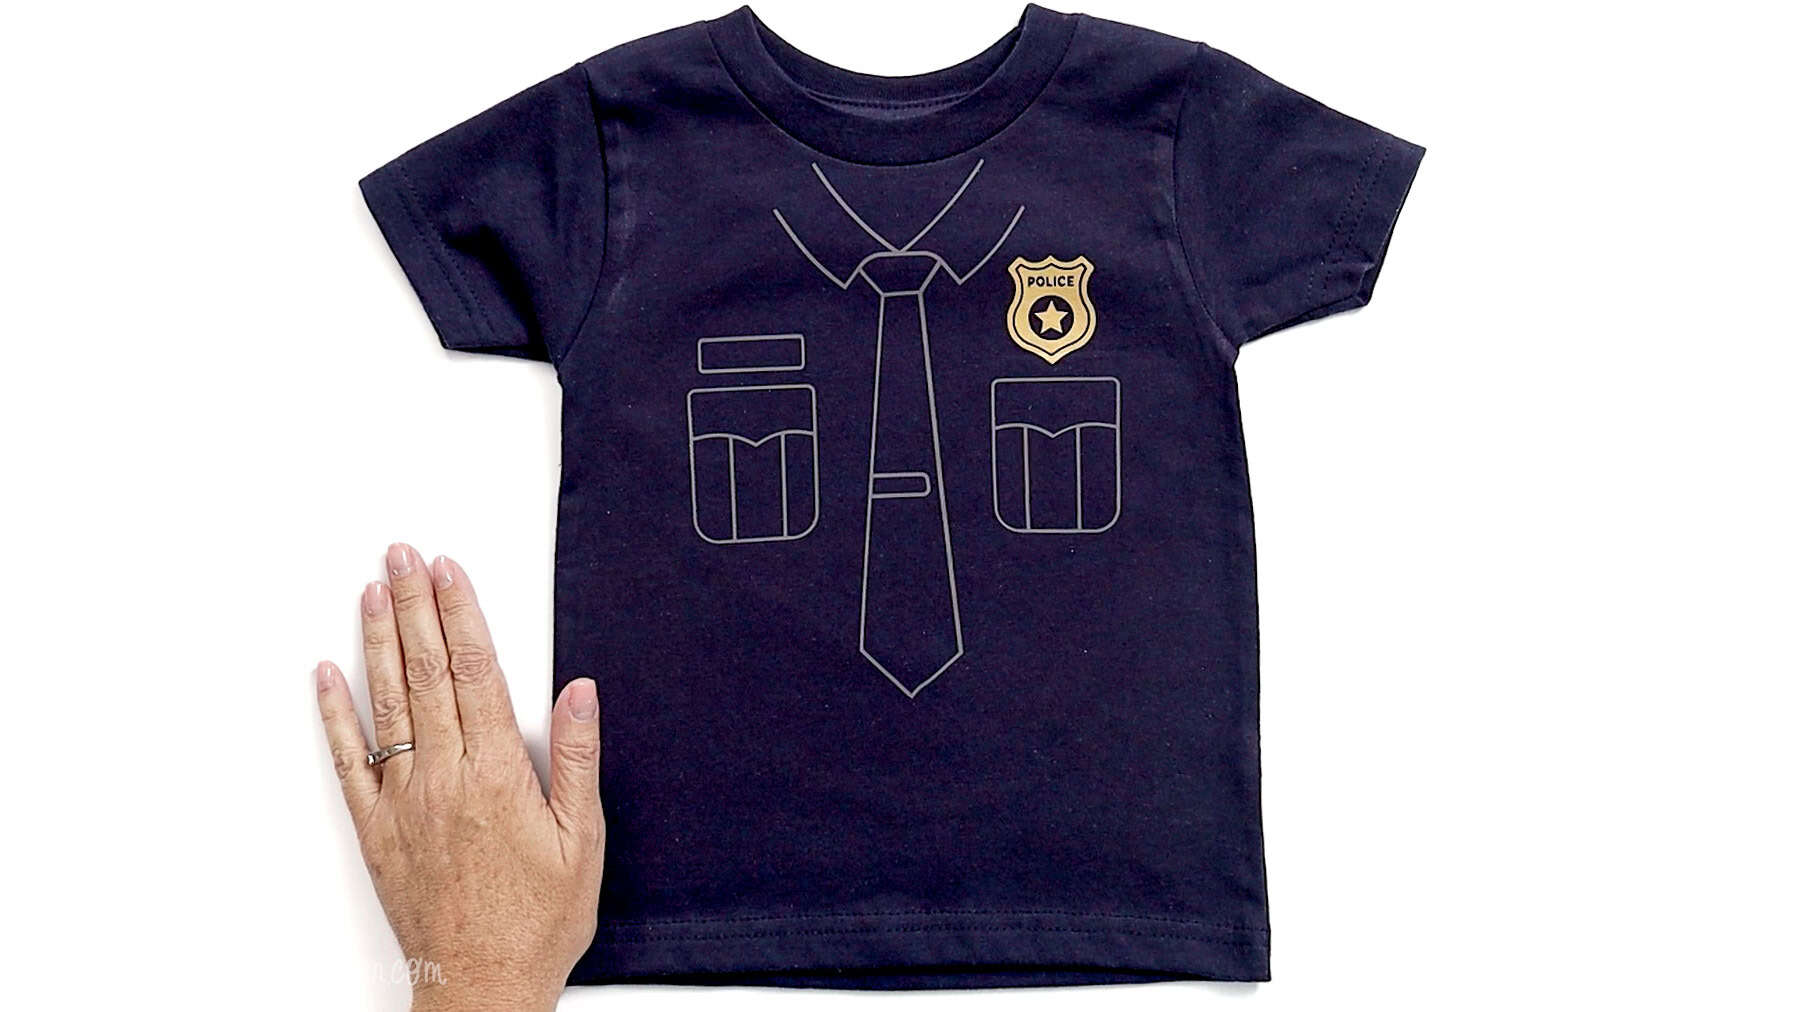
Make a Police Costume Kids shirt with this free SVG Cricut project. A fun, easy costume for Halloween, dress-up, or everyday play.
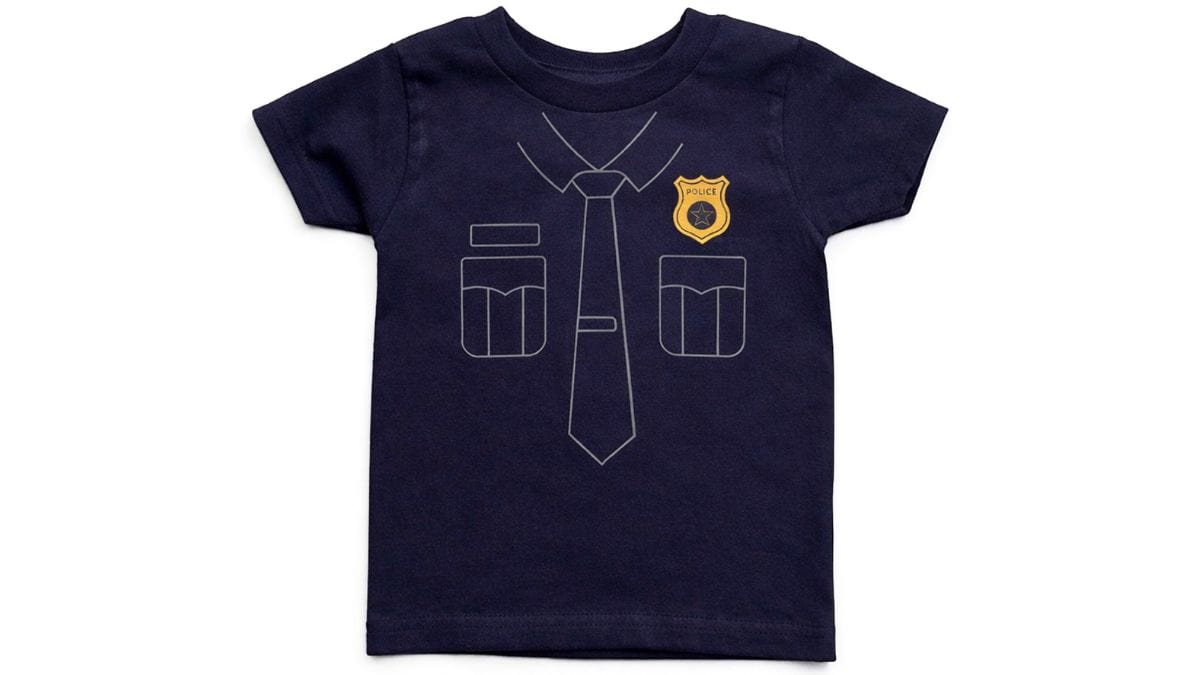
If you have a little one who loves playing pretend, this is such a fun project to make. Instead of buying a full costume that only gets worn once, this shirt gives them something they can wear again and again.
It's simple, comfortable, and still gives that full costume look-perfect for Halloween, themed parties, or just running around the house playing "on duty."
Handmade projects like this always seem to make playtime a little more special, and the best part is how quickly they come together.
Be sure to scroll down because there are 10 links below for even more free SVGs for public service workers.
Jump to:
Skill Level: Beginner
Total Time: 30 minutes
Craft Tutorial Video
If videos are your thing, you're in luck-I've got a full tutorial ready for you!
Subscribe to my YouTube channel and stay inspired with every new project.
Supply List
- Cricut Cutting Machine
- Police Uniform SVG
- StandardGrip Mat
- Heat Transfer Vinyl (gray, gold)
- Weeding Tools
- TShirt
- Heat Press
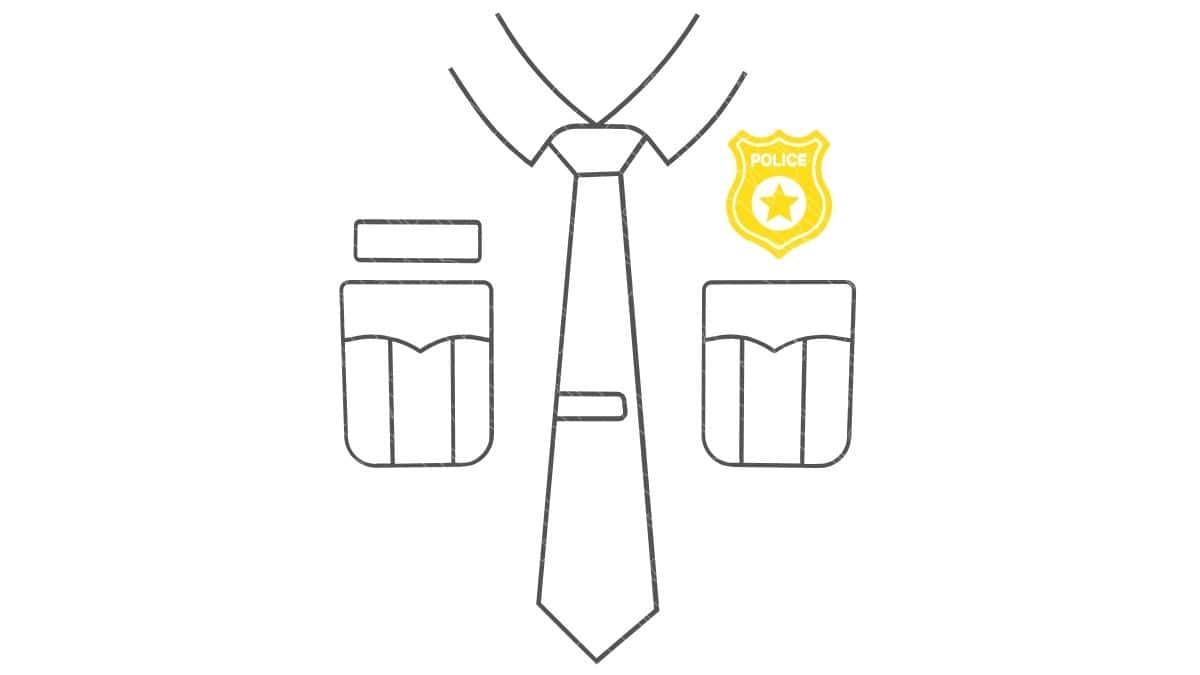
Grab the Free SVG
Download the Police Uniform SVG to get started.
Measure
Before cutting, take a quick measurement of the front of your shirt.
This helps make sure the design fits the size you're working with-especially important for kids' shirts.
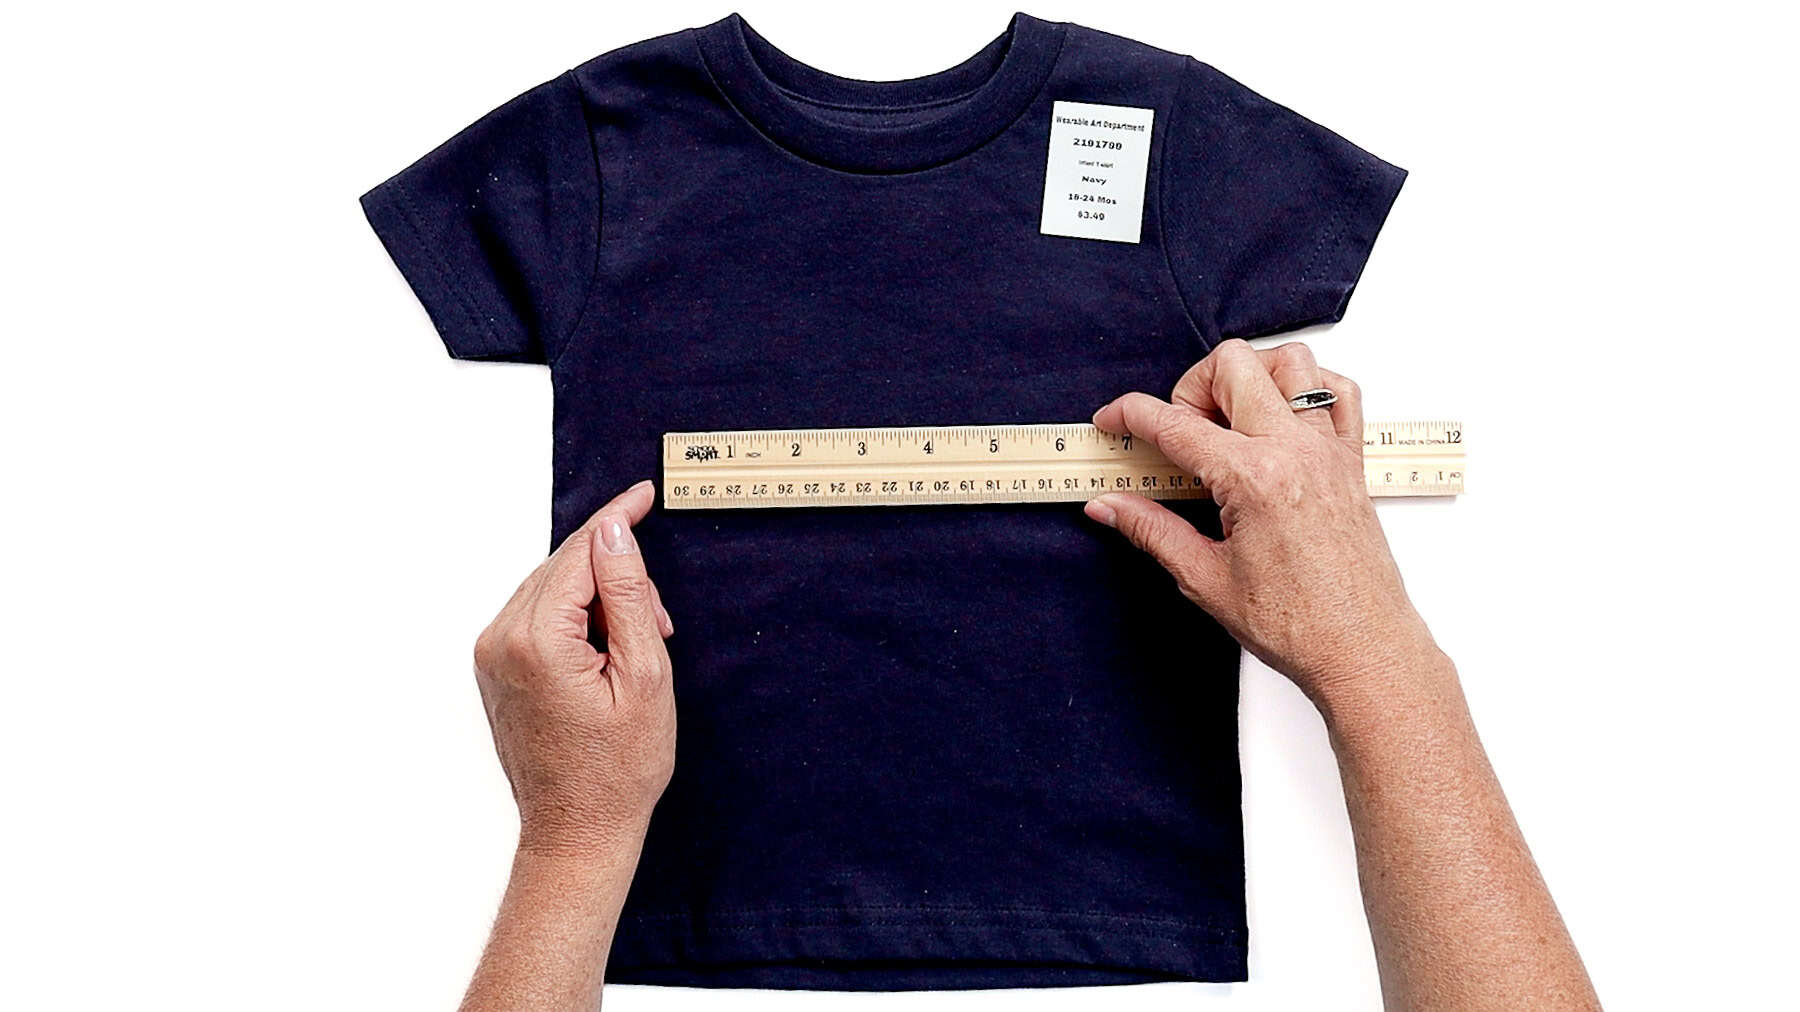
For reference, I used a toddler-size 18-24 months shirt, and a 6½-inch-wide design fit really well without looking too big or too small.
Cricut Design Space
For this project, I used Cricut Design Space. If you're using another program, the steps will be similar.
Upload the SVG into Cricut Design Space and add it to your Canvas.
The design is already layered, so there's no need to separate anything.
I resized the design to 6 ½ inches wide and made no further changes.
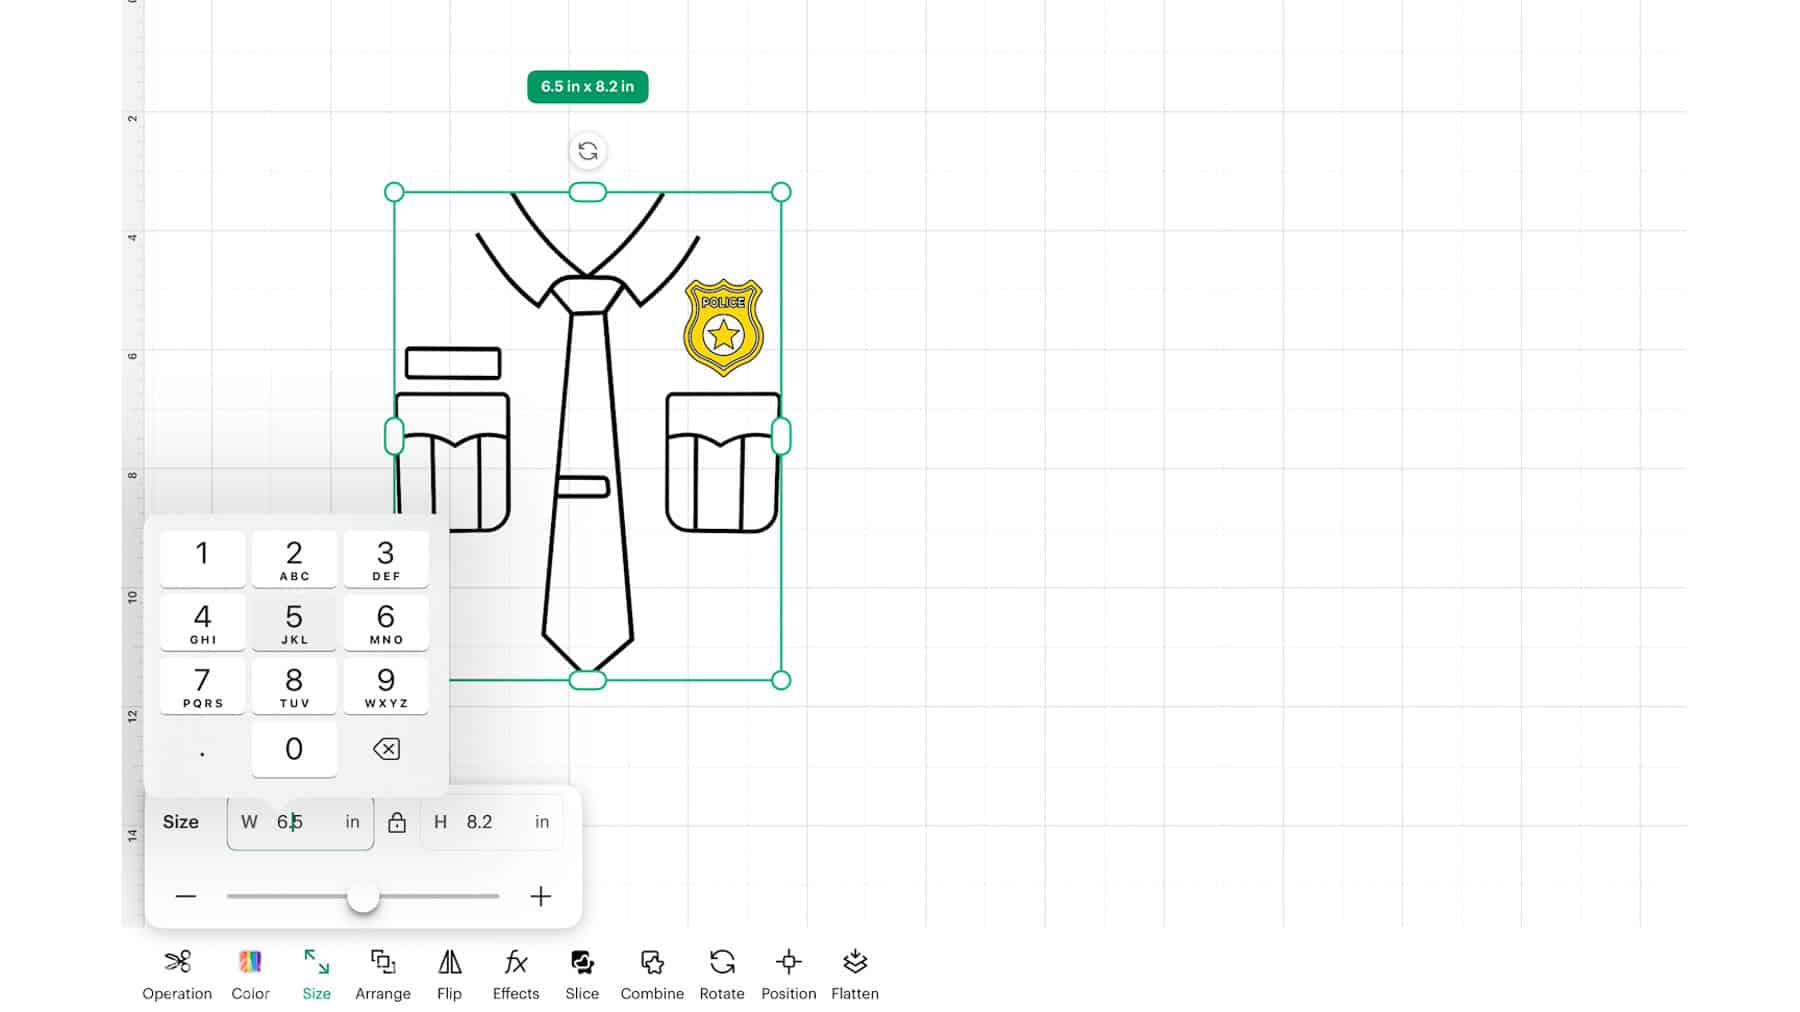
Once everything looked good, I clicked Make.
On the mat preview screen, click Mirror and double-check that both mats are mirrored.
This step matters anytime you're cutting iron-on so your design reads correctly once it's pressed.
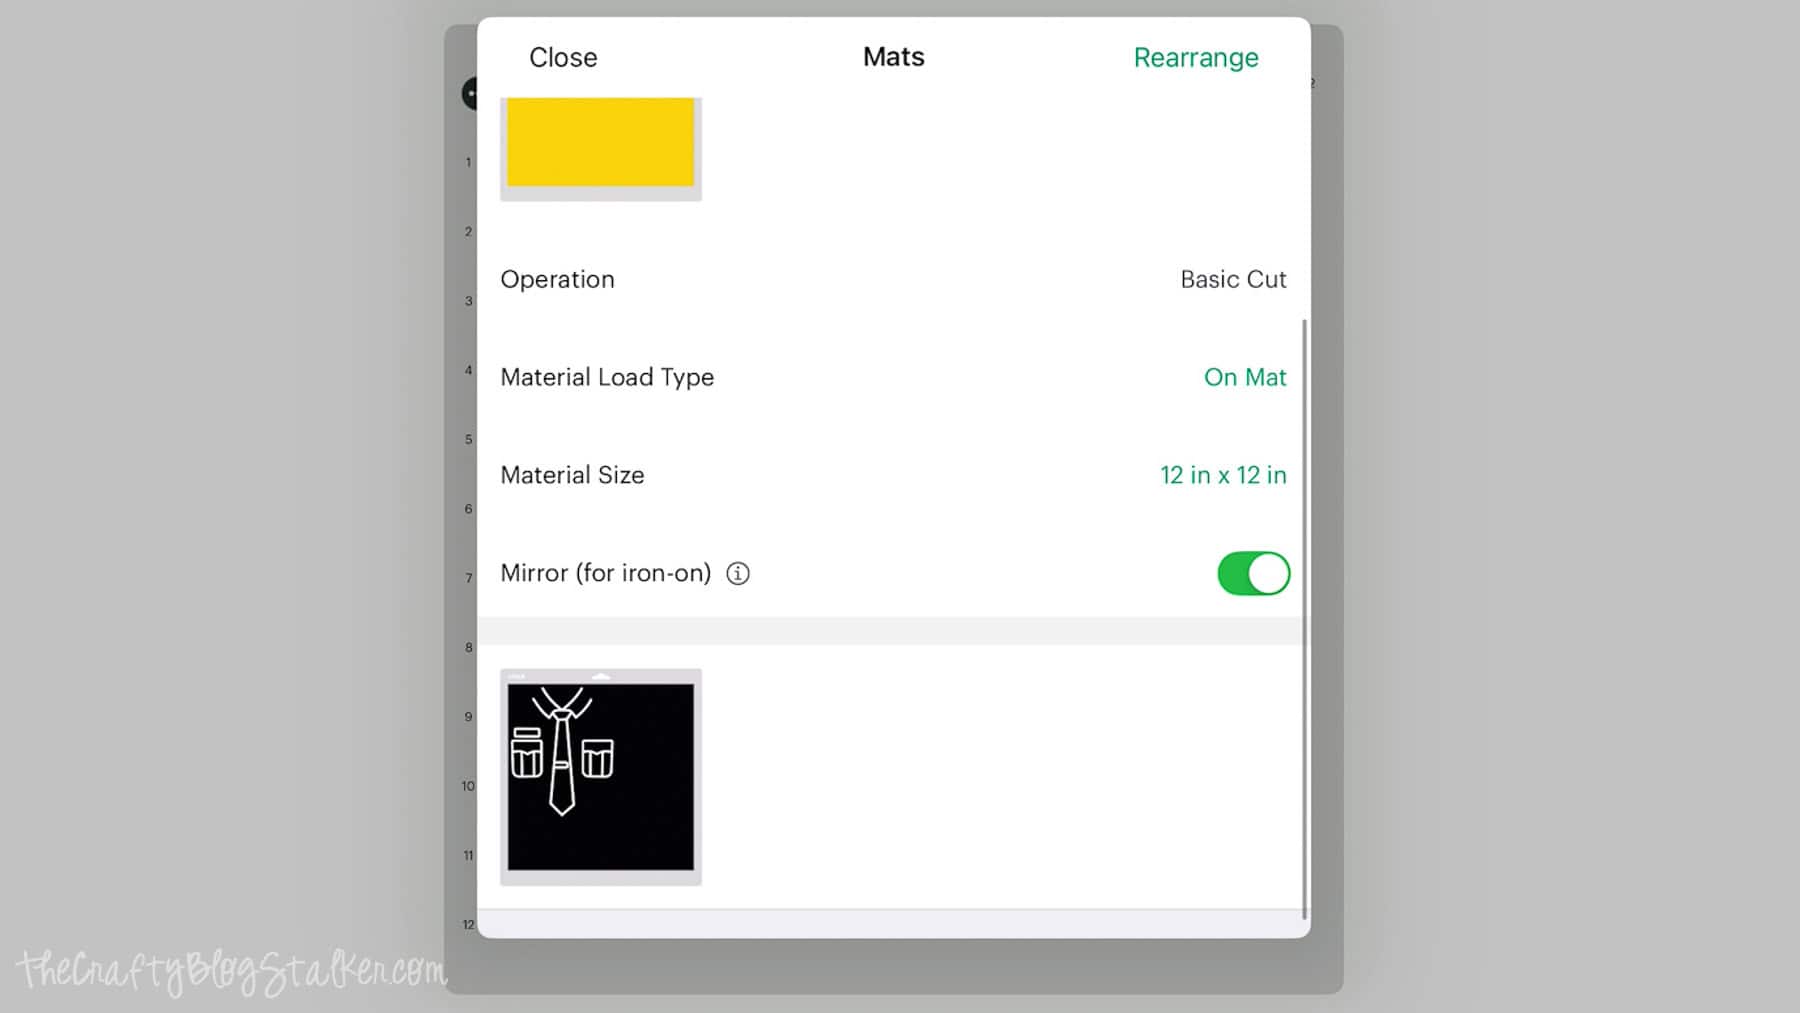
Click Next, then select your material. I used Value Iron-On (a standard HTV), which works great for projects like this.
Place the vinyl on the mat shiny side down, then load the mat into your machine and start the cut.
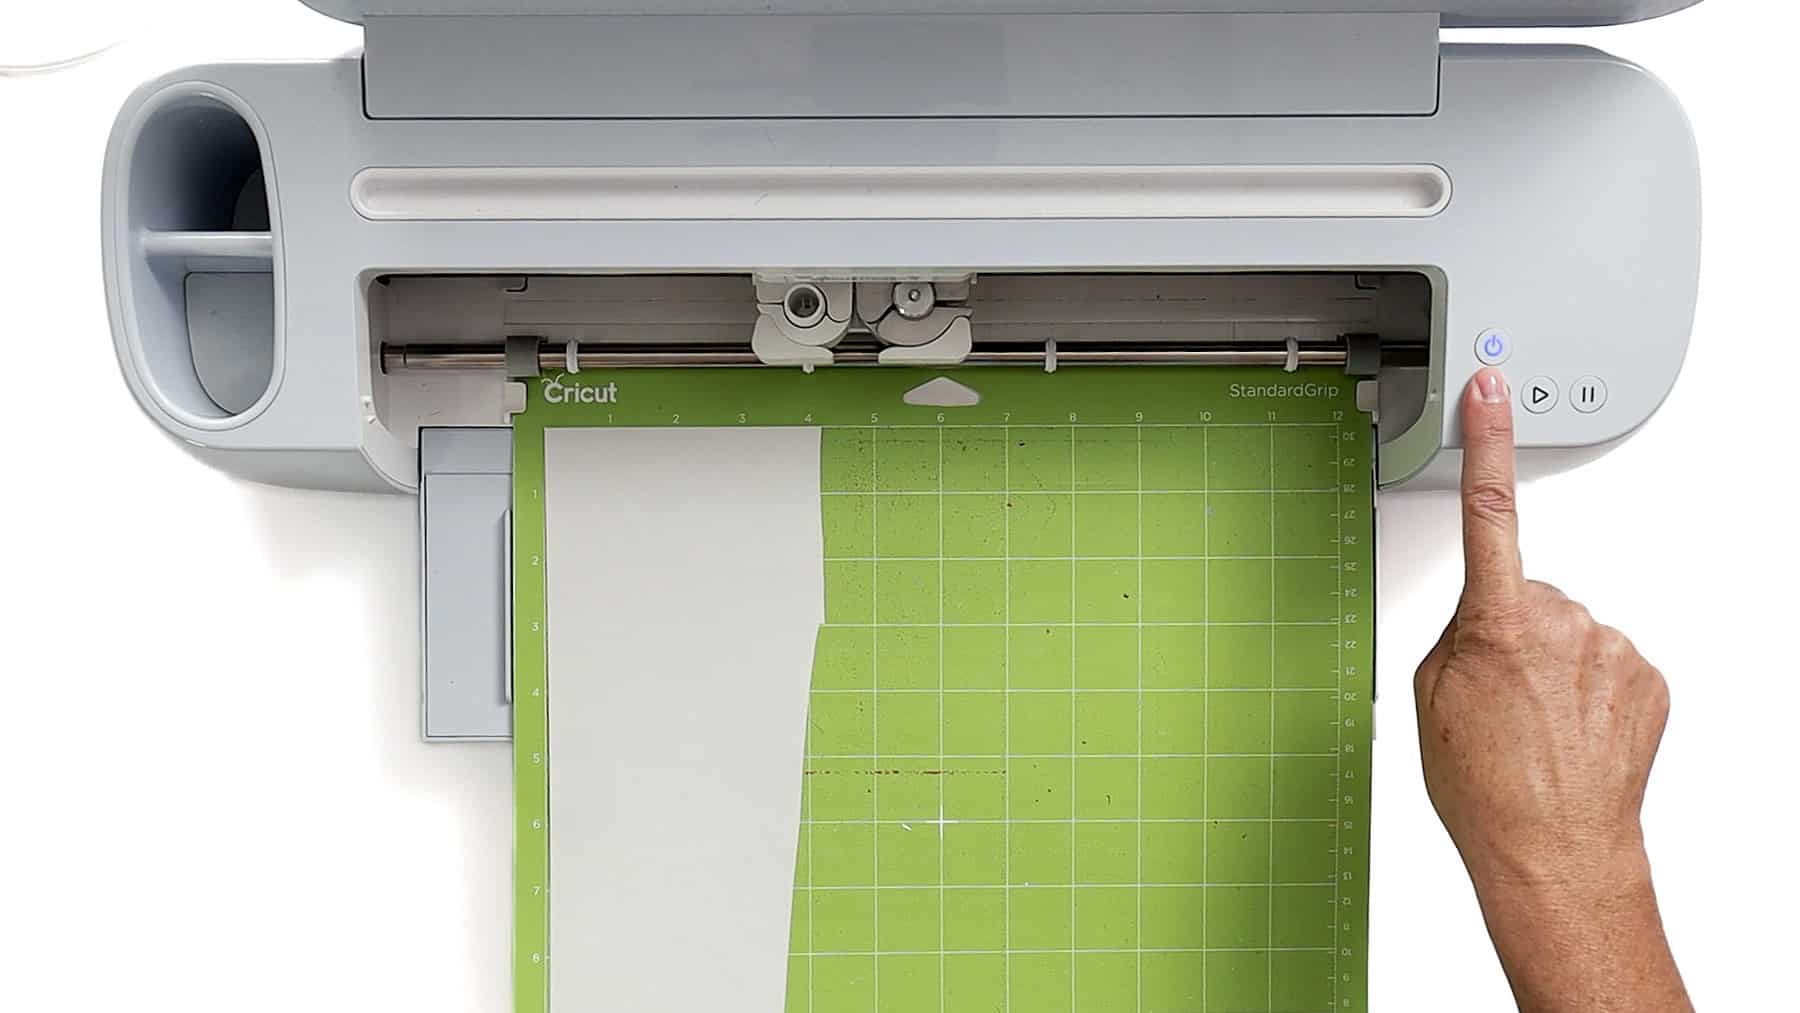
Repeat the process for the gray layer.
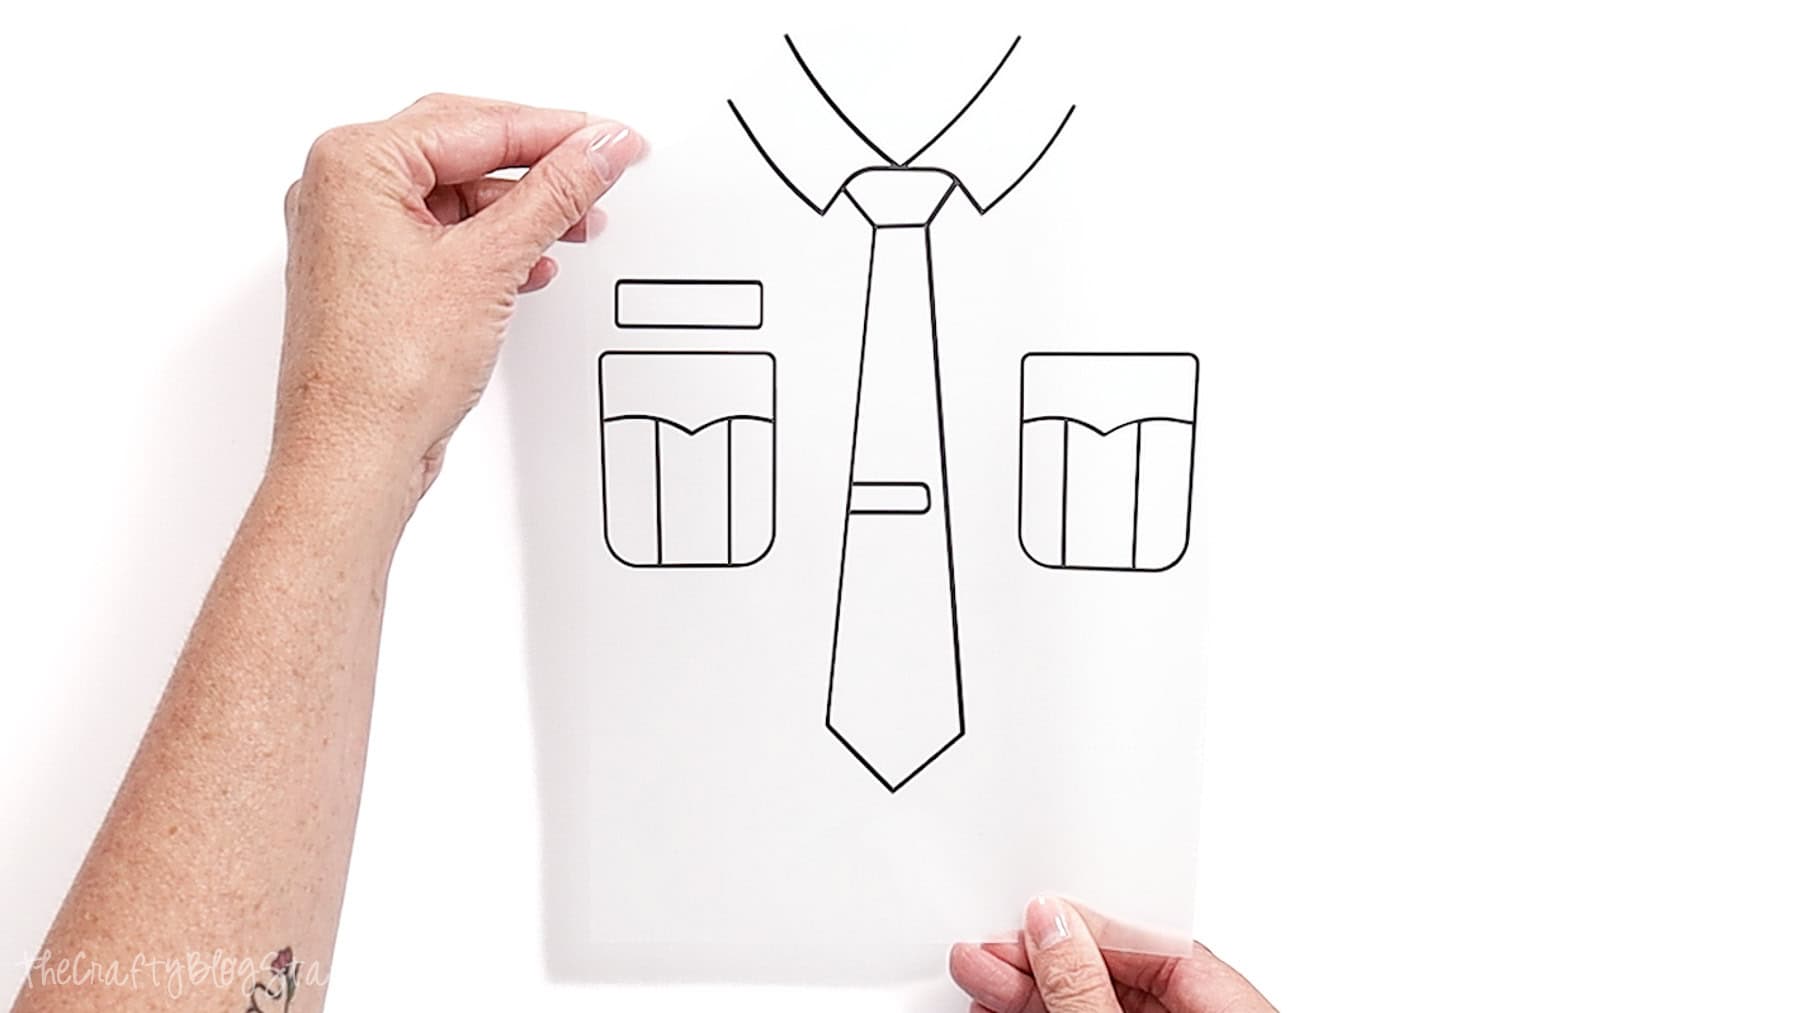
Weed the Design
Once everything is cut, it's time to weed out the design.
Start in a corner and slowly pull away the extra vinyl. Take your time here, especially around small details like buttons or badge shapes.
Don't forget to remove the small inner pieces-those are easy to miss.
When you're done, flip the design over and give it a quick check to make sure everything looks clean and ready to press.
Apply the Iron-On
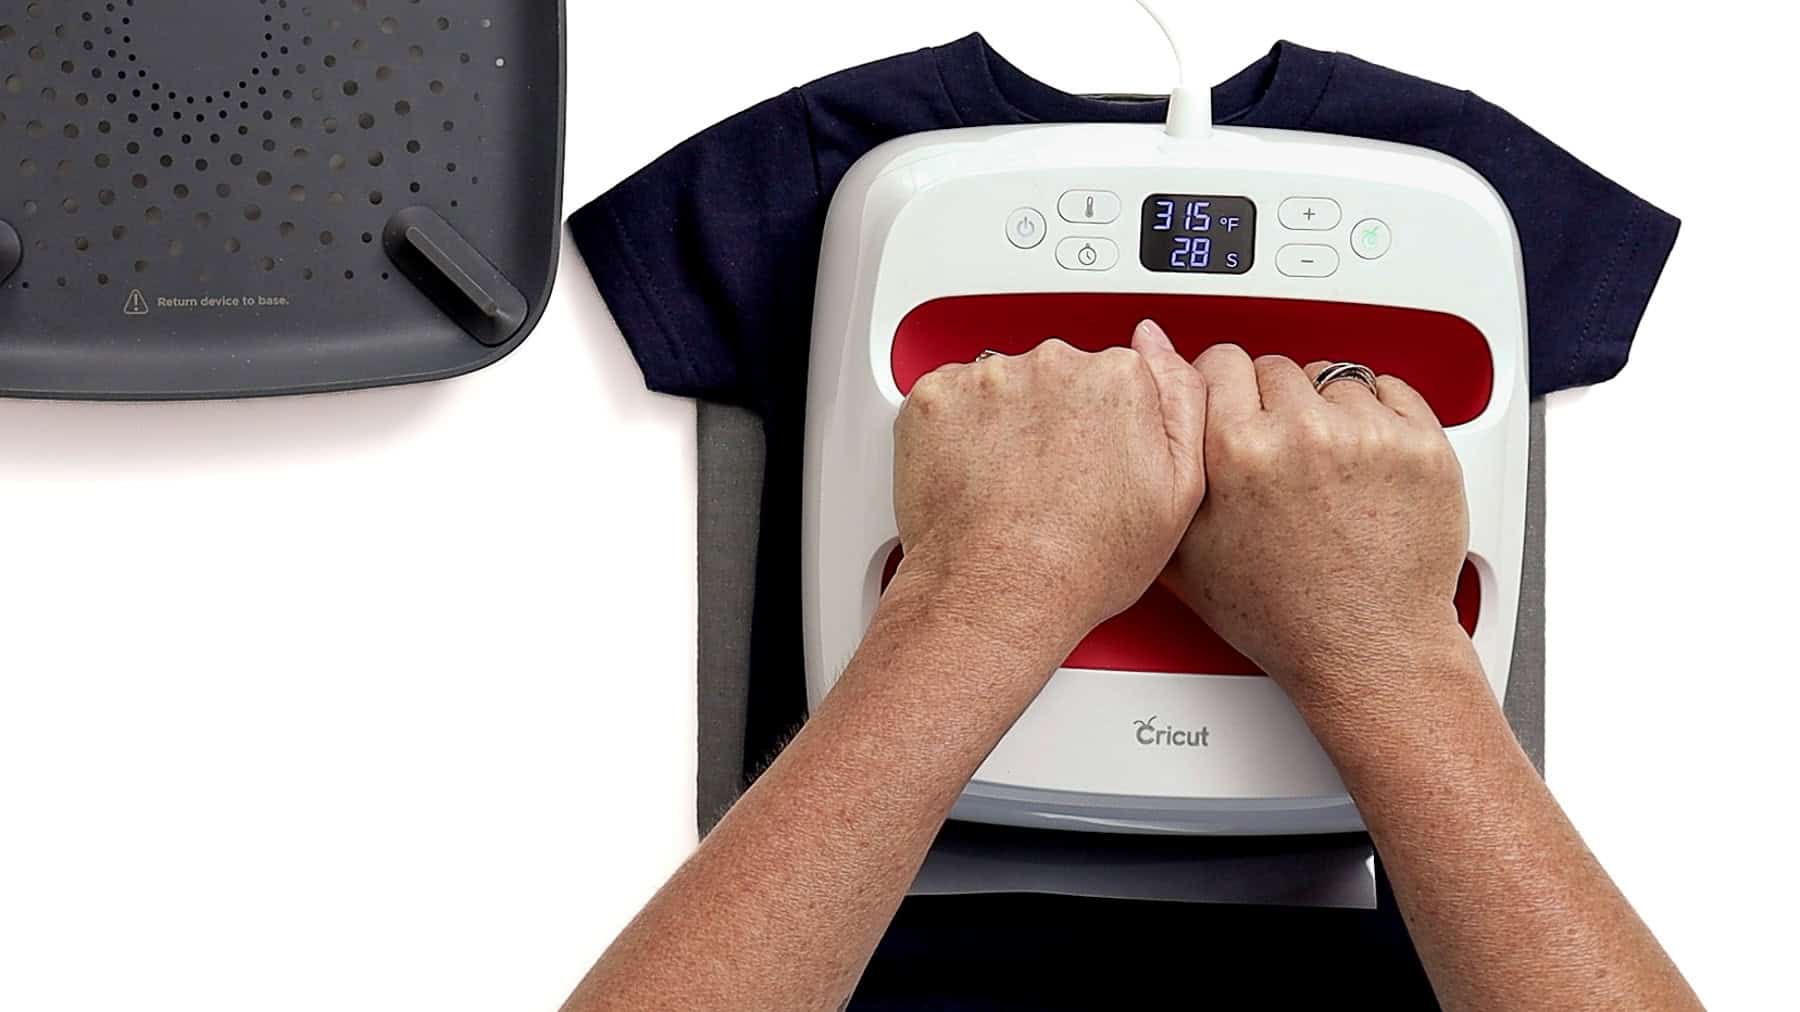
I used a Cricut EasyPress, but any heat press will work.
Before pressing, check your settings using the Cricut Heat Guide so you get the right temperature and time for your materials.
Just select your heat press, transfer material, and base material, and it gives you everything you need.
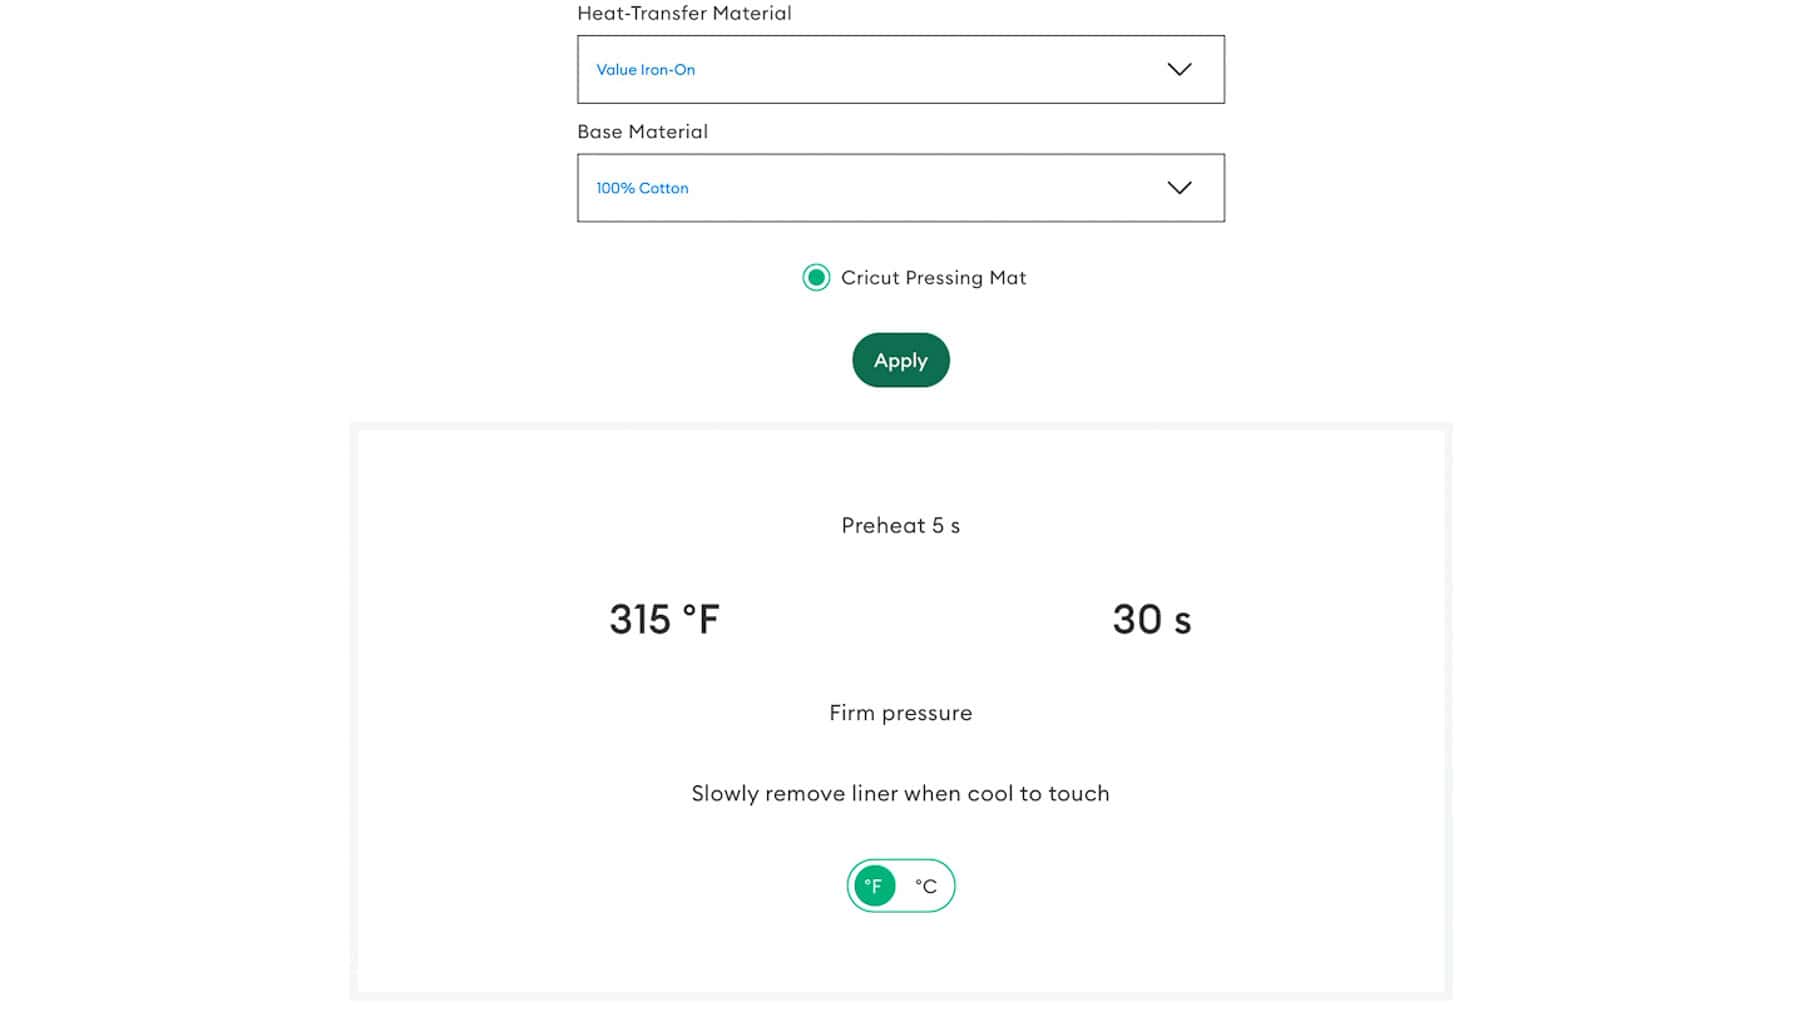
I preheated my press to 315°F and set the timer for 30 seconds.
While the press heated up, I prepped my shirt by running a lint roller over the front to remove any fuzz or hair.
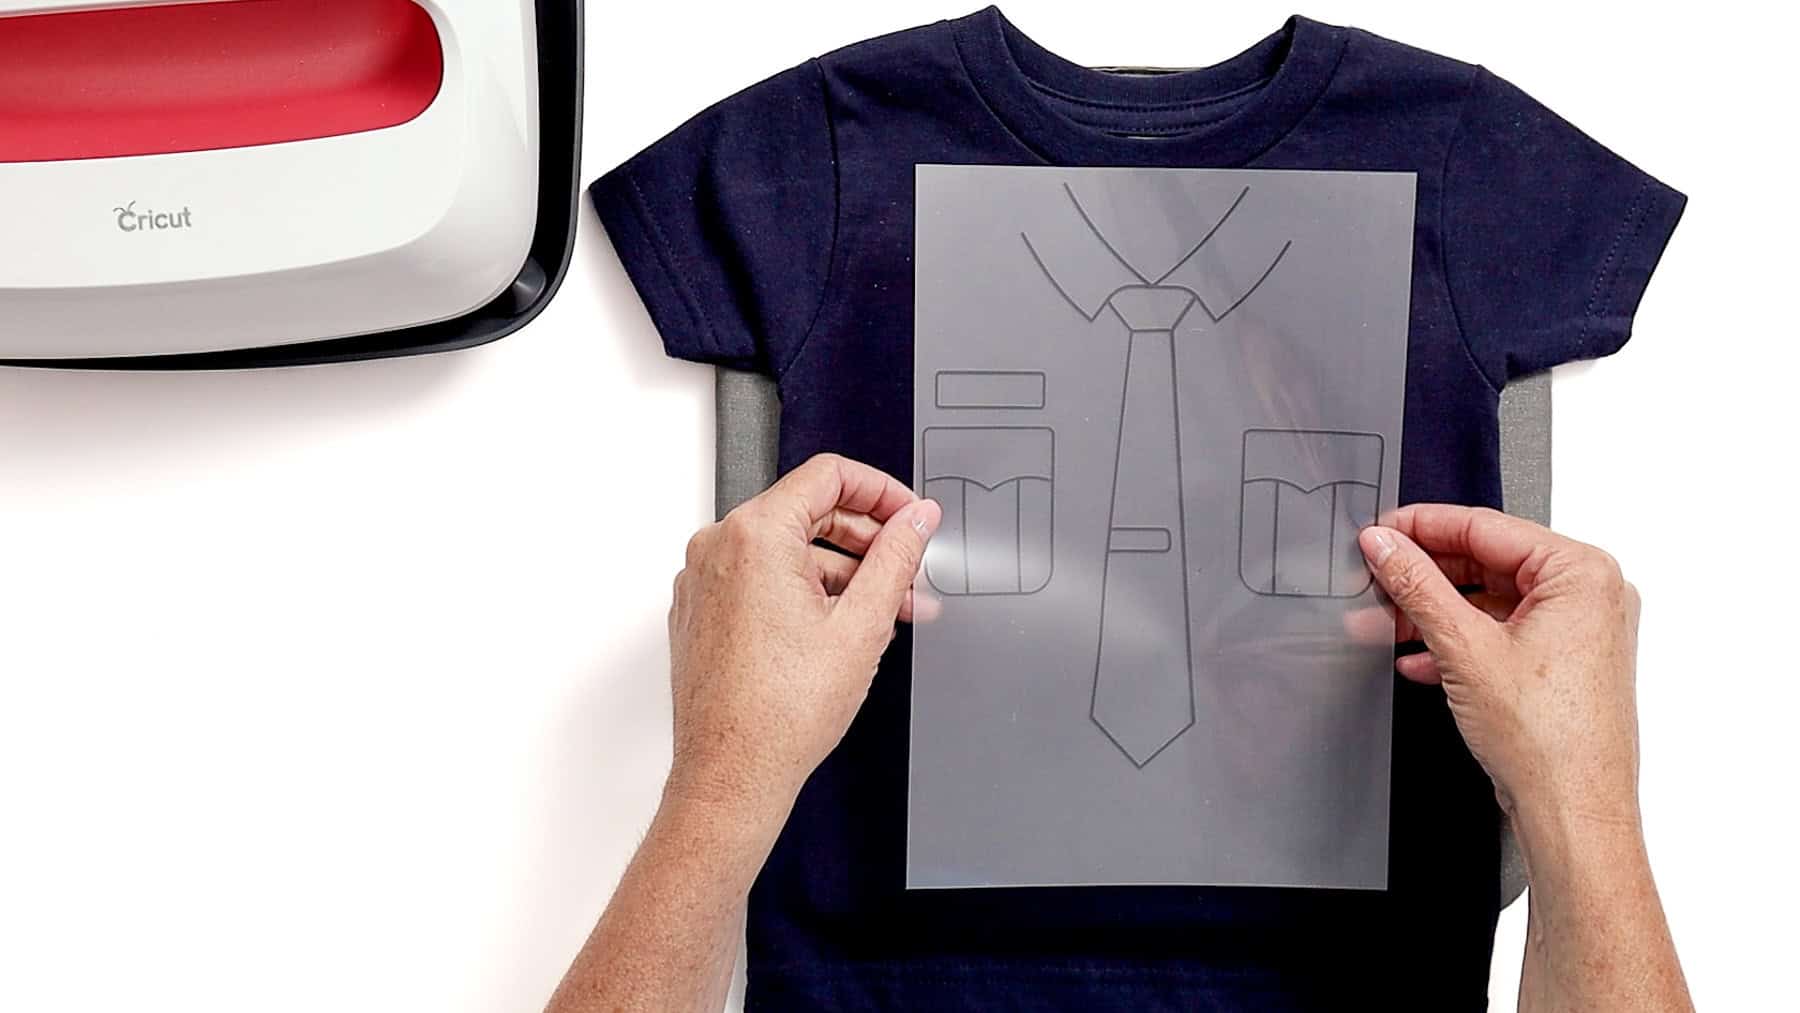
This design is easy to center-just line it up from the middle of the collar down to the tip of the tie
Place the main (gray) layer first.
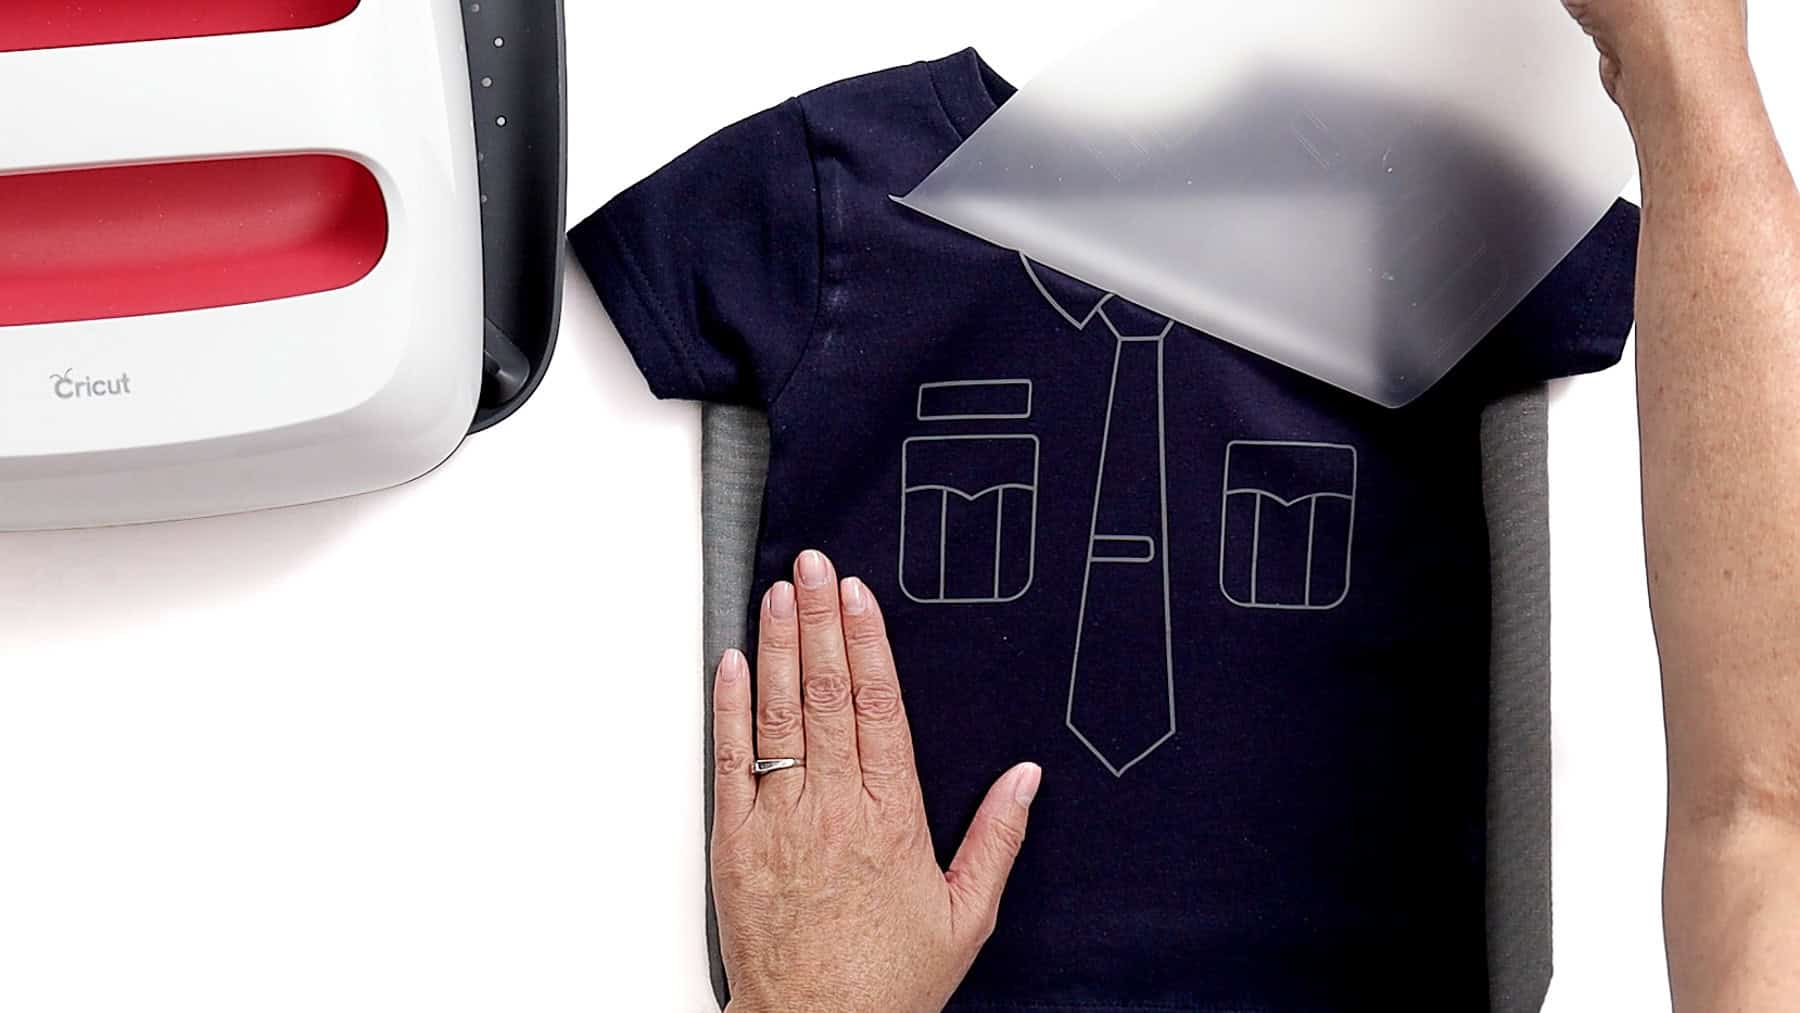
Press the design for 30 seconds, let it cool (this uses a cool peel), and peel away the liner once it's cool to the touch.
Place the gold badge on top, cover the gray layer with its liner to protect it, and press again using the same settings. Let it cool, then peel off both liners.
This turned out so cute and is such a fun alternative to a full costume.
It's comfortable for kids, easy to make, and perfect for Halloween or everyday dress-up. Plus, it's something they can wear more than once, which is always a win.
I love how this shirt turned out. I think it is so cute!
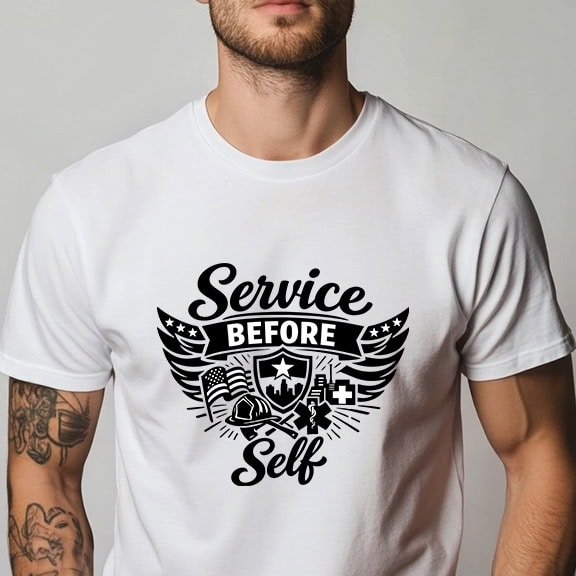
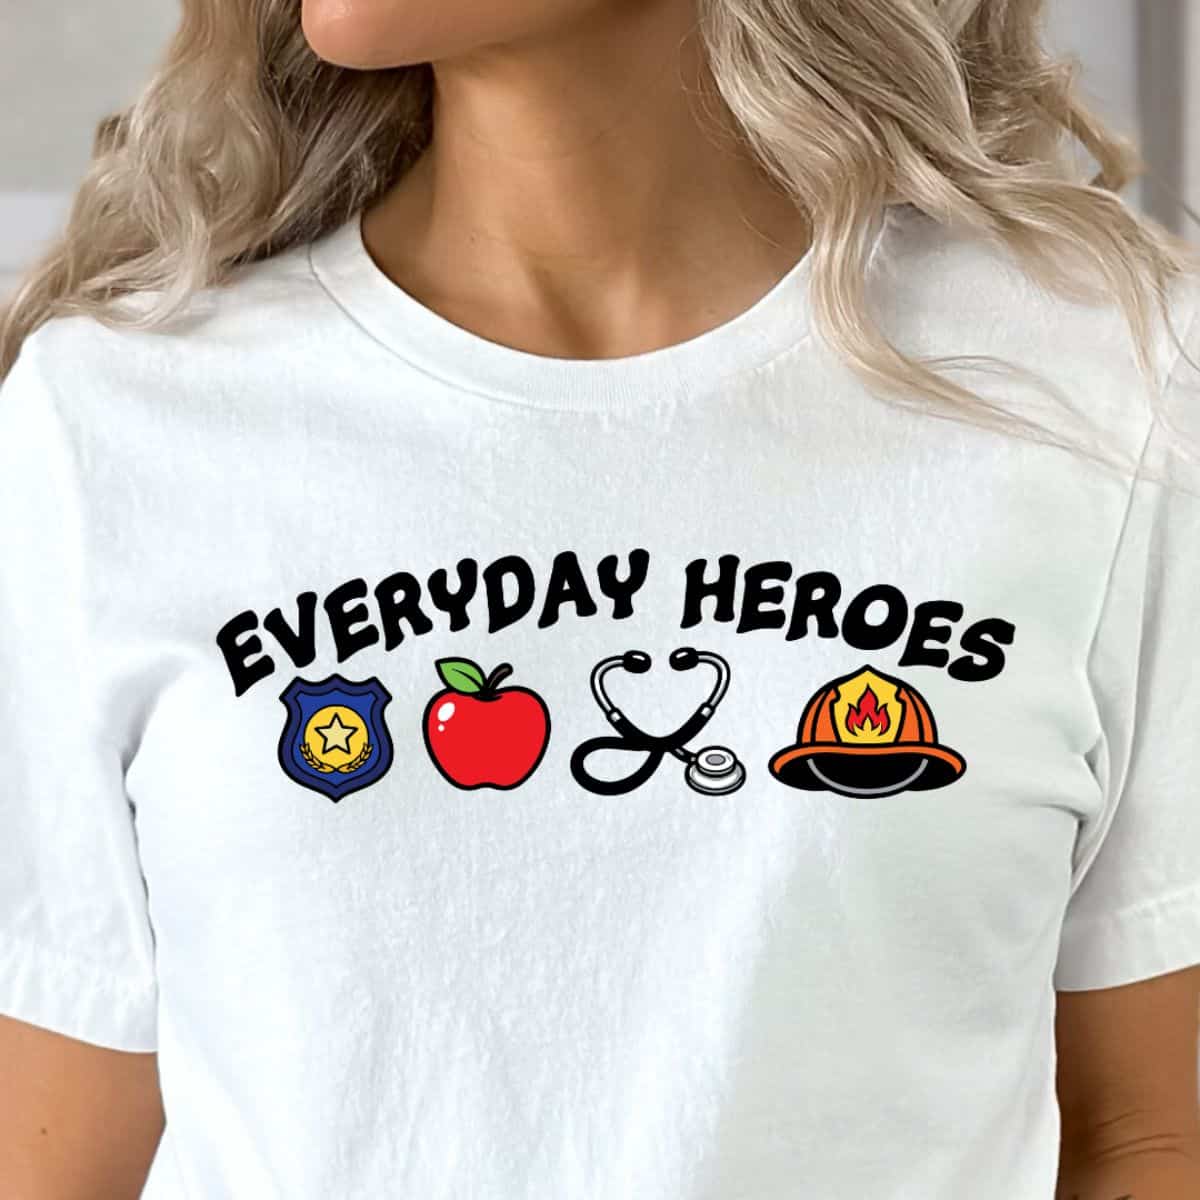
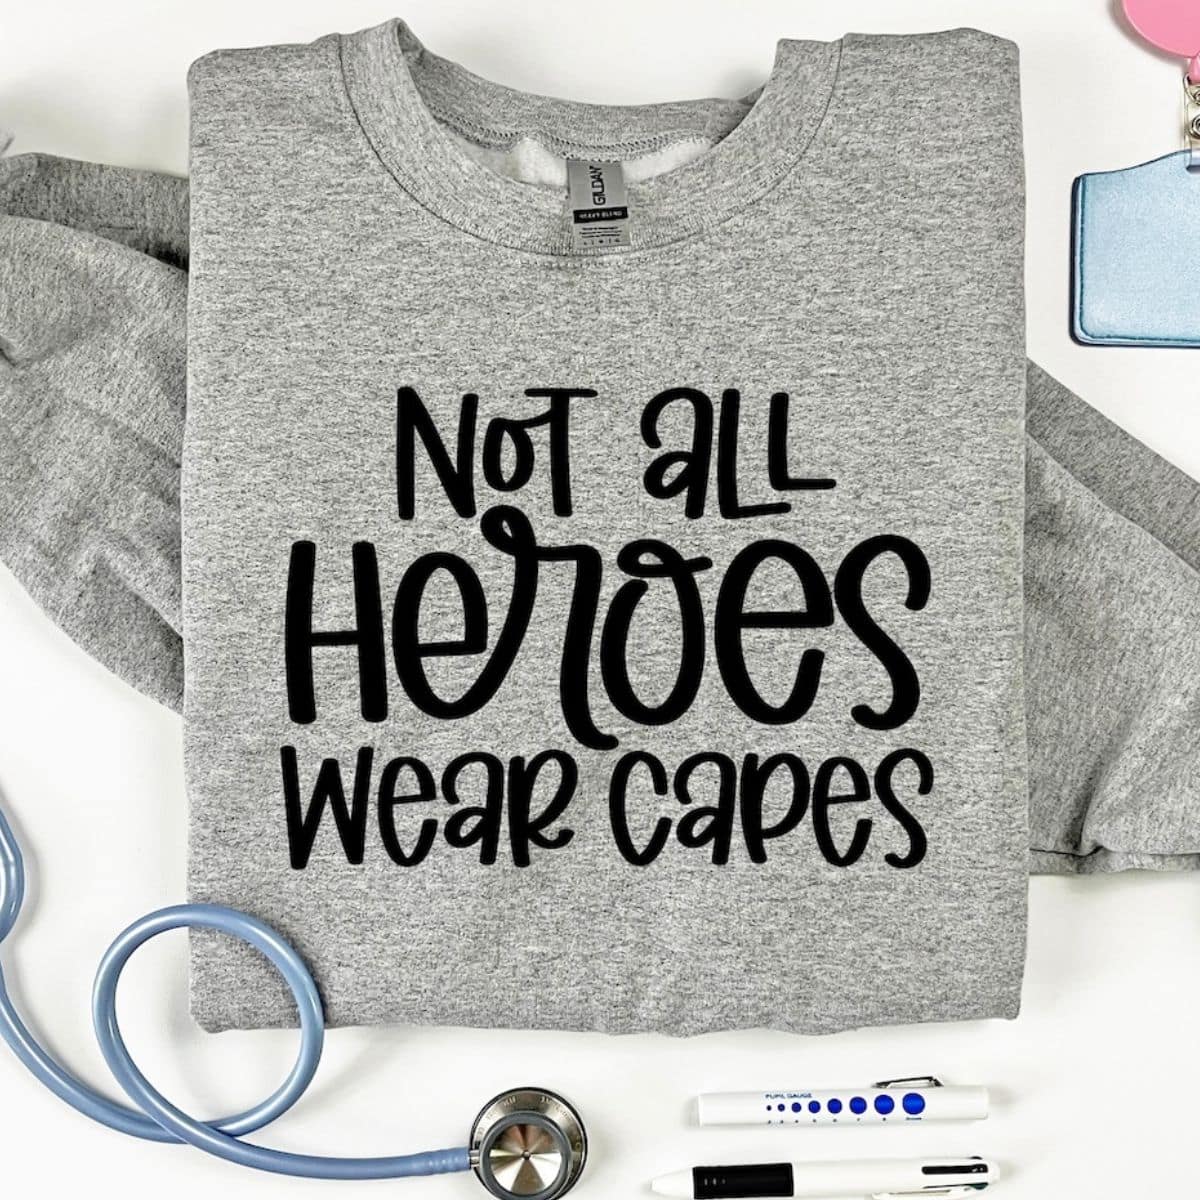
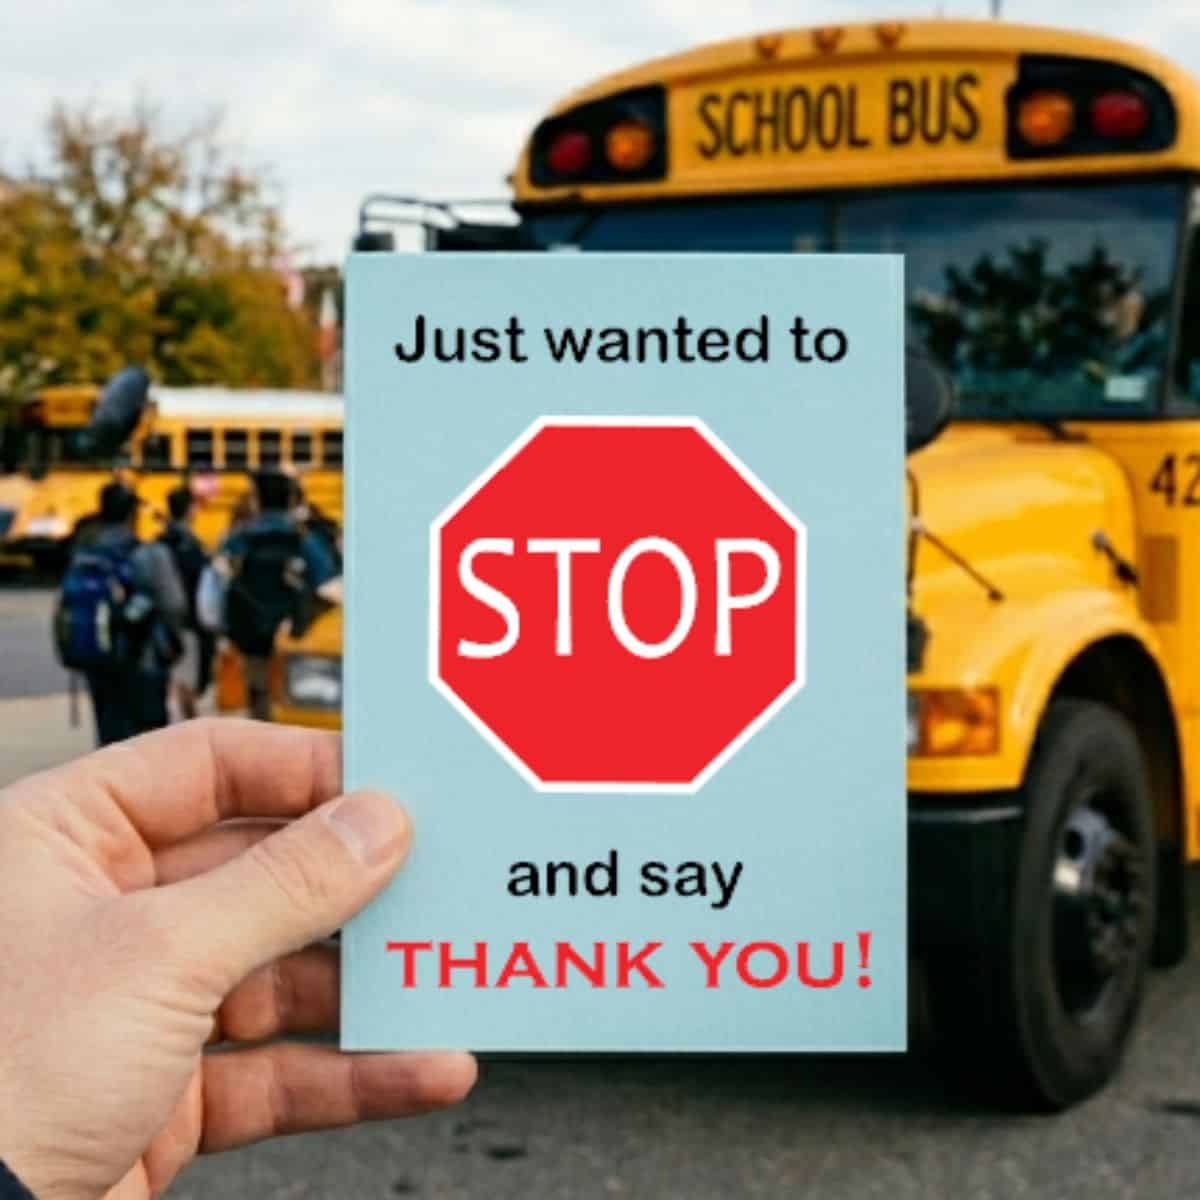
More Free SVGs for Crafters
Want to make more fun projects? Here are a few great ideas that all include a free SVG!


Hi, I'm Katie!
I'm so glad you're here. Want to make something fabulous? I'm here to help!