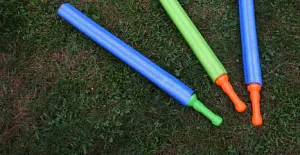
Kids will love the toy horse that you made. A pool noodle horse is such a fun craft to make and to play with! Spark their imagination with a DIY hobby horse.
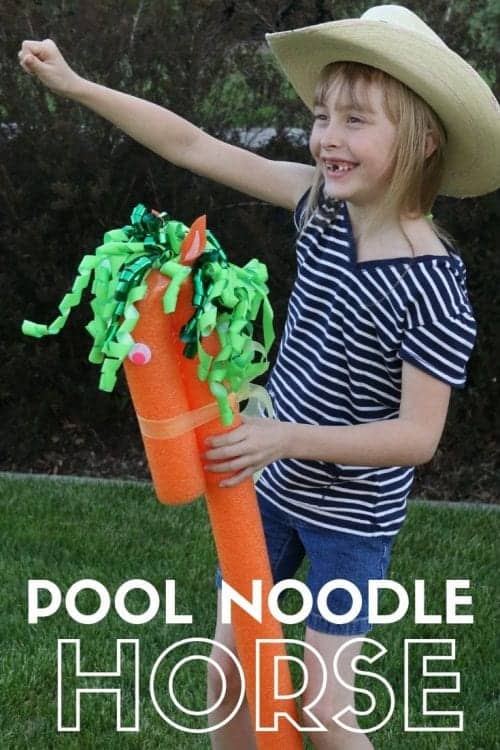
Aren't these pool noodle horses so stinkin' cute?! I think I prefer them to the ones with the hard wooden sticks, those can hurt getting hit with!
These cute toy horses make cute gifts or even make a bunch and have a pool noodle horse obstacle course or race! Now that is a fun party idea!
Pool Noodle Horse Tutorial Video
Like videos? I have a video tutorial for you! Please subscribe to my YouTube Channel so you don't miss out on any future video tutorials!
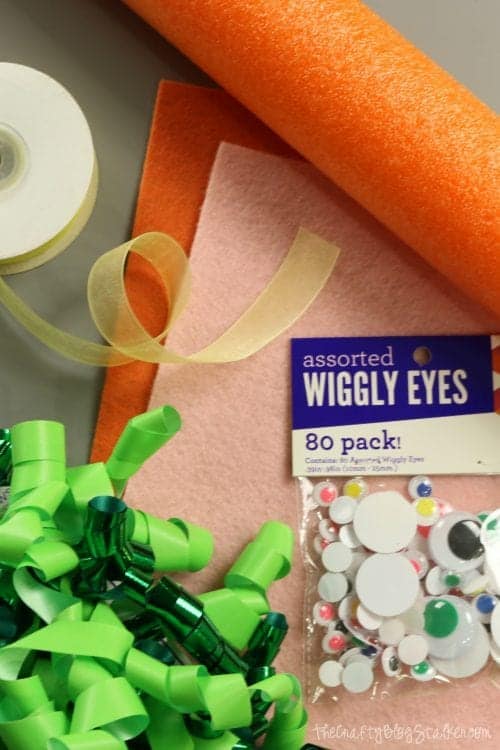
Supplies Used: Some links may be too similar items when exact items couldn't be found online.
- Pool Noodles
- Ribbon
- Curled Ribbon Bow
- Wiggly Eyes
- Felt in two coordinating Colors
- Foam Hot Glue Gun
- Craft Knife
- Scissors
All of the supplies for this project I was able to purchase at my local dollar store!
Super Fun Pool Noodle Horse, a Complete Tutorial
To begin, take the top 12-inches of the foam pool noodle and fold down. This is going to be the head of the horse.
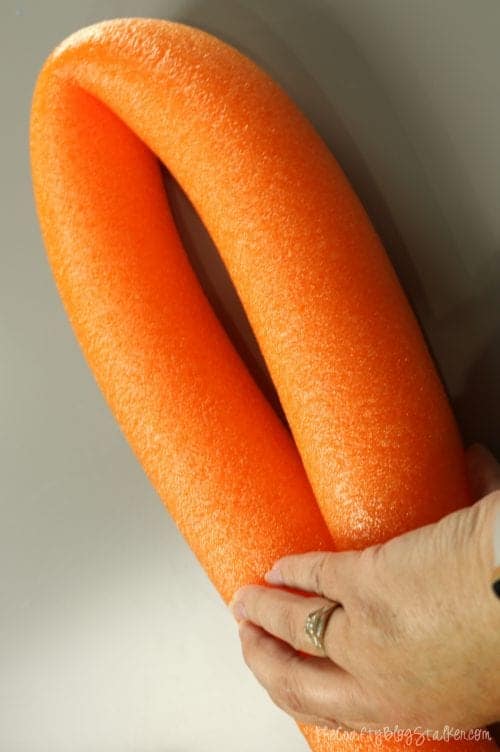
To secure in place, apply a good glob of foam safe hot glue on the bottom of the pool noodle that is folded over, and glue to itself. Foam hot glue takes a bit longer to set, so you will need to hold it in place for a bit.
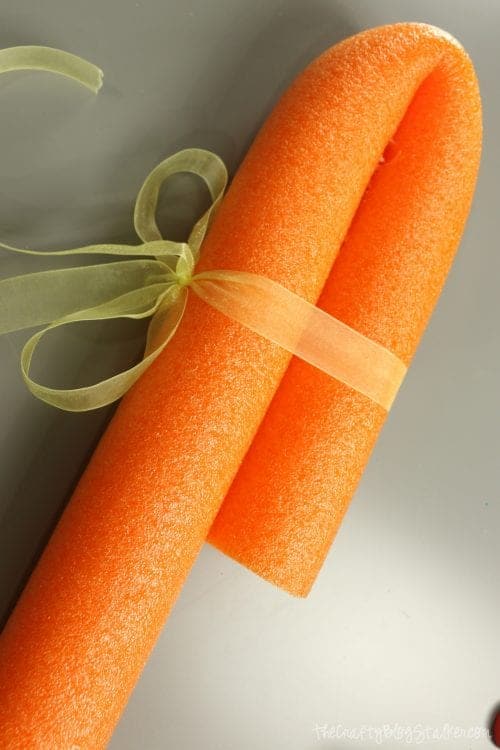
Take a long piece of ribbon, and tie about four inches up from the base of the folded over portion. This will be the horse bridle. Make sure to tie nice and tight so it won't come loose when the child tugs on it.
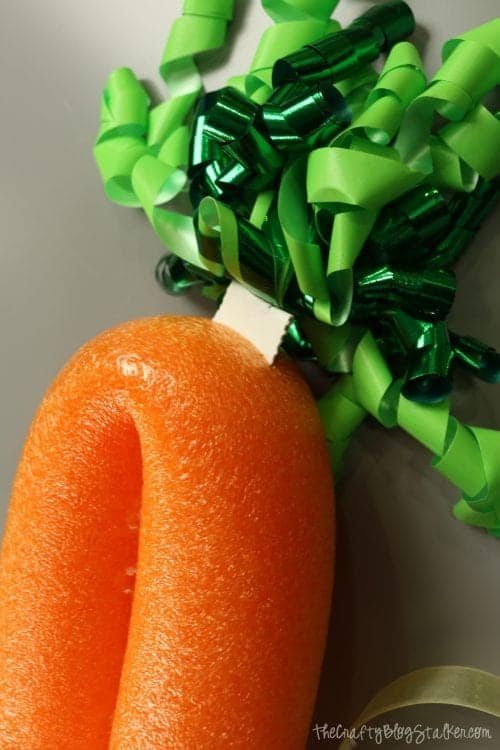
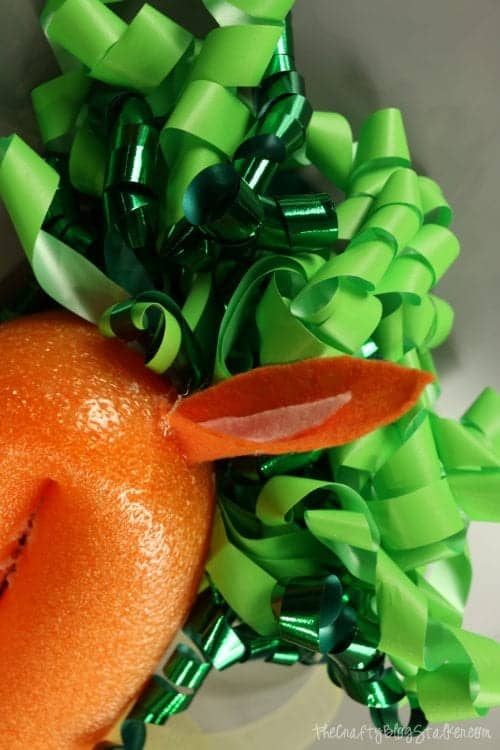
Next, let's give our horse a mane. The mane is made up of curled ribbon bows. The package at the dollar store had a set of two that is perfect!
Remove the bows from the package but leave them stapled to their base. At the staple fold the card board base in half and trim the extra. You want the folded bas to be about ½ inch long.
Using a craft knife cut two deep slits into the pool noodle. On at the top of the bend, and the other about four inches below on the longer side of the pool noodle.
Apply a line of foam hot glue on the edge of the curled ribbon bow and slide into the slits you cut. The combination of the glue and the slit should hold the curled ribbon pretty well.
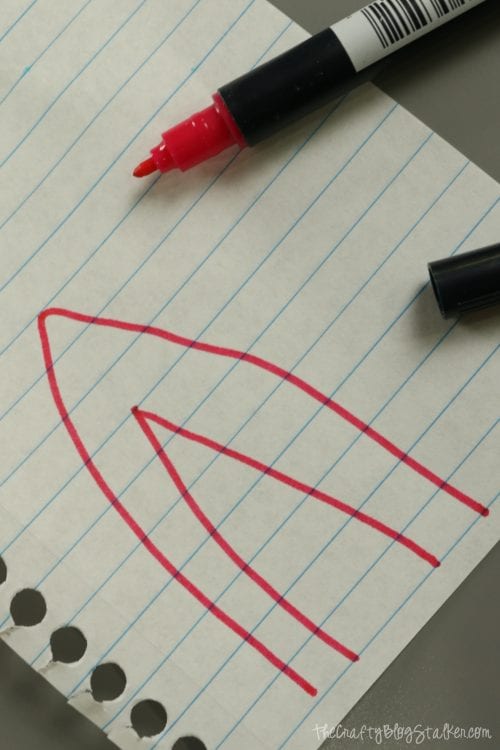
Next lets to the ears. On a scrap piece of paper make a simple template. My ears were about 3 inches tall and 2 inches wide but you can make them as big or as small as you like.
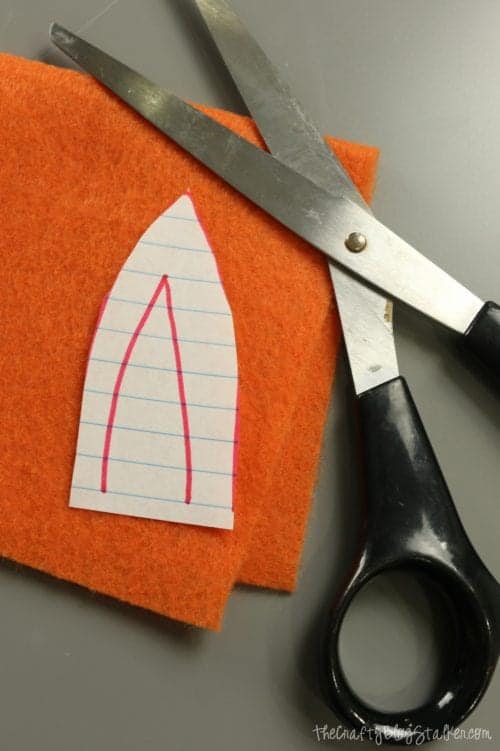
Cut out the outer part of the ear and lay the template on a piece of felt. Cut two larger ears.
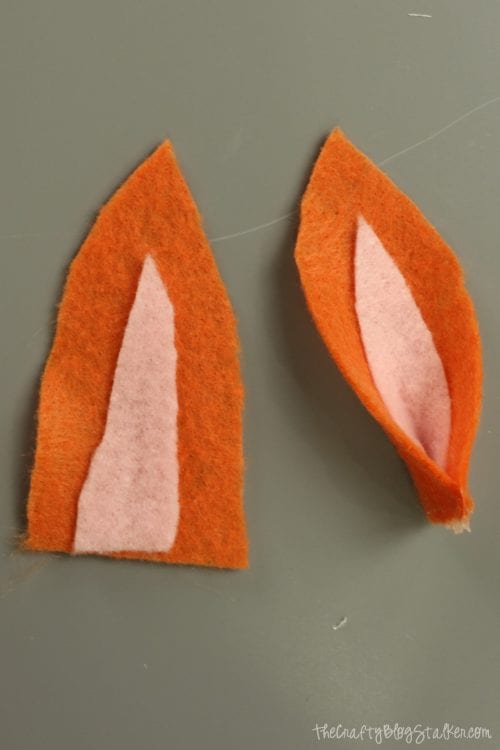
Then cut out the inside of the ear and repeat, cutting out the inside of the ear out of a coordinating color of felt.
Apply a line of foam glue (I know felt isn't foam, but it still works) on the back of the smaller ear piece and lay on top of the larger ear piece. Repeat for the second ear.
To give the ear shape, apply a thin line of glue to the bottom front of the felt ear and fold in half.
Apply foam hot glue to the base of the ear and adhere to the top of the head of the horse. One ear on each side of the mane.
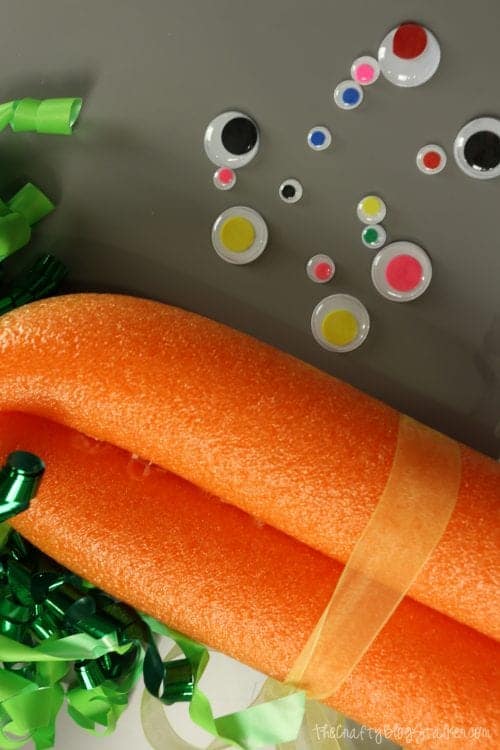
Last come the eyes. I like the larger wiggly eyes, but you could cut the eyes out of felt as well if you'd rather.
Apply a dab of foam hot glue to the back of the wiggly eye and put in place.
Now the toy horse is ready to play!
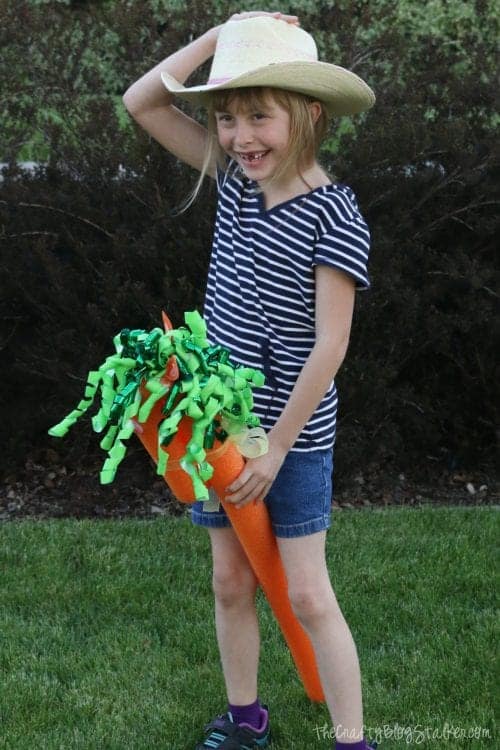
I made a couple and think they all turned out so cute!! The possibilities are endless with the color combinations!
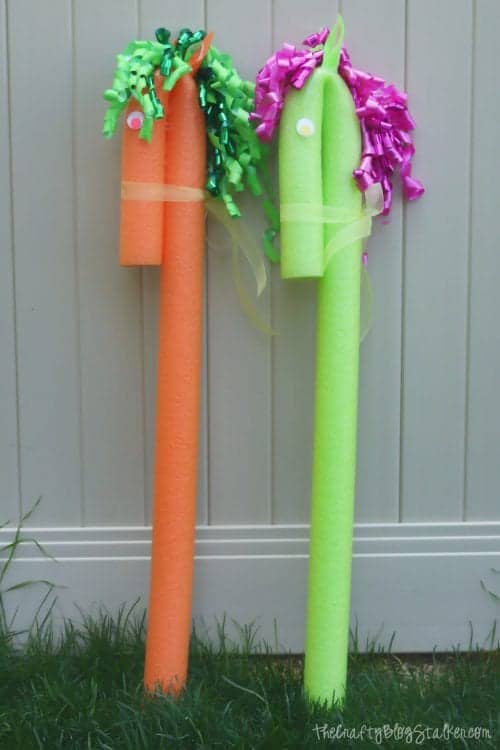
Is there anything different you would do when making this pool noodle horse?
Our Crafting Essentials:
- The Cricut Cutting Machine is easily our favorite crafting tool. We use it in so many of our tutorials!
- These MakerX Crafting Tools are perfect for keeping in the craft room and are always ready when needed!
- This Fiskars Paper Trimmer is easy to use and cuts nicely without frayed edges.
- These Scotch Precision Scissors cut like a dream, and you get multiple pairs in a pack!


Leave a Reply