

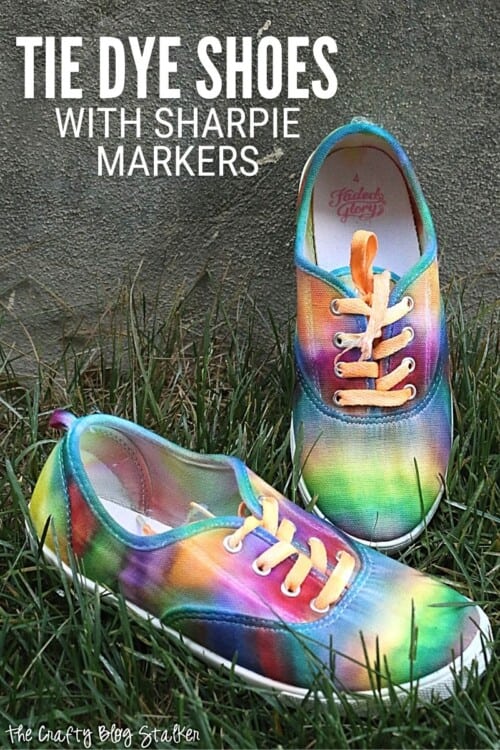
Tie-dyeing your sneakers is a fun way to transform an ordinary pair into a fashion statement. We go through everything needed for this craft project.
Have you ever tried tie-dye before? It is such a fun and easy craft!
This tie-dye is a little different because we are going to be using Sharpie markers and isopropyl alcohol. It is easy enough for everyone in the family to participate!
Craft Tutorial Video:
Like videos? I have a video tutorial for you! Please subscribe to my YouTube Channel so you don't miss out on any future video tutorials!
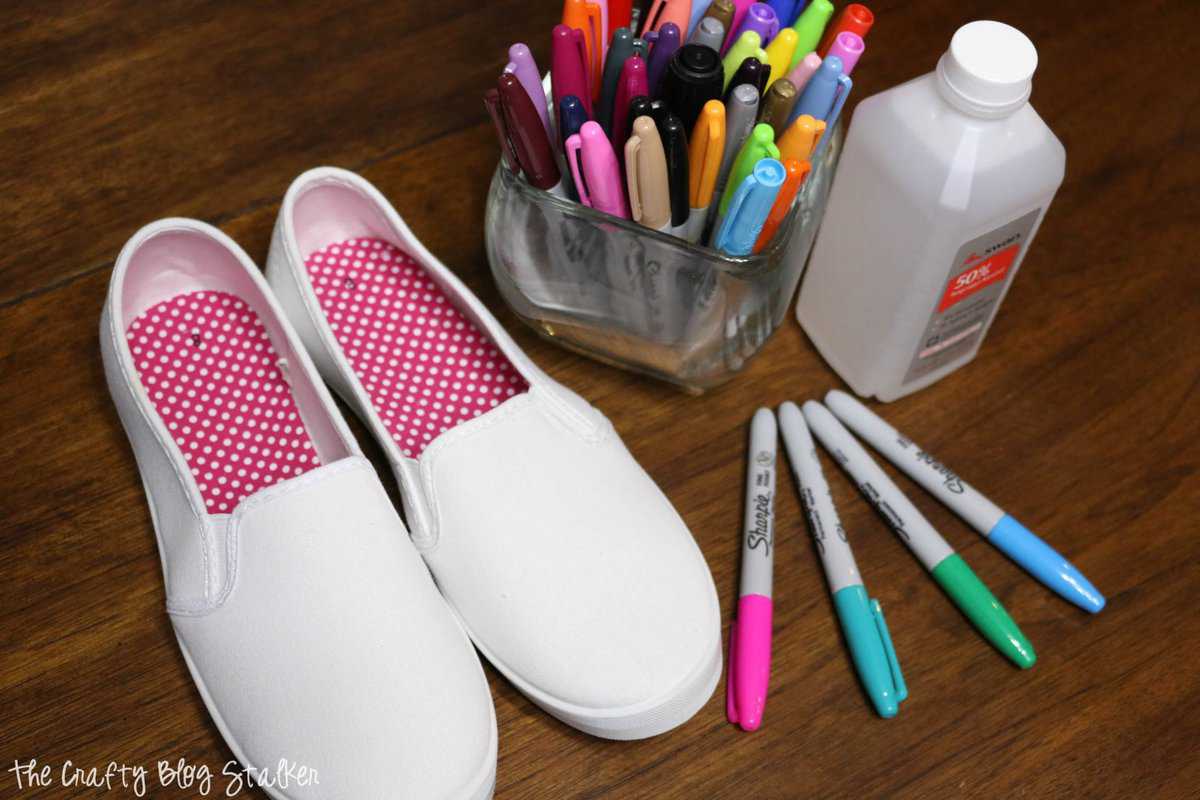
Supplies You'll Need to Create this Project:
- White Canvas Shoes
- Sharpie Markers
- 91% Isopropyl Alcohol
- Fine Tip Applicator Bottle
- Tape (optional)
- 100% Acetone (optional)
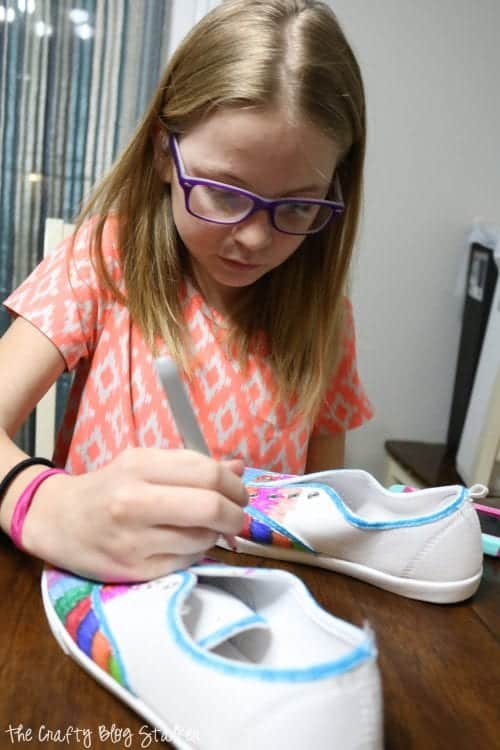
Coloring your Shoes:
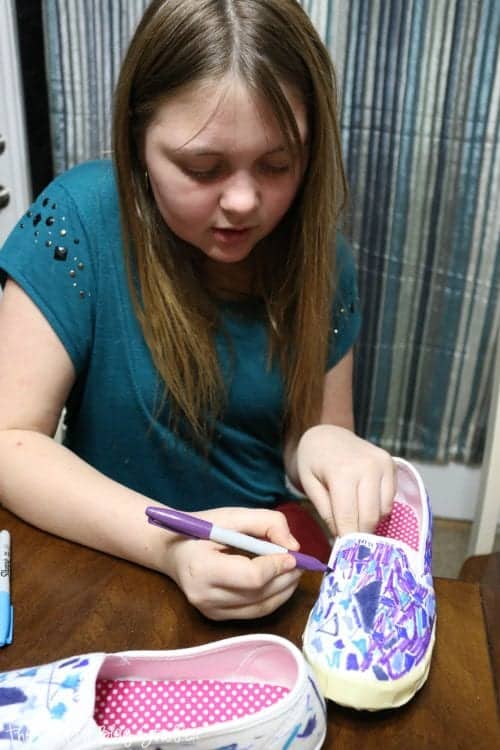
Coloring the shoes is the first step. This is where you can really get creative when thinking of how you want your shoes to look.
Each of my kids went for a different look when coloring with the permanent markers.
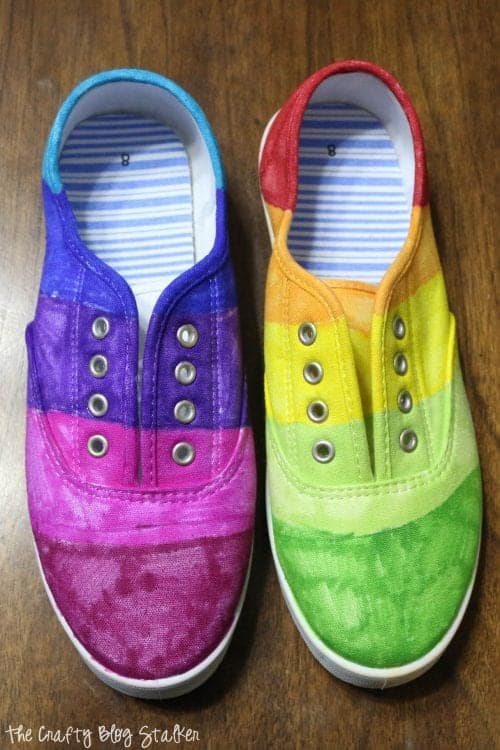
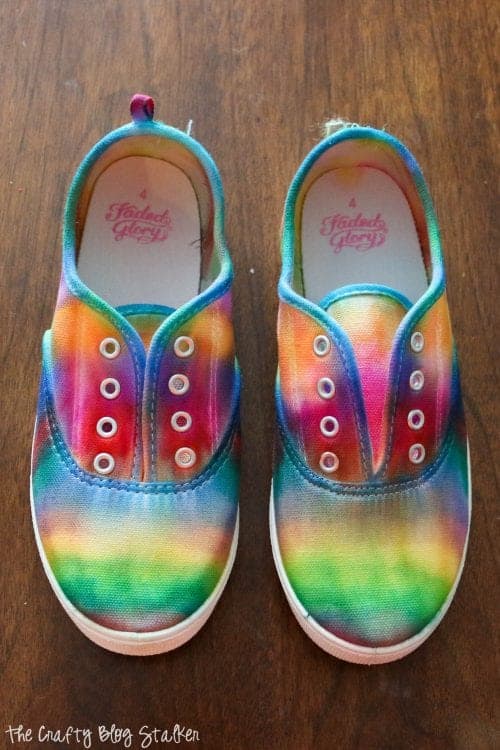
Liza wanted a rainbow design.
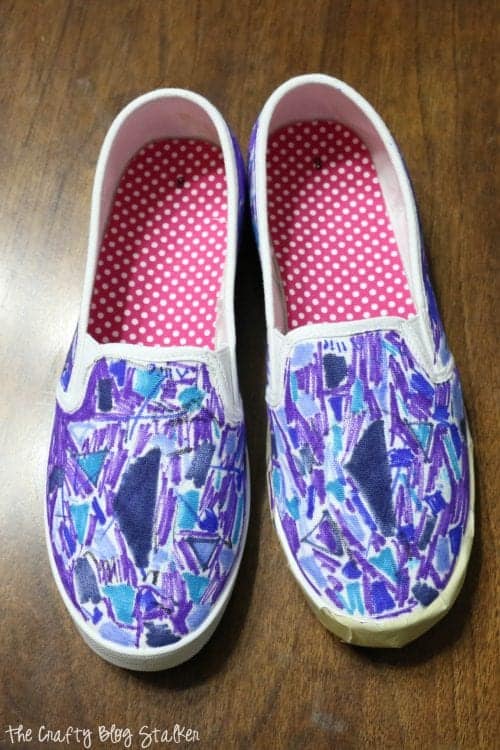
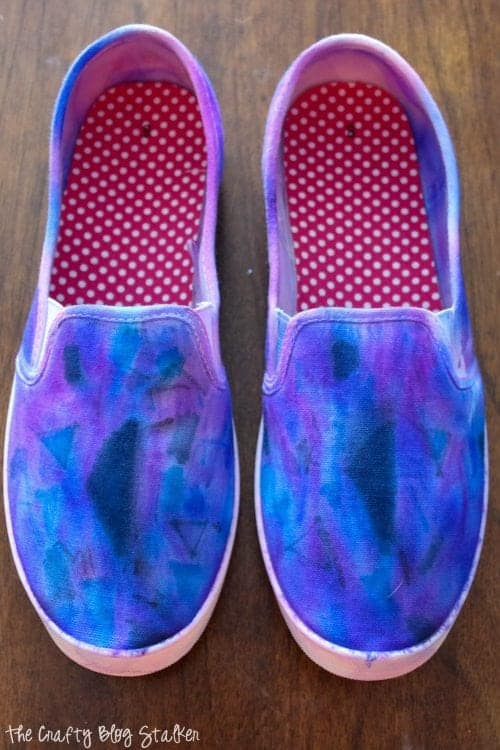
Allie was going for galaxy shoes and used lots of blues and purples.
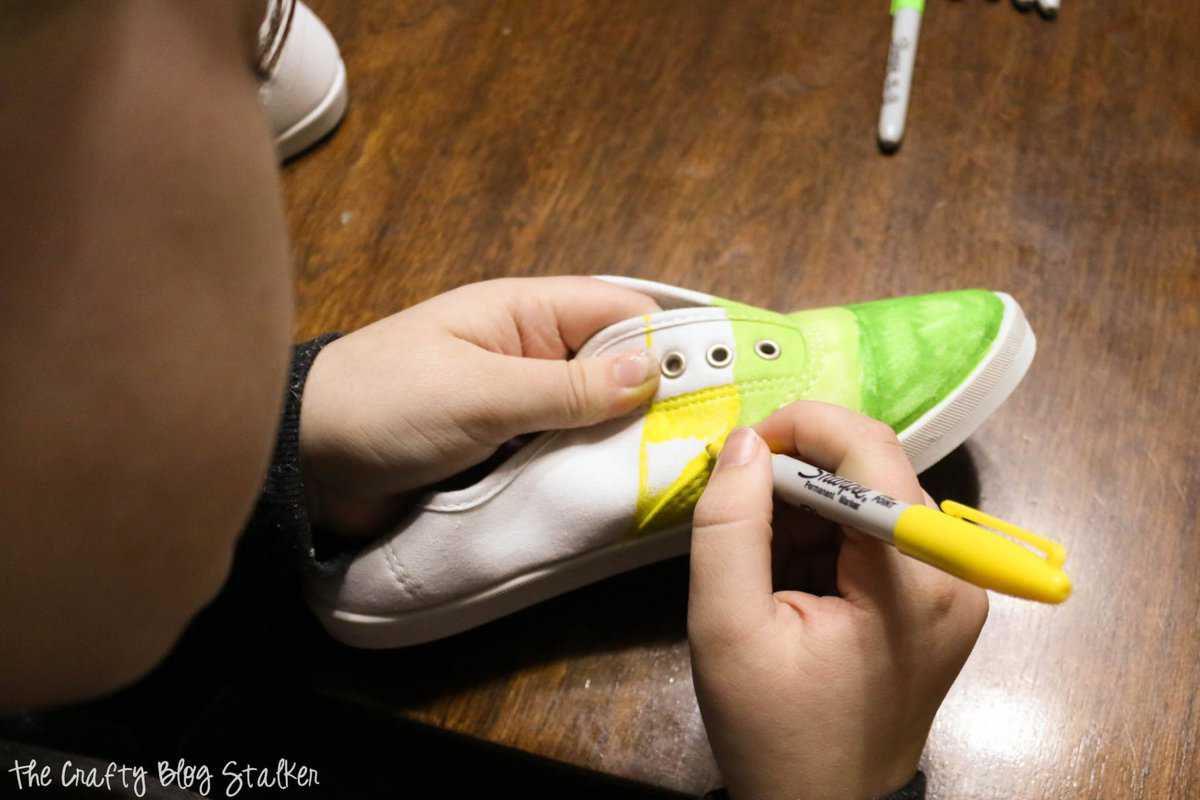
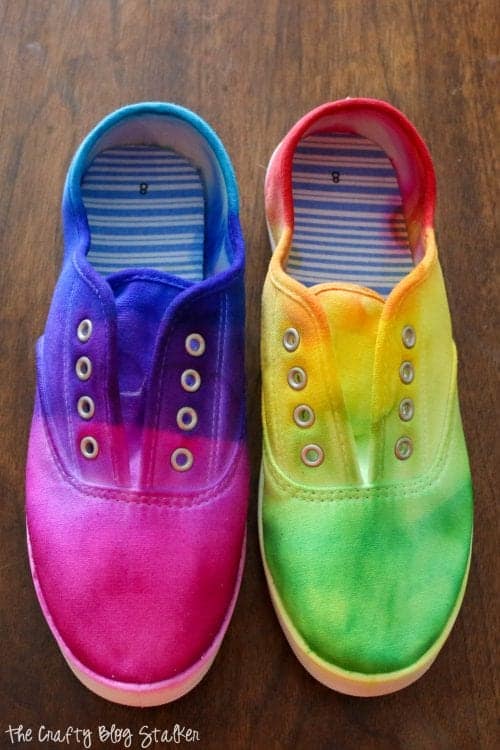
Morgan wanted a spectrum design where the color faded into the next.
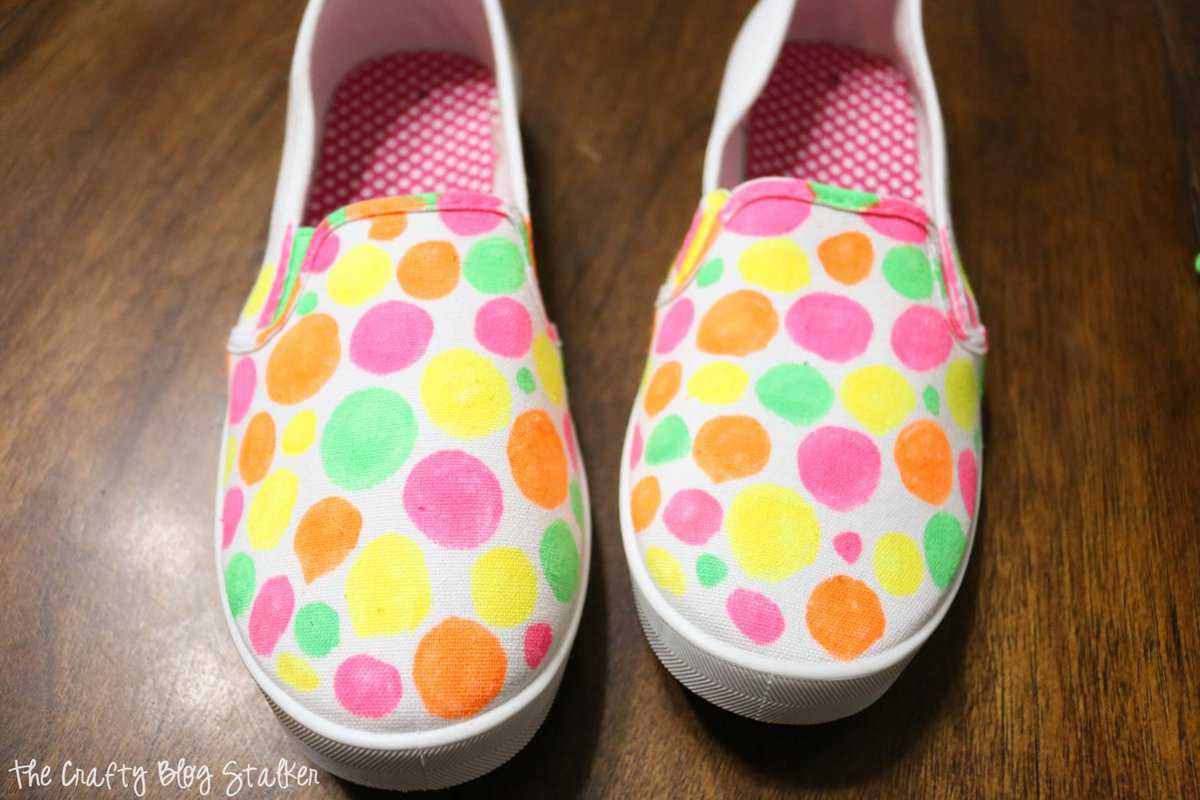
I wanted a more traditional tie-dye look, so I colored circles with different colors on the shoes.
Applying the Isopropyl Alcohol:
To protect the white rubber soles on the shoes you can tape them off with masking tape before you apply the alcohol. Or you can use pure acetone to try and remove any color that leaks onto them after the shoe is dried.
There are a couple different ways to apply the isopropyl alcohol to the shoes. I chose the squeeze bottle method because I felt like it gave me more control of the bleeding. But you can also you an eye dropper or spray bottle.
Squeeze the alcohol onto the shoe and really saturate the canvas.
Apply a couple layers of alcohol to really get the sharpie markers to swirl together.
Continue to add more alcohol until you get a look you are happy with. You can even let the alcohol dry, and then add more to get your desired look.
Let the Shoes Dry:
A lot of the swirling of the ink happens while the shoes are drying. Let the shoes dry completely before wearing them.
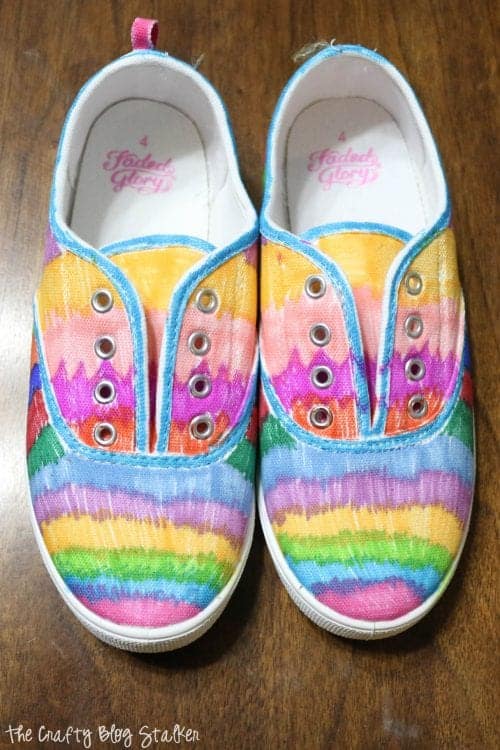
Here is what our tie-dyed shoes looked like the next day after letting them dry overnight.
Liza's Rainbow Tie Dye Shoes.
Allie's Galaxy Tie Dye Shoes.
Morgan's Spectrum Tie Dye Shoes.
And my traditional Tye Dye Shoes.
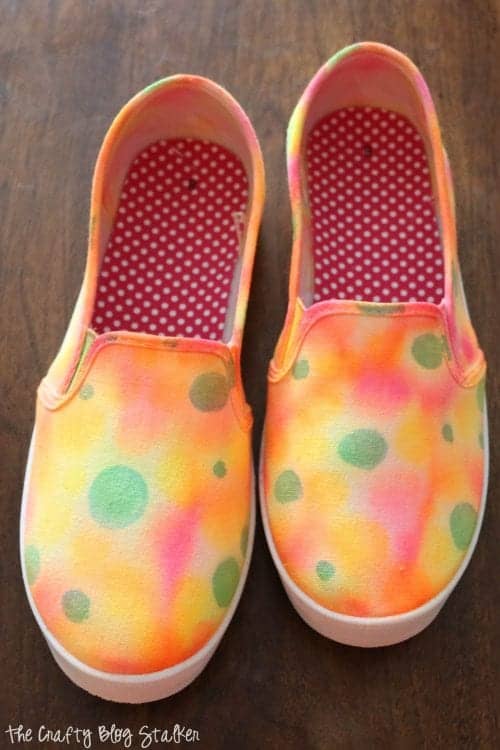
For whatever reason, the neon green Sharpie marker did not bleed, but the other neon colors did. But I still really like how they turned out. The green circles are kind of cool, don't you think?
What colors or designs will you try with your Sharpie Tie Dye Shoes? Share and leave a comment below!
Crafting Essentials
- The Cricut Cutting Machine is easily my favorite crafting tool. We use it in so many of our tutorials!
- These MakerX Crafting Tools are perfect for keeping in the craft room and are always ready when needed!
- This Fiskars Paper Trimmer is easy to use and cuts nicely without frayed edges.
- These Scotch Precision Scissors cut like a dream, and you get multiple pairs in a pack!
Kris
Will this same method work on t-shirts? Or will the ink dissappear with washing?
Katie Adams
I have never tried this technique on shirts so I can't say for sure. But it would be a fun craft to try!
Cheri
Love the Spectrum shoes 🙂
Katie Adams
Thank you so much! They are really fun to make!
Marti
How can I save some of your ideas to Pinterest?