

Create a Halloween candy holder paper craft in under an hour. Use Cricut SVGs to make fun, spooky treat boxes for parties or trick-or-treating.
I love making little gifts for my coworkers around the holidays, and Halloween might be my favorite one overall!
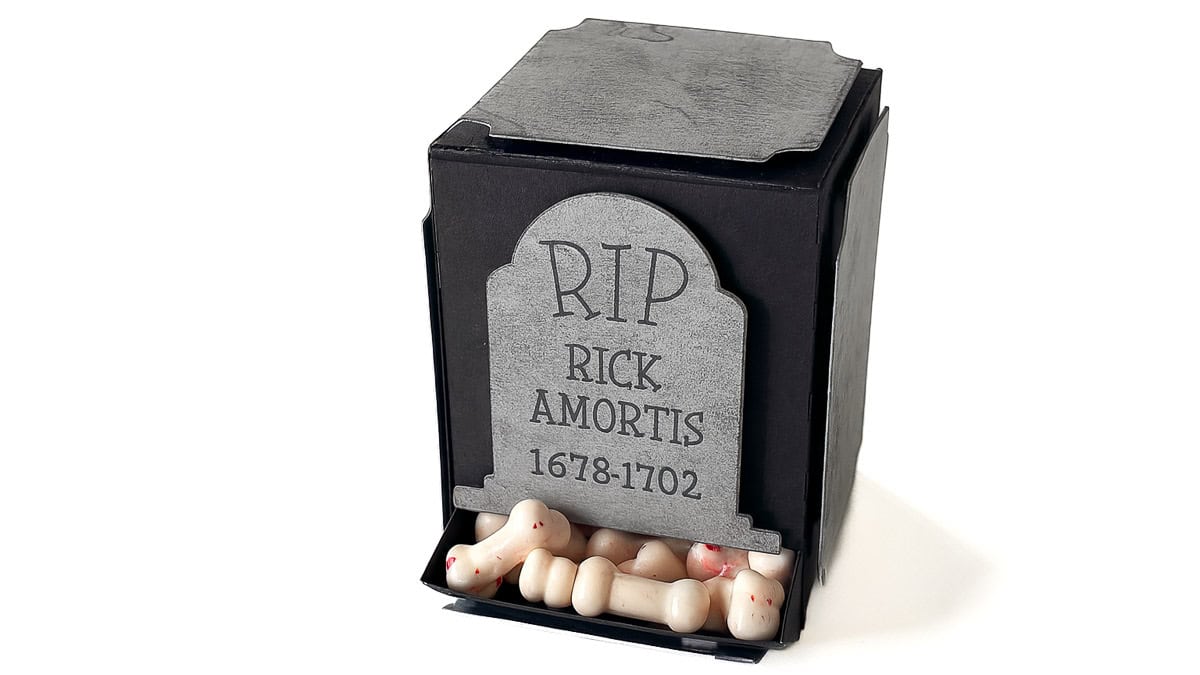
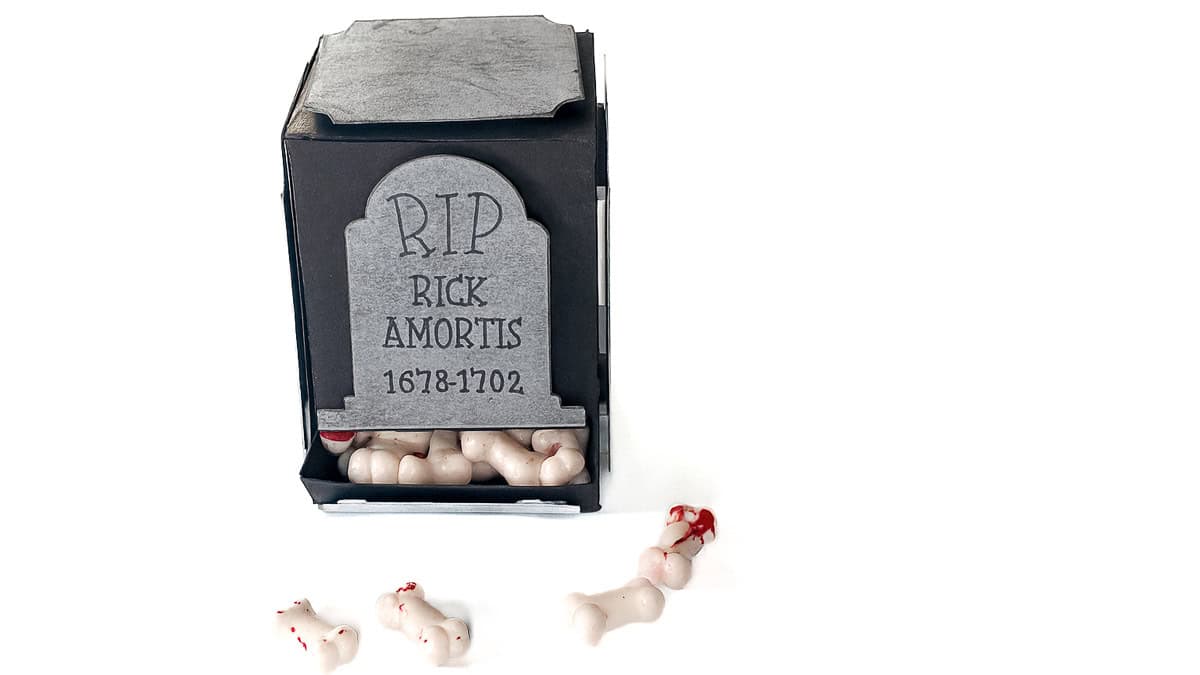
This year, I made a spooky Halloween candy holder that's part treat box and part creepy decor.
It's the perfect mix of cute and eerie, and it comes together in less than an hour with your Cricut.
Whether you're making them for coworkers, friends, or party favors, this candy holder is a fun way to share a little Halloween spirit.
Jump to:
Skill Level: Beginner
Total Time: 30 minutes
Craft Tutorial Video
If videos are your thing, you're in luck-I've got a full tutorial ready for you!
Subscribe to my YouTube channel and stay inspired with every new project.
Purchase the SVG File
This file comes in two parts. The base of the box is a file that can be purchased on Etsy.
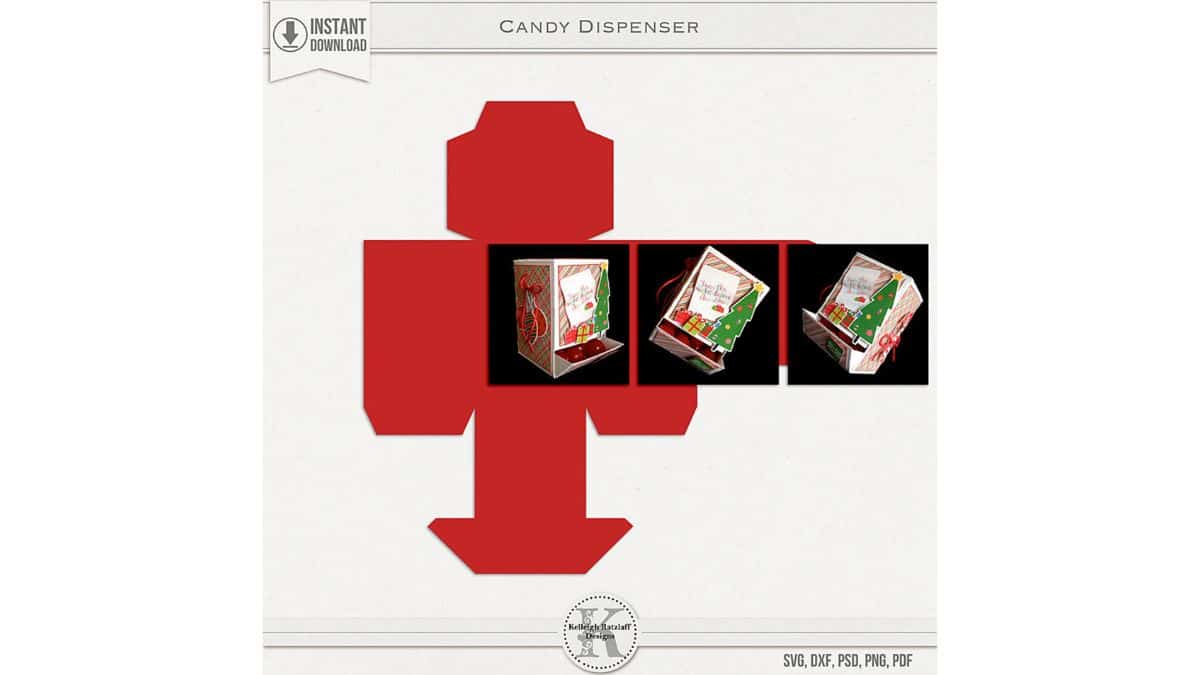
The second part can be found on Cricut Design Space and is free if you have Cricut Access.
Cricut Design Space
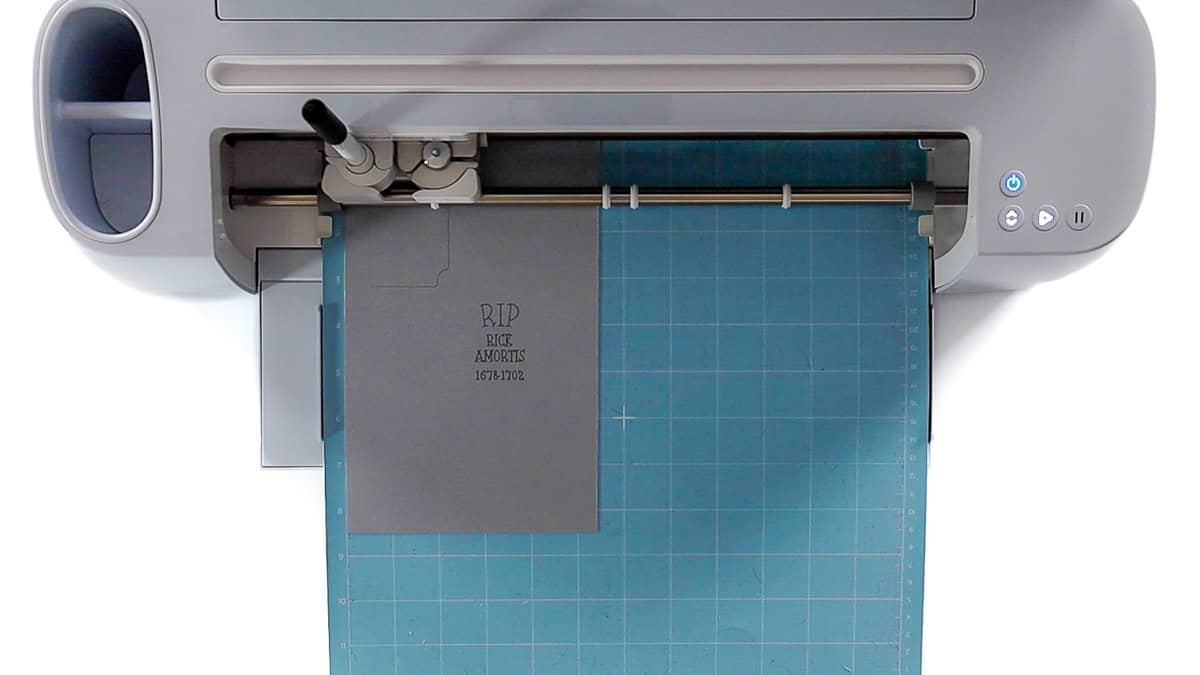
In Cricut Design Space, open the Gravestone canvas.
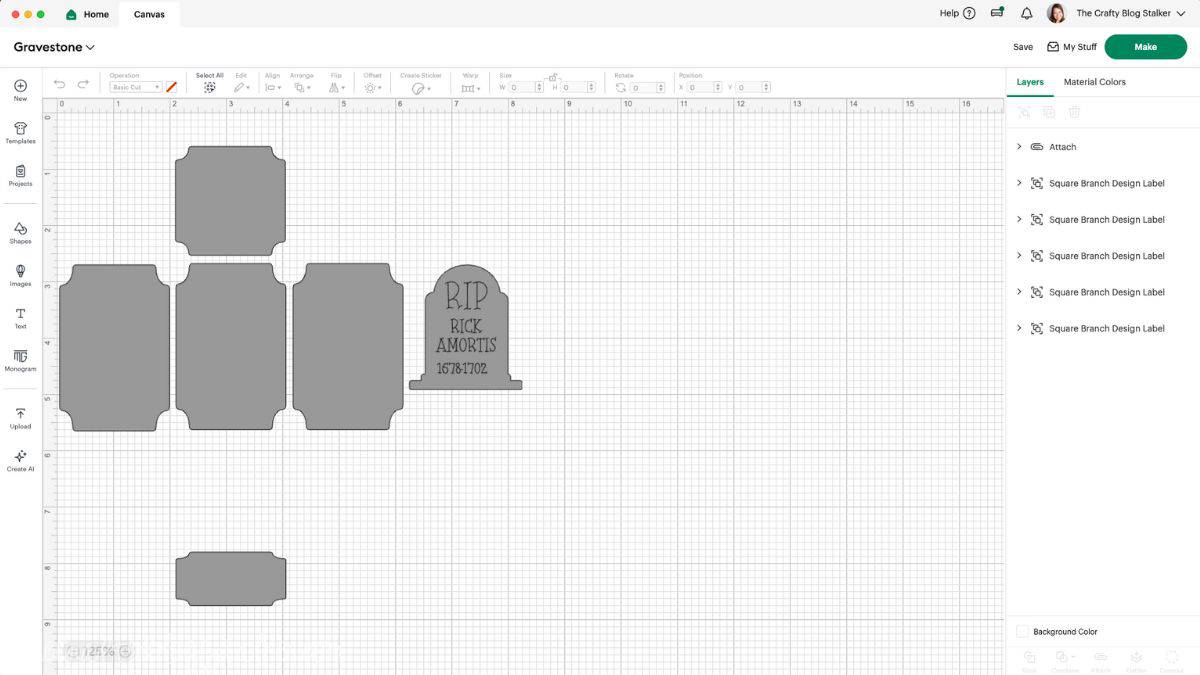
Upload the SVG of the Candy Dispenser Box and add it to your canvas.
I changed the color of the dispenser box to show how the gravestone pieces fit perfectly with the dispenser box design.
If you would like to make any adjustments to the size, make sure to highlight all layers and then adjust sizing so all layers are affected, and the embellishment pieces will still fit.
For my boxes, I kept everything sized as is.
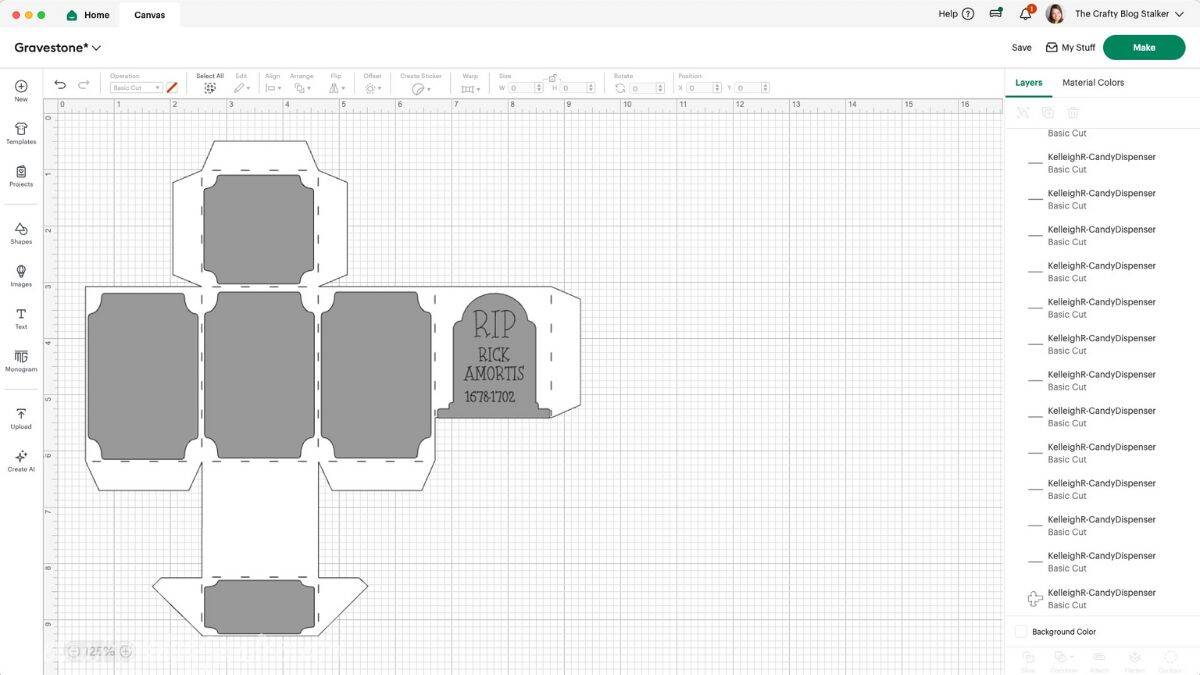
Follow the prompts inside Cricut Design Space as to when to load each color of cardstock.
I did a black base with gray embellishments.
When you cut the gray cardstock, don't forget to add the pen for the lettering on the gravestone.
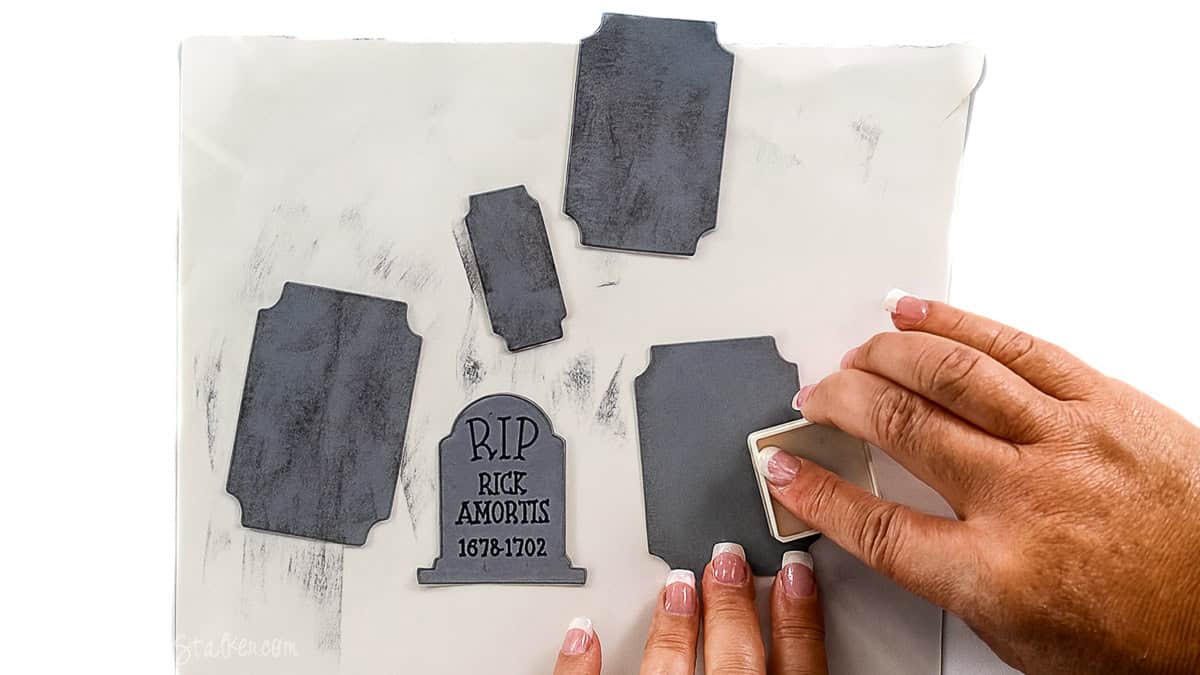
Inking
Use a black ink pad to ink the edges and smear over the top of the gravestone pieces to make them look old and dirty.
Box Assembly
Use a bone folder to fold in on all of the score lines.
Apply adhesive foam dots to the back of the gray gravestone pieces and then place them in the same-sized rectangle.
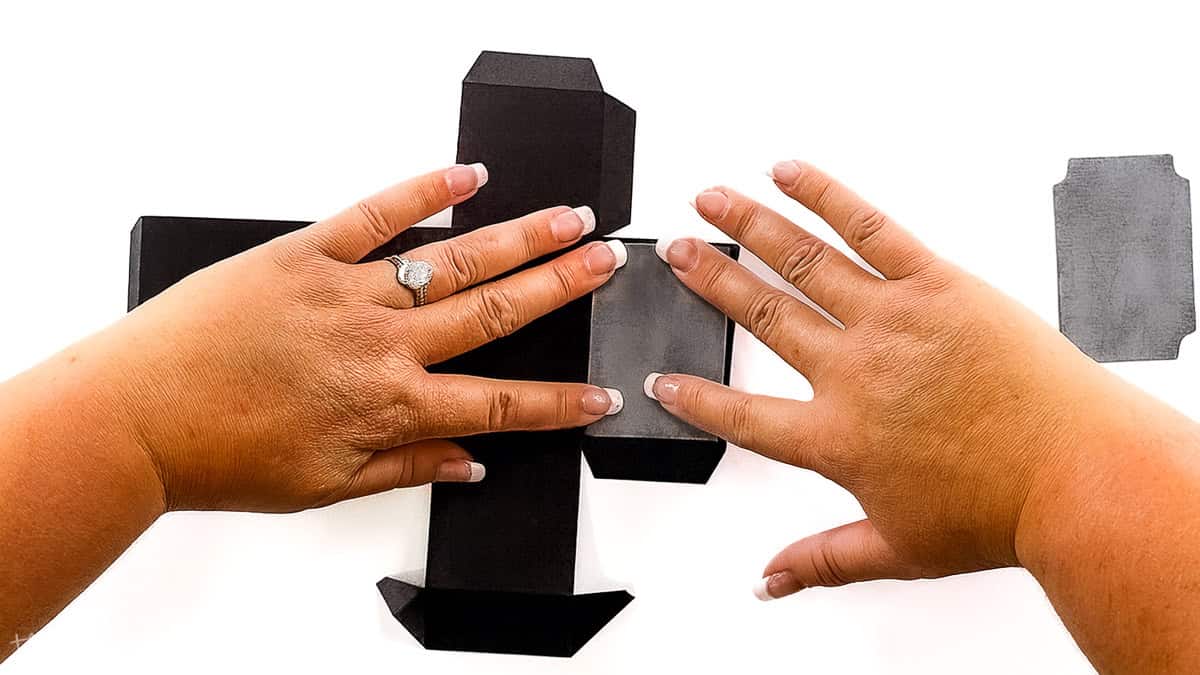
Explaining the rest of the assembly is a bit difficult. If you are confused by what I am saying, I recommend you watch the tutorial video above.
Before you apply adhesive, take a look at the box and figure out exactly how it assembles.
Apply double-sided adhesive to the three center tabs and to the very top corners of the small rectangle's bottom.
I did not put glue on the top tabs so the box could be refillable.
Create the center of the box first, behind the left panel.
Attach the tabs for the dispenser portion inside the box.
Line up the scoreline with the tab on the side of the box to complete it.
Fill with Candy
When the box is fully assembled, carefully open the top of the box and add the candy!
You could really use any small Halloween candy, Like M&Ms, but I love these bloody candy bones. They are perfect for my gravestone theme.
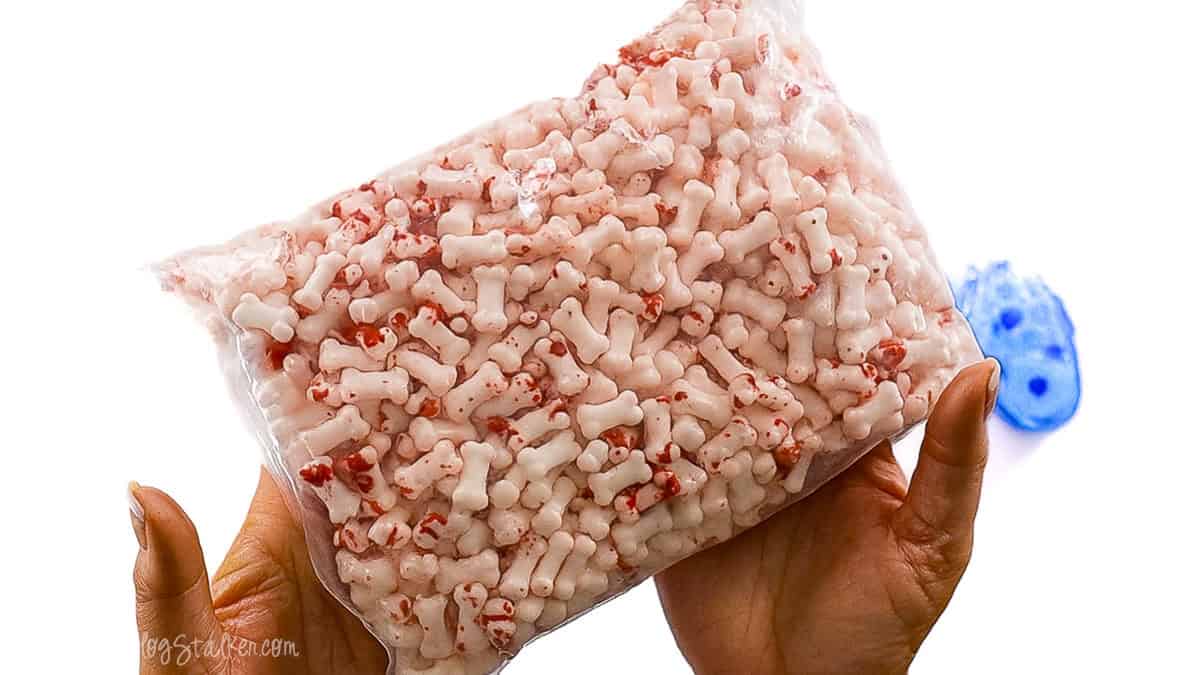
Fill the candy dispenser with the bone candy, and close the box by tucking the lid tabs inside the box.
Isn't it a fun and a little creepy Halloween gift for October that doubles as holiday decorations?
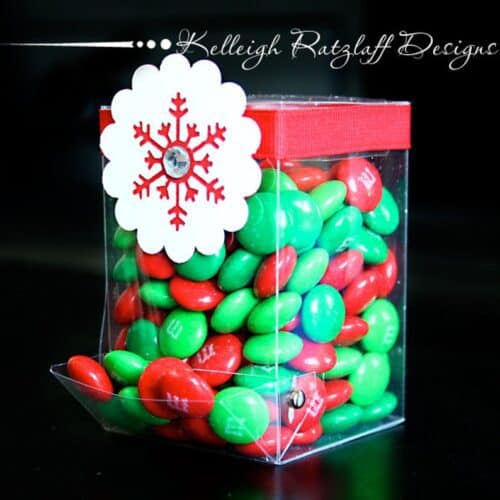
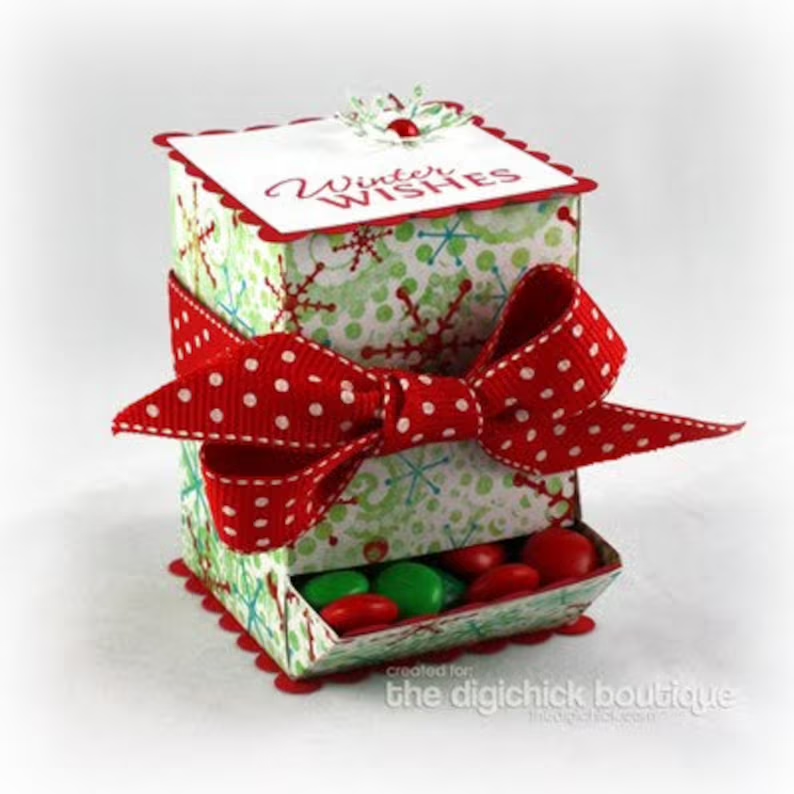
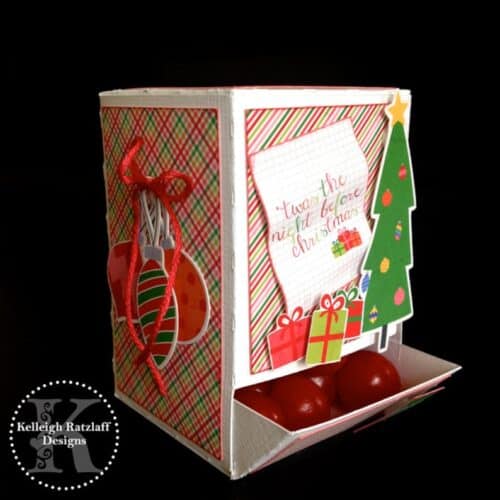
The best thing about this DIY Candy Dispenser SVG is that you can use it for any holiday or event!
Here are some of the designs shared by the owner of the SVG file.
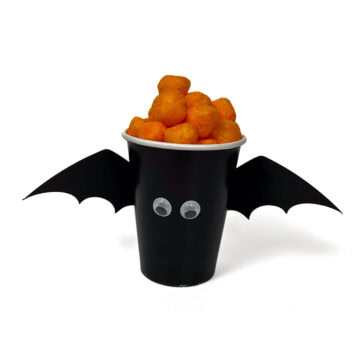
More Halloween Cricut Crafts
DOn't put that Cricut machine away yet. There are more crafts to make! Here are a few more fun ideas.

Hi, I'm Katie!
I'm so glad you're here. Want to make something fabulous? I'm here to help!
Debra Kapellakis
Those came out great.
Me
Love them, now where is mine?
Good job!
Jaren
This is such a cute idea!!