

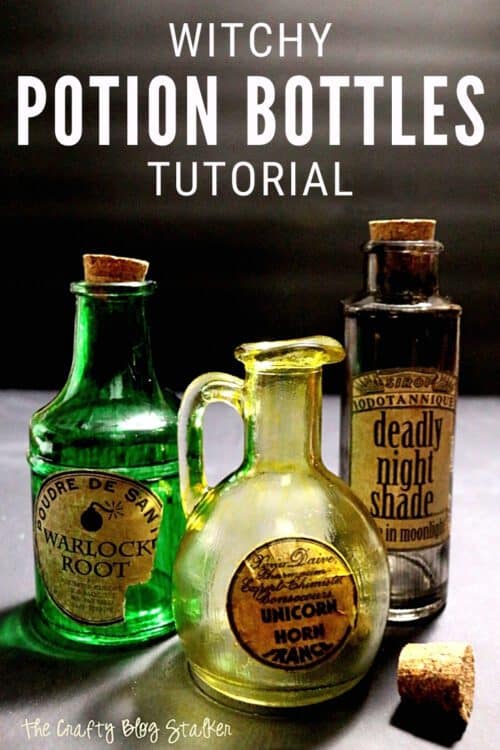
Make your own set of spooky potion bottles to add to your Halloween decor. Below is the step-by-step tutorial and free printable.
A pinch of Warlock Root, 5 Centipede Hairs, and a scoop of Dragon Bone.
Boil in a caldron of Deadly Night Shade for a fortnight.
When mixed correctly you will have a potion that when either drank or inhaled, will cure hiccups.
Seriously, it works - you should try it!
What's Halloween without some fun and scary props and decor? These Potion Bottles are fun to make and are going to look awesome with your Halloween decor.
Supplies You'll Need to Create this Project:
Some links may lead to similar items when the exact item is unavailable.
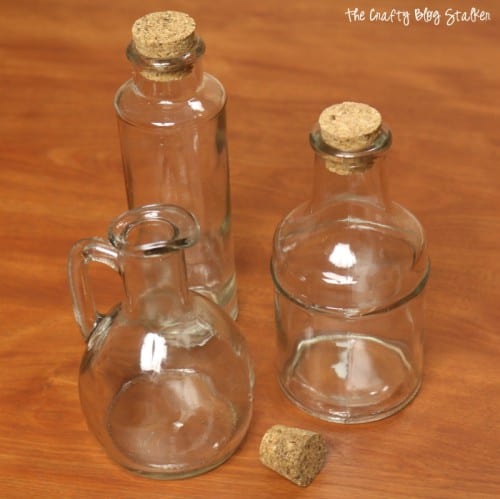
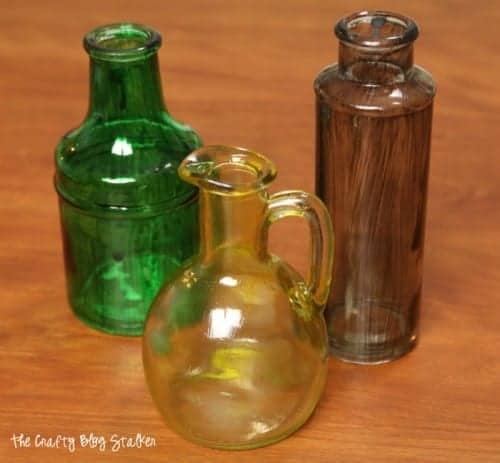
- Glass bottles of different sizes and shapes
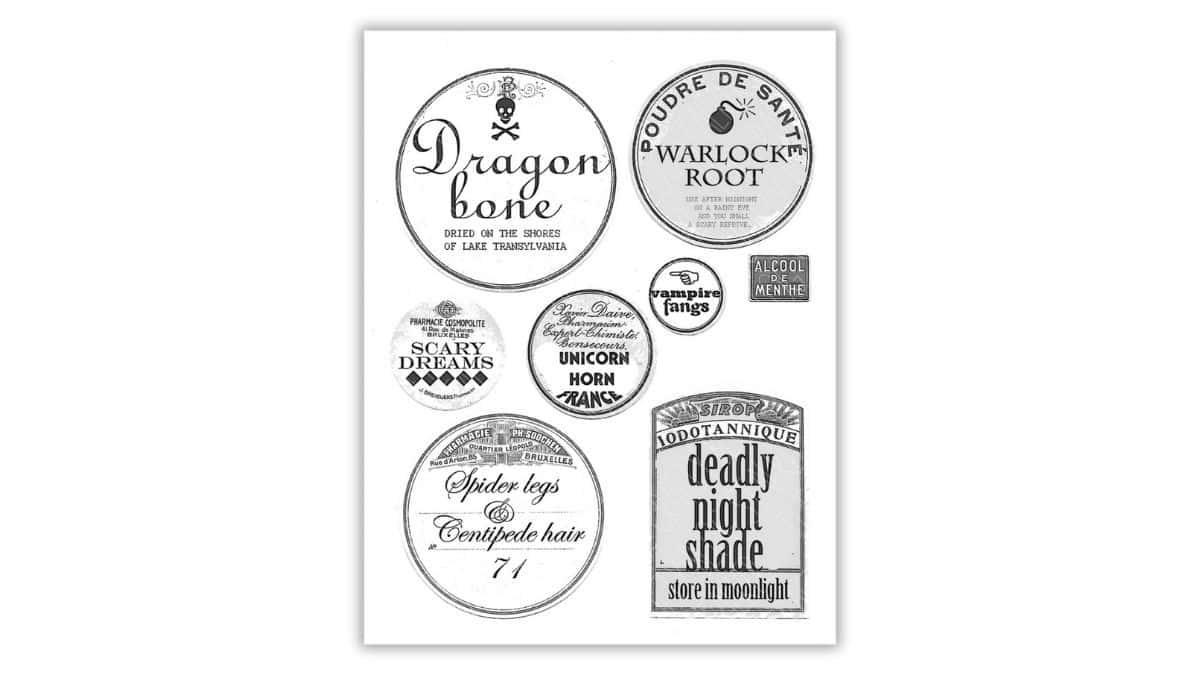
- Potion Bottle Labels
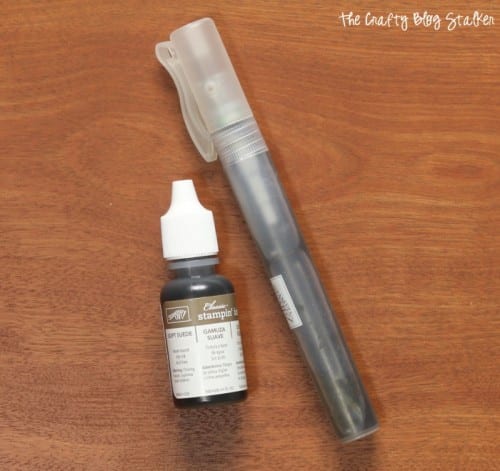
- Brown Reinker
- Black Reinker
- Spritzer Bottle
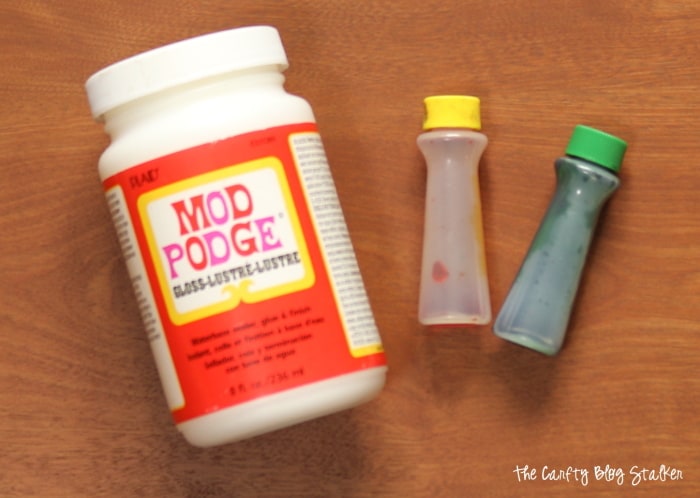
- Mod Podge
- Food Coloring
- Foam Brushes
I picked up my bottles and a local craft store for just a couple of dollars each. You can also check out this link for some similar bottles that I found on Amazon. I love the cork top. I think that totally adds to the potion bottle look.
Aging the Potion Labels:
Print out the PDF of Potion Bottle Labels.
In a small spritzer bottle, add about 10 drops of ink and fill the bottle about halfway up with water.
Spray the ink all over the paper. This will help "age" the labels and makes them look vintage and not just printed off of a printer.
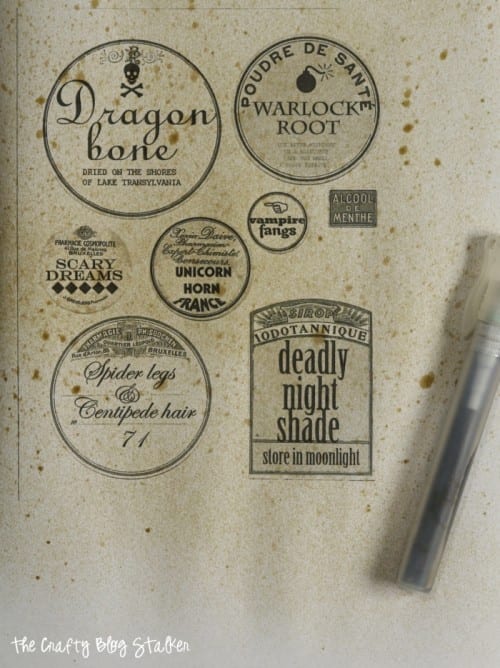
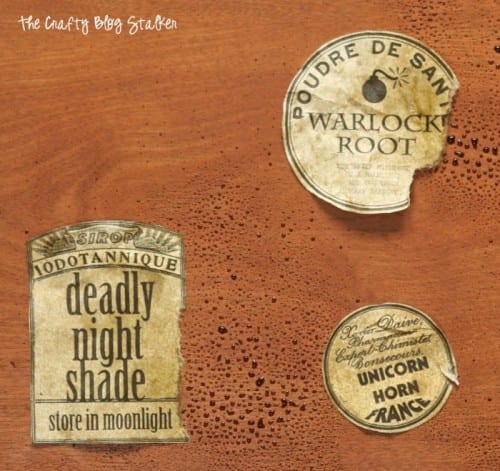
Cut the labels out and crumple them up a bit, and even tear some of the edges to make them look even more aged.
Then spritz the labels again, and then set them aside to dry.
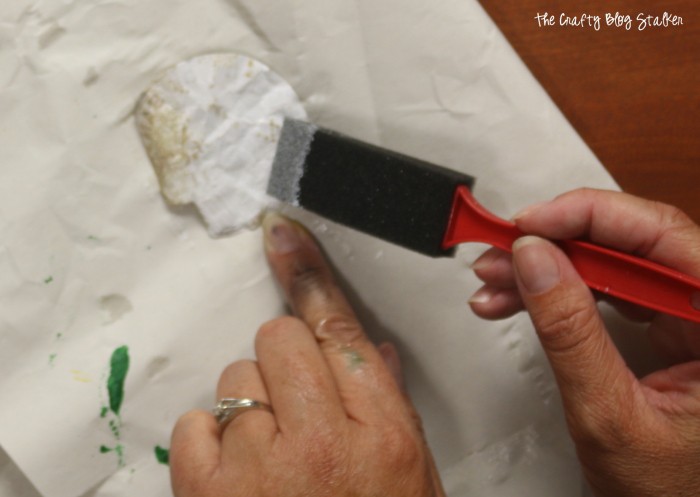
Adding color to the Glass Bottles:
Adding color to the bottles can make them look like they had something in them at some time - a long time ago.
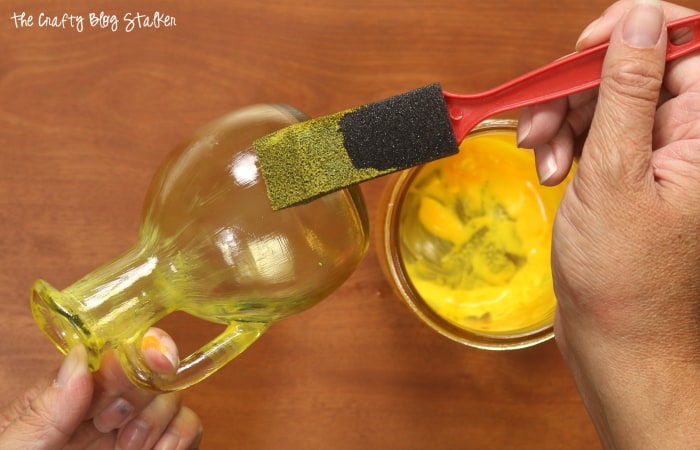
In a separate bowl, mix a couple drops of food coloring and a scoop of Mod Podge.
For a black, use the black ink in a scoop of Mod Podge.
Paint one coat of the colored Mod Podge mixture onto each jar with a foam brush and set them aside to dry.
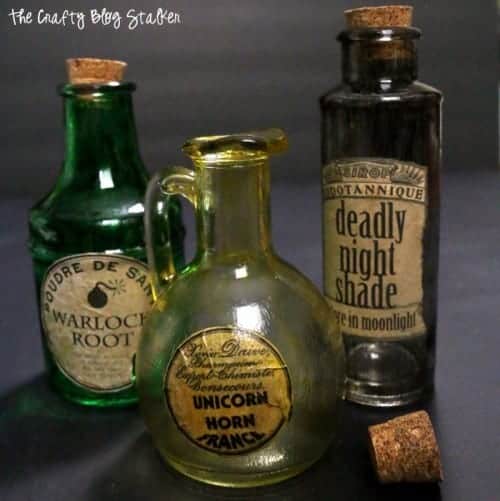
They look awesome even without their labels!
To add the labels put a thick coat of Mod Podge on the back of the label.
Place the label on the jar and apply a layer of Modge Podge over the top of the label.

The final result - ooohhhh creepy!
Crafting Essentials
- The Cricut Cutting Machine is easily my favorite crafting tool. We use it in so many of our tutorials!
- These MakerX Crafting Tools are perfect for keeping in the craft room and are always ready when needed!
- This Fiskars Paper Trimmer is easy to use and cuts nicely without frayed edges.
- These Scotch Precision Scissors cut like a dream, and you get multiple pairs in a pack!
Shamene@sayitwithcake
wow these are really cool! I will have to try and make some!
All that's Jas
So creative! Great idea. Thanks for joining the Thursday Favorite Things Blog Hop!
Kimberly
Oh my! Super cute! Pinned and tweeted. We love partying with you and we appreciate you stopping by! Please take a minute to stop by next week, so we can pin and tweet your new creation. The party starts on Monday at 7 pm! Have a great Saturday! Lou Lou Girls