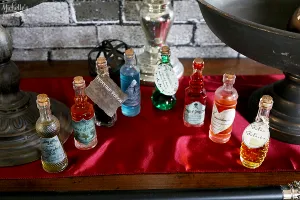
Turn ordinary clear bottles from the craft store, into spooky light-up potion bottles for Halloween. Find out how to make light-up bottles with Etchall here. We may earn a commission if you make a purchase using the links below.
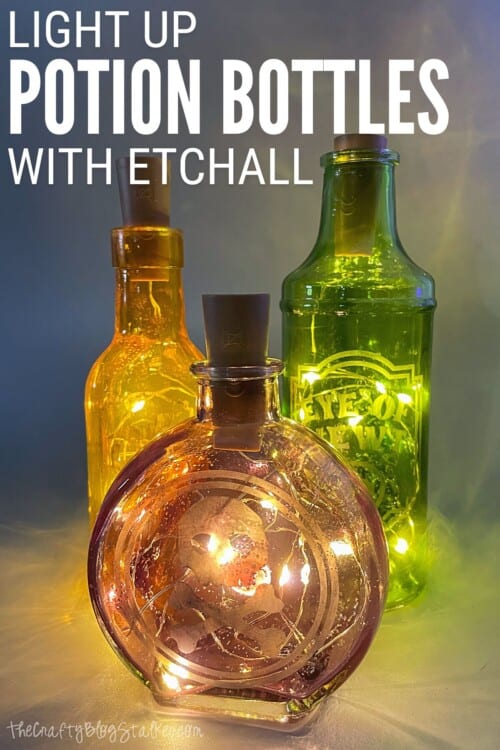
What do you love most about Halloween?
Is it spooky and weird stuff, trick or treating, or crafting?
For me, it is definitely crafting, and making my own weird and spooky witch decor! 😂
Craft Video Tutorial:
Like videos? I have a video tutorial for you! Subscribe to my YouTube Channel so you don't miss any future videos!
Supplies You'll Need to Create this Project:
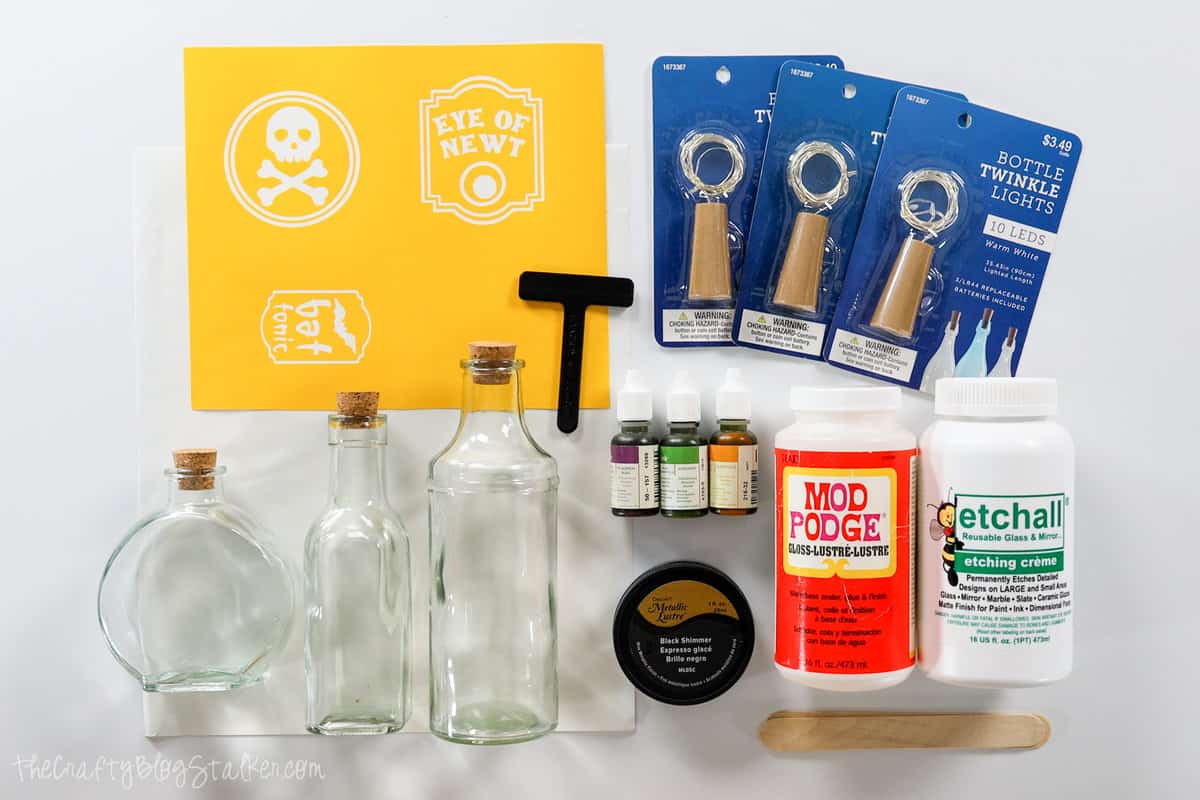
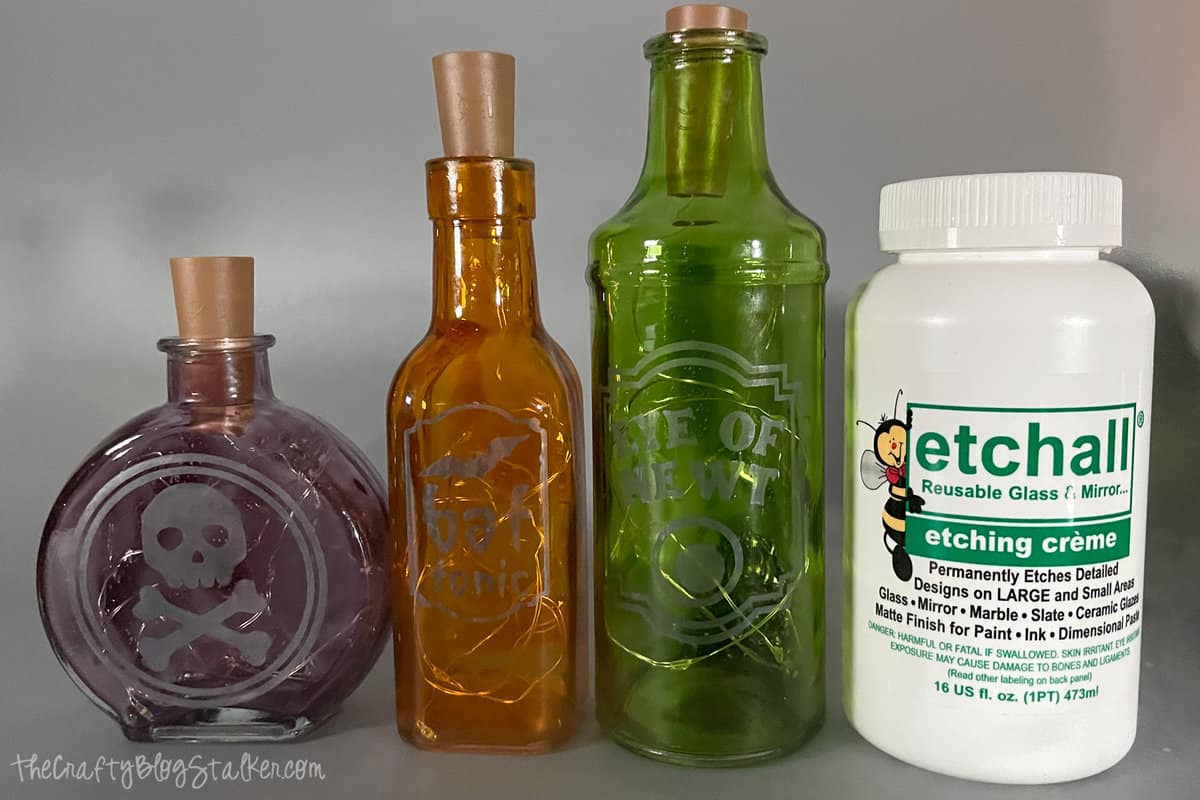
- Etchall Etching Creme
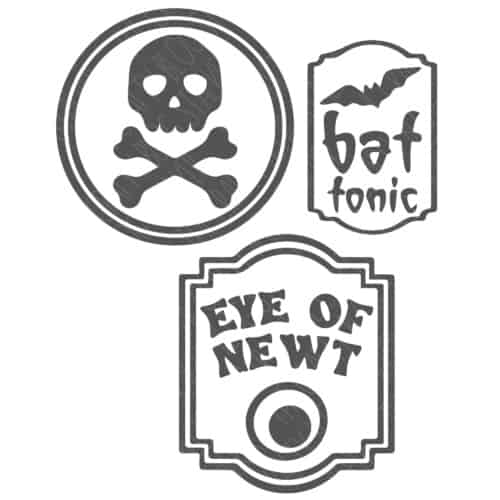
- Potion Bottle Stencil Designs
- 3 Cork Glass Bottles
- Mod Podge
- Re-Inkers or Food Coloring
- Cricut Cutting Machine
- Weeding Tools
- Etchmask
- Etchmask Transfer Sheets
- Squeegee
- Painter's Tape
- Metallic Lustre Black Shimmer
- Craft Sticks
- 3 Cork Bottle Lights
- Paper Trimmer or Scissors
Coloring the Inside of the Glass Bottles:
Pour a good amount of Modge Podge into a plastic cup. I did not measure, since each bottle would take a different amount because of its size.
Add several drops of coloring to the cup, until you get the desired color, and stir well with a craft stick.
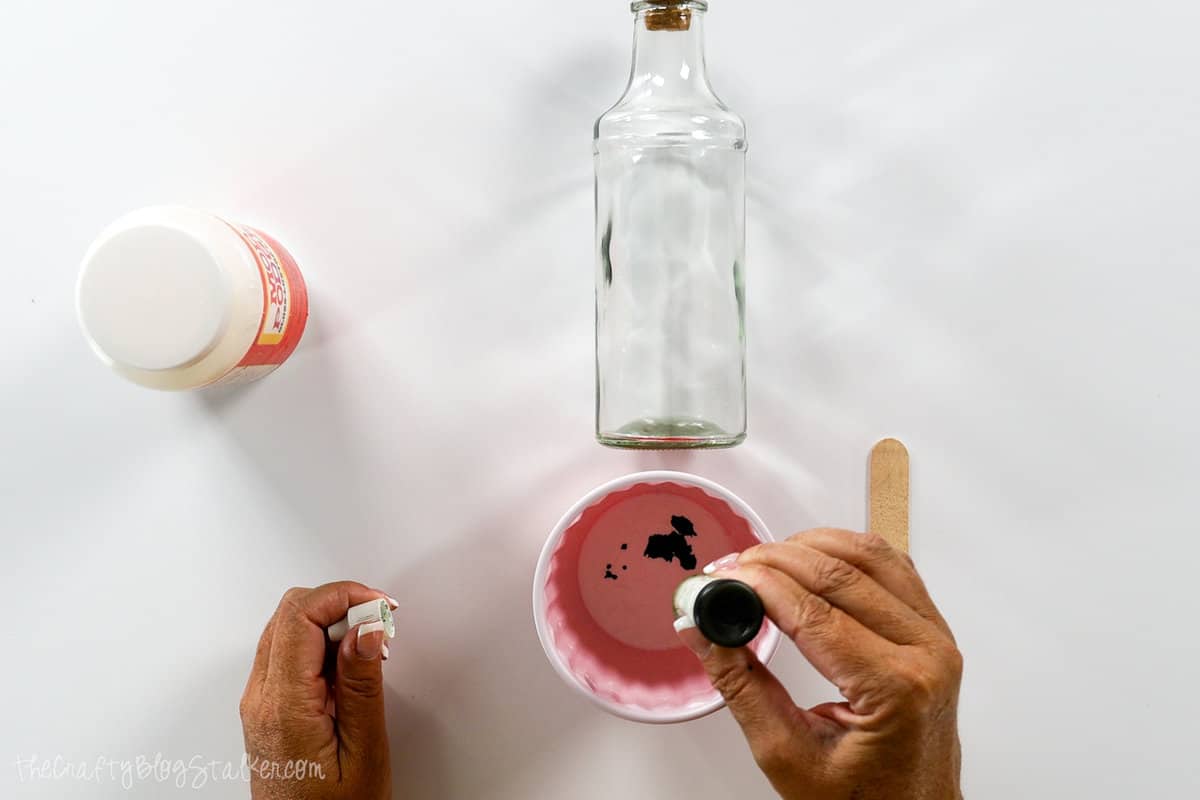
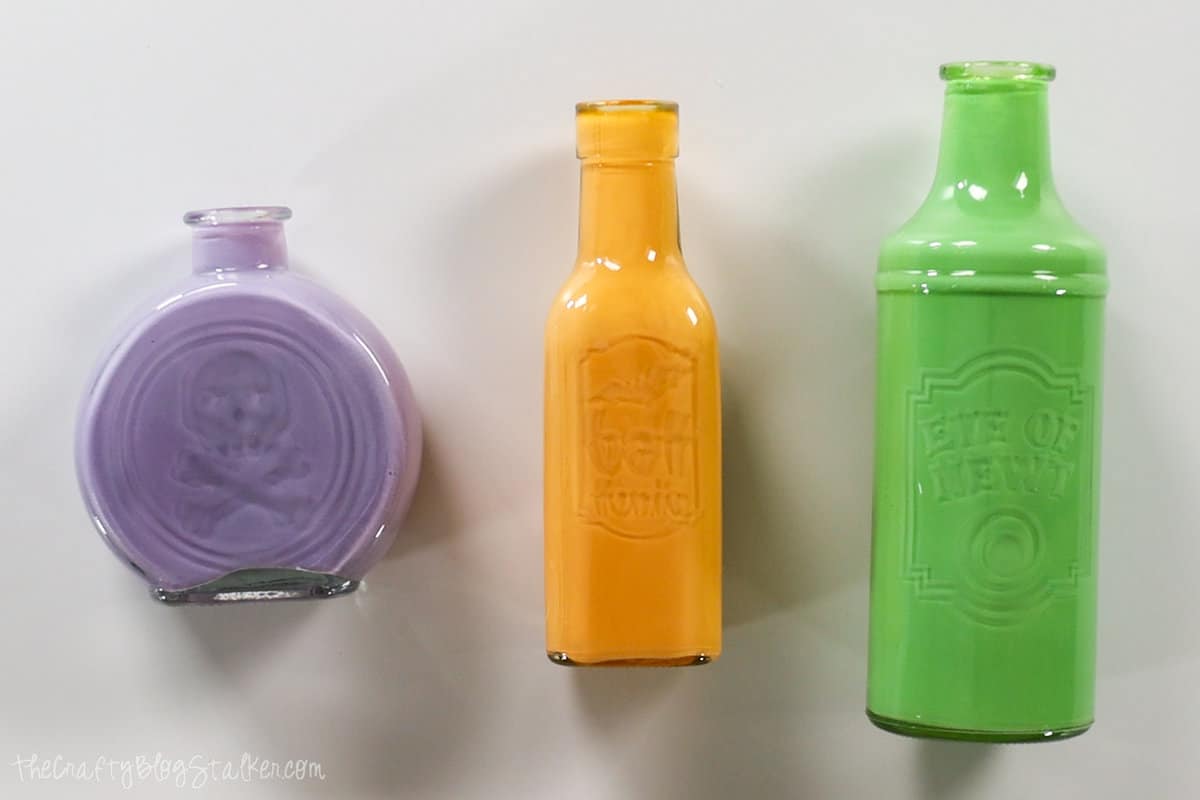
Pour the colored mixture into the glass bottle and slowly rotate the bottle so the mixture completely coats the inside.
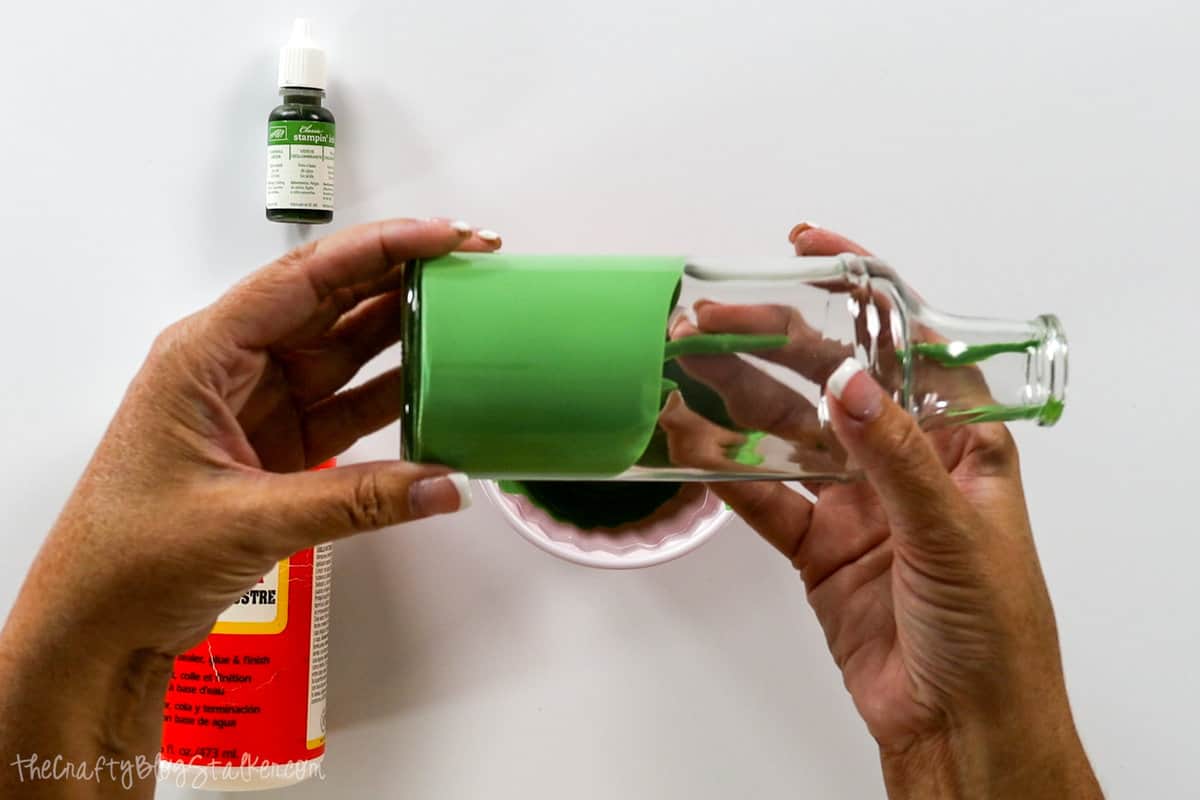
Then turn the bottle upside and let the excess drip out.
I found that an empty toilet paper roll worked perfectly for this.
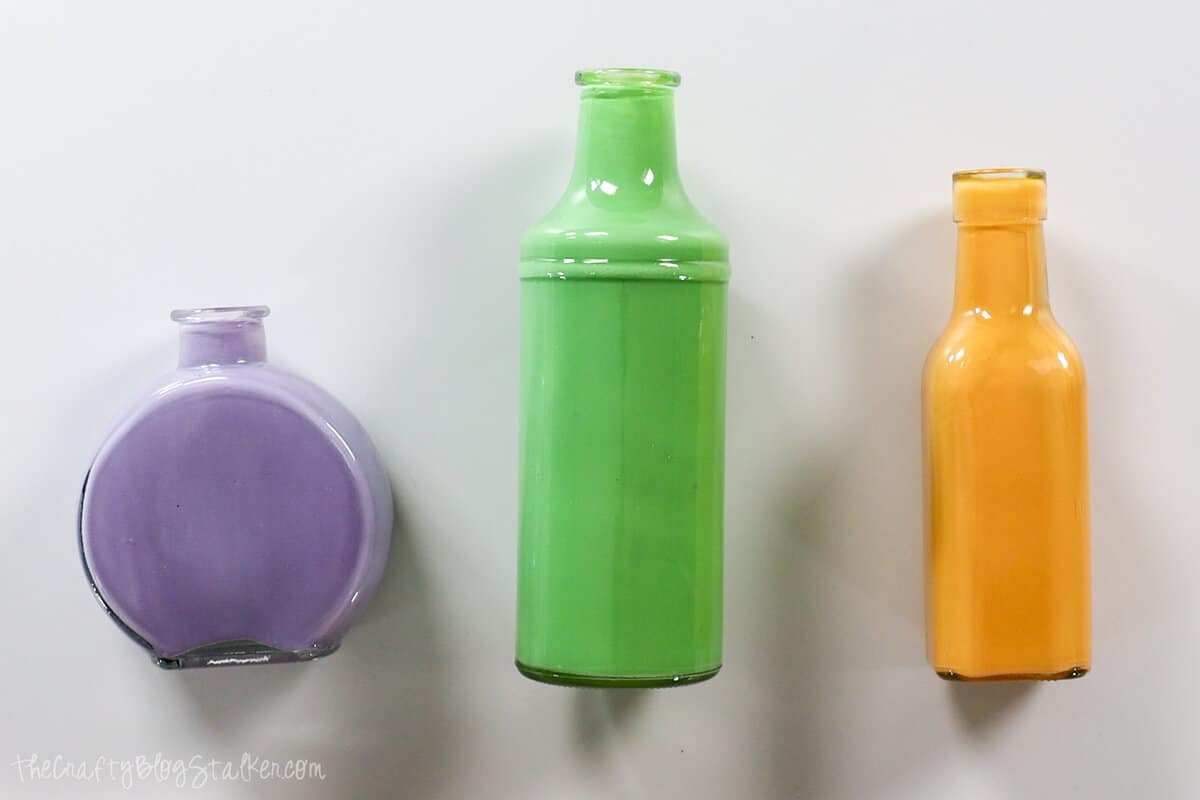
The Mod Podge will take about 24 hours to completely dry and become see-through. You can move onto the etching step before the inside is dry.
Etch the Glass Bottles:
Upload the design into Cricut Design Space and resize to fit your bottles.
When ready to cut, lay the Etchmask on a cutting mat and load it into your Cricut to cut on the Vinyl setting.
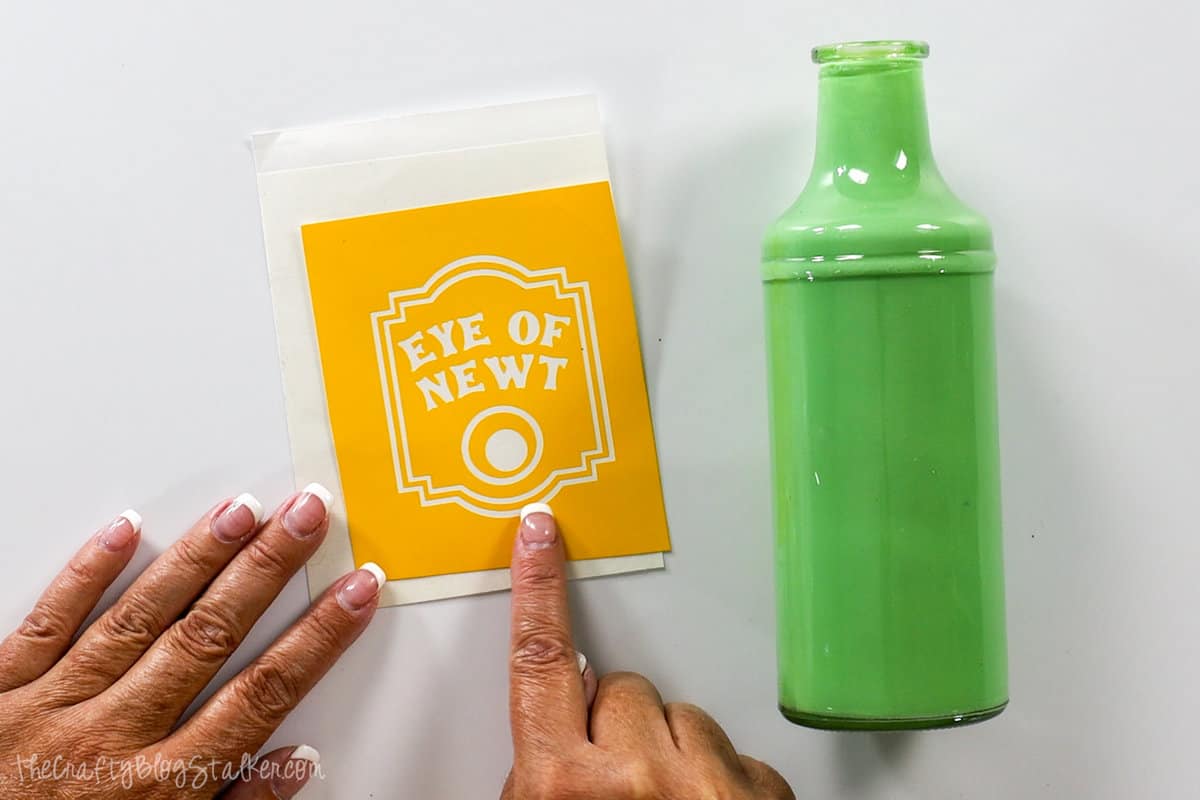
Lay a piece of Etchmask Transfer paper over the top of the stencil.
Go over the top of the transfer sheet with the squeegee tool, pressing the transfer sheet into the stencil.
Center the stencil onto the glass bottle, pressing it down with your fingers.
If you press down in the middle and then press out from the middle you will get fewer air bubbles.
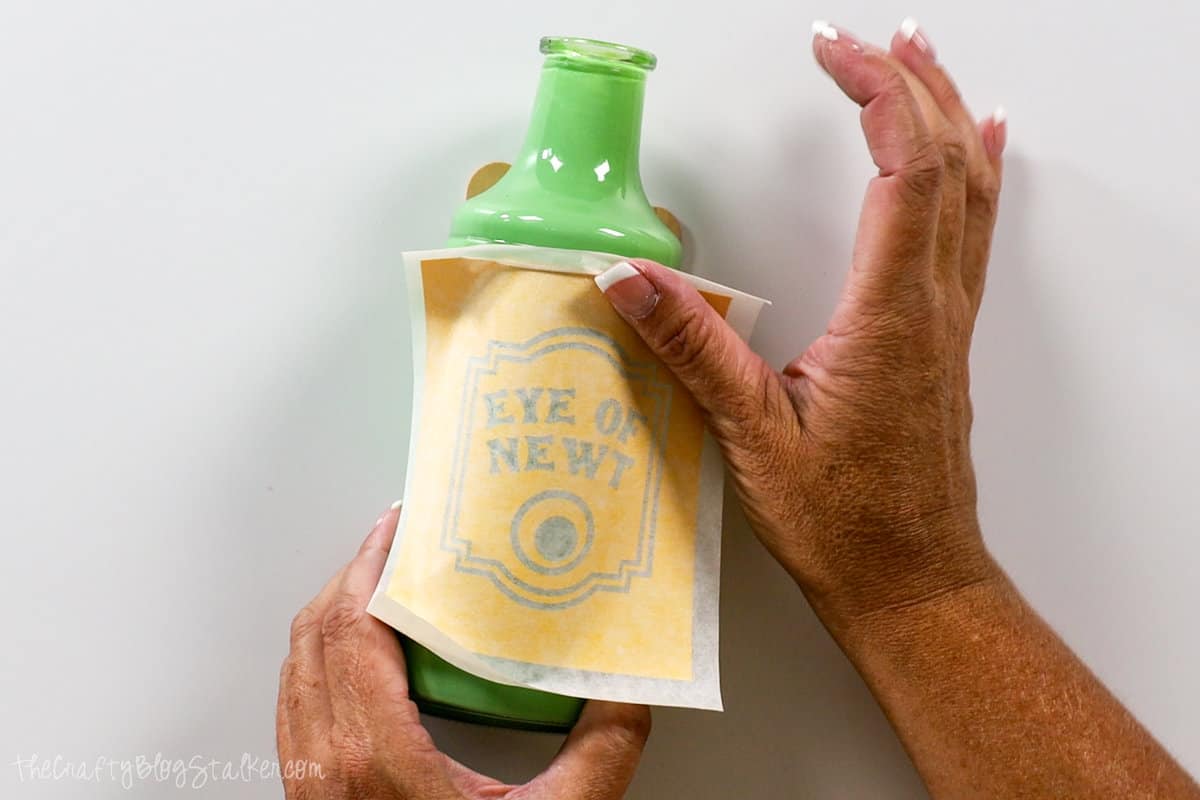
When the Etchmask is completely pressed to the glass, peel back the Etchmask Transfer Tape.
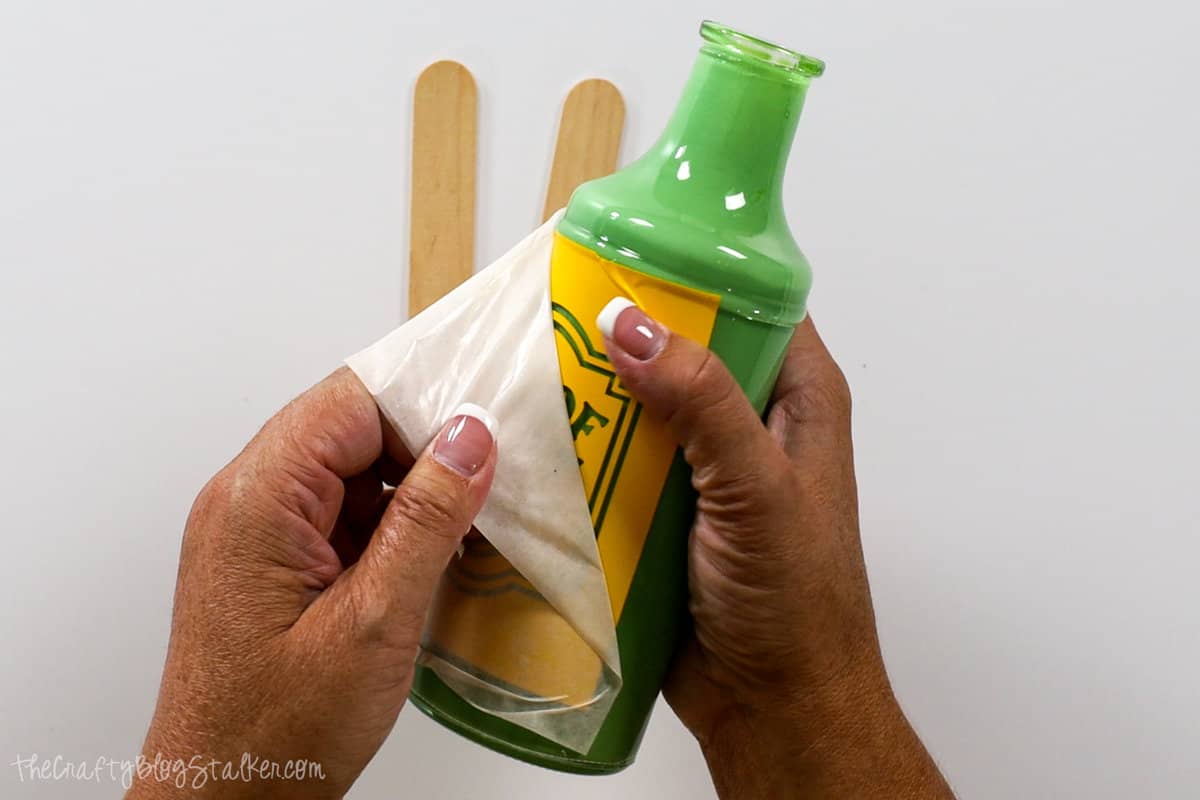
Again, go around the entire stencil pushing out any air bubbles. Etchall can get into areas that aren't securely pressed down and etch areas of the glass you don't want to be etched.
Apply painter's tape around the stencil to protect the rest of the bottle from Etchall spillage.
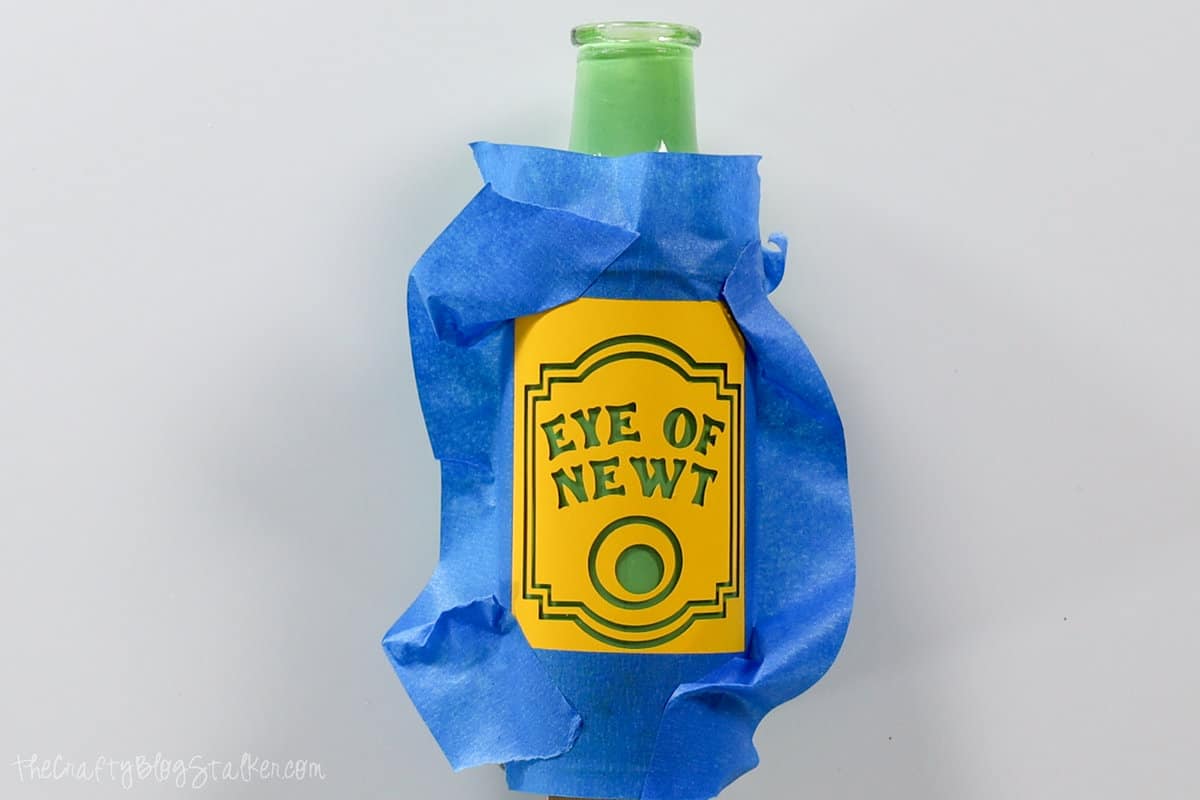
Apply a spoonful of Etchall Etching Creme to the glass bottle and spread it out using the squeegee.
Make sure it has a nice even coat, and let it sit for 15 minutes.
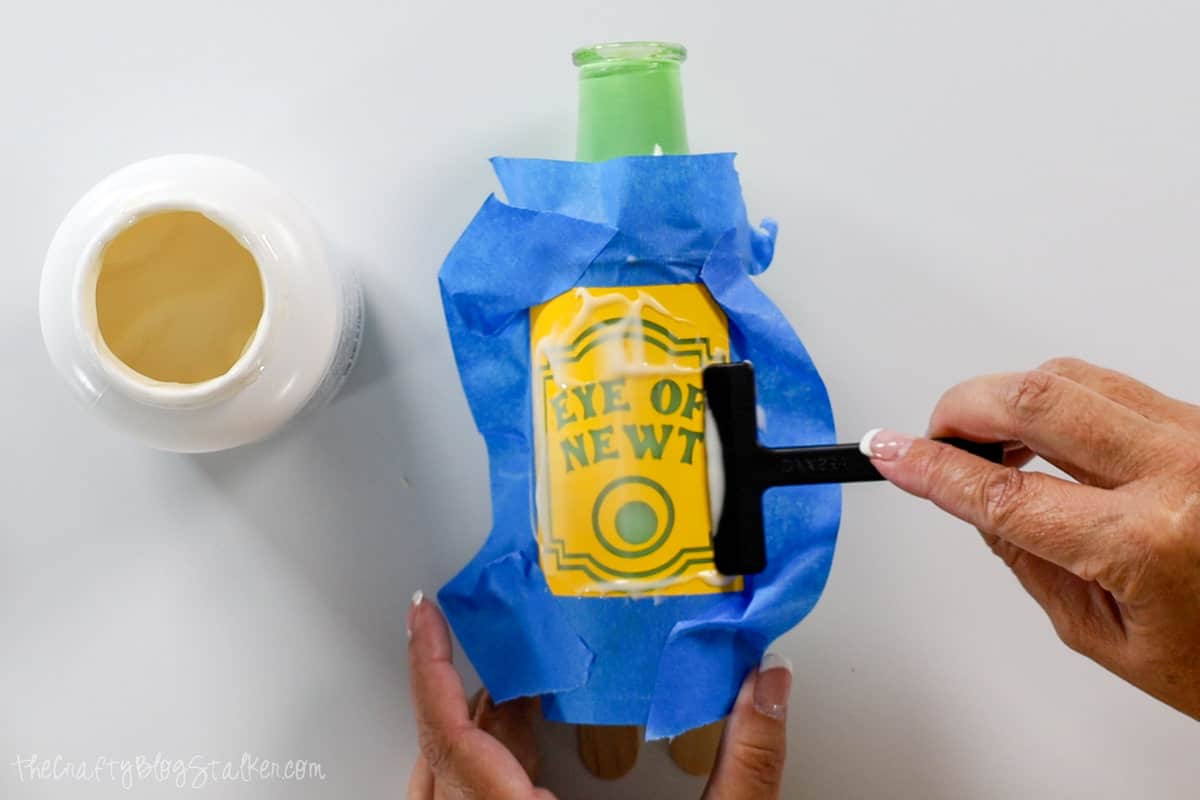
Etchall Creme can be reused, so scrape off as much as you can with the squeegee, and put it back in the bottle.
Remove the rest of the etching cream under running water, using your finger to wipe it away.
Remove the Etchmask stencil.
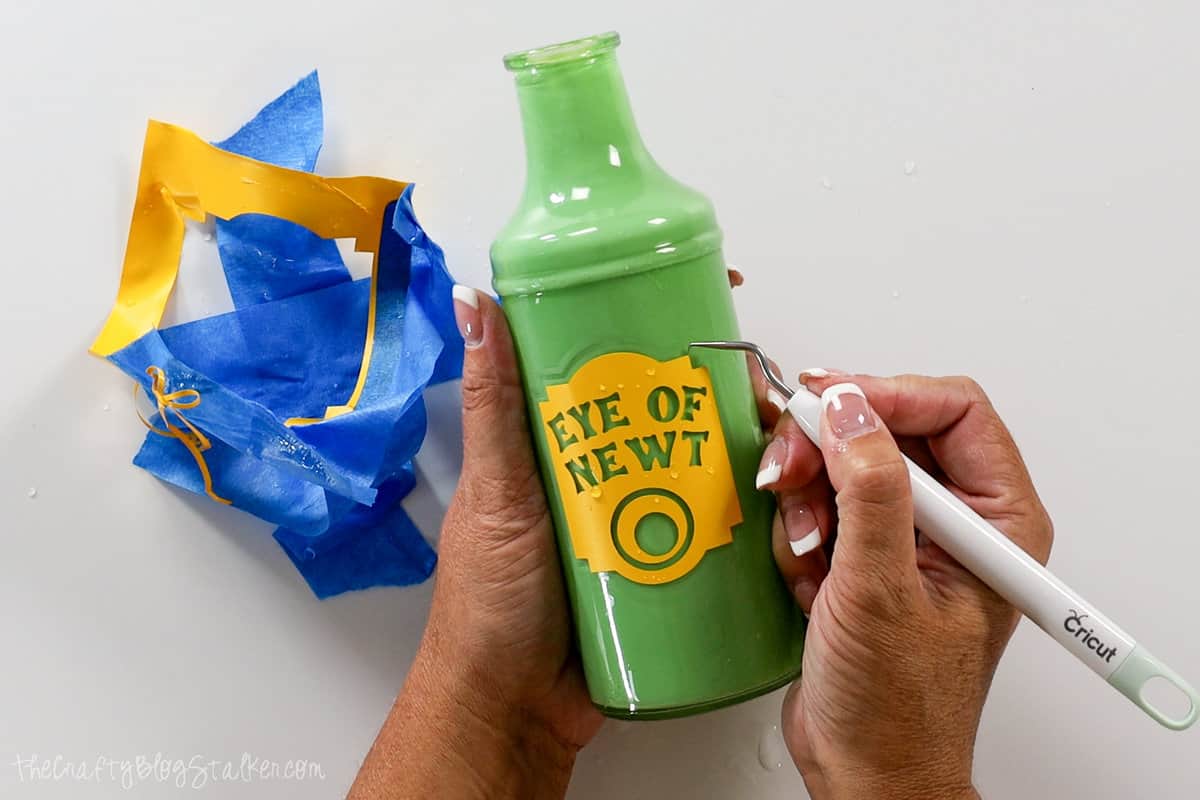
The etching can be kind of difficult to see at this stage, but we will fix that in the next step.
Coloring the Glass Etching:
Dip the sponge into the Metallic Lustre, it is a waxy substance.
Rub the dipped sponge over the etched design in the glass. It will look messy at first, and that is okay.
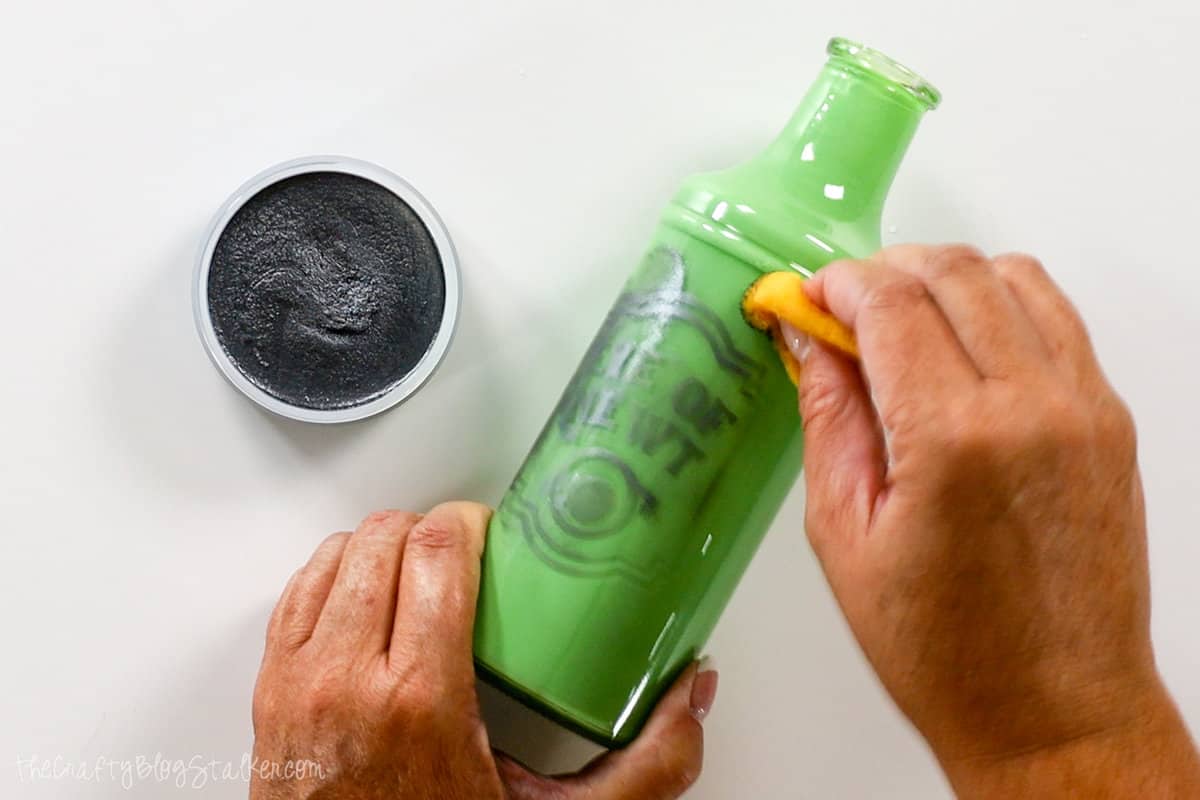
Take a dry paper towel and rub it over the design, buffing the glass.
Most of the excess Metallic Lustre should come off with the buffing, but I did use a damp Qtip to get any small stubborn areas.
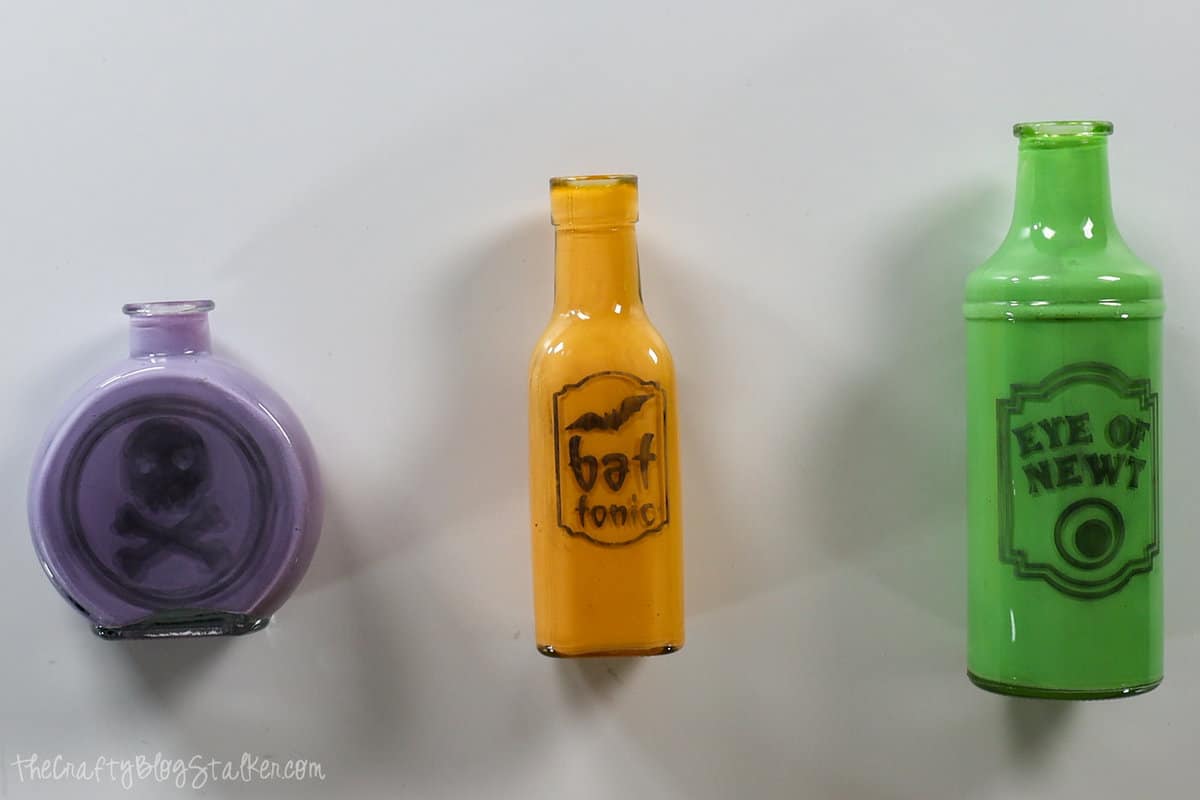
This wax coloring will come off when in contact with water, so it is not permanent, but it is great for home decor items.
Adding the Lights to the Glass Bottles:
For the last step, you do want to wait for the Mod Podge Mixture to be dry.
Don't they look so cool?!
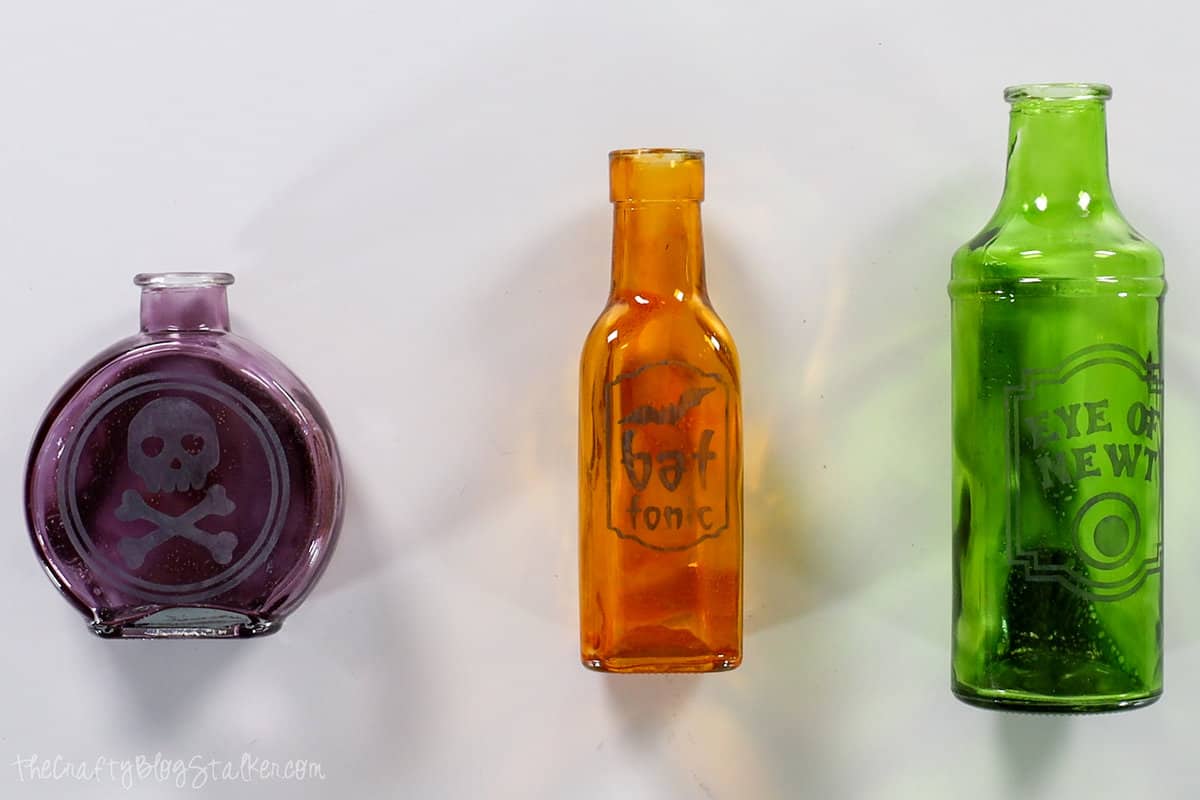
Carefully unroll the light strand from the cork lights.
Feed the lights into the bottle, and press the new cork into the top of the bottle.
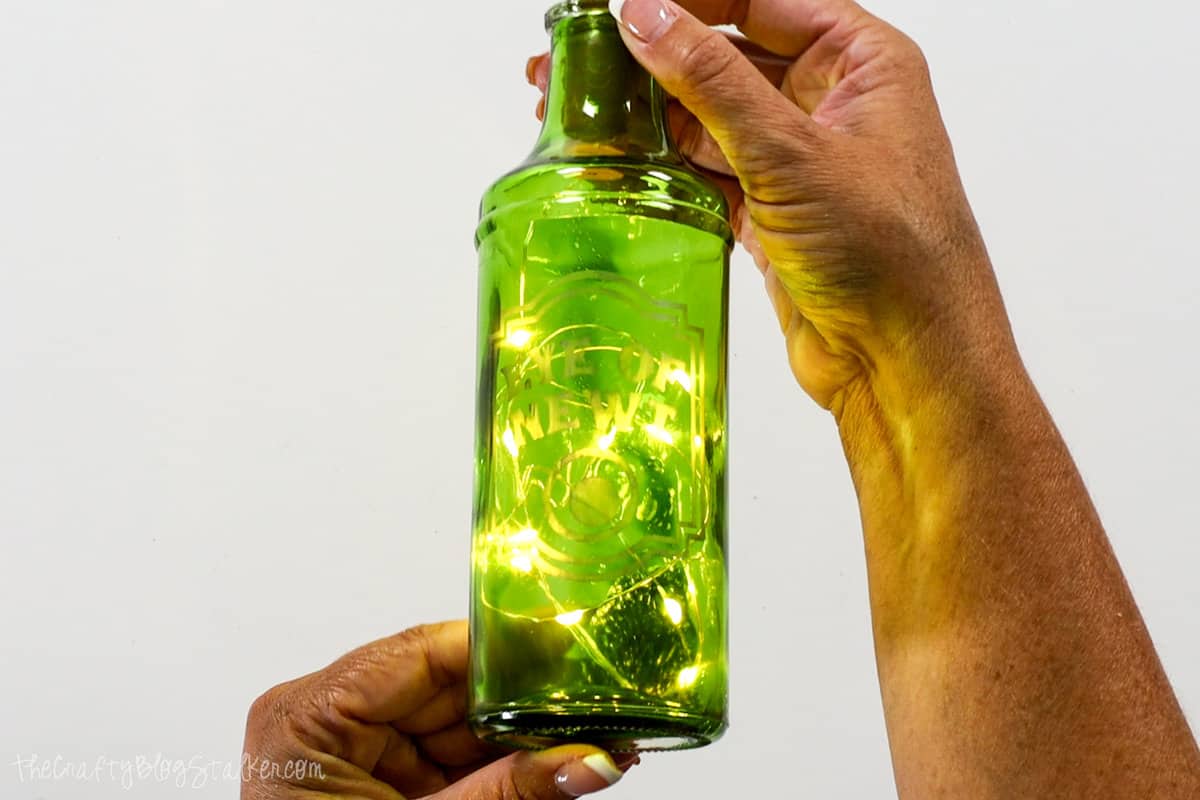
I can't decide if I like them better with the lights off...
Or the lights on!
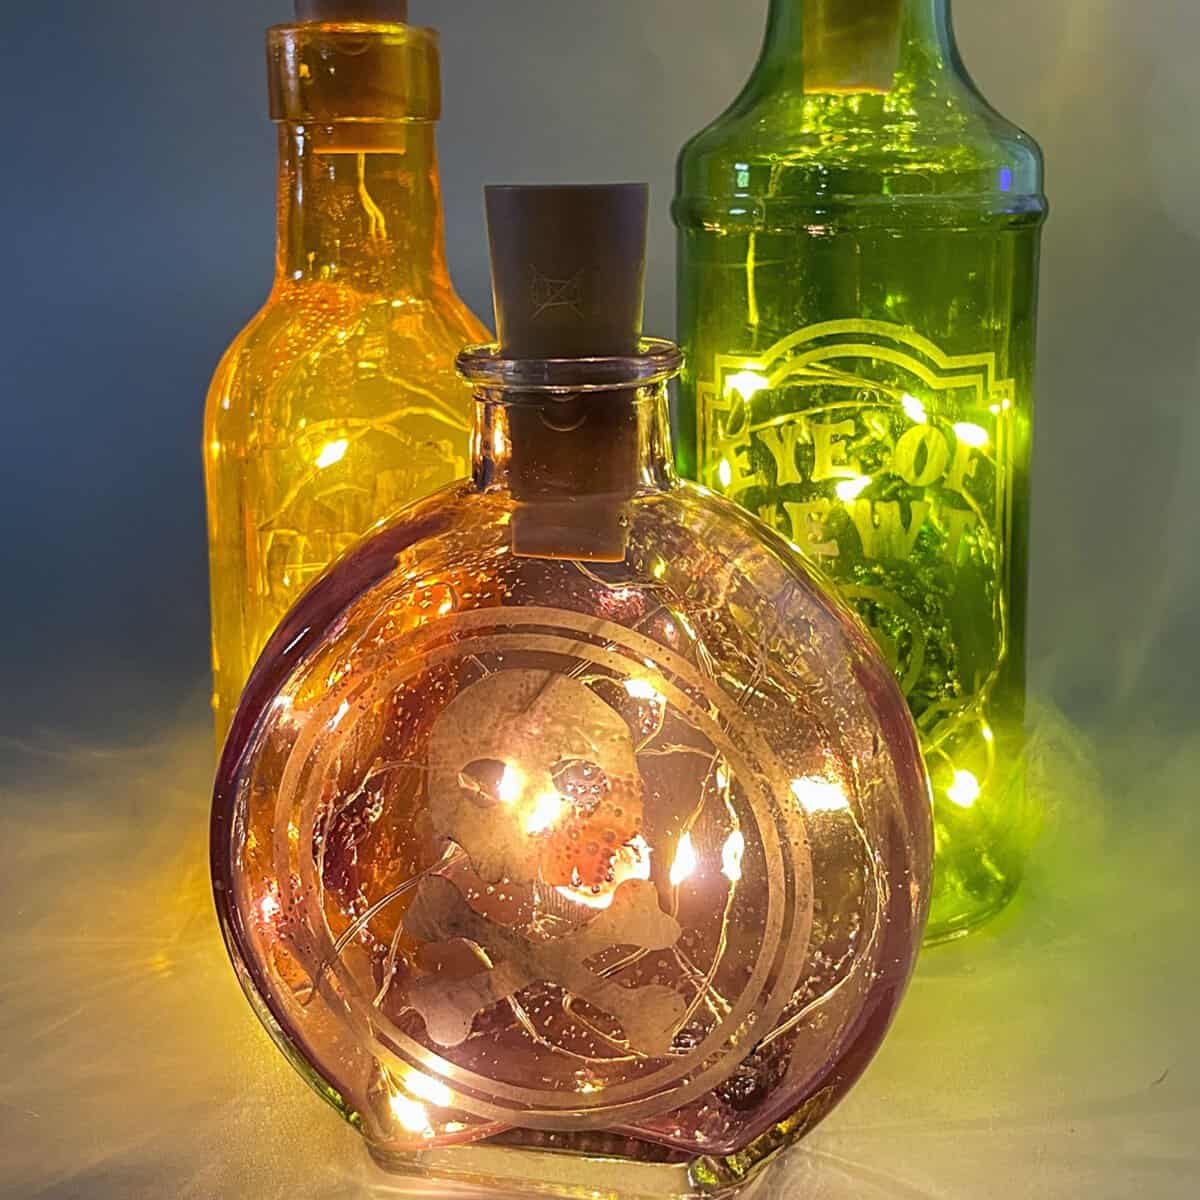
They definitely give off spooky Halloween vibes!
Our Crafting Essentials:
- The Cricut Cutting Machine is easily our favorite crafting tool. We use it in so many of our tutorials!
- These MakerX Crafting Tools are perfect for keeping in the craft room and are always ready when needed!
- This Fiskars Paper Trimmer is easy to use and cuts nicely without frayed edges.
- These Scotch Precision Scissors cut like a dream, and you get multiple pairs in a pack!




Leave a Reply