This post may contain affiliate links. For more information, please see our disclosure policy.
These DIY Thanksgiving treat bags are a great way to package fun treats for your Thanksgiving guests. These small bags are quick and easy to cut using a Cricut! We may earn a commission if you make a purchase using the links below.
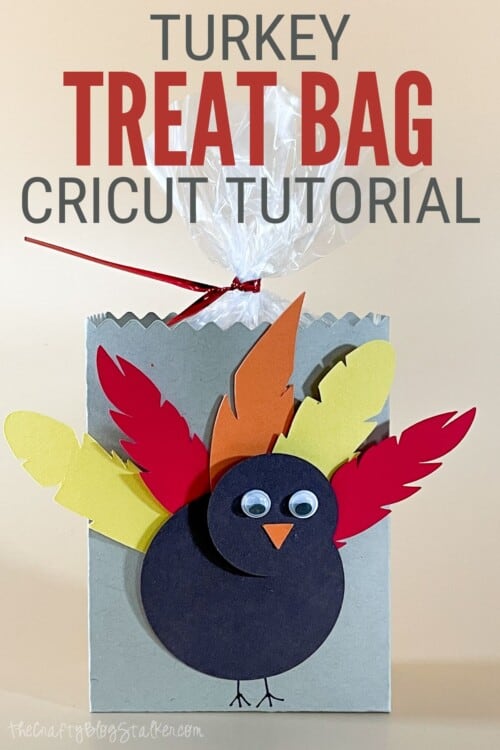
Bring on the turkey! 😂
With these fun Turkey Treat Bags, you can give a little Thanksgiving cheer to all your friends, neighbors, coworkers, and teachers.
These Turkey Treat Bags came together really quickly and I was able to use what I had on hand.
Make sure to take a look around your craft room. If you don't have the exact supplies that I used, I bet you have something else that will work just as good.
Craft Video Tutorial:
Like videos? I have a video tutorial for you! Subscribe to my YouTube Channel so you don't miss any future videos!
Supplies You'll Need to Create this Project:
- Cricut
- Scoring Wheel
- Cricut Design Space Project
- Cardstock in Brown, Tan, Orange, Red, and Yellow
- Google Eyes
- Double-Sided Tape Runner
- Adhesive Foam Dots
- Mini Glue Dots
- Ultra Fine Sharpie Marker
- Cellophane Bag
- Candy
- Bone Folder (optional)
- Craft Tweezers (optional)
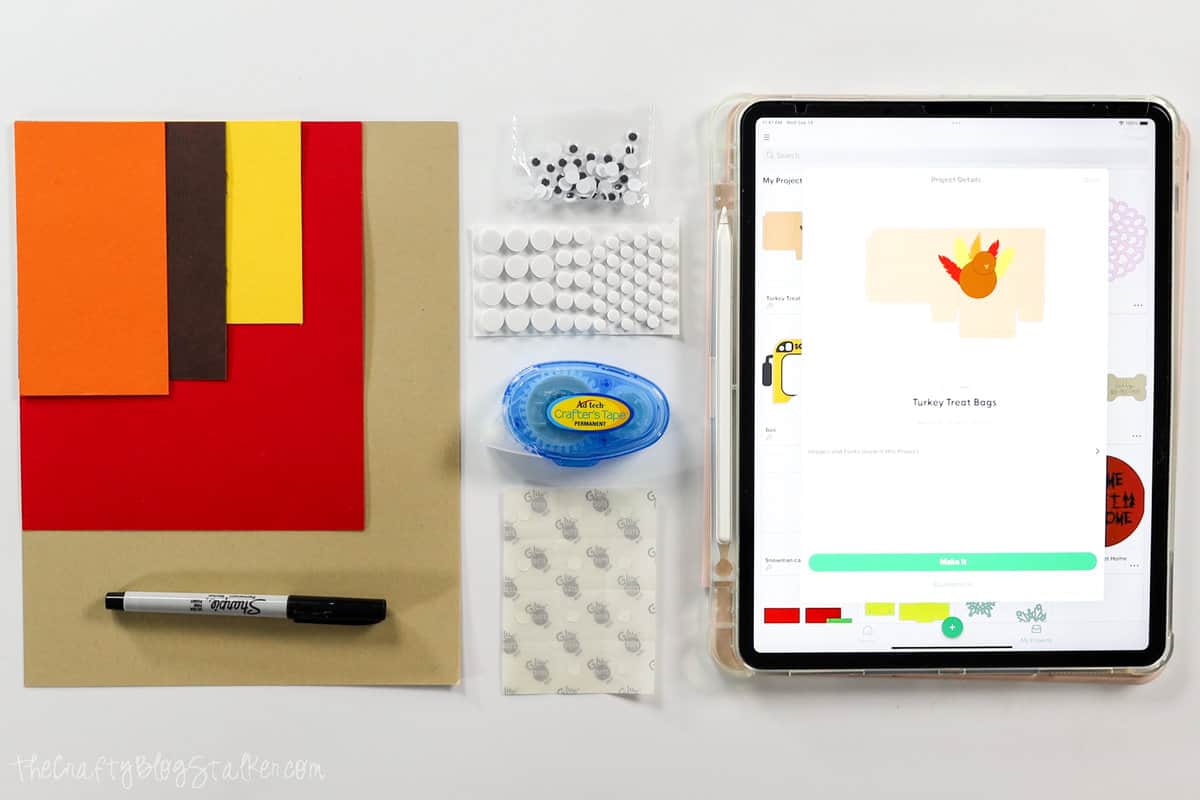
Cut with the Cricut:
Upload the Turkey Treat Bags project in Cricut Design Space.
The file is sized as is to create a bag that measures 1.5 x 3 x 4 inches. If you would like, you can resize it. Just make sure you resize the entire design as a group so all of the pieces resize correctly.
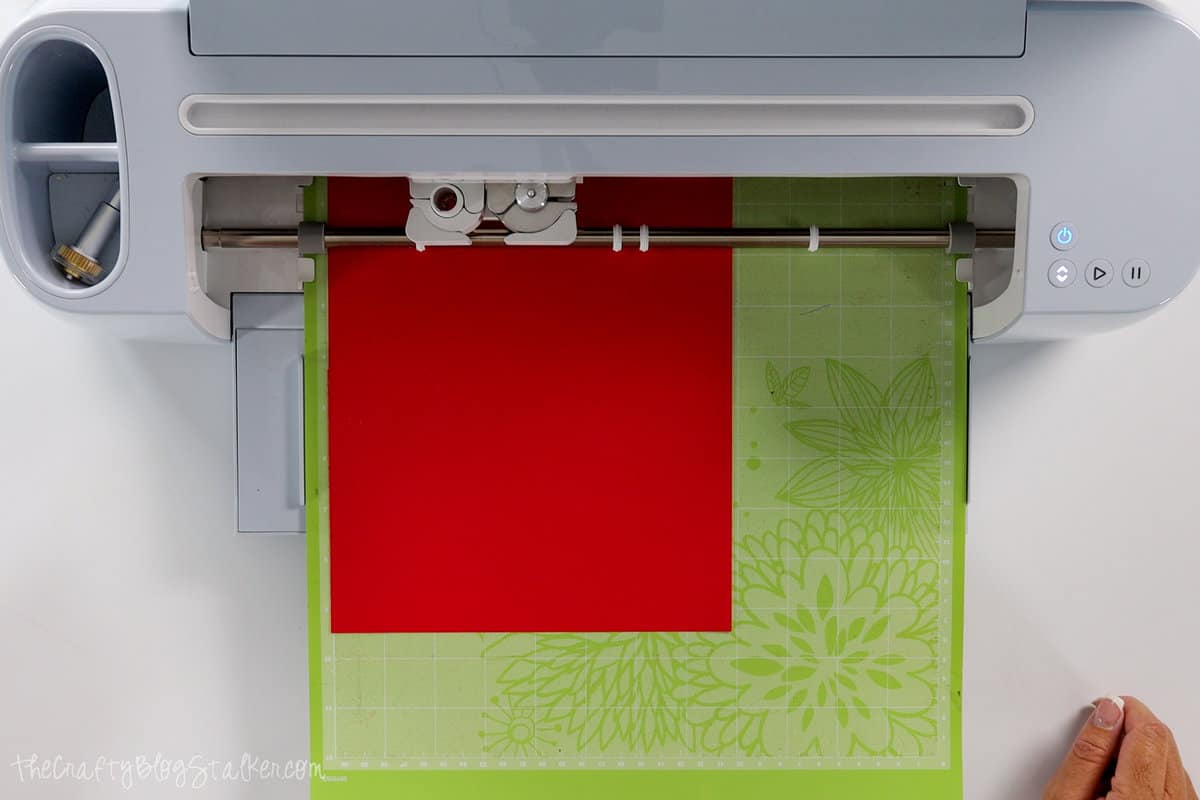
Select "Make It" and follow the prompts to cut the design out of the 5 different colors of cardstock.
You should end up with a total of 9 paper shapes.
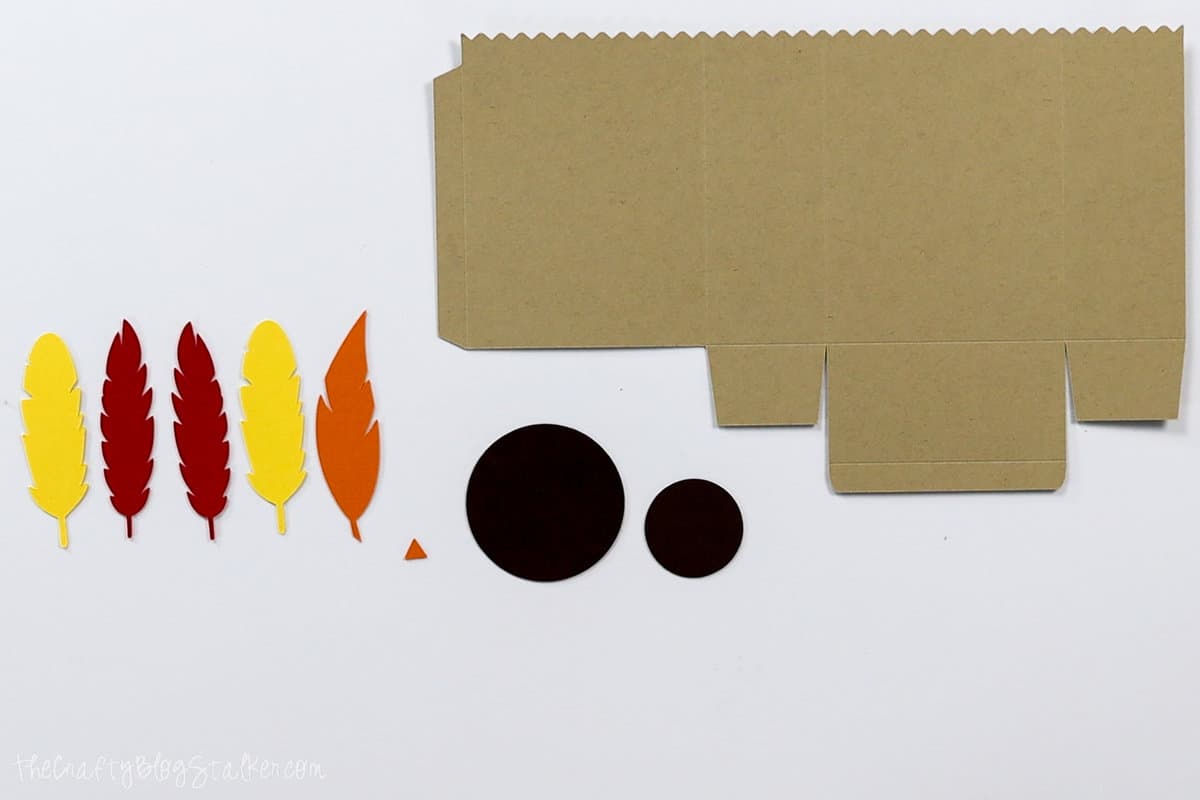
Assemble Paper Turkey:
First, let's assemble the turkey pieces.
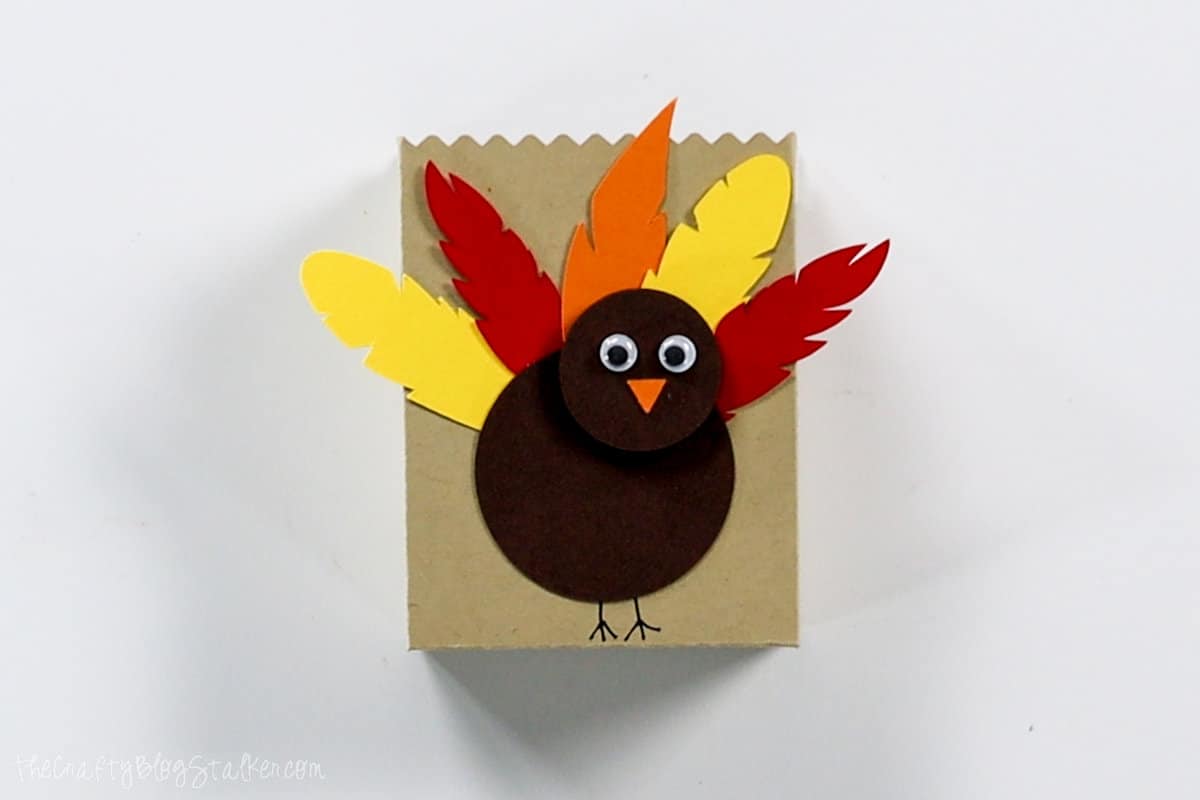
Arrange the five feathers into an arc. You can put the feathers in any color pattern you want.
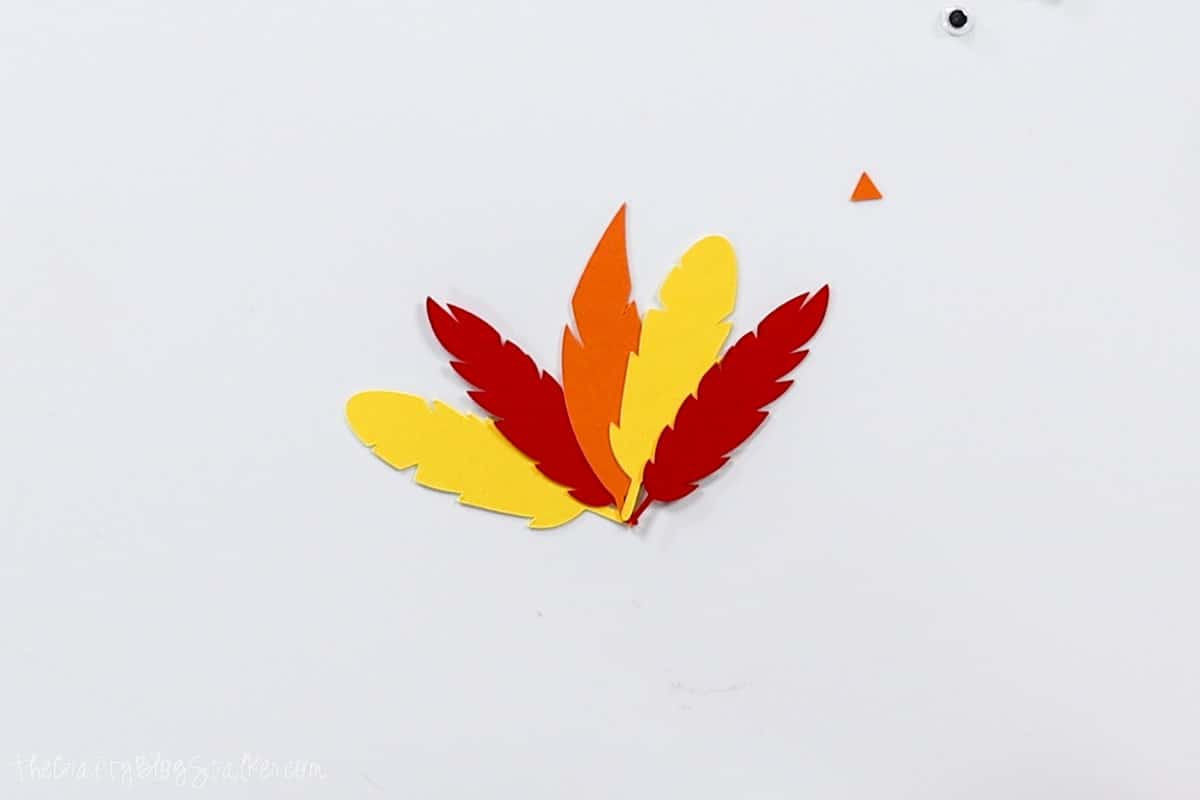
Apply tape runner to the top half of the largest brown circle.
Turn it over and place it on top of the feathers.
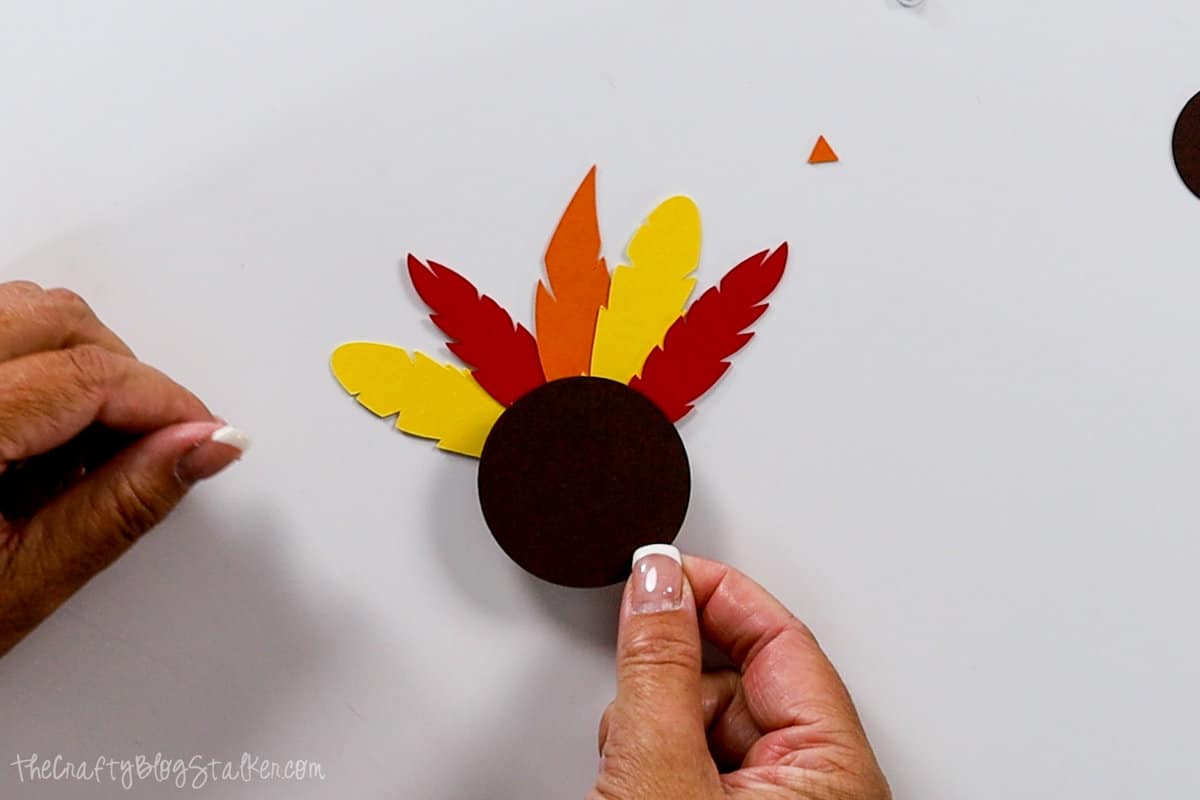
Pick up the circle and make sure all of the feathers are stuck to the body. If not, simply apply the tape runner to the back of the feather and adhere it to the body.
Using a pair of tweezers, place the two googly eyes on a mini glue dot. Mine fit perfectly over the dot.
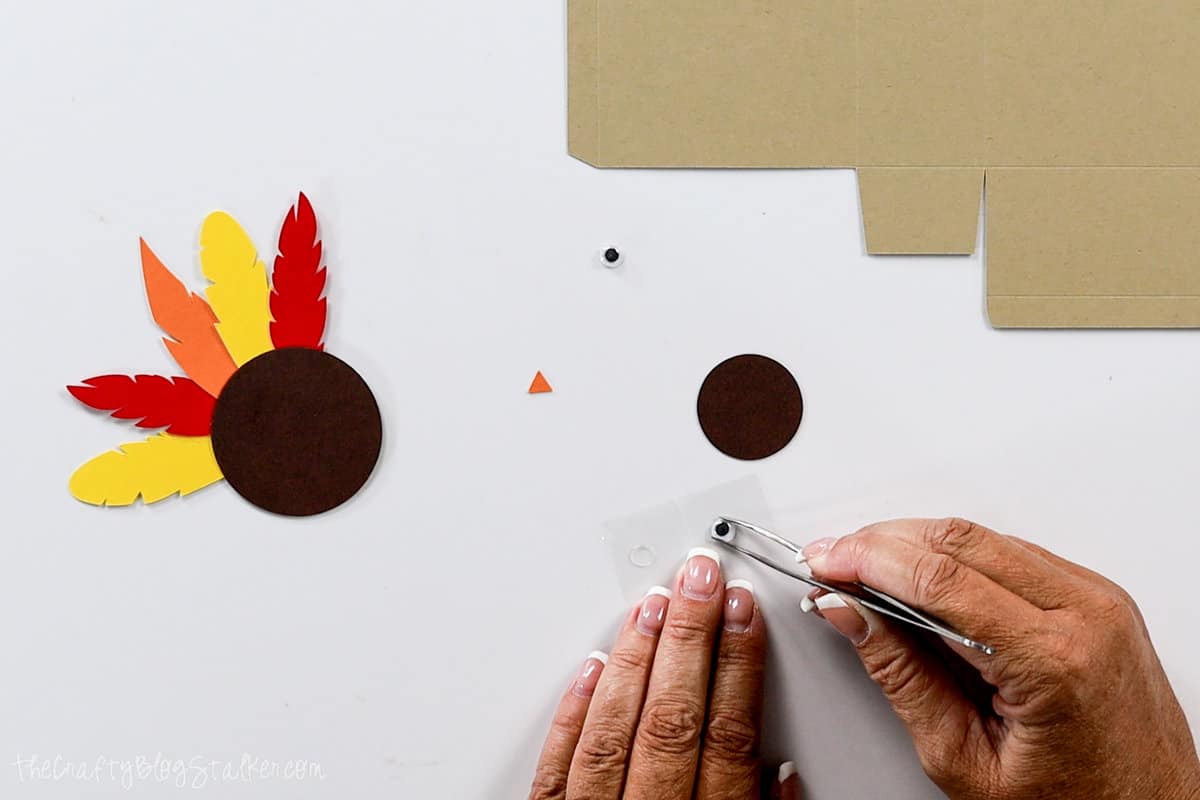
Adhere the googly eyes to the smaller brown circle. Then glue on the small orange beak as well.
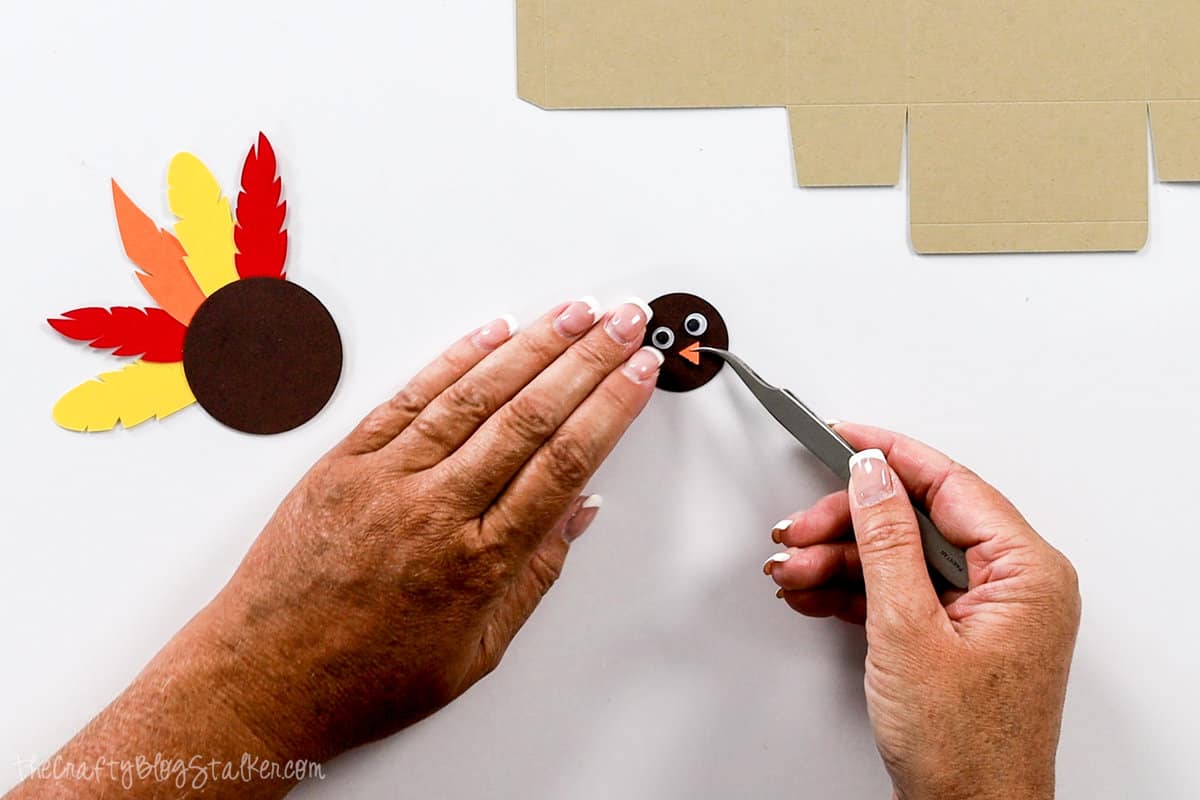
I am not going to attach the head to the body just yet.
Prepare the Treat Bag:
Fold the treat bag along the score lines using a bone folder.
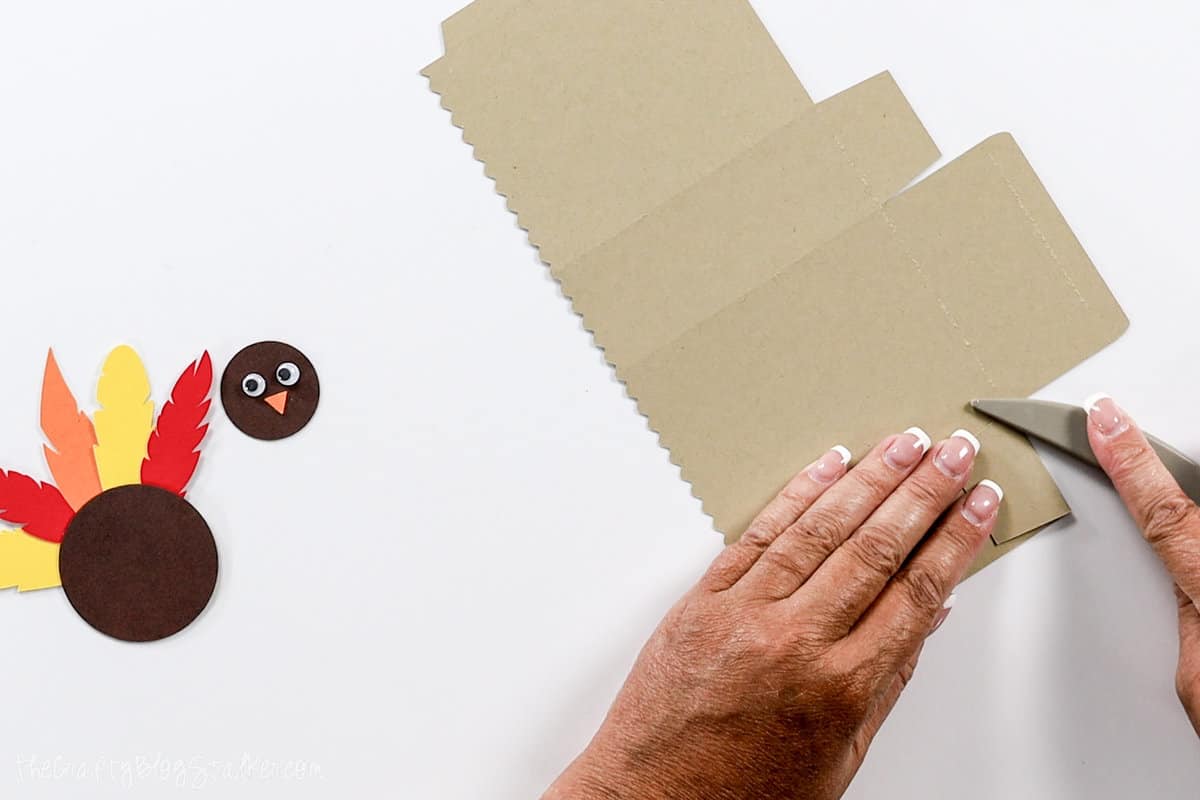
The long edge with the flap underneath is the front of the bag.
Place the turkey body on the bag where you want it to be.
Push it up, just a bit, and draw on some turkey feet. I just did a line for the leg and three toes.
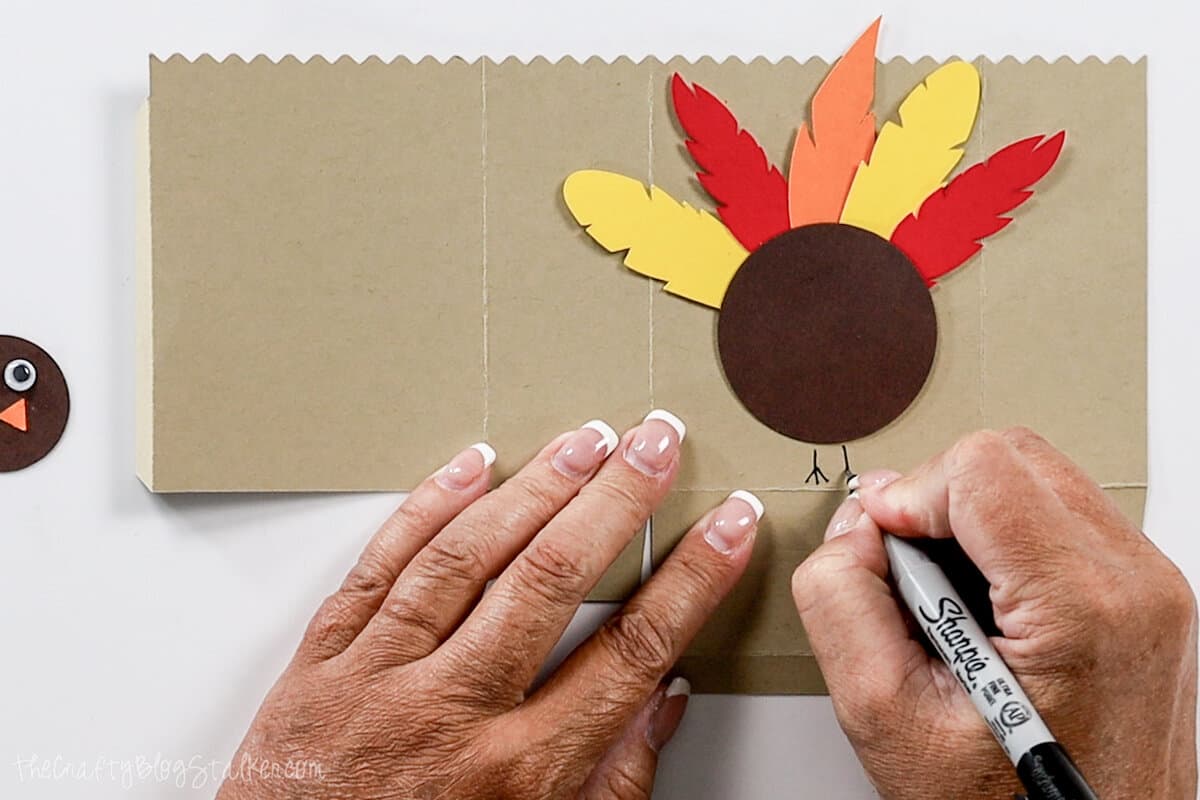
Assembling the Treat Bag:
Add the tape runner to the back of the turkey body, and adhere it to the front of the bag, on top of the legs.
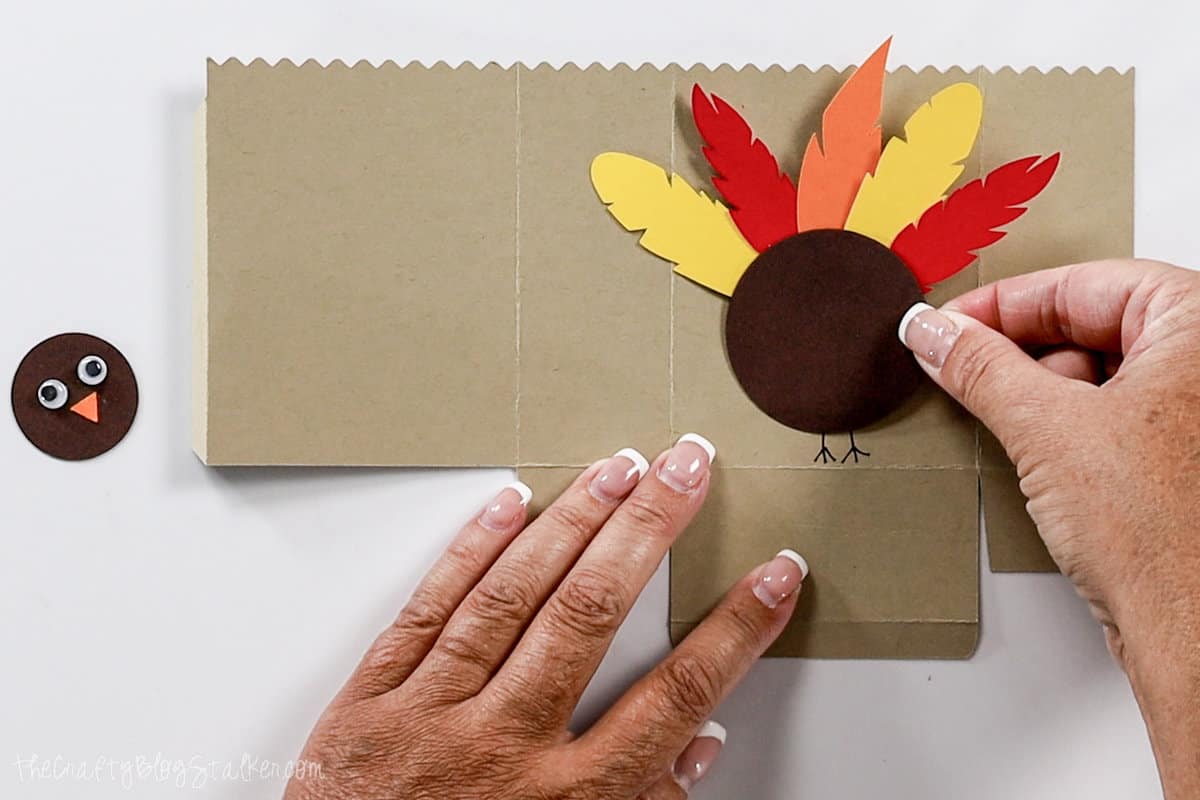
Apply an adhesive foam dot to the back of the turkey head, and press it into place above the turkey body.
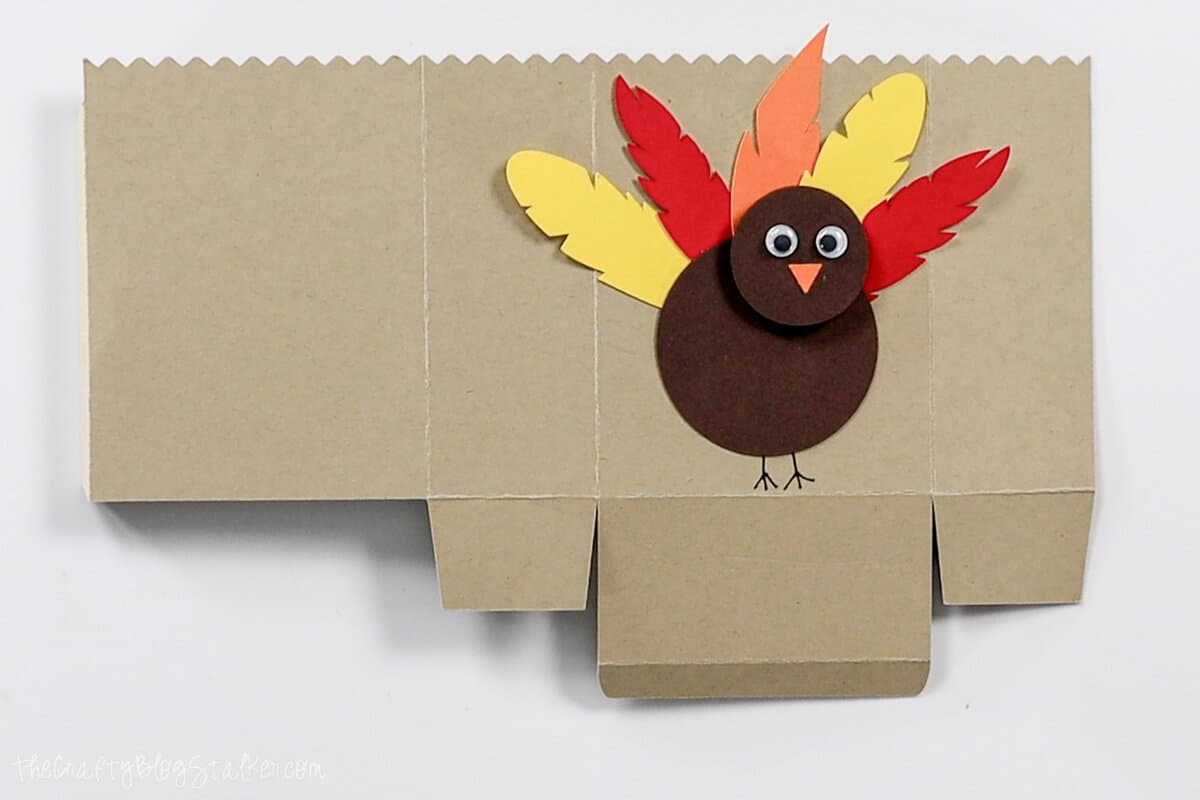
Add the tape runner to the flaps of the treat bag and secure them into place.
Don't forget the Candy:
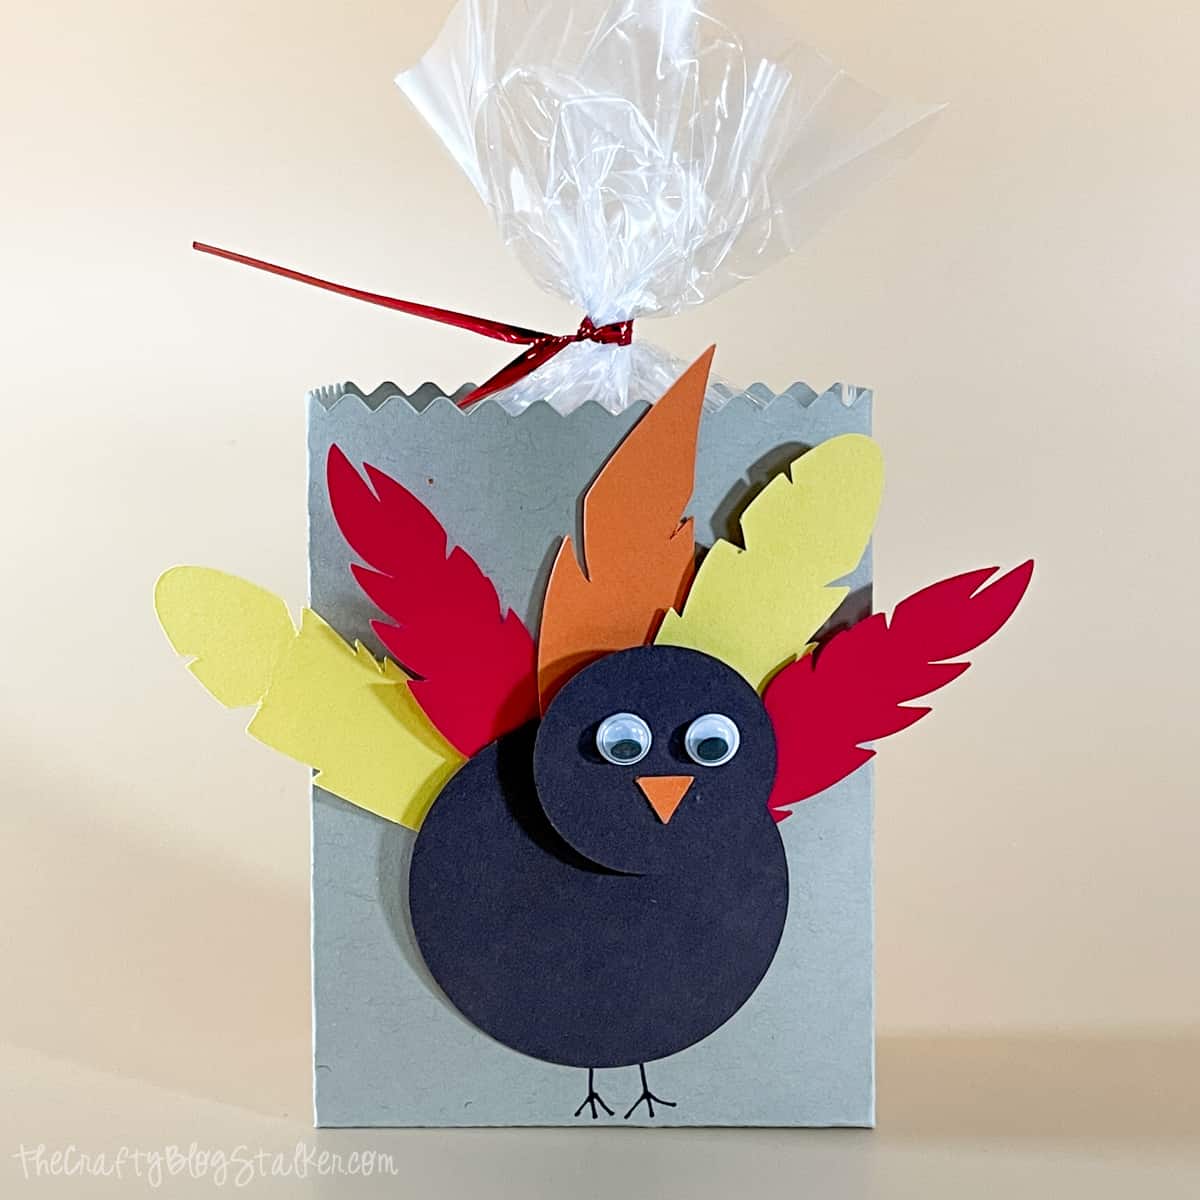
Add your favorite candy to a cellophane bag, and secure it with a twist tie.
I used Rolos because that copper-colored wrapper is perfect for fall.
Slide the candy bag into your new turkey treat bag and it is ready to gift!
This would be a great craft for kids too. Let them arrange the feathers and glue them all together. They would have a blast!
Our Crafting Essentials:
- The Cricut Cutting Machine is easily our favorite crafting tool. We use it in so many of our tutorials!
- These MakerX Crafting Tools are perfect for keeping in the craft room and are always ready when needed!
- This Fiskars Paper Trimmer is easy to use and cuts nicely without frayed edges.
- These Scotch Precision Scissors cut like a dream, and you get multiple pairs in a pack!







Carlee
Those are super cute! I might have to make some for the kids at my little guy's daycare!
Beverly
What cute turkey bags. The kids will love them.
Thanks for sharing at Turn It Up Tuesday,
Bev
Katie
Thank you Beverly! They were fun to make!
Amila
These are supper cute.Really like the creative idea...
Katie
Thank you Amila.
ilka@ilkasblog
Such a fun little craft idea:)
Mim
This is super cute! If I hadn't gone with a simple I am thankful for you because.... cards this year This would definitely have been a contender for a project to do with the kids! Thanks for sharing!
Sherry
Yes, these are super cute! Thanks for sharing them with us at Funtastic Friday!
Erlene
Super cute. Thank you for sharing the pattern too!
Patty
Where do you get the Design at ?
Katie Adams
The project is on Cricut Design Space. You can find it here: https://design.cricut.com/landing/project-detail/6320f2adde03a944914908b1