

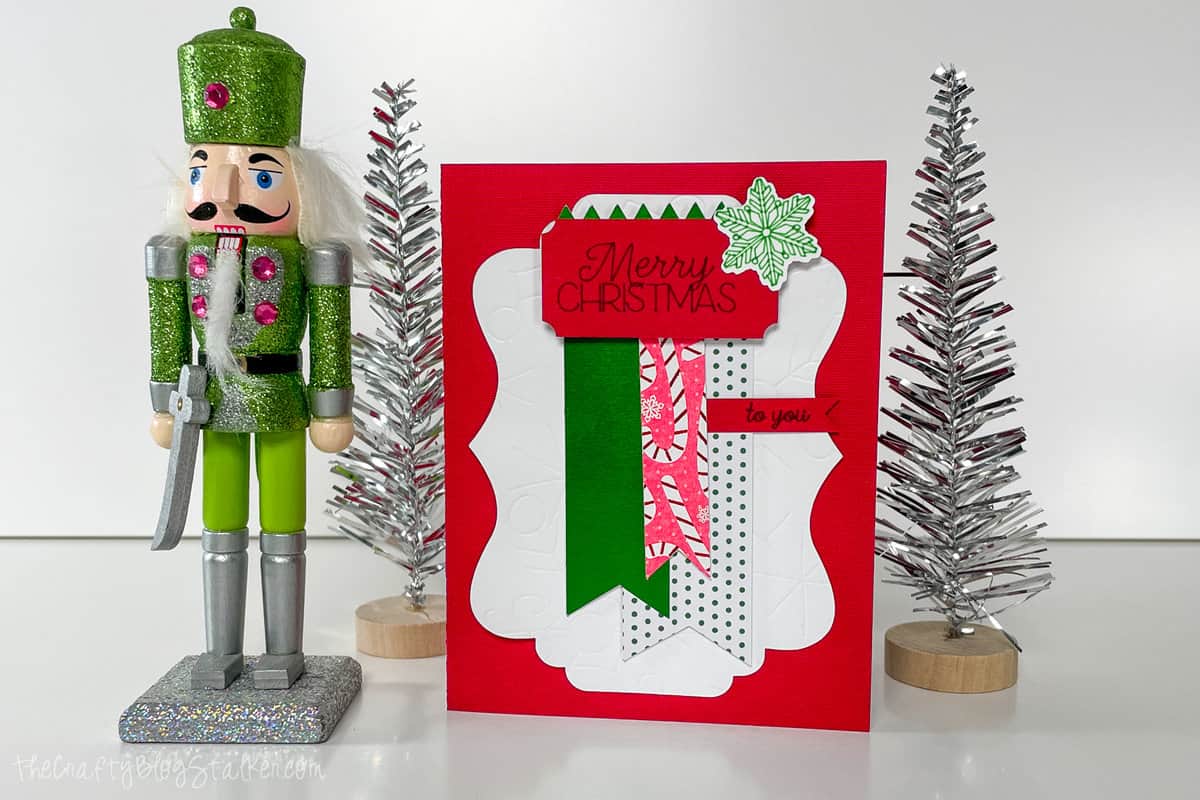
Make handmade Christmas cards to send to friends and family. Learn how to use a Cricut machine to make your Christmas cards this year
Have you started your holiday cards yet?
It may seem early, but it will be here before you know it.
I like to send my DIY Christmas cards the week after Thanksgiving, that way I know they will get there in plenty of time to spread holiday cheer, and I don't have to stress about it.
Craft Tutorial Video
If videos are your thing, you're in luck-I've got a full tutorial ready for you!
Subscribe to my YouTube channel and stay inspired with every new project.
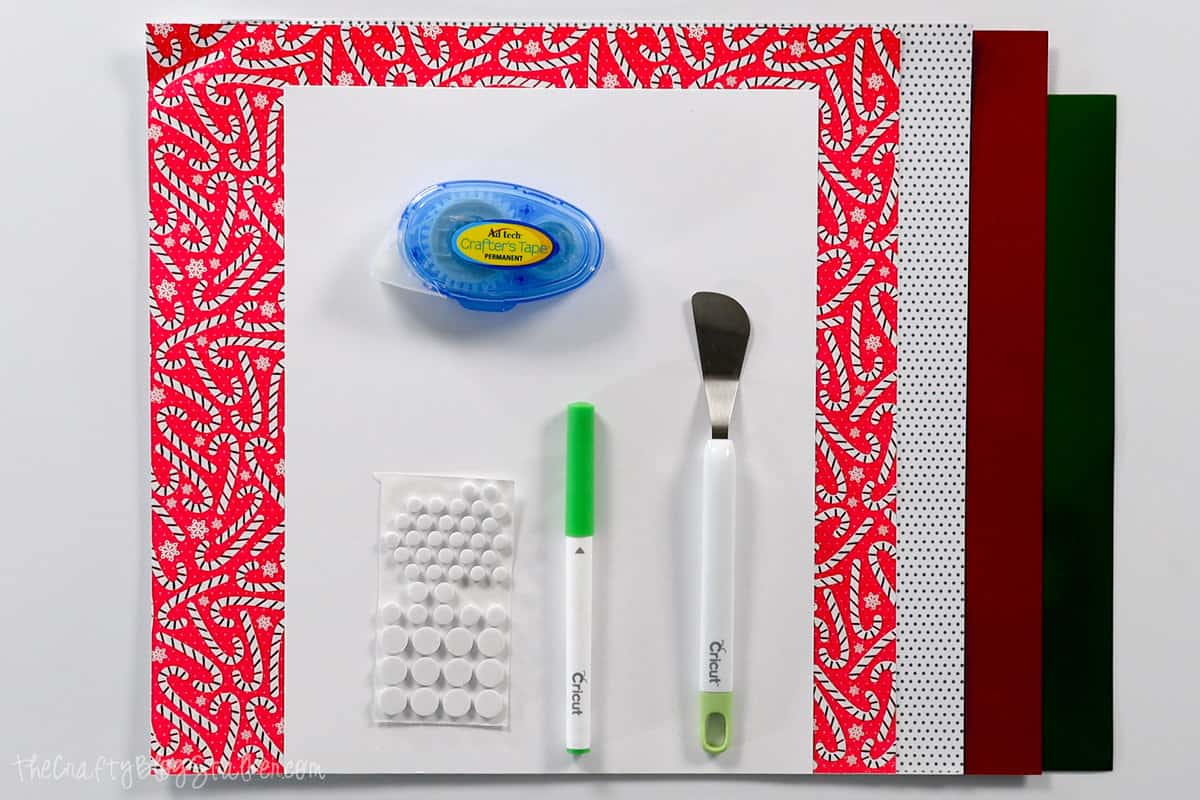
Supplies You'll Need to Make This Craft:
- Cricut Cutting Machine
- Merry Christmas Card Cricut Design Space Project
- Debossing Tip with QuickSwap Housing
- Scoring Wheel Tip
- Light Green .4 Pen
- Spatula Tool
- Red Cardstock
- White Cardstock
- Christmas Patterned Paper
- Double-Sided Adhesive
- Adhesive Foam Dots
- Envelopes
Cricut Design Space:
Open the Merry Christmas Card in Cricut Design Space.
I have the card sized so it will be 5.5 x 4.25 inches when finished, so it will fit in an A2 envelope.
You can resize this design to fit any size, just make sure to resize all of the pieces the same.
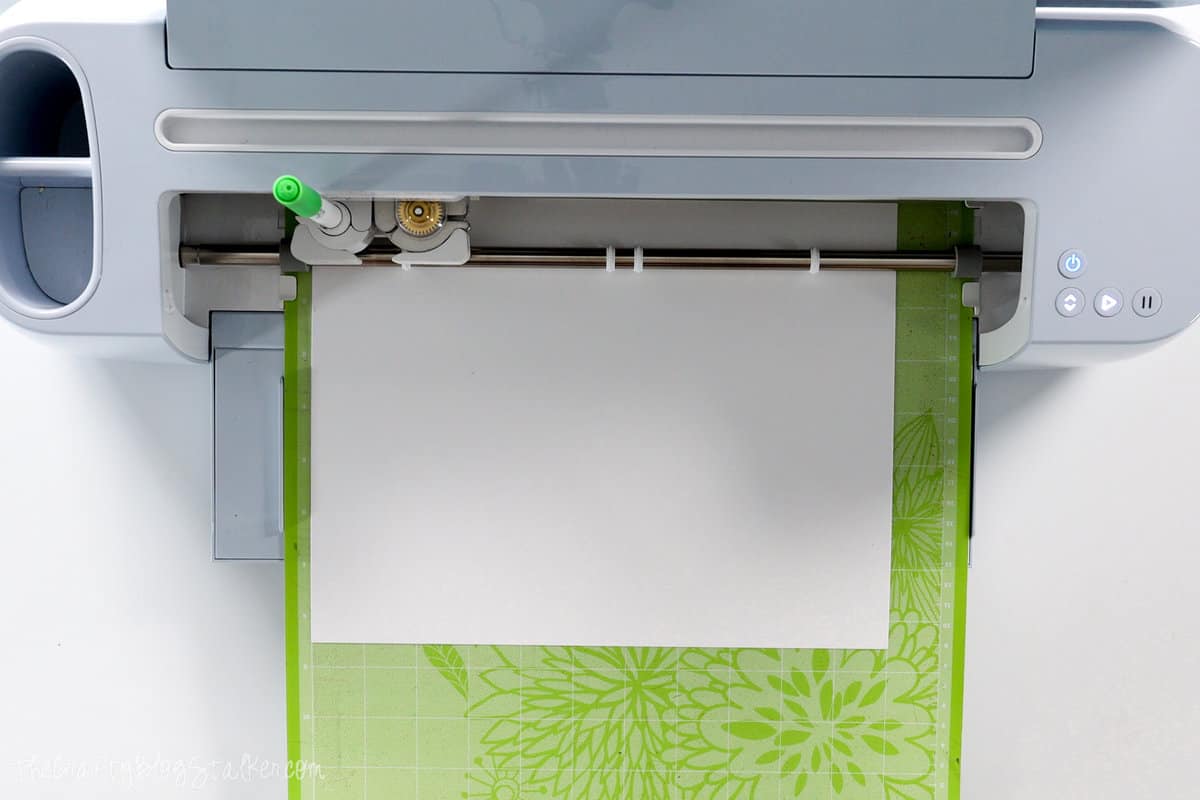
Select "Make It" and follow the prompts in Cricut Design Space. It will tell you when to load the different blades, markers, and colored cardstock.
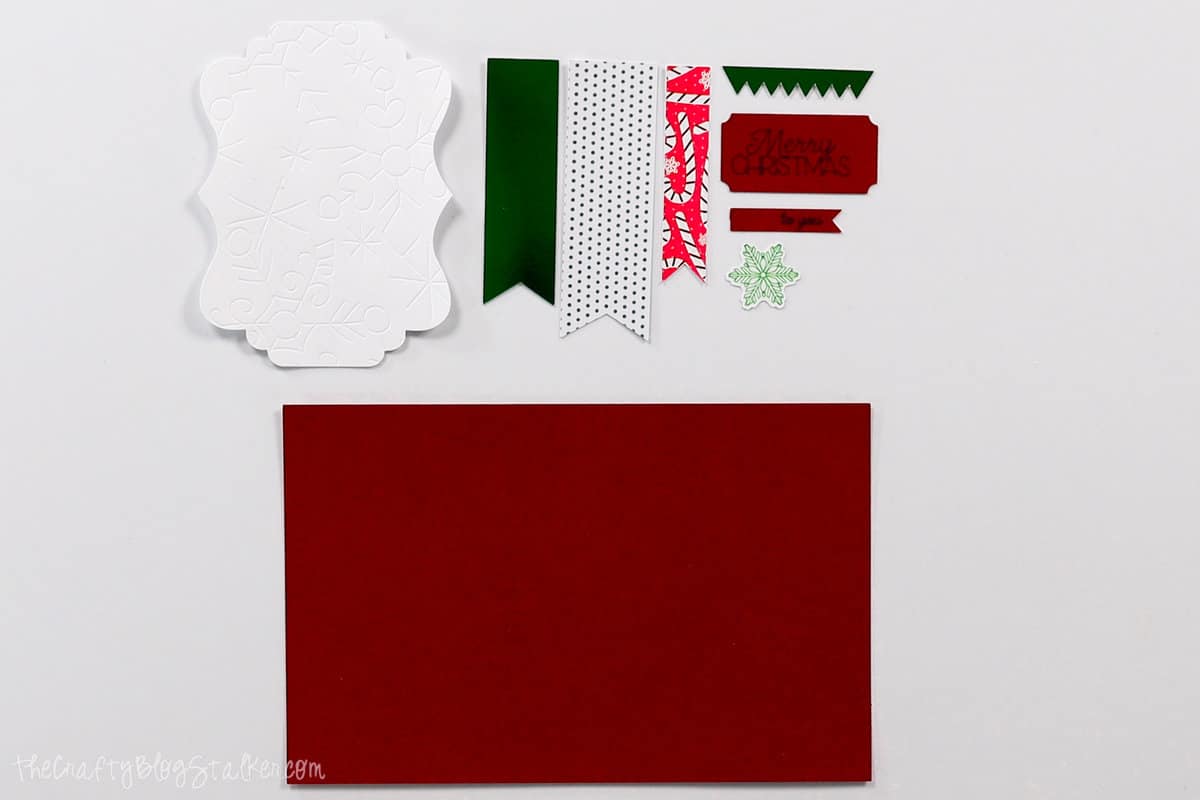
Merry Christmas Handmade Card:
Here are all of the pieces after they have been debossed, scored, and cut.
Fold the card base along the score line.
Apply double-sided tape to the back of the debossed white shape, and center it onto the front of the red card.

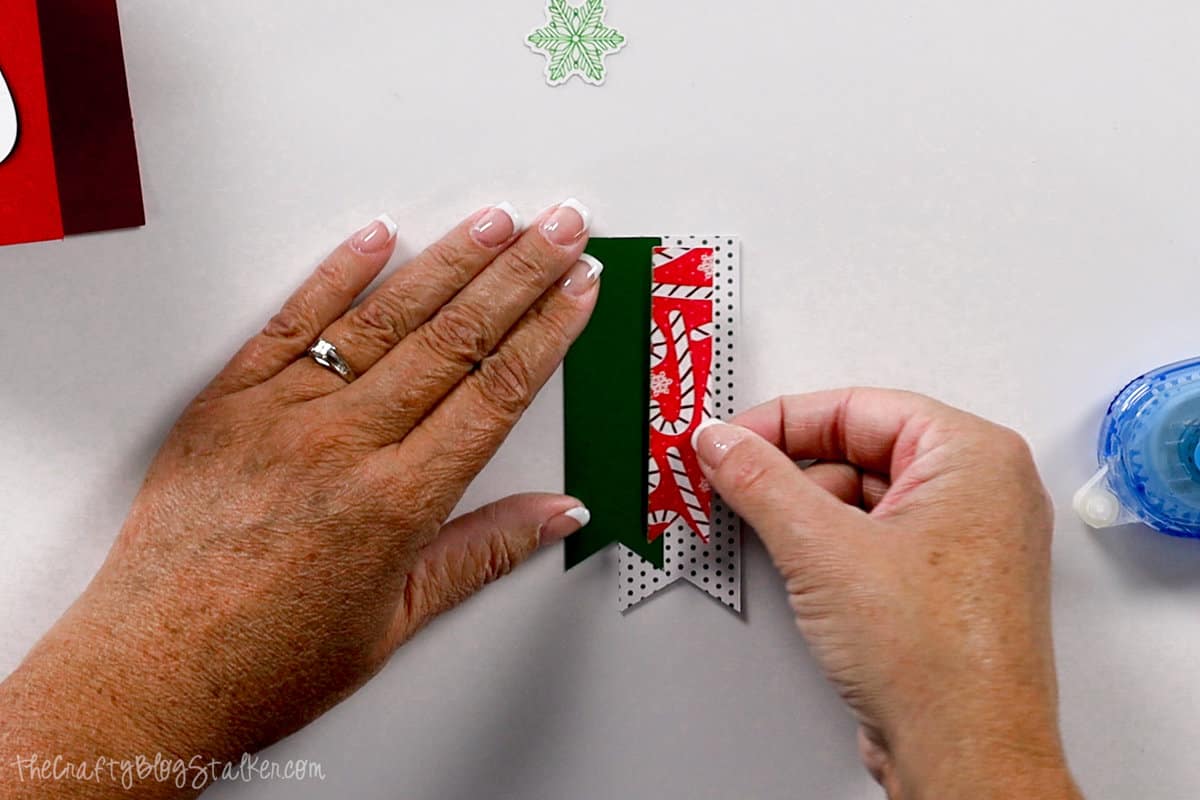
Layer the banner flag pieces with the widest on the bottom and the thinnest on the top. Align along the top edge and glue into place.
Apply glue to the back of the "to you" banner and tuck it behind the top banner.
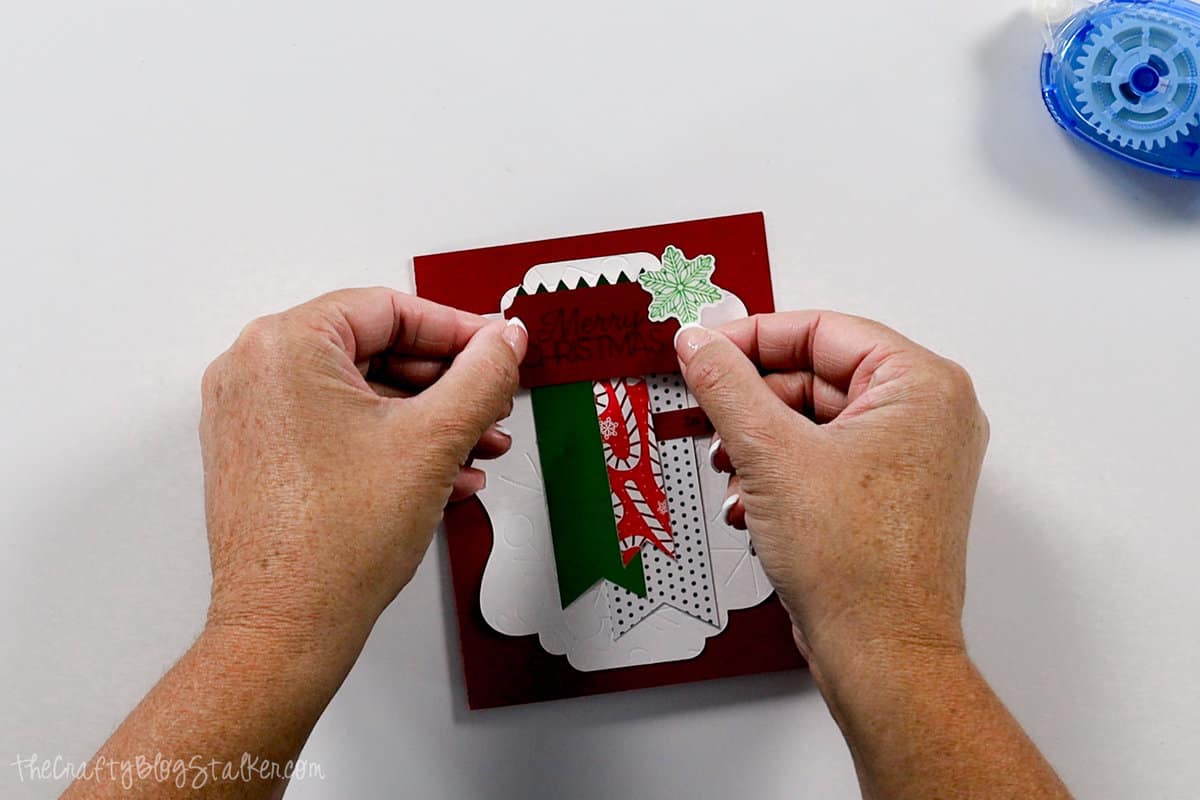
Adhere the banner stack to the front of the card centering it on the top portion of the white debossed shape.

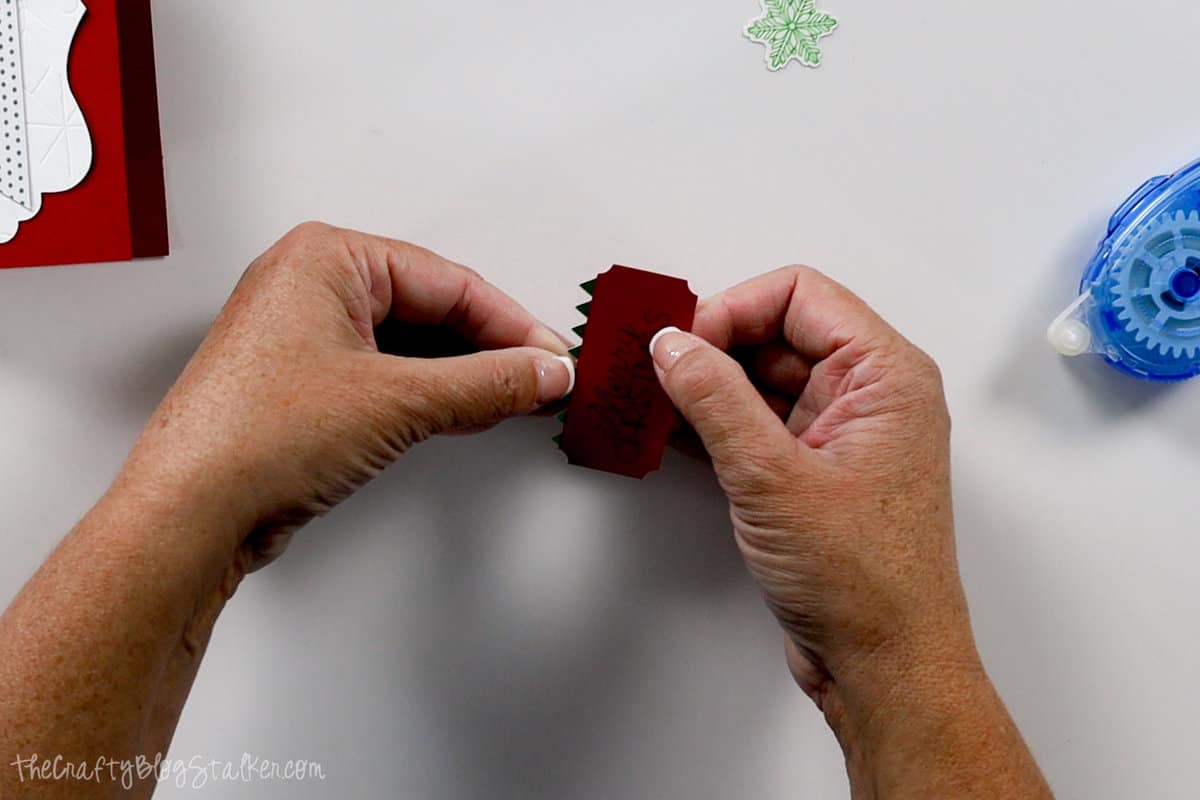
Adhere the spikey piece behind the "Merry Christmas" ticket shape so only the spikes peek out from behind.
Glue the snowflake onto the top-right corner of the "Merry Christmas" piece.
Apply two adhesive foam dots to the back of the "Merry Christmas" piece and stack them on top of the banner pieces.
That's all there is to it. Your card is done!
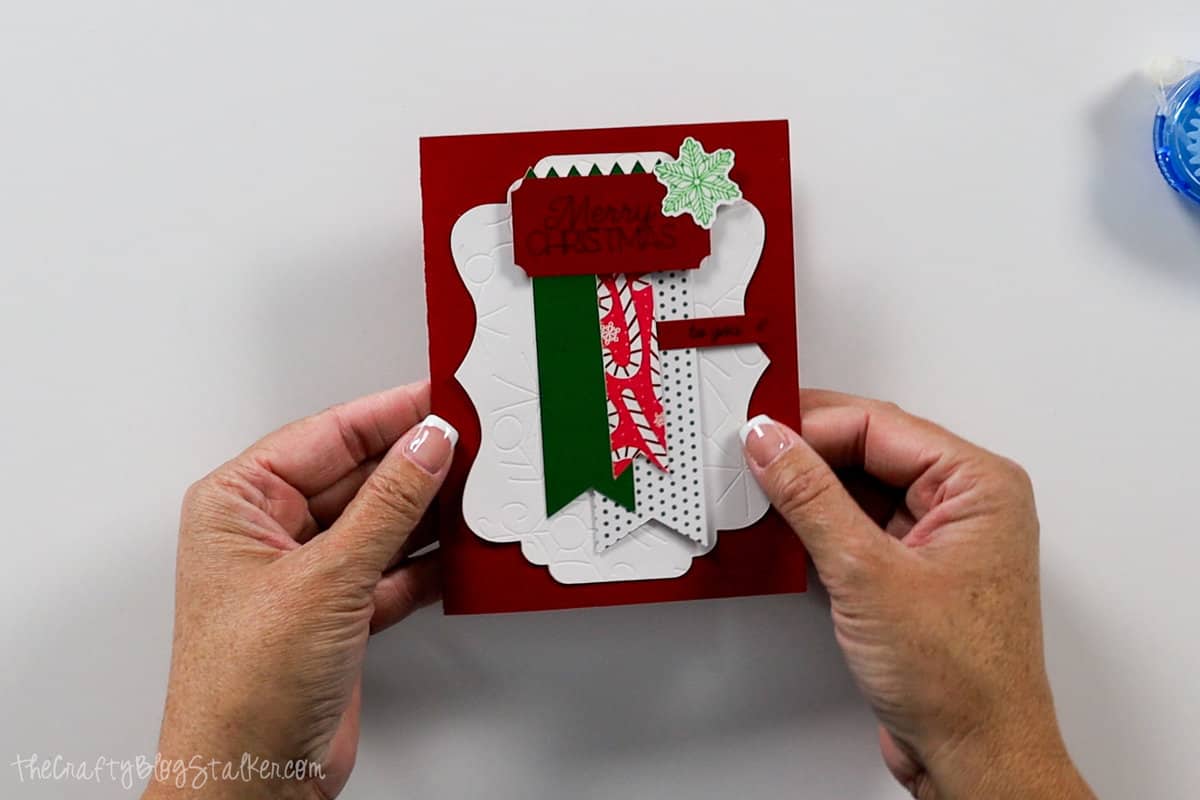
These would be super simple to mass-produce if you have lots of people to send cards to.
Variations:
I also wanted to show you some color variations that I created.
So you don't have to make them exactly as in the tutorial. You can use any color scheme or patterned paper.
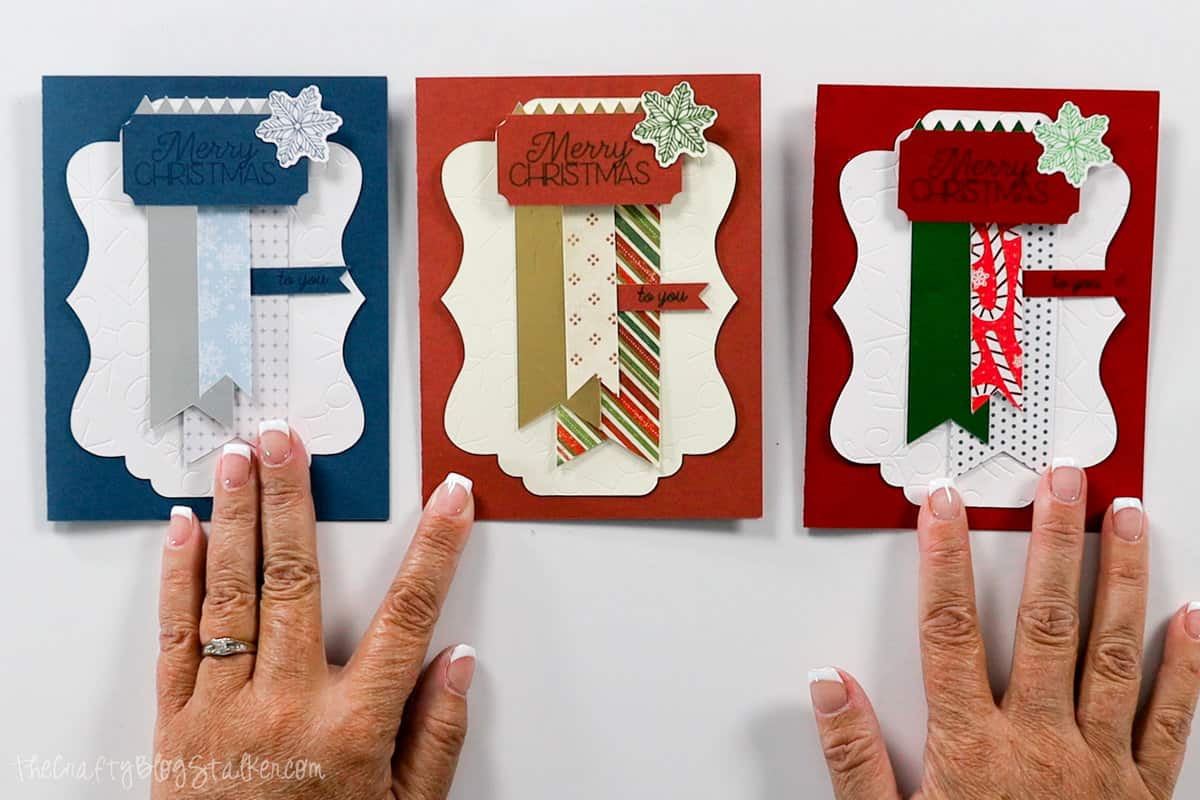
Which one is your favorite?
Crafting Essentials
- The Cricut Cutting Machine is easily my favorite crafting tool. We use it in so many of our tutorials!
- These MakerX Crafting Tools are perfect for keeping in the craft room and are always ready when needed!
- This Fiskars Paper Trimmer is easy to use and cuts nicely without frayed edges.
- These Scotch Precision Scissors cut like a dream, and you get multiple pairs in a pack!
caseperlatesta
really really awesome! pinned!
annalin
Simple & meaningful x'mas card with lovely choice of colors. Added with a nice lace or trim, that will be my project next month :). Thanks for sharing.
Mary Ellen
Thanks for sharing at Talking Tuesday Over the Fence, I'm a stamper too so enjoyed your card. will pin it also!
My Life of Travels and Adventures
Your card is adorable. Love it.
Amber L.
I love your card. It is really pretty.
Barb Marshall
Lovely to find someone else who loves cards, maybe even more than I do, as I don't make them, just gush over them!
Tauni
Katie, I love this card. So pretty!
Barb
I am a huge card loving gal and so I am always excited to meet others who love it too. I'm not crafty and don't make my own cards, but I sure do appreciate those who do. Such talent and patience. I especially like how you have chosen non-traditional Christmas colours. I love it when things are a bit different and unique. Lovely to meet you via "Fluster Buster" link up.