Learn how to create heartfelt Watercolor Thank You Cards. Handmade and unique, these cards express appreciation in a special way.
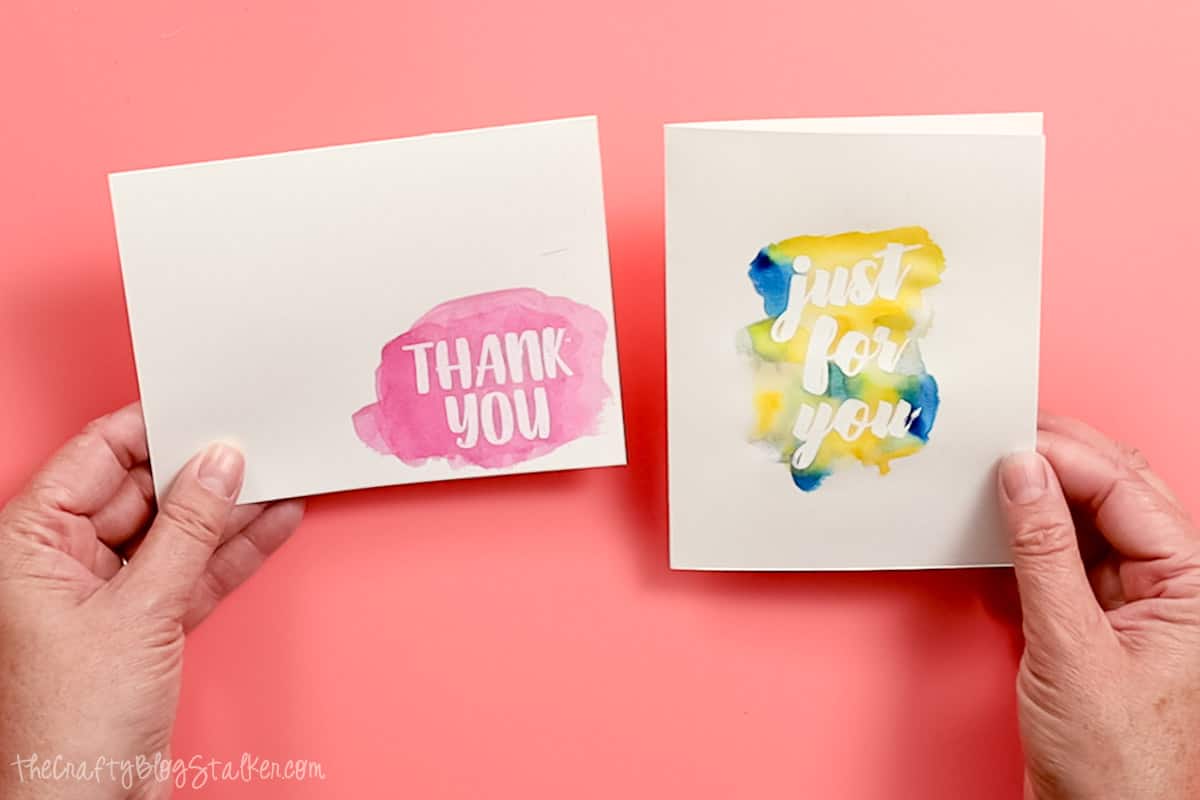
Learn how to make beautiful greeting cards with an ink resist technique.
In this tutorial, we'll show you step-by-step how to create beautiful handmade stationery that expresses gratitude in a unique and personal way.
Each card is a work of art, making it the perfect way to show your appreciation to friends, family, or anyone deserving of a heartfelt thank you.
Craft Video Tutorial:
Like videos? I have a video tutorial for you! Subscribe to my YouTube Channel so you don't miss any future videos!
Supply List:
Links may go to similar items when exact items can't be found online. Help me continue to provide free tutorials by shopping my affiliate links. Please review our Privacy Policy.
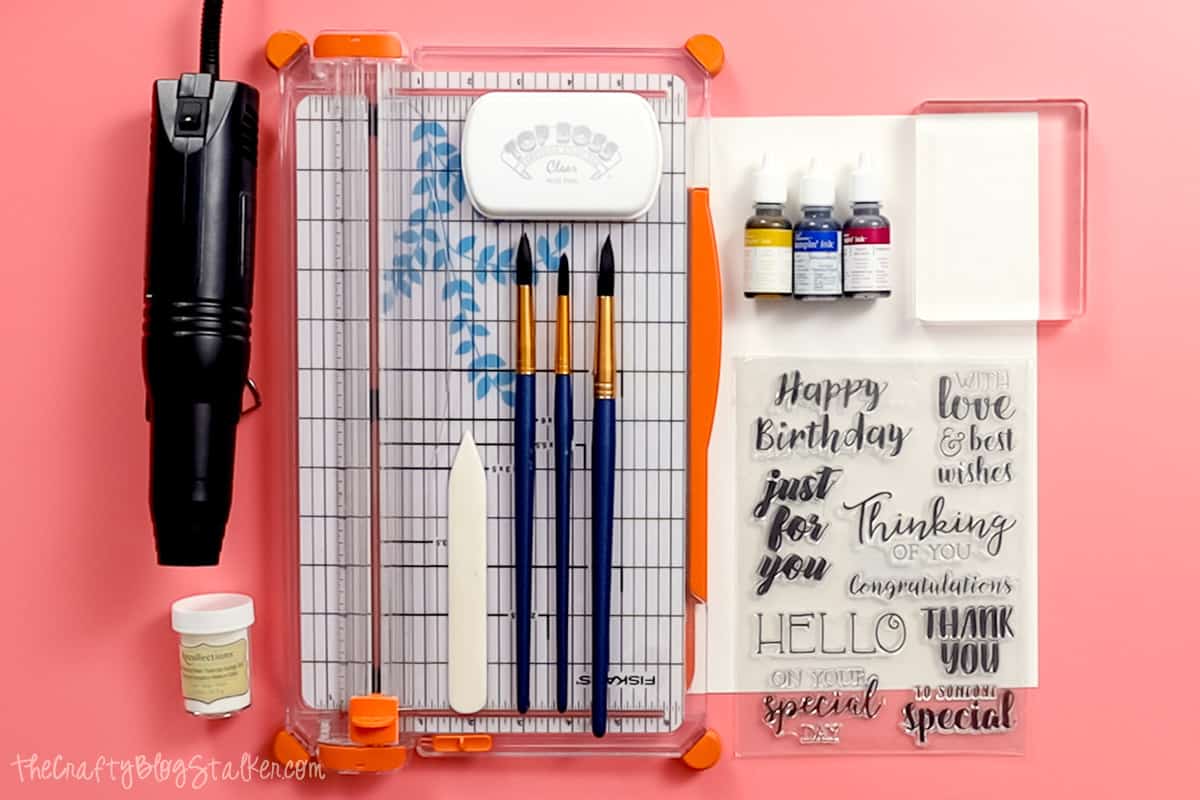
- Watercolor Paper
- Paper Trimmer
- Bone Folder
- Greeting Stamps
- Stamping Block
- Clear Ink Pad
- White Embossing Powder
- Heat Gun
- Ink Pad Reinkers
- Round Paint Brushes
- Paper Towels
Cut Paper Into Cards:
In this tutorial, I will show you two different methods of creating a watercolor look on handmade cards.
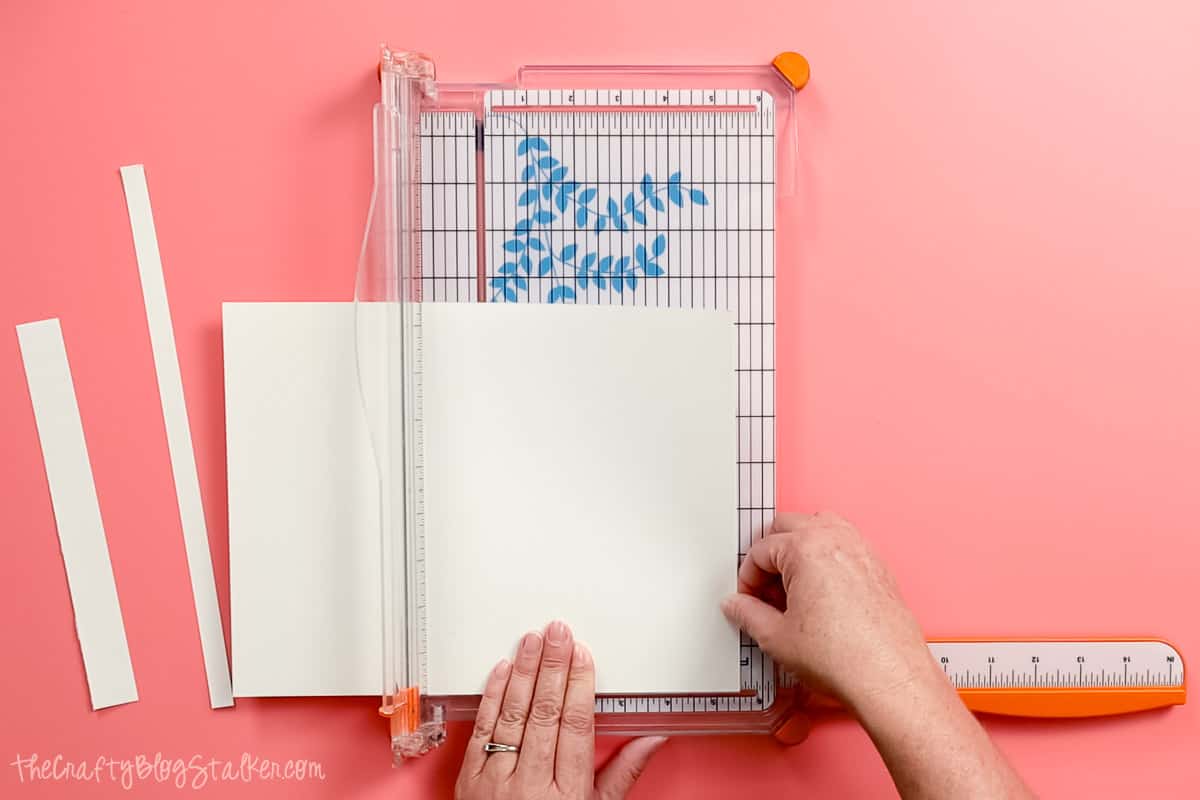
I am starting with a sheet of 9 x 12 watercolor paper and I want to cut the paper to make two 4.25 x 5.5 inch cards.
First, trim the sheet to be 8.5 x 11 inches.
Then cut the sheet into two pieces of 5.5 x 8.5 inches, these will be our two cards.
Next, I am going to add a fold line in the center, using a bone folder and the paper trimmer.
Align the sheet lengthwise, along the trimmer, at the 4.25 mark.
Pull the bone folder down through the track of the paper trimmer.
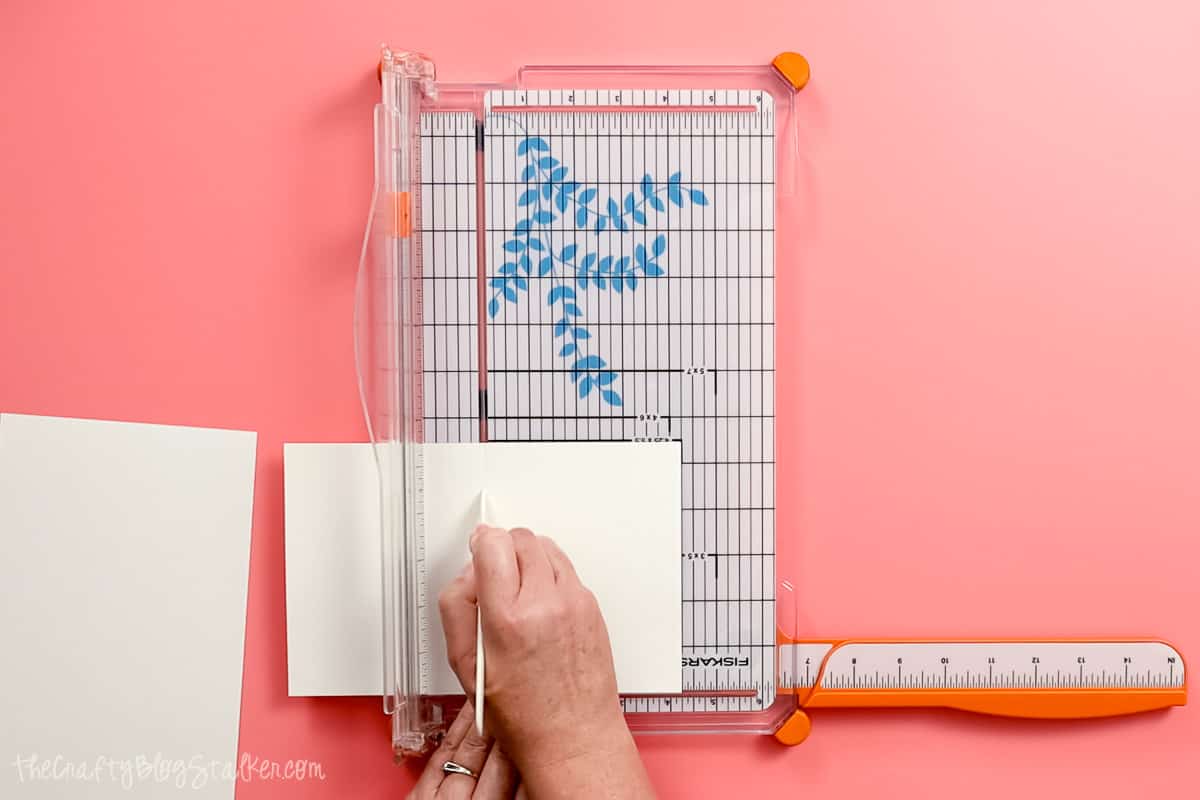
This gives nice straight fold lines exactly in the middle of the cards.
Now, fold each sheet in half, lining up the corners and pressing down on the crease with the bone folder.
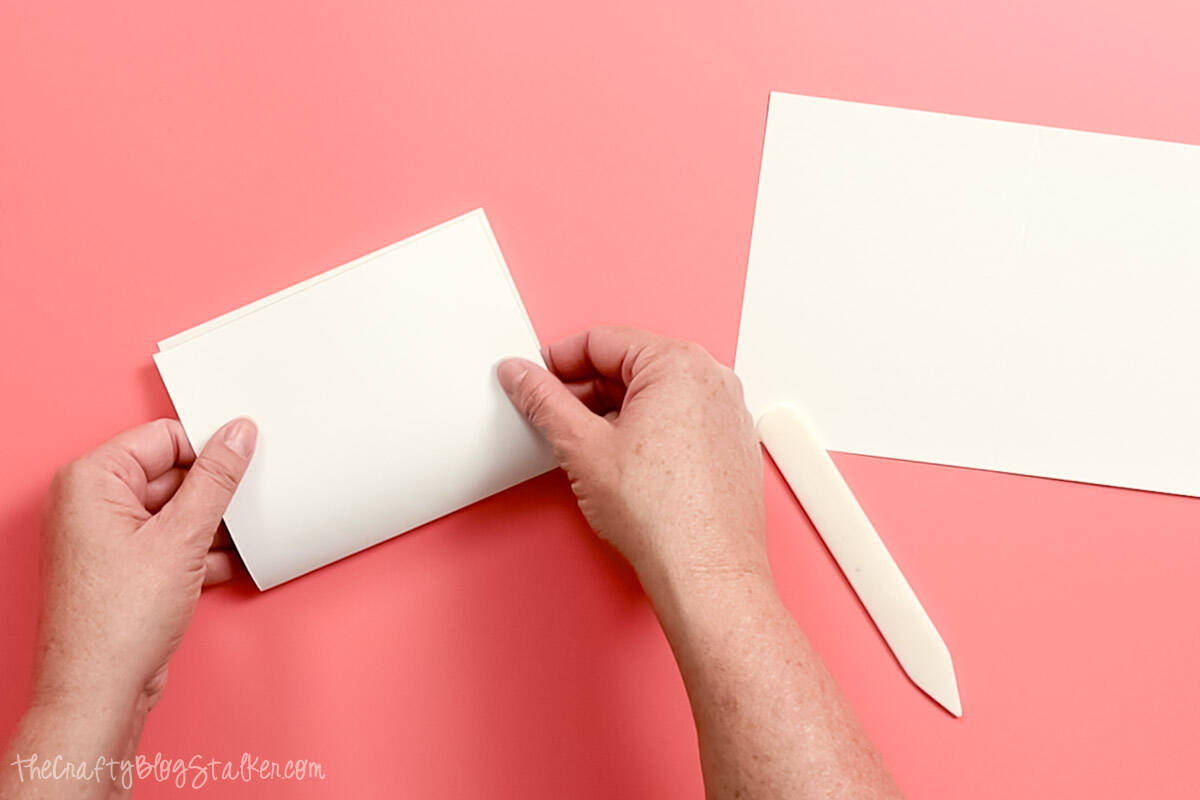
Now I have two blank cards ready to watercolor on.
Stamp:
For my cards I chose two different greetings. One says 'Thank You' and the other says 'Just For You'.
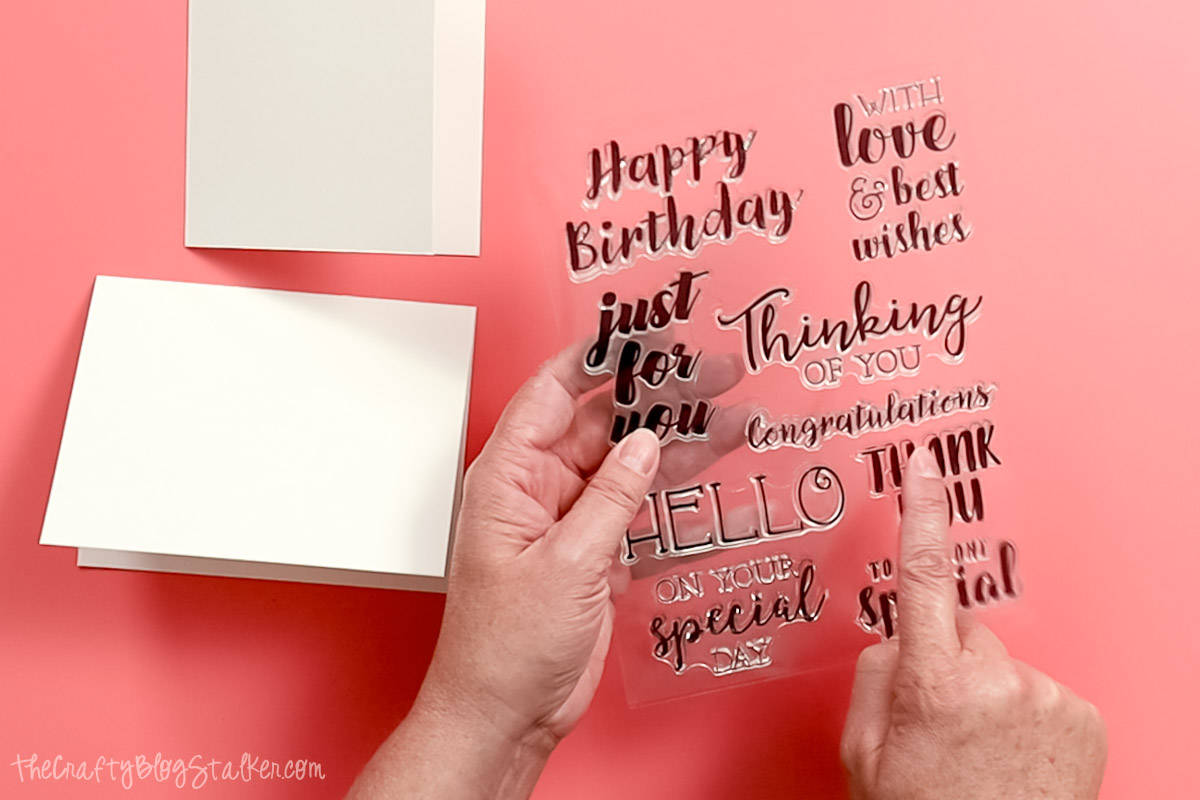
This step is the same for both of the cards, so I am only going go over it once.
Remove the stamp from the carrier sheet and place it facedown on your table.
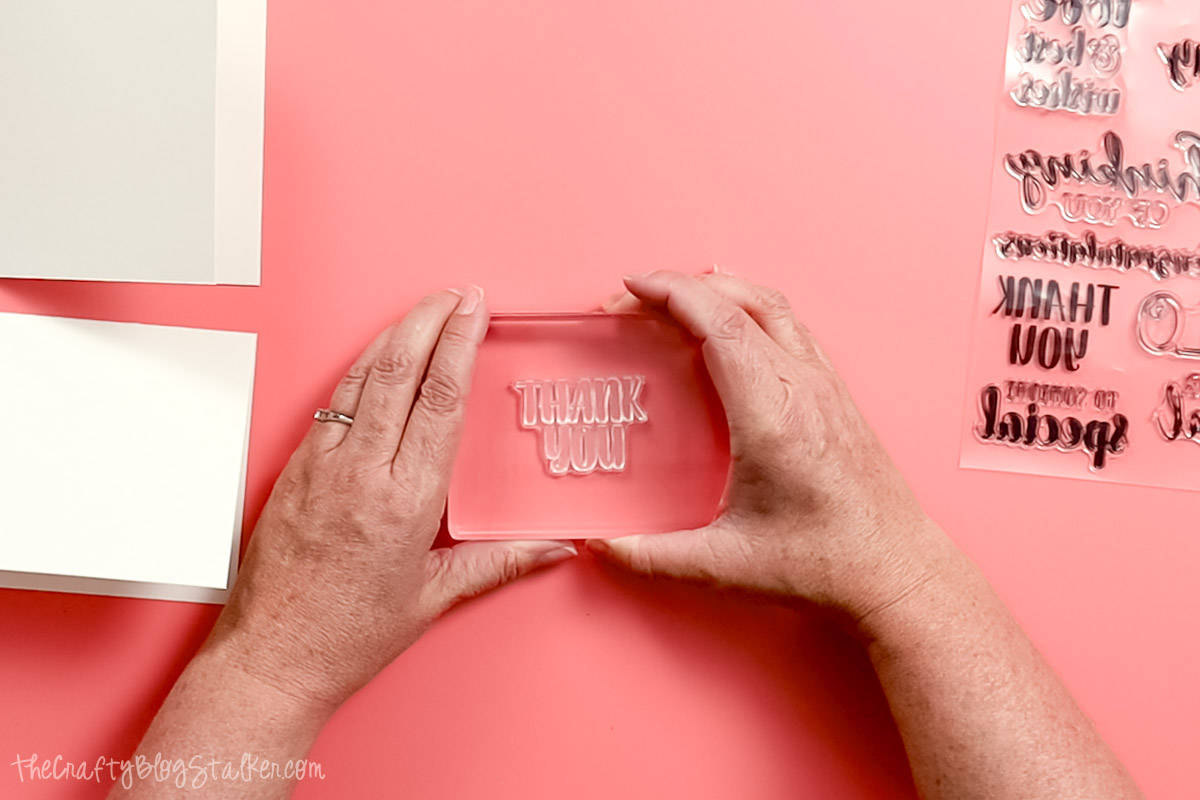
Press a stamp block onto the back of the stamp, and this should pick up the stamp. If it does not, make sure the stamp and block are clean and try again.
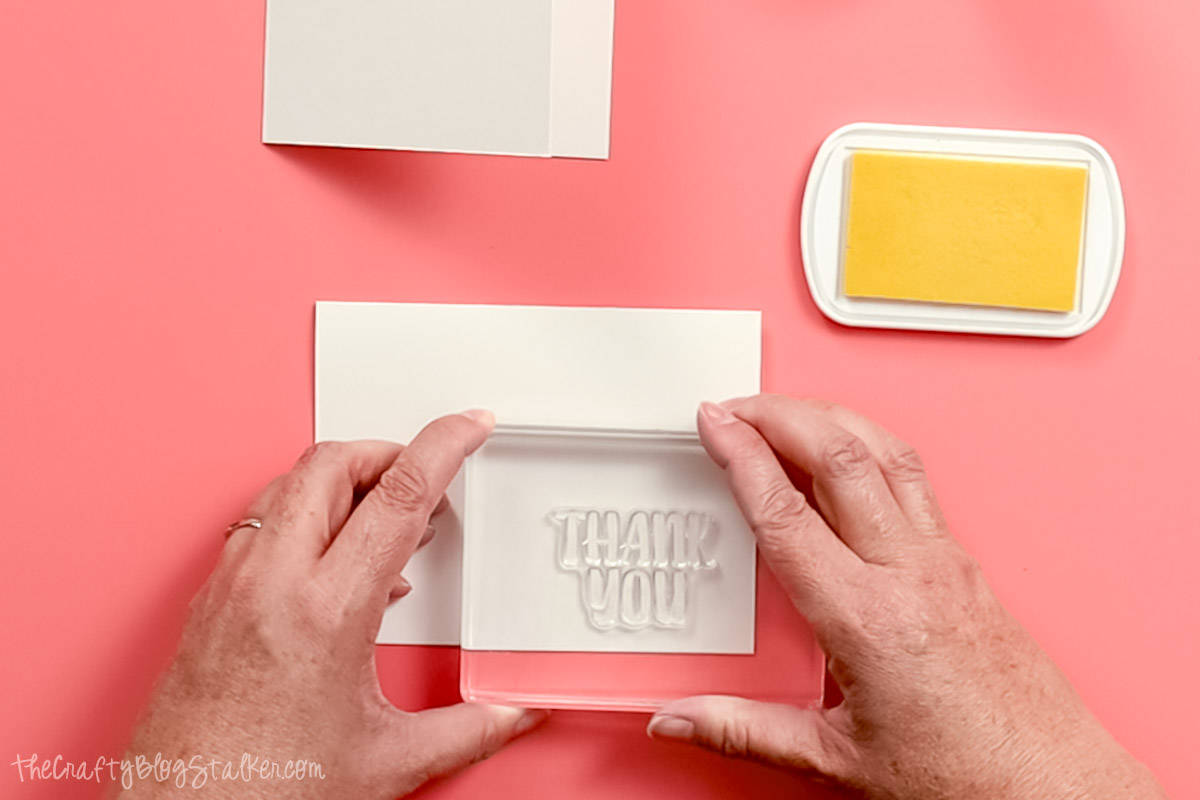
Bounce the stamp into a clear embossing stamp pad, and then press the stamp anywhere on the front of the card.
Emboss:
It is important to emboss right after stamping, otherwise the ink might dry on your card.
Place a piece of paper on a table. Hold the stamped card over the paper and pour embossing powder over the stamped image. Make sure that it is well covered.
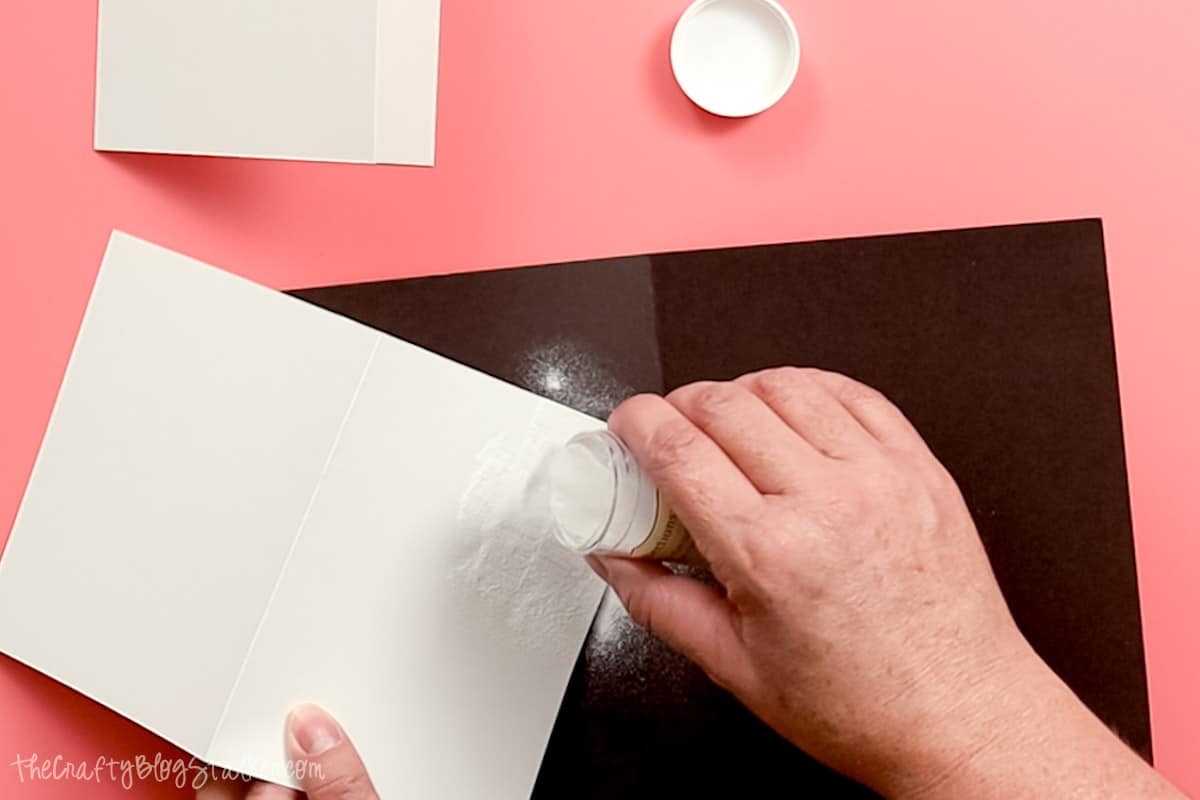
Tap the side of the card to shake off any excess powder, so it lands on that paper.
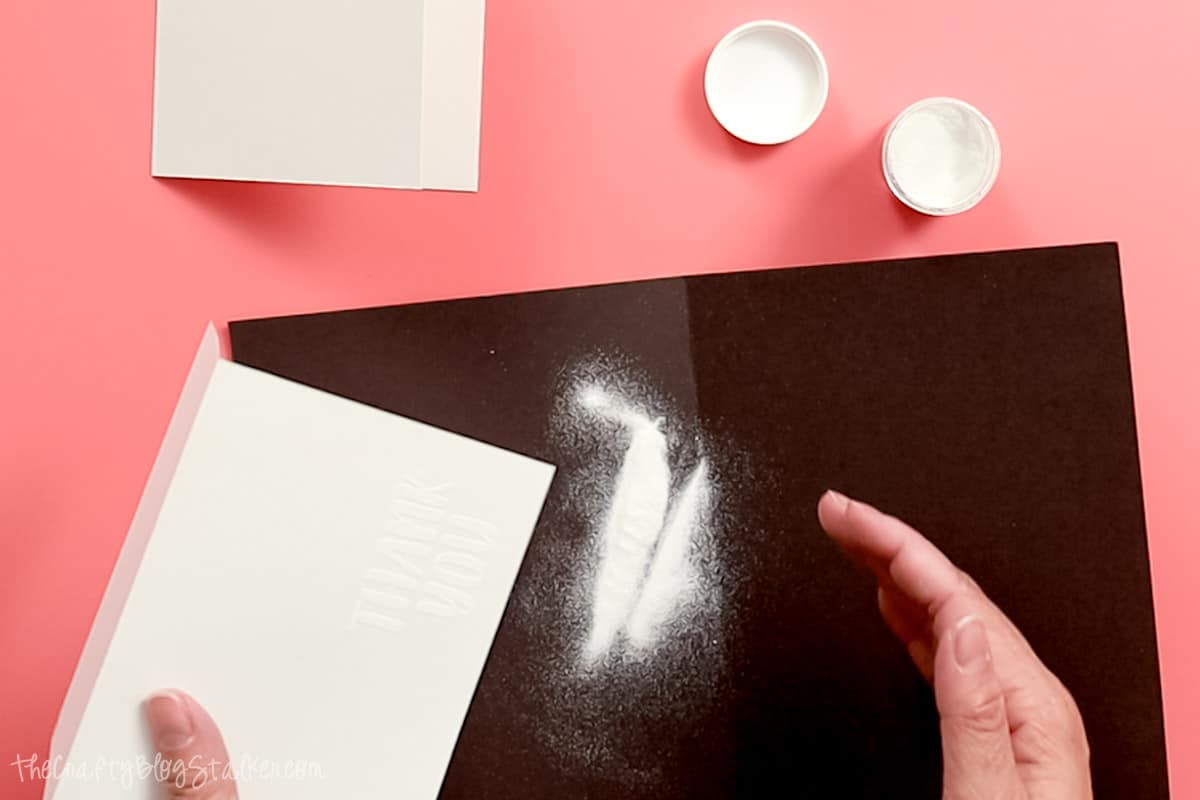
I know that the design is hard to see. That is because we are using white embossing powder on a white card.
All of the unused powder can now be poured back into the container to be used next time.
Holding the edge of the card, go over the image with a heat gun. Be careful not to hold the heat gun too close to the paper because it can brown.
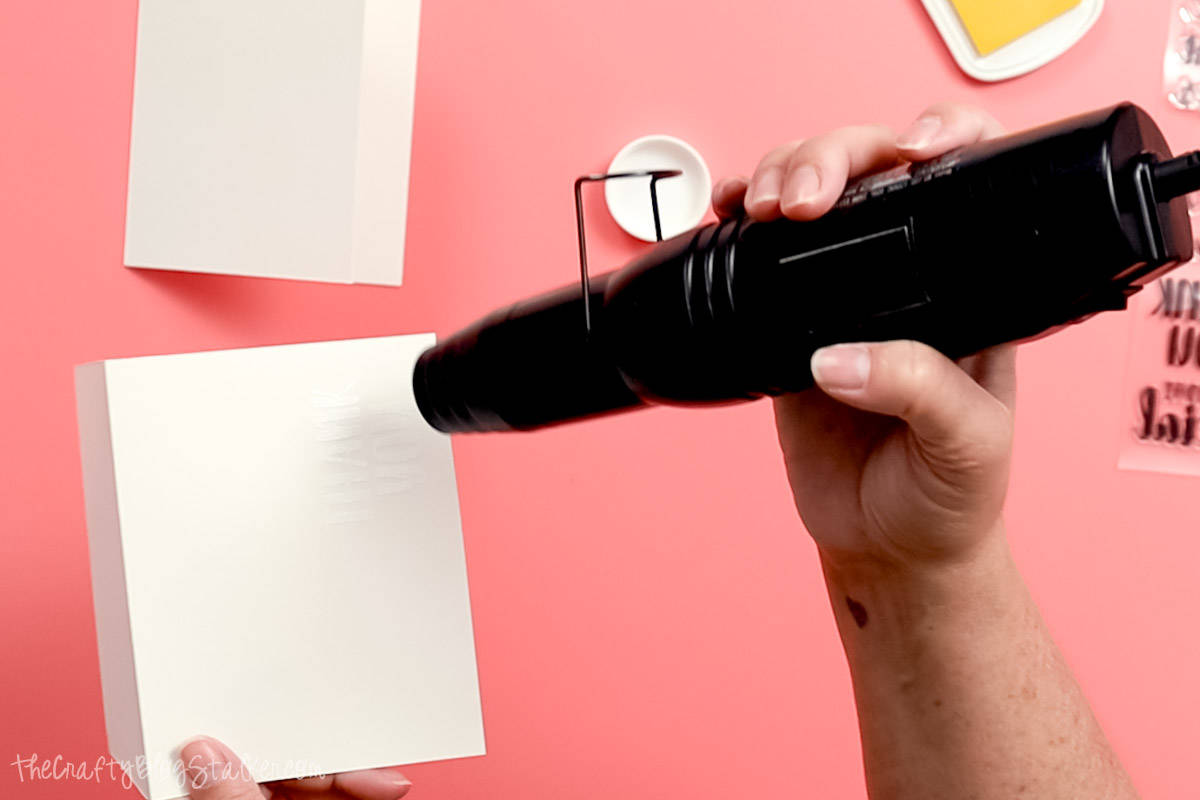
Watch that embossed design. As it heats, the embossing powder will melt and become glossy.
When the entire design is melted, remove the card from heat.
Layering Watercolor Technique:
Add a couple of drops of reinker to a plastic paint pallet. I am using a pink color.
Fold a paper towel a couple of times and keep it nearby.
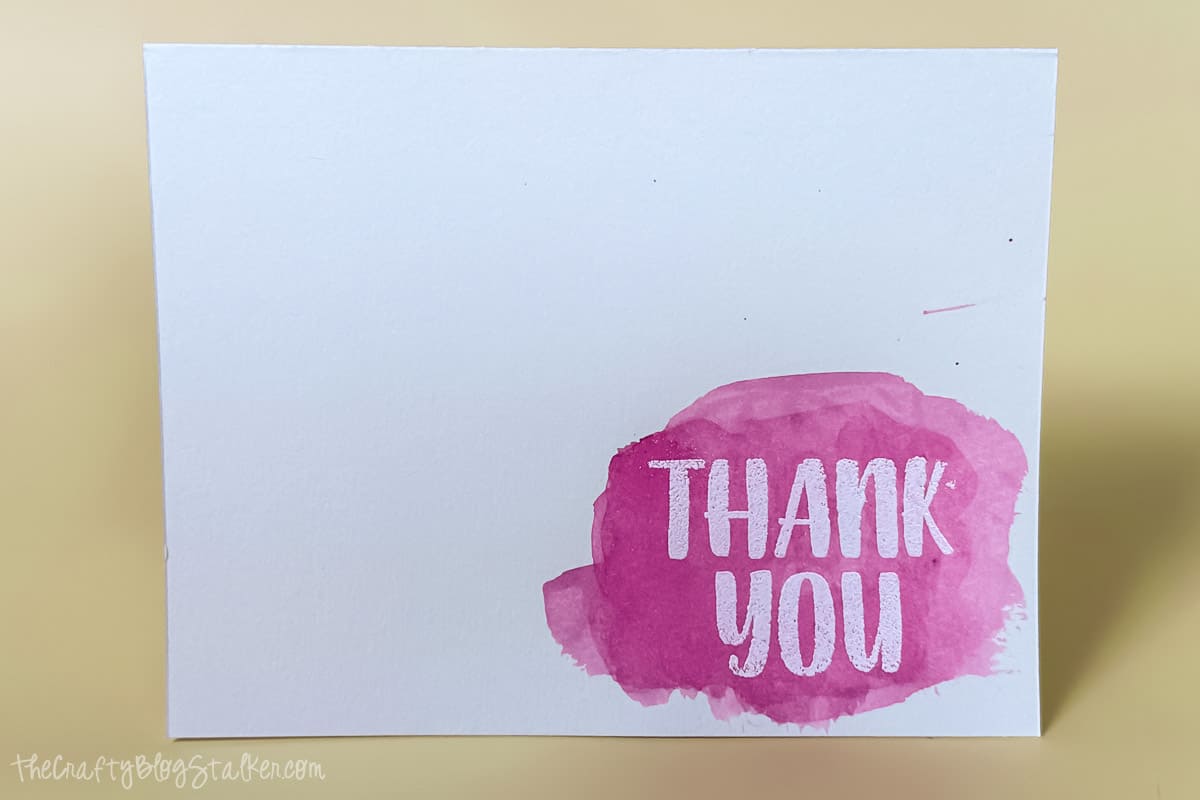
With a very wet brush lightly dip the brush into the ink, and then paint over the embossed image on the card.
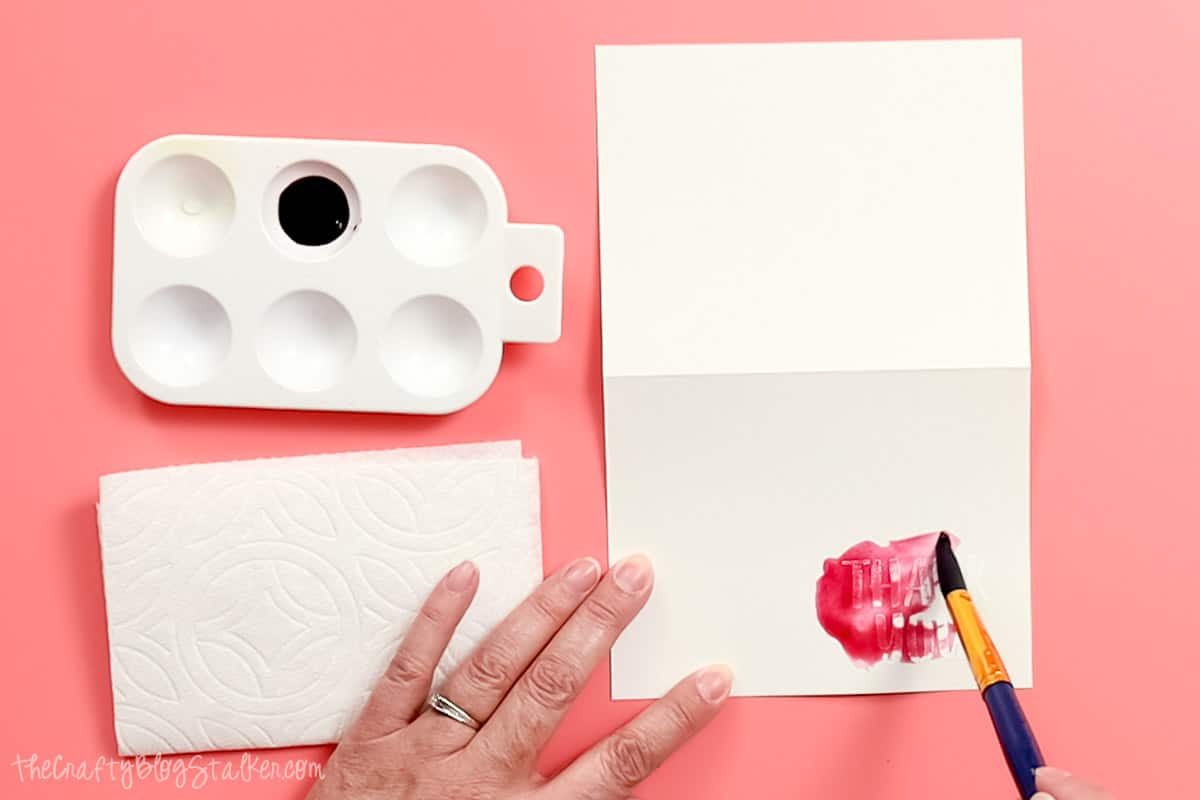
Let the ink sit for just a moment, and then press the paper towel direct down on top to collect the extra water. Do not rub with the towel, straight down and straight up.
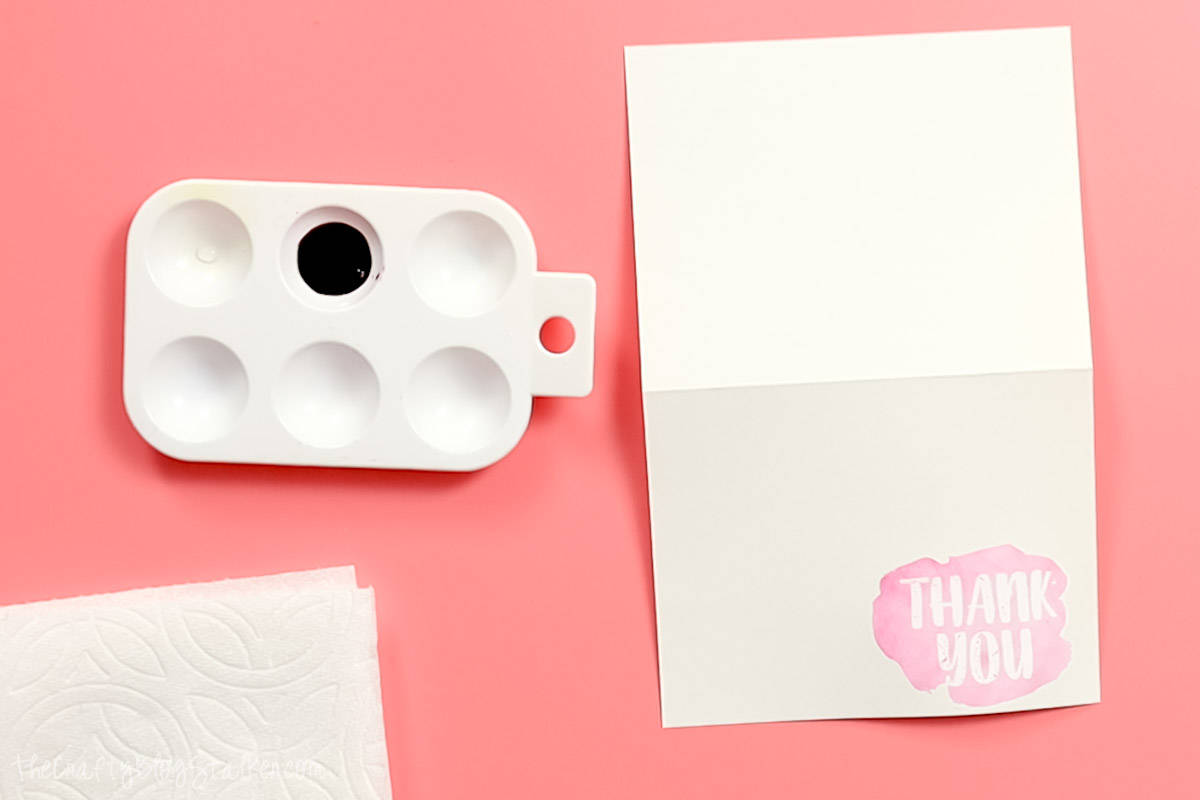
The card could be done at this point, but I like to layer the ink so has dark and light spots.
Add a second layer of ink with a wet brush, this time not all over just in spots.
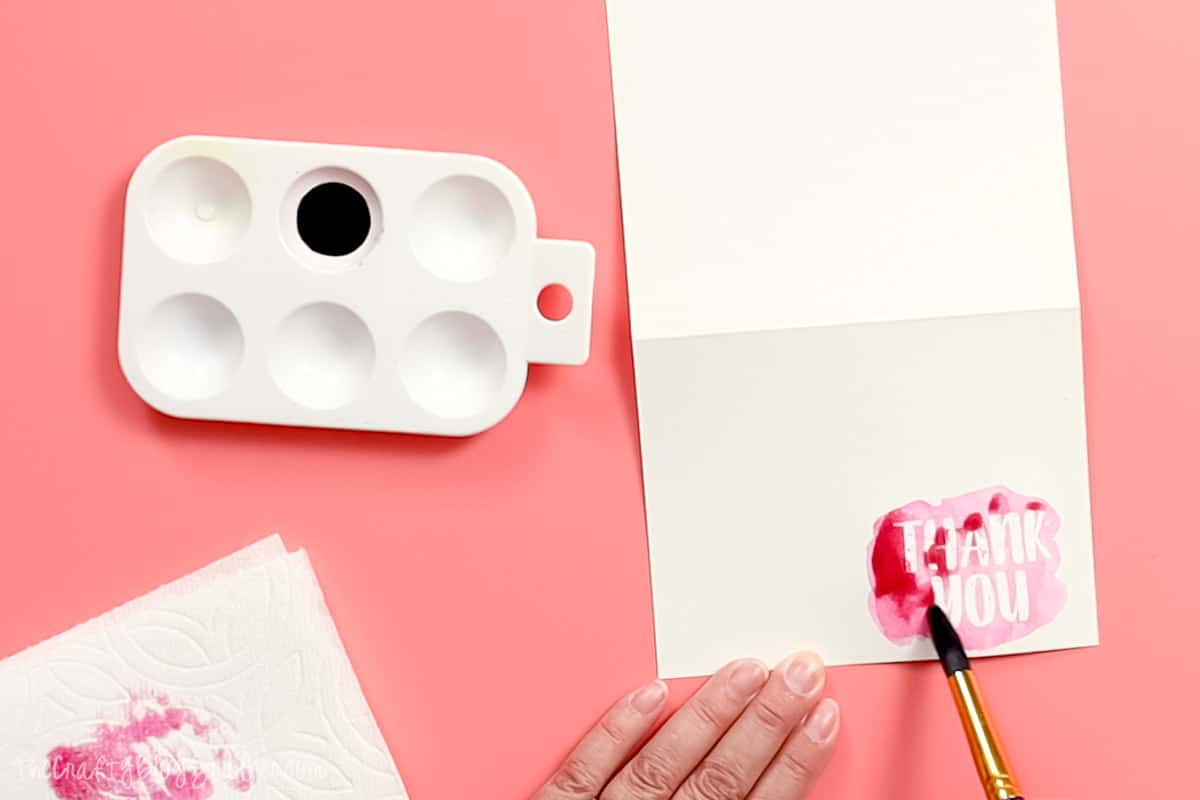
Turn the paper towel over and dab again with the clean side.
See how the extra layer is giving the watercolor some depth?
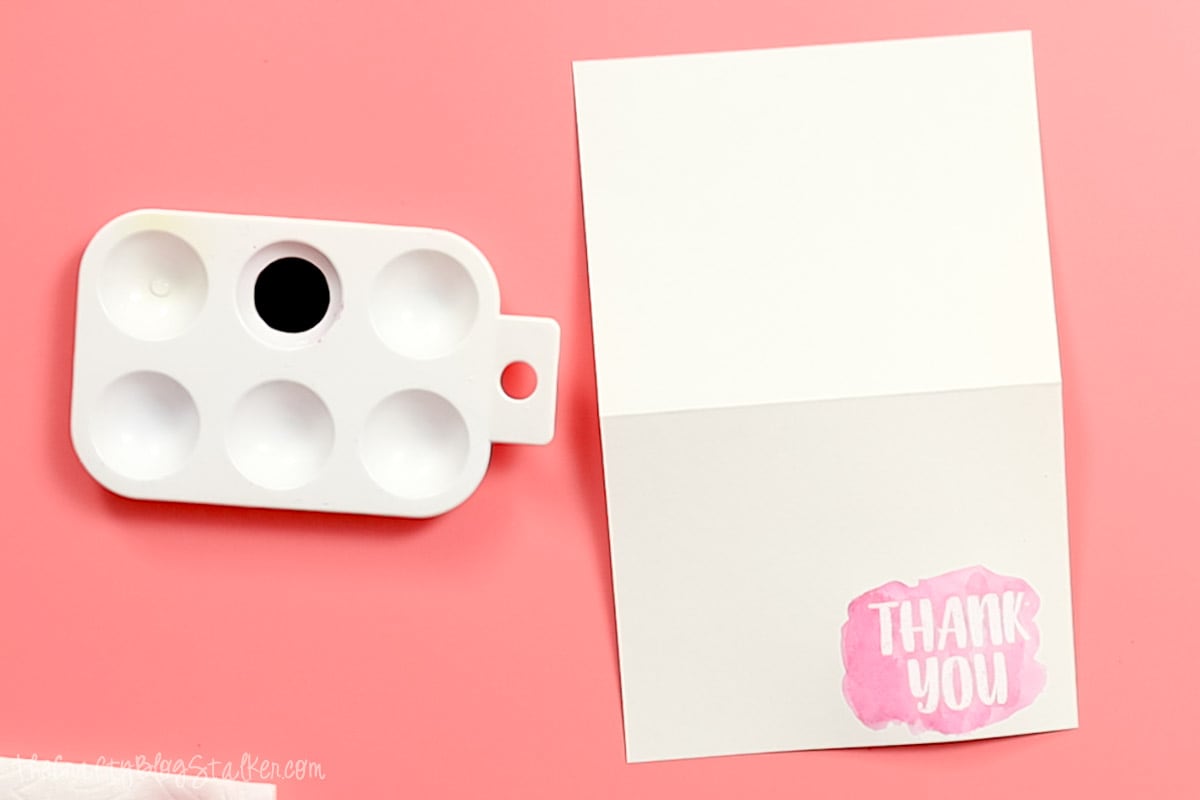
Continue with as many layers as it takes to get the desire look.
I decided to add one more.
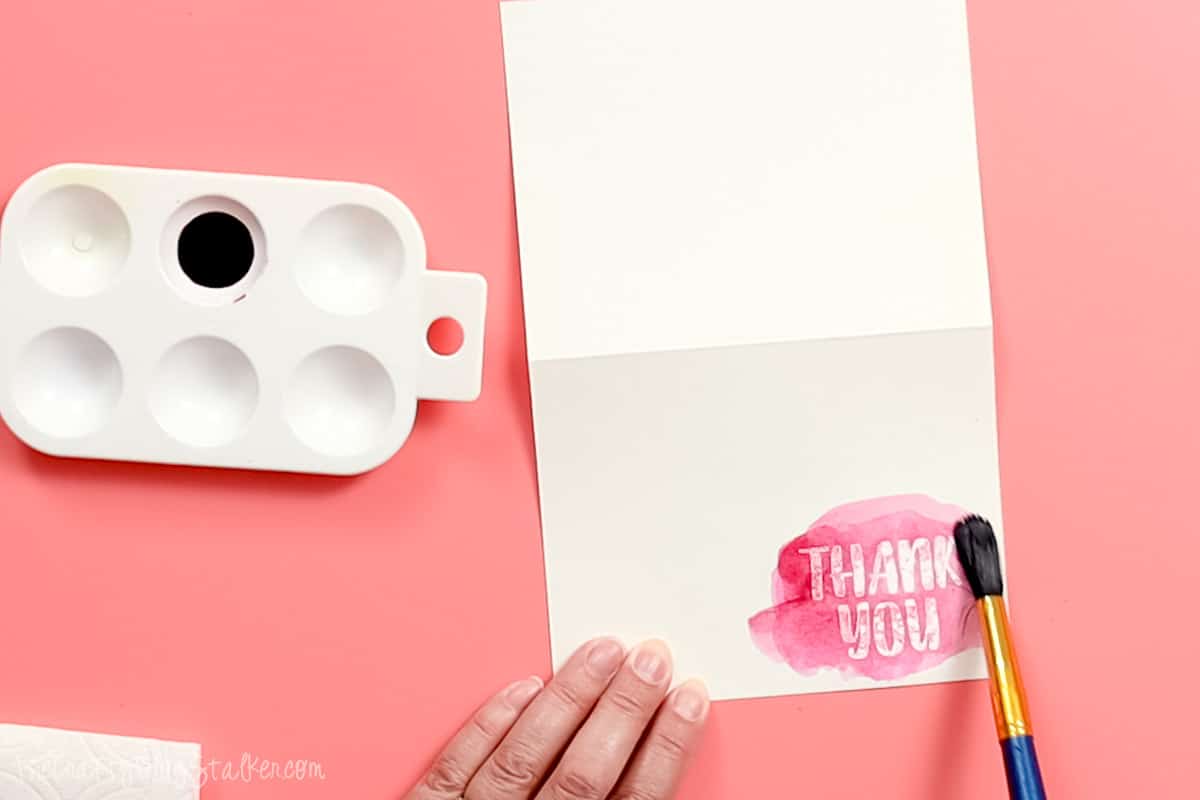
Again, let the ink sit for just a moment, and dab with a clean paper of the paper towel.
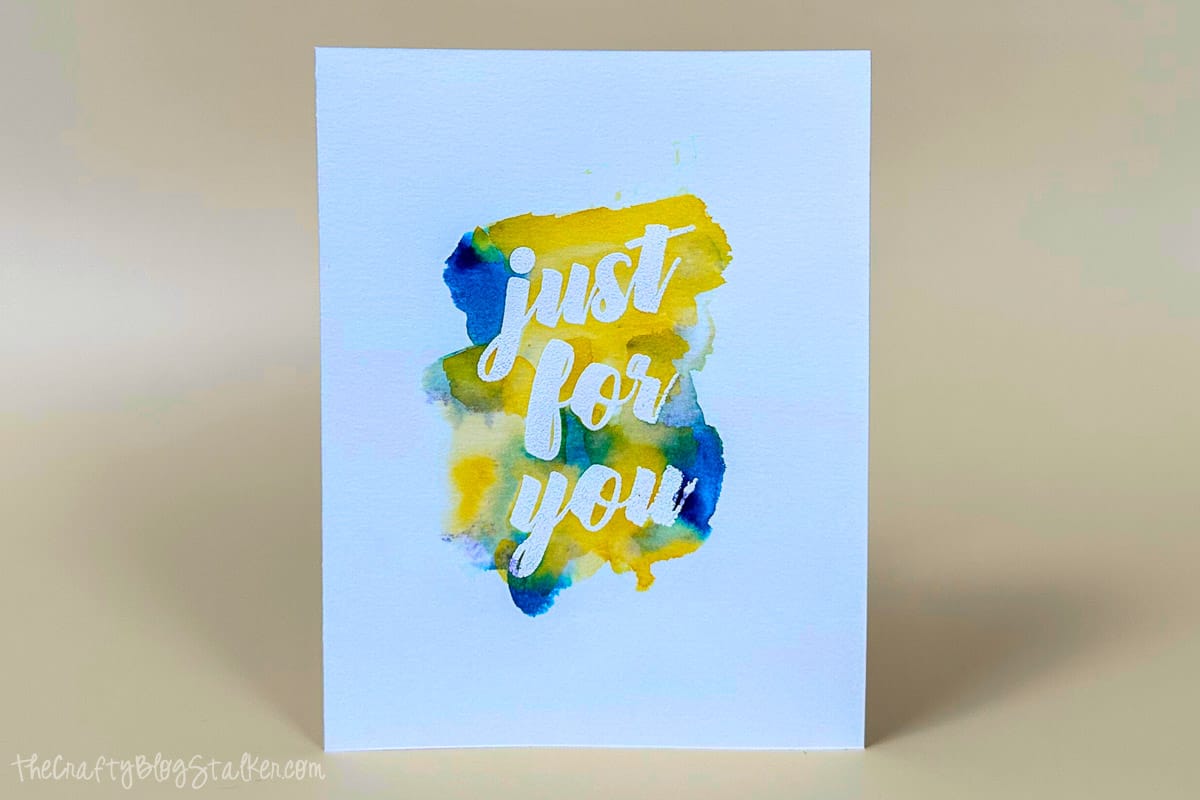
The ink doesn't adhere to where the embossed image is, so now that text is readable. So cute!
Wet Wash Watercolor Technique:
This time, add two complimentary colors to a plastic paint palette. I am going with blue and yellow.
Fold a paper towel a couple of times and keep it nearby.
With a clean, wet brush paint over the embossed image with water.
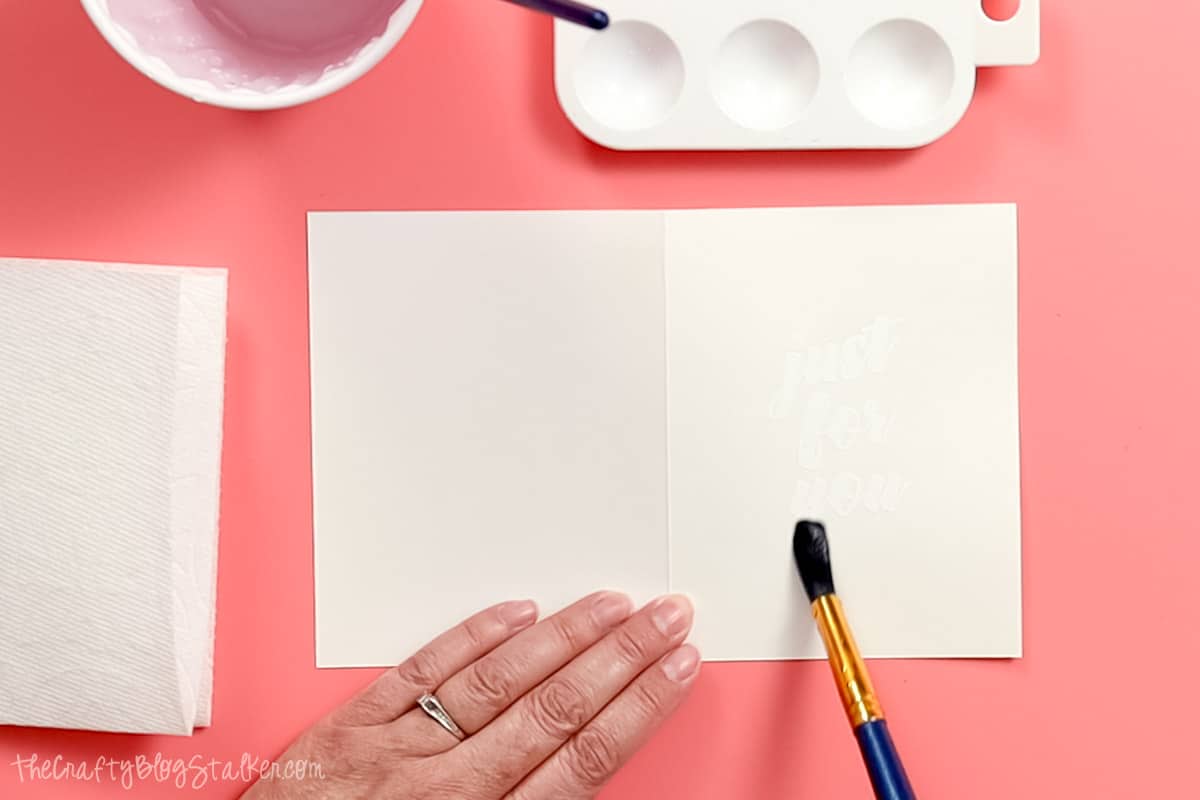
Starting with yellow, dip a damp brush into the yellow ink to pick up color, and tap the brush into the wet water on the card.
Just a light tap is all it takes and the ink spreads over the wet area.
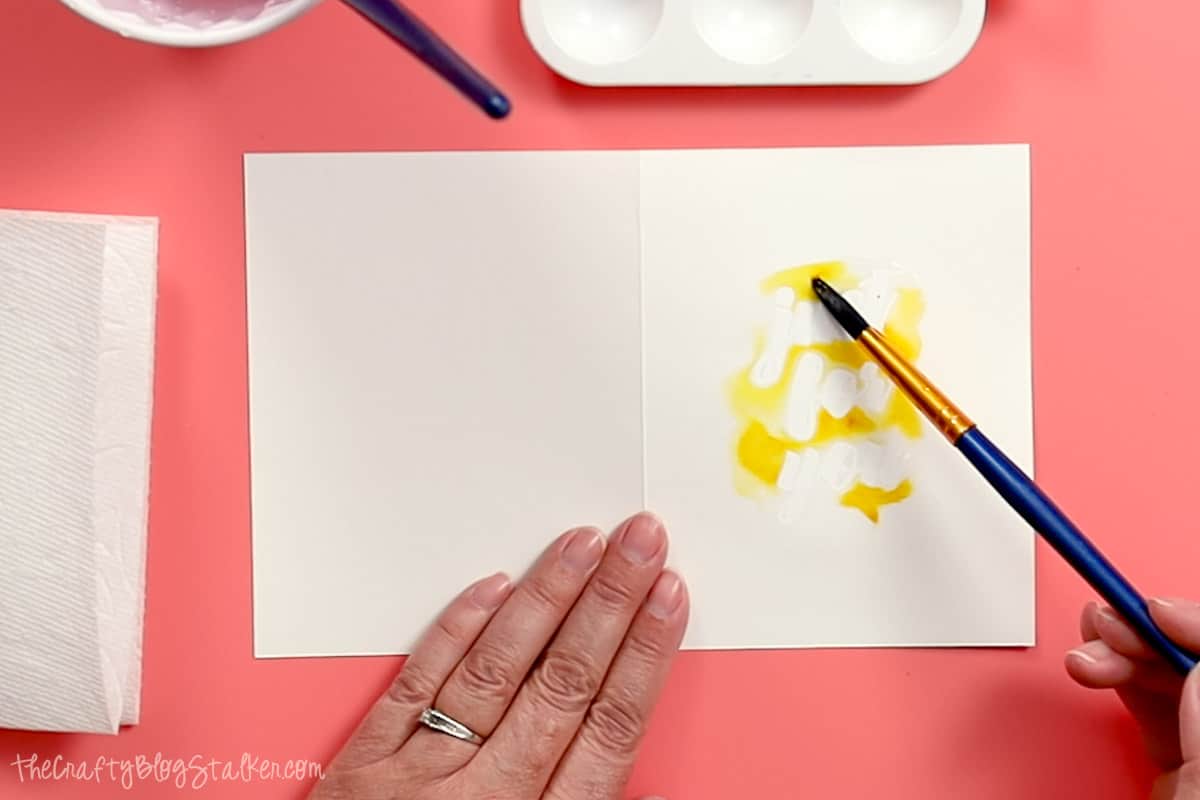
Use a clean damp brush to pick up a little of the blue ink, and tap the brush in a few places on the card.
It is so fun to watch colors blend together!
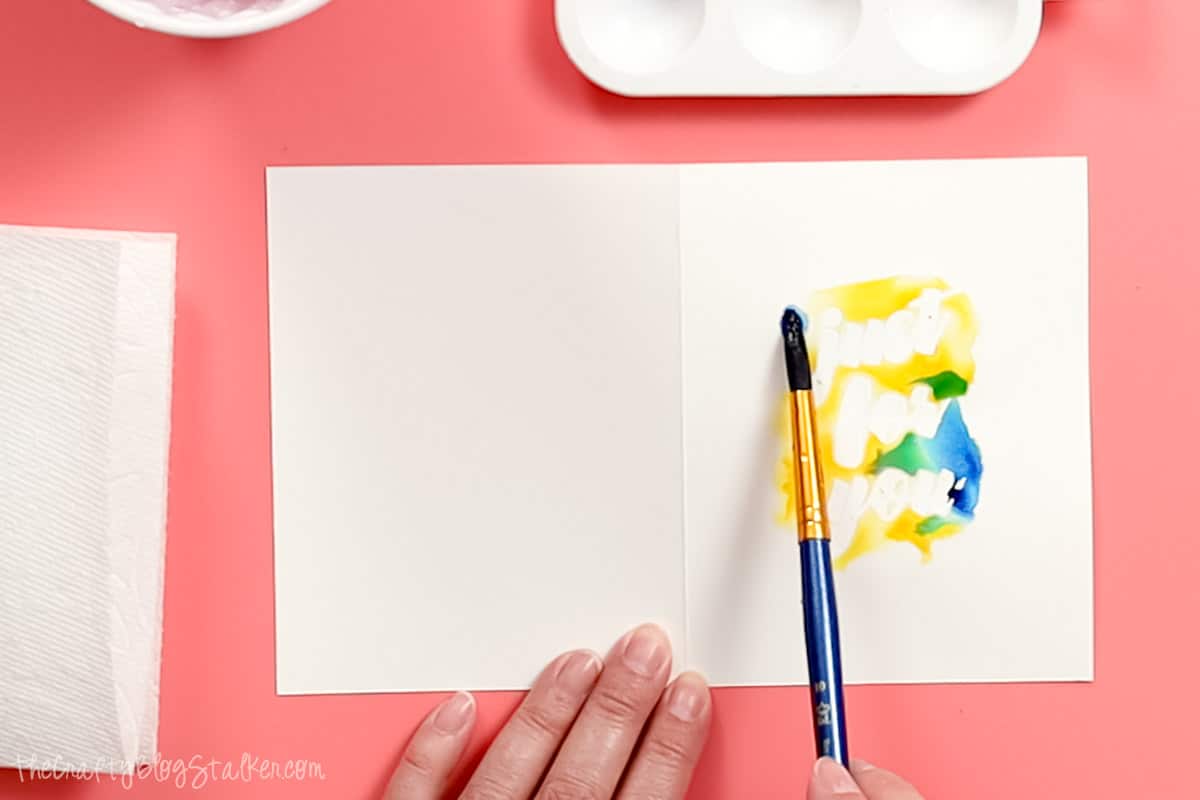
Let the ink sit for a moment and then dab with the paper towel. Straight down and straight up.
This wet wash can be done multiple as well to get darker colors. Although tap the colors into the same spots, otherwise the colors may become too blended and just look brown.
This one turned out so good!
Final Thoughts:
These cards are so fun to make and watercolor makes each one unique!
All they require is a personal message on the inside and then tucked into an envelope, and they are ready to give.
If you find that the paper has warped from the water, place the cards under some heavy books for a day or two to press them flat again.
The cards may not return to perfectly flat, but that just shows how handmade and unique they are!
If you had fun with this project there are many other watercolor techniques that you could try. Here are 5 Simple Watercolor Techniques for Beginners you could try.
Our Crafting Essentials:
- The Cricut Cutting Machine is easily our favorite crafting tool. We use it in so many of our tutorials!
- These MakerX Crafting Tools are perfect for keeping in the craft room and are always ready when needed!
- This Fiskars Paper Trimmer is easy to use and cuts nicely without frayed edges.
- These Scotch Precision Scissors cut like a dream, and you get multiple pairs in a pack!


Debra Kapellakis
That is perfectly beautiful, bravo. 😀
Life With Lucy
I love getting handmade cards too! This is super cute! Thanks for sharing!
Kathryn Ferguson Griffin
Oh, it is so pretty! Thank you for sharing. Visiting from One Creative Mommy. Would love it if you would share this at my Make it Pretty Monday party at The Dedicated House. http://thededicatedhouse.blogspot.com/2012/08/make-it-pretty-monday-week-9.html Hope to see you at the bash! Toodles, Kathryn @TheDedicatedHouse
K Coake
So cute! I love the ribbon detail.
Robyn
what a sweet card, love the chevron pattern an vibrant color. Hope you have a fun Passion Parade weekend.
Tauni
What a fun chevron card. I love it! Thanks so very much for sharing on Show & Tell at SNAP! I love seeing your links!
xoxo, Tauni
Christine
I would LOVE that card!! Beautiful!
Thanks so much for sharing this at The DIY Dreamer.. From Dream To Reality!
Keitha
Cute card! I dug out the Everyday Expression set yesterday for the Happy Birthday stamp in it.
Nicole@Show Off Friday
This is such a lovely card!
Pam
Very nice card! I love to make cards too, and you have inspired me. I am stopping by from Kathe with an E's You're Gonna Love It. I am happy to follow you. Hope you'll come by and visit me!
Erin
Love it!
Emilee
Love your card so simple but so beautiful!
http://www.mommamadeit.blogspot.ca
Claiming Our Space
I love that chevron stamp. The card turned out so cute. Thanks so much for sharing on Tout It Tuesday. Hope to see you tomorrow.
Maria
Aww how pretty! I love the card and the envelope, so sweet looking!
Michelle's Tasty Creations
Katie,
Love the chevron in color. I love my embossing cards. Thanks for sharing 🙂 Have a great week.
Michelle
Candace
Lovely! And chevron is so great right now. I linked up with Adventures of a DIY mom with a chevron item myself, a sweet little tote bag! Thanks for sharing!
The Causal Craftlete
Love this card! I must buy that Chevron embossing folder! Where did you get yours? I love making card too!
Katie @http://www.thecasualcraftlete.com/
Katie Adams
I got mine from Stampin' Up! (www.stampinup.com) I hope that helps and I would love to see what you come up with.
Randi~Dukes and Duchesses
Such a pretty card ... I featured it tonight at the Project Inspire{d} link party!
Rose FineCraftGuild
I gotta get my hands on some stampin' up, because i love that stamp. I like making my own stamps now, so that chevron will be a breeze to make, but letters are a bit of a challenge for me still while I get my supplies organized..
Meanwhile, I hope you come bring us some new ideas later today at our linky party. We love being inspired by you!
Hannah Moody
Love it! I never thought of rolling the edges of a piece of cardstock through an ink pad. Genius! Thanks for the awesome ideas. I too think that getting a handmade card (or even a card in general) is the best feeling ever. That's why I created Moody's Designs on Etsy. Everyone deserves that feeling.
Thanks again,
Hannah