This post may contain affiliate links. For more information, please see our disclosure policy.
Create personalized Santa sacks for your kids to open on Christmas morning. We’ll show you how to create a perfectly personalized Santa Sack with a free SVG. If you make a purchase using the links included, we may earn a commission.
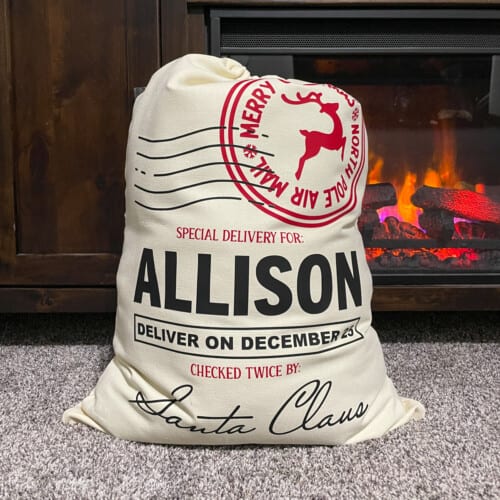
Christmas is such an exciting time for young children. The excitement and magic of Santa Claus, are so much fun to experience as a parent.
That also means that we, as parents, will do anything to keep that magic alive.
These personalized Santa sacks are a great tradition to bring into your Christmas festivities.
Craft Video Tutorial:
Like videos? I have a video tutorial for you! Subscribe to my YouTube Channel so you don't miss any future videos!
What is a Santa Sack:
Santa Sacks are just that, Santa's sack that he brings from the North Pole.
There are many different ways to use Santa Sacks but here are a few.
- Leave empty under the Christmas tree and on Christmas Eve when Santa comes down the chimney, he fills it with wrapped or unwrapped gifts.
- Use it to wrap a large Christmas gift that is difficult to wrap.
- Place all gifts from Santa in the sack, while other gifts from family members remain under the tree.
- Use it to carry the gifts you bring to visit family on Christmas Day.
You can also create your own uses and traditions with Santa Sacks. It is all about what works for your family.
Supplies You'll Need to Create this Project:
- Free Santa Sack SVG
- Cricut Maker
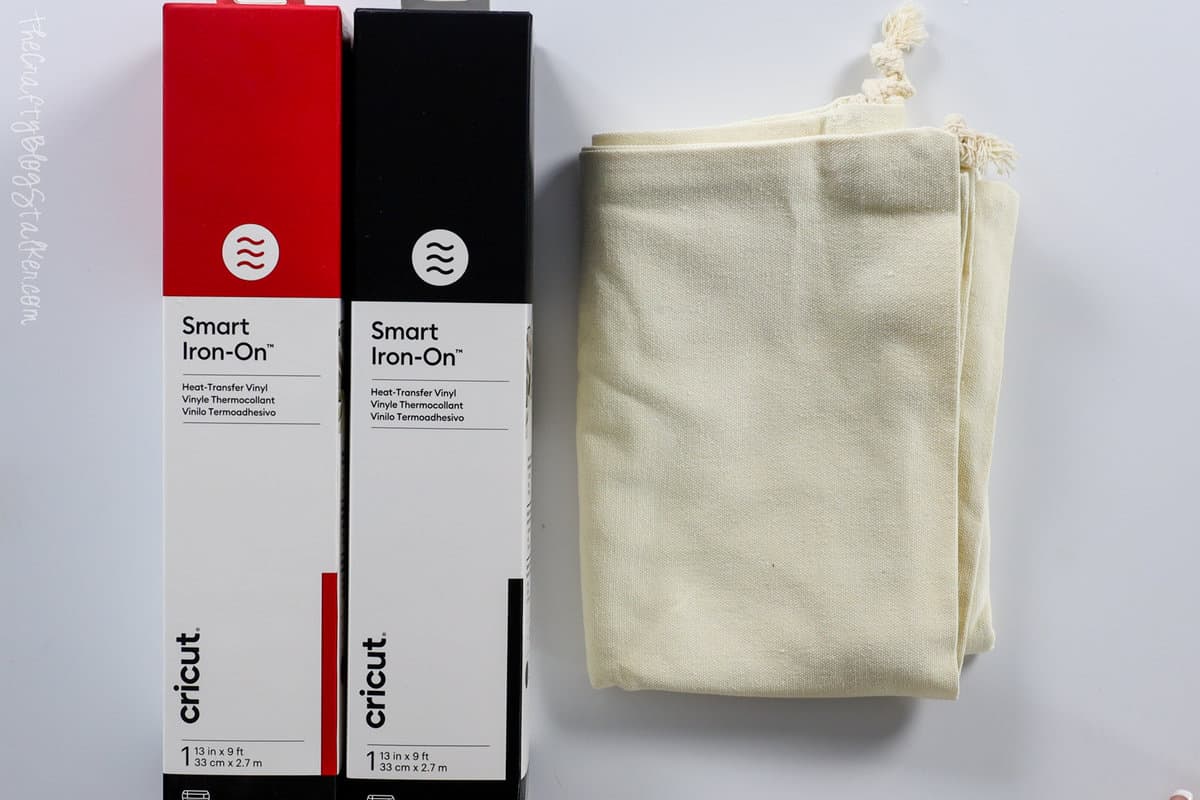
- Red Smart Iron-on
- Black Smart Iron-on
- Weeding Tools
- Large Canvas Drawstring Bag
- 10" x 12" Cricut EasyPress
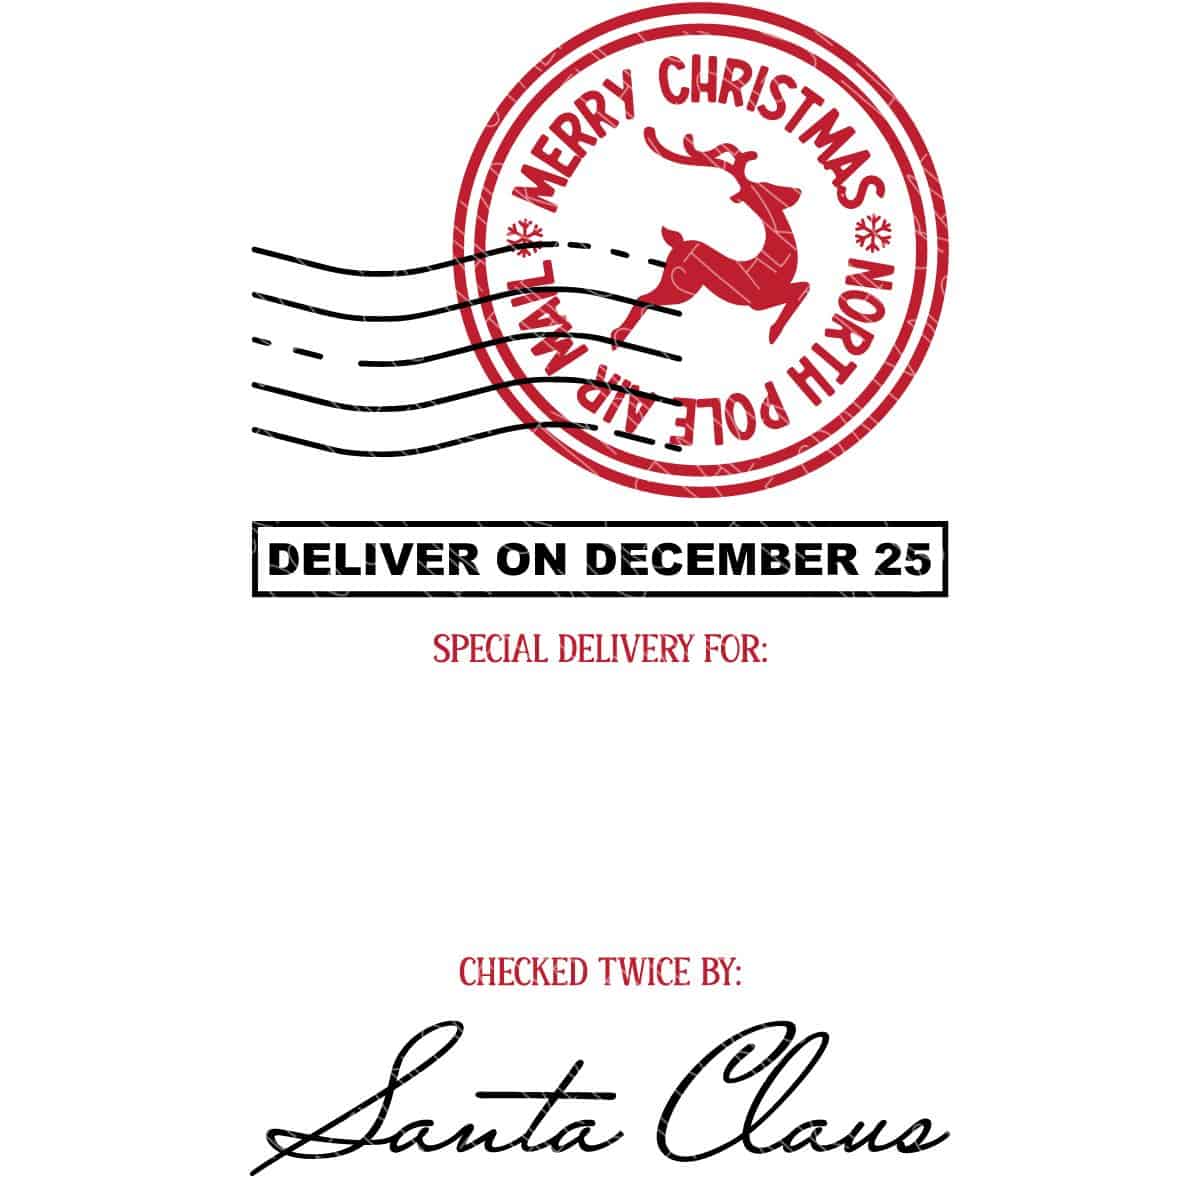
Grab the Santa Sack Free SVG:
Cricut Design Space:
Upload the design into Cricut Design Space.
The name is not included in the design, you have an empty space so you can personalize it with any name.
I used the font, Trade Gothic Display. This is a Cricut font and you should have access to it.
Size the design so it fits your canvas drawstring bag.
My bags are about 18 x 26 inches, so I sized the design as large as I could go on the Smart Iron-On. Which is 11.7 inches wide.
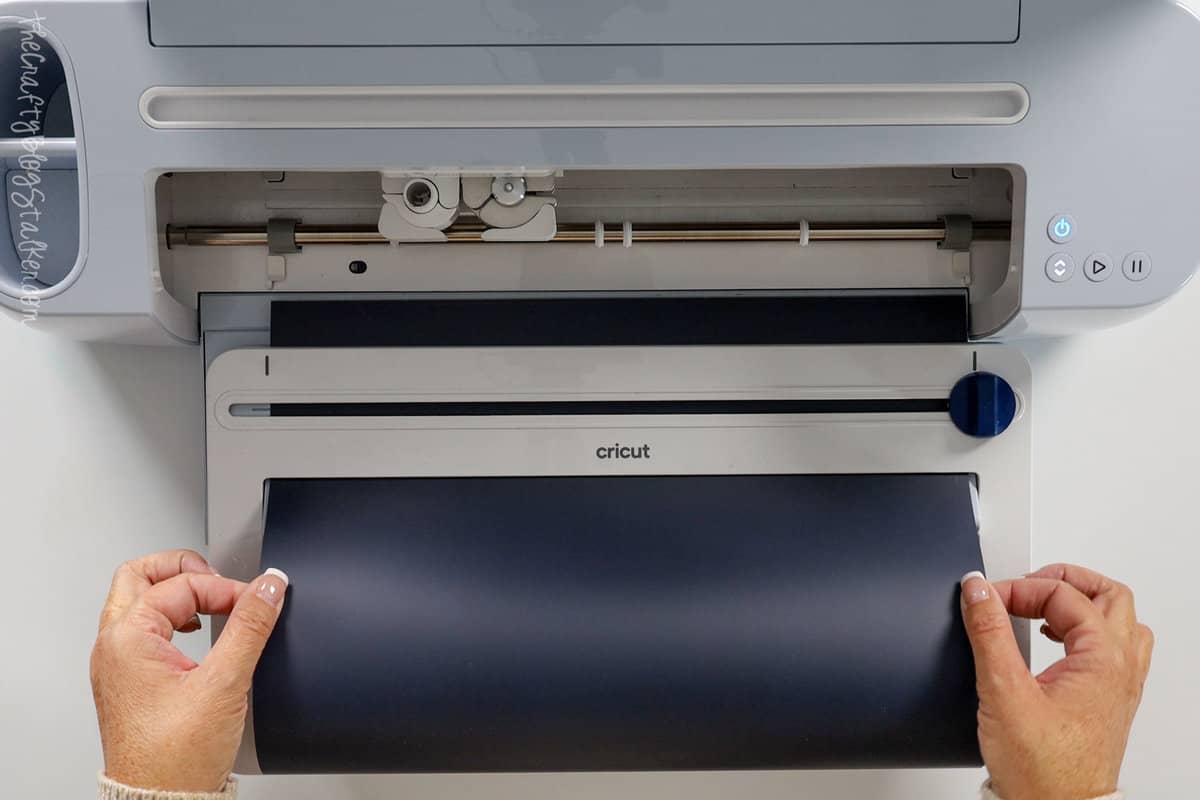
Then cut the design out on your Cricut, making sure to mirror the design.
*If you are using the long 20-foot rolls of material, the Roll Holder definitely comes in handy.
Prepare the Iron-On:
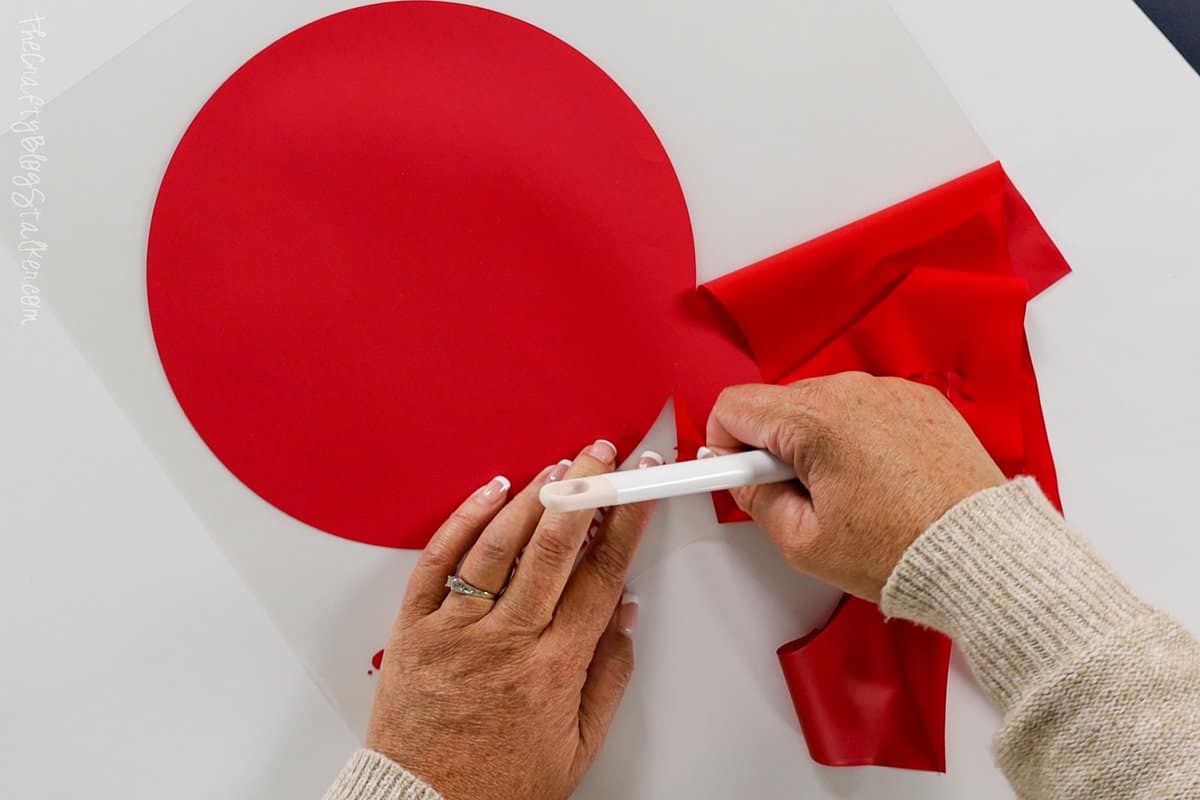
Weed the iron-on with some weeding tools, making sure to remove the center of all of the letters.
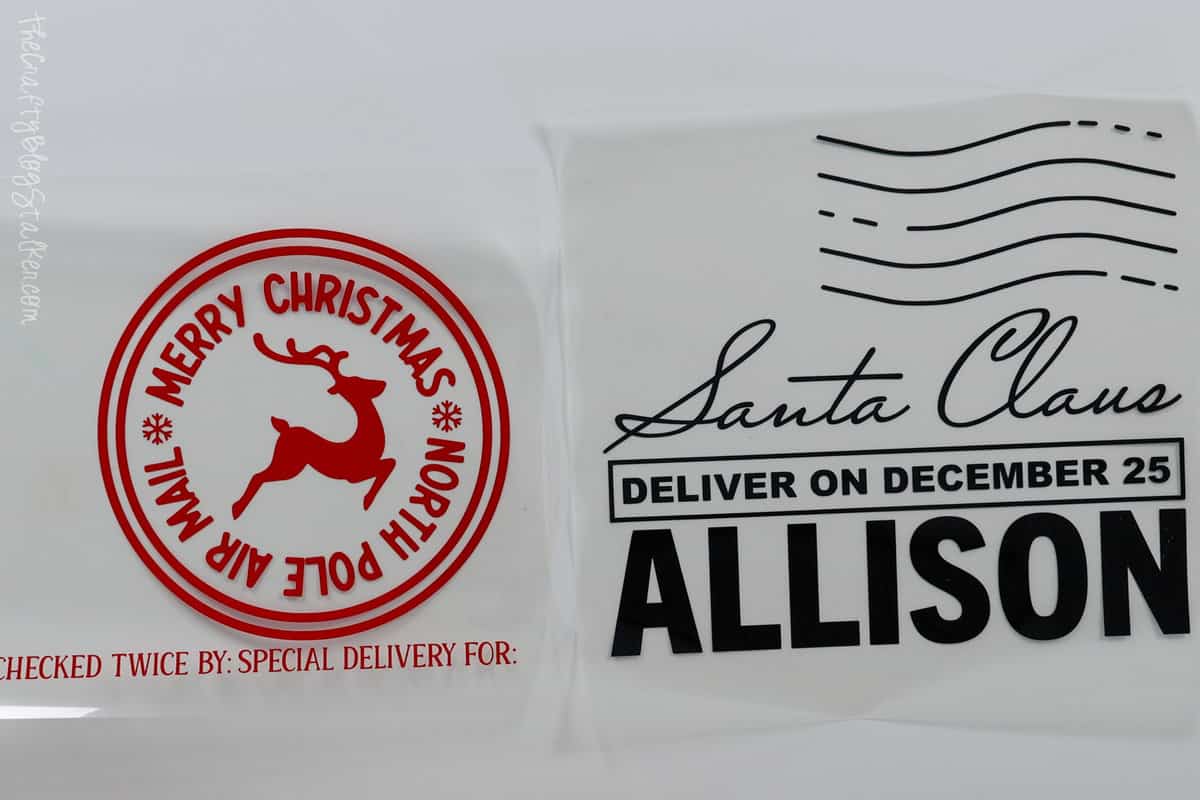
After the design is weeded, cut the different elements apart with a pair of scissors.
Make the Santa Sack:
Iron the bag with the EasyPress to remove any wrinkles.
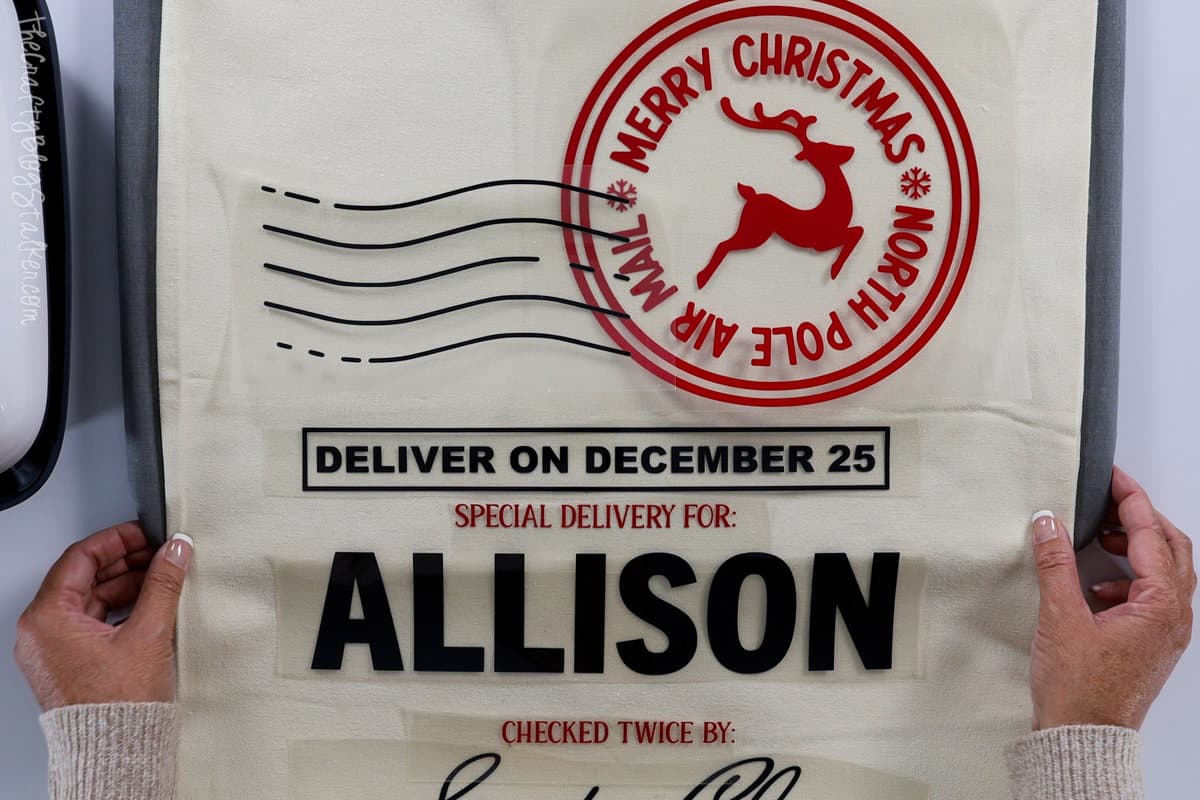
Arrange the pieces on the bag so you can find the right placement for each piece.
Heat the EasyPress to 340º and the timer to 30 seconds.
Since my bag is big, and won't all fit under the press at the same time, I applied each piece, one at a time.
I started at the top and moved down, applying the heat press for 30 seconds, with firm pressure. Then remove the liner when it was cool to the touch.
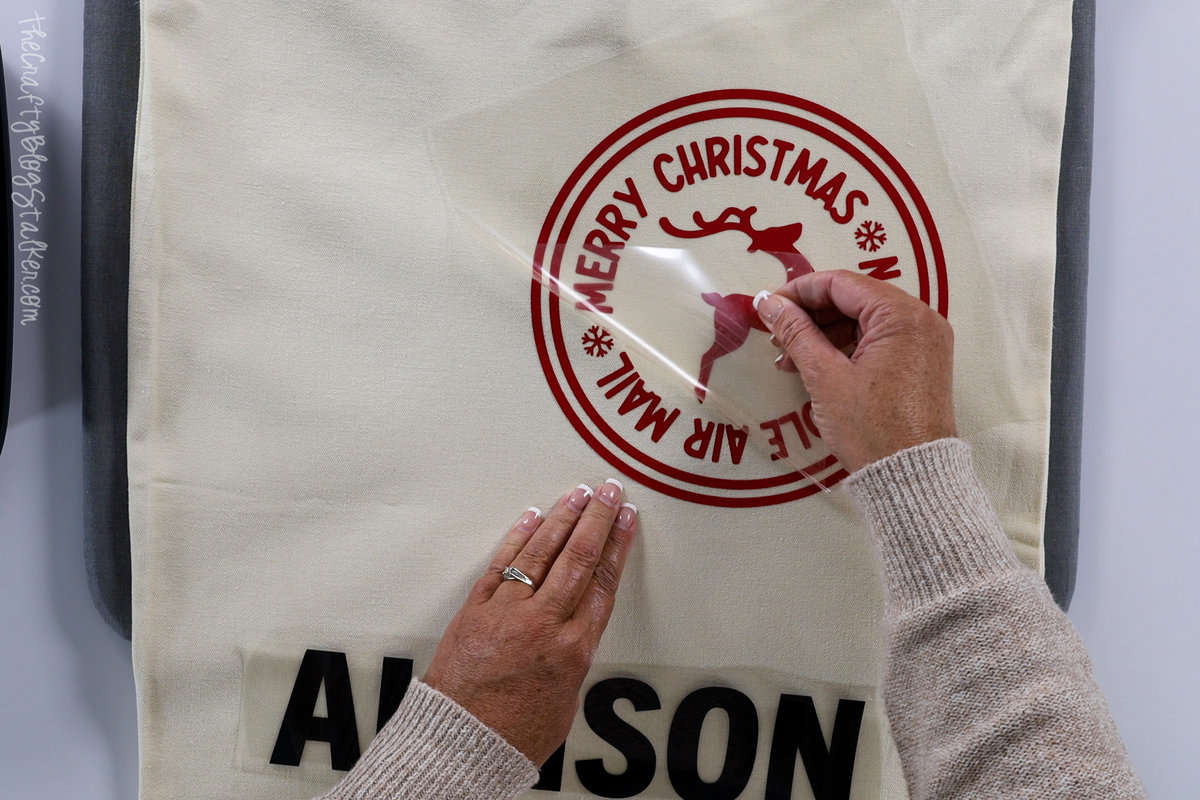
Then I would add the next piece and repeat.
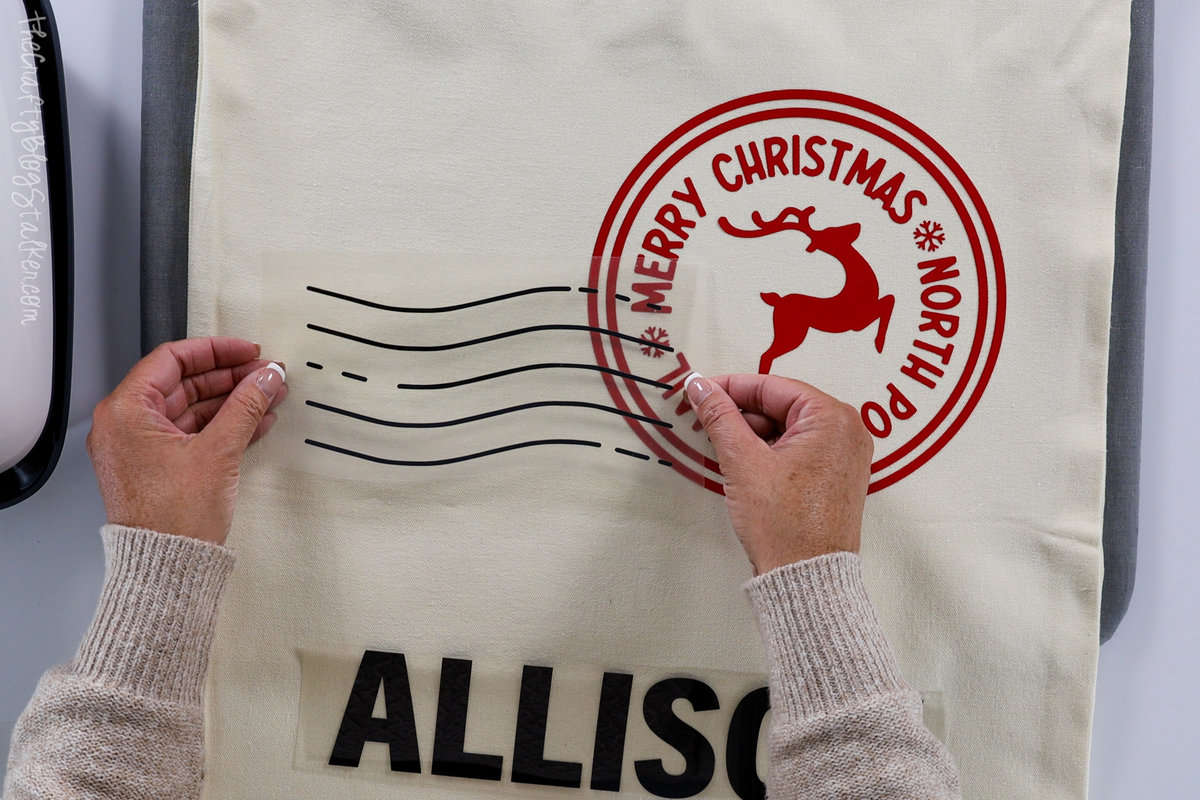
Until the bag was completely finished.
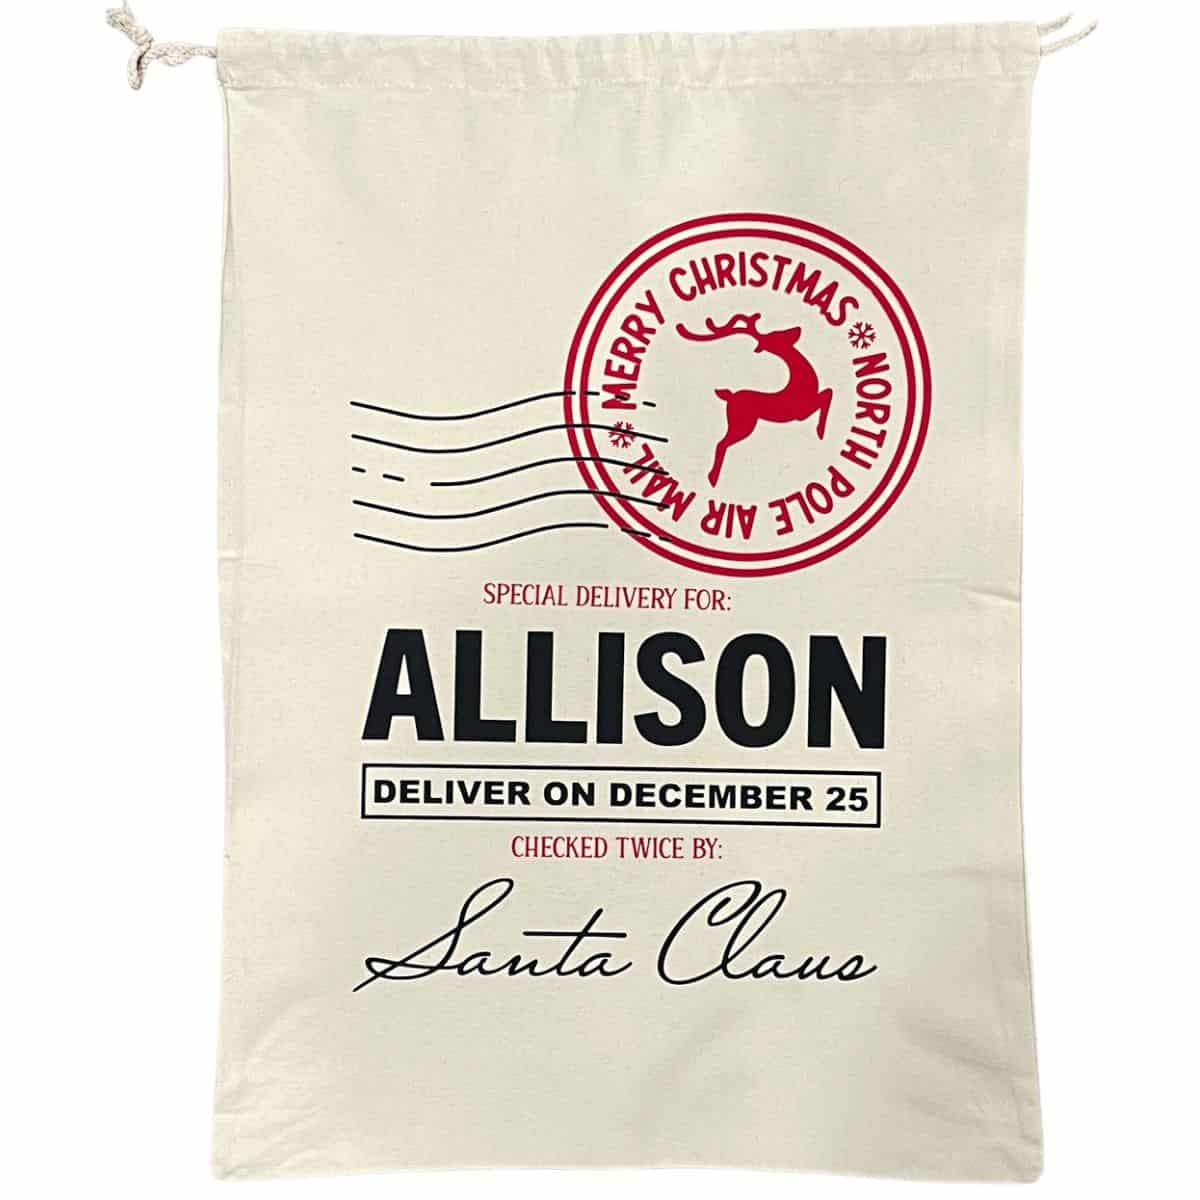
Santa Sack Bundle:
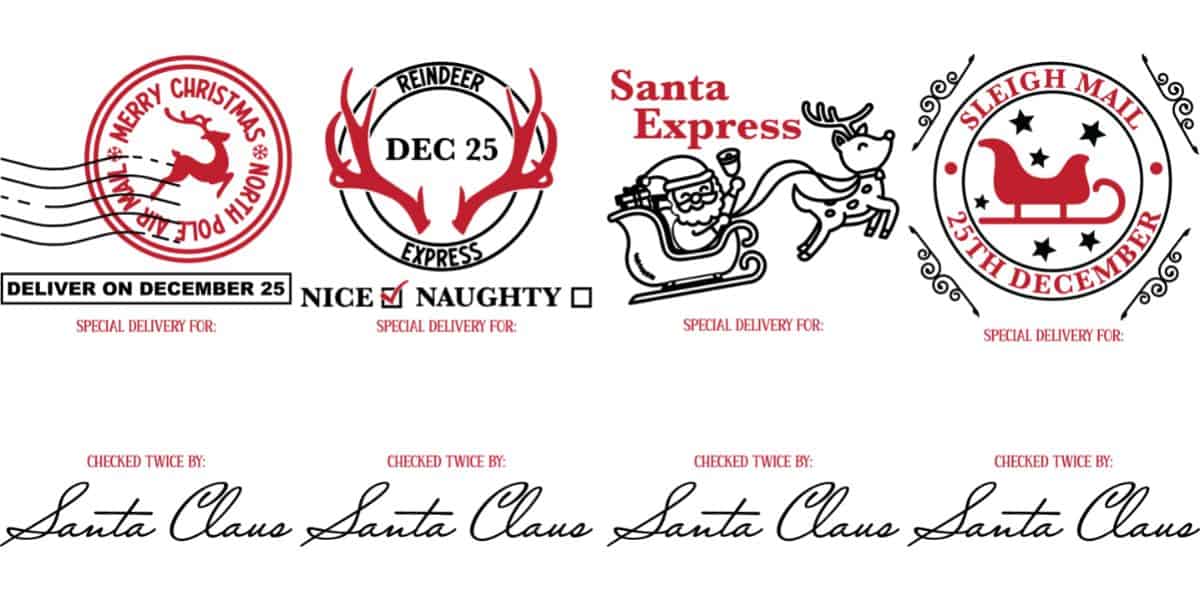
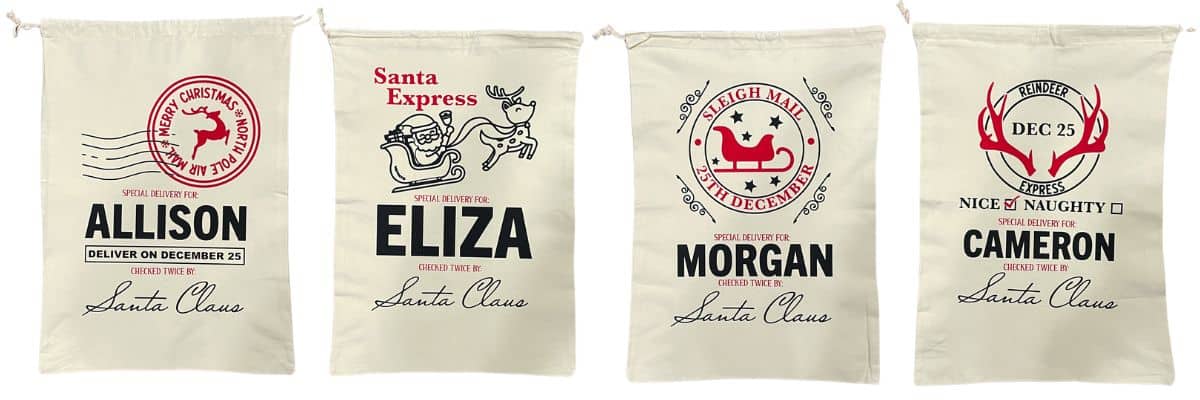
If you have more than one child, I do have a bundle of 4 different Santa Sack SVG files available in my shop.
Our Crafting Essentials:
- The Cricut Cutting Machine is easily our favorite crafting tool. We use it in so many of our tutorials!
- These MakerX Crafting Tools are perfect for keeping in the craft room and are always ready when needed!
- This Fiskars Paper Trimmer is easy to use and cuts nicely without frayed edges.
- These Scotch Precision Scissors cut like a dream, and you get multiple pairs in a pack!










Jeannine Lawless
This is a wonderful idea and the SVGs are great. Thank you so much. I love your designs.
Katie Adams
Thank you so much Jeannine! ❤️