This post may contain affiliate links. For more information, please see our disclosure policy.
A personalized Christmas pillowcase is a fun handmade gift for family and friends. Learn how to make personalized Christmas pillowcases here. If you make a purchase using the links included, we may earn a commission.
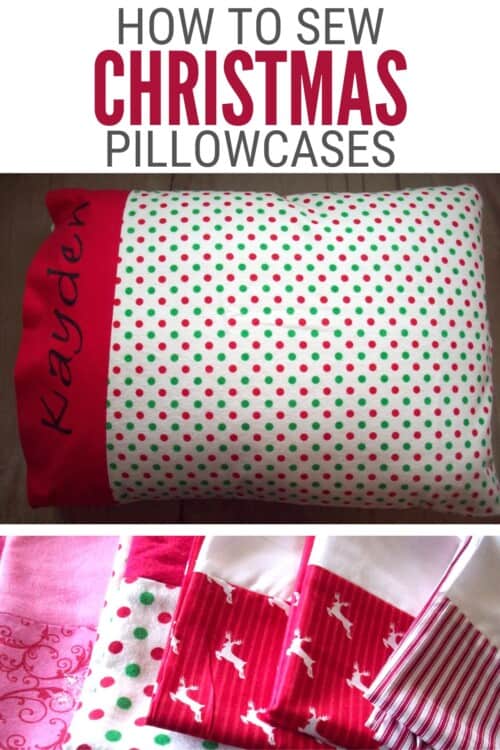
A tradition we have every Christmas is for the entire family to have Christmas pillows on our beds for the whole month of December.
It has been several years since I have made new pillowcases. This time, I thought I would share with you how I make them!
I have to say I really loved how these ones turned out!
More Christmas Craft Tutorials:
Crafting and DIY are what we are all about here at The Crafty Blog Stalker, and we have several tutorials to show you how! Like a Chillin With My Gnomies Pillow Decor, Candy Cane Elves, and these Stylish Felt Christmas Trees.
Be sure to look around the blog for more fun Christmas Craft Tutorials!
Supplies You'll Need to Create this Project:
Personalized Christmas Pillowcases:
I will be 5 pillowcases. 3 for my kids and then 2 matching for hubby and me.
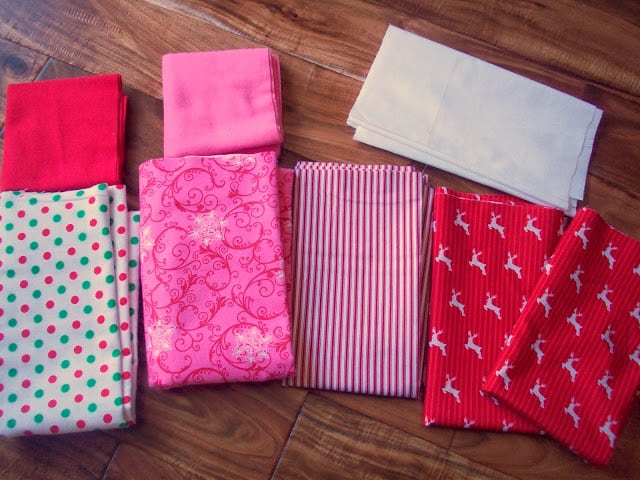
If you are new to sewing, have no fear! Pillowcases have to be the easiest thing ever to make.
I used a pillowcase I already had on hand to use as a pattern. You might want to grab one as well to check your measurements.
The yard of fabric should already be folded in half. will be slightly too long and too wide.
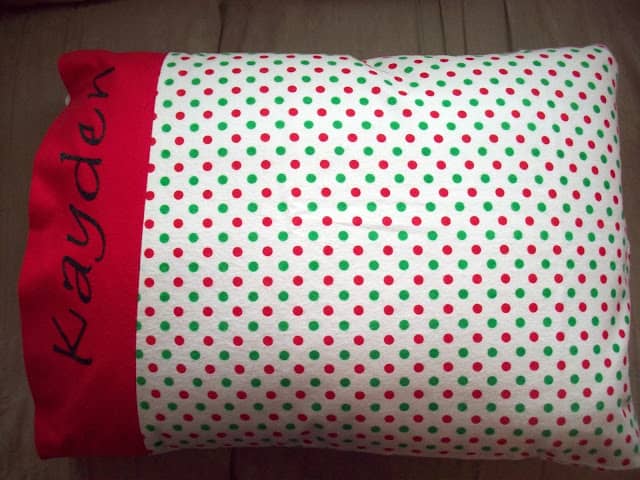
Place your top piece (the red piece in the picture below) along the bottom piece (polka dot fabric in the picture below). Use a regular pillowcase as a pattern to see how long the pillowcase needs to be.
You will need to cut some fabric off the bottom (polka dot) fabric. Knowing where it meets up with the top piece is important. Figure out where they meet then add ⅝ inch for seam allowance and then cut.
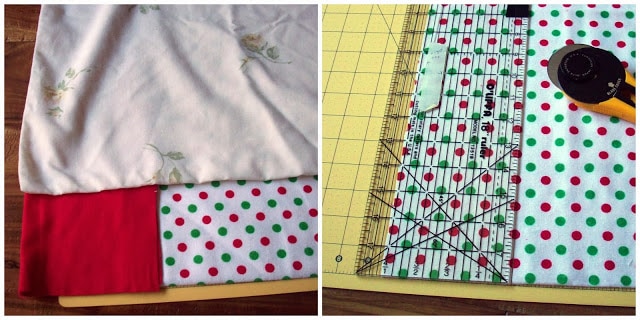
Next, we need to fix the width. Using another pillowcase see how wide the pillowcase should be, add ⅝ inch for seam allowance, and cut.
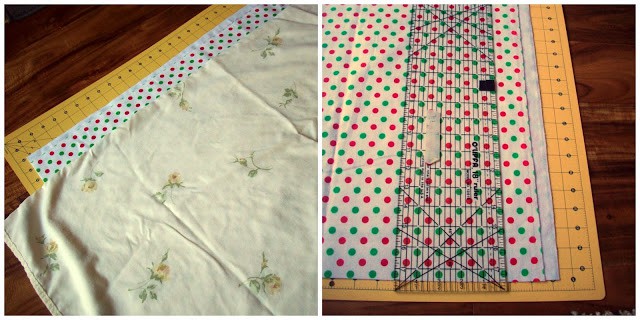
Now that we have the correct width we need to make sure the top piece is the correct width. Place it across the bottom piece and cut the excess fabric off.
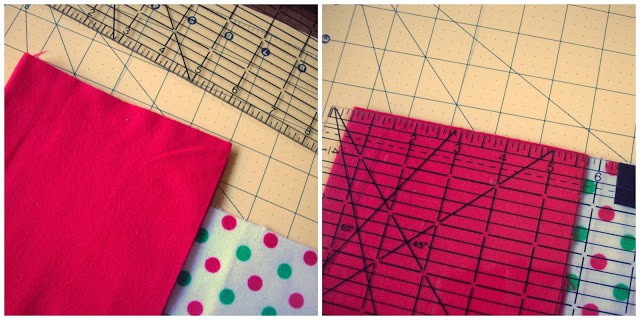
Now everything should be cut - yea!
Unfold the main piece and spread it out. The top piece should be folded in half lengthwise so it has a nice finished top. Put the right sides together, pin, and sew the top piece to the bottom piece.
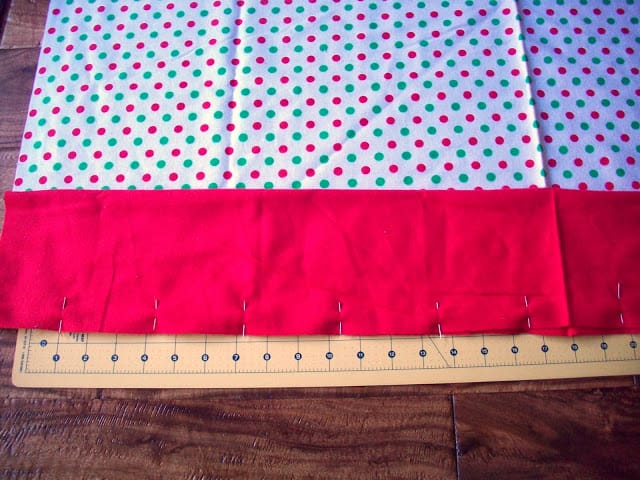
After you have sewn the two pieces together press the seam with a hot iron.
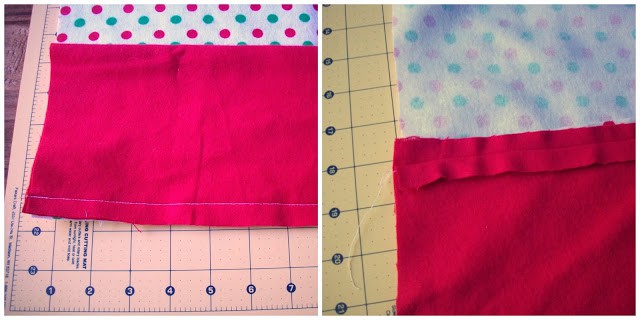
Now fold the entire thing in half, right sides together. Sew the side and bottom.
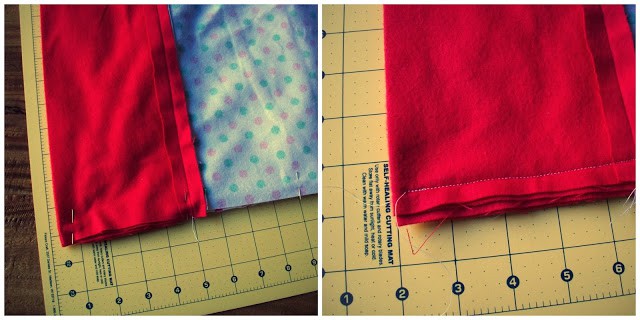
Now all the sewing is done - yea! Turn the fabric right side out and iron.
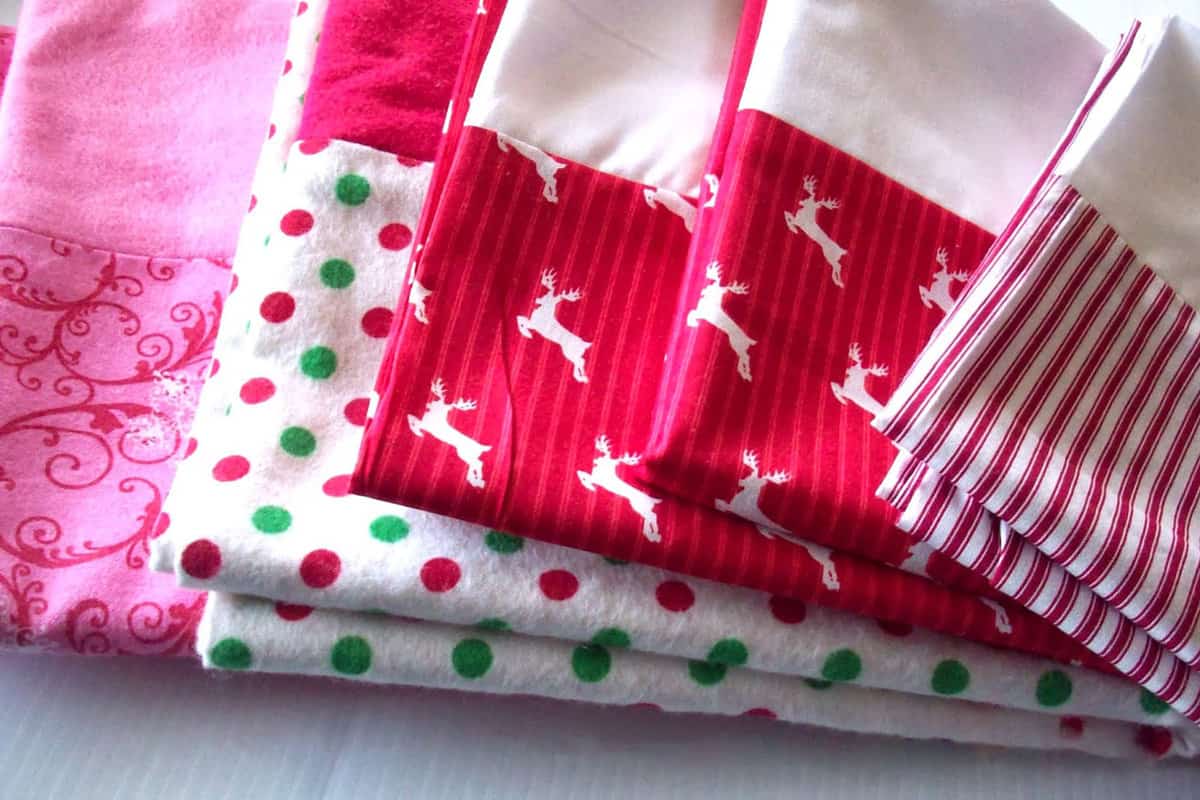
Here are all 5 of my pillowcases.
Our Sewing Essentials List
- The Sewing Machine we use is a Singer Fashion Mate and has been a great machine.
- The Cricut 18" x 24" Self Healing Cutting Mat is my favorite. Beautiful pattern on one side, and measurements on the other.
- This Rotary Cutter cuts easily and is very comfortable to hold.
- And one can never have enough Measuring Tapes! I'm always misplacing mine.









Lindsay
What a fun tradition. Love these pillow cases.
Welcome to Our Story
I really like your pillowcases. I have been searching online for a pillowcase tutorial to make pillowcases for my daughter's birthday this weekend. I'm just not sure how your pillowcases turn out...is the "top piece" on the end that opens? I would love to see a picture of one pillowcase finished and all laid out, instead of folded up. If you have a moment, would you mind sending me a picture at jennywhiting at gmail dot com. Thanks so much!!