

Give the gift of a personalized front door mat using sublimation. Below is the step-by-step tutorial, and a video tutorial.

Do you have a million weddings to attend this summer? Since there were no social gatherings the last year due to covid, the Wedding invitations keep arriving in my mailbox.
Weddings are such a fun time to socialize, have fun, and give amazing gifts!
I really enjoy giving gifts, and what could be better than a Personalized front door mat?
Video Tutorial:
Like videos? I have a video tutorial for you! Please subscribe to my YouTube Channel so you don't miss out on any future video tutorials!
Supplies You'll Need to Create this Project:
This post contains affiliate links.
- Front Door Mat
- Mr. & Mrs. Digital File
- Adobe Illustrator
- Sublimation Printer
- Sublimation Printer Ink
- Sublimation Paper
- Paper Trimmer
- Heat Tape
- Butcher Paper
- Cricut HeatPress
Use code BLOGSTALKER to save 12% on A-Sub Paper at www.koalagp.com
Sublimation Blank Rug:
The door mat we are going to be sublimating on is not from a sublimation blank shop. This mat can actually be found at Home Depot.
The brand is Stylewell and the size is 18 x 30 inches. I have linked to the rug in the product list above if you would like to make sure you purchase the same one. This rug top is 100% polyester so it is perfect for sublimation.
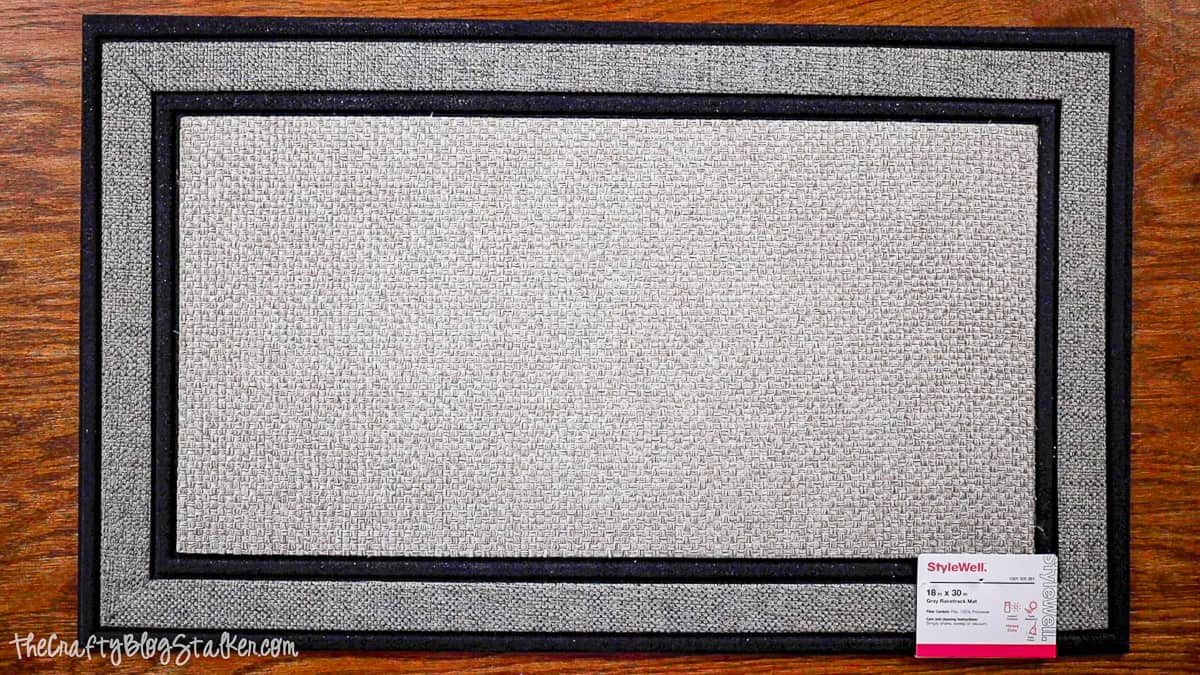
To begin, measure the inside rectangle of the rug. This is the space we want to fill with our sublimation design.
The inside rectangle of my mat measures 24.5 x 12.5 inches.
Adobe Illustrator:
Purchase the Mr. and Mrs. digital file.

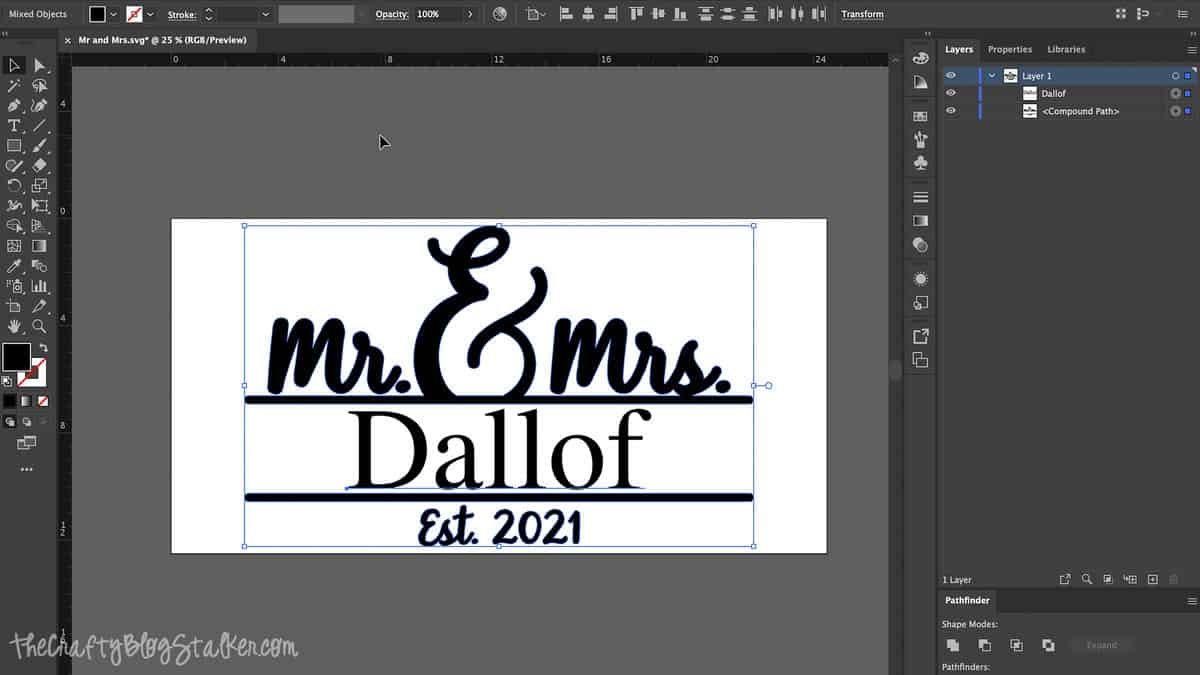
Open Adobe Illustrator, and place the PNG file onto a blank artboard that is sized to the large rectangle of the mat.
*If you are not familiar with Adobe Illustrator, I suggested following the step-by-step video tutorial above so you can watch every step that is made in the program to create and print this design.
Below are the steps in Adobe Illustrator
- Size the PNG File to fill the mat holding the SHIFT key and dragging a corner of the design.
- Center the design vertically and horizontally.
- Add text, which would be the last name in the font of Times New Roman.
- Center the last name text horizontally in the blank section of the design.
- Highlight the design and text and from the Object Menu select Transform, Reflect, and press enter.
- Select Print from the File Menu.
- On Scaling Menu, select Tile Full Pages.
- Change Overlap to .7 inches
- Press the Print button and send it to your Sublimation Printer.
Preparing the Sublimation Print:
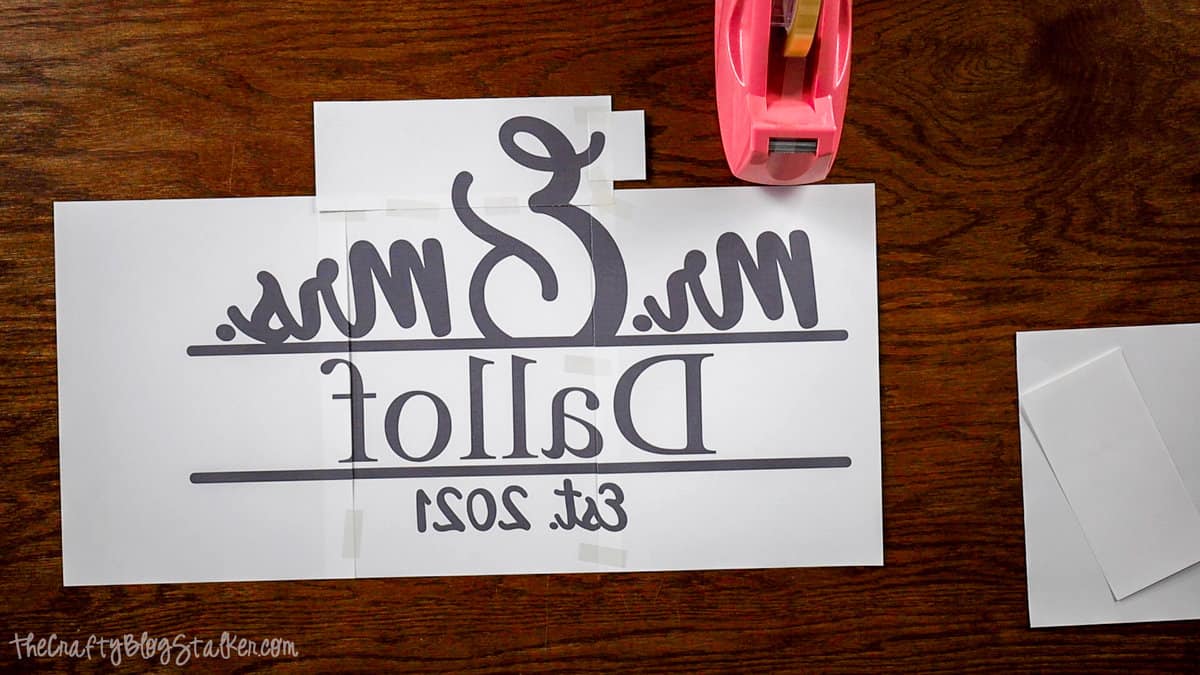
Next, we are going to tape the sheets together to create a larger sublimation print. It is basically putting the sheets together like a puzzle.
Remember, we mirrored the design so it will look a little funny.

Now that the sheets are laid out in the correct order, make note of the pages to trim. For this layout, I leave the center sheet alone and trim the pages that go around it. Trim off the white side so the edge of the paper is right along the print edge.
The page tiles overlap a bit, so find where the design on the two sheets looks seamless and tape the sheet together with heat tape. Make sure to keep inked areas of the design free of tape. The ink won't sublimate through tape.

This is how my pieced sublimation print looks when all of the pieces have been attached.
Sublimation:
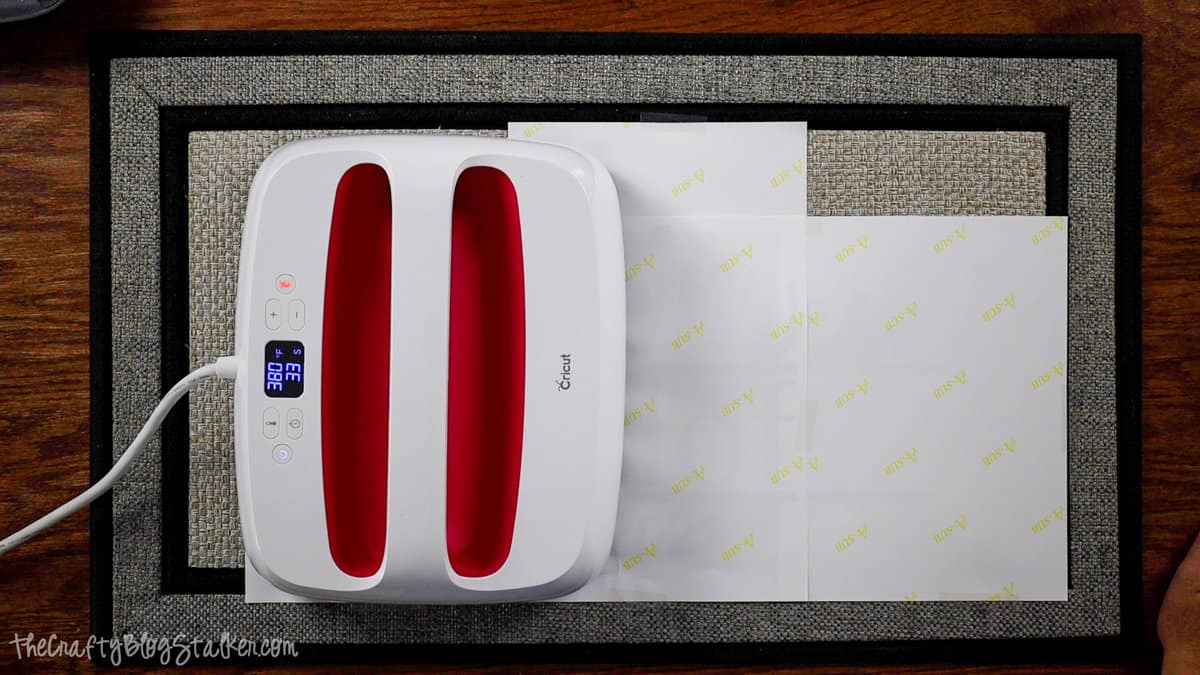
Place the sublimation print face down onto the mat and center. Secure the edges of the print with heat tape. Tape it down well because you don't want it to move.
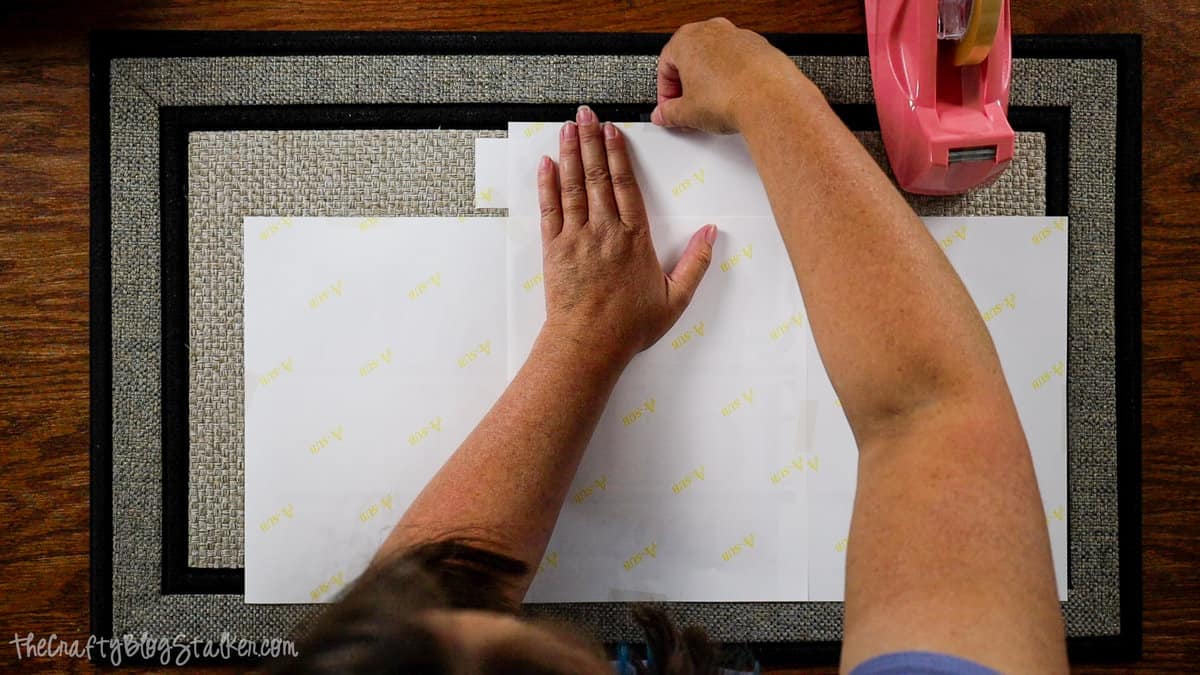
Cover the sublimation print with a piece of butcher paper. I forgot to use the butcher paper so do not follow my example. Butcher paper protect from excess sublimation ink bleeding through and staining your heat-press, so it really is important to use.
Heat the EasyPress to 400 degrees Fahrenheit and 60 Seconds.
Since the design is larger than the heat-press, carefully lift and move the press after each cycle. Repeat until all areas have had the heat press applied.
Let the mat cool completely before removing the print.
As you peel back the paper, you will see the design has infused into that mat, and now everything reads the right way.
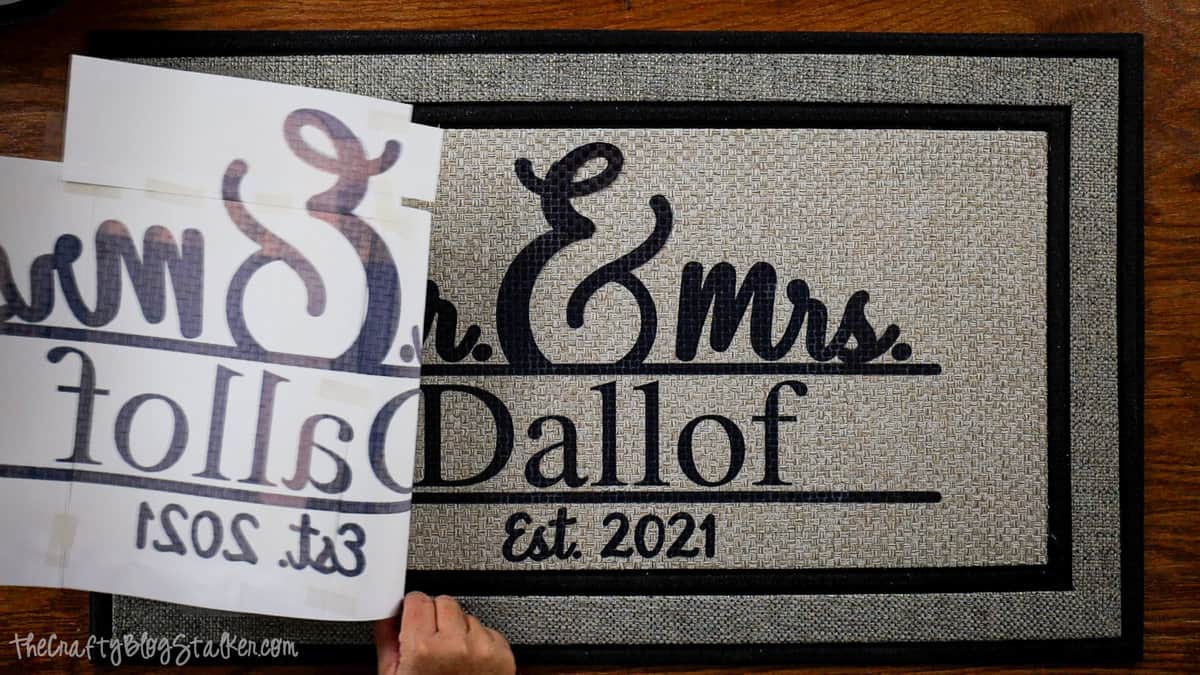
The finished project looks great! I am so excited to give it to the happy couple on their wedding day. What do you think? Will they like it?
Crafting Essentials
- The Cricut Cutting Machine is easily my favorite crafting tool. We use it in so many of our tutorials!
- These MakerX Crafting Tools are perfect for keeping in the craft room and are always ready when needed!
- This Fiskars Paper Trimmer is easy to use and cuts nicely without frayed edges.
- These Scotch Precision Scissors cut like a dream, and you get multiple pairs in a pack!