

Transform your St. Patrick's Day decor and learn how to paint a plaid-patterned Shamrock Door Hanger! Follow our easy tutorial to create this festive piece.

Get ready to add a dash of Irish charm to your doorstep!
In this fun and easy tutorial, we'll guide you through the steps of how to paint a plaid pattern on a shamrock door hanger, perfect for St. Patrick's Day.
Whether you're a seasoned crafter or trying your hand at DIY decor for the first time, this project is sure to bring a festive touch to your home.
So, grab a paintbrush, and let's create a delightful shamrock that'll be the envy of the neighborhood this St. Paddy's Day!
Craft Tutorial Video
If videos are your thing, you're in luck-I've got a full tutorial ready for you!
Subscribe to my YouTube channel and stay inspired with every new project.
Supply List:
Some links may lead to similar items when the exact item is unavailable.
- Shamrock Door Hanger
- White Spray Paint
- Green Acrylic Paint
- Yellow Painters Marker
- Painter's Tape
- Sponge Brush
- Green Ribbon
- Ruler
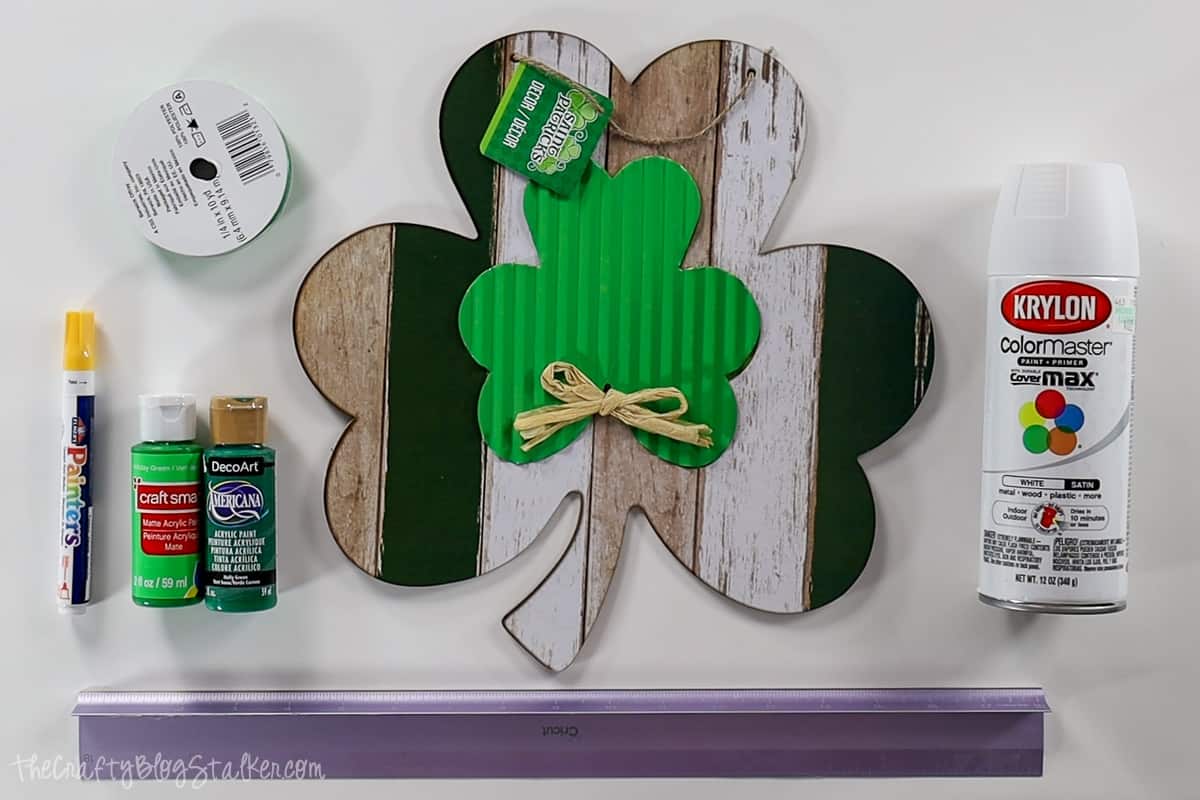
The shamrock shape came from my local Dollar Tree, and I am creating decor for St. Patrick's Day. Feel free to use any shape and paint colors to fit your project.
Prep the Shamrock:
My shamrock shape came with a metal shamrock glued to the center, so my first step was removing the metal piece.
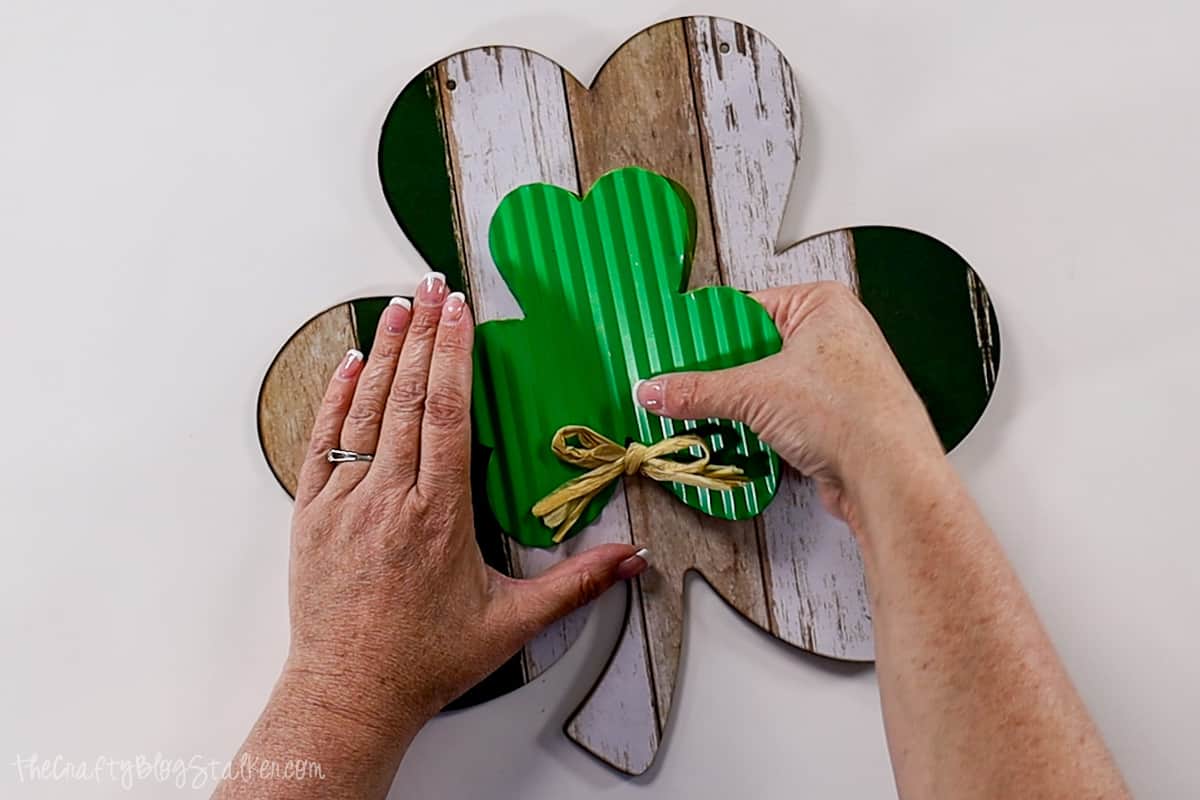
If starting with a new wood blank, lucky for you, there is nothing to remove!
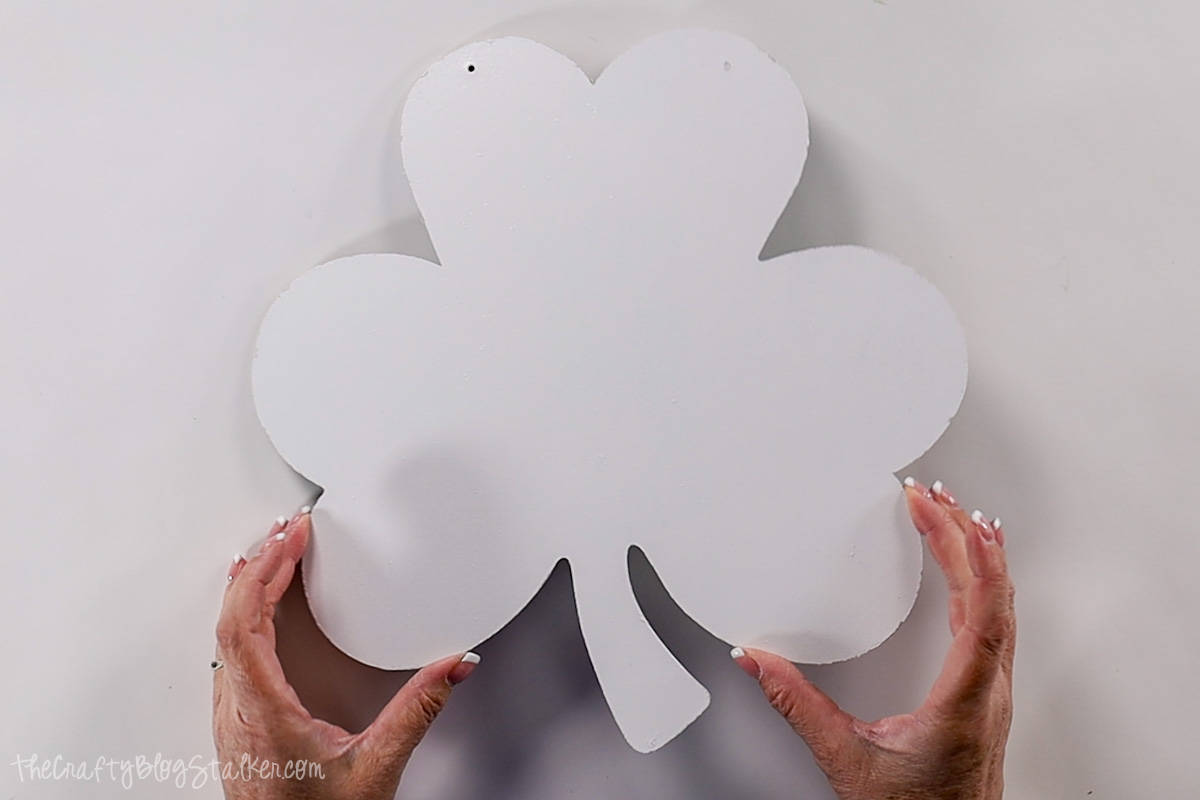
Spray paint the shamrock with several coats of white paint.
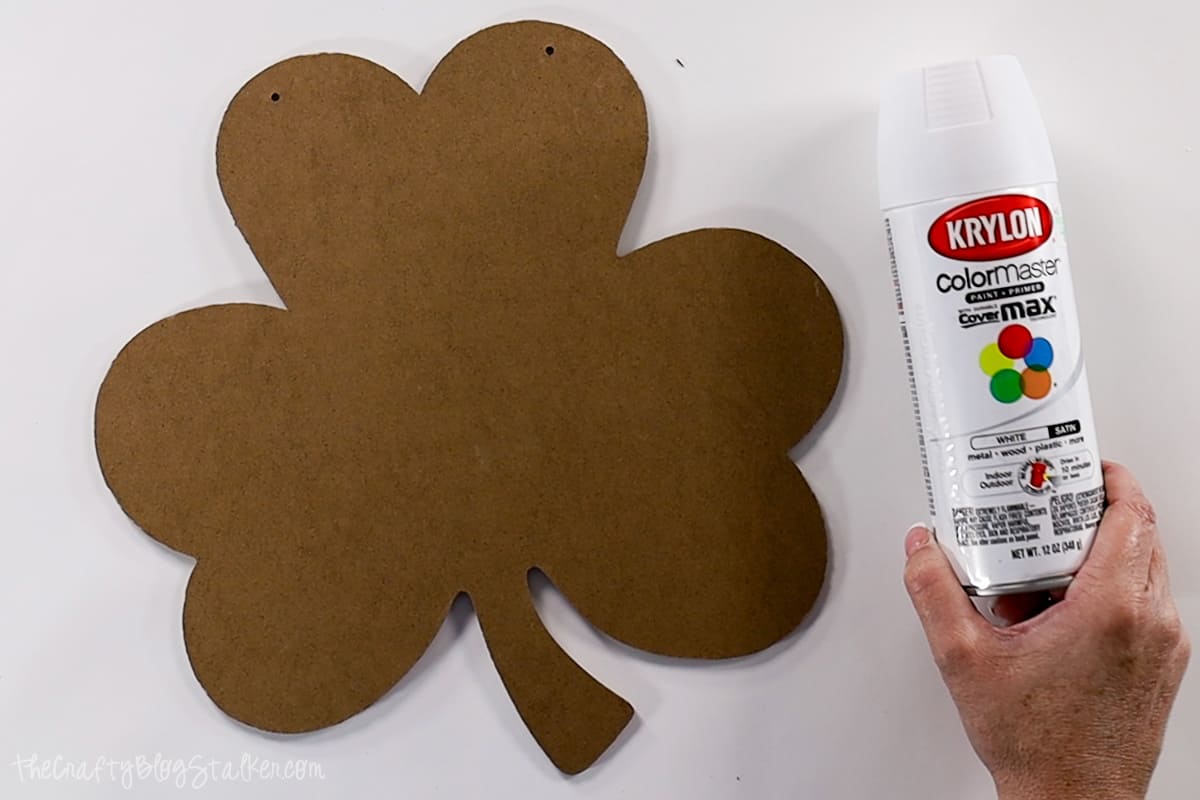
I painted the back side with the base color so I didn't have to cover up the original design.
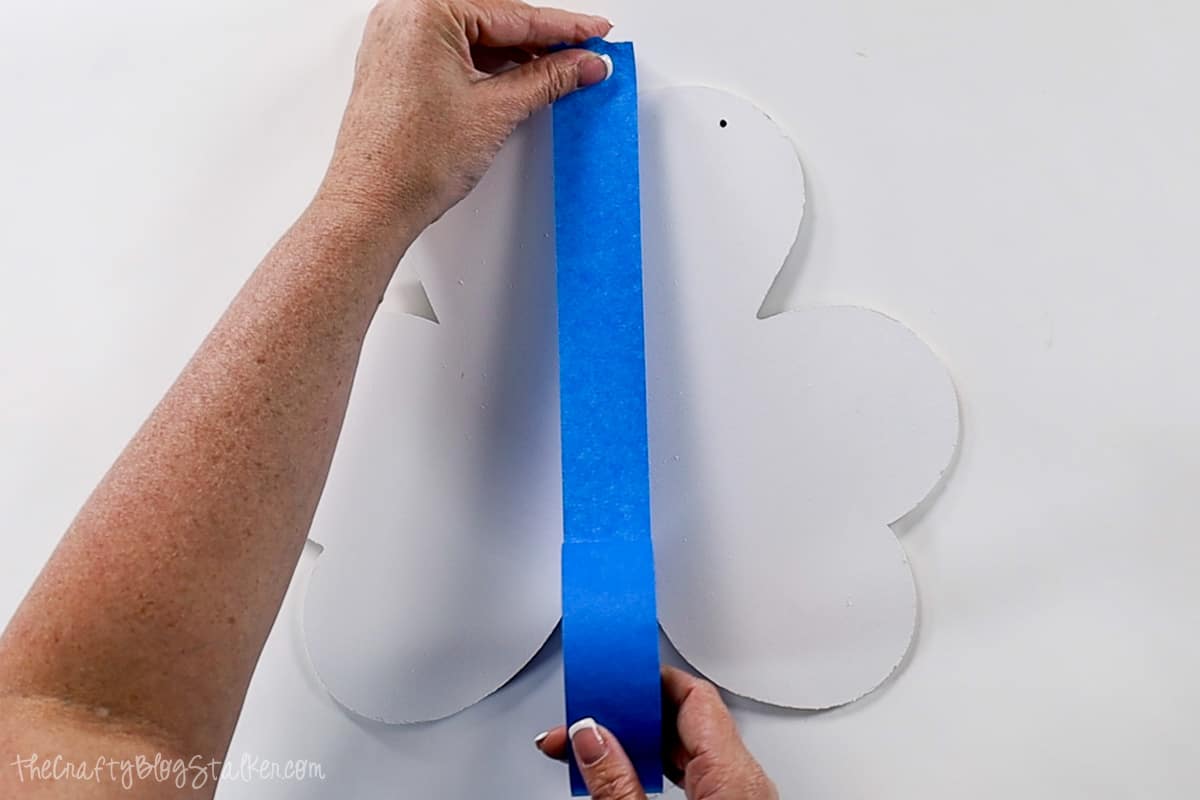
Tape:
To create the plaid pattern we are basically going to paint stripes in both directions.
The painter's tape I used has a width of 1.5 inches, but of course, you can use any width.
Apply the first piece of tape down the center of the board.
To keep the vertical stripes even, lay a short piece of tape right next to the first.
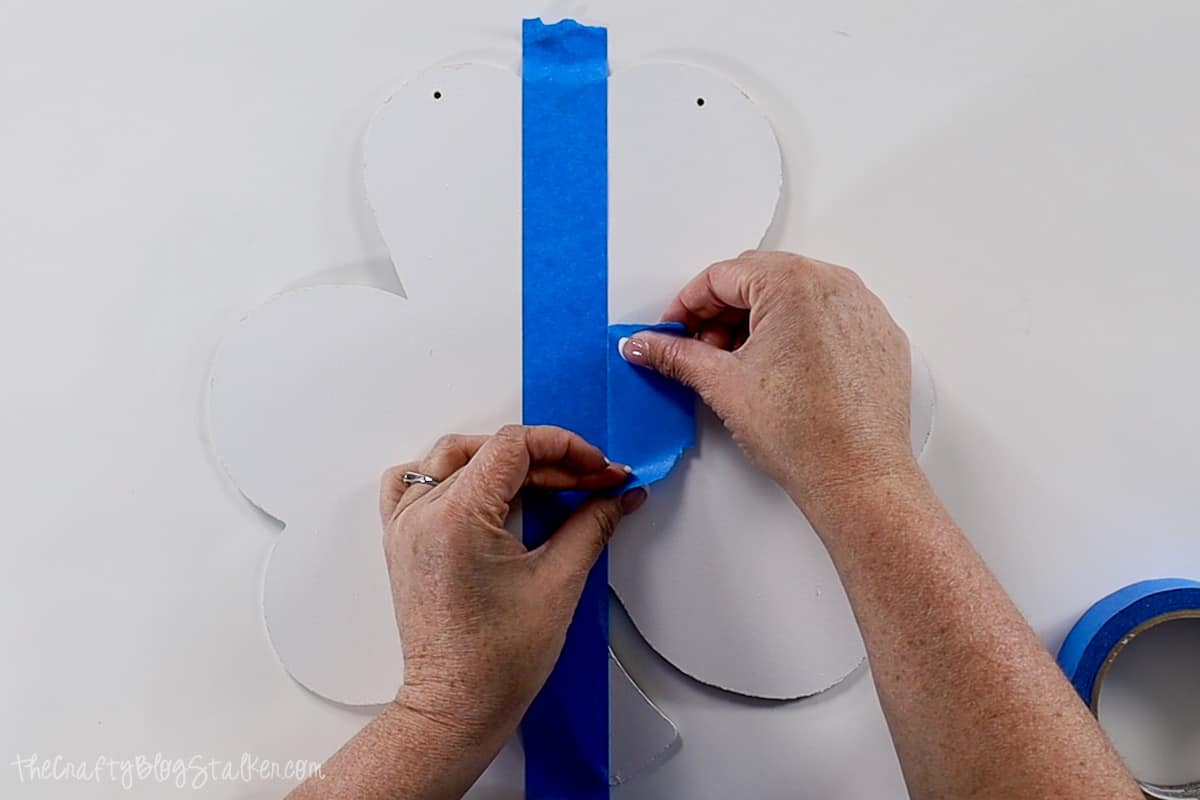
Then lay the next strip of painter's tape.
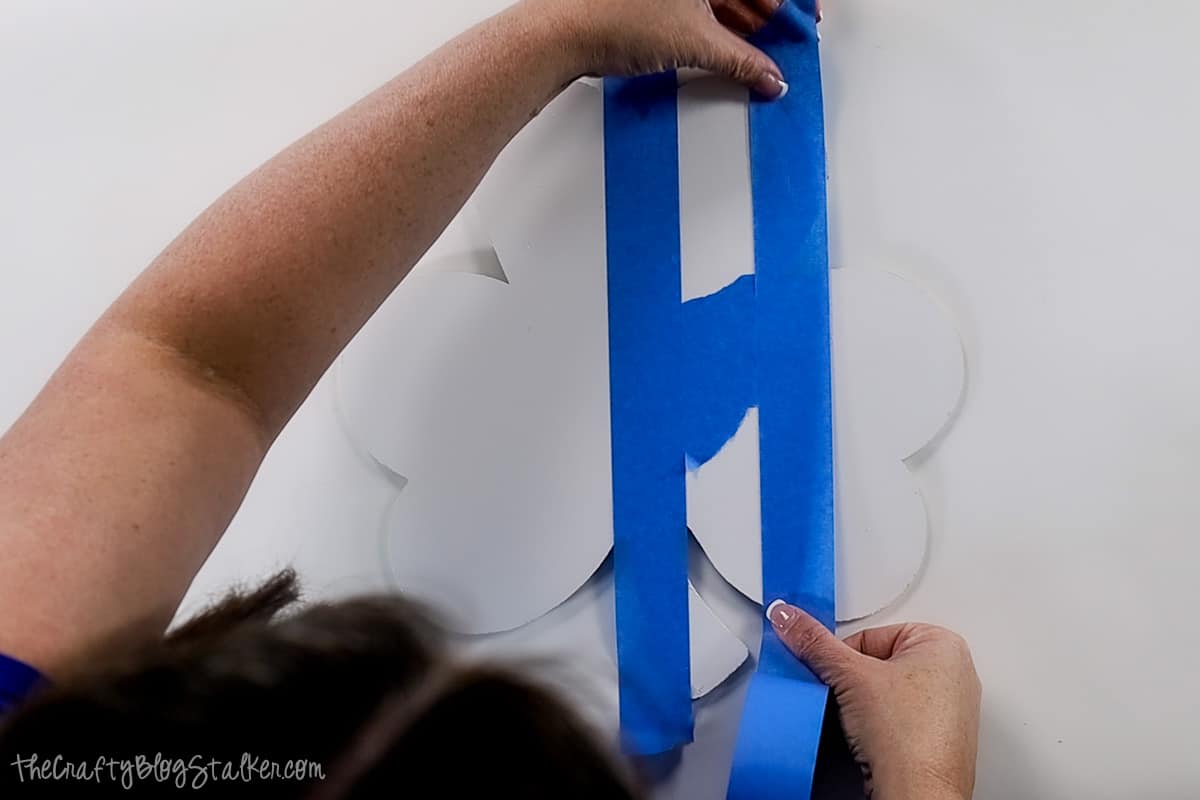
Repeat the entire width of the shamrock.

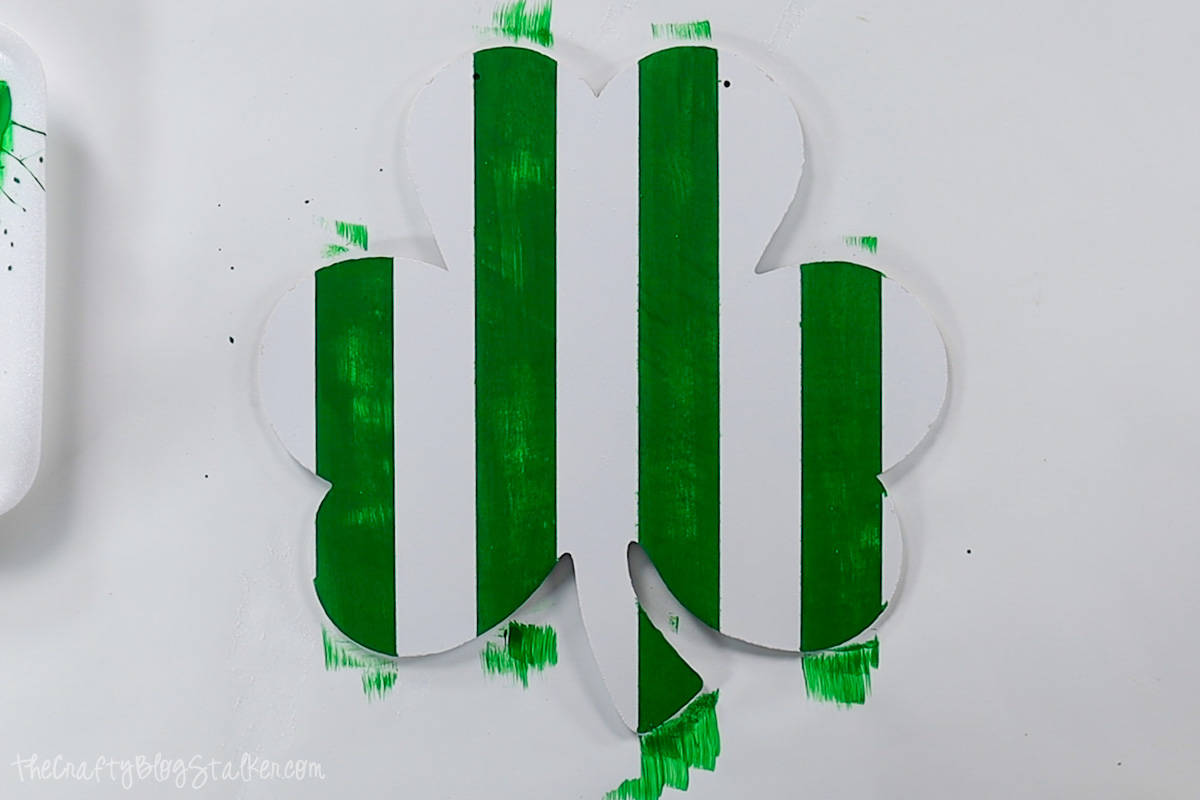
Paint:
When painting, I used a sponge brush, but a paint brush will work just as well.
Apply two coats of green paint to the exposed areas of the shamrock.
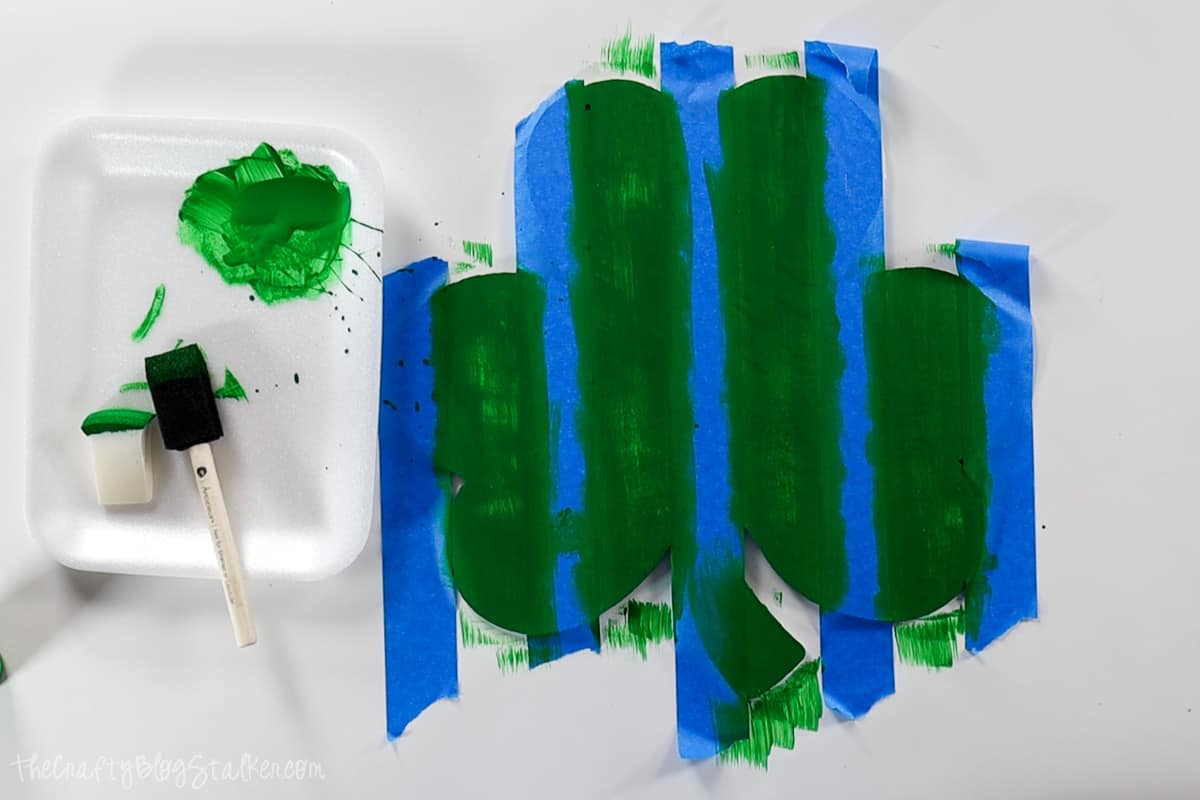
Let the paint dry completely before removing the painter's tape.
Tape:
Repeat the same steps as above, but this time we are making horizontal stripes.
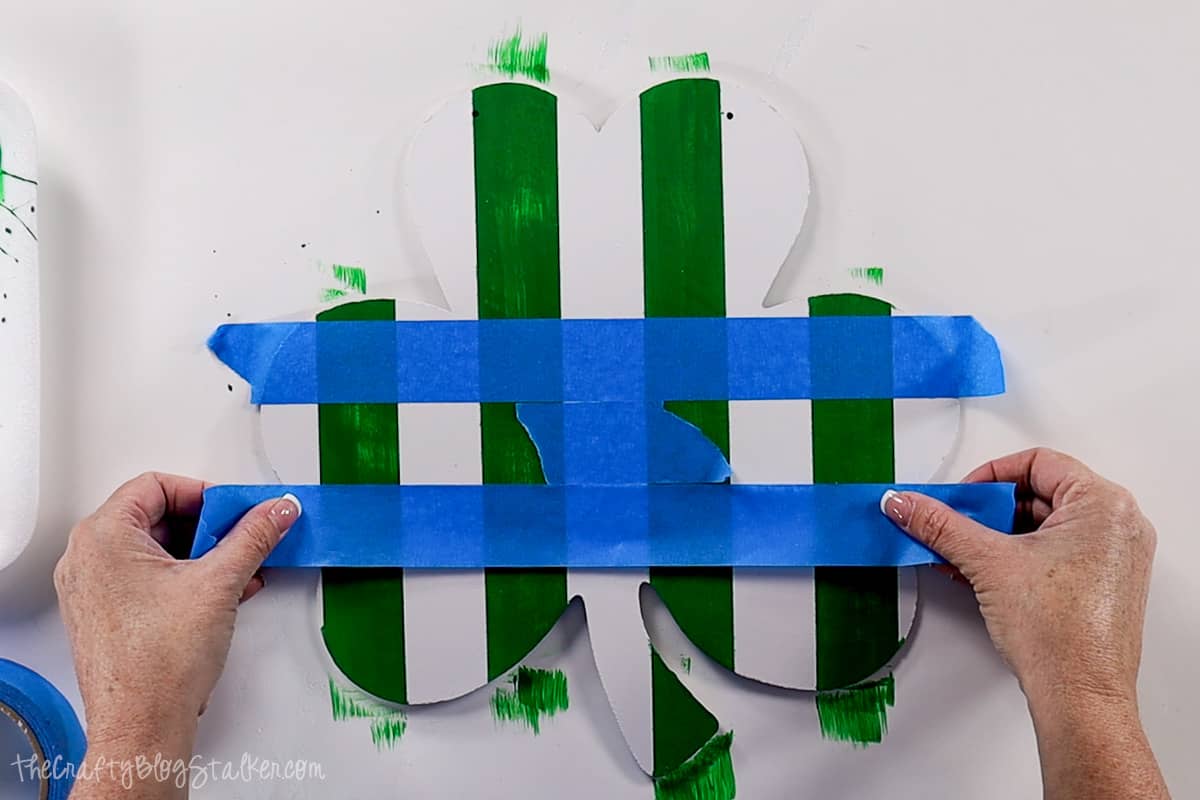
Paint:
Paint the exposed areas of the shamrock with the same green paint.

Let the paint dry completely before removing the horizontal lines of the painter's tape. As you pull up the tape you can see the buffalo plaid pattern.
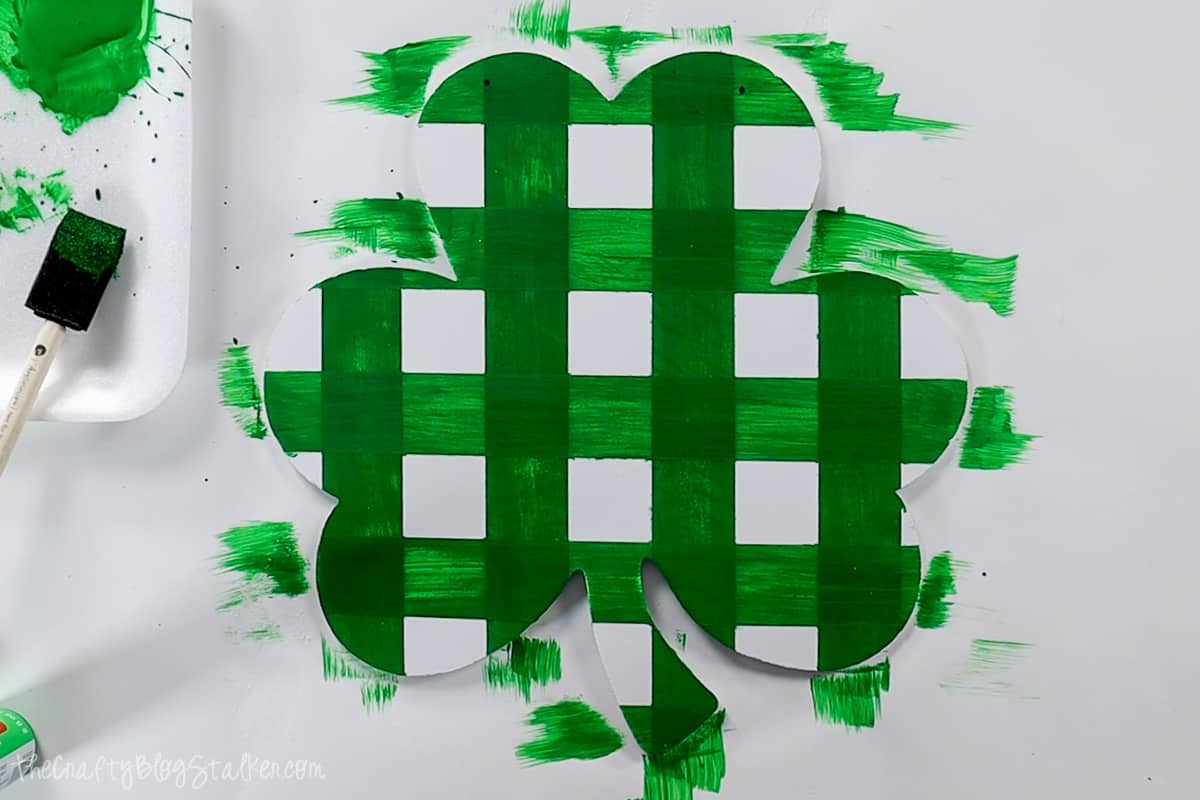
It looks so cool already, but we have another step before the plaid pattern is completed.
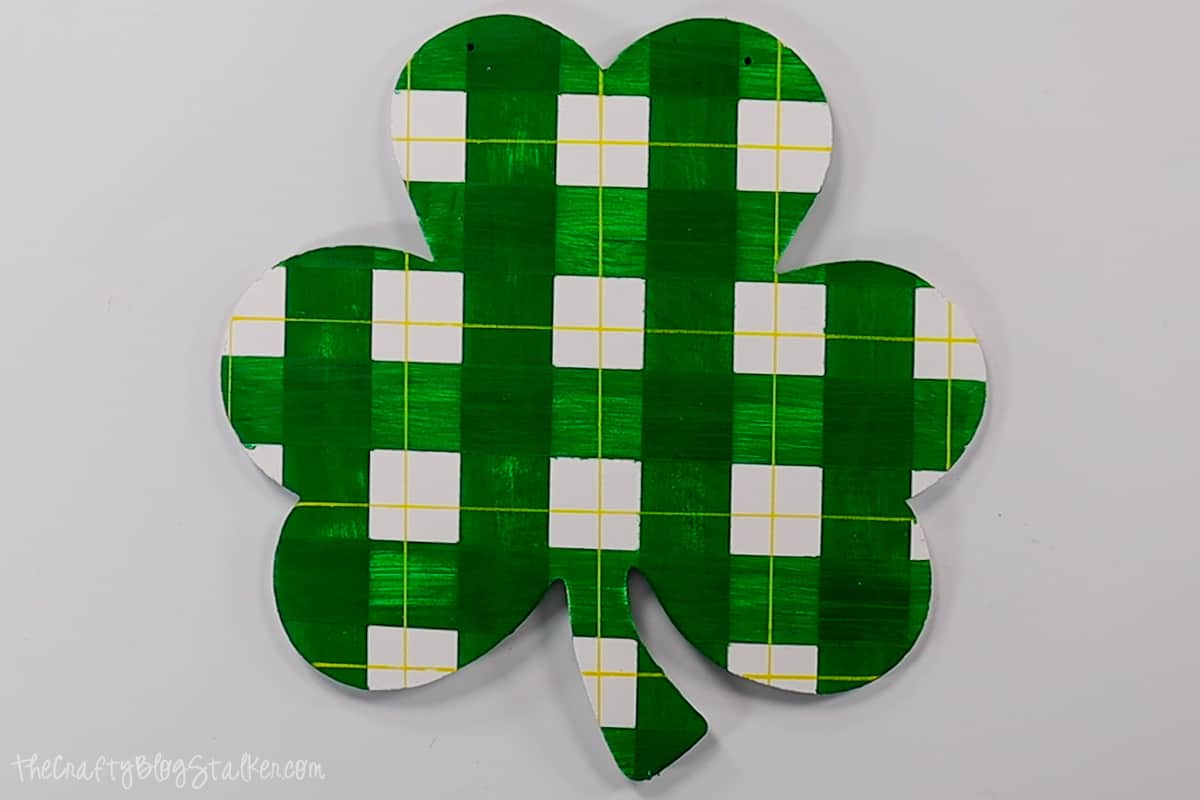
Marker:
Take a yellow paint marker, and a ruler to add thin yellow stripes.
I chose to have the yellow straight line go through the open squares of white in both directions.
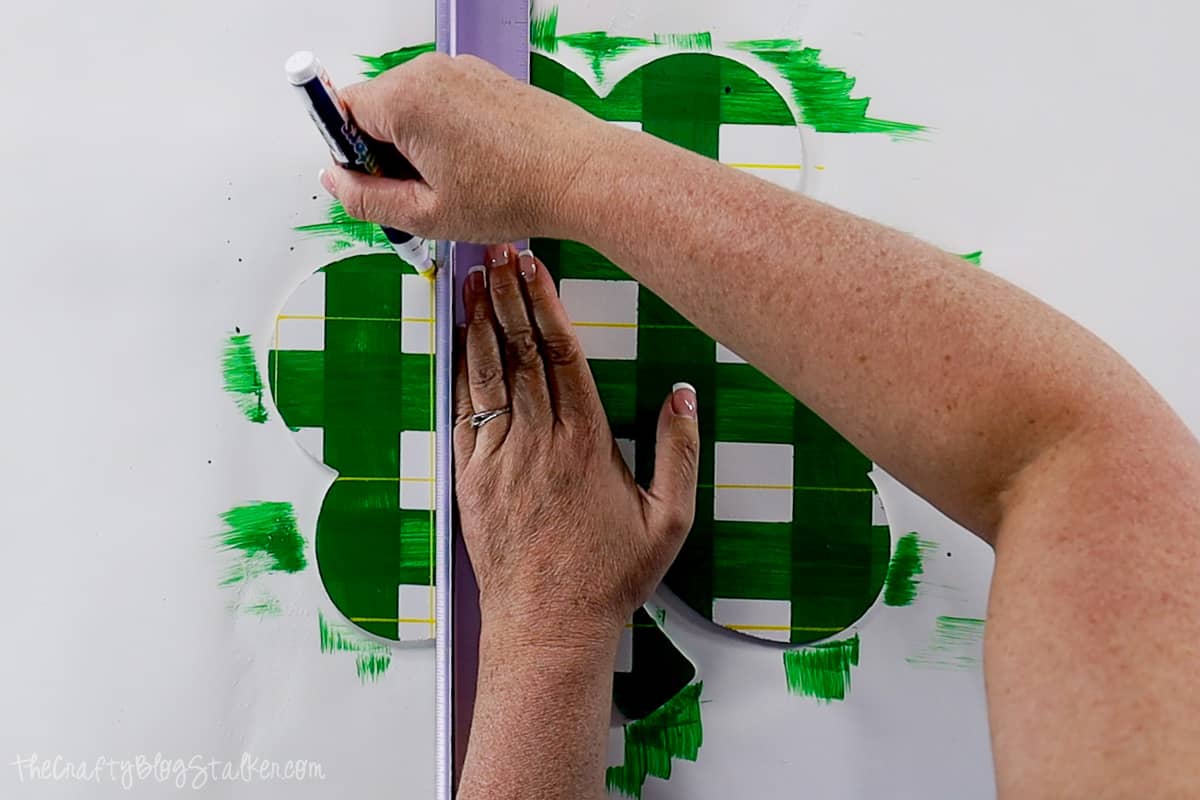
The buffalo check plaid pattern is now complete, isn't it pretty?
Ribbon Hanger:
Since there are already holes in my shamrock to hang it, there is no need to drill holes.
If your shamrock doesn't have holes, you can simply use a hot glue gun to adhere the ribbon to the back.
Cut a length of ribbon, longer than you'll need it. Mine was about 10 inches long.
To poke the ribbon through the holes easier, tightly wrap some tape around one of the ends of the length of the ribbon.
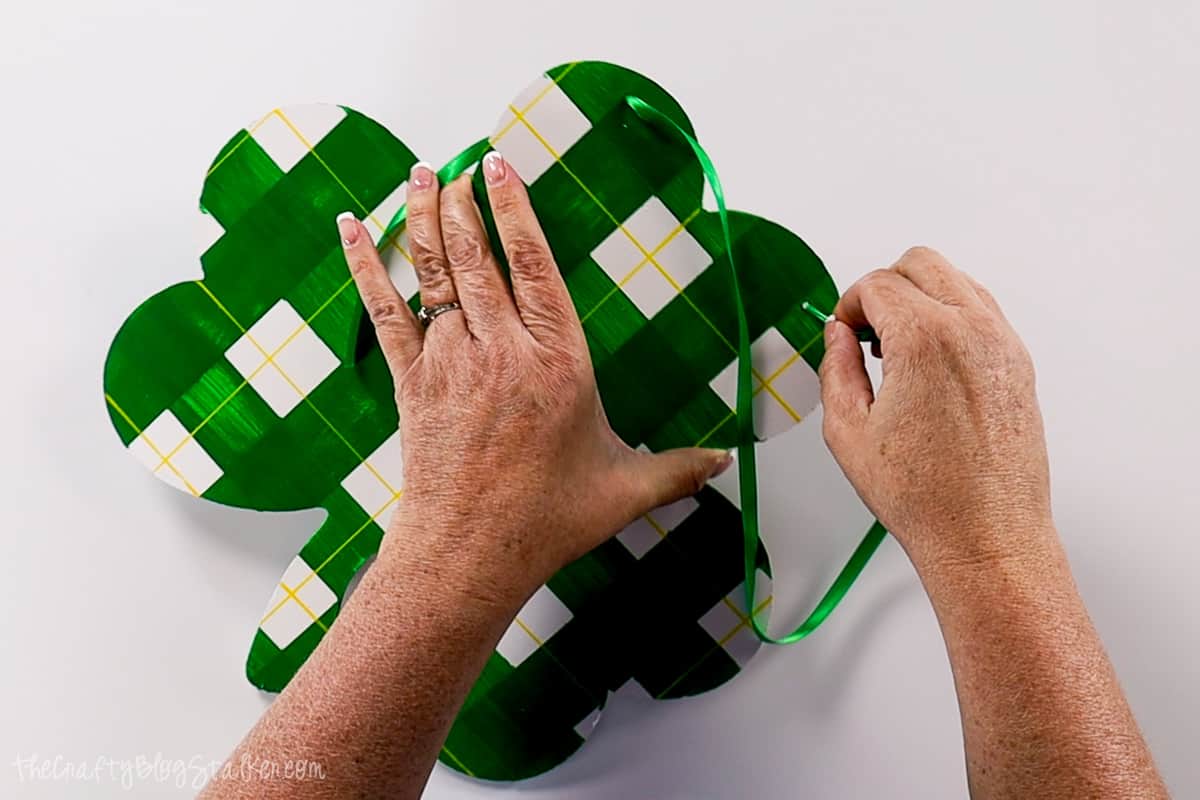
At the back of the shamrock, tie double or triple knots, large enough that they won't be pulled through the holes.

All that's left is to hang your new shamrock decor on your front door! I love how it looks!
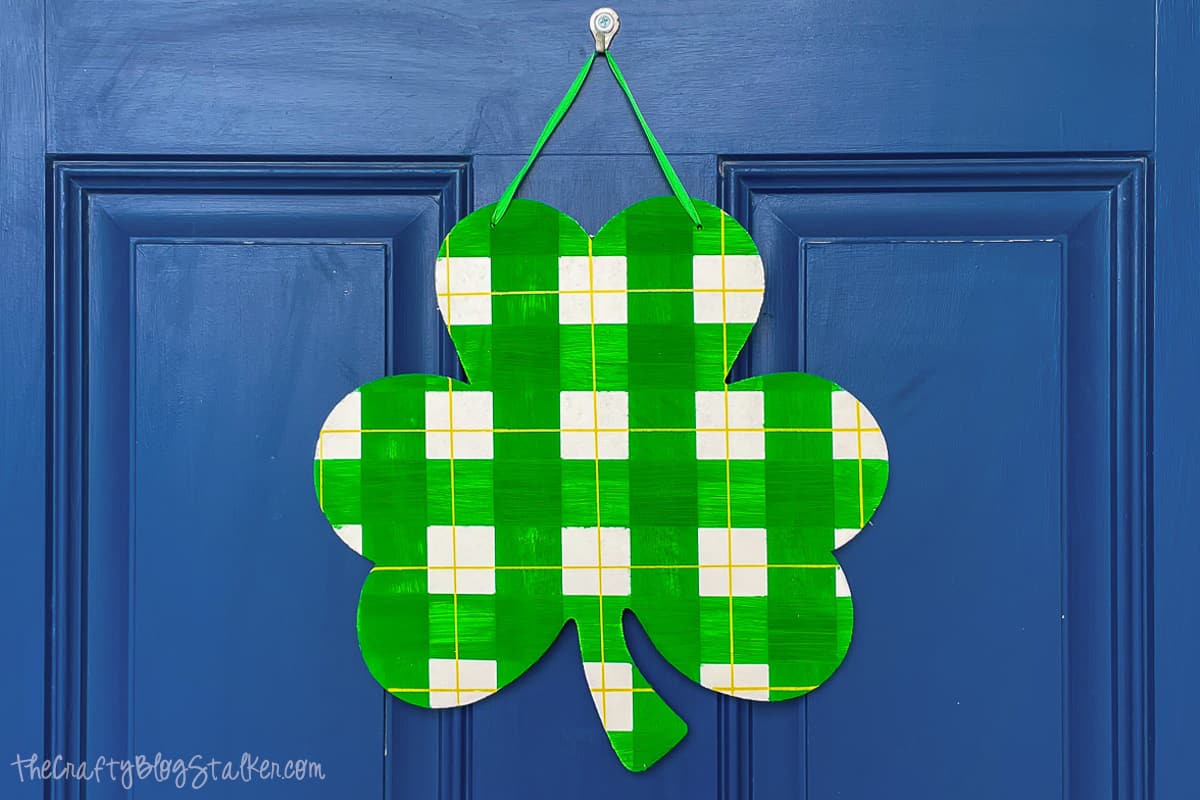
And there you have it! Your very own plaid shamrock door hanger is now ready to add a touch of St. Patrick's Day charm to your home.
Crafting Essentials
- The Cricut Cutting Machine is easily my favorite crafting tool. We use it in so many of our tutorials!
- These MakerX Crafting Tools are perfect for keeping in the craft room and are always ready when needed!
- This Fiskars Paper Trimmer is easy to use and cuts nicely without frayed edges.
- These Scotch Precision Scissors cut like a dream, and you get multiple pairs in a pack!