This post may contain affiliate links. For more information, please see our disclosure policy.
Create a colorful layered door hanger from a single-color design and make a cheerful door hanger that will make you smile each time you use your door. If you make a purchase using any affiliate links below, we may earn a commission.
Are you looking to add a pop of color and personality to your home decor?
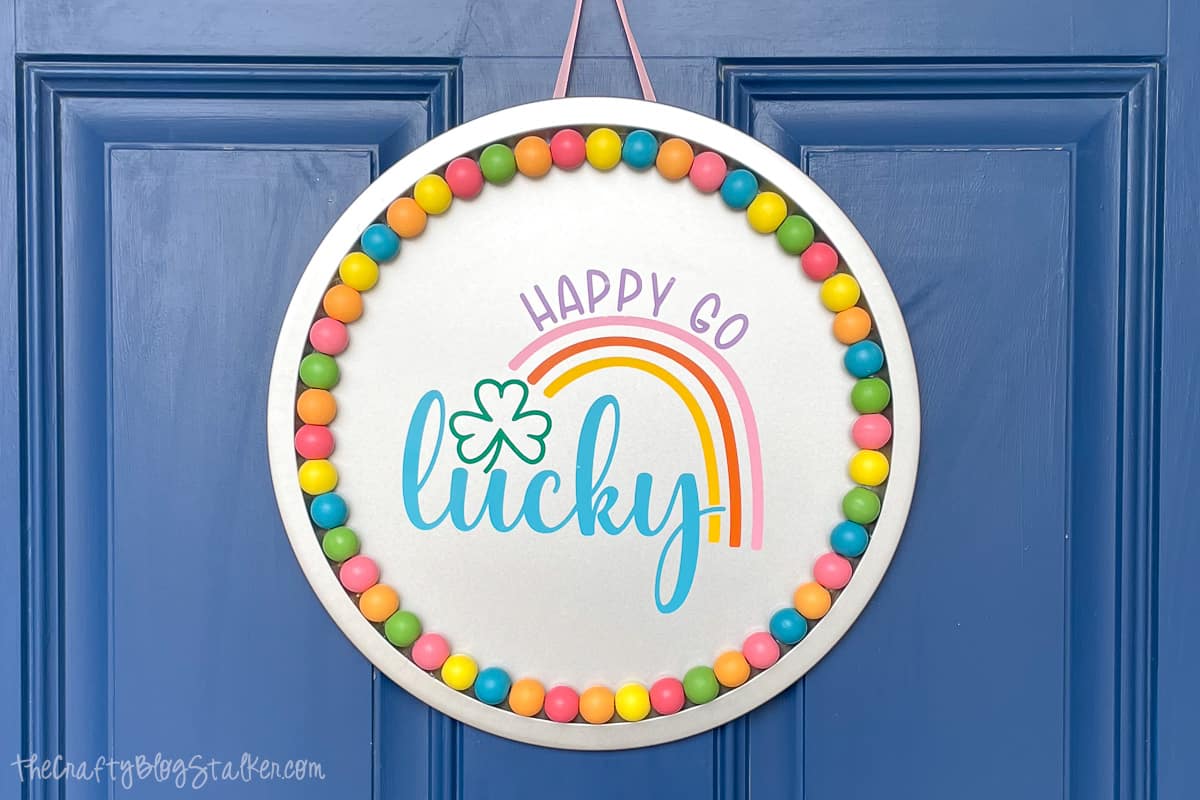
A DIY door hanger is a perfect way to do just that, and with this tutorial, you'll learn how to make a round, "Happy-Go-Lucky" door hanger that will brighten up your space and make you smile every time you see it.
Whether you're a seasoned crafter or just starting out, this project is easy to follow and customizable to your own style preferences.
So let's get started and create a fun and festive door hanger that will welcome you and your guests with a smile.
Craft Video Tutorial:
Like videos? I have a video tutorial for you! Subscribe to my YouTube Channel so you don't miss any future videos!
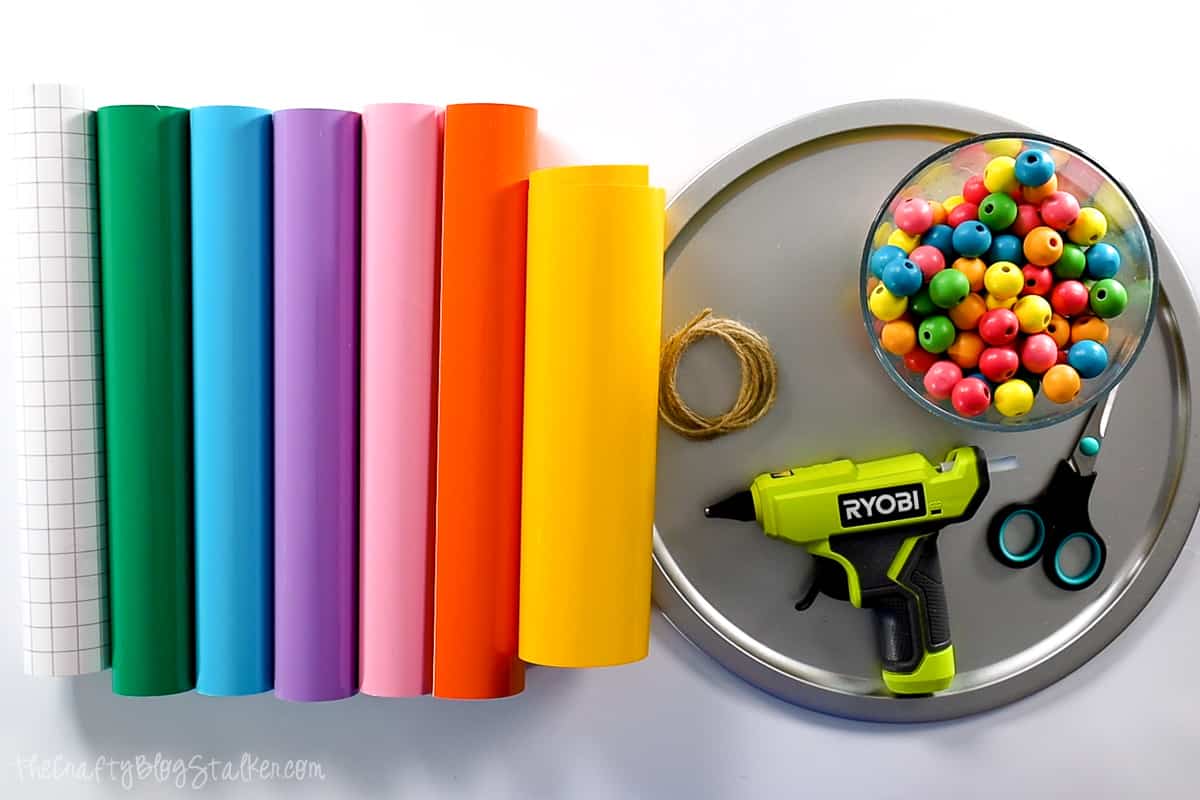
Grab the Happy Go Lucky SVG Cut File:
The first thing to do is to grab the Free SVG File.

Change a Design to a Multi-Colored Layered Design:
Upload the file into your design software.
I use Cricut Design Space and the next several steps will be based on that.
If you use Silhouette Studio or a different design software, your steps may be different.
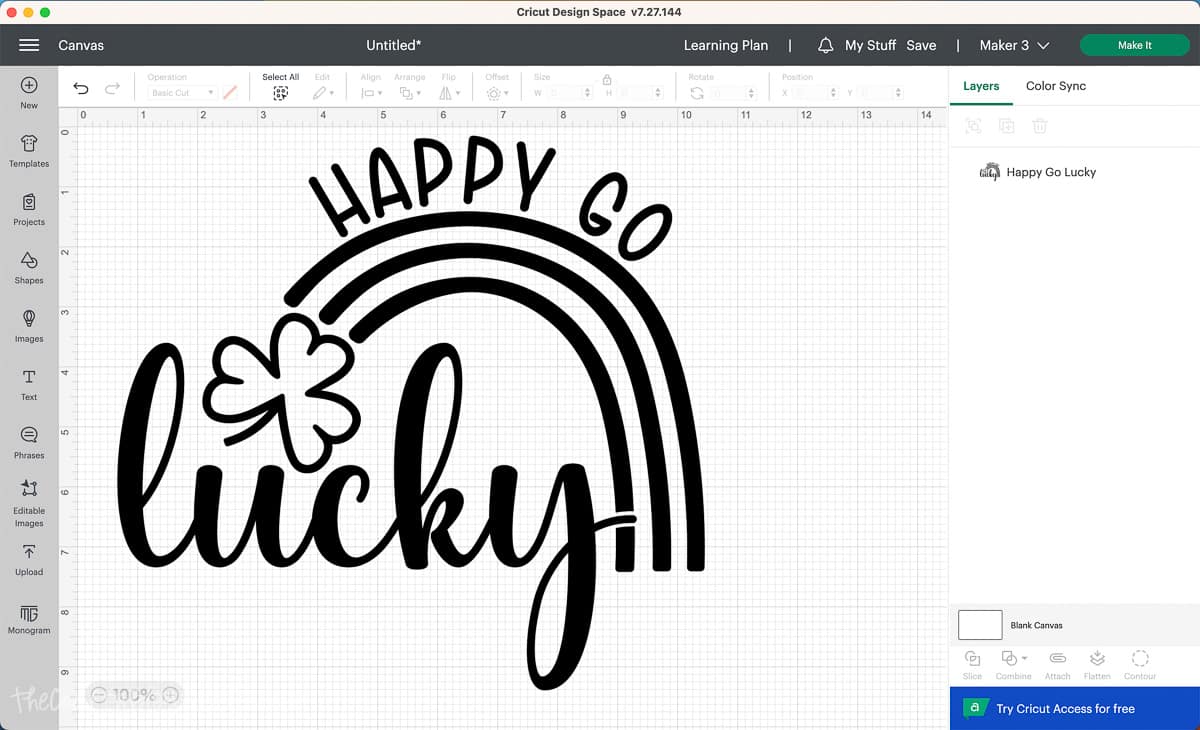
I want to change this design into a 6-color layered design.
To start, make six copies by copying the design and pasting it five times.
Highlight all cut files and center align. It will look like you have a single design on your screen, but if you look in the layers panel you can see all 6.
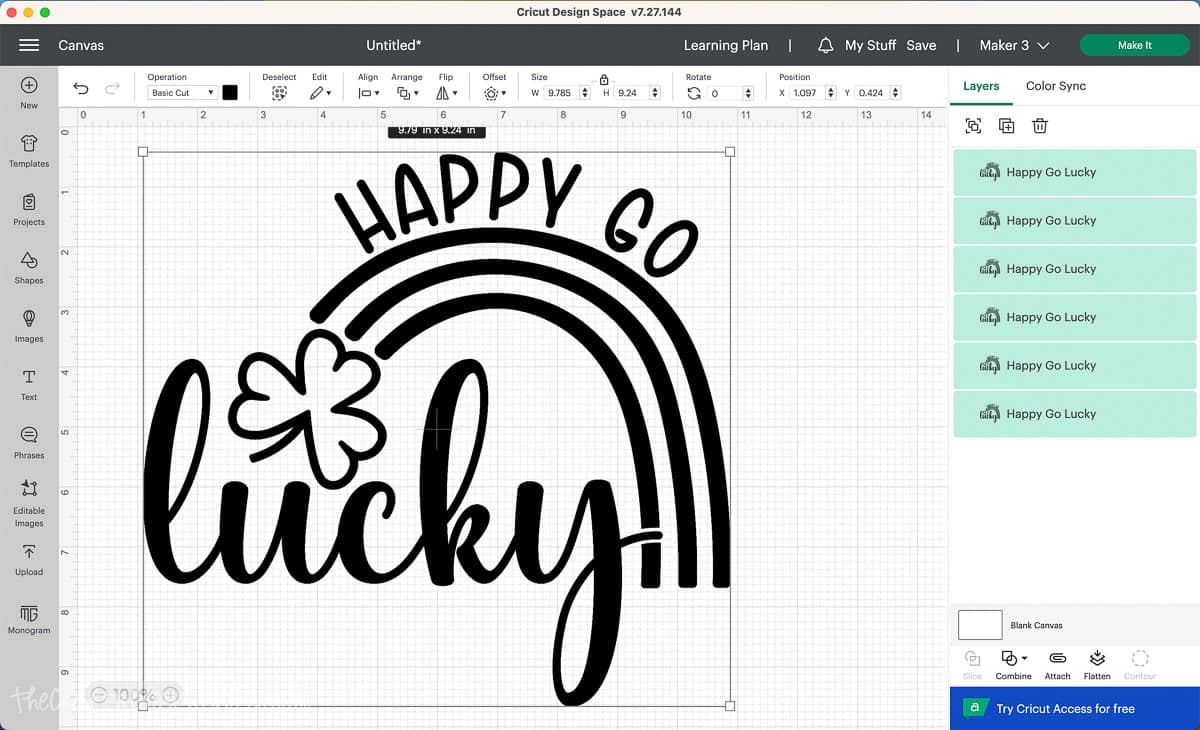
In the layers panel, highlight the top design, and select Contour.
Here you can hide the different parts of the design. I want to hide all pieces except the words Happy Go.
The quickest way is to select Hide All Contours. This hides all shapes except one.
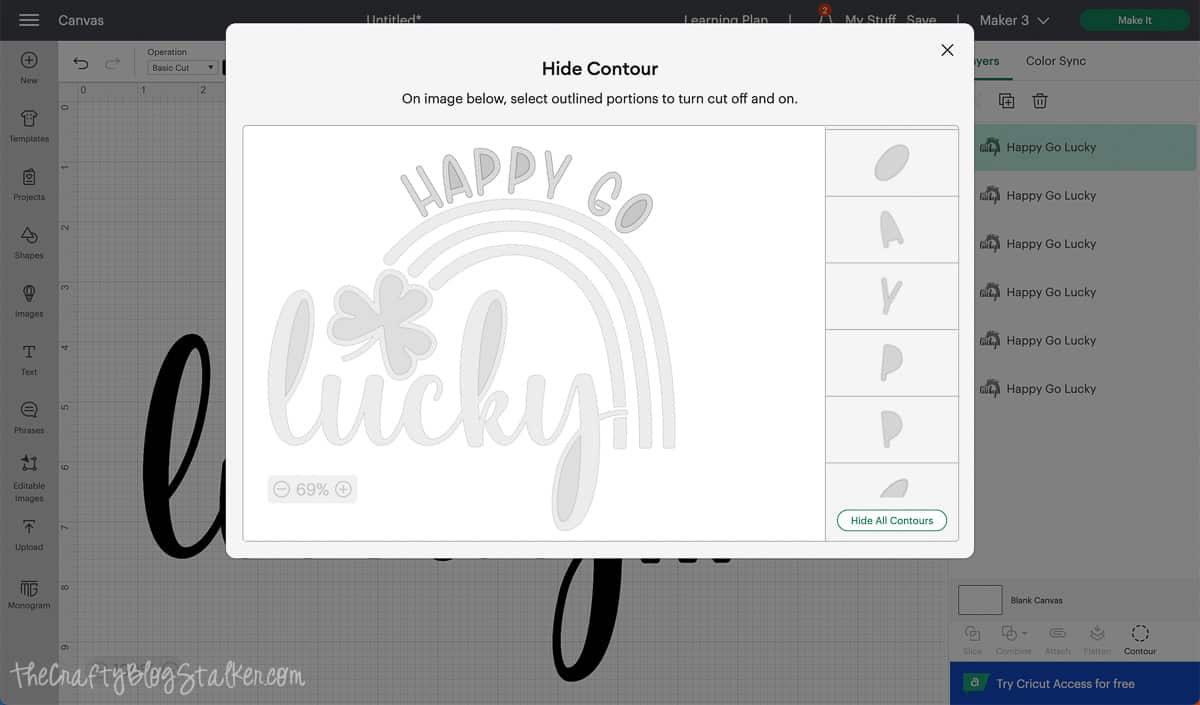
Then deselect the letters for Happy Go, making sure to select the inside pieces of the letters. Make sure to select the original shape it didn't hide and hit the X.
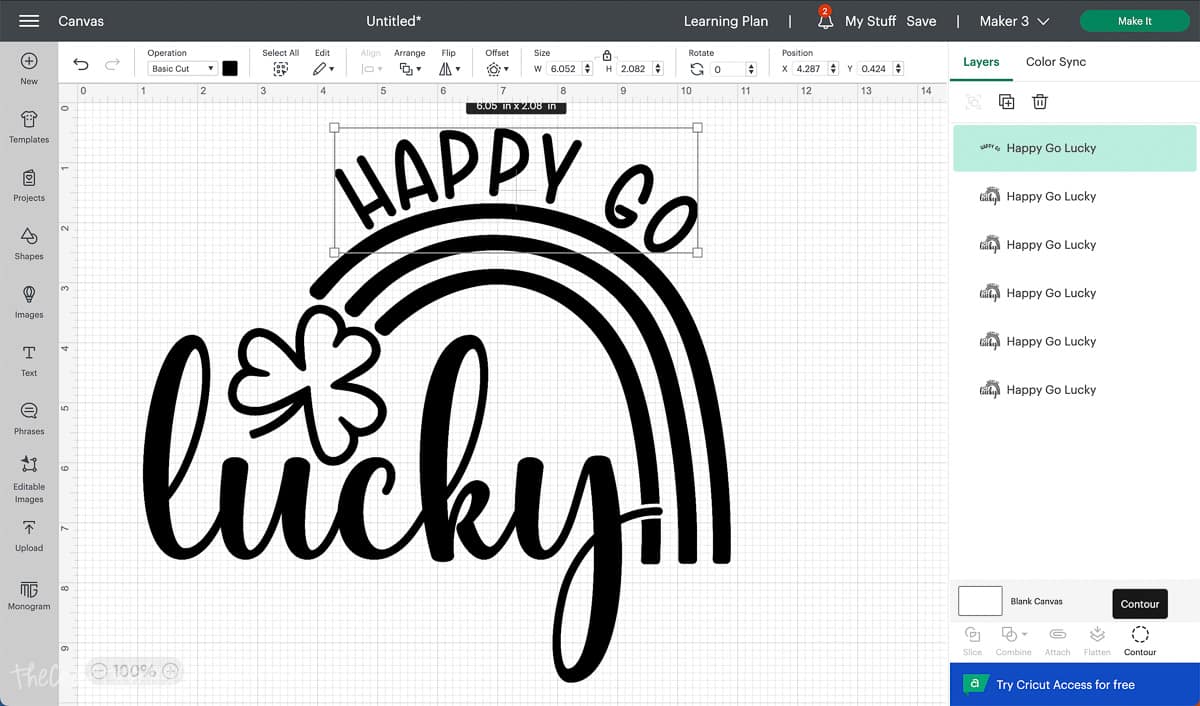
In the layers panel you can now see the top design is only the Happy Go.
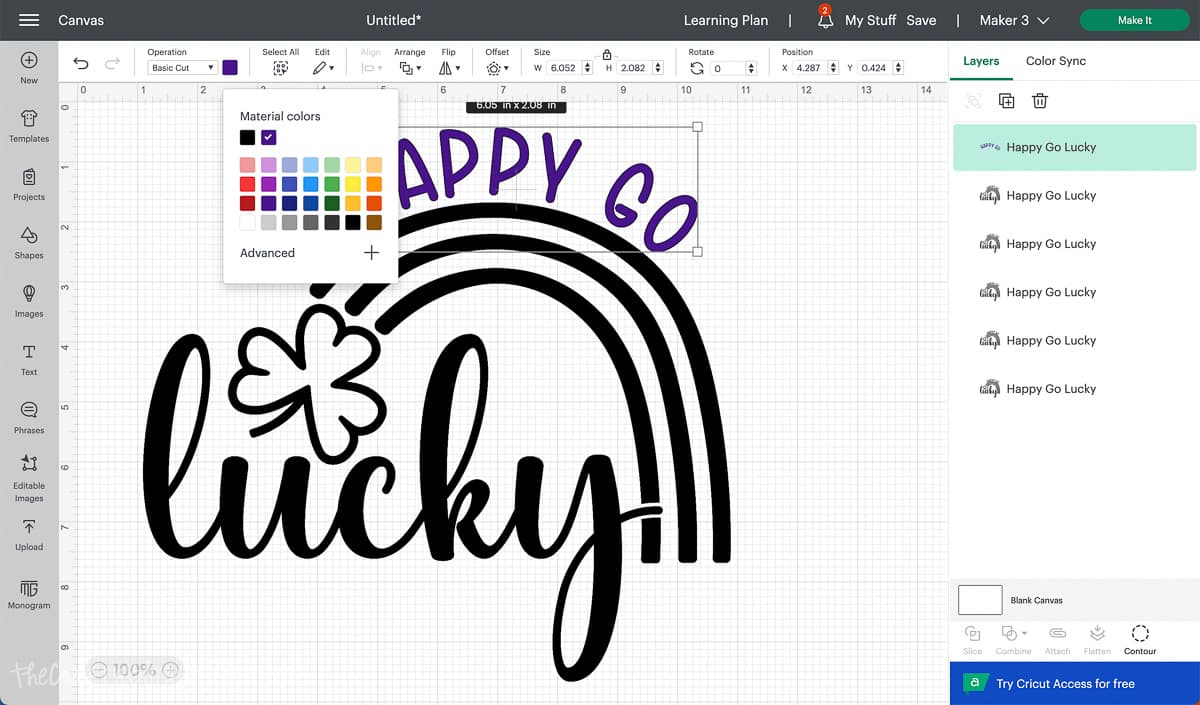
I'm going to change the color so I know it will be cut out on a different color of vinyl.
To change the color, go to Operation and select a color from the Material Colors drop-down. I am choosing purple.
Repeat for each layer. I find it easiest to go from the top down, so the next layer would be that top arch of the rainbow and move down to the word Lucky.
When complete, you will have a 6-color layered design!
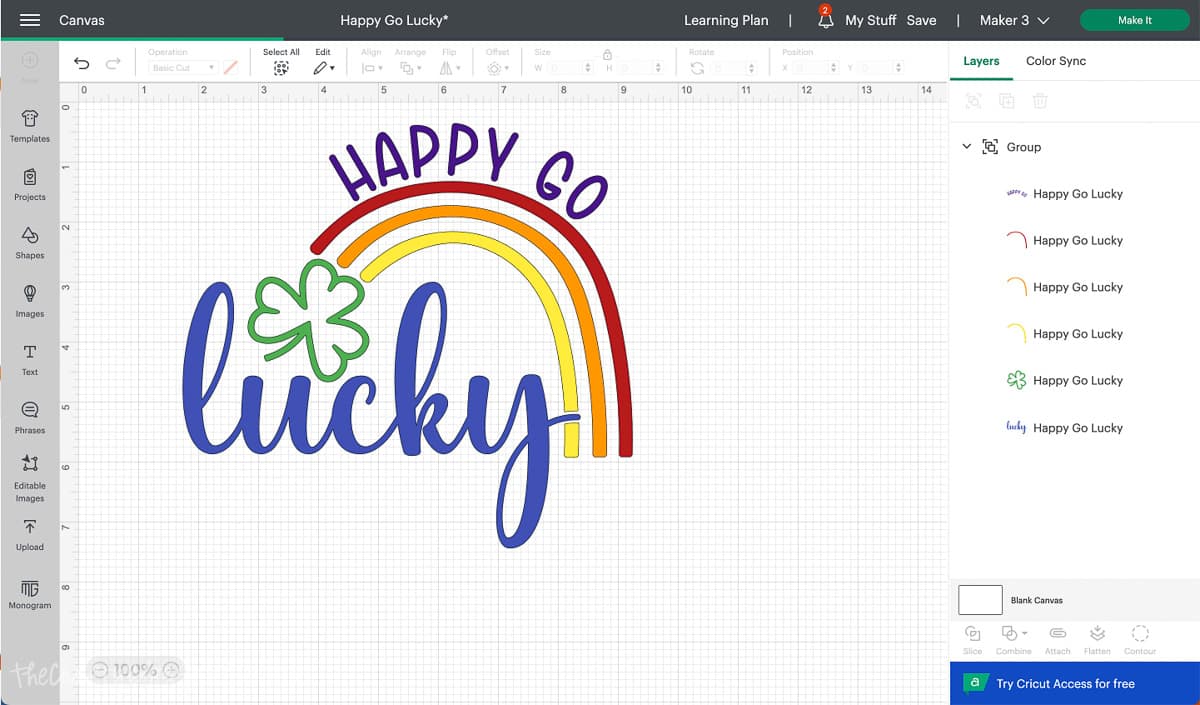
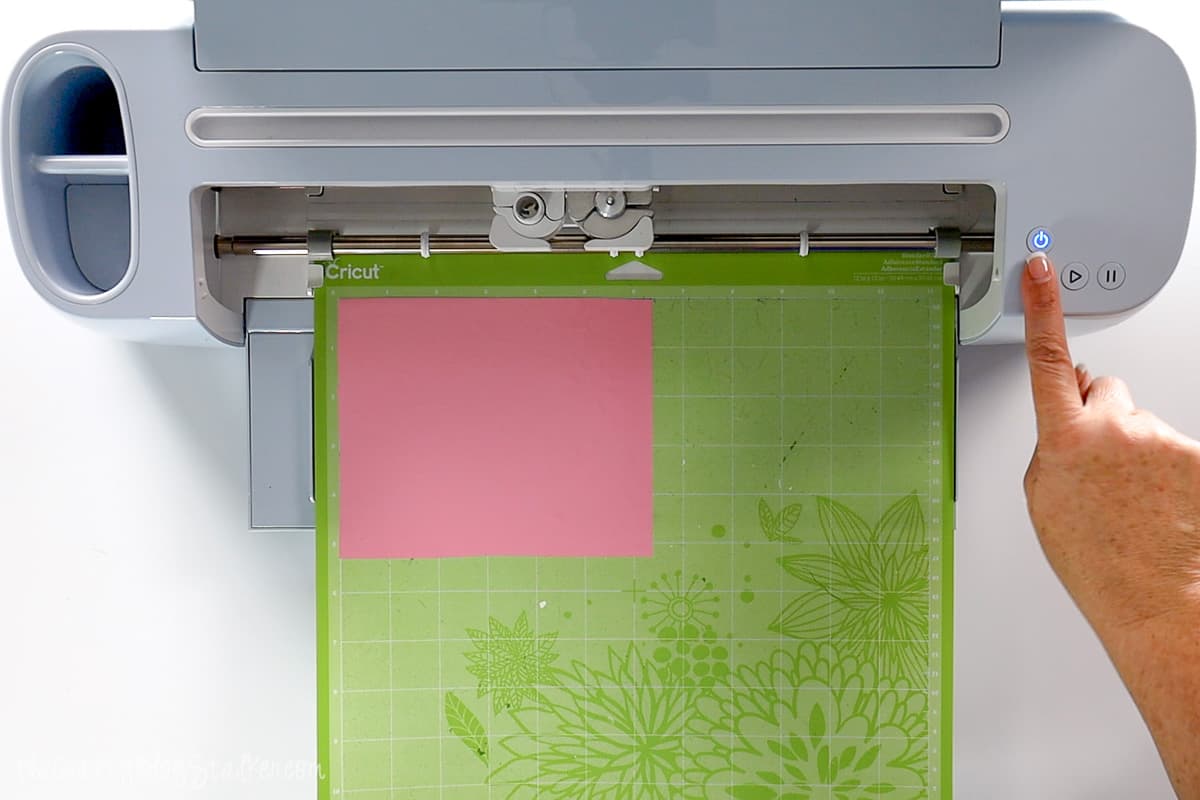
Cut the different layers out of different colors of vinyl, following the prompts in Cricut Design Space so you know what color of vinyl to load next.
Layering the Vinyl:
Weed the different colors of vinyl. If you did it like me you will have 6 colors which means 6 layers.
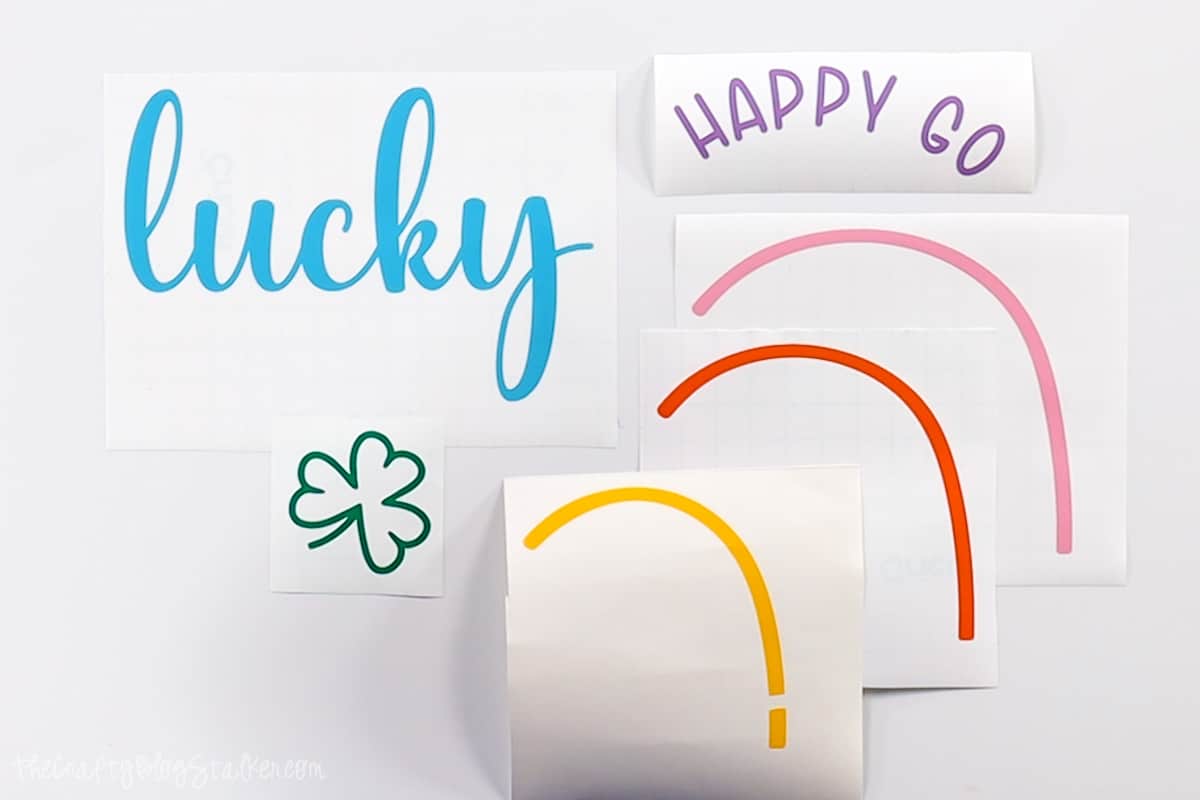
This time, to layer the colors together, we are going to start at the bottom and move up.
Cut a piece of Transfer Tape that is big enough for the entire design, and cut a piece of parchment paper the same size.
Remove the backing paper from the transfer tape. Roll the tape onto the Lucky layer, keeping it at the bottom of the tape.
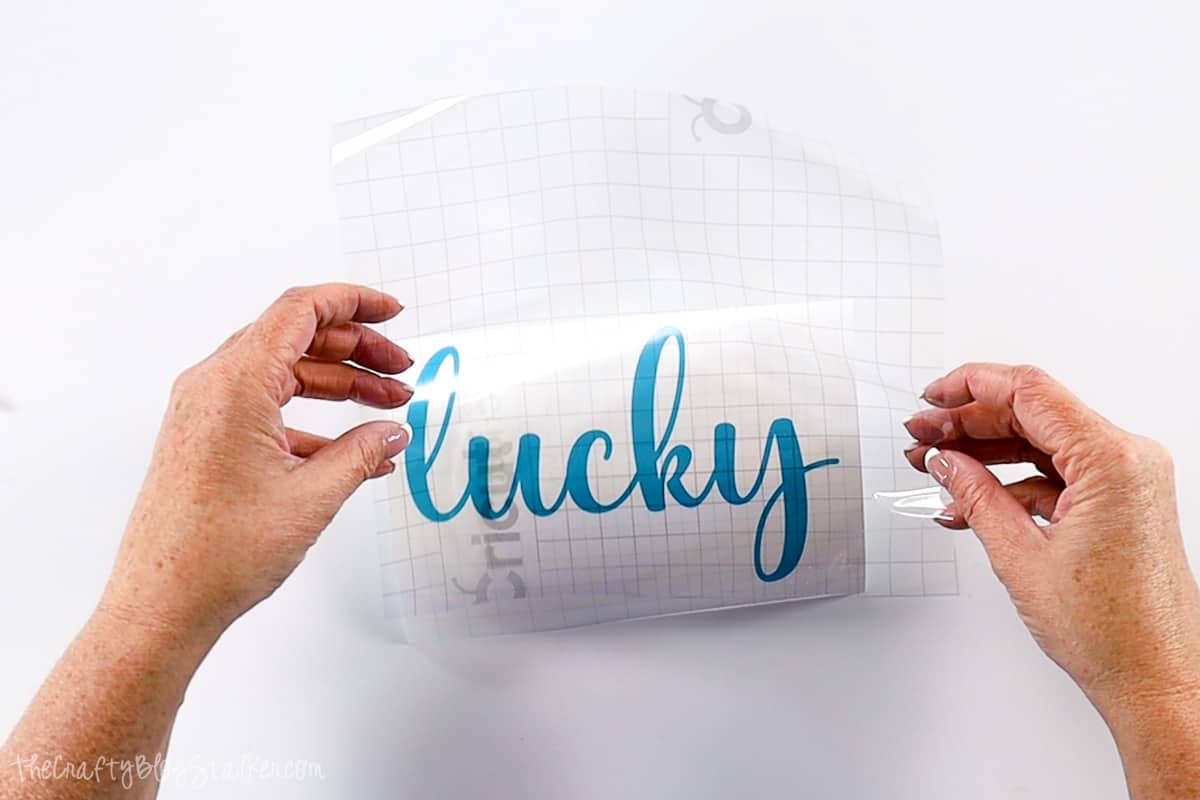
Use the scraper tool to burnish the layer into the transfer tape. Turn the stack right side down and peel back the packing paper from the Lucky Vinyl.
Apply the parchment paper to the sticky side of the transfer tape, and cover most of the design. Leave out a small edge. I left out the very edge of the Y.
The parchment paper is the protective layer that lets me move the design around without it sticking.
I positioned the lucky layer exactly where I wanted it and then pressed it down on the exposed side of the vinyl.
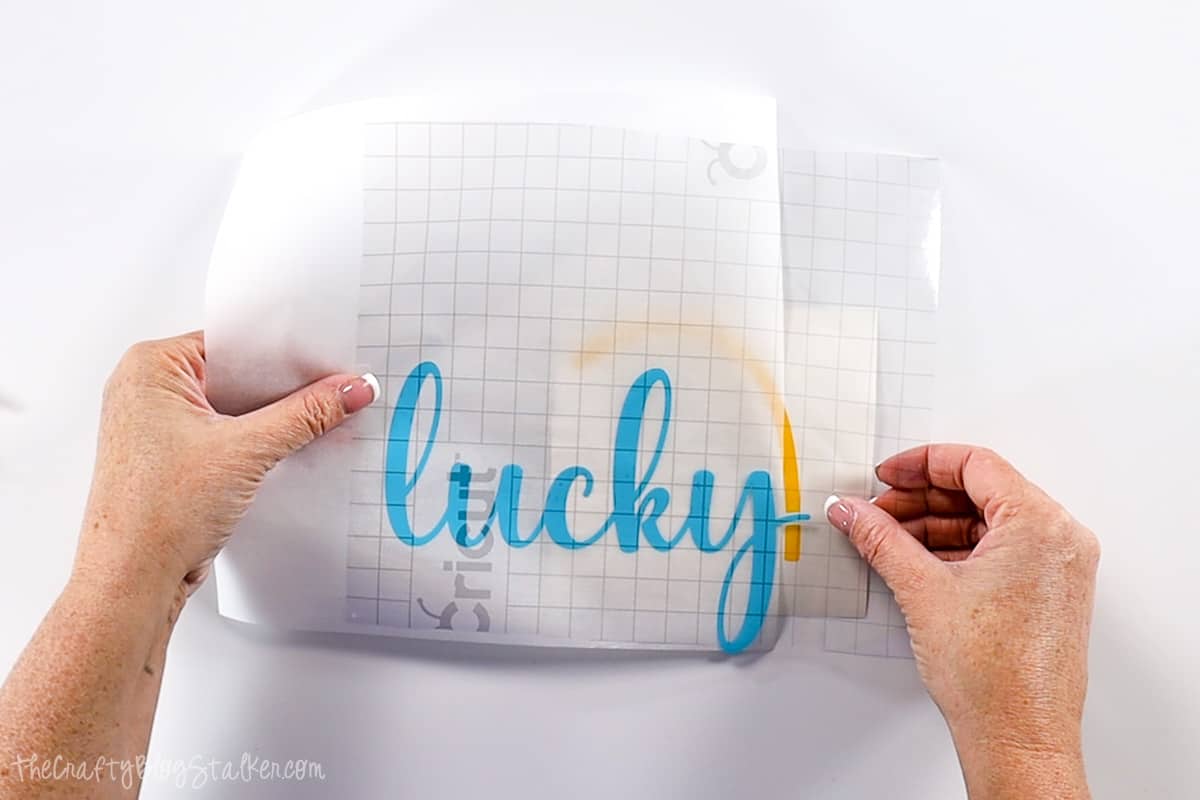
The exposed sticky part of the design will hold the placement of the layers together.
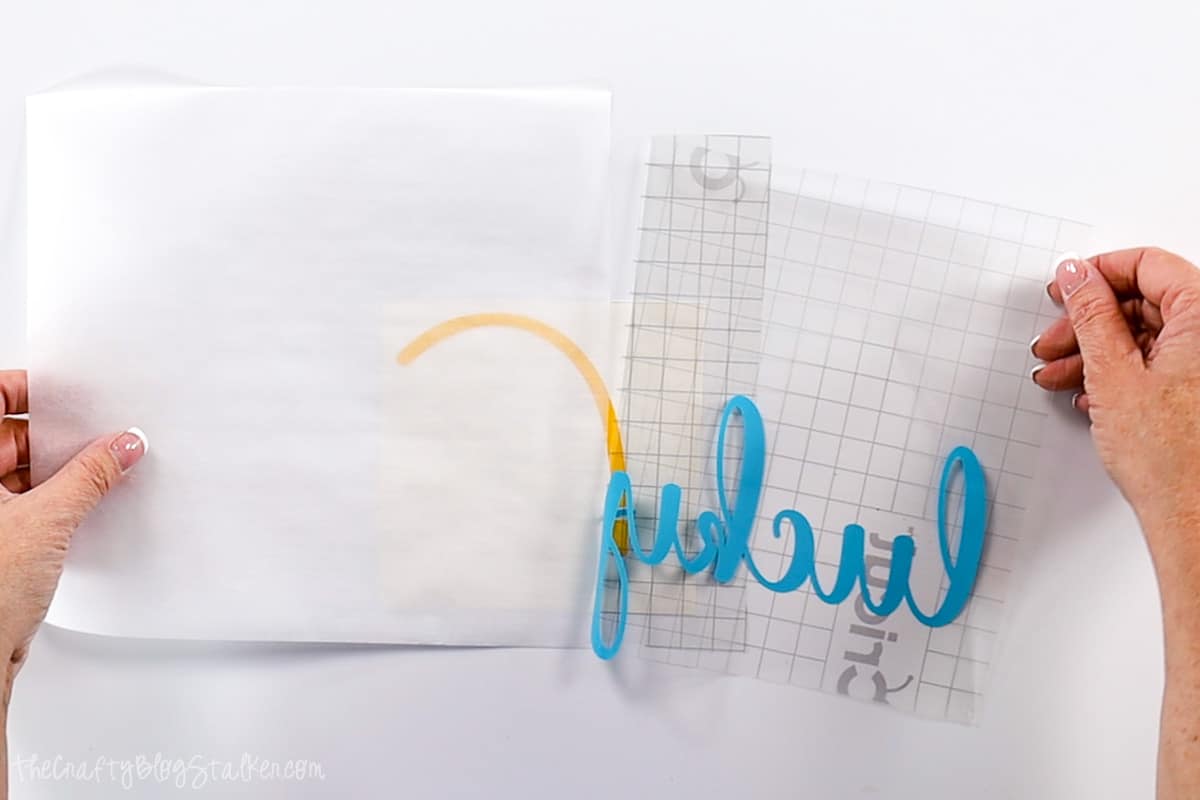
I can gently fold back the transfer tape, remove the parchment, and roll the transfer tape into place over the next layer.
I am holding the left side up because I don't want it to stick to my table while I am burnishing the layers together. The other side of the design still has a backing paper under it.
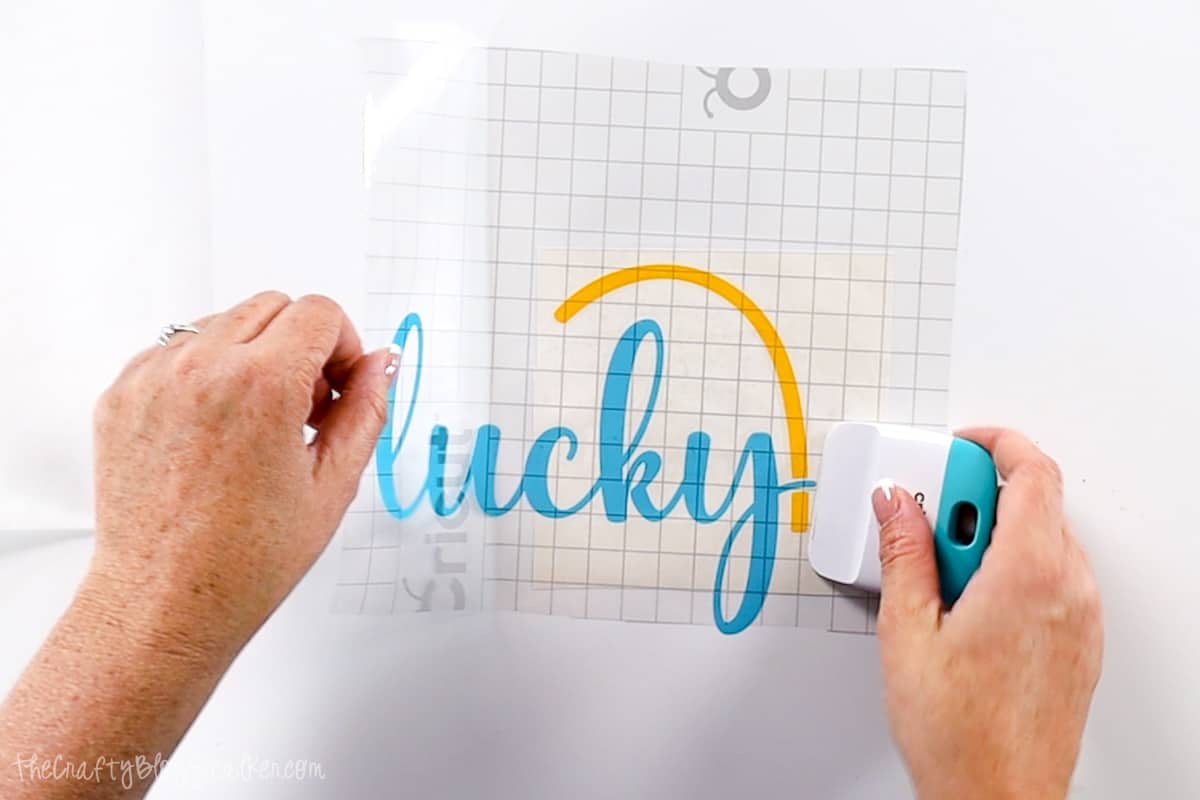
Repeat to add all of the layers together. My next layer is the orange arch of the rainbow.
I added the clover last, but it could really be added at any point after the first arch.
Apply the Design:
Wipe down the pizza pan with some Isopropyl Alcohol before you place the design. This will clean the pan and remove any dirt, debris, or fingerprints.
Again, place the parchment paper behind the layered design.
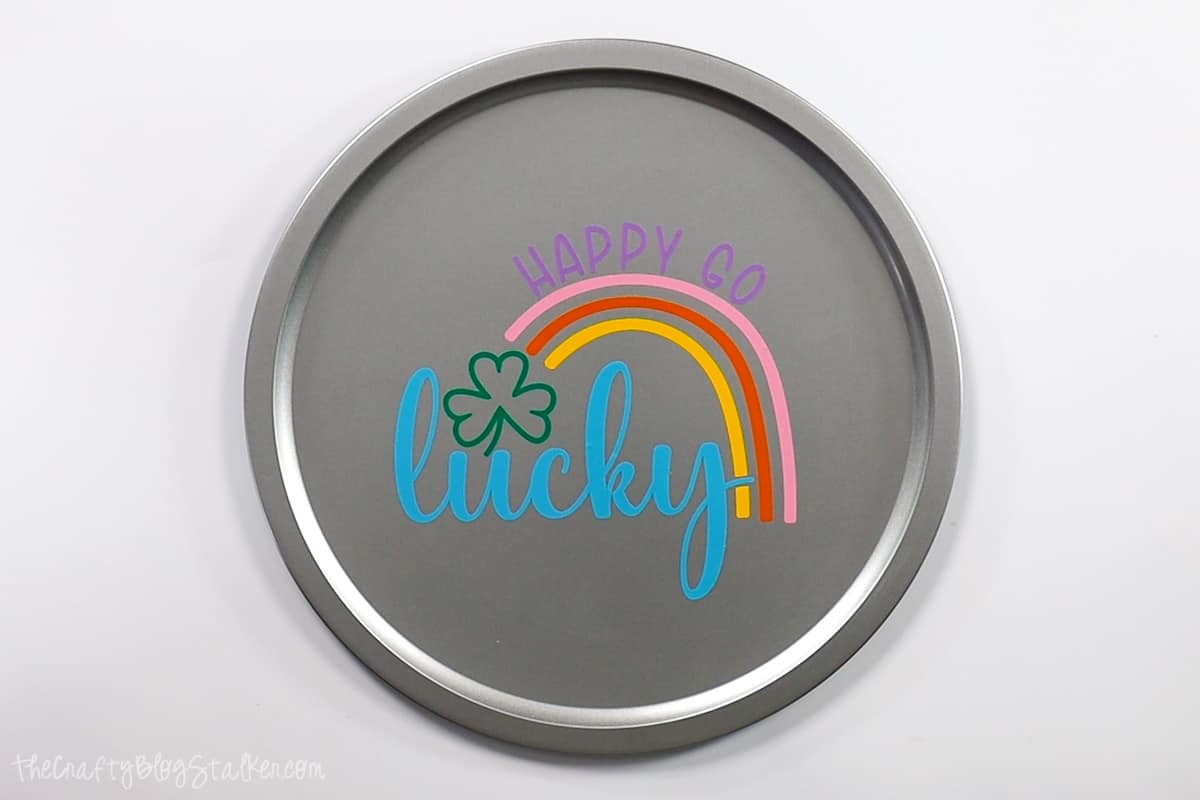
Position the vinyl design in the center of the pan and press the edge of the transfer tape into place.
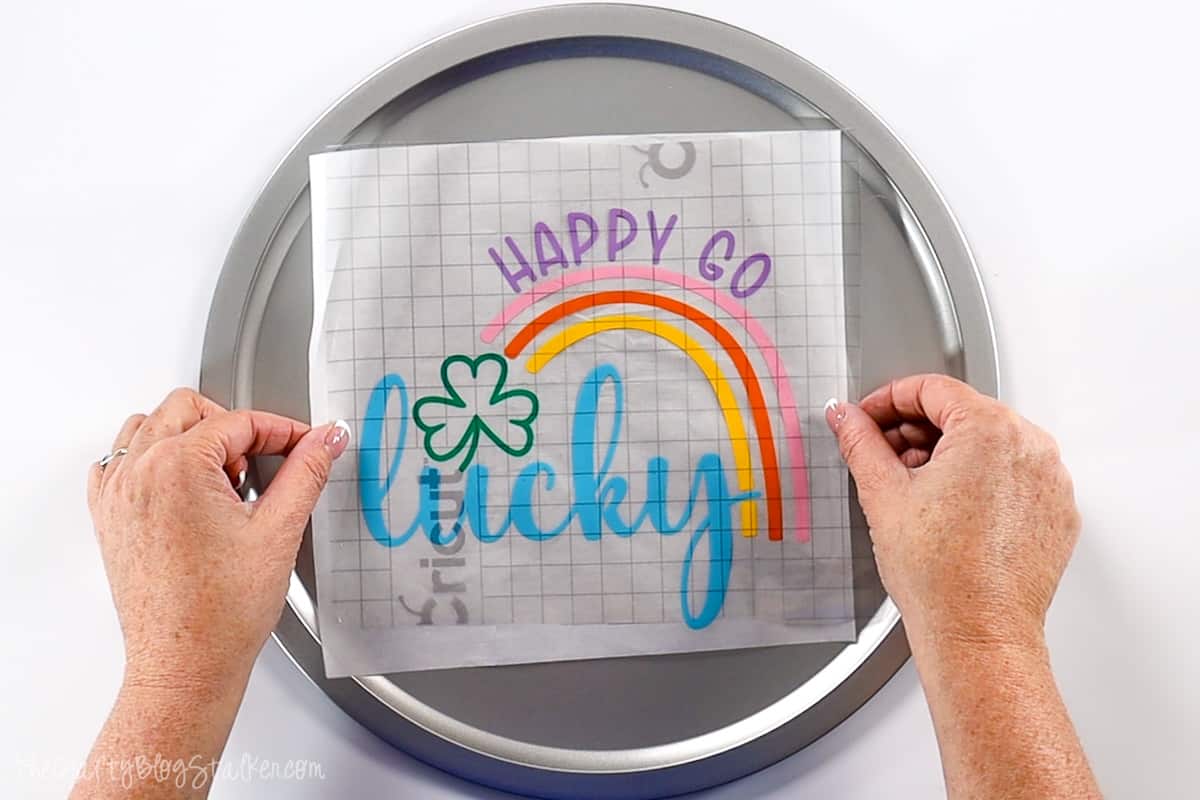
Pull out the parchment paper and roll the design onto the pizza pan.
Use the scraper tool over the design and then pull the transfer taper straight back. Go slow so if any parts don't stick you can go back over the design with the scraper.
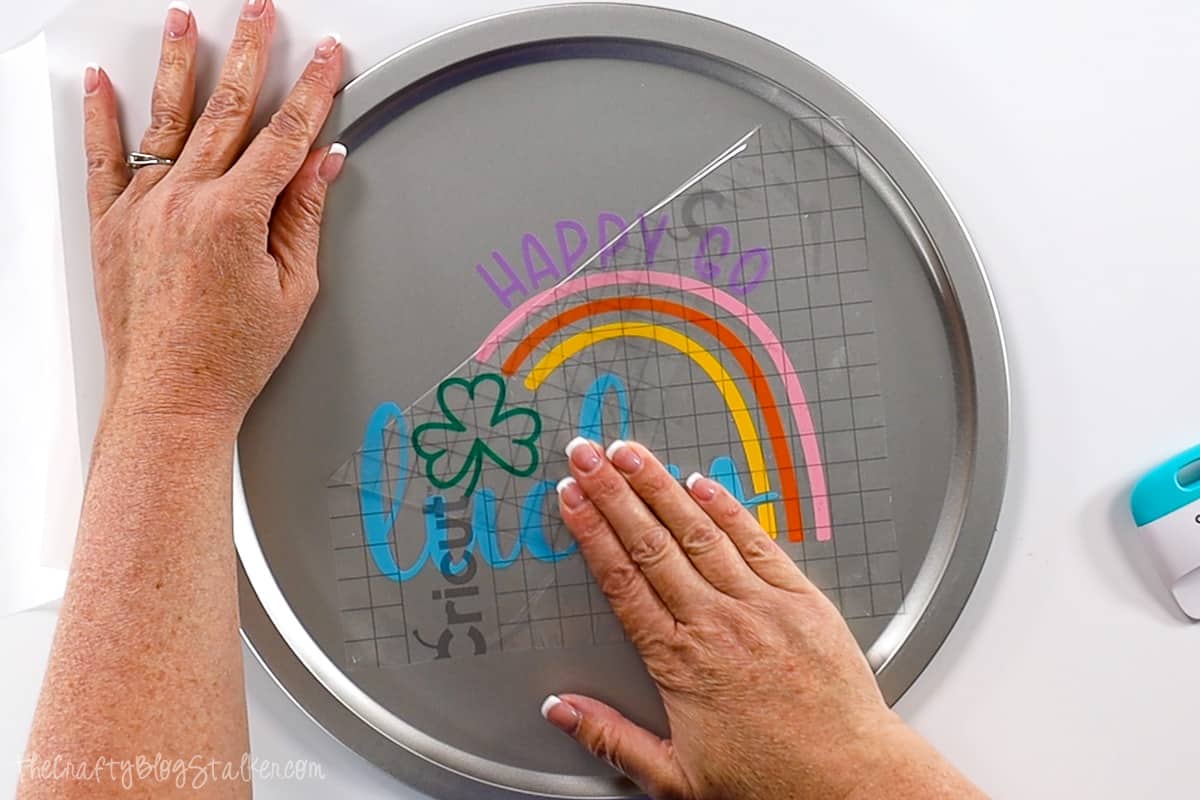
It's already looking good, but we aren't done yet.
Add Wood Beads:
The wood beads I purchased were already painted, but I do have a video tutorial showing How to Paint Wood Beads if you need it.
The next step is to cut a long length of twine to string the beads onto.
To make stringing a little bit easier, I tightly wrapped an end with scotch tape.
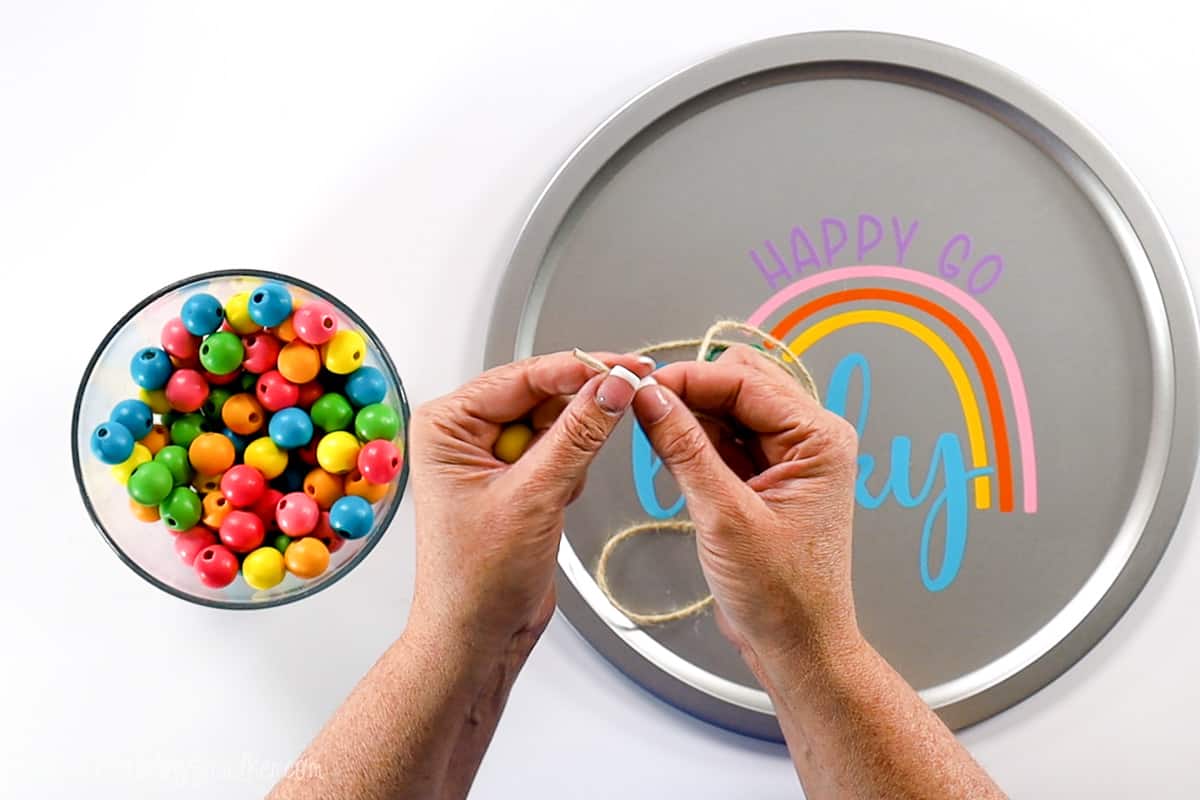
I didn't place my beads in any specific order, I just didn't want the same colors to touch.
I needed enough beads to go around the entire inside of the pizza pan.
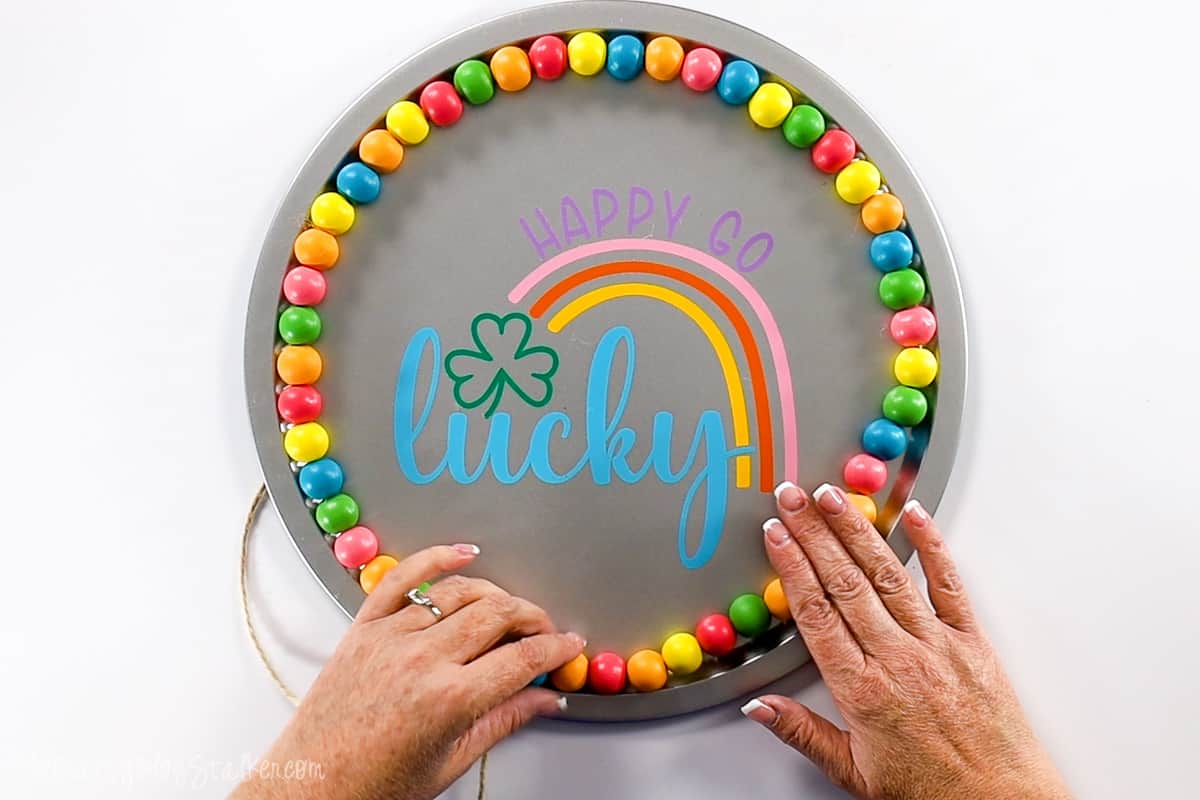
Use a hot glue gun and apply a small section of glue in the crease on the pan, then quickly press the wood beads into the glue.
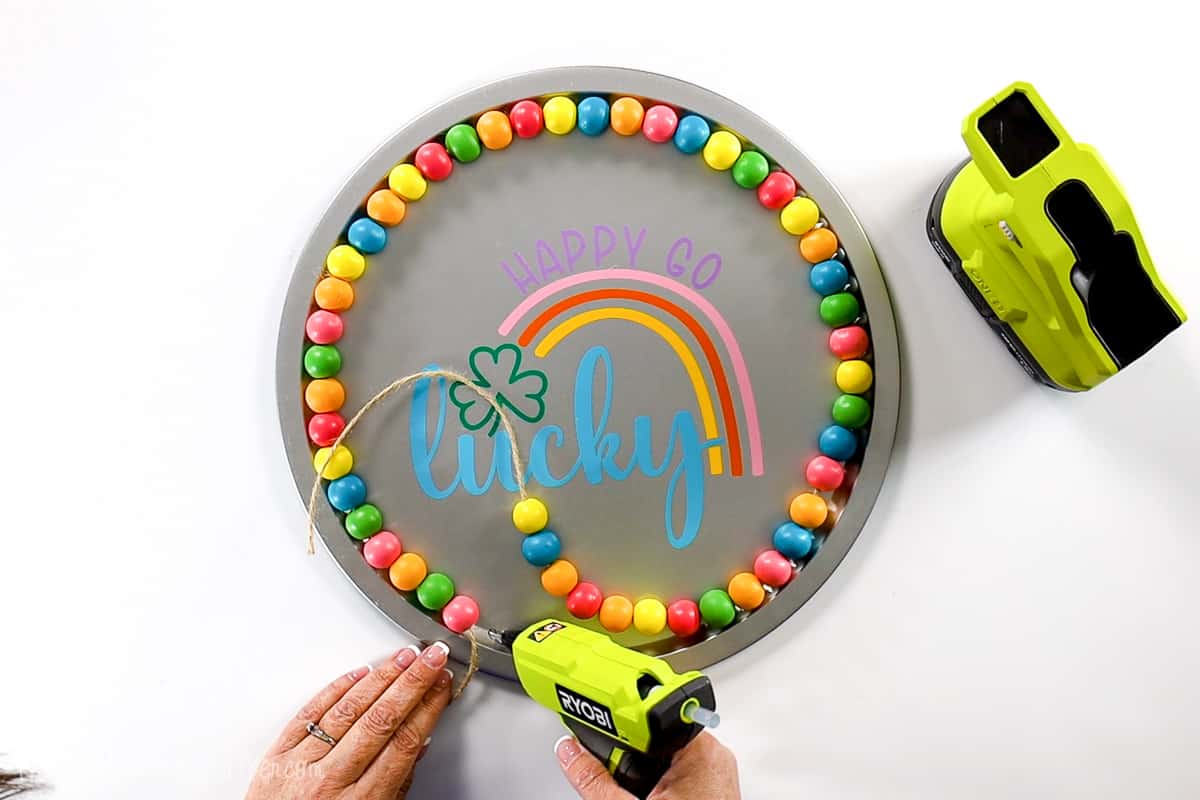
Glue the beads all the way around except for the very last bead.
Pull the string from the taped end and it will pull out from all of the beads.
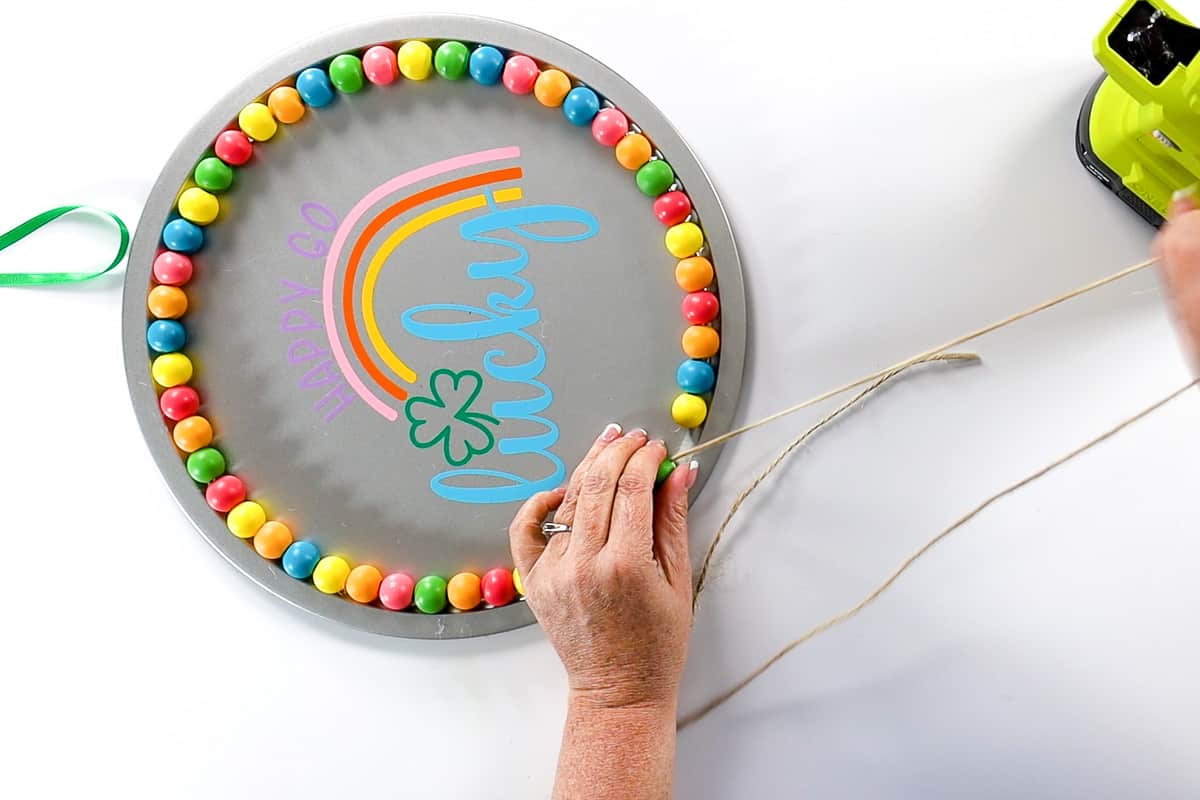
Then you can glue the last bead in place.
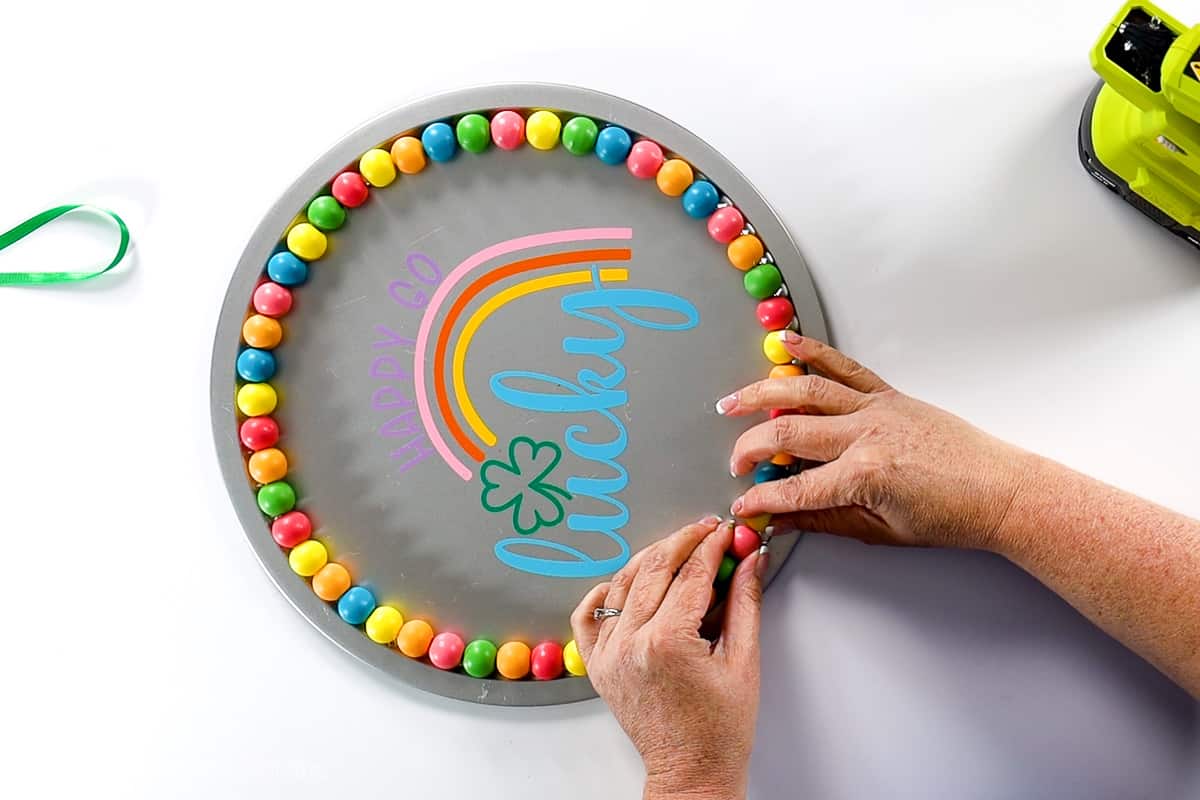
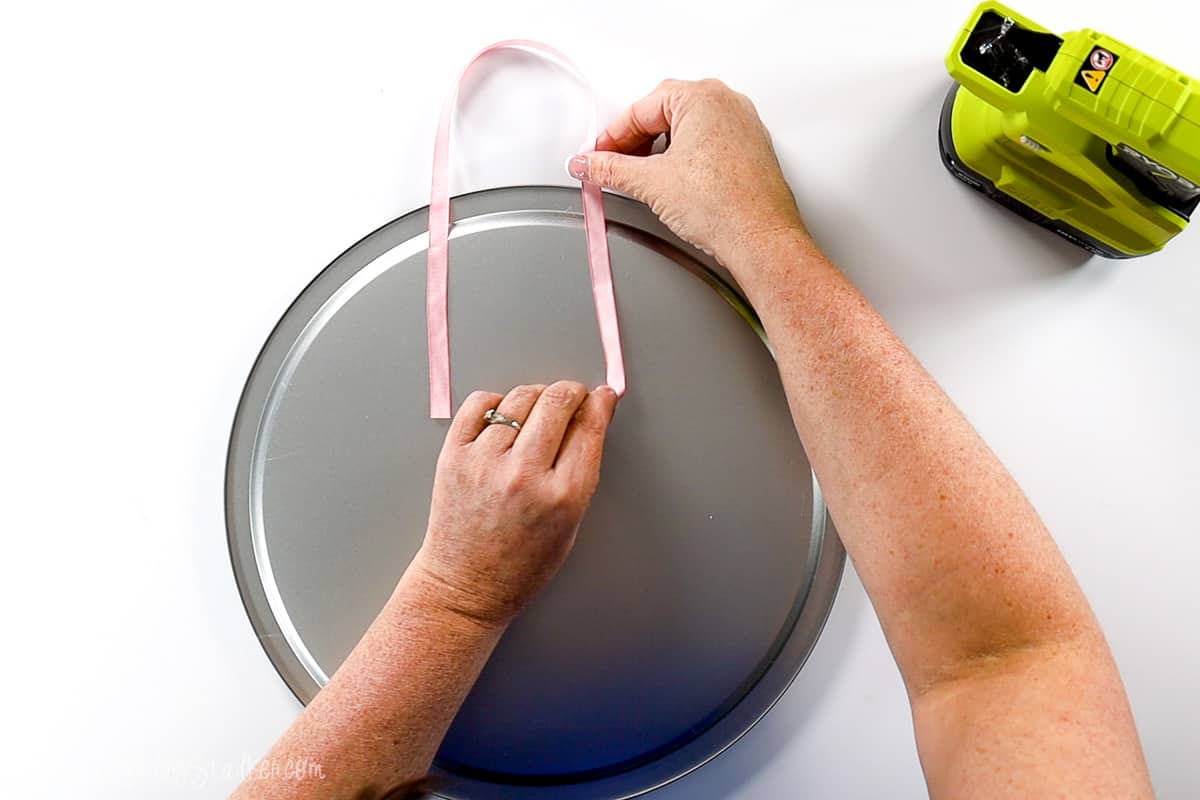
Cut a length of matching ribbon and glue it onto the back of the pizza pan.
Now, my front porch looks amazing! It's a fun way to greet your guests because the pizza pan is no longer a pizza pan, it is now a circle door hanger!

More St. Patrick's Day Crafts:
We love to craft for holidays, and that includes Saint Patrick's Day! So naturally, we have a lot of craft tutorials to share with you. Like these Lucky Cupcake Toppers, these Pot of Gold Printable Treat Bag Toppers, and this Wood Bead Garland.
Take a look around the blog for more St. Patrick's Day Cricut Tutorials!
Frequently Asked Questions:
Can I cut this on my Cricut Maker?
Yes, you can cut this design on any Cricut machine including the Cricut Maker, Cricut Explore, and Cricut Joy.
Although if you have a Cricut Joy, and you want to make this door hanger, you will need to make the design a little bit smaller to make the pieces fit the Joy Mat.
What kind of vinyl do you use for door hangers?
I like to use permanent vinyl for my door hangers. The permanent vinyl is a bit more sticky and withstands weather better.
How do you hang something on a door?
You have a couple of different options when it comes to door hangers.
- Command Hooks
- Over the Door Hangers
- Screw in Hooks
I almost always have some type of decoration on my front door, so I have a small hook screwed into the front of the door.
Do I need to seal the vinyl onto the round door hangers?
I did not seal my door hanger, but it also wouldn't hurt to apply a couple of coats of mod podge or polyacrylic just to be safe.
Could I add a bow to my door decoration?
Yes, you could easily add a bow or other embellishments, either to the bottom or the top of the circle.
Here is a great tutorial for Large Bow Tying.
Could I apply SVG files to wood door hangers?
Yes, you can apply cut files to a wood project. I would recommend using iron-on vinyl for that type of wood project.
Do you have more free designs?
Yes, I have many free SVG files that you can download!
Our Crafting Essentials:
- The Cricut Cutting Machine is easily our favorite crafting tool. We use it in so many of our tutorials!
- These MakerX Crafting Tools are perfect for keeping in the craft room and are always ready when needed!
- This Fiskars Paper Trimmer is easy to use and cuts nicely without frayed edges.
- These Scotch Precision Scissors cut like a dream, and you get multiple pairs in a pack!


Leave a Reply