Apply Iron-on to wood and create modern front door decor. Welcome your guests with a DIY door hanger you made with this step-by-step tutorial!
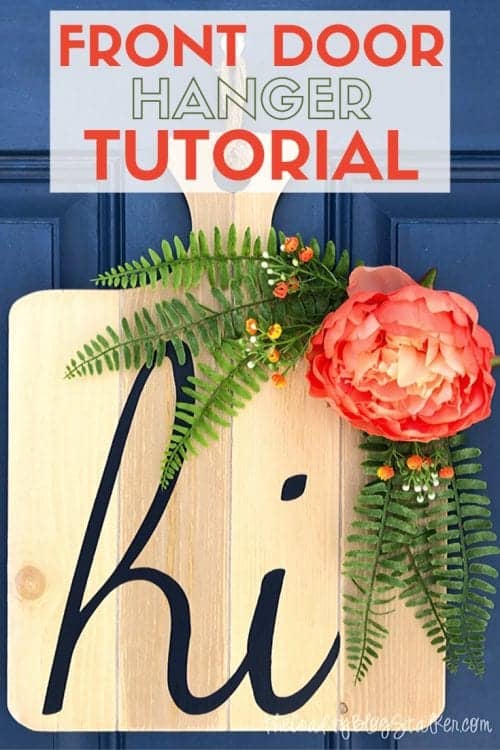
Don't you love it when a project turns out so much cuter then what you envisioned? This is one of those projects. I absolutely love my finished door hanger and I keep opening my door so I can look at it!
This is actually the first time I have tried iron-on vinyl on wood! All the cool kids have been doing it for some time, so I decided it was my turn to give it a try.
I had never thought to use iron-on vinyl for wood. In my mind vinyl was for surfaces like wood or glass and iron-on vinyl was for fabric. Boy, have I been wrong! Iron-on vinyl is perfect for wood! It sticks perfectly where sometimes regular vinyl
I guess I am a cool kid now because I don't know if I will ever apply regular vinyl to wood again!
Supplies Used to Make a Modern Front Hanger
Items linked below may go to similar items when exact items couldn't be found online. Links are affiliate so when you purchase, I will get a small kickback to help fund the next tutorial!
- Cricut Cutting Machine
- StandardGrip Mat
- Iron-on Vinyl
- Heat Press
- BrightPad
- Teflon Sheet
- Wood Sign
- White Acrylic Paint
- Paint Sponge
- Rag
- Silk Flowers
- Hot Glue Gun and Glue Sticks
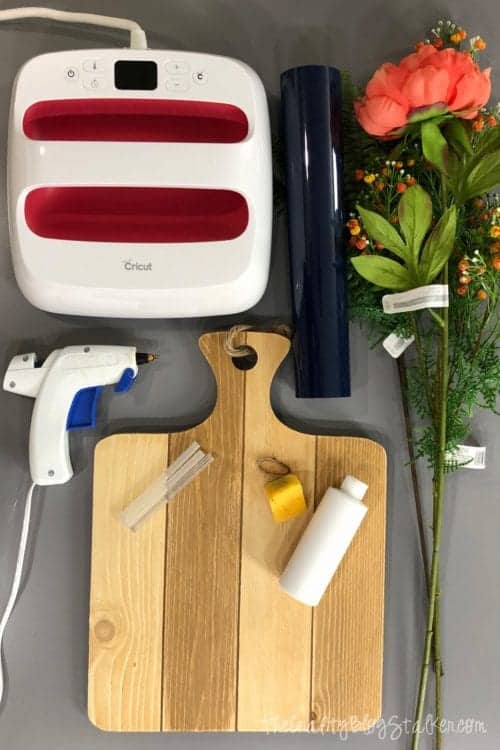
Cut Iron-on Material with Cricut Maker
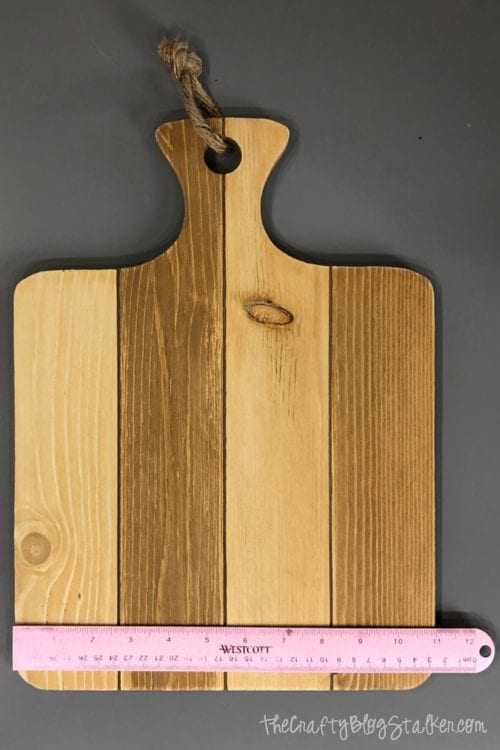
The very first thing to do is to measure your sign so you know how big to make your design. My sign is about 11 x 12 inches excluding the handle at the top.
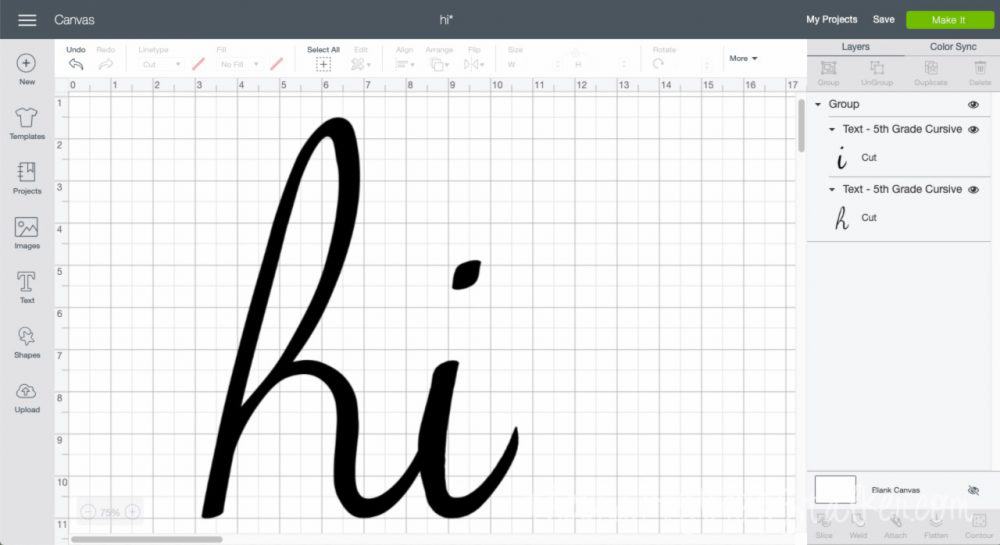
In Cricut Design Space you are able to personalize the message you want on your sign. You could have it say anything, like Welcome, a personalized monogram, or use the same as me. A simple Hi.
If you want to use my design in Cricut Design Space. Make sure to resize so the image will fit your sign.
Remember, Iron-on vinyl is different than regular vinyl and the sticky is on a different side. So when using Iron-on always select mirror image. You will have the mirror image option on the mat preview page before you cut.
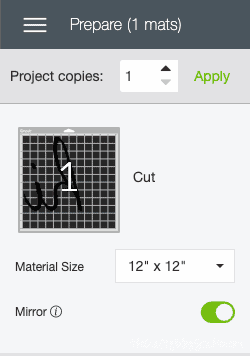
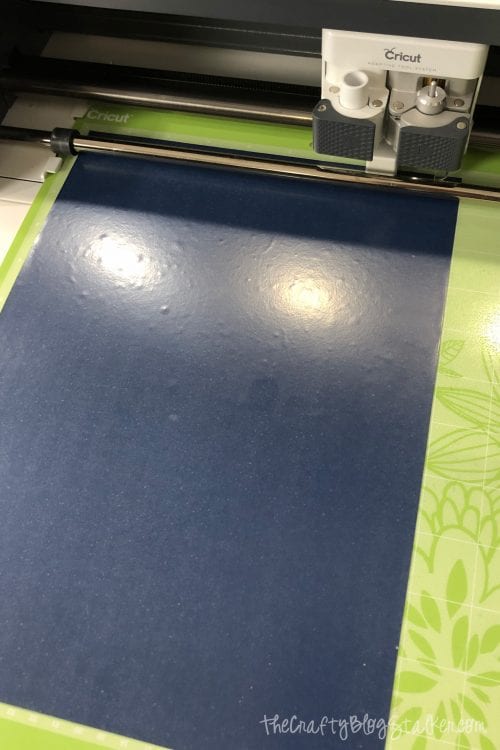
Lay the Iron-on glossy side down onto the Standard Grip Mat, and follow the prompts to load the mat, and to cut.
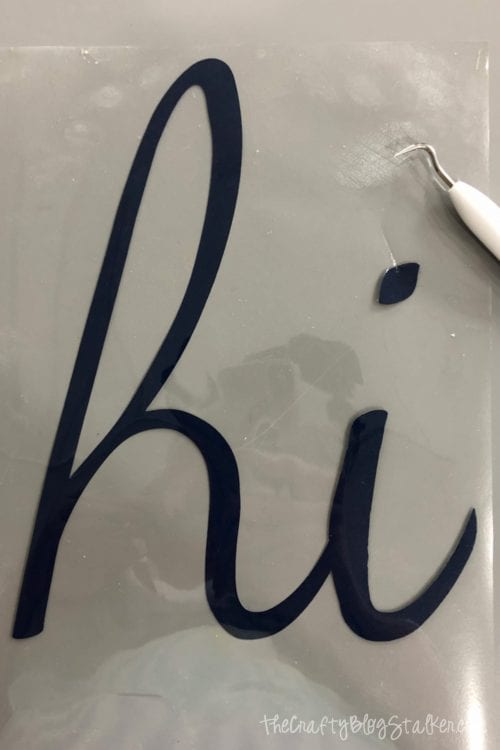
Weed the excess iron-on so all you are left with is the image. I like to weed using my Cricut BrightPad. It helps see those cut lines and makes weeding so much easier!
Whitewash the Wood Sign
Painting the wood sign is totally optional. The sign I purchased was a little dark so I wanted to lighten it up a little with some whitewashing.
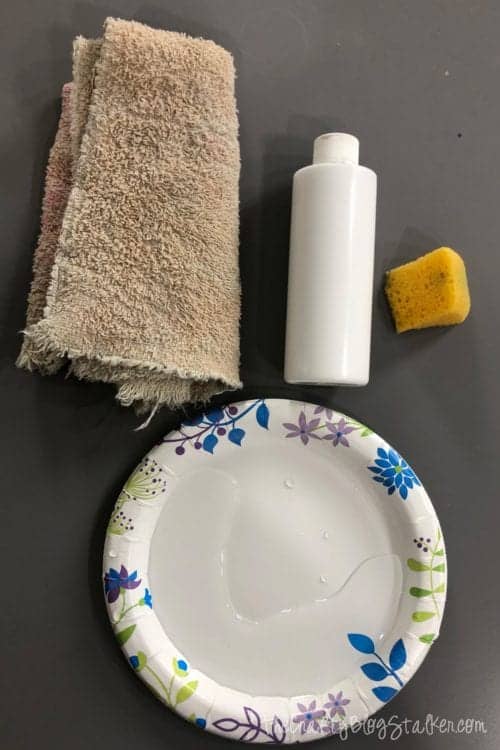
Whitewashing is a very simple technique. I took a paper plate with some water in it and added a little bit of white acrylic paint. You want the mixture very wet, although the more water you use the lighter the color so keep that in mind when mixing.
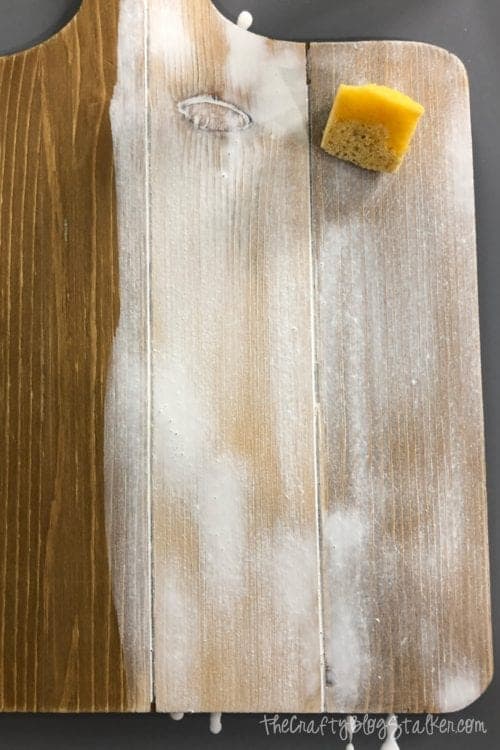
Paint on the whitewash with a sponge and let the mixture sit on the wood for about 20 - 30 seconds before wiping it off with a dry rag.
Apply as many coats as you like until the wood has the look you like. See how much lighter my sign is now!
You can also do this with any color, not just white.
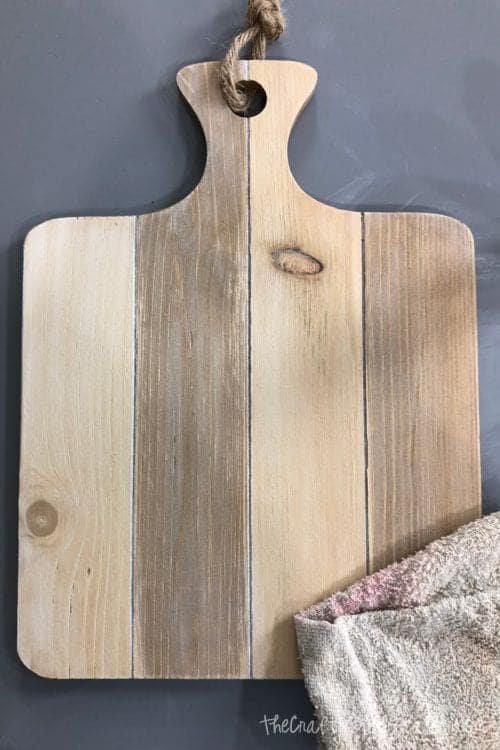
Applying Iron-on to Wood
Applying Iron-on to wood is just like applying it to the
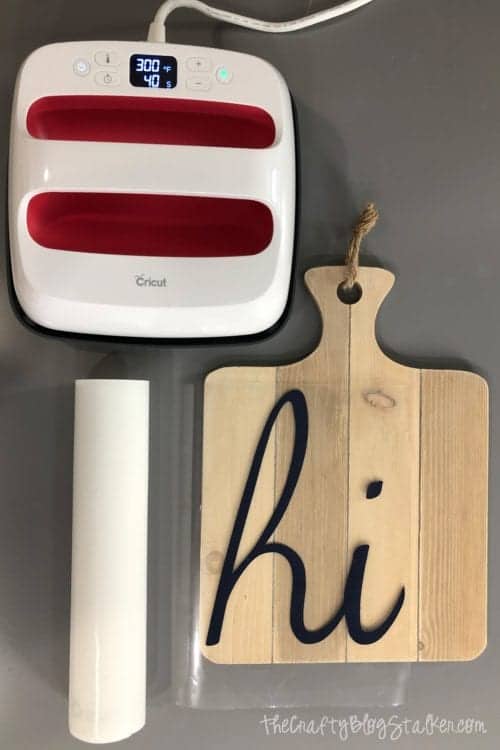
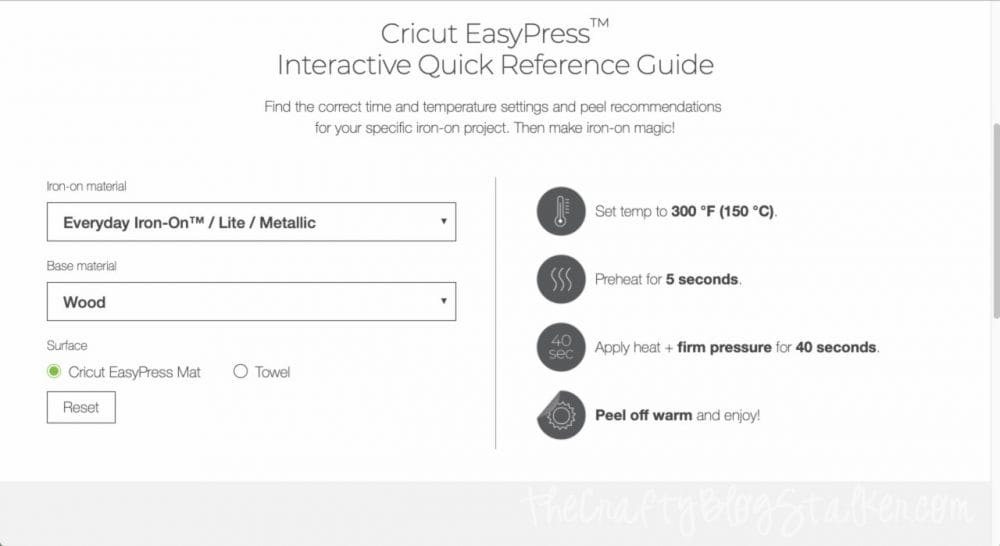
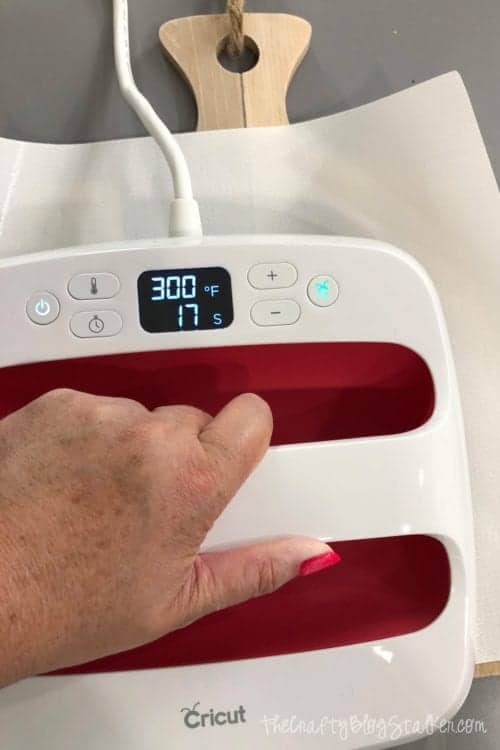
To know exactly what temperature and time to set your EasyPress at you can visit the online Cricut Heat Guide. Enter the type of iron-on you are using and the type of material, (yes wood is an option!) and the guide gives you all the information you need. It even tells you if you should peel the backing while the material is still warm or if you should let it cool!
I am also using an Iron-on Protective Sheet. This is a sheet that I can put between my project and my EasyPress that helps distribute even heat and keeps the heat plate safe from getting any material on it. Since I painted the wood, I wasn't sure how the paint would react to the heat so I used a protective layer to keep each part safe.
The Iron-on vinyl was applied perfectly and the backing sheet came off without any problems.
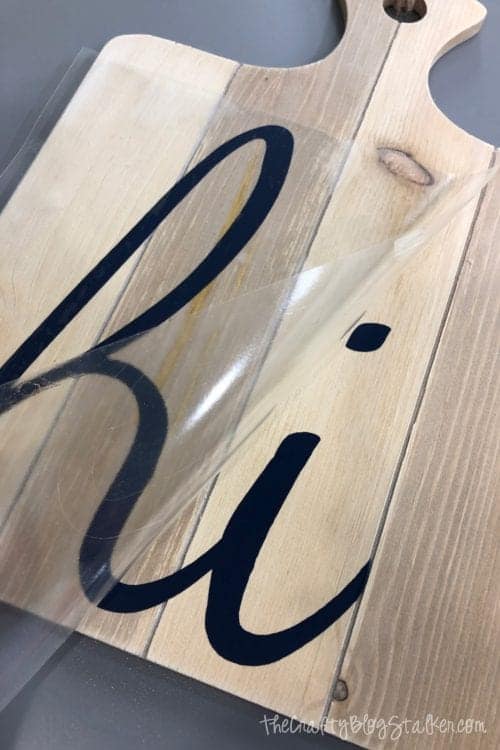
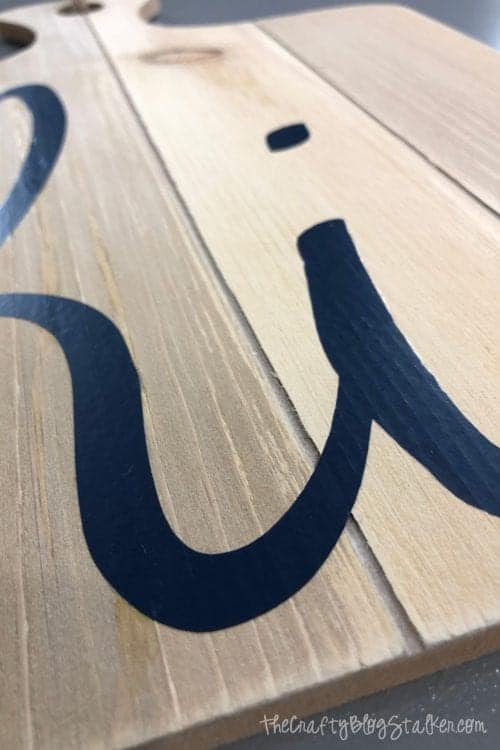
I think the Iron-on looks more like paint and you can actually see the texture of the wood through it!
Adding the Floral Decor to the Sign
This is the fun part, where you get to play and experiment!
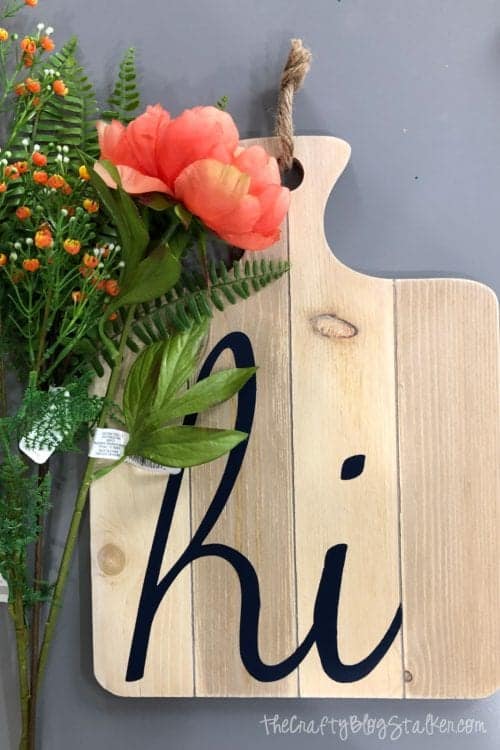
Using a pair of wire cutters you can trim the silk flowers and use only your favorite parts of the stems. Move the floral pieces around the sign to find the placement that you like.
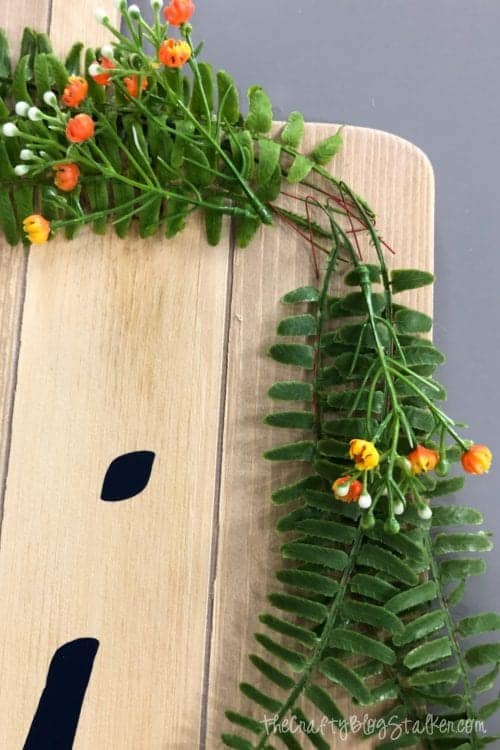
Then bring in the hot glue and glue everything into place.
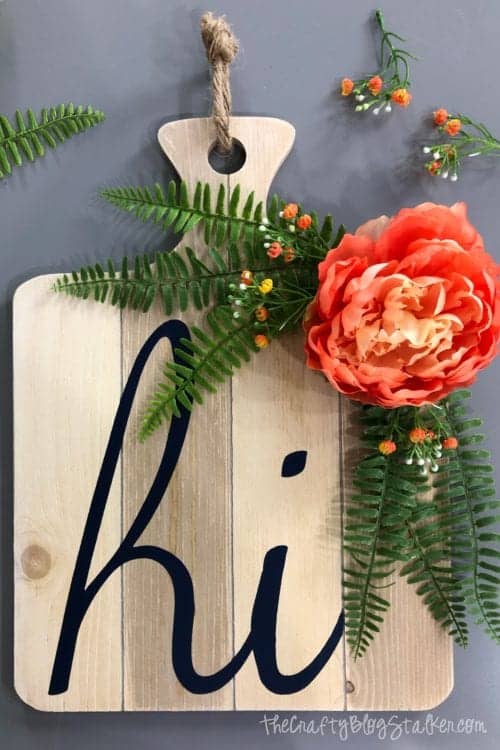
Isn't it cute? I am still in awe of its cuteness!

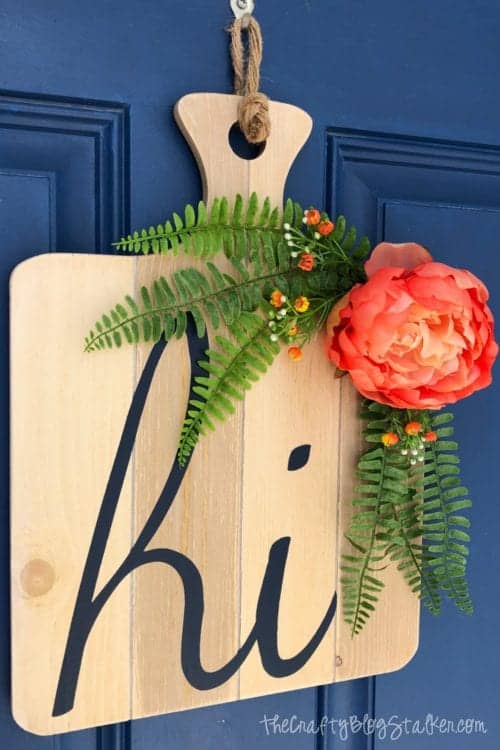
What will your door decor say?
Our Crafting Essentials:
- The Cricut Cutting Machine is easily our favorite crafting tool. We use it in so many of our tutorials!
- These MakerX Crafting Tools are perfect for keeping in the craft room and are always ready when needed!
- This Fiskars Paper Trimmer is easy to use and cuts nicely without frayed edges.
- These Scotch Precision Scissors cut like a dream, and you get multiple pairs in a pack!








Leave a Reply