This post may contain affiliate links. For more information, please see our disclosure policy.
Wood beads add rustic charm to a holiday garland. Find out how to make this garland decor project that’s perfect for St. Patrick’s Day here. If you make a purchase using the affiliate links included, we may earn a commission.

Hey there, are you ready to get creative and add some rustic charm to your home decor?
This tutorial is all about making your own DIY wood bead garland, a trendy and versatile accent piece that you can customize and add to your holiday decor.
Don't worry if you've never made a wood garland before - we'll guide you through the process step by step using easy-to-find materials and simple techniques.
So let's roll up our sleeves and start our fun craft!
Craft Video Tutorial:
Like videos? I have a video tutorial for you! Subscribe to my YouTube Channel so you don't miss any future videos!
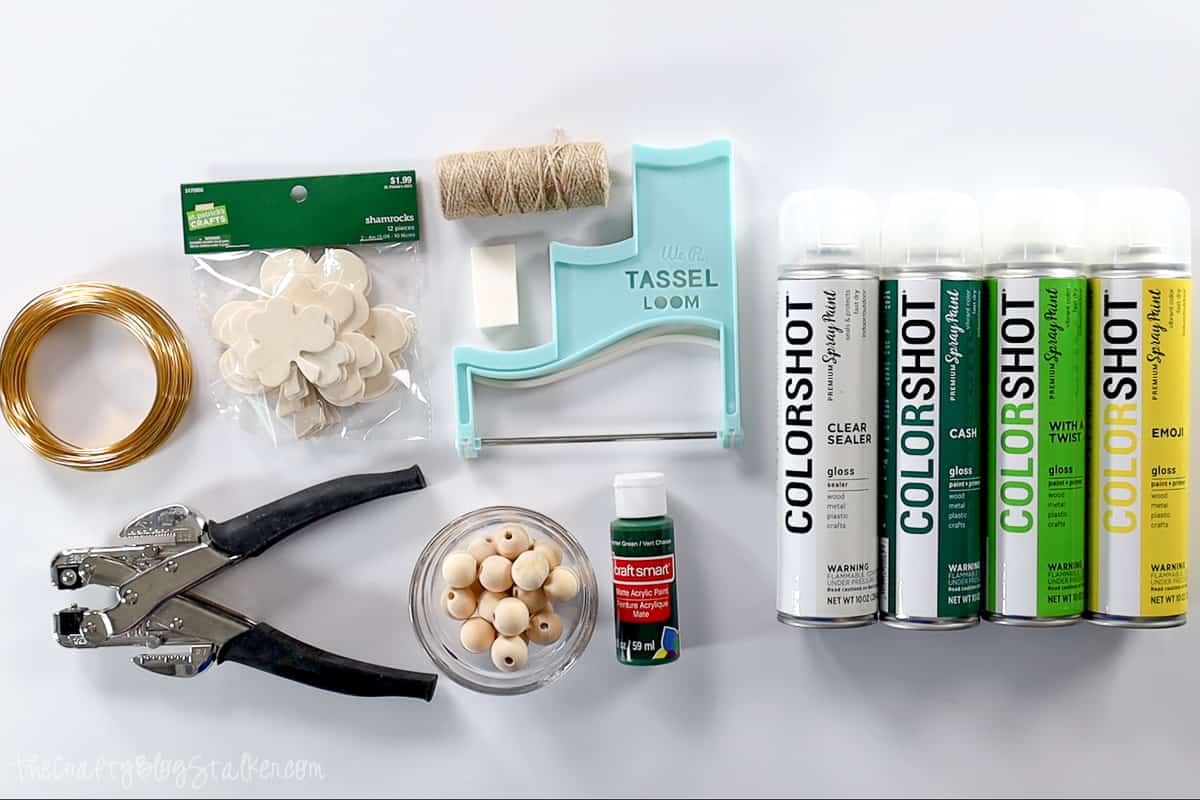
My bead size is 20 mm but you could use larger beads or smaller beads if you wanted.
There are many different ways you can customize this garland. Make a longer DIY bead garland by adding to the number of beads you use, or change out the shamrock shape for something you can keep out all year!
Make sure to use your own stash first! This tutorial can easily be adjusted by using your own wooden beads, the color of paint, or other supplies you already have on hand.
Paint Wood Beads:
Take a small cardboard box and cut off the flaps.
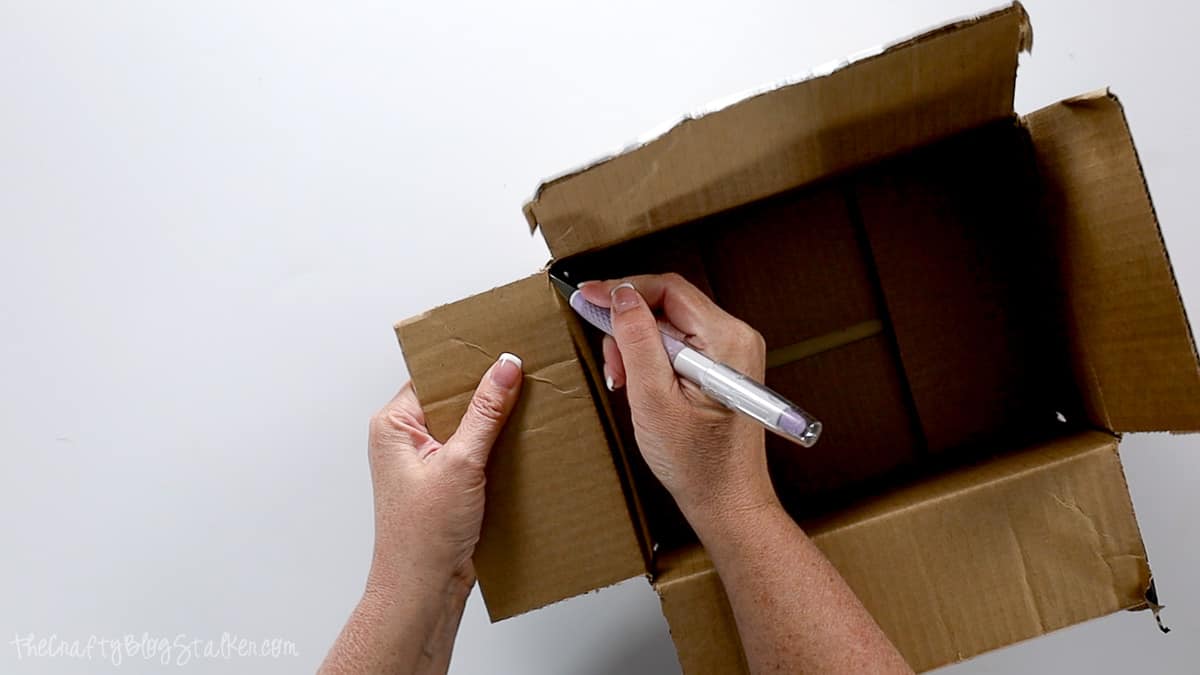
Cut two slits across from each other in the box.
Cut a length of wire that is longer than the width of the box.
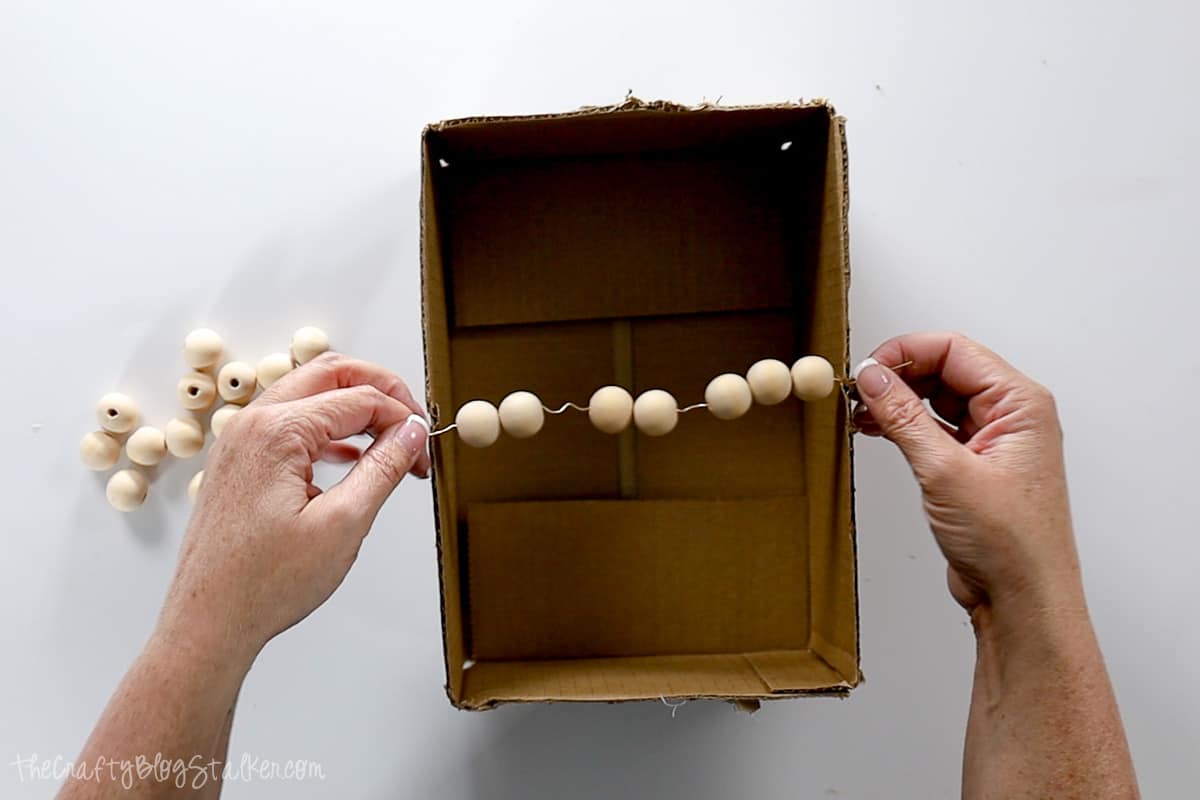
Take the wire and pinch it to give the wire lots of peaks and valleys, and then pull the wire back out. These bends in the wire will help hold the large beads in place.
String the natural wood beads onto the wire, and place the wire in the cut slits on the box.
Spray a light coat of spray paint on the beads, and then twist the wire so you can spray the back side of the beads.
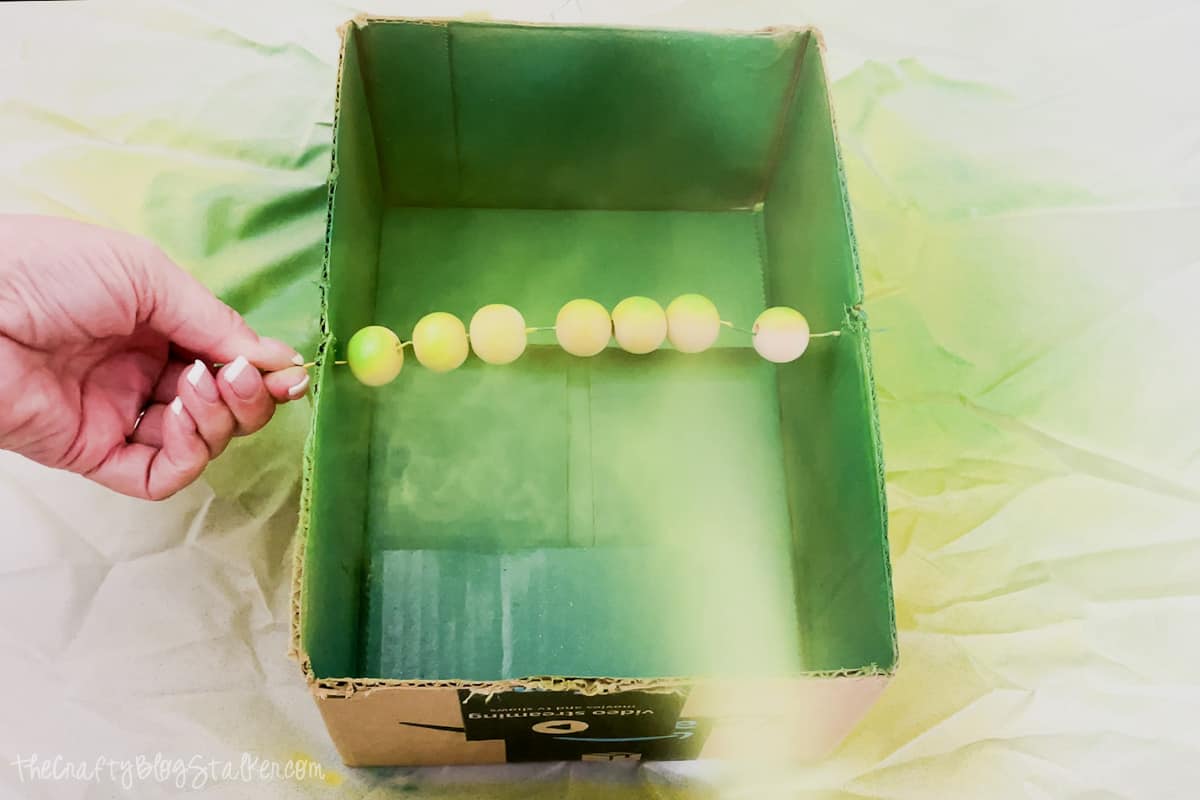
Let dry for about 10 minutes, and then repeat with a second coat.
Allow the beads to dry for another 15 - 20 minutes and apply the sealer coat.
Repeat for all of the colors of beads you are making. For me, it was 3 different colors.
They look so great when they are done!
Paint the Shamrock:
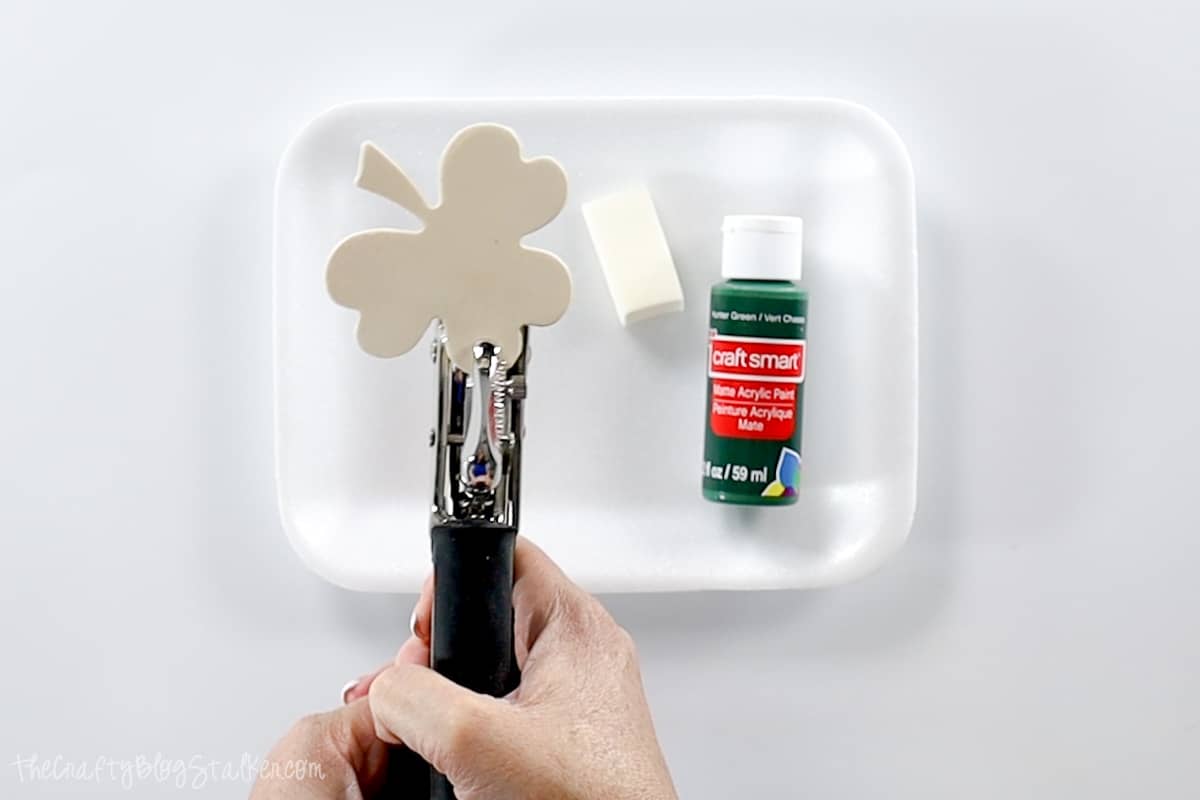
Use the CropADile to punch on the wood shamrock wherever you want the top to be.
Apply the acrylic paint with a makeup sponge by dabbing the paint onto the shamrock.
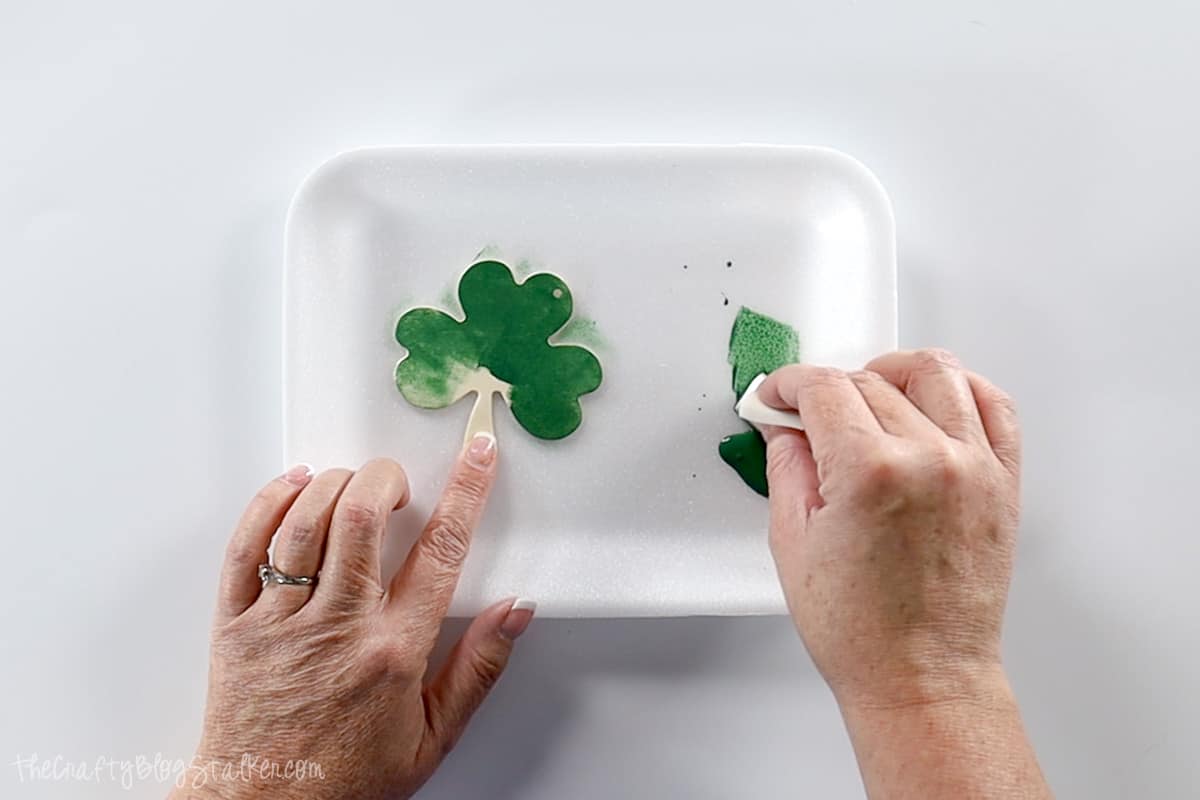
I love to use makeup sponges instead of a paintbrush because they are much cheaper and work great!
Make sure to paint the sides and the back too.
String Beads:
All of your pieces should be completely dry when you go to assemble the bead garland.
Cut a piece of jute about a yard long. It is always a great idea to have more than you need instead of not enough.
If you don't have a needle, bring the two ends of the piece of string together to double the line, and wrap a piece of scotch tape tightly around the ends. This will make stringing the beads much easier.
Push the two ends through the hole in the shamrock, and before tightening, pull the ends through the loop, and pull tight.
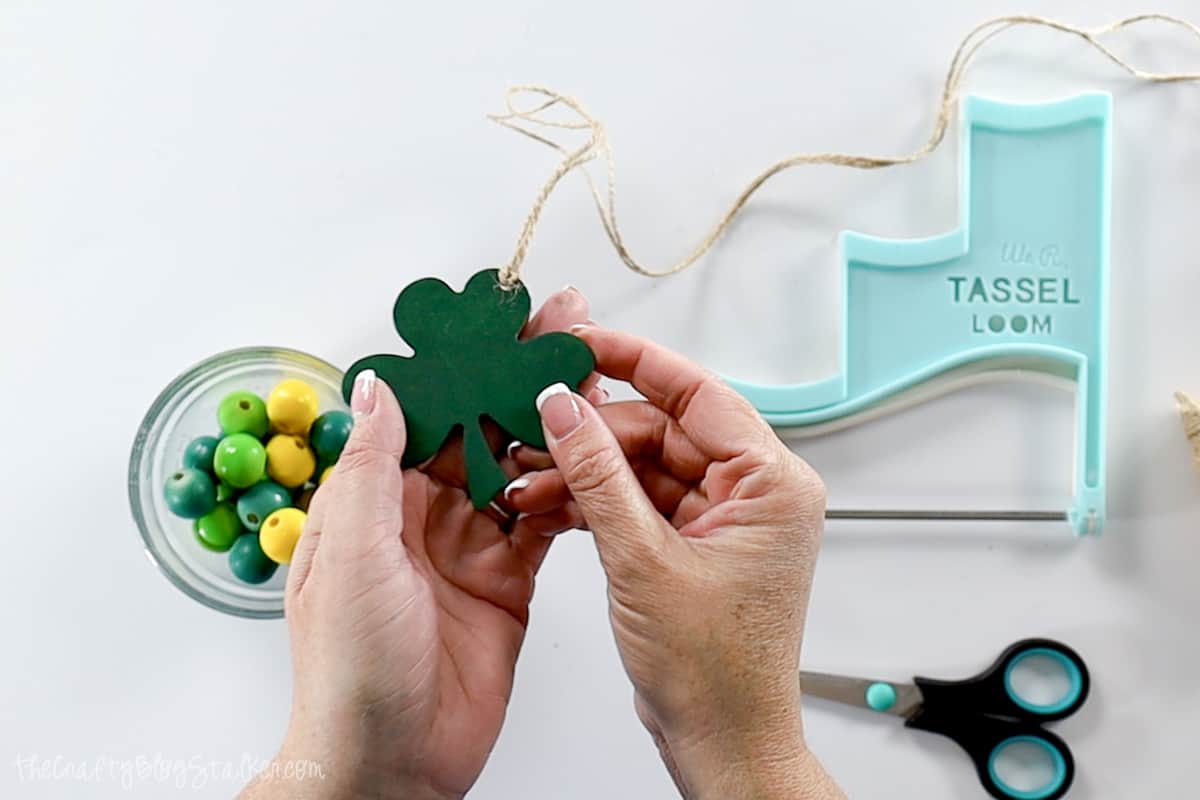
String the beads onto the twine.
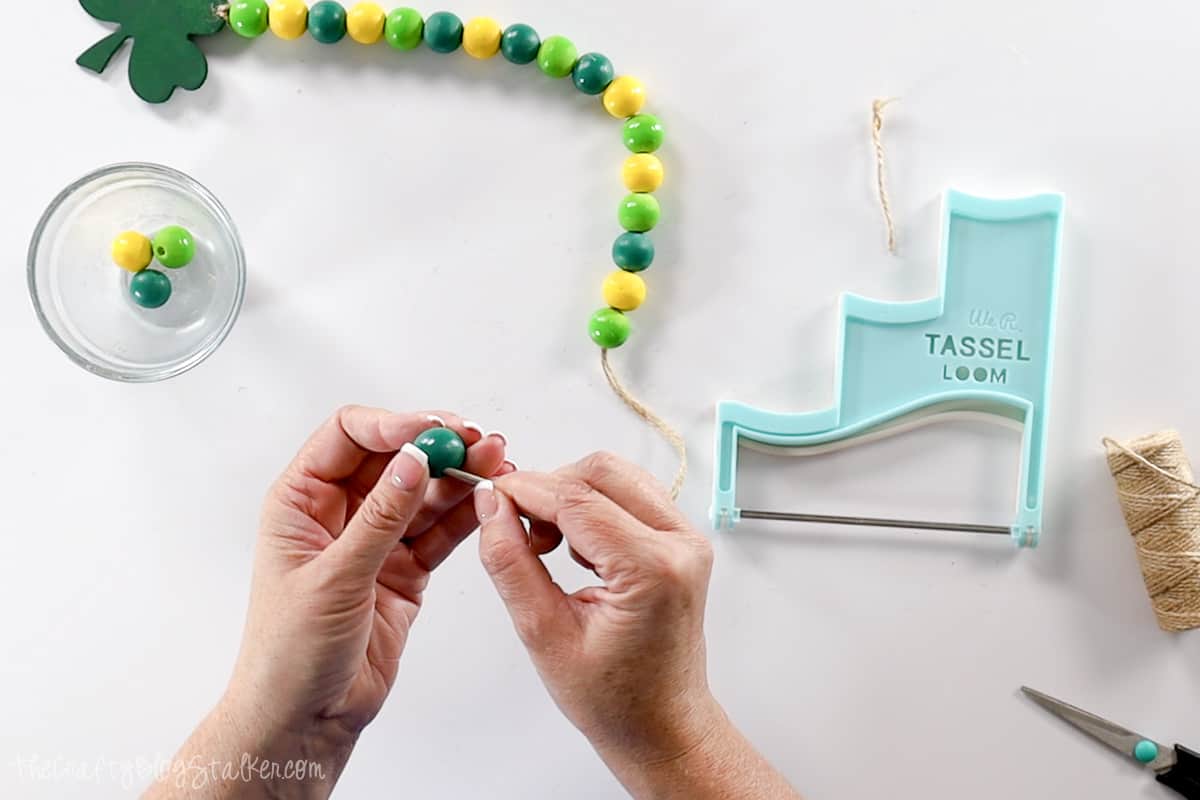
I didn't go in any particular order, I just didn't want the same colors to touch.
Once all of the beads are on the twine, cut off the taped end.
Tassel Loom:
We are going to be making the 4-inch tassel on the loom.
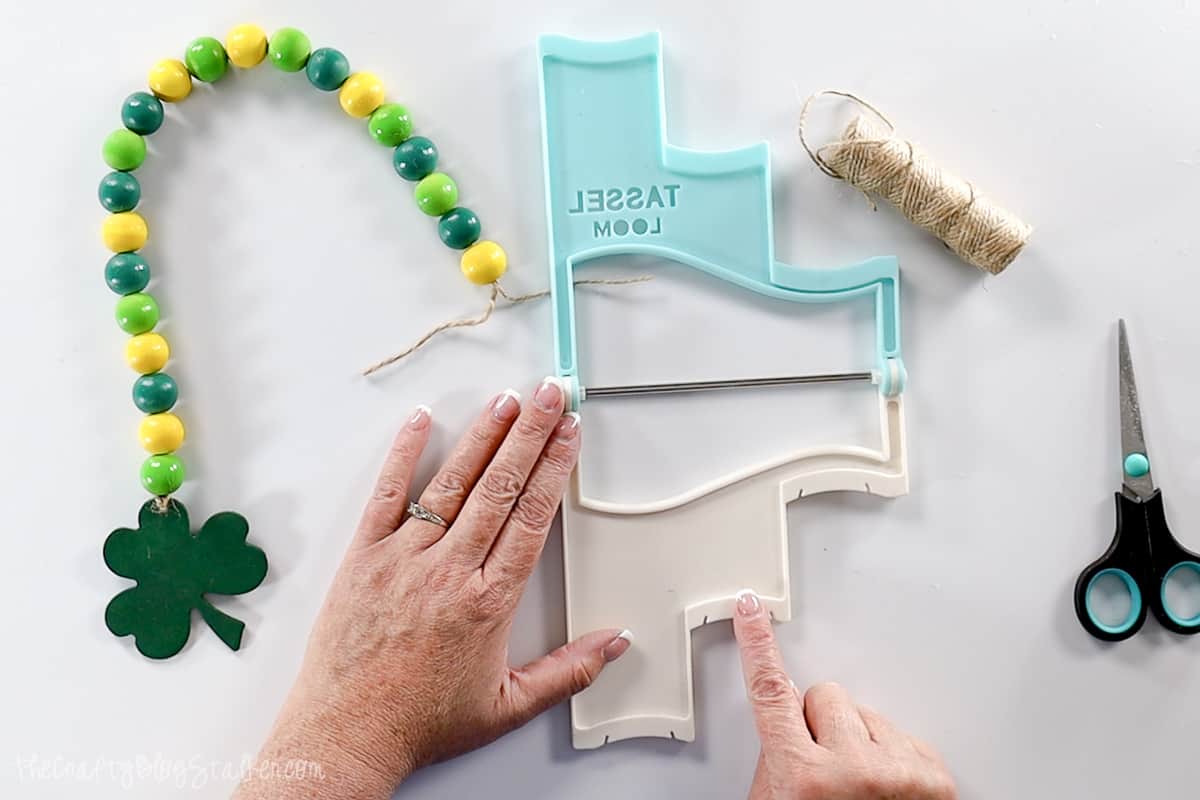
Open the loom and begin wrapping the twine around that middle section.
The more you wrap the fuller your tassel will be. Since we are using thicker twine, I don't want my tassel too hefty so I did a single line of loops.
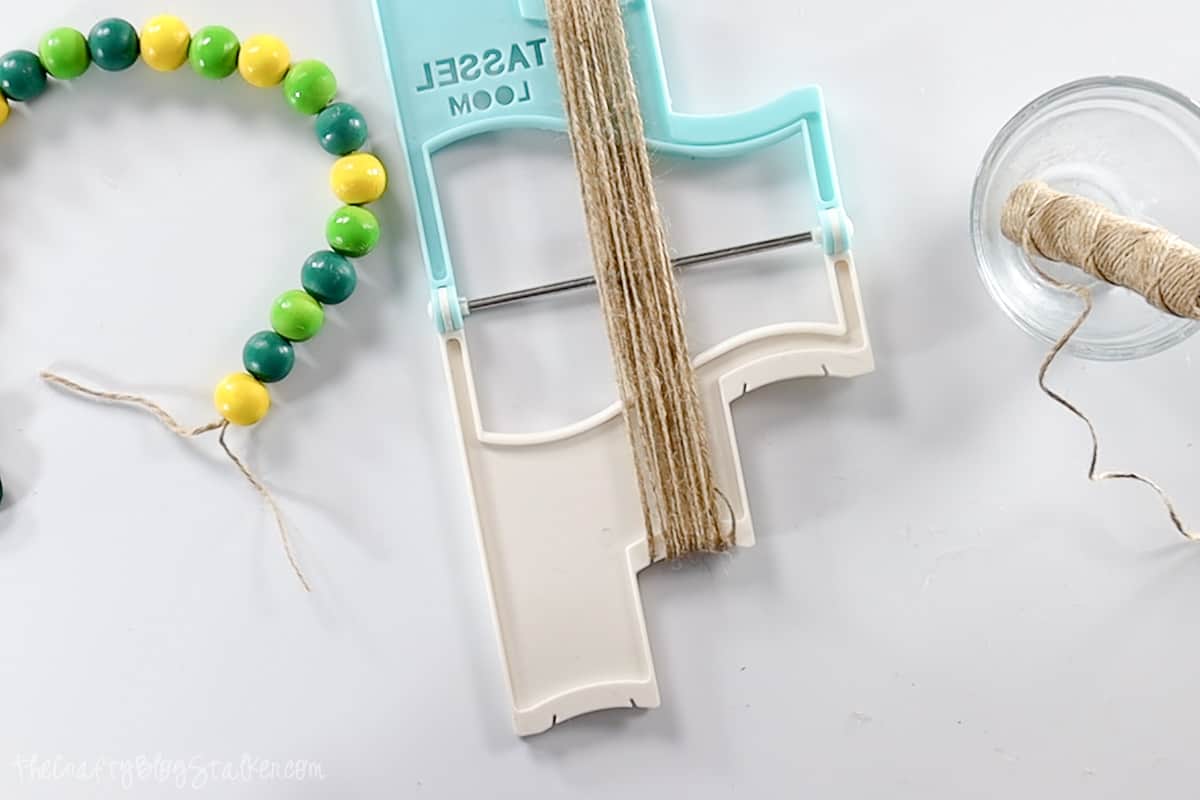
Take the two ends from your beaded length, and tie a knot, as tightly as you can, around the center rod and jute twine.
Starting here, I don't follow the instructions of the loom and create my own method. 🤣
Close the loom, and trim the end of your twine tassel with a pair of scissors. There is a groove at the base of the loom for your scissors.
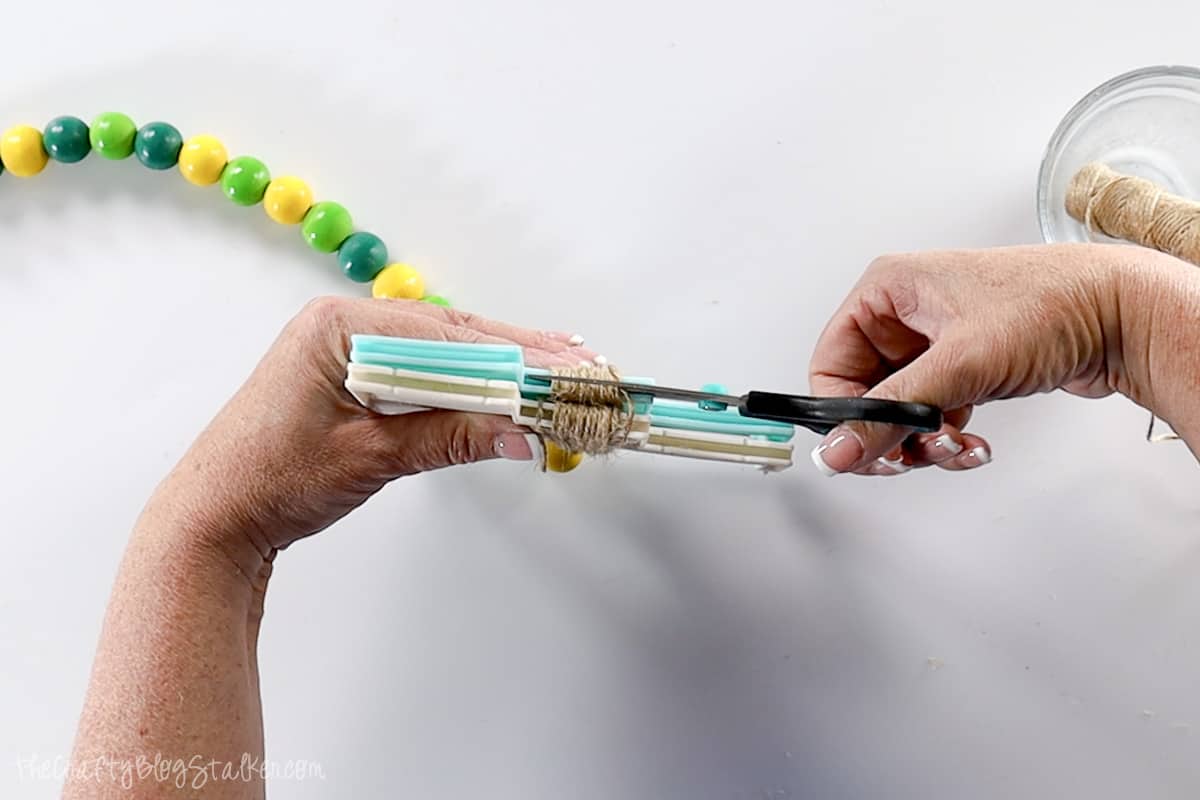
The strands are only tied through the center so be careful removing the "tassel" from the loom.
Hold the jute tassel together with your fingers and wrap another piece of twine around the top of your tassel.
Wrap about 5 or six times around and tie that length in a tight knot.
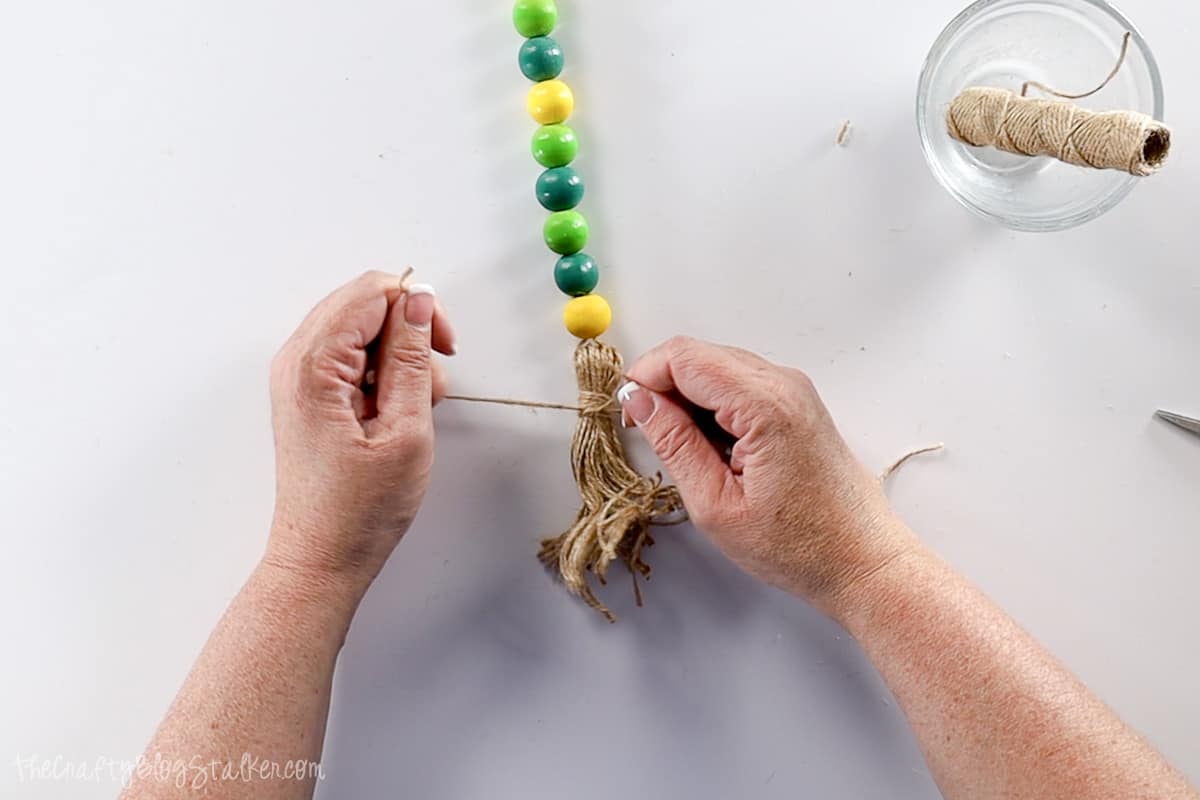
Trim the ends of the tassel to even up and shorten it to the desired length.
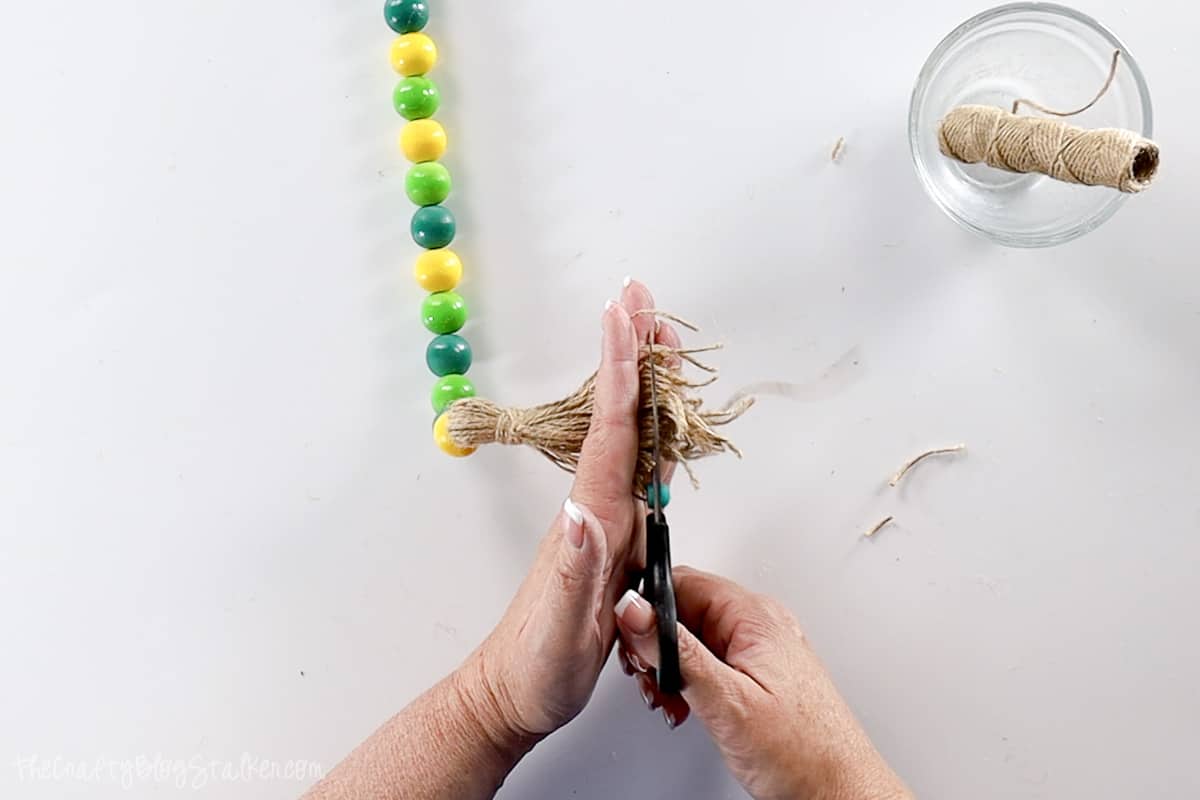
My tassel wasn't laying very nicely so I dunked the tassel in a bowl of water a couple of times, ringing it out after each dunk until I liked the shape of it better.
Now that it has dried, my wooden bead garland is finished. This will fit perfectly with my farmhouse decor.

Have future projects in mind that require painted beads? The method above is the best I have tried, and I have tried many different ways!
Make sure to pin this easy tutorial to Pinterest so you don't lose it!
Frequently Asked Questions:
How long is a typical bead garland?
There is no set standard for how long or short a farmhouse wood bead garland should be. I have seen different garlands anywhere from 6 inches to 10 feet.
Instead, consider the purpose of your garland. If you want them for tiered trays or to hang over a picture frame, 12-18 inches is a great length. If you are wanting a longer garland you can hang from a fireplace mantel, then you may want 5-6 feet.
That is why I love a DIY garland, it is an easy way to get exactly what you are looking for. Plus, they are just fun projects!
What is the best string for a wood bead garland?
You can really use any kind of string you like to make a garland. Popular choices include ribbon, leather cord, heavy cotton cord, jute string, hemp cord, and twine rope.
Our Crafting Essentials:
- The Cricut Cutting Machine is easily our favorite crafting tool. We use it in so many of our tutorials!
- These MakerX Crafting Tools are perfect for keeping in the craft room and are always ready when needed!
- This Fiskars Paper Trimmer is easy to use and cuts nicely without frayed edges.
- These Scotch Precision Scissors cut like a dream, and you get multiple pairs in a pack!












Leave a Reply