Create a stunning DIY Winter Wreath easily with just 4 supplies! An affordable and simple way to add festive charm to your home this season.
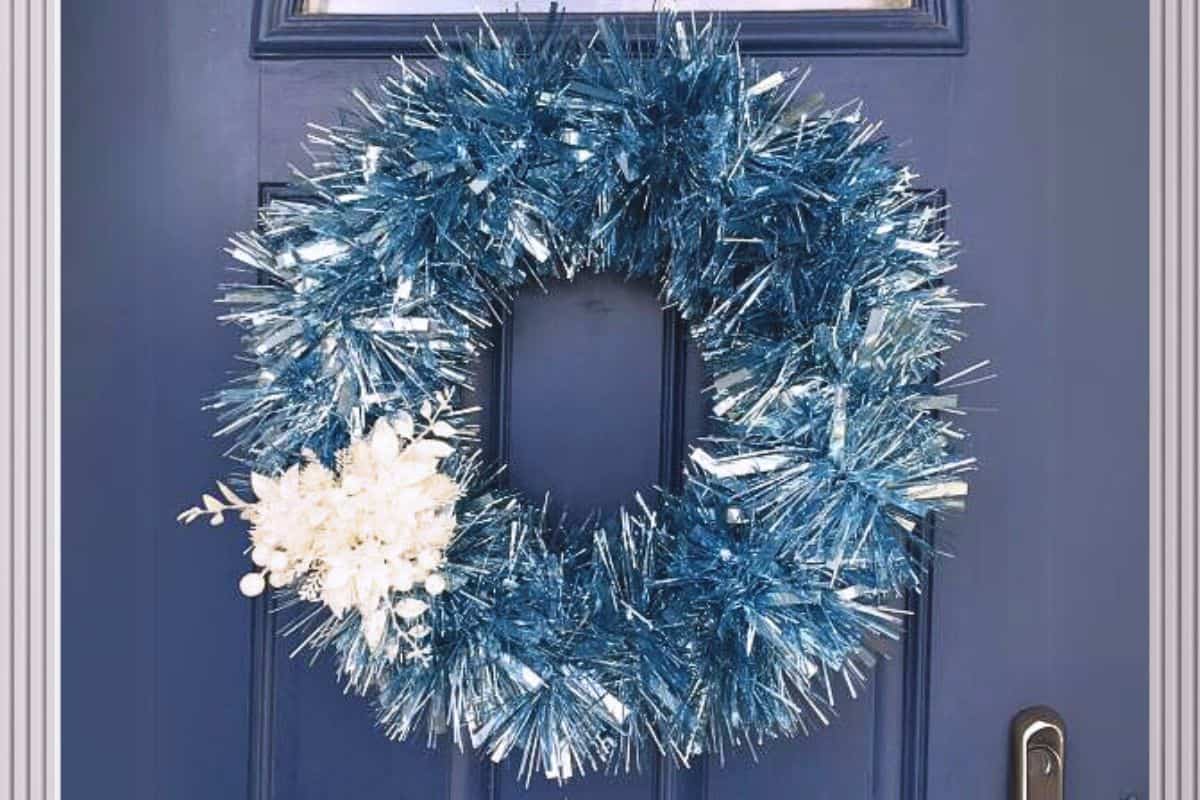
Are you someone who enjoys sprucing up your home for the winter season?
Creating Christmas decorations is always a joy, but it's even better when those pieces can seamlessly transition beyond the holiday season.
That's where this versatile garland wreath comes into play! It's not only perfect for adding a festive touch at Christmas but also ideal for keeping up throughout the colder months.
This approach to decorating, where one piece serves multiple purposes, is both practical and stylish.
Let's dive into how you can create this multi-seasonal wreath that will beautify your home all winter long!
Craft Video Tutorial:
Like videos? I have a video tutorial for you! Subscribe to my YouTube Channel so you don't miss any future videos!
Supply List:
Links may go to similar items when exact items couldn't be found online. Help me continue to provide free tutorials by shopping my affiliate links. Please review our Privacy Policy.
- Blue Garland (I used 2 9-foot lengths)
- 18" Wreath Form
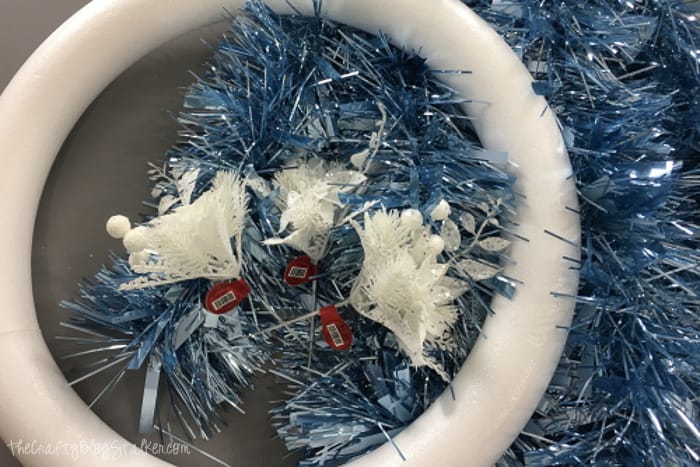
- Christmas Floral Stems
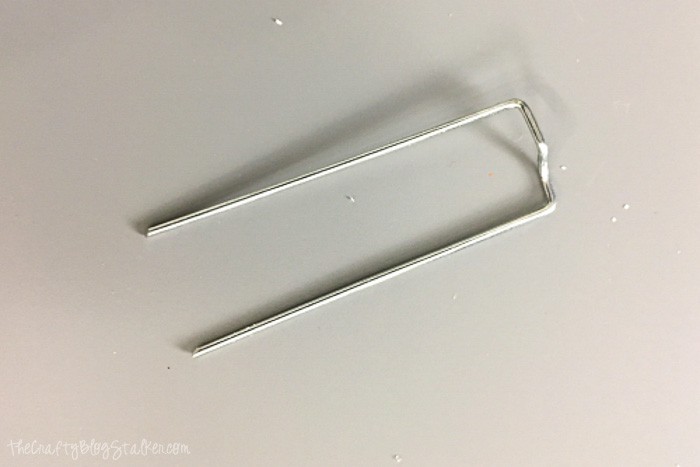
- Floral Pins
Here is a close-up of what floral pins look like. They are basically double-sided pins.
Wrapping:
Begin by finding the end of the garland. Pin it to the wreath form by placing the floral pin over the length of the garland and securing it to the wreath form.
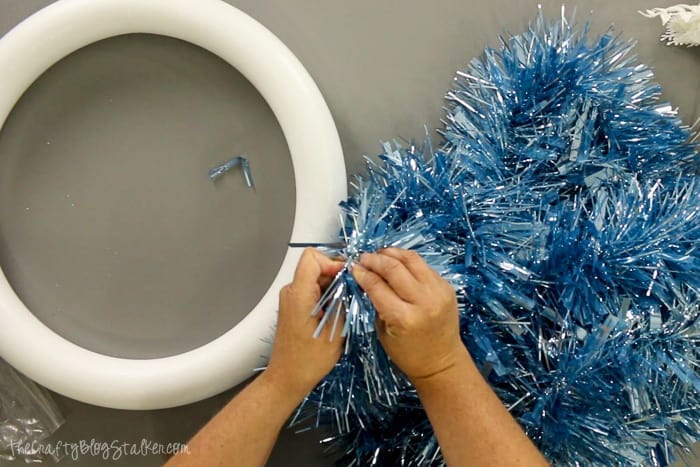
Wrap the garland around the wreath form.
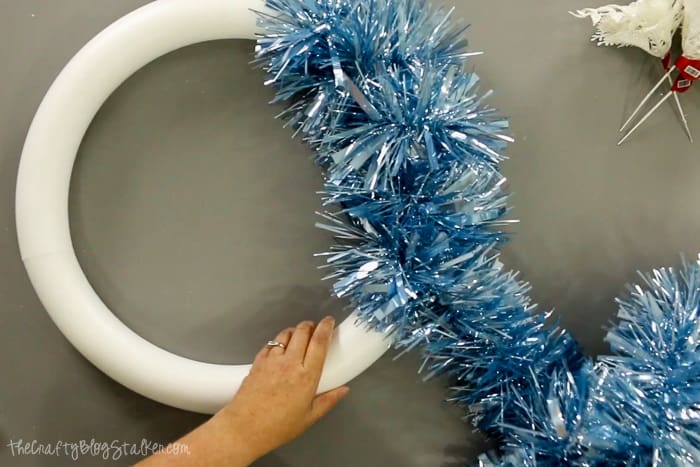
One length of Christmas garland was not enough to cover the entire wreath.
To continue wrapping, layer the end and the start of the new length of garland, place the floral pin over the two pieces, and push them into the wreath. Then continue wrapping.
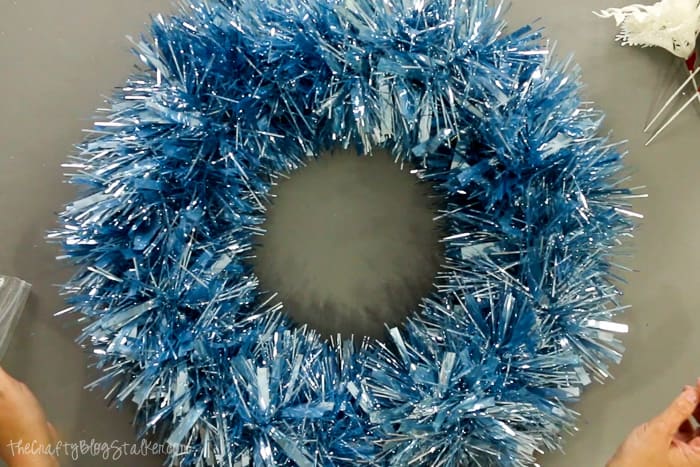
When the wreath form is completely covered, secure the end with a floral pin.
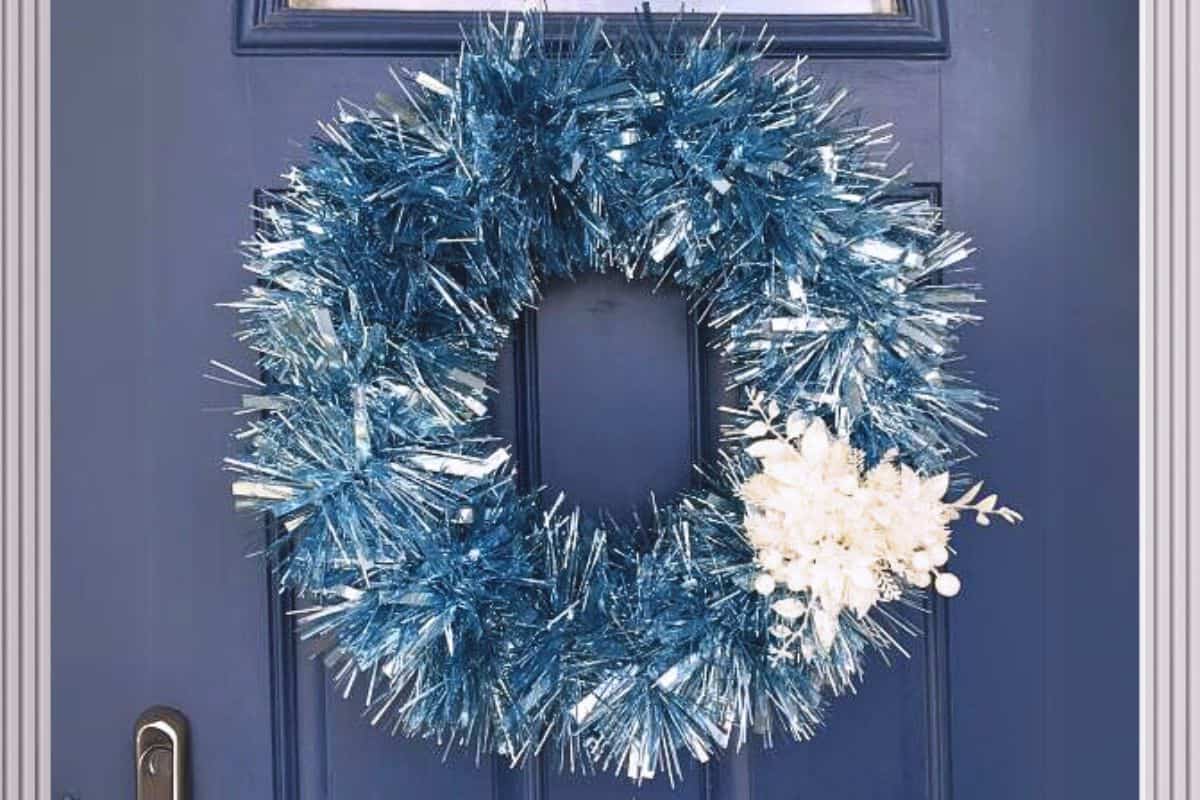
If you wanted, you could leave the wreath as is. The texture of the tinsel garland is so pretty!
Adding a Focal Point:
I grabbed 3 of the same floral picks to bunch together and give the wreath a focal point.

Cut the stems to be only about 2 inches long with a pair of wire cutters.
If the stems are too long they will push through the back of the wreath and can scratch your door or wall.
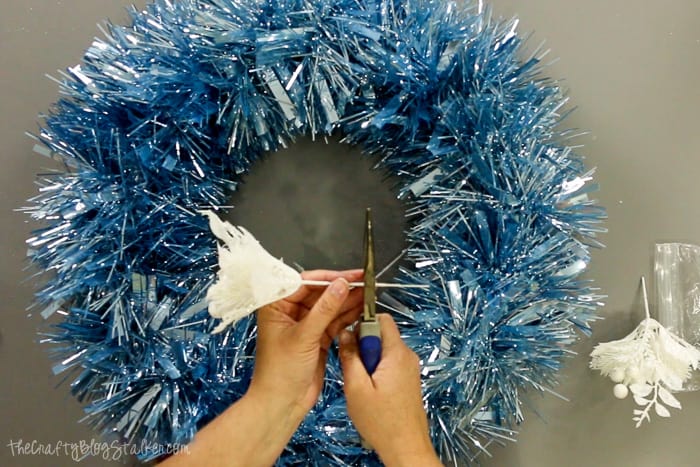
Then simply push the stems into place on the wreath.
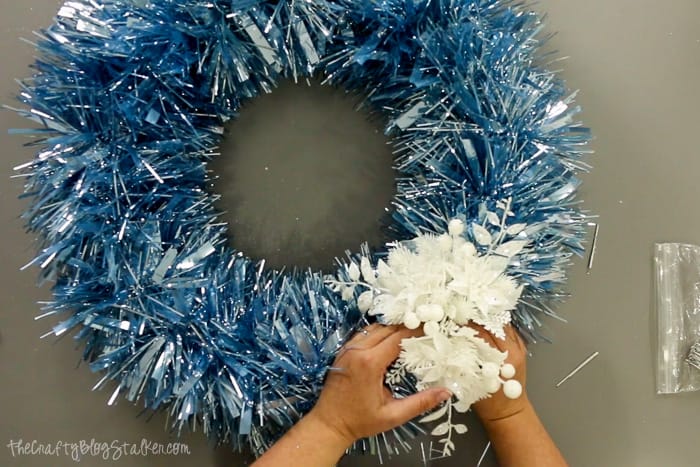
And you're done! Wasn't that quick and easy?
This type of wreath is perfect to hang on your door outside because the cold weather won't hurt it one bit, but it would also look great hanging indoors over a fireplace!
I put mine on my front door.
Frequently Asked Questions:
The length will vary depending on the thickness of your garland and the size of your wreath form. I used an 18-inch styrofoam wreath form and covered it completely with about 18 feet of tinsel garland.
If you are using a wire wreath form, you can use hot glue to attach the garland. If you are using a styrofoam wreath form, hot glue will melt the styrofoam and the garland won't attach securely.
You could also use floral wire for any type of wreath form.
Our Crafting Essentials:
- The Cricut Cutting Machine is easily our favorite crafting tool. We use it in so many of our tutorials!
- These MakerX Crafting Tools are perfect for keeping in the craft room and are always ready when needed!
- This Fiskars Paper Trimmer is easy to use and cuts nicely without frayed edges.
- These Scotch Precision Scissors cut like a dream, and you get multiple pairs in a pack!










Christine
Loving this DIY. The photos help a lot. Stopping by from the Let's Be Friends party.
Katie
Thank you Christine! It is a fun festive wreath and I love that it can stay up all winter long!
Sahana
Love this. Looks simple and festive. Thank you for linking with us at #HomeMattersParty . We would love to have you again next week.
Katie
Thank you Sahana. It is a very simple wreath but looks amazing!
Kimm at Reinvented
I love this! Any easy DIY is right up my alley, and I love the sparkle for winter. Thanks for sharing at Funtastic Friday!
Kathy Crouch
Your wreath is very cute, you could also add lights to it.
Katie
Thank you Kathy! It would be super cute with lights!!