This post may contain affiliate links. For more information, please see our disclosure policy.
Greet your visitors with a happy fall hanger on your front door! A step-by-step tutorial to make your own fall door hanger.
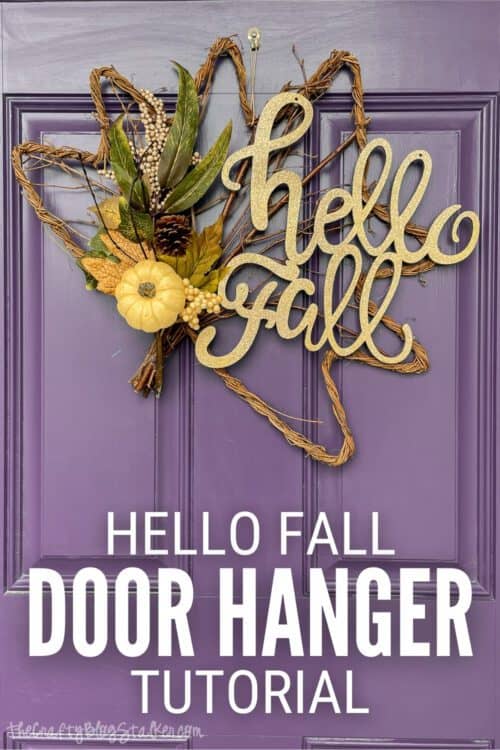
Don't you just love fall?
All the colors, the cooler weather, and the CRAFTING!
This year, to mark the beginning of fall, I wanted to make something to hang on my front door.
I only purchased 3 items from my craft store and was able to create this beautiful door hanger. I love it!
Craft Tutorial Video:
Like videos? I have a video tutorial for you! Please subscribe to my YouTube Channel so you don't miss out on any future video tutorials!
More Fall Craft Ideas:
Fall crafting means leaves, pumpkins, and all of those fun natural colors! I love to create fall crafts and have several tutorials I'd love to share with you. Like this Fabric Fall Wreath, these Glitter Pumpkins, and these Burlap Napkin Rings.
Be sure to look around the blog for more fun craft tutorials!
Supplies You'll Need to Create this Project:
This post contains affiliate links.
- Rattan Maple Leaf
- Hello Fall Wood Decor
- Fall Floral Pick
- Gold Spray Paint
- Spray Adhesive
- Fine Gold Glitter
- Clear Sealing Spray
- Hot Glue Gun or E6000
- Wire Cutters
- Twine
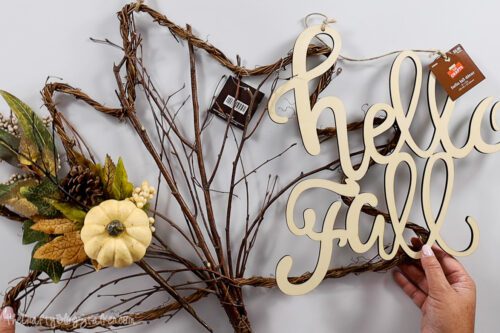
NOTE: If your door gets direct sunlight, use E6000 glue instead of hot glue. It will take longer for the pieces to dry, but won't melt in direct heat like hot glue.
Painting:
The first step to creating this door hanger is to paint the wood Hello Fall piece.
Apply 2 - 3 coats of gold spray paint until it is completely covered.
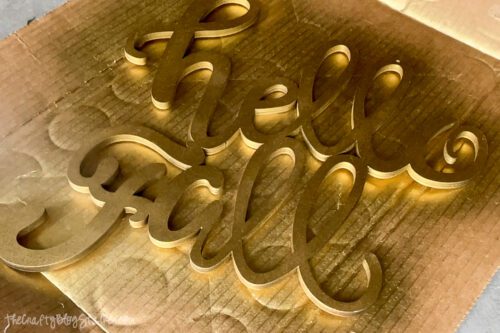
When the paint is dry, spray 1 coat of adhesive, immediately followed by glitter. Cover it well.
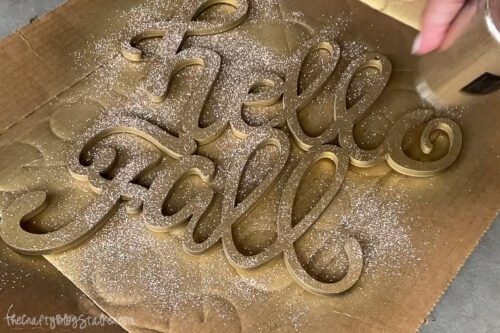
Finish with 1 -2 coats of Clear spray to hold the glitter in place, and let dry.
Assembly:
We are going to be using a lot of hot glue, so have your glue gun ht and ready with a couple extra sticks handy.
Arrange the pieces on the leaf how you want them to look.
If you need to trim the floral pick, use a pair of sharp wire cutters.
Glue the floral ick to the stem of the leaf shape.

Turn the door hanger over, Hot glue the pick in places that will secure it to the door hanger.
Turn the door hanger over again so it is right-side up.
Place the "Hello Fall" wood piece where you want it to be on the door hanger.
Use hot glue to secure it in place.
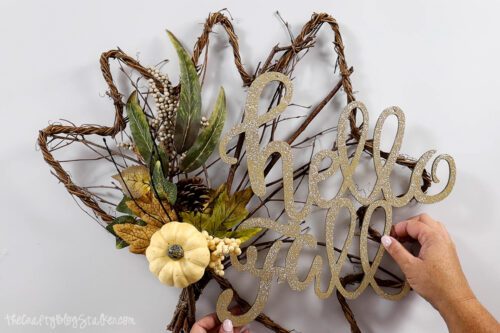
Even though the wood piece isn't that heavy, you still want to make sure it is good and secure.
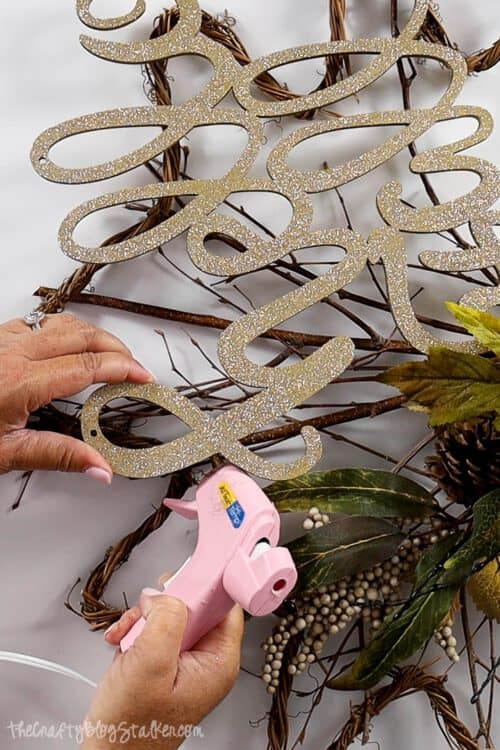
Turn the door hanger to the backside again to look for more areas where you can secure with hot glue.
Once everything is well secured, tie a 5-inch piece of twine to the top of your door hanger.
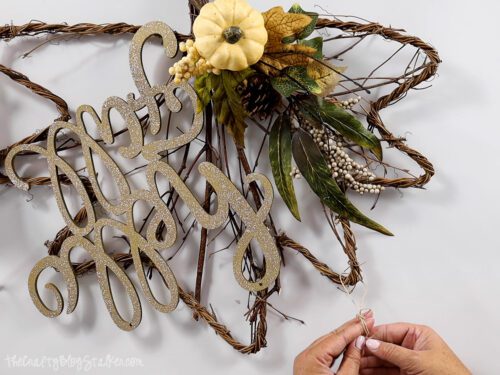
Now all that is left is to hang it on your front door!

Our Crafting Essentials:
- The Cricut Cutting Machine is easily our favorite crafting tool. We use it in so many of our tutorials!
- These MakerX Crafting Tools are perfect for keeping in the craft room and are always ready when needed!
- This Fiskars Paper Trimmer is easy to use and cuts nicely without frayed edges.
- These Scotch Precision Scissors cut like a dream, and you get multiple pairs in a pack!









Leave a Reply