



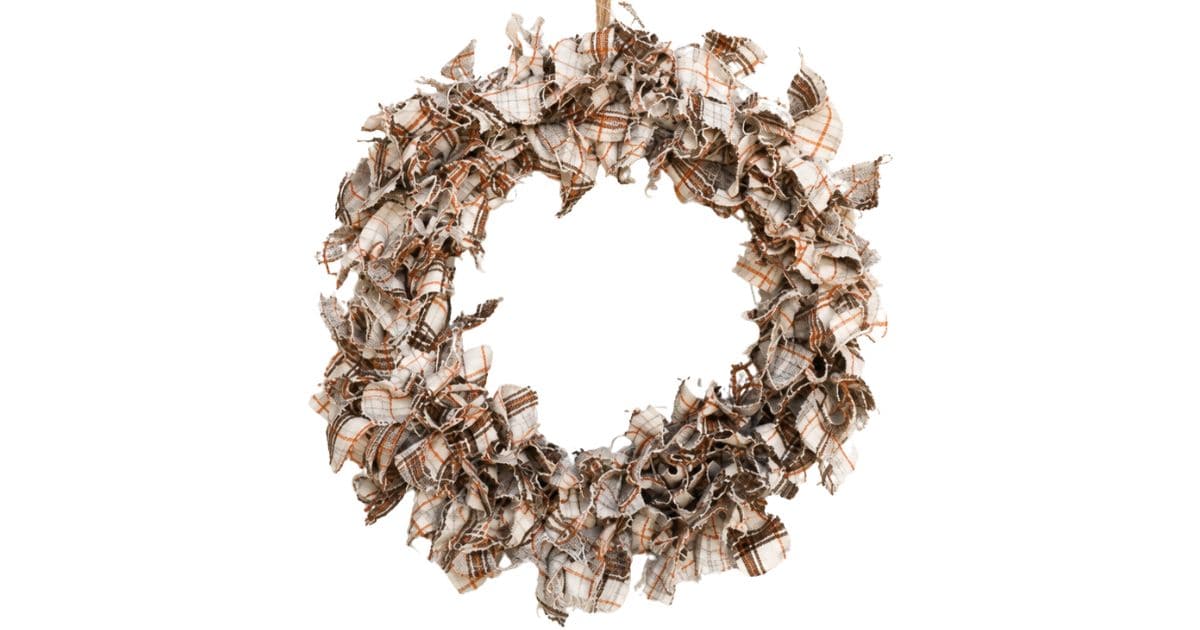
Create a beautiful DIY fabric wreath using simple fabric strips and a wire frame for an easy fall decoration that's full of cozy handmade charm.
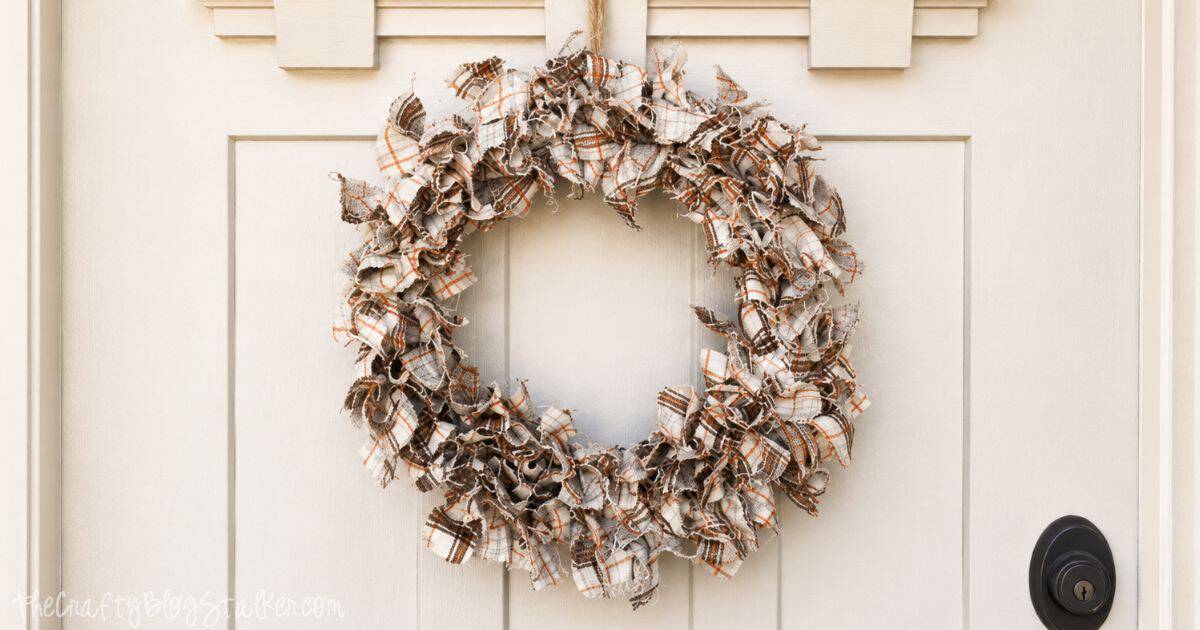
Hi there! Sara here from Twelve on Main, and I'm so excited to share one of my favorite fall projects with you.
This fabric wreath DIY is one of those projects that's simple enough for beginners but still looks beautiful hanging on your front door or above a mantel.
It's also a wonderful way to use fabric scraps, fat quarters, old sheets, or leftover pieces from other sewing projects.
Once you learn the basic technique, you can customize this fabric rag wreath for every season and holiday.
Skill Level: Beginner
Estimated Cost: $10-$20
Total Time: about 1 hour
Supply List
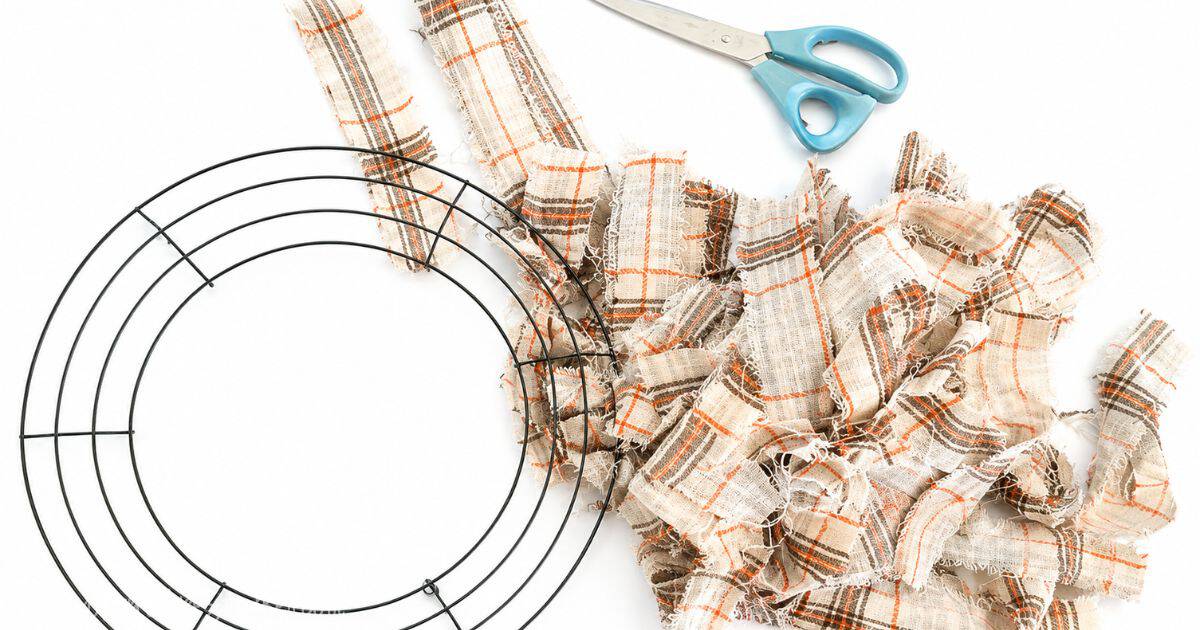
I used a 14-inch wire wreath frame, but you can use any size available at your local craft store.
Just remember that a larger frame will require more fabric to achieve the same full, fluffy look.
Choosing Fabric
One of my favorite things about this tutorial is that almost any woven fabric works well. I used a plaid fabric from my stash because I loved the cozy fall colors, but don't feel limited to that.
Cotton quilting fabric, fat quarters, fabric scraps, old sheets, and even jelly rolls can all be turned into a beautiful finished wreath.
If you're buying fabric from a fabric store, one yard is usually enough for a 14-inch wreath form.
If you're working from your stash, simply gather coordinating fabrics and mix patterns for extra texture and interest.
Prepping the Fabric
Before assembling the wreath, you'll need to prepare your fabric.
Rip or cut the fabric into strips about 1 inch wide, then cut those strips into 5-inch lengths. Many quilting cottons tear easily along the grain, making this step quick and easy. If your fabric doesn't tear cleanly, a rotary cutter and ruler or a good pair of fabric shears work just as well.
Don't worry if every strip isn't perfectly identical. Small variations actually give the finished wreath more texture and character.
How to Tie the Fabric onto the Wreath
Making the wreath is wonderfully repetitive and relaxing.
Take one folded strip of fabric and fold it in half lengthwise to create a loop. Slide the folded end under one wire of the wreath frame. Bring the two loose ends through the loop, then pull gently to tighten the knot around the wire.
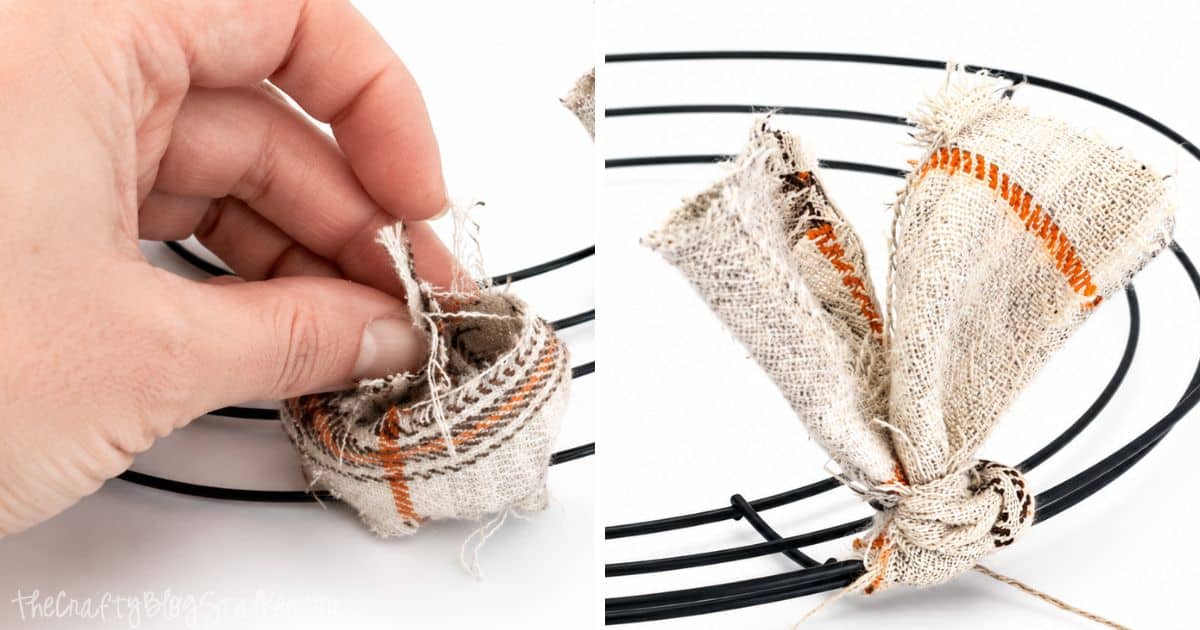
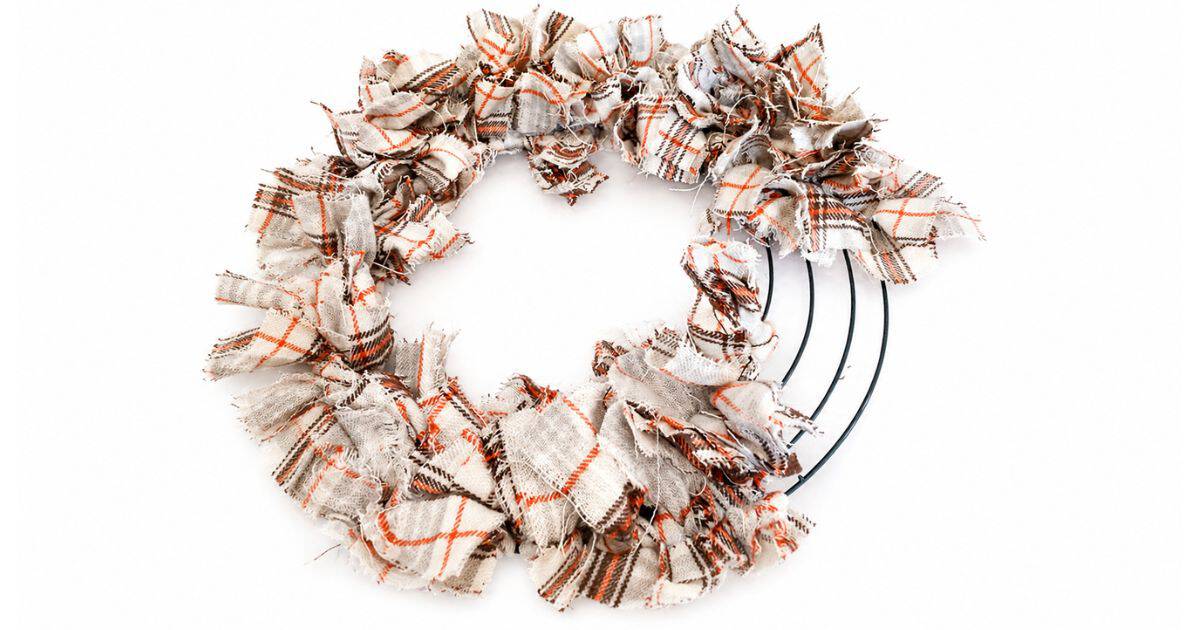
Continue tying strips of fabric around the outer ring, middle ring, and inner ring of the wreath frame until it is completely covered. As you work, occasionally fluff the fabric strips with your fingers to help fill any gaps.
The fuller you make the wreath, the better it looks. Don't be afraid to pack the knots closely together for lots of texture.
Customize Your Fabric Wreath
One of the best parts about this fabric wreath is how easy it is to personalize.
Change the fabric colors to match the holiday season, add a decorative bow, or mix solids with patterned fabrics for even more visual interest. Rich oranges, creams, plaids, and florals are perfect for fall, while reds and greens create a festive Christmas wreath. Soft pastels make a beautiful spring version, and patriotic fabrics are perfect for summer.
Because the wreath is made entirely from tied fabric strips, you can easily create a new look any time inspiration strikes.
Helpful Tips
If your wreath starts looking uneven as you work, simply rotate the frame and continue tying fabric where it looks a little sparse. Once all of the strips have been added, fluff the fabric one final time until you're happy with the overall shape.
This wreath hangs beautifully on a front door, but if it's exposed to the weather behind a storm door or on a covered porch, it will stay looking fresh much longer.
Frequently Asked Questions
Lightweight woven cotton fabrics are the easiest to work with, but almost any non-stretch fabric will work.
Absolutely! This is a great stash-busting project and one of my favorite ways to use leftover quilting fabric.
For a 14-inch wreath form, about one yard of fabric is usually enough. Larger wreaths will require more fabric strips.
Because the fabric is tied directly onto the wire frame, spot cleaning is the best option if it gets dusty.
Definitely! Simply change the fabrics to match Christmas, spring, summer, Halloween, or any holiday you want to decorate for.
Need help with this project?
Click a button below to ask AI if you can make this wreath with fat quarters or jelly rolls.
More DIY Wreaths
Whether you love decorating for fall, Christmas, or every season in between, these DIY wreath ideas are full of inspiration for creating a warm and welcoming front door.


Hi, I'm Katie!
I'm so glad you're here. Want to make something fabulous? I'm here to help!
Jasmine @ Eccentricities by JVG
This is a great idea. I will have to try this.
Katie
Thanks, Jasmine! I would love to see your wreath if you give it a go!
Danita Carr
I love this idea! Perfect for this time of year! Thanks for sharing at #SmallVictories linkup!
Valerie
This turned out so great and I love the fabric that you used!
Katie
Thank you Valerie. I am so glad that you like the wreath!
Dana
I love be the fabric you chose and ripping it is so perfect. Let Celt wreath!
Katie
Thank you Dana! I am so glad that you like it!
Christine
That's a cute and affordable idea! Stopping by from Let's Be Friends!
Katie
Thanks, Christine! I am so glad that you like this wreath. I love that you can use any type of fabric to make the wreath match any decor or season.
Cortne
Love this DIY! Thanks so much for sharing!!!
Katie
Thank you Cortne! I am so glad that you like this fabric wreath!
Charlene Asay
Very cute wreath. Happy fall!
Katie
Thank you Charlene!!
Erin - suburban simplicity
I love a good fall wreath...any wreath really! This one is definitely a cute one! Well done! Thanks for sharing at Welcome Home Wednesdays! See you tomorrow!
Katie
Thanks, Erin. I am so glad I could send some Fall Wreath inspiration your way.
Peggy
Beautiful projects
Katie
Thank you so much Peggy!
Debbie
I've made about 7/10 already and two of them I glued to a big clock made them over a year ago. They turned out very nice