This post may contain affiliate links. For more information, please see our disclosure policy.
Use vinyl and a Cricut Explore Air 2 to create a beautiful Winter Wooden Door Tag Hanger. Below is the step-by-step tutorial and video.
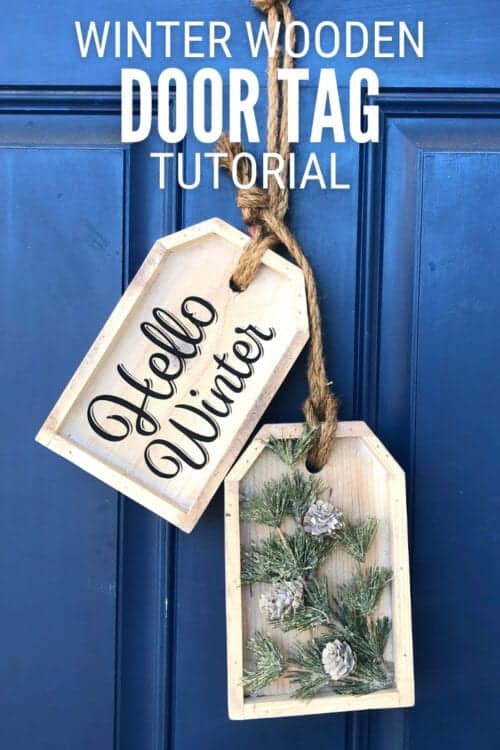
Do you love winter? Honestly, I am not a fan. I love decorating in the winter theme but I do not like the cold!
So while I may not love going opening my door and going outside this time of year, I absolutely love my front door decor! This Winter Door Tag Hanger turned out even cuter than I imagined and you can easily make one too!
Recipe Tutorial Video:
Like videos? I have a video tutorial for you!Please subscribe to my YouTube Channel so you don't miss out on any future video tutorials!
Supplies You'll Need to Create this Project:
This post contains affiliate links.
- 2 Wood Door Tags
- White Craft Paint
- Sponge Brush
- Winter Pine Tree Floral Pick
- Hot Glue
- Cricut Cutting Machine
- Iron-on Vinyl
- Easy Press Mini
- Hello Winter SVG
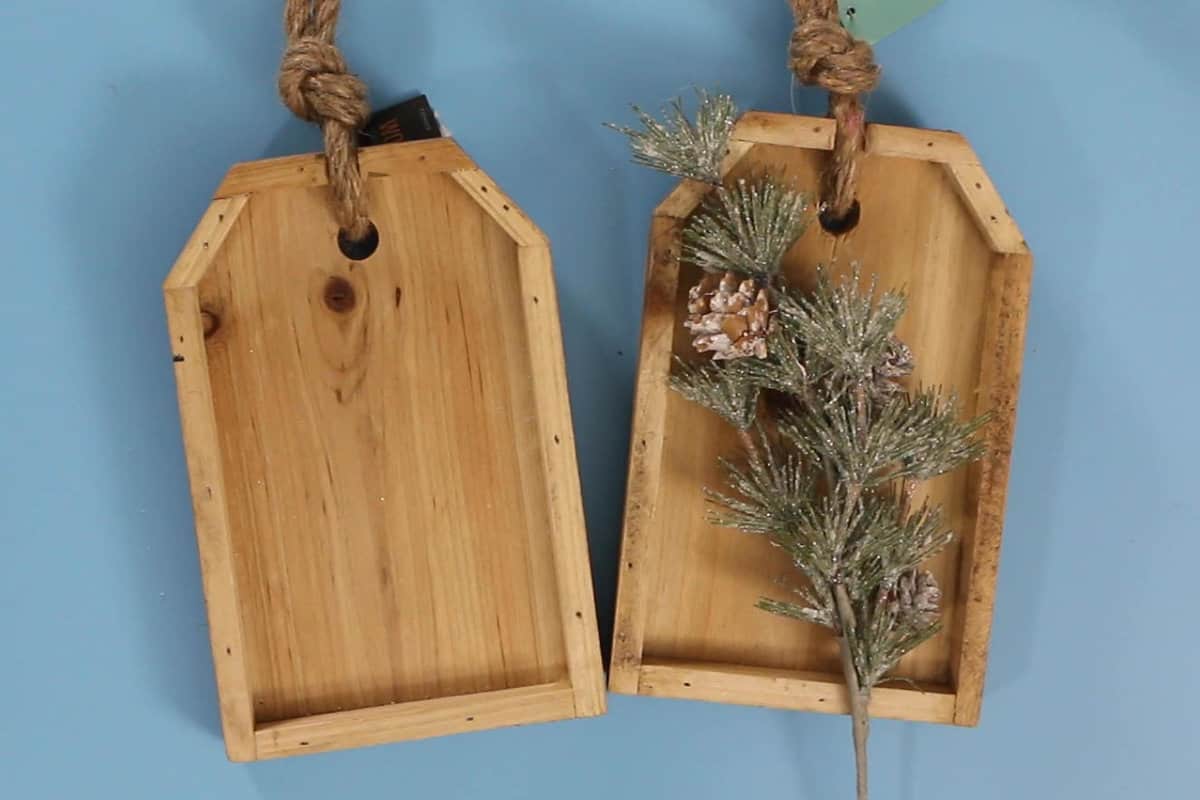
White Wash Paint the Wood Tags
The first step is to give the wood tags a whitewashed look. You can achieve this with some white craft paint and water.
On a paper plate, drop a fairly large dollop of why white craft paint and add some water. Stir with a foam paintbrush. The more water you add the more diluted your color will be.
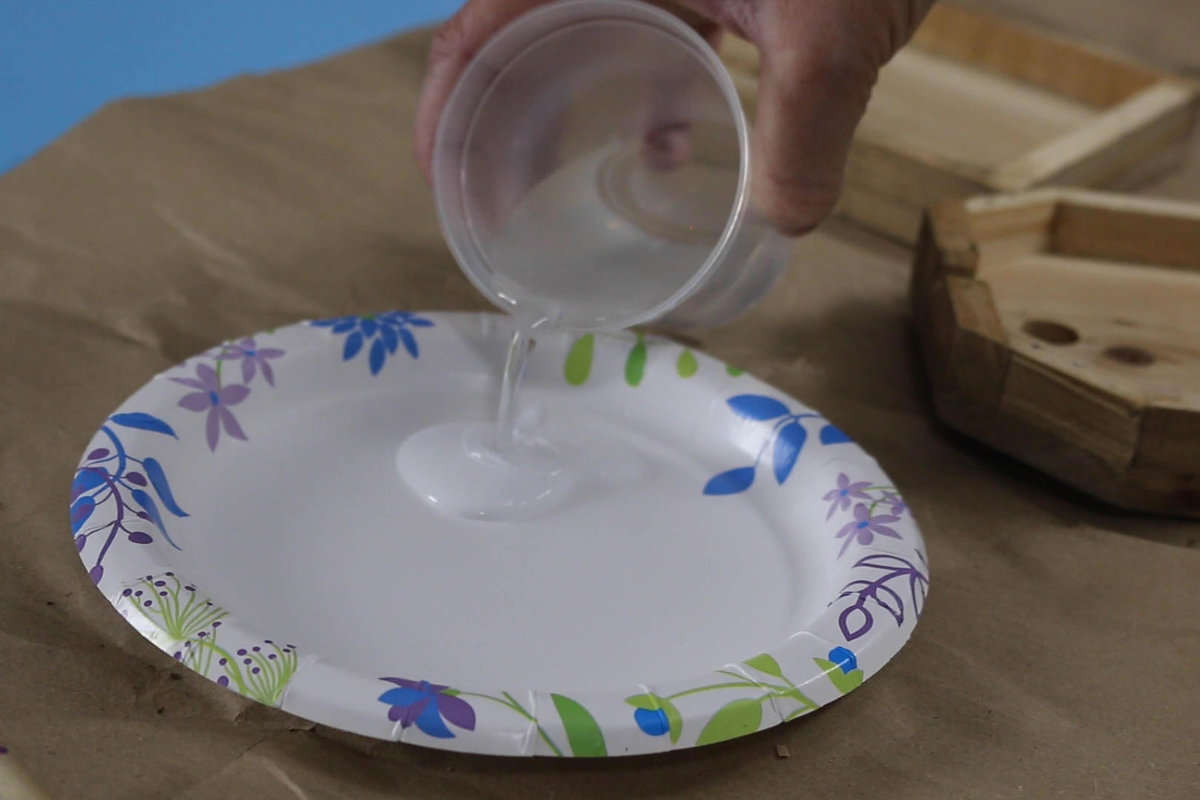
Untie and remove the rope hangers and apply the paint all over the wood tag with a foam brush.
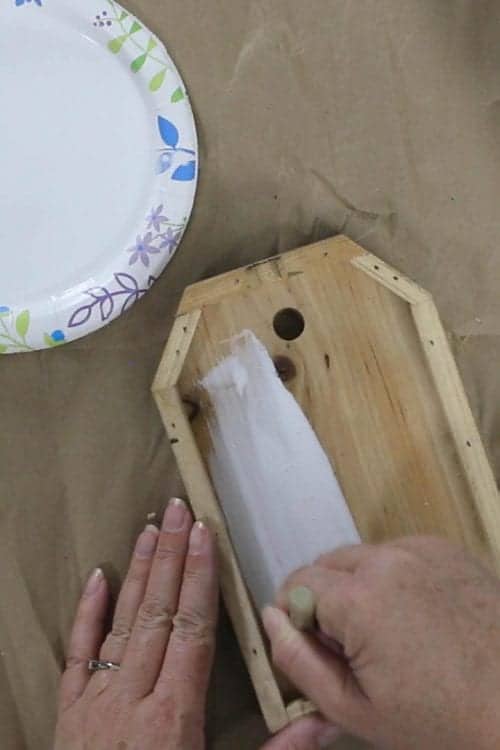
Allow the paint to sit for a moment and then wipe off with a paper towel or cloth rag.
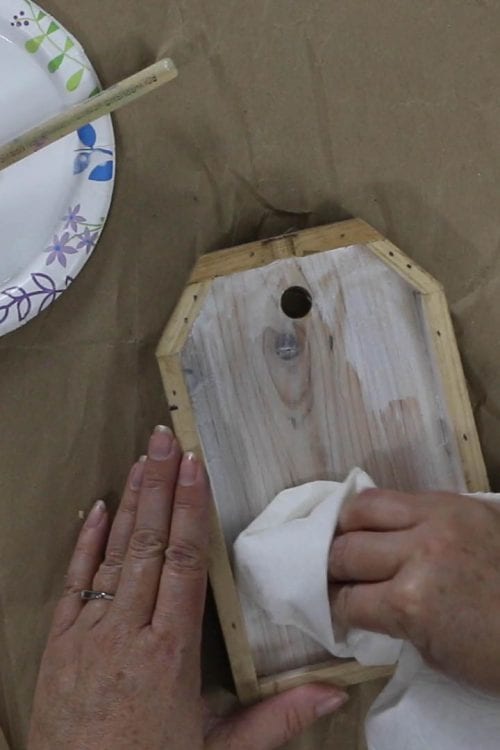
Keep repeating the process until you get the whitewash look you want. Mine took a couple coats each.
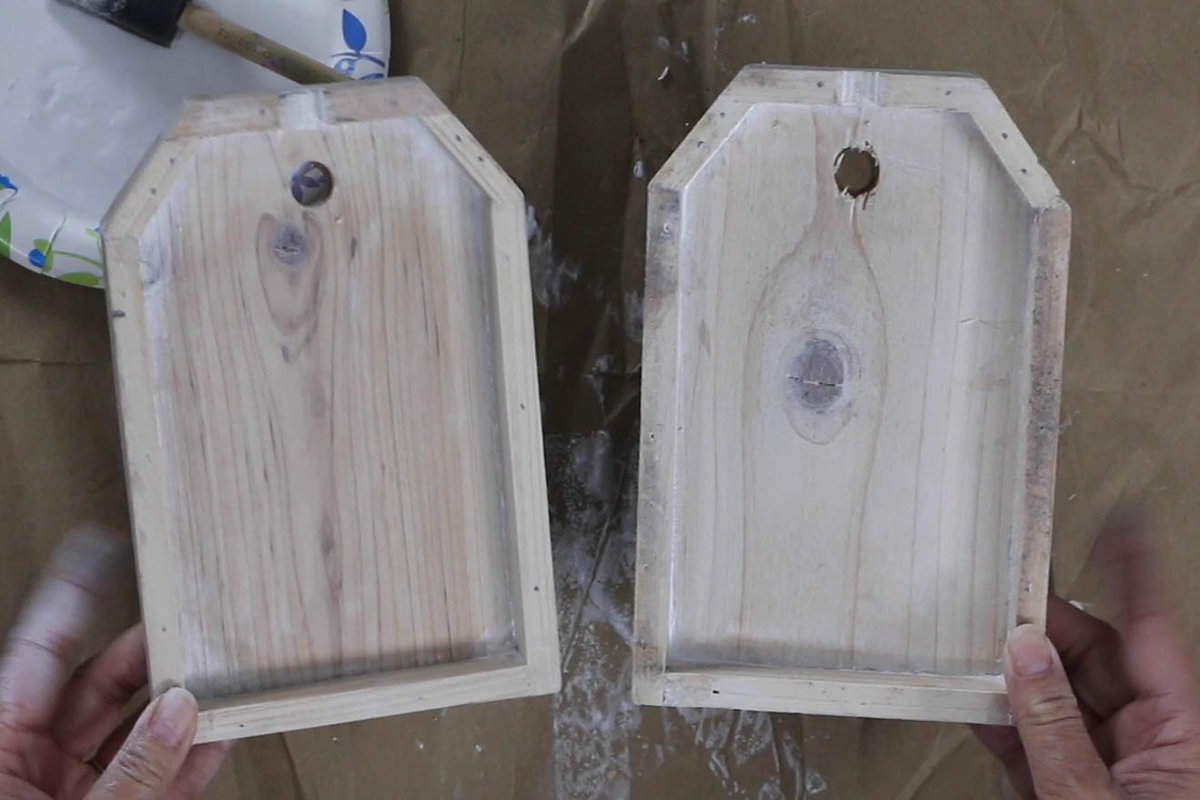
Set aside to dry.
Cutting "Hello Winter" Decal using the Cricut Explore Air 2
Purchase the Hello Winter SVG from my Etsy store.
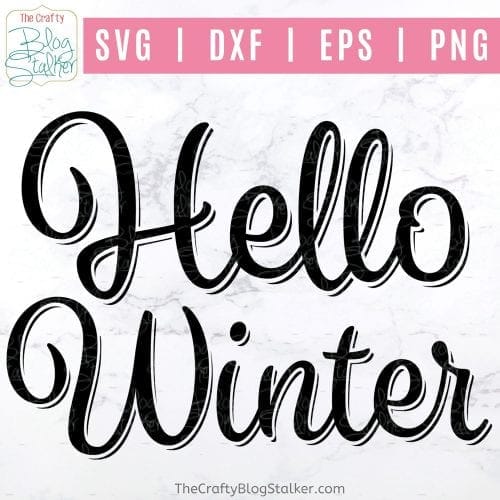
The file includes the SVG, DXF, EPS, and PNG versions of this cut file, so you should be able to use it no matter what cutting machine you use.
Upload the SVG file into your cutting software, I use Cricut Design Space.

Make sure to mirror the image if you are using iron-on vinyl like me and send the design to your cutting machine. I love watching my Cricut machine cut!!
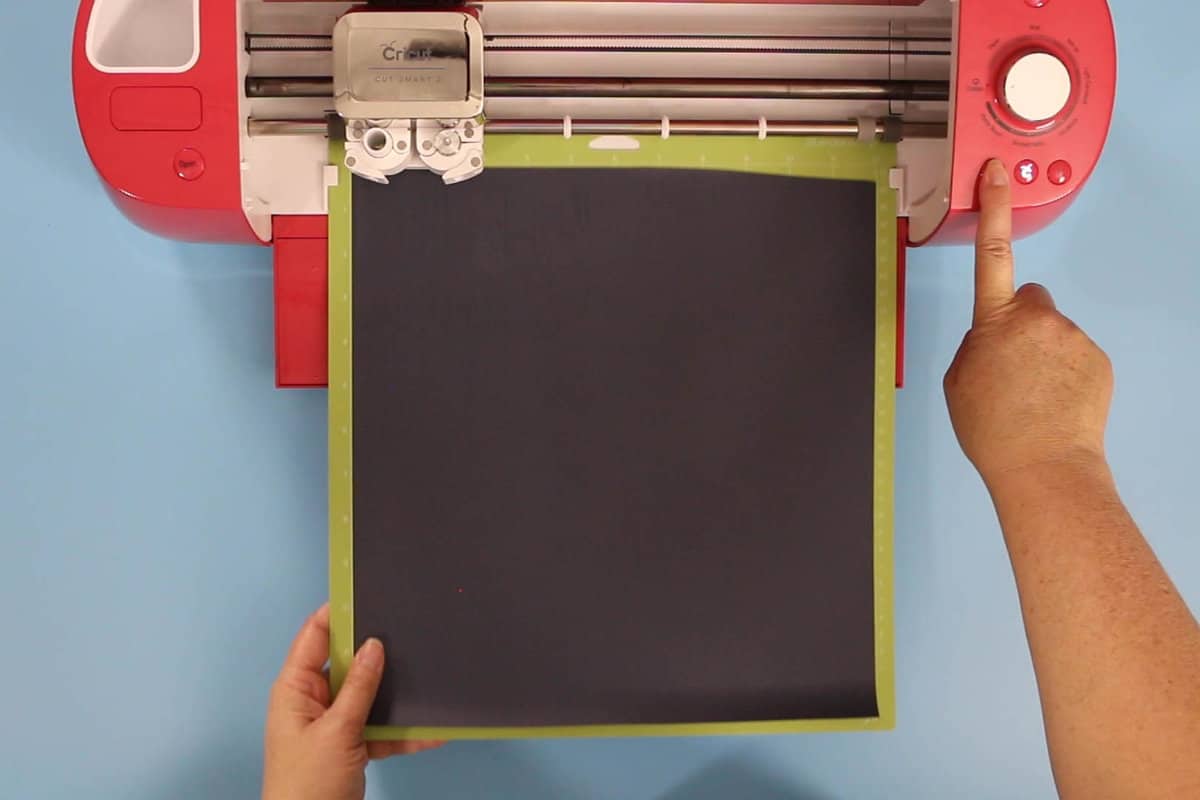
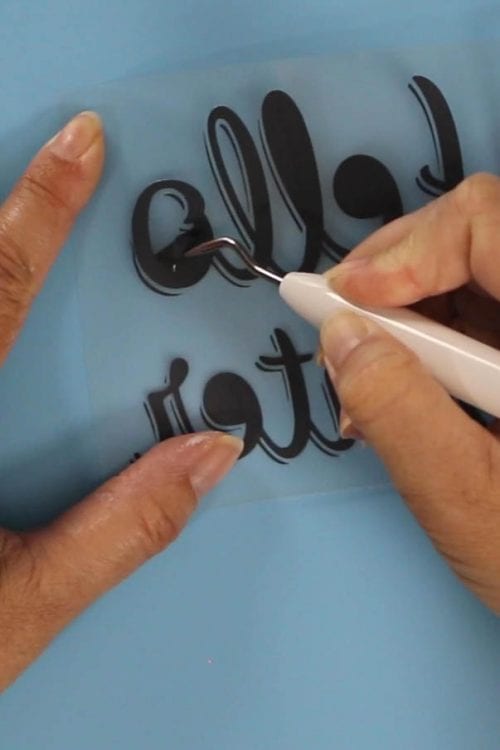
Weed the design and remove the inside of the letters and excess iron-on vinyl. I love iron-on because it weeds really easily.
Assembling the Winter Wooden Door Tags
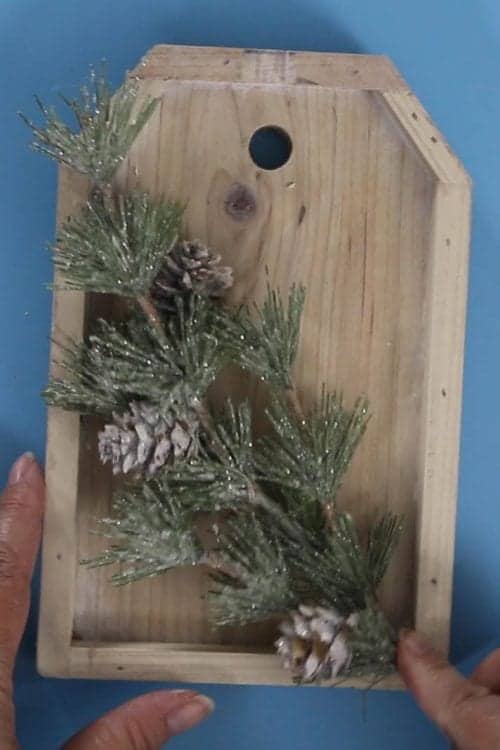
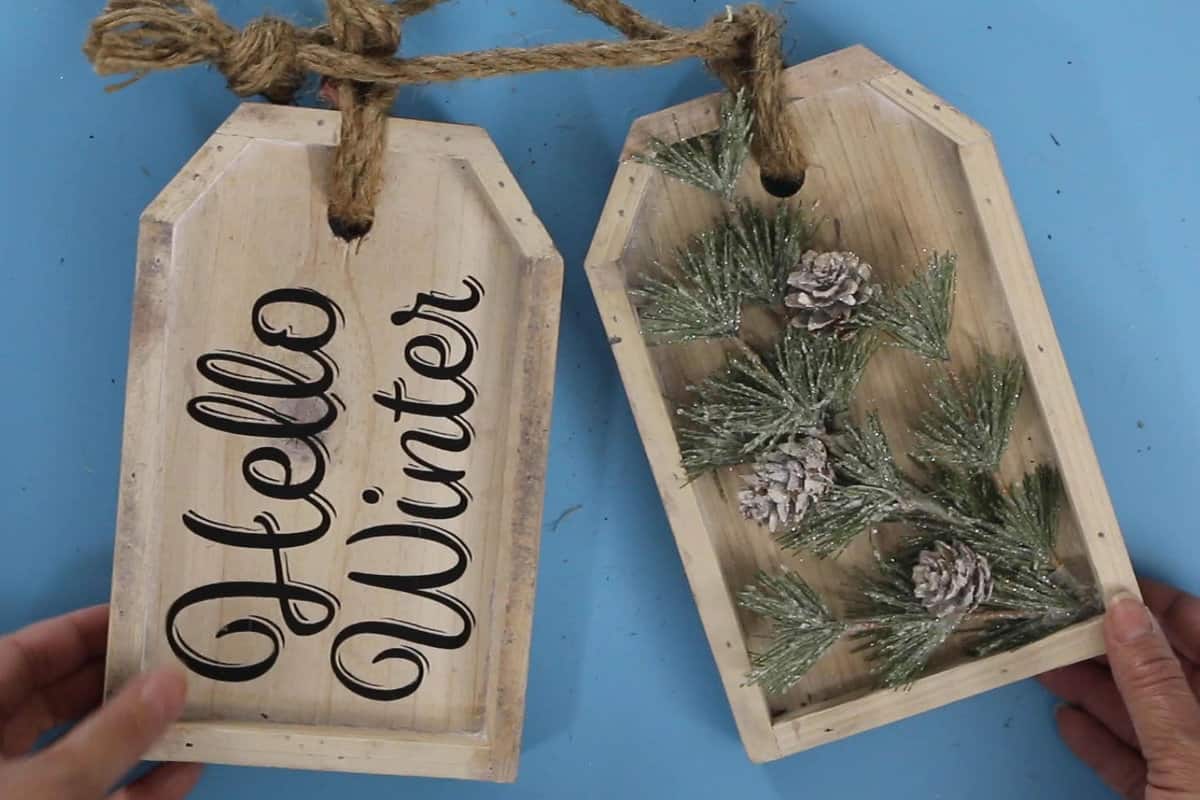
Let's begin with the wood tag that we are gluing the floral pick too.
Play around with the pick and the wood tag to come up with a layout that you like.
I unwrapped the bottom part of the pick so I could remove the bottom branch to make it fit in my tag. Then I used wire cutters to remove the stems that I didn't need.
There, I like that layout.
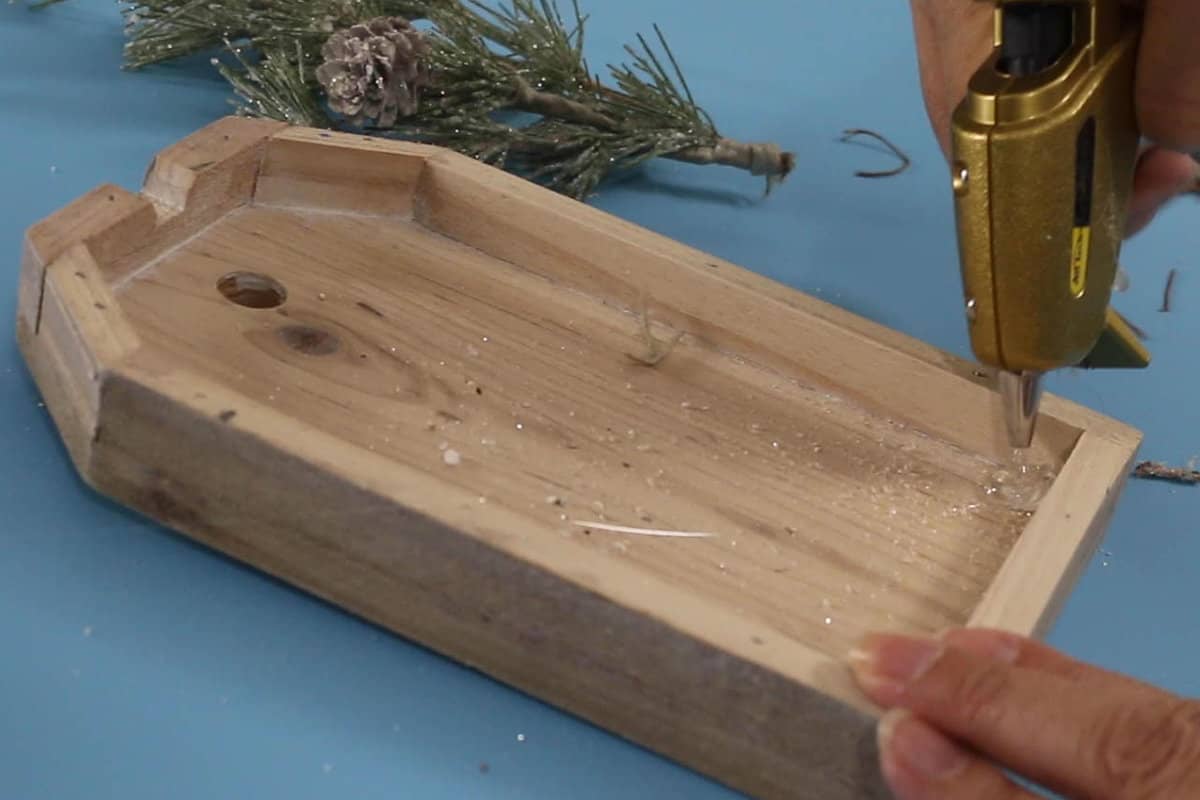
Apply hot glue to the wood frame where you need to secure the floral pick.
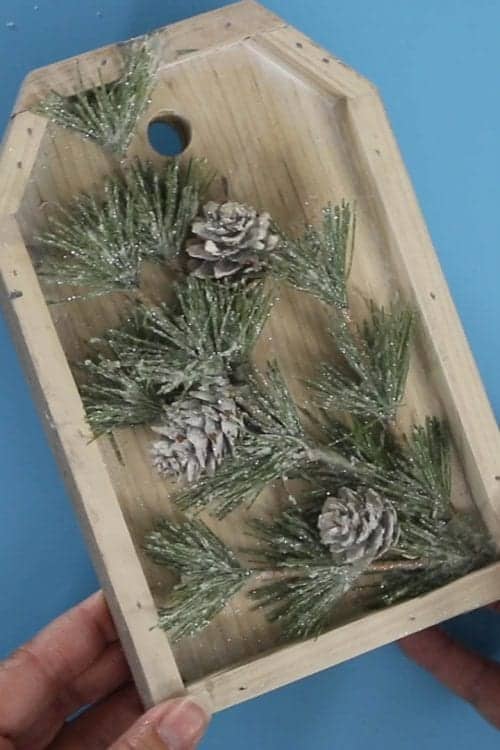
Press the floral pick into place. I also added more hot glue behind the pinecones and a couple other hidden spots to make sure my brand was secure and stayed where I wanted it too.
On the other tag, apply the Hello Winter iron-on decal.
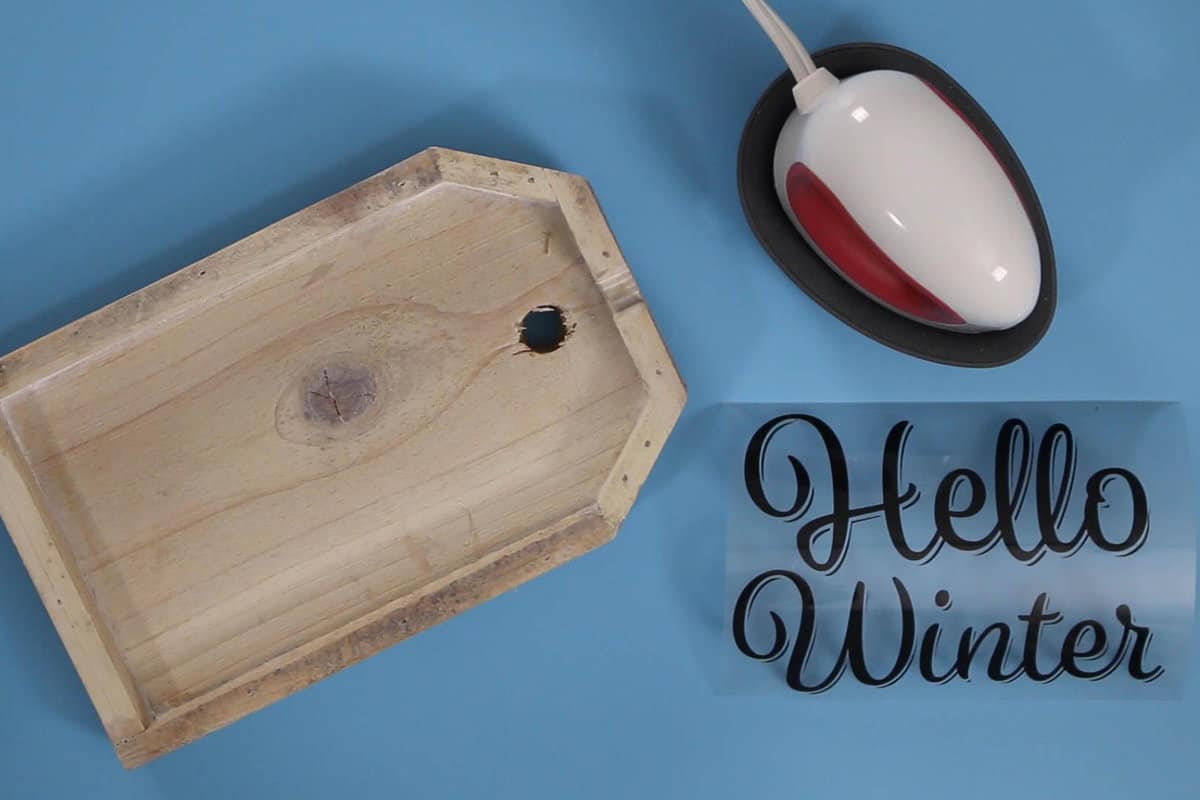
Preheat the wood for 5 seconds using the EasyPress Mini. Then lay the iron-on in place and apply heat with a constant moving motion for 40 seconds.
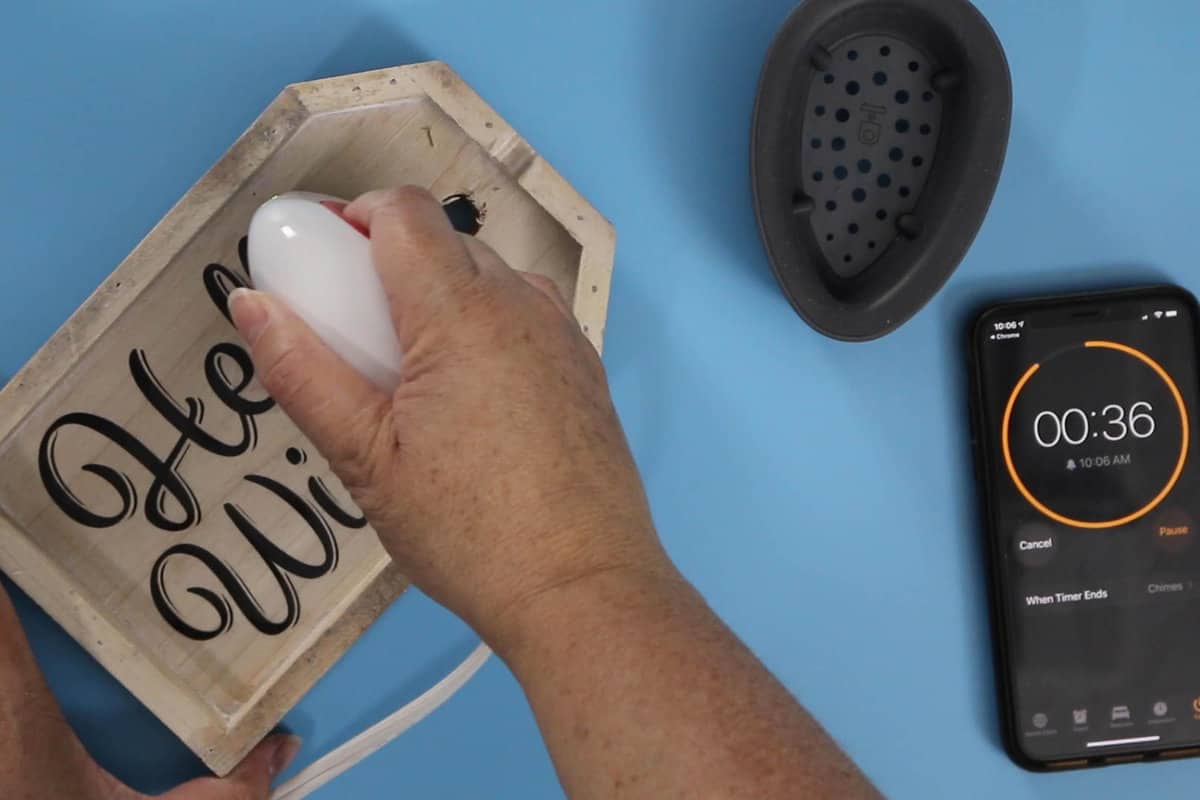
Allow the iron-on vinyl to cool just a bit. You want to do a warm peel, but not a hot peel.
When the plastic backing is still warm to the touch but doesn't burn your fingers, slowly peel it back. If any part doesn't stick, reapply heat and pressure with the EasyPress Mini.
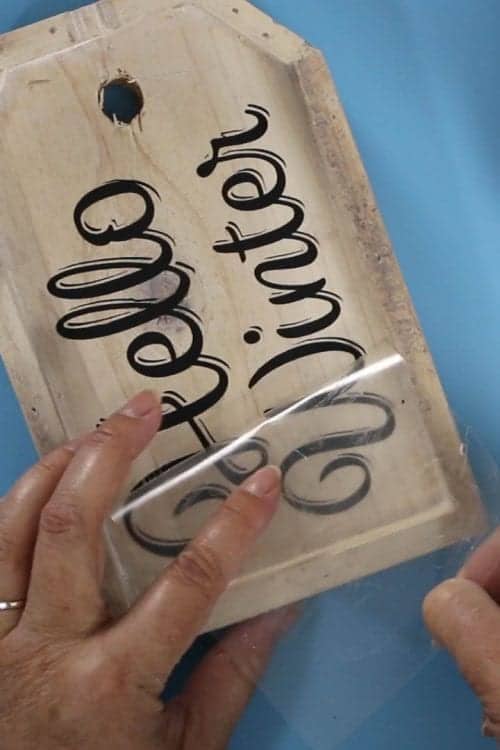
This wood tag looks pretty awesome too!
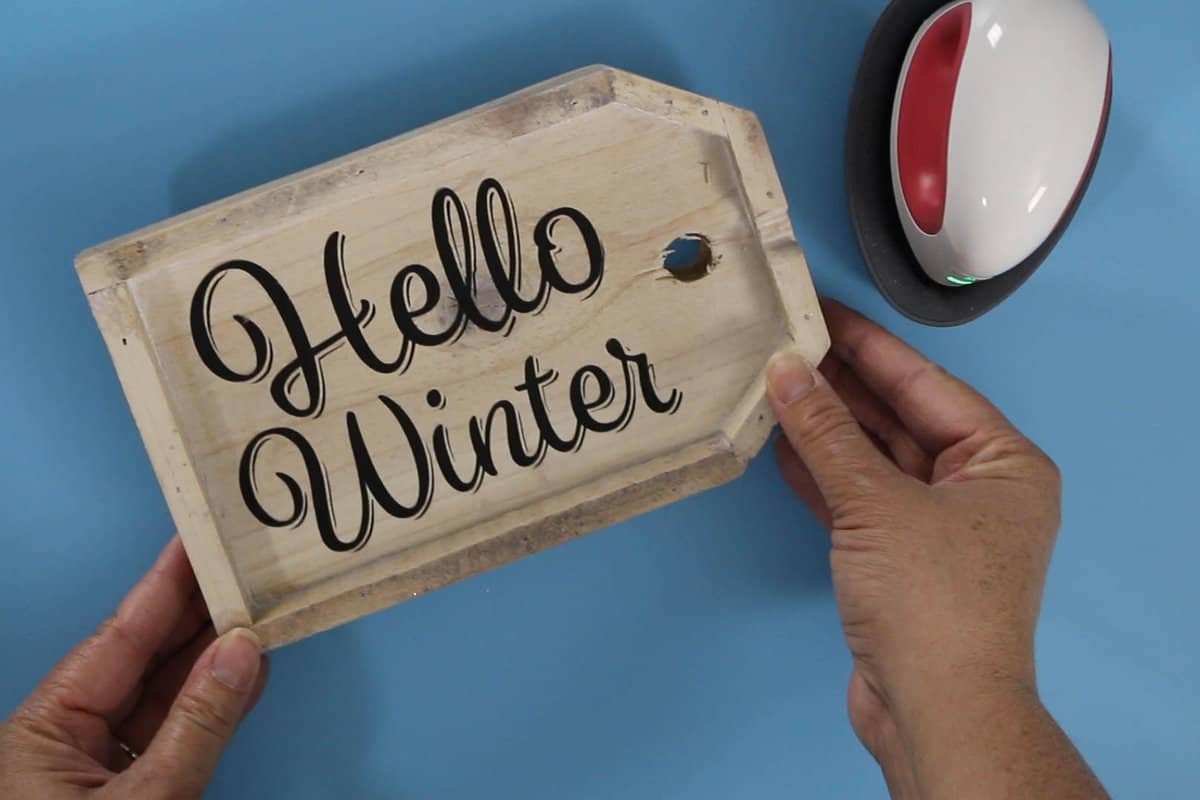
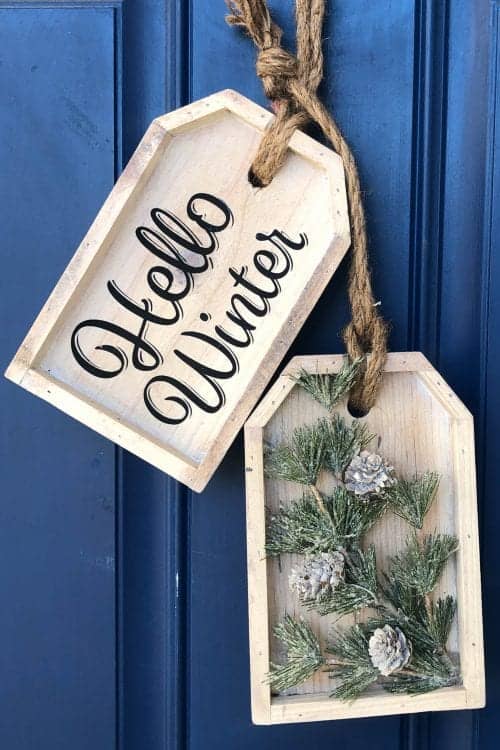
Retie the rope back onto the wooden tags and your winter door decor is finished!
Hang on your door outside to greet your visitors on hand it on the inside for you to enjoy!
Our Crafting Essentials:
- The Cricut Cutting Machine is easily our favorite crafting tool. We use it in so many of our tutorials!
- These MakerX Crafting Tools are perfect for keeping in the craft room and are always ready when needed!
- This Fiskars Paper Trimmer is easy to use and cuts nicely without frayed edges.
- These Scotch Precision Scissors cut like a dream, and you get multiple pairs in a pack!












Lesa
These are super cute, I love all the different things you can do with the Cricut.
I am reading all the blogs I can for ideas for my new Maker.
Thank you for a easy to read blog with great pictures.
Katie
I am so excited for you! You are going to love the Cricut Maker!