This post may contain affiliate links. For more information, please see our disclosure policy.
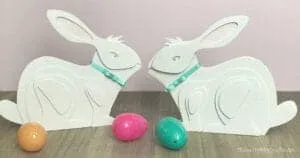
A double-sided wooden bunny would make a great decoration for any Easter table. Make this cute Easter decoration with our Free SVG Laser file.
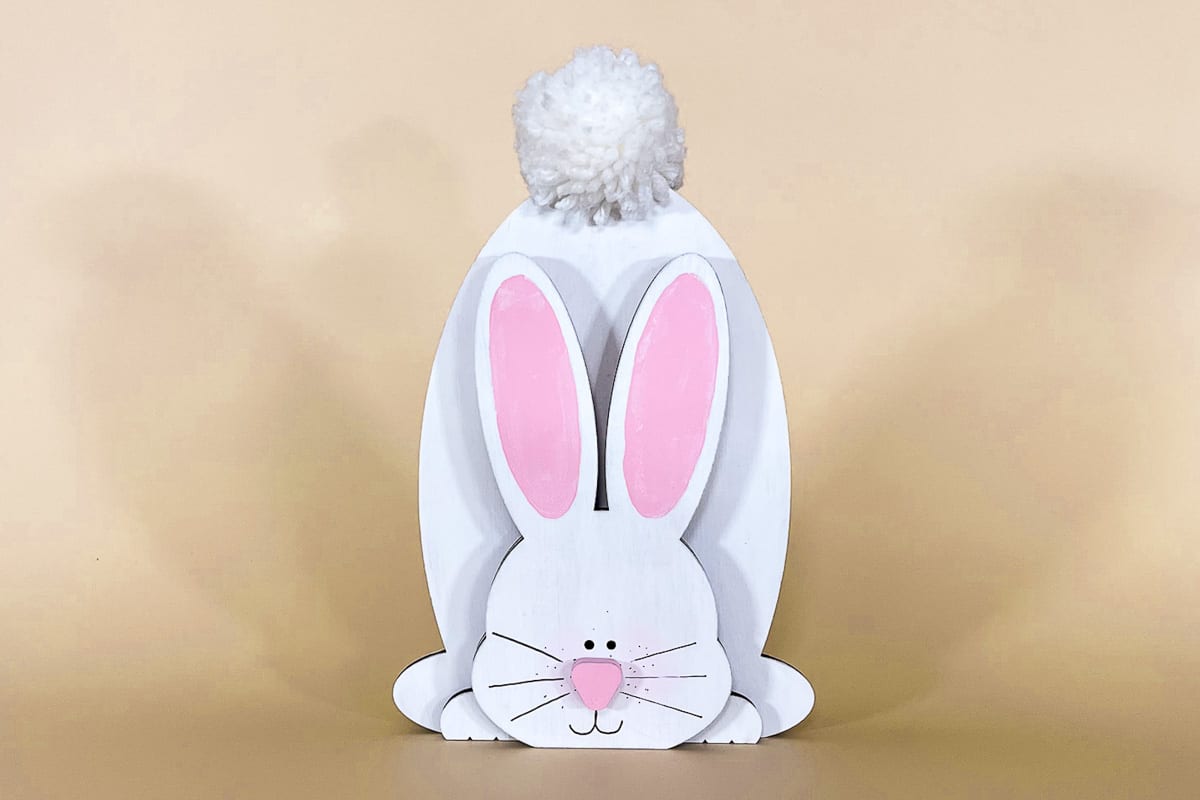
Spring is in the air, and with it comes the most beloved time of year - Easter!
And what better way to celebrate than by making beautiful Easter decorations like this DIY wood bunny? The best part, no sandpaper is needed for these adorable little bunnies.
In this easy tutorial, we'll take you step by step through the process of creating your own double-sided wooden Easter bunny that can be proudly displayed in your home or yard.
This is such an easy project, the laser definitely does all of the hard work for you.
Craft Video Tutorial:
Like videos? I have a video tutorial for you! Subscribe to my YouTube Channel so you don't miss any future videos!
Supply List:
Some links may be to similar items when exact items couldn't be found online.
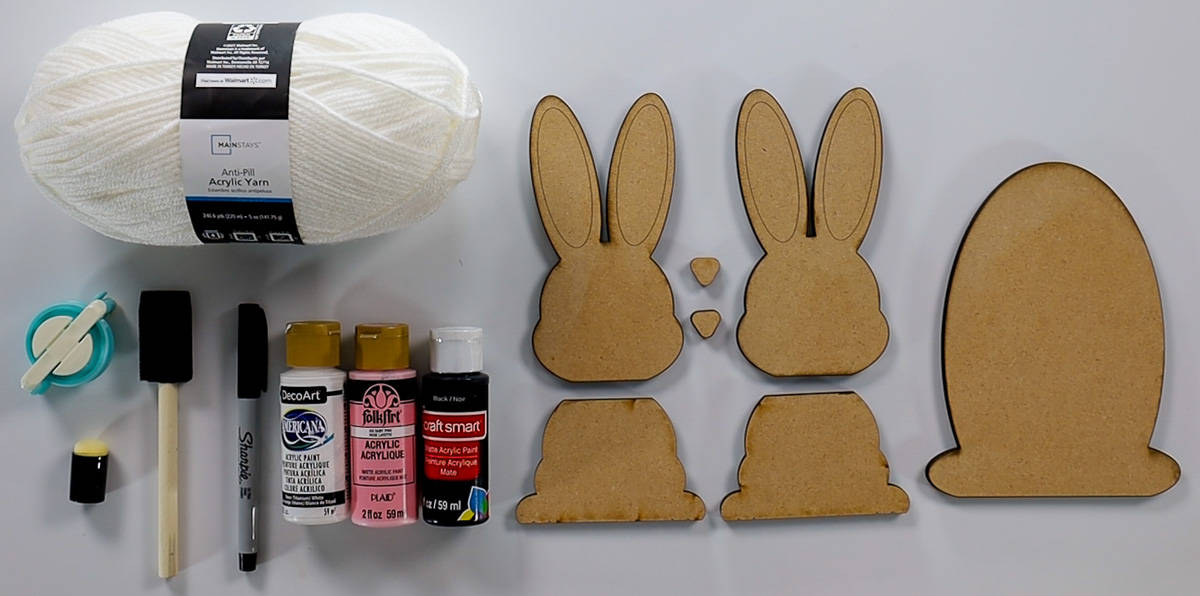
I like the ¼-inch because it helps the bunny stand more sturdy on a tabletop and can't be knocked over as easily.
Laser Cutting Machine:
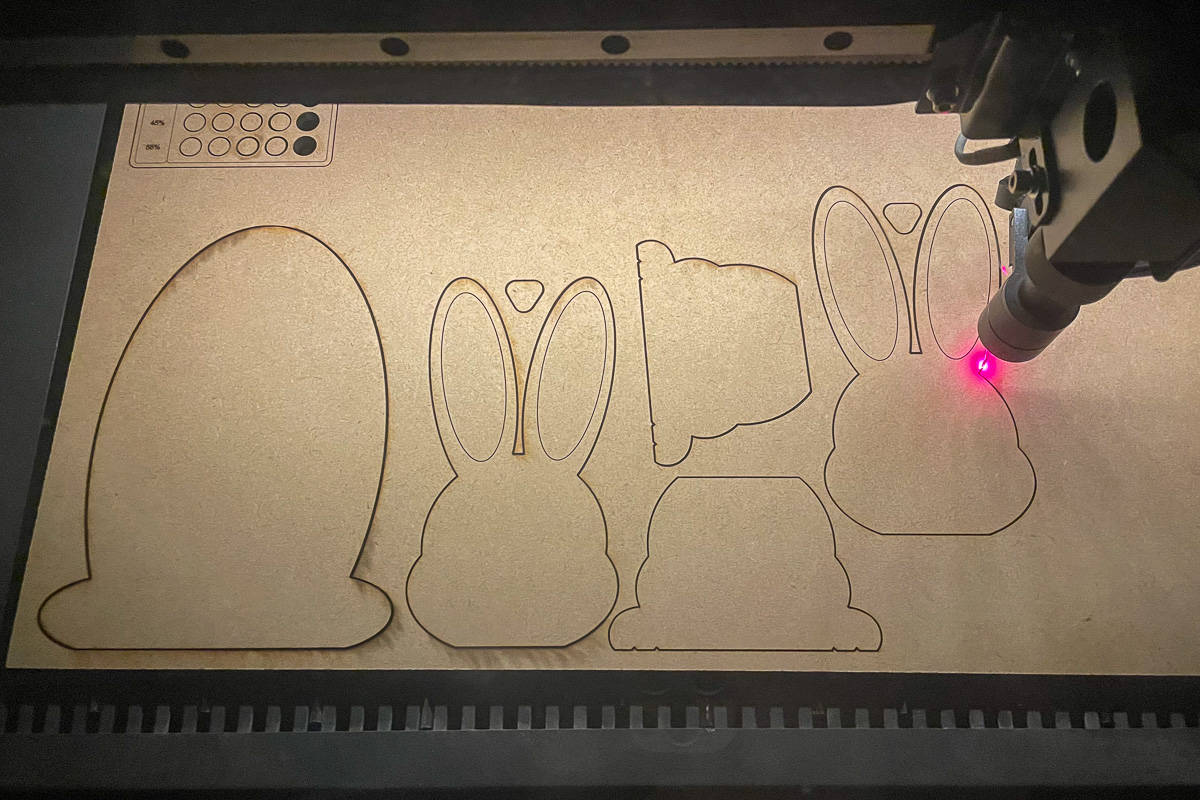
Grab the Free SVG File for this perfect Easter craft.

Set the red line to score, and the black lines to cut.
Using your laser cutting machine, cut out all of the pieces.
I cut this on my OmTech 50-watt CO2 Laser.
Pom Pom:
Out of the three pom pom makers that came in the set, I am using the medium size.
Open one side of the pom pom maker and wrap the yarn around it.
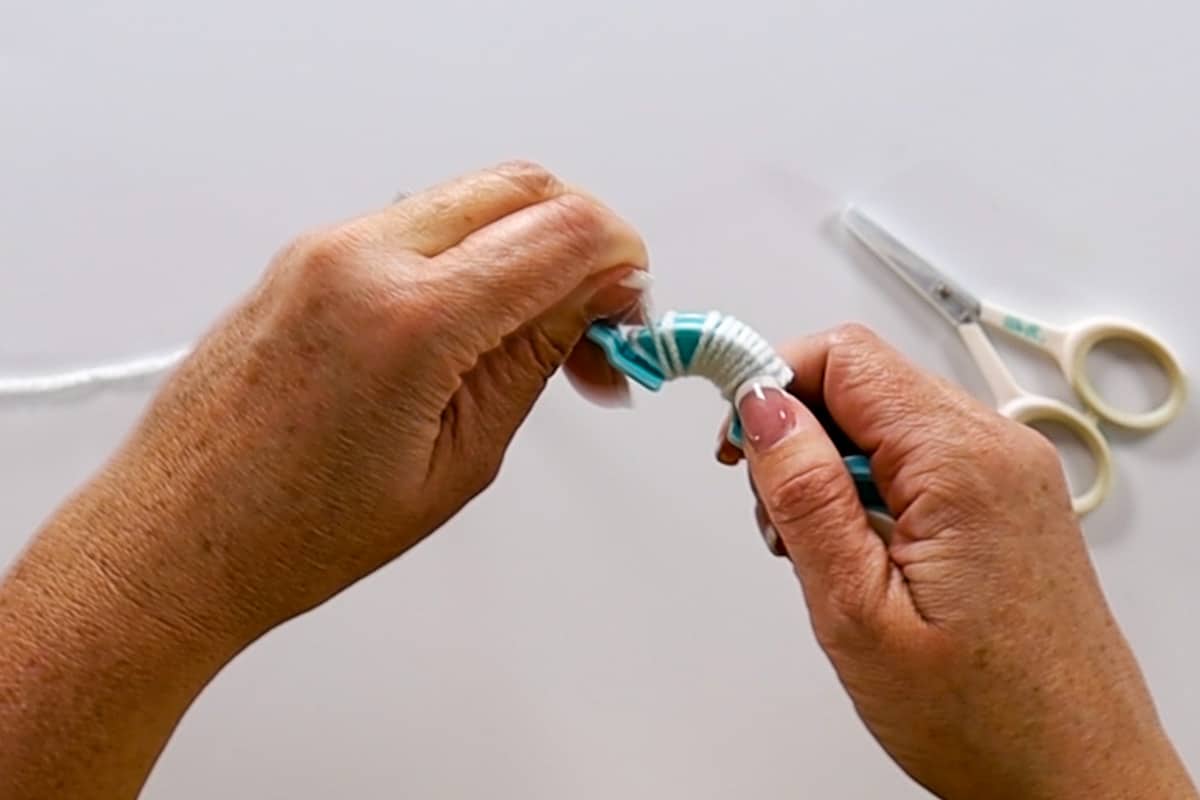
Over and over again until that side is full, and trim off the length of yarn.
Close the first half, and open the other side of the maker.
Repeat the wrapping until it is as full as the first half, and cut off the yarn.
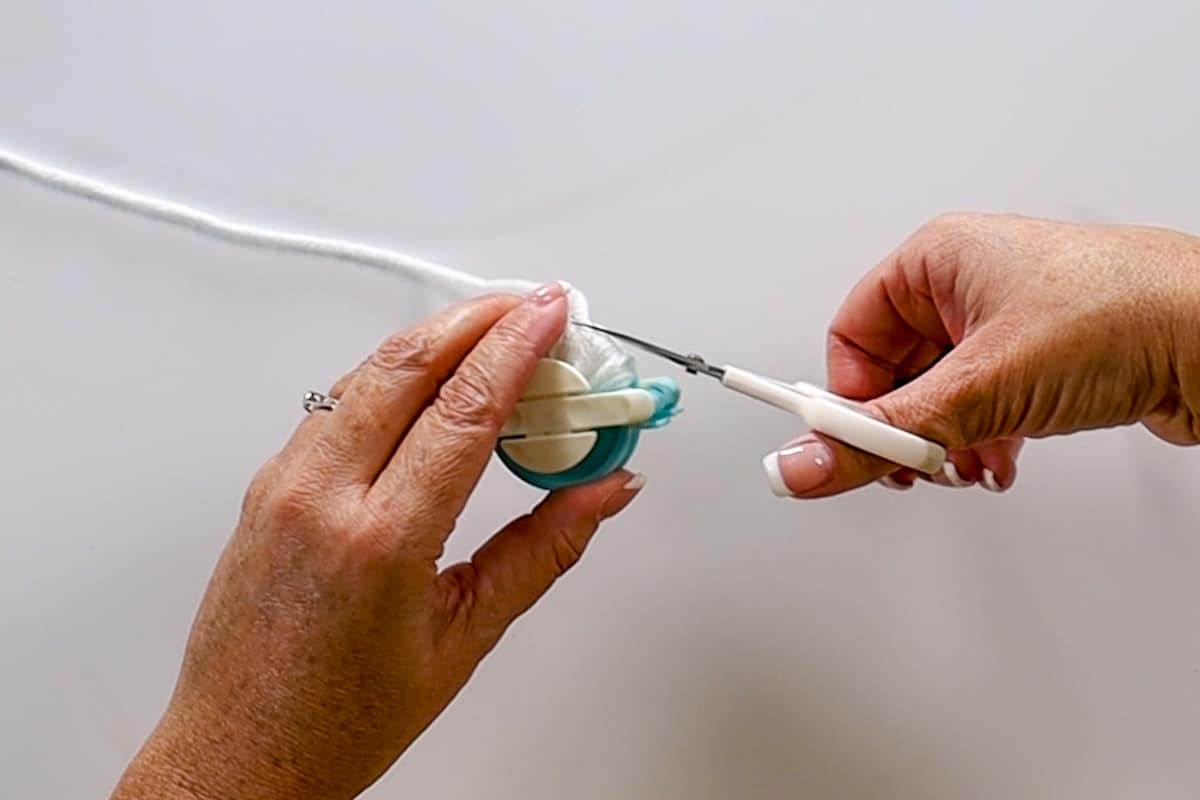
With both sides closed, cut through the center of each half.
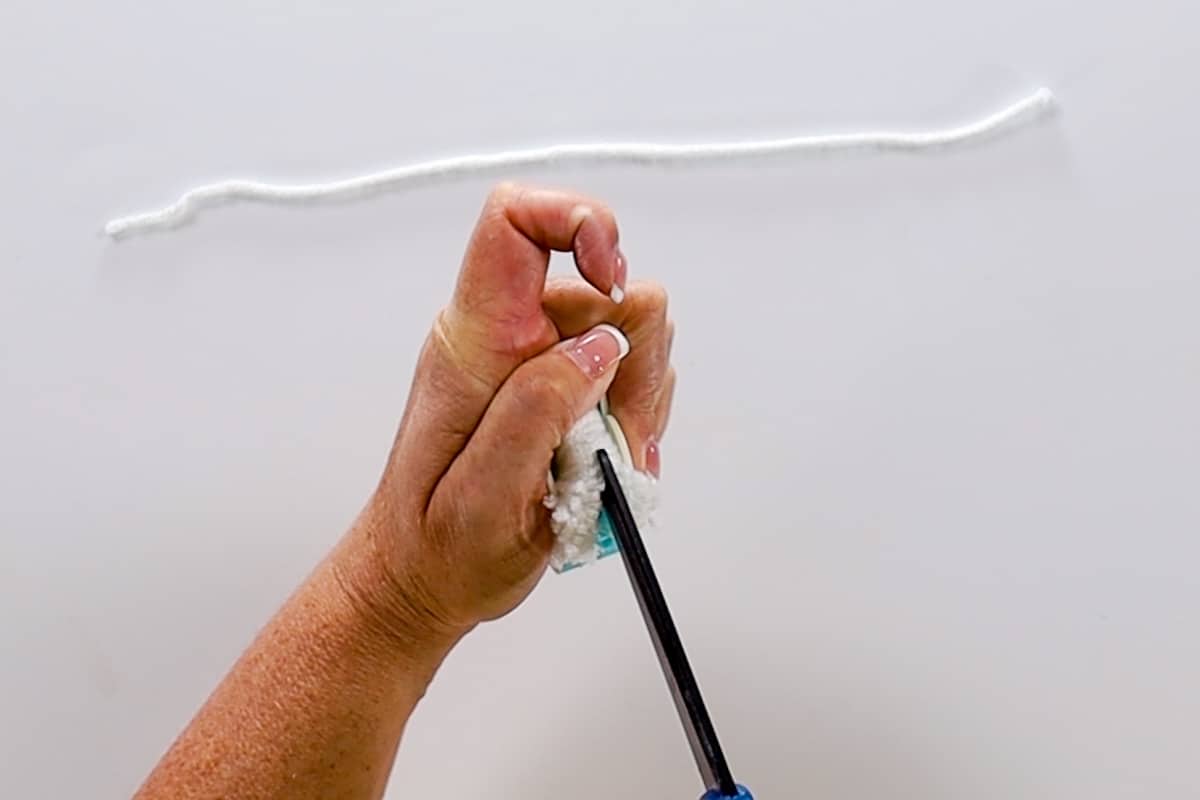
Cut a length of yarn about 6 inches long, and tie it as tightly as you can through the center of the pom pom maker.
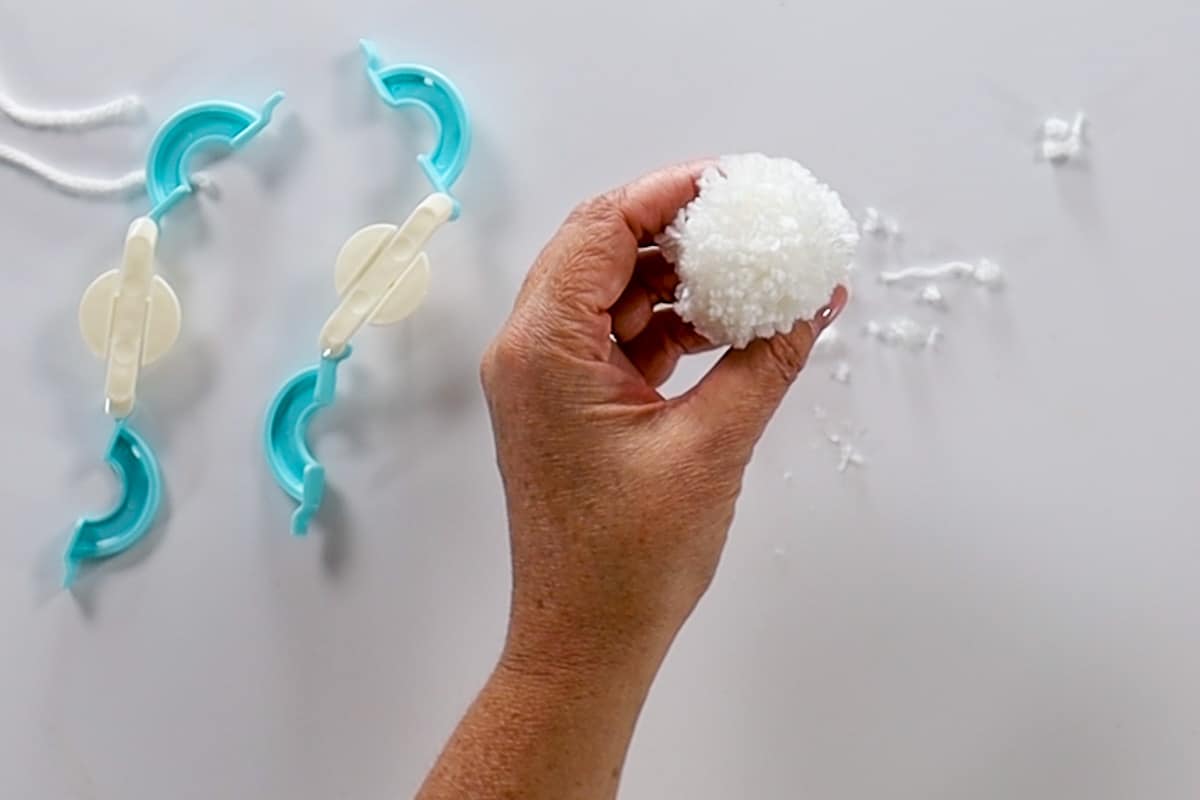
Pull the two pieces of the pom pom maker apart and trim so there aren't any loose ends.
Paint:
Roll out some paper on your work surface and tape the corners down. This will protect your table from paint.
Loop a long piece of masking tape and stick it to your paper. This will hold your pieces while you paint them so you don't get paint on your fingers.
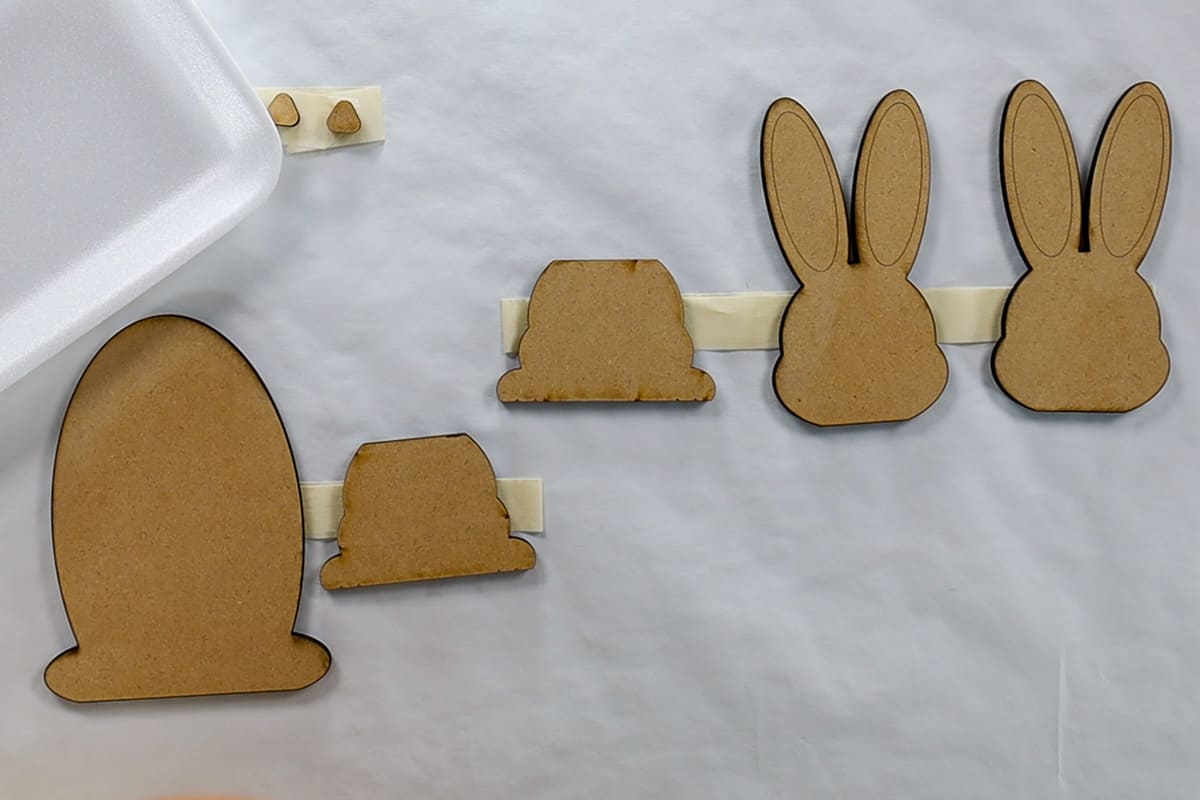
I used a paper plate as a paint palette, then brushed white paint onto the 5 main bunny wood pieces, and painted the noses pink.
Add 2-3 coats of paint to each piece.
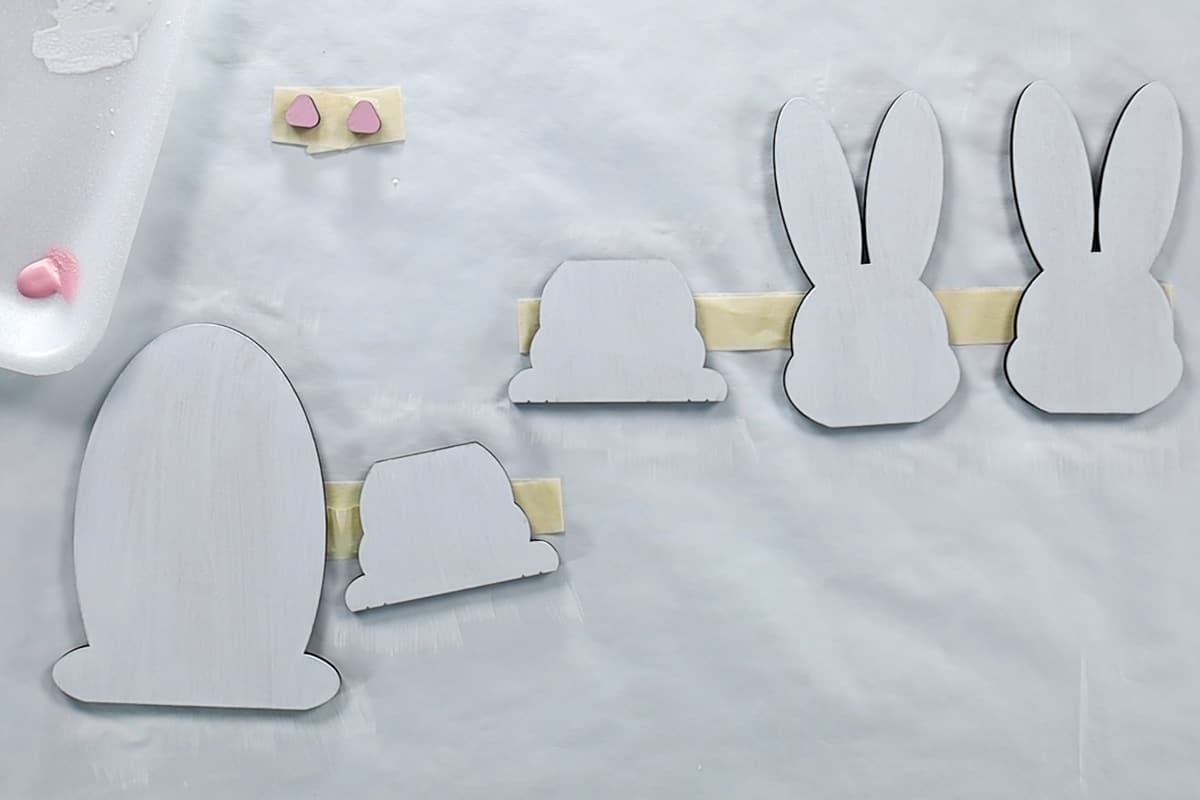
Once dry, turn the main body piece over, and paint the other side.
This is the only piece that you'll see no matter what side you are looking at. That is why we are painting both sides.
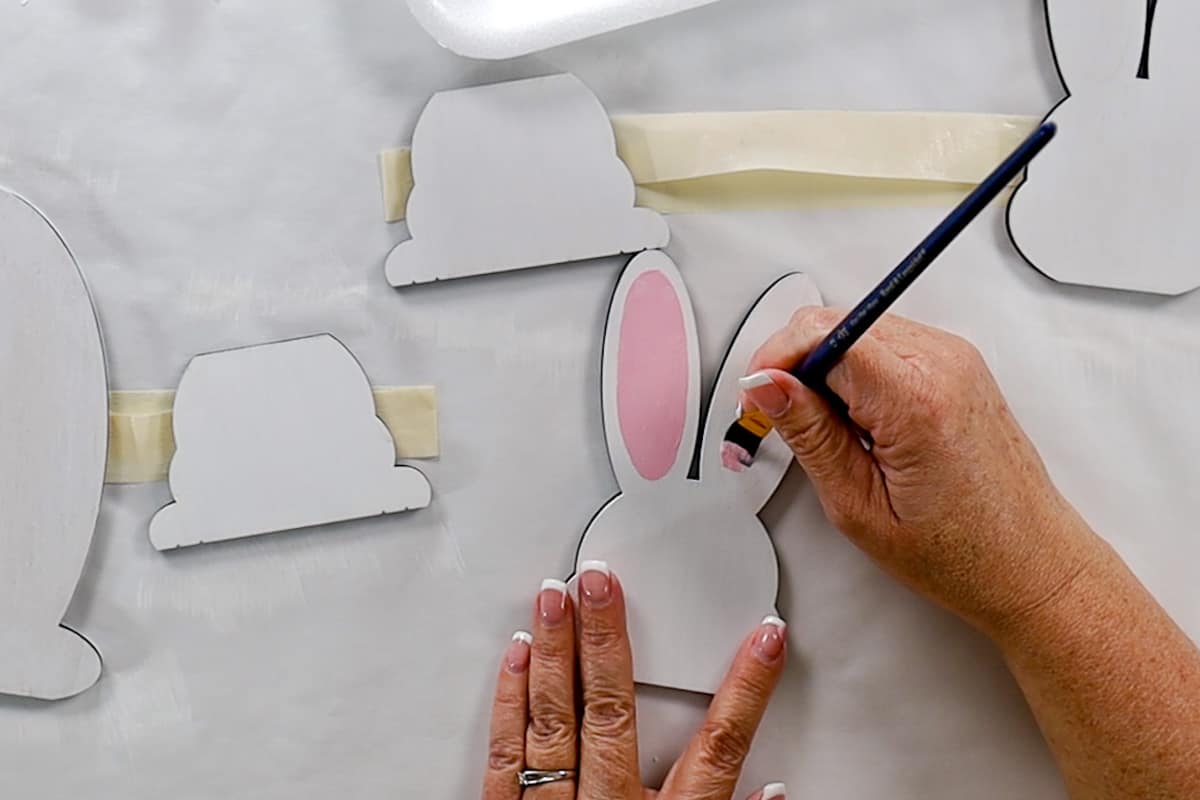
Using a small flat paintbrush, paint the inside of the bunny ears pink. Since there is a scored line around the inside of the ear, you have a guide to follow.
To add the bunny's rosy cheeks, mix a small amount of pink into the white paint.
Use a sponge dauber to pick up that paint, and dab it into the cheeks of both bunny faces. Mine is really light so it is kind of hard to see.
Use an Ultra Fine Point Black Sharpie marker to draw in the mouth and whiskers. I also added a few whisker dots as well.
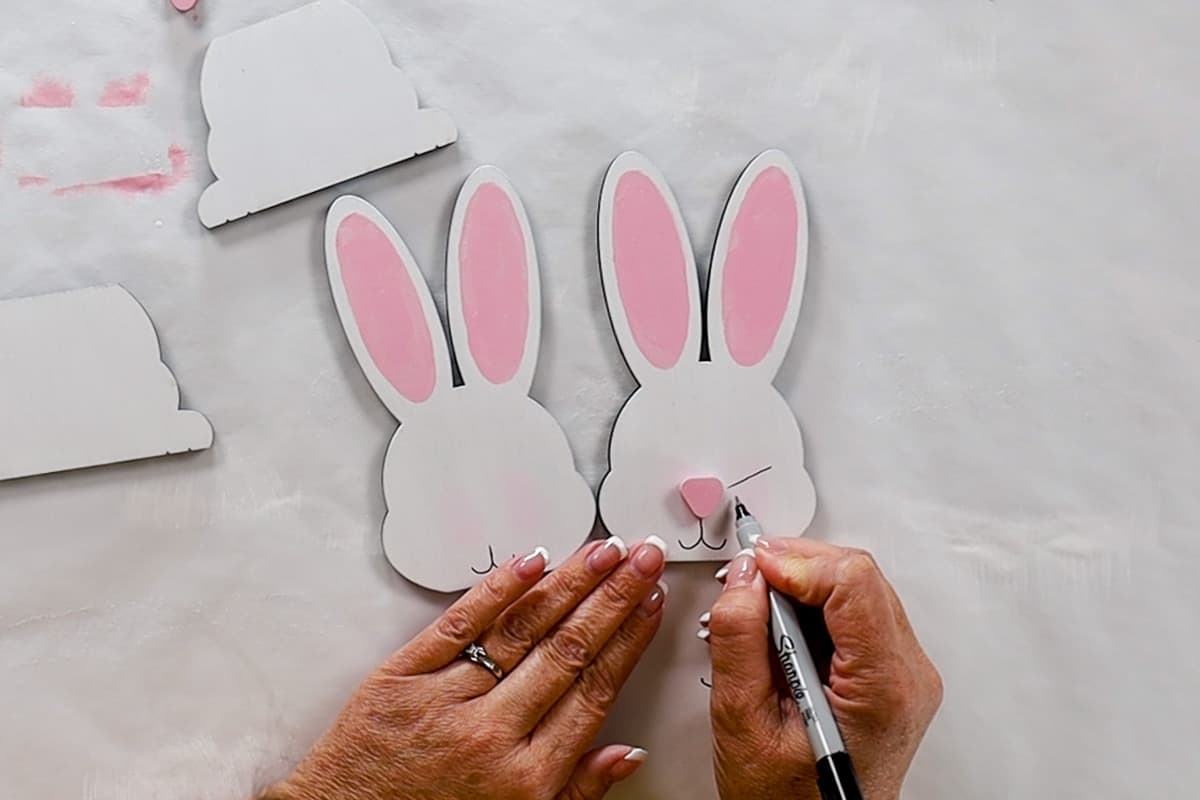
Glue noses into place using the 3in1 glue.
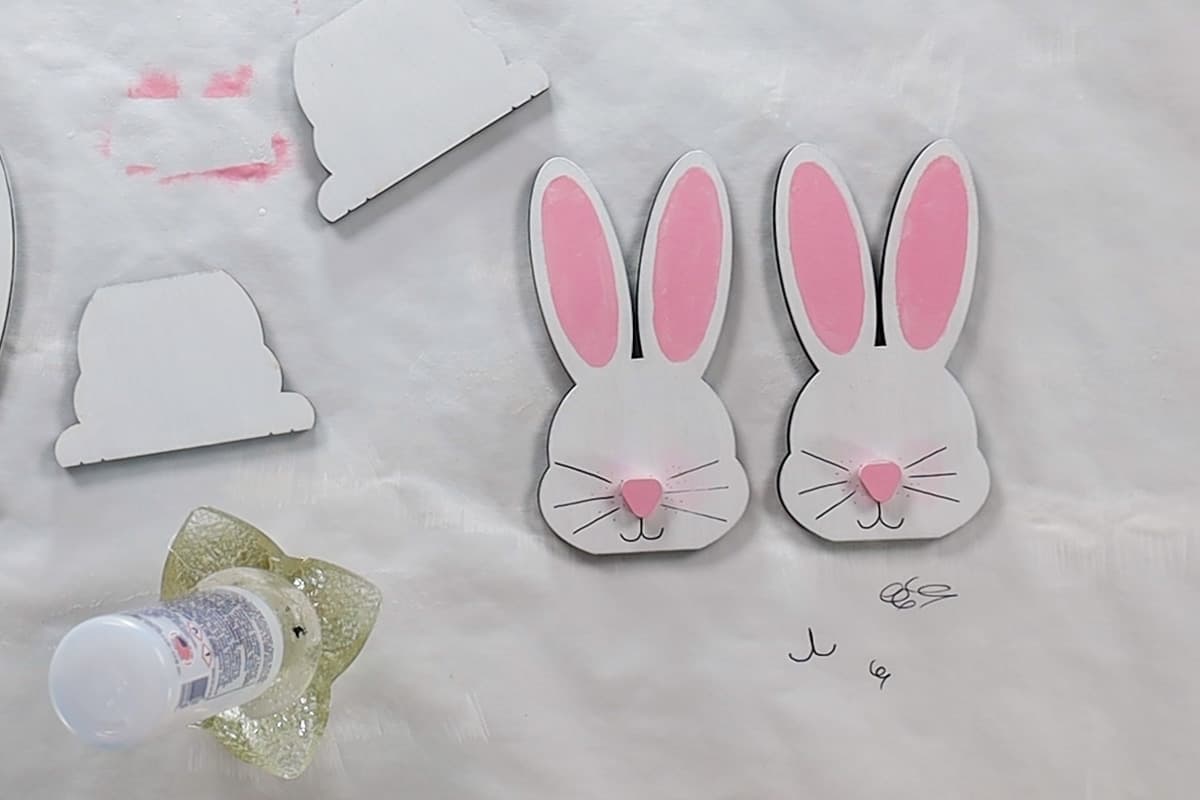
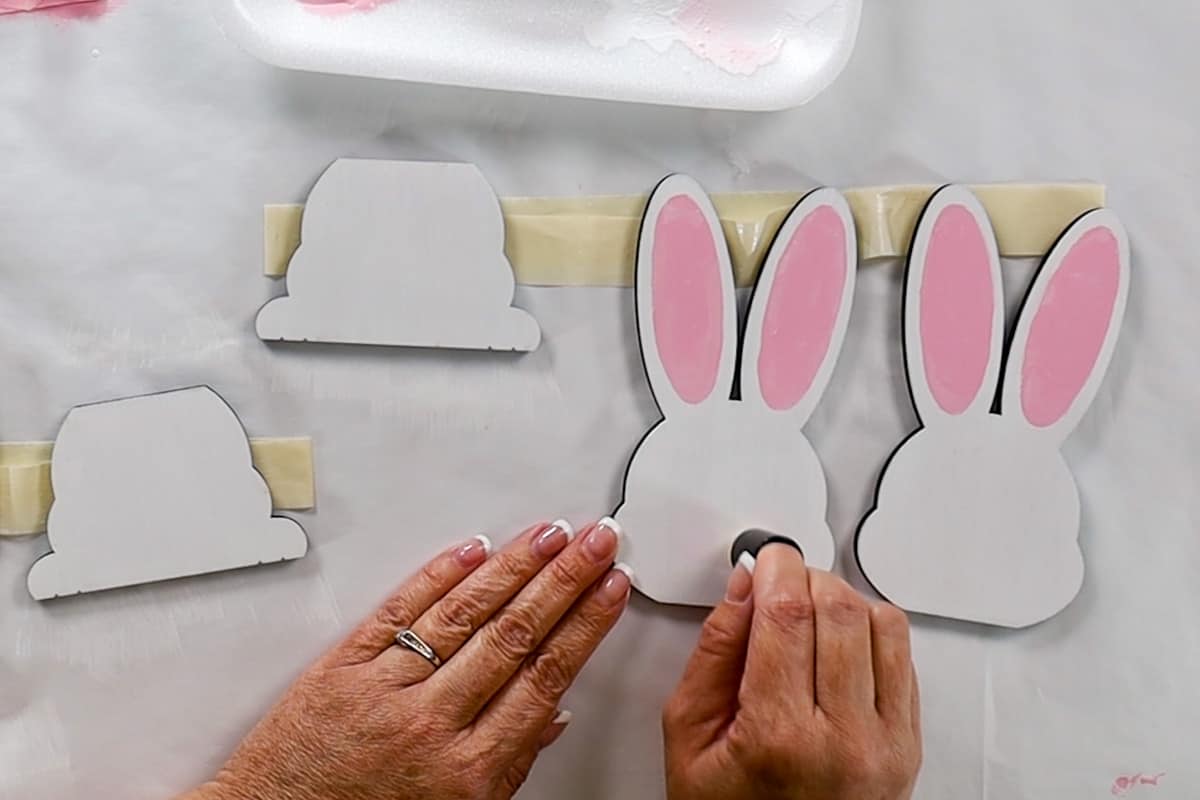
The easy way to add the eye dots is to dip a ball end of the embosser tool into the black paint and dab it right above the nose for an eye. It will leave a perfect little circle for each eye.
Repeat for the second eye and again for the other bunny face.
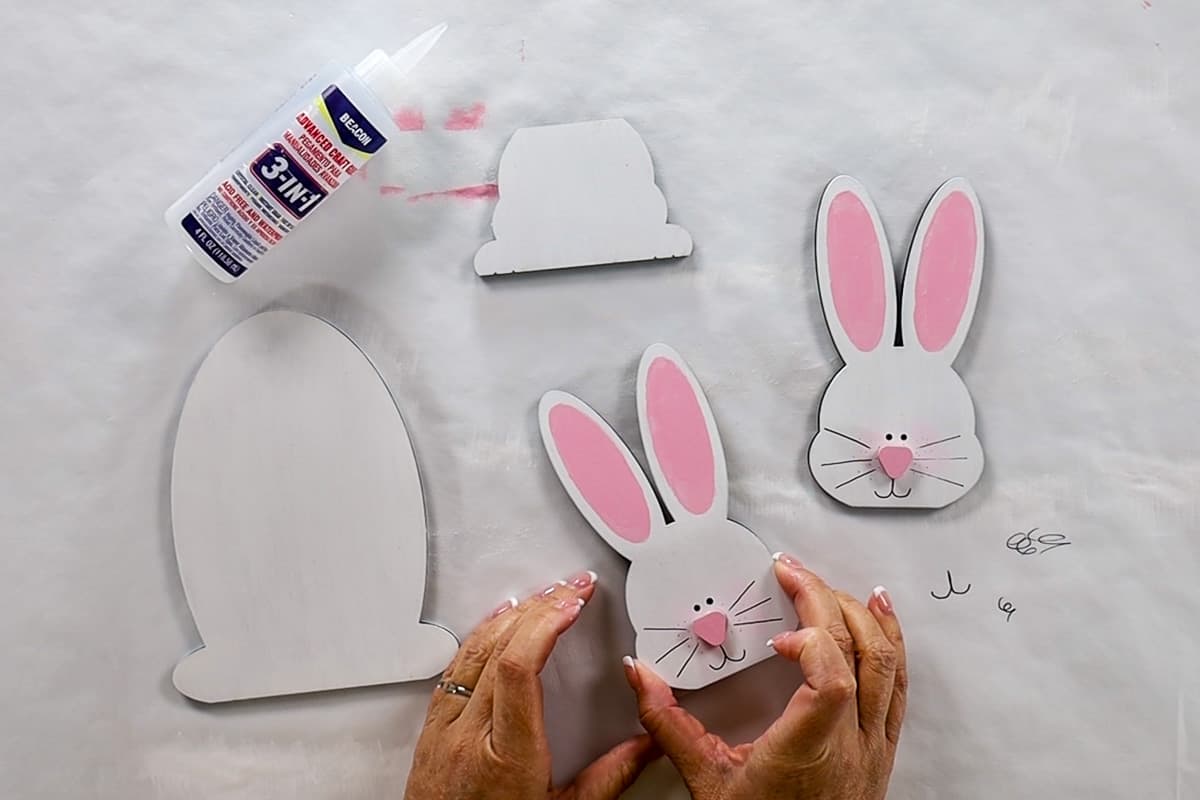
Assemble:
Apply glue to the back of a bunny face, and center it onto the smaller bunny feet piece. Repeat with the second bunny face and the other foot piece.
Apply glue to the back of the second piece, and align it with the body of the rabbit.
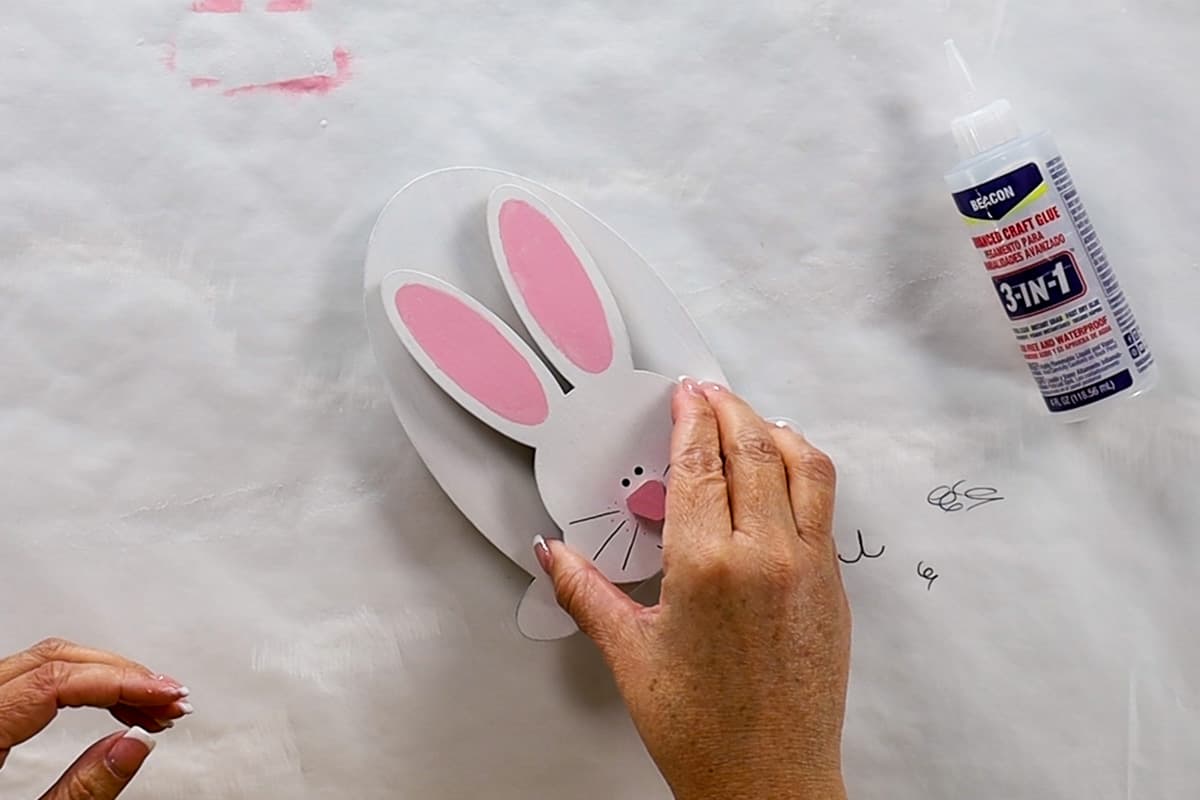
Make sure the bottom of the bunny is aligned because you want the piece to stand on its own.
Let the first side dry for a couple of minutes, and then turn the bunny over and adhere the other bunny face. When dry, it should stand completely on its own.
On the very top of the bunny's body, apply a dot of hot glue and press the pom pom bunny tail into the glue.
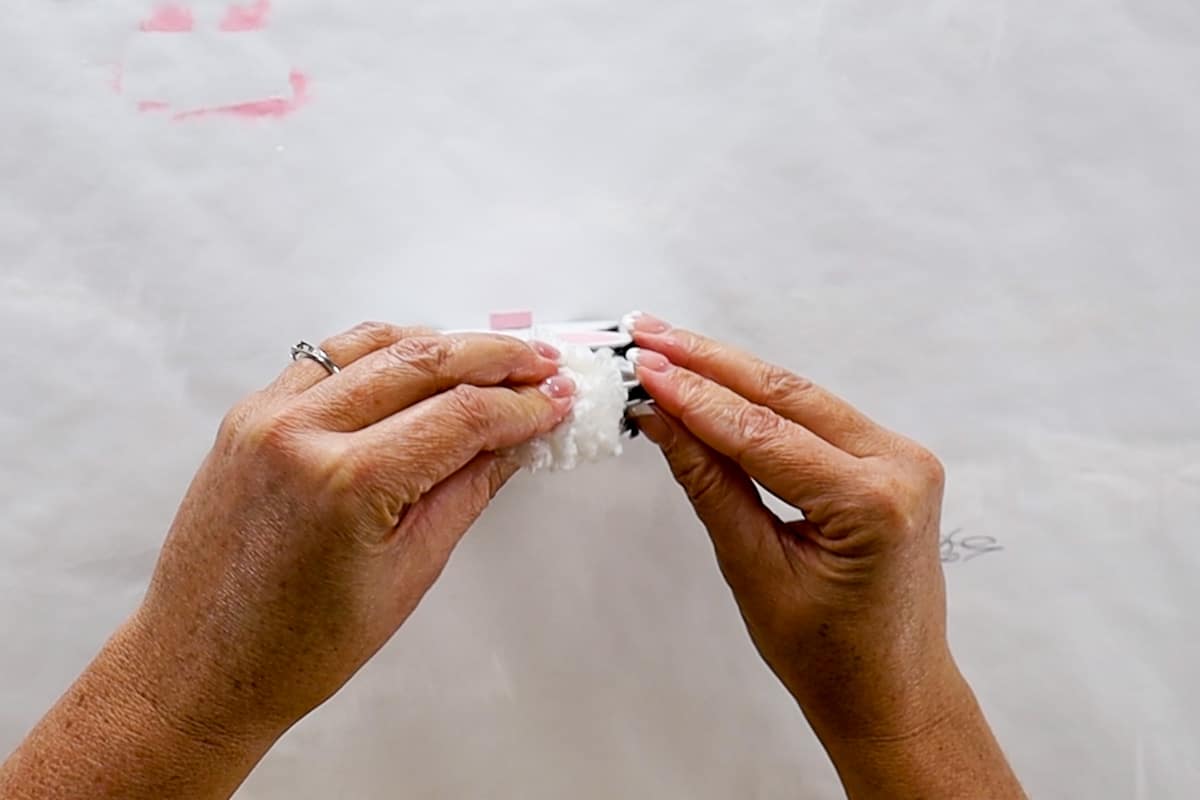
Our cute little wood bunny shape is finished! Isn't he so cute?

This cute bunny decoration is perfect for Easter holidays but could also be used as nursery decor, or any room decor with a fun animal theme!
And the best part is it is double-sided! So if you use this Easter bunny craft as table decorations, you can see his cute little face no matter where you are seated.
He is so cute, you could easily create a craft night with friends to make this fun craft project.
Substitutions:
Here are some easy substitutions you can use for items in the supply list.
- Material - I used ¼-inch MDF but you can also use any thickness or type of material that your laser machine can handle.
- Glue - You can use really any type of wood glue like hot glue, E6000, or super glue.
- Paint - Choose different colors or use spray paint instead of craft paint.
Variations:
Want to customize your project? Here are a few ideas.
- Color - Instead of the traditional white and pink bunny, change up the colors and make it with your favorite colors, or you could even mod-podge some patterned craft paper onto the bunny.
- Eyes - Try using buttons or small rhinestones for the eyes, or nose.
- Ribbon - Add a cute little bow to a bunny's ears.
- Size - You can make any size of wooden bunnies you want, as long as your laser machine can cut it, that is. Make a set of 3 Easter bunnies all in different sizes. So cute!
- Cut - Print the file and use the file as a bunny template and cut the pieces with a scroll saw. It is a great way to use wood scraps!
Our Laser Essentials:
- New to laser machines? I would highly suggest the xTool M1 Ultra! This machine is super easy to learn and helps you create beautiful projects!
- More experienced with lasers and want more power? I love my OmTech 50W, but they have all types of machines up to 150W!
- Craft Closet is my favorite shop for all of my laser materials. Their materials are high quality and have the lowest price, I can find anywhere!
- If you really want to get into lasers, I highly suggest you learn how to create your own files. Pen & Posh has a great course for this.


Barbara Warner
Love your bunny! Thanks for sharing this!
Katie Adams
You are welcome! I am so glad that you like it! ❤️