This post may contain affiliate links. For more information, please see our disclosure policy.
Celebrate Easter with a handmade Easter Egg Banner made with your Cricut! A complete step-by-step tutorial with video.
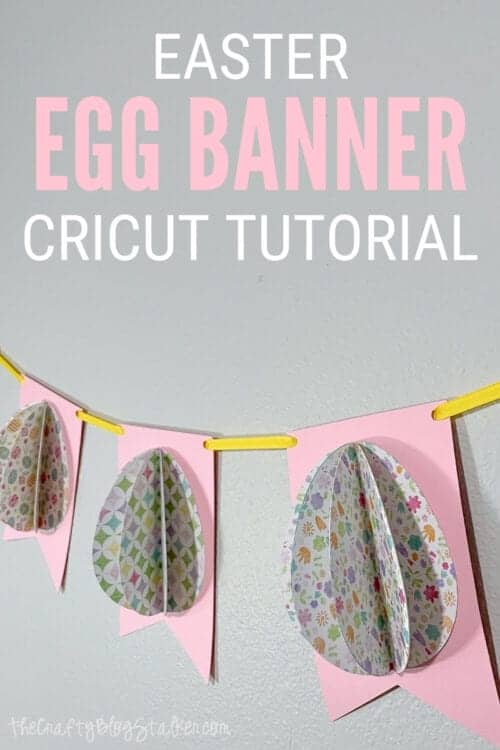
Do you like to craft for Easter? Do you like to decorate for Easter? With this project, you can do both!
This is a pretty quick little project, especially when you use the Cricut. From start to finish was about 40 minutes, and that included the cutting!
AD: Shop Cricut.com
Craft Tutorial Video:
Like videos? I have a video tutorial for you! Please subscribe to my YouTube Channel so you don't miss any future video tutorials!
Supplies You'll Need to Create this Project:
Some links may be to similar items when exact items couldn't be found online.
- Cricut Design Space Project
- Cricut Cutting Machine
- Cricut Scoring Stylus
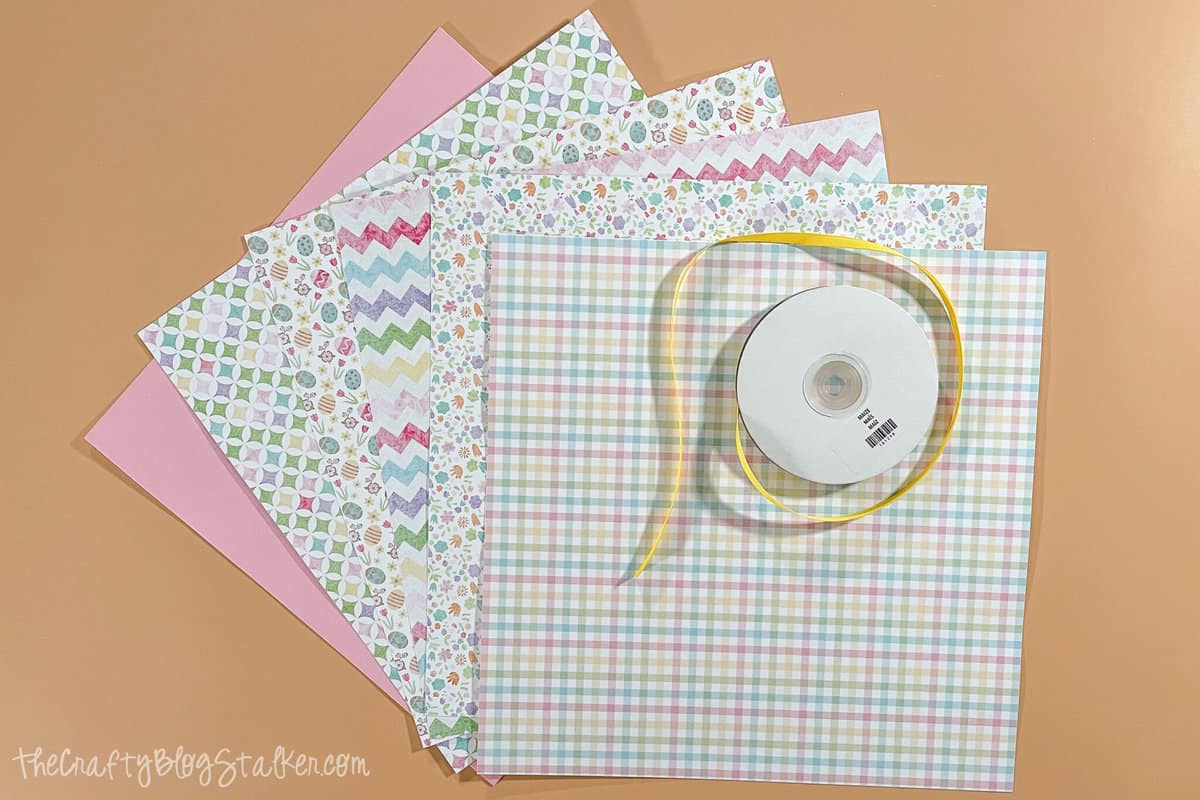
- Patterned Paper
- Ribbon
- Double-Sided Adhesive
- Scissors
Cricut Design Space:
The cut file for Easter Egg Banner has been designed and is mostly ready to go in Cricut Design Space.
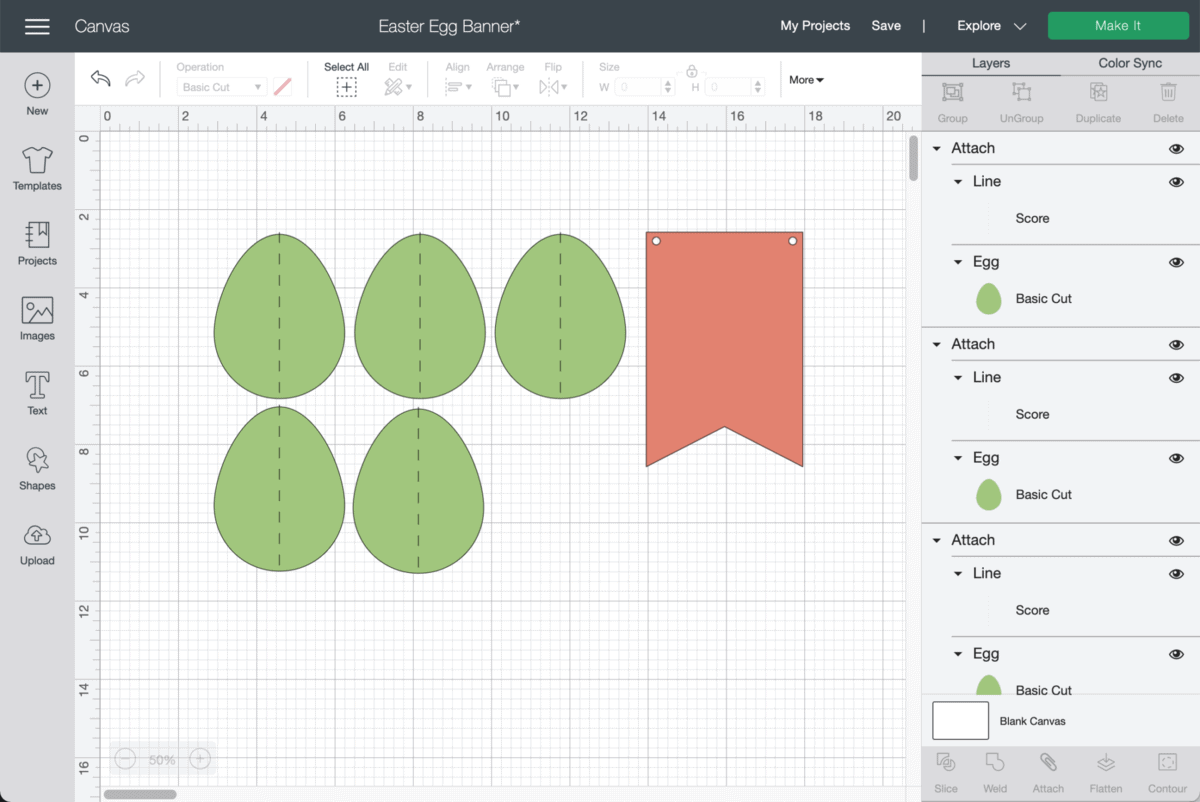
As it is currently sized, the finished size of each pennant banner is about 4 x 6 inches. This can be adjusted by highlighting all design pieces and dragging the bottom right-hand corn to the desired size.
This is also for only one pennant, so make sure to duplicate all pieces of the projects for the number of pennants you want for your banner. My banner has 5 pennants.
Once you have everything ready, select Make It.
Follow the prompts to cut out your pieces. Cricut Design Space will tell you when to place the scoring stylus into the clamp.
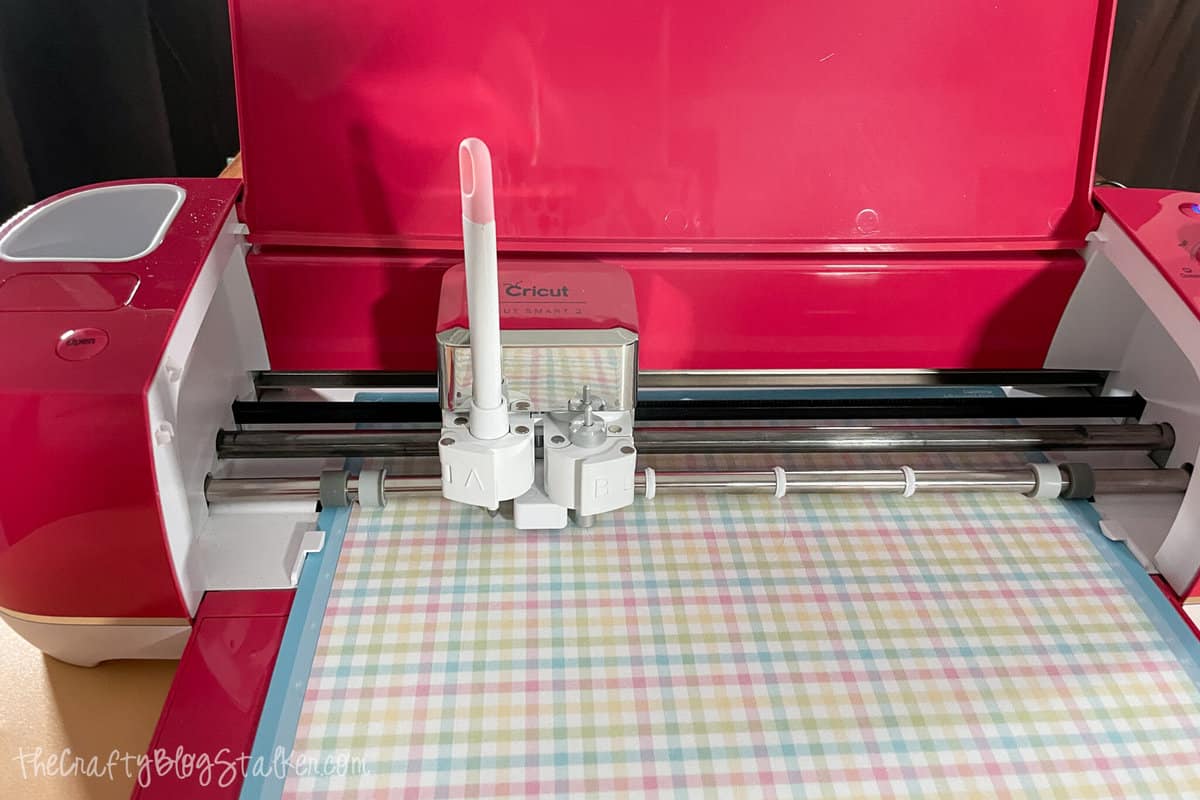
I cut this out on a Cricut Explore Air 2 but this could also be cut on the Maker.
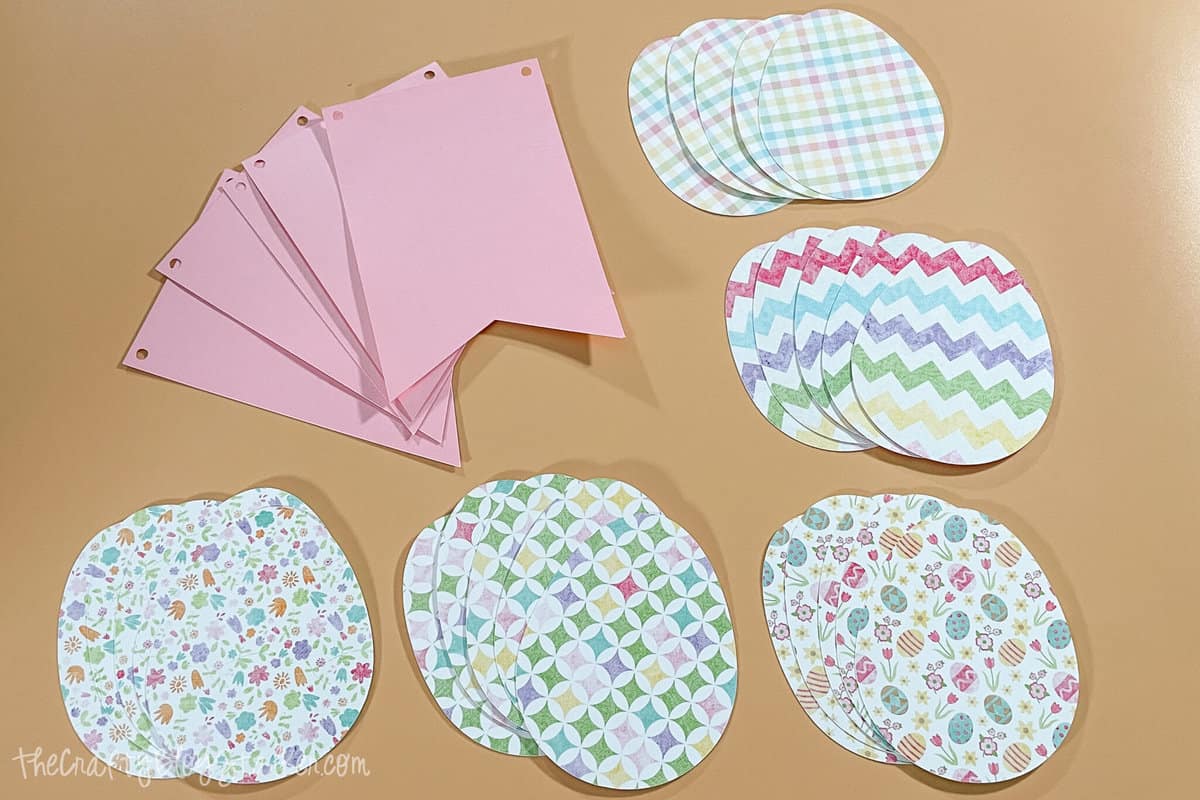
Assembling the 3D Egg Silhouettes:
Fold each of the eggs down the center along the scoreline.
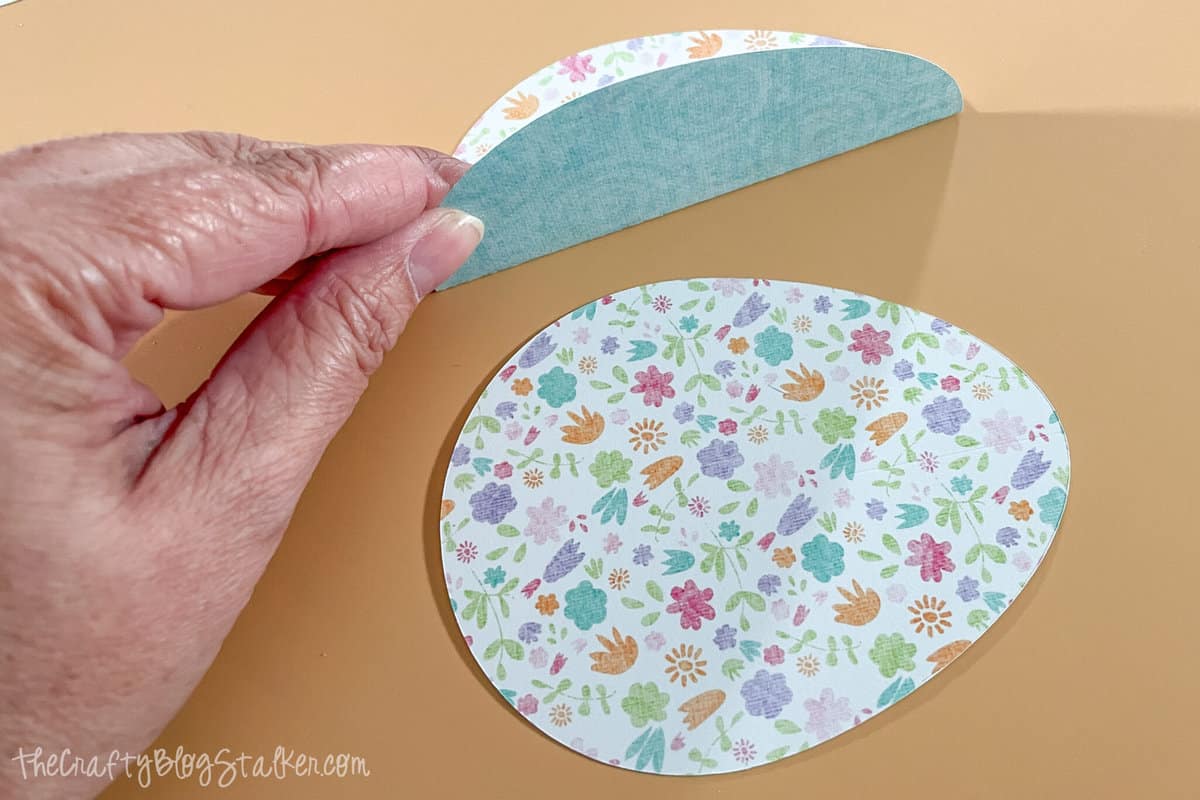
To layer, keep the paper egg folded in half. Apply the double-sided adhesive to the half paper and lay the next folder paper egg on top so all sides line up.
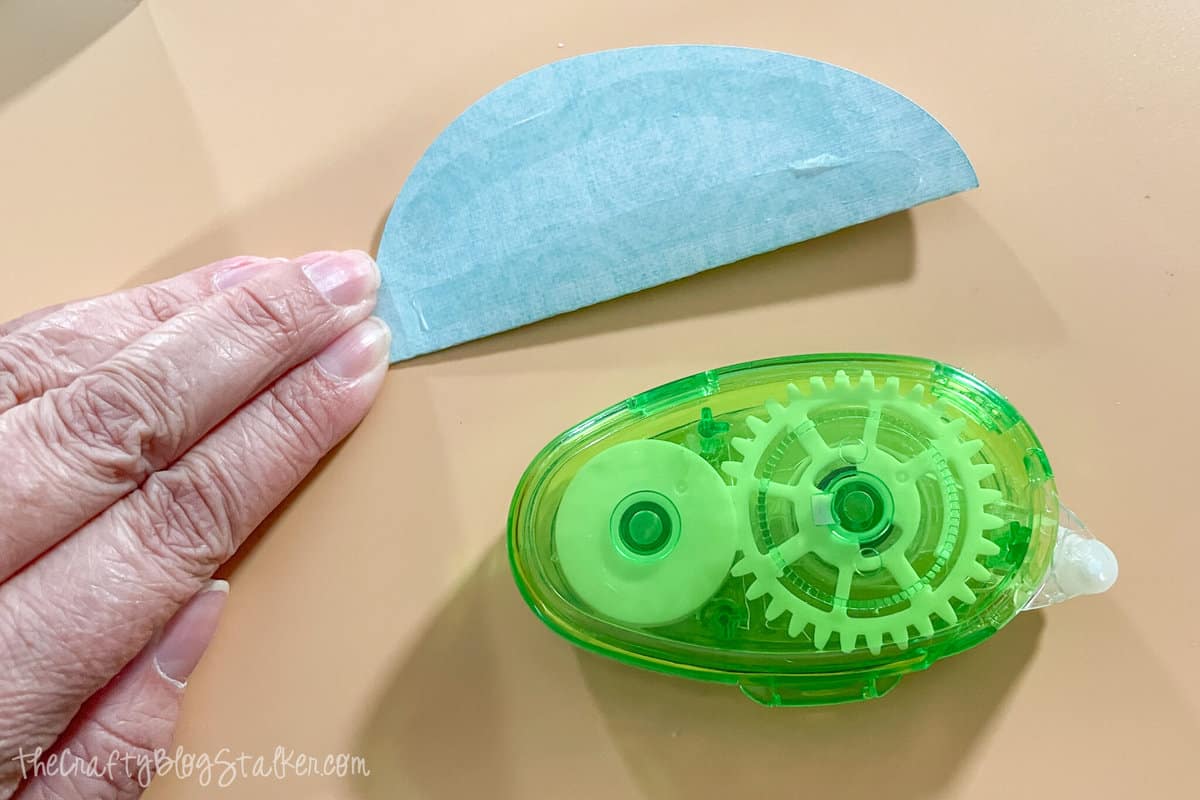
Layer 5 paper eggs on top of one another, all the same way.
Once all have been glued together the egg will fan out and you will be able to see all of the layers.
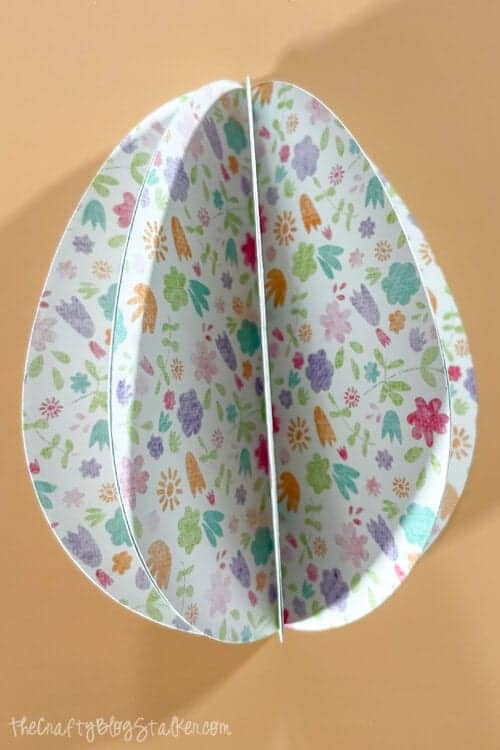
Repeat until you have all of the 3D eggs for your banner completed.
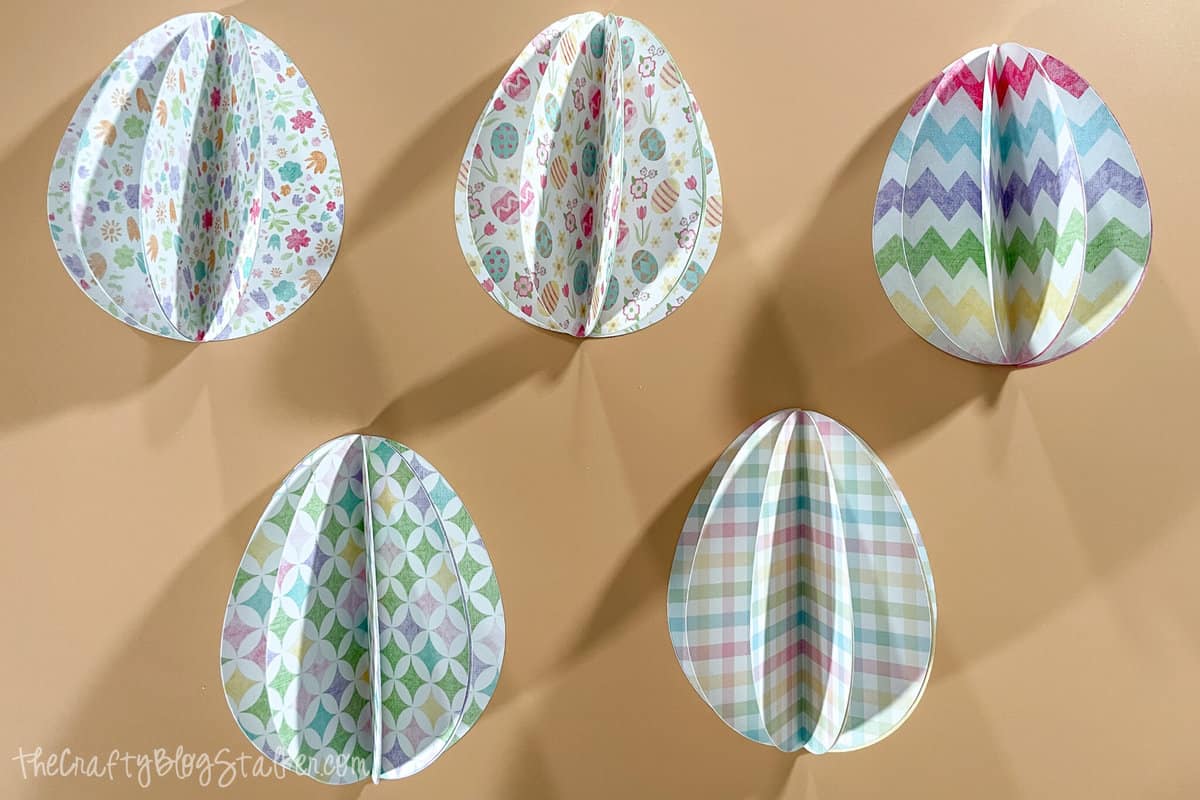
Assembling the Pennant Banner:
To glue the eggs onto the pennant banners, turn them over and apply glue to the back of the 3D egg and then center on the pennant. Press into place.
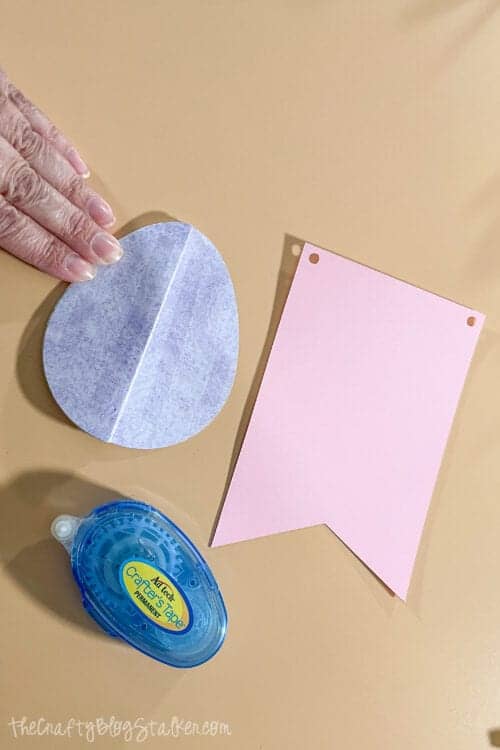
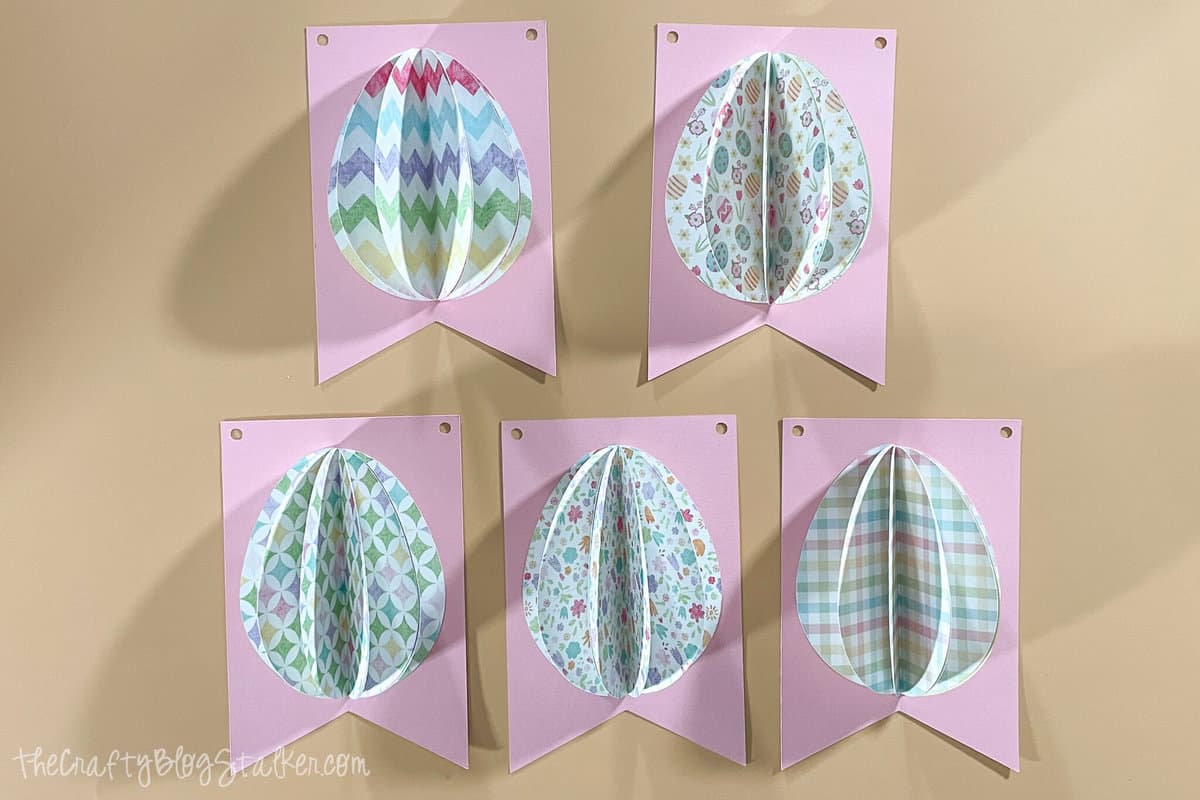
To string the pennants together use some ribbon or twine.
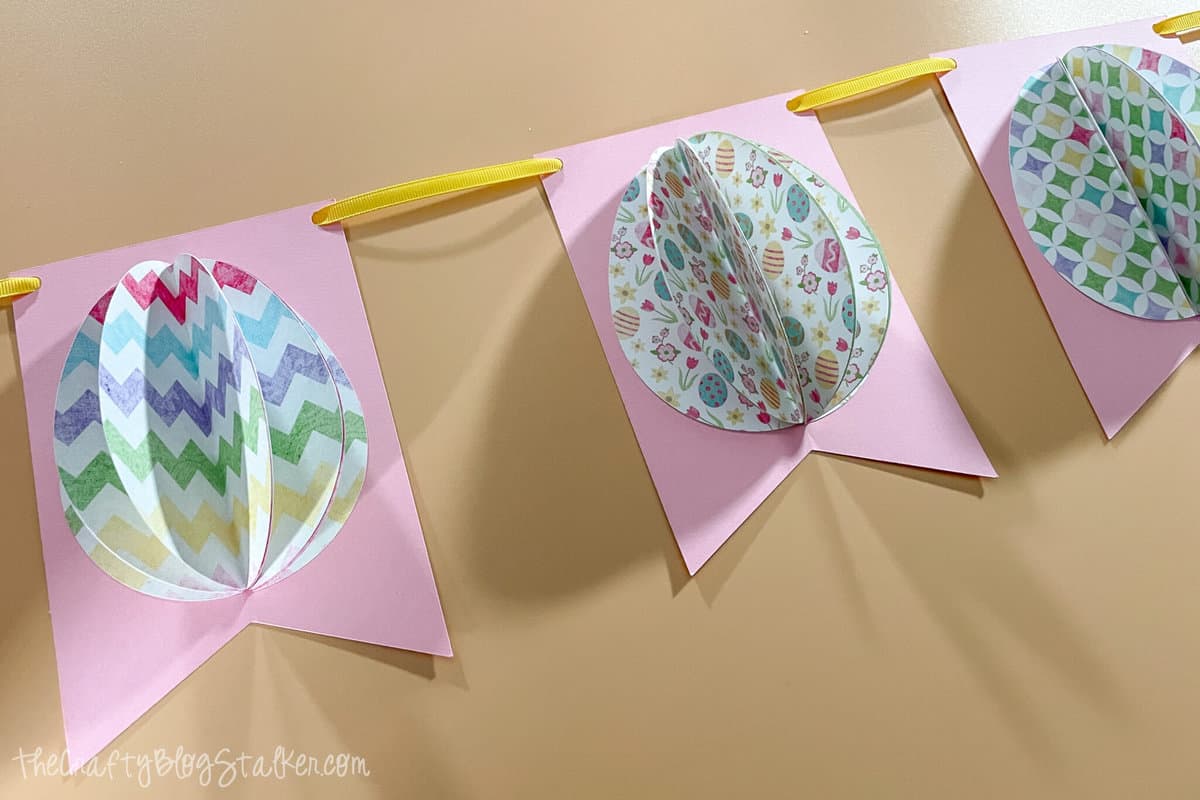
Hang your cute Easter Egg Banner and admire your craftiness!
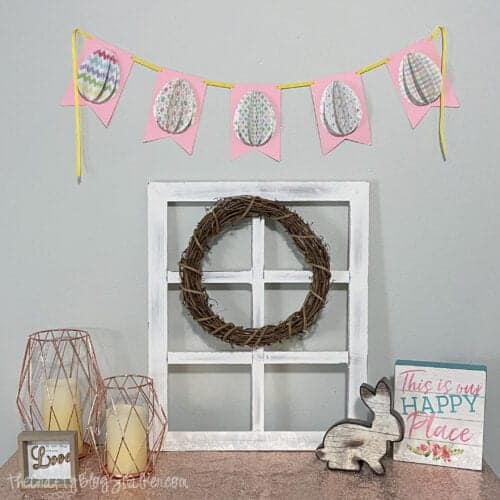
I told you this banner was simple! Plus, you could copy this design for so many different holidays. Instead of an egg for Easter use a shamrock for St. Patrick's Day or a heart for Valentine's Day!
Our Crafting Essentials:
- The Cricut Cutting Machine is easily our favorite crafting tool. We use it in so many of our tutorials!
- These MakerX Crafting Tools are perfect for keeping in the craft room and are always ready when needed!
- This Fiskars Paper Trimmer is easy to use and cuts nicely without frayed edges.
- These Scotch Precision Scissors cut like a dream, and you get multiple pairs in a pack!



Kara
So fun to see your take on my Easter banner! I love the paper that you used. I shoulda thought to use my Silhouette. Much faster I'm sure. 🙂
Inspired By Felicity
So cute! Thank you for linking up at my blog party.
Camoprincess1986
Newest Follower form Blogaholic 🙂
Very cute crafts you are VERY talented
Our Pinteresting Family
What a great idea! I too loved the garland that inspired yours. I like the colors that you chose. Megan
Claire
Great tutorial! I pinned the original by Kara, too and love that you have modified it to incorporate your Silhouette. No matter how you make it, the design idea is fantastic! I have a Silhouette banner that I shared for St. Patrick's Day that can be adapted for any occasion and would love for you to have a look.
Thanks!
Claire @ alittlesomethinginthemeantime.blogspot.com
Shannon
Really cute, I've gotta get started on some Easter projects now!!
Shannon @SewSweetCottage
Kimberly @ The Brown Eyes Have It
Your banner is so cute! As I was reading through your post I was thinking "I would love to make this, but where would I put a banner.". Everyone always seems to hang them from mantels, of which I don't have. Then I saw your final picture and I have a big entry way just like that. I can't wait to make this now. 🙂 thanks!
Holly
Cute! Stopping by from the Creative Corner Hop. Your newest GFC follower.
Lindy@Itsy Bitsy Paper
That banner is great!
DebbieDoesCreations
I love it! I have asked for a silhouette machine for Mother's Day. Thanks so much for linking up to Toot Your Horn Tuesday 🙂
Rachel
How fun and festive! I love the 3-D aspect. Thanks for sharing at Terrific Tuesdays. Rachel
adventuresofadiymom.blogspot.com
Danni Baird @ Silo Hill Farm
So cute! Wish I had a Silhouette!
Melanie @ bear rabbit bear
pretty!
Kadie
First, I am totally green with envy about your Silhouette! Two, your banner is fantastic! I will be featuring it in the morning at our party. Thanks so much for sharing with us at Link It Up Thursday.
Reylan | National Labor Relation Act
The banner is awesome.
Ashley
Love how this turned out! 🙂
Ashley @ casa-de-castel.blogspot.com
Monica Pruett
I'm amazed at what you created with paper! It's so pretty. 😉
Monica
PS I do a Friday Linky party w/400 visitors if you want to link up!
Emily Thompson
fun! Thanks for linking up to Tasteful Tuesdays at Nap-Time Creations! Just wanted to let you know that this is being featured this weekend in an Easter {featuring YOU} post!
Marie bloominghomestead
Super cute! I love how this looks. I'll be featuring this on my blog party highlights this week. 🙂 Thanks for linking up!