

An easy DIY craft tutorial idea on how to dye Easter Eggs with Alcohol Inks. Egg painting techniques are great for home decor and Easter Decorations.
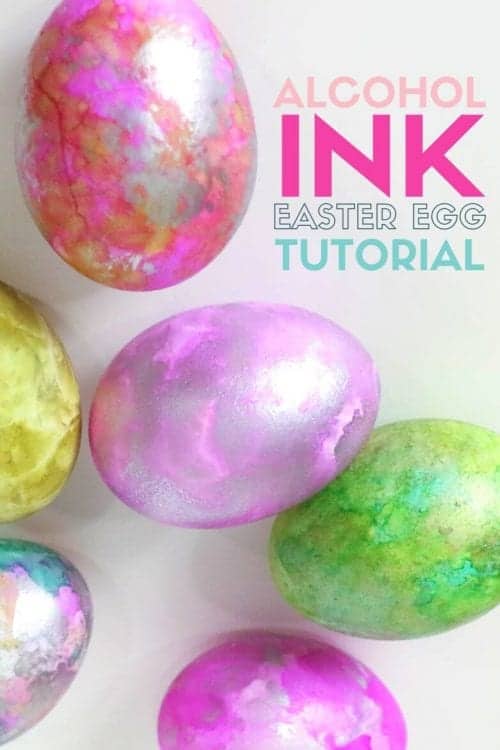
Are you looking for fun and creative ways to dye your Easter Eggs this year? Why not use Alcohol Inks?
Alcohol Inks will help you create beautiful little pieces of art with each and every egg. Although, these eggs should only be used for decoration.
Alcohol inks are not safe for ingestion, so make sure to keep them away from pets and little kids. Blow Out the Eggs to keep them on display all spring long!
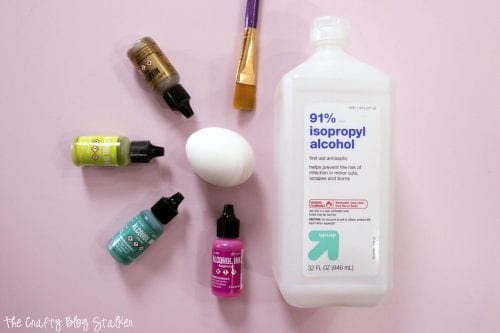
Supplies Used to Make Alcohol Ink Easter Eggs
Items linked below may go to similar items when exact items couldn't be found online. Links are affiliate so when you purchase, I will get a small kickback to help fund the next tutorial!
- Eggs
- Alcohol Inks
- Isopropyl Alcohol - 91%+
- Cotton Pad Rounds
- Mini Spray Bottle
- Disposable Gloves
- Drying Rack
Alcohol Ink Easter Eggs Video Tutorial
Like videos? I have a video tutorial for you! Please subscribe to my YouTube Channel so you don't miss out on any future video tutorials!
DIY Alcohol Ink Easter Eggs
While playing around with my alcohol inks, I discovered 3 different easy ways to use alcohol ink egg painting techniques. Each looks quite different and beautiful in their own way.
Alcohol inks do stain, so make sure to cover your workspace and wear rubber or latex gloves!
Dabbing Method
The dabbing method is just that, dabbing!
Put a couple drops of Alcohol Ink onto a cotton round and then dab the ink onto the egg.
You can use as many colors as you want or keep it nice and simple and only use one color.
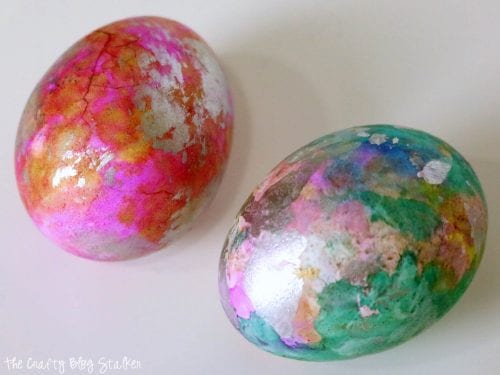
I added a light touch of gold metallic as the last color and I love how it turned out!
The finished eggs here really look watercolored to me and are quite beautiful.

Rolling Method
These method names are really creative, aren't they!
Spray the egg with the Isopropyl Alcohol.
Lay the egg on a covered or protected surface. Apply drops of alcohol inks to the egg and simply roll the egg to coat the color in different ways around the egg.
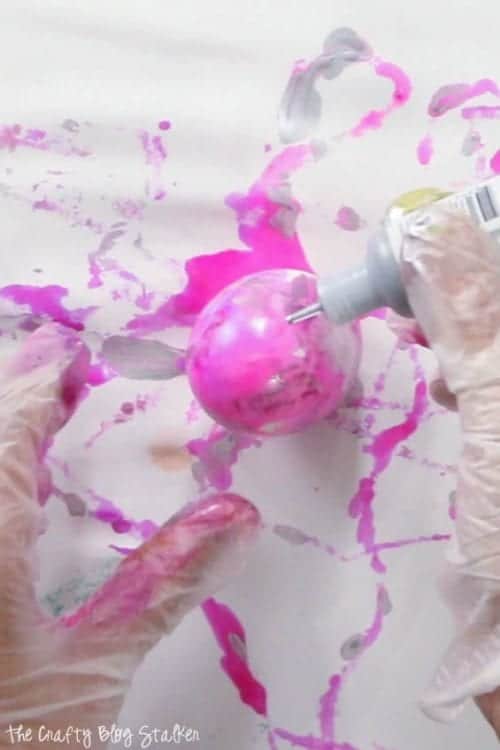
Again, use as many colors as you want, and continue until the egg is completely covered.
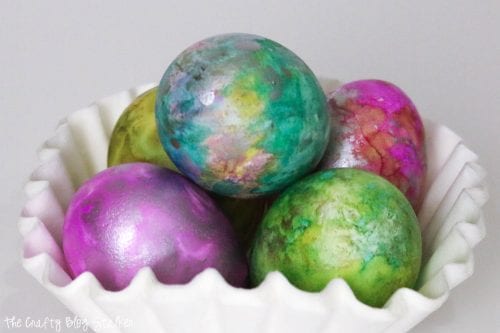
Aren't they beautiful? I used all the colors I had on the bottom egg shown and I absolutely love how it looks!
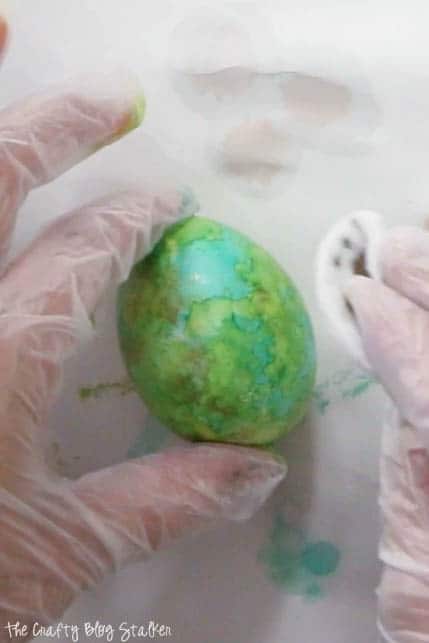
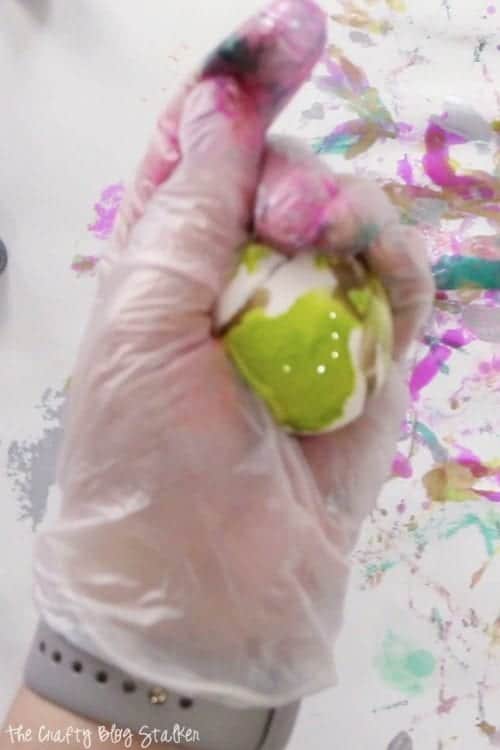
Hand Mix Method
This last method is the easiest of all. Place the egg in a hand with a glove. Spray the egg a couple times with the isopropyl alcohol.
Apply a couple drops of alcohol inks to the egg, no more than two. Then simply roll the egg in your hand until it is completely coated. Easy Peasy!
Make sure to think about the color combinations you are going to use. For the first, I did green and gold and it ended up being a brownish egg. But as you can see the pink and silver version looks amazing!
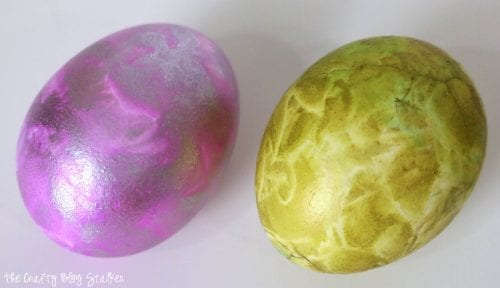
All of the eggs turned out unique and beautiful, even if I didn't choose the best color combo for the brownish one.
Full Facebook Live Tutorial
How will you decorate with your Alcohol Ink Easter Eggs?
Crafting Essentials
- The Cricut Cutting Machine is easily my favorite crafting tool. We use it in so many of our tutorials!
- These MakerX Crafting Tools are perfect for keeping in the craft room and are always ready when needed!
- This Fiskars Paper Trimmer is easy to use and cuts nicely without frayed edges.
- These Scotch Precision Scissors cut like a dream, and you get multiple pairs in a pack!