This post may contain affiliate links. For more information, please see our disclosure policy.
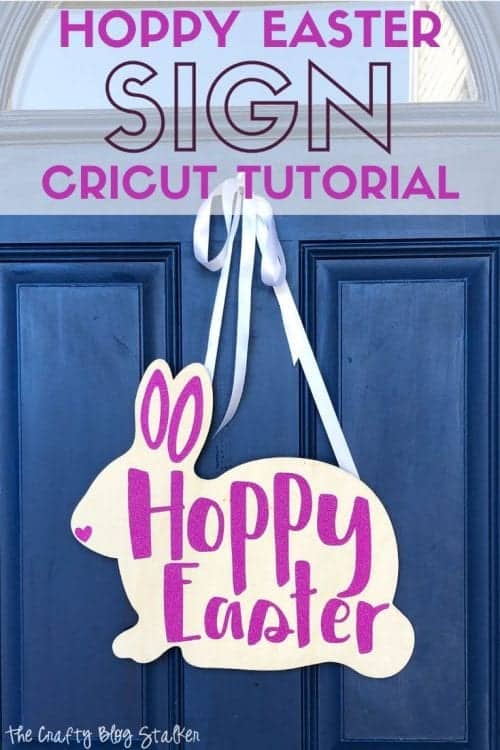
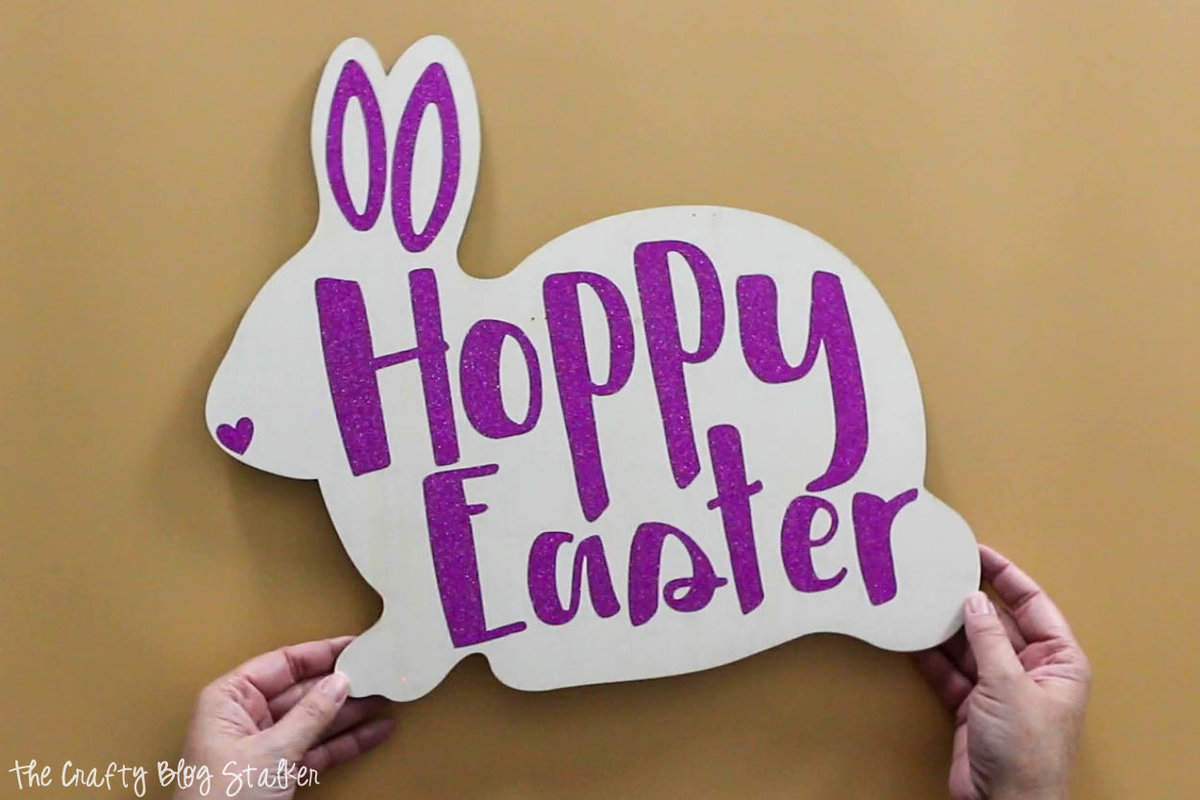
A simple Cricut tutorial to make a Bunny Hoppy Easter Sign with Glitter Vinyl. Use as a door hanger or place on the mantel for home decor.
Complete step by step instructions and video tutorials below!
Easter decorations are so fun to craft, especially when they include cute little bunnies!
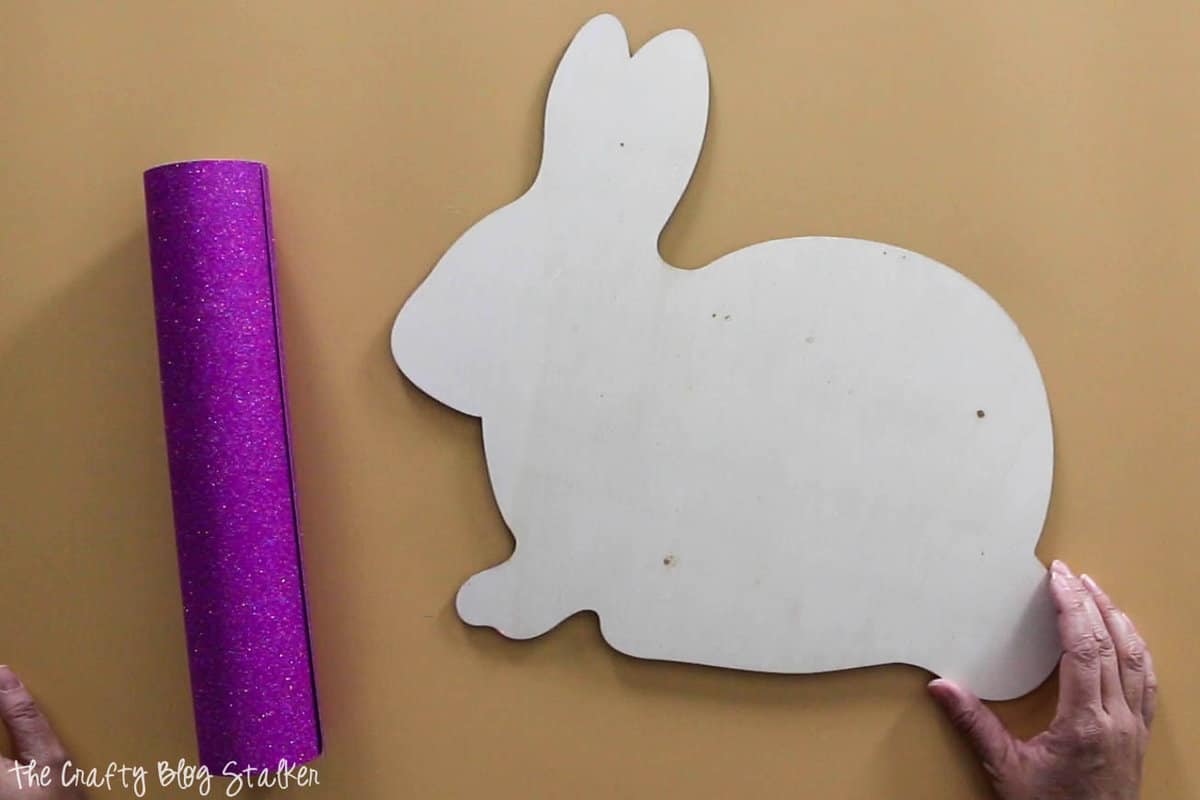
I received this wood bunny cut-out from Oriental Trading and I knew right away what I was going to do with it.
In this tutorial, I will also teach you how to create a design to fit a specific shape, like this bunny sign. So you get two tutorials in one!
Supplies Used to Make Hoppy Easter Sign
Items linked below may go to similar items when exact items couldn't be found online. Links are affiliate so when you purchase, I will get a small kickback to help fund the next tutorial!
- Cricut Cutting Machine
- Cricut Design Space
- Glitter Vinyl
- StandardGrip Mat
- Transfer Tape
- Weeding Tool
- Scraper Tool
- Scissors
- Wood Bunny Sign
Hoppy Easter Sign Video Tutorial
Like videos? I have a video tutorial for you! Please subscribe to my YouTube Channel so you don't miss out on any future video tutorials!
Creating a Design to Fit Any Shape in Cricut Design Space
The first step is creating a design that will fit inside the shape of the sign. Instead of breaking all of these steps out I created a video. I think it may be easier to watch every step then try to type it all out.
Or, if you would rather, you can use my Canvas in Cricut Design Space here.
If you have any questions about this process please reach out. I am happy to help.
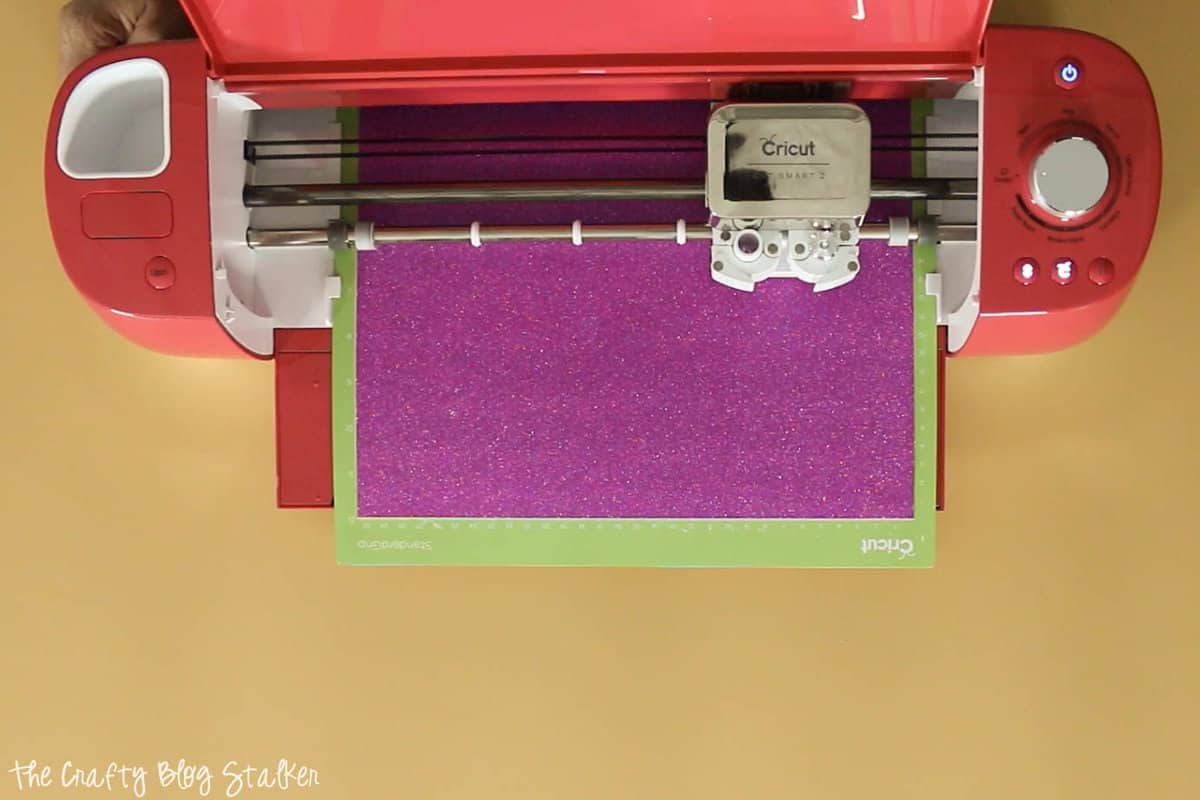
Cutting the Design Using a Cricut Explore
Once the design is how you like it, select "Make It" and send the design to be cut.
Weed the design and remove the excess. I like to start in the corner with the weeding tool.
Glitter vinyl can tear, so be careful as you are weeding.
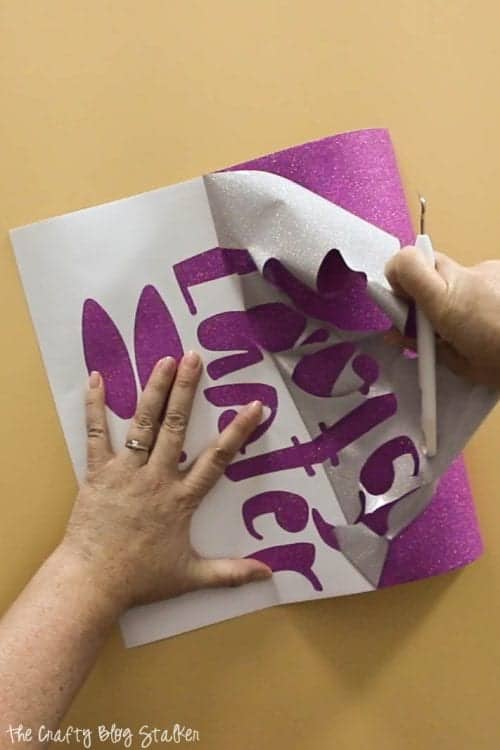
I wanted the design to fit on a sheet of 12" x 12" vinyl so I did not attach the ears or nose. Those will be easy enough to apply by themselves.
Cut the ears and nose away from the design with a pair of scissors.
Applying the Vinyl Design to the Sign
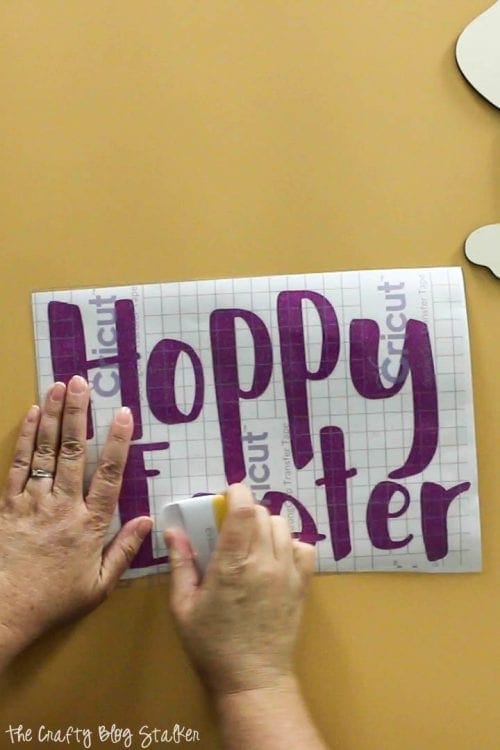
Cut a piece of StrongGrip Transfer Tape just a bit larger than the cut vinyl. Lay the transfer tape over the top of the vinyl and press it into place with a scraper.
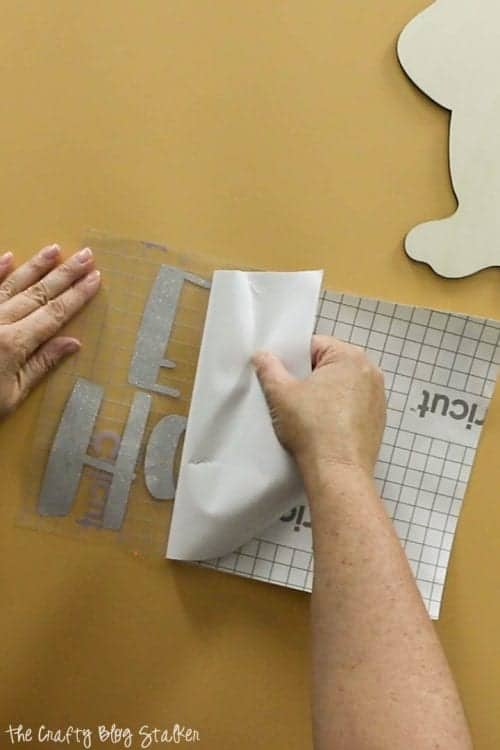
Slowly peel back the paper backing. You want to make sure that the vinyl is now sticking to the transfer sheet and peeling up from its own paper backing.
Center the design over the wood bunny sign and press it into place using the scraper tool.
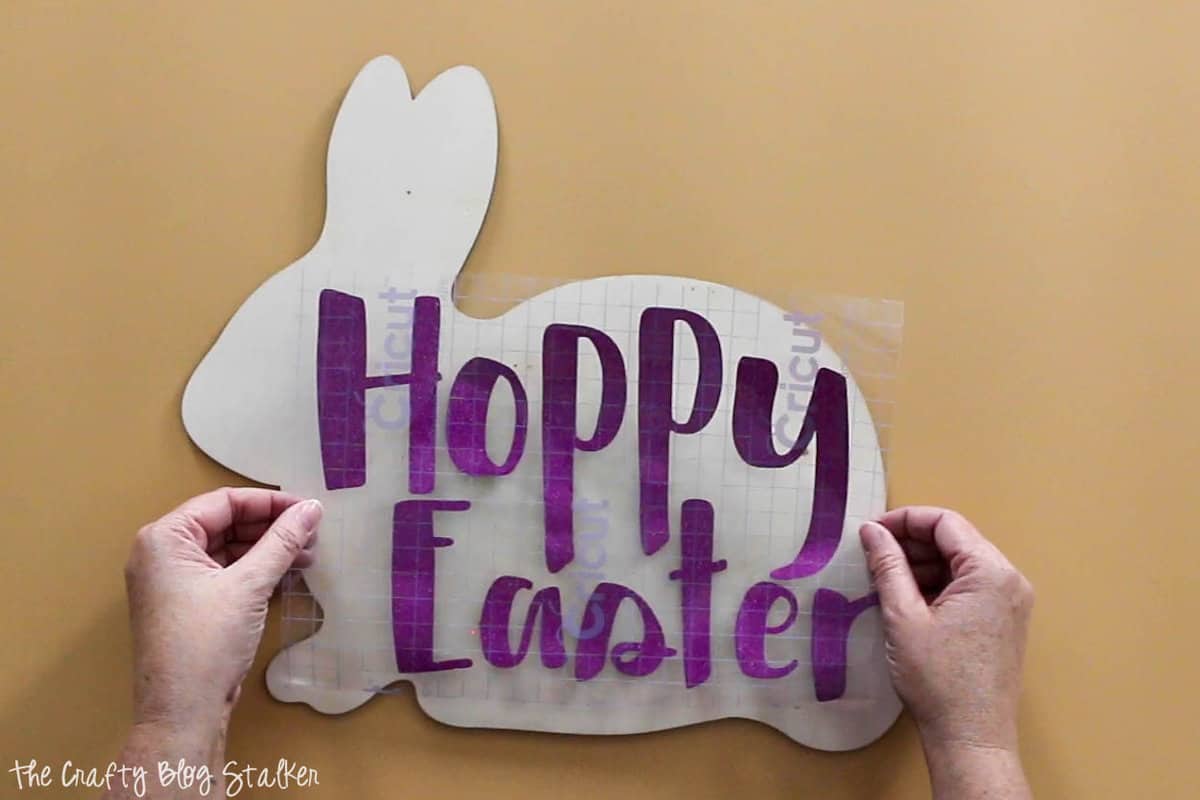
Peel back the transfer sheet. This time you want the vinyl design to stick to the wood and not the transfer sheet.

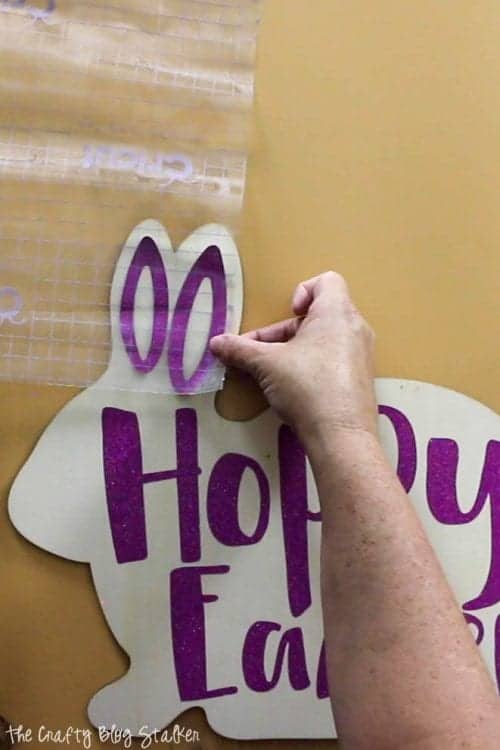
Repeat for the ears and nose.
Isn't it so cute?
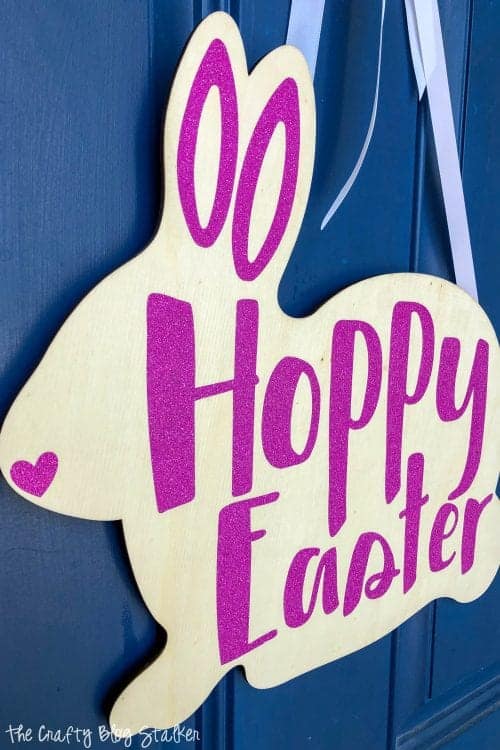
The design fits the shape of my bunny sign perfectly!
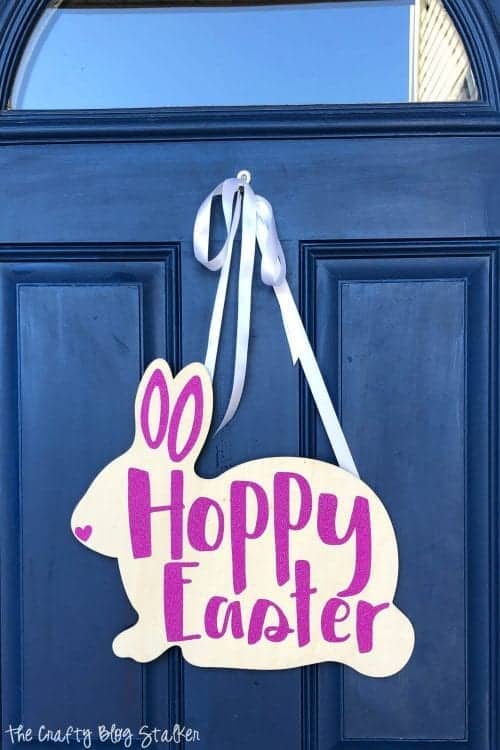
I decided to hot glue some ribbon to the back of mine so that it can hang on my front door. I love it so much!
Share and leave a comment below on how you like to decorate for Easter!
Our Crafting Essentials:
- The Cricut Cutting Machine is easily our favorite crafting tool. We use it in so many of our tutorials!
- These MakerX Crafting Tools are perfect for keeping in the craft room and are always ready when needed!
- This Fiskars Paper Trimmer is easy to use and cuts nicely without frayed edges.
- These Scotch Precision Scissors cut like a dream, and you get multiple pairs in a pack!
Recommended Posts


Katie Adams
Creator at The Crafty Blog Stalker
- Recreate Art with Cricut
- How to Paint a Picture Frame with a Distressed Look
- Handmade Watermelon Gift Bag with Free SVG
- Show Me The Money Piggy Bank Tutorial
- 27 Cute Easter Bunny Crafts
- Vinyl Car Window Decals with Cricut
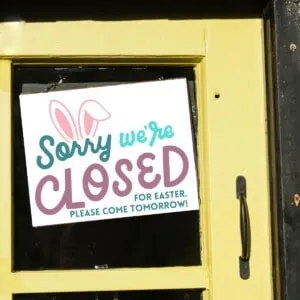
- Free Printable Closed for Easter Sign
- How to Make Arabesque Tile Ornaments with a Free SVG
- How to Design and Cut Large Decal Stickers with Cricut
- Remembering Loved Ones: How to Create a Meaningful Pet Memorial Shadow Box
- DIY Personalized Tumbler New Teacher Gift
- How to Make a Vinyl Mirror Decal Quote with Cricut Explore
Leave a Reply