Hello, readers! It's Molly from Just a Little Creativity, and I'm happy to be sharing here at The Crafty Blog Stalker again this month.
I'm trying hard to focus on the upcoming Fall season. I love the handmade decor, and painting is my favorite hobby, so I've created a tutorial for you that combines the two.
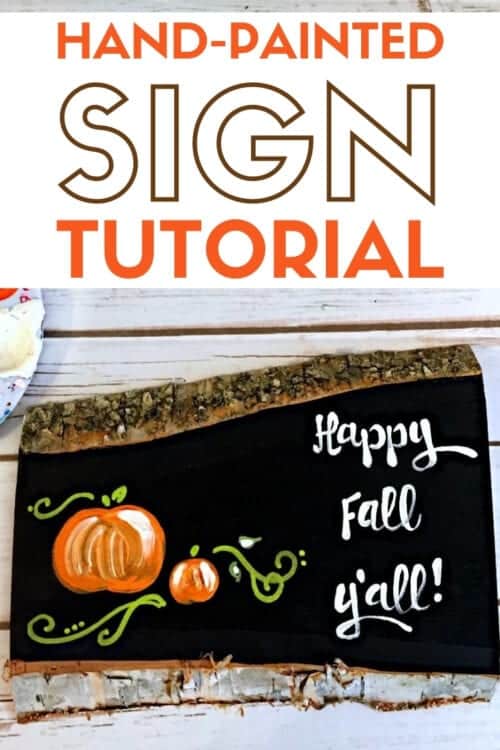
Supplies Used to Make a Hand-Painted Sign
Items linked below may go to similar items when exact items couldn't be found online. Links are affiliate so when you purchase, I will get a small kickback to help fund the next tutorial!
- Wood Plank
- Black, white, orange, and green craft paints (or paint pens)
- Carbon Paper
- Small liner & flat paint brushes
- Free "Happy Fall Y'all" printable typography quote (found in this post)
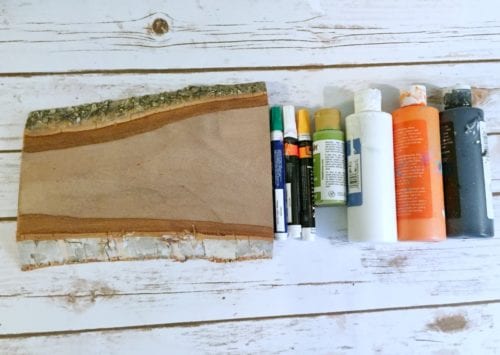
I found this wood plank on clearance at the craft store. It's one of those things I stared at for a minute and thought "Oh, that would be cute for something". But in the store, I couldn't think what I'd even use it for. I purchased it anyway, and when my brain started turning towards Fall decor, I knew it would be perfect for this project.
Step by Step Tutorial
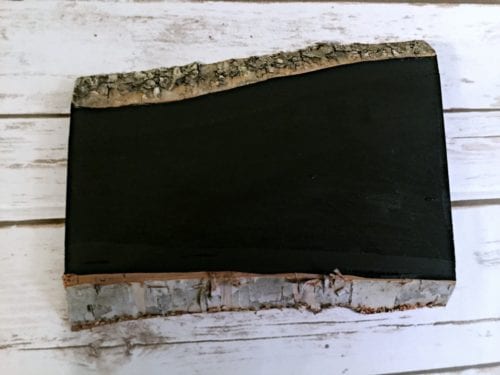
First, paint your wood black, leaving the bark edge exposed.
While that's drying, go ahead and save this free typography image, and print it to fit the size of your wood or canvas.
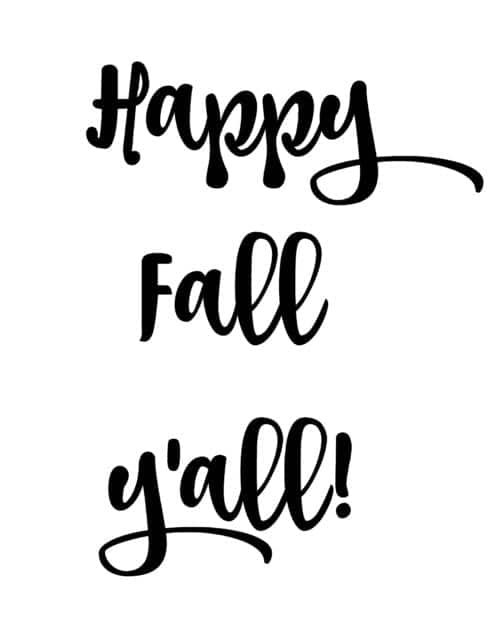
Then, use the carbon paper to trace your typography image onto your wood. Make sure you press hard enough that you'll see the image on the other side.
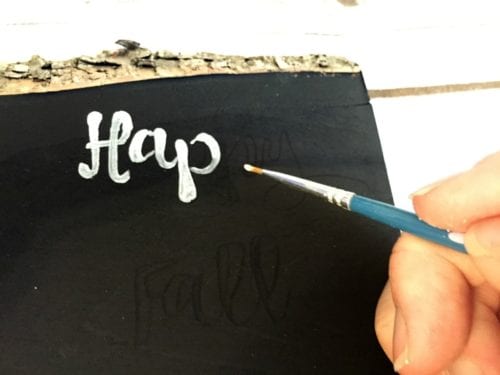
Using your small liner paint brush and white paint, fill in your typography. This is very much like coloring in a coloring book page, except it with letters.
You can use a paint pen to do this as well, but may not get the small lines you desire. You could even fill the letters by combining the use of paint pen and brush if you're most comfortable doing this.
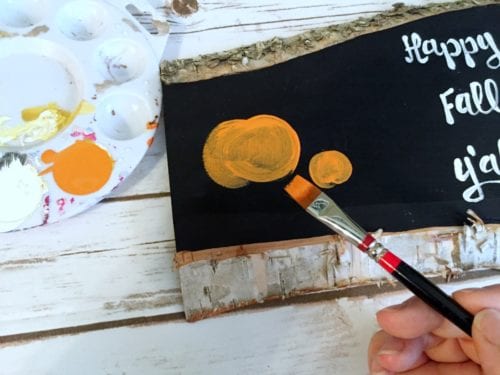
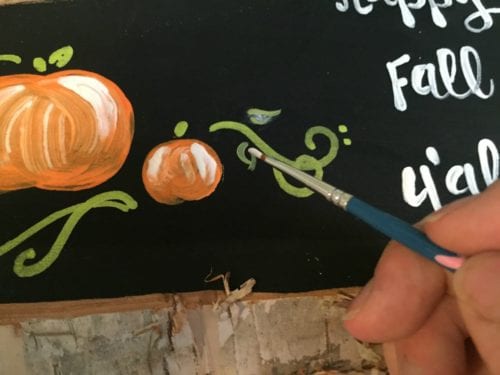
Now it's time to paint the pumpkins. Using your orange paint and flat brush, make a medium-sized oval(ish) shape and then fill it in with paint. For the small pumpkin, paint a small circle and fill it in too.
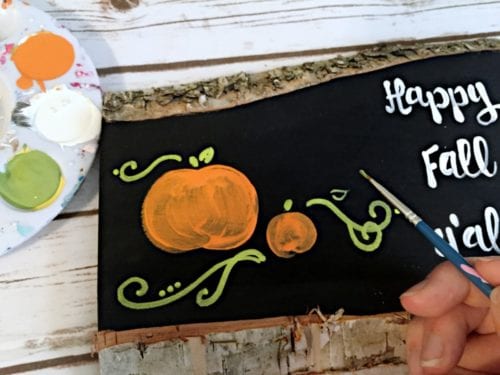
Using your green paint and a small liner brush (or your green paint pen) add some swirly vines and leaves.
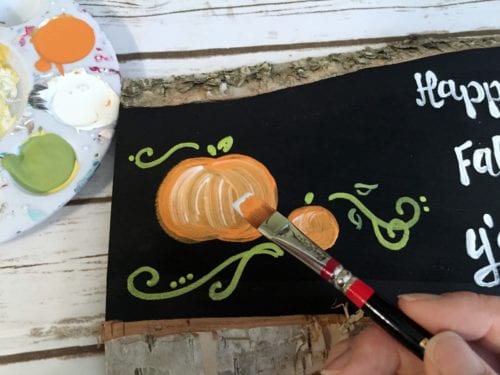
Finally, use your flat brush, and add a few white lines into the pumpkin. This adds highlights and dimension to your pumpkins. Don't let the orange paint dry before adding the white highlights. When it stays wet and you add your second color, it helps blend the colors together. And you can use your liner for even smaller white highlights.
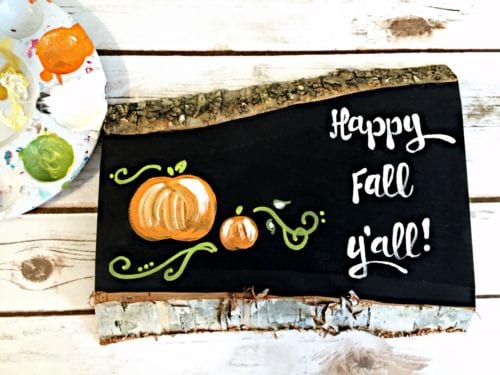
When your hand painted sign is finished, it will look great in your home. And, you can proudly tell everyone you painted it yourself!
If you have any questions about painting, feel free to hop over to Just a Little Creativity, and send me an email. I'll be happy to help. I have a few more painting tutorials there as well, like this one on "How to Paint a Whimsical Owl".
Have a great September readers!
Our Crafting Essentials:
- The Cricut Cutting Machine is easily our favorite crafting tool. We use it in so many of our tutorials!
- These MakerX Crafting Tools are perfect for keeping in the craft room and are always ready when needed!
- This Fiskars Paper Trimmer is easy to use and cuts nicely without frayed edges.
- These Scotch Precision Scissors cut like a dream, and you get multiple pairs in a pack!


creativejewishmom/sara
Love it, adorable! thanks so much for sharing on craft schooling Sunday!
Katie
Thank you so much! I am so glad that you like it! Thanks for stopping by.
Kate
This is so cute and definitely easy for a beginner!
Pinned and tweeted!
Thanks for sharing with us as the Merry Monday link party! We hope you can join us again next week!
Kate | TheOrganizedDream.com
Katie
Thank you, Kate. I am so glad you like this tutorial. Thanks for sharing!
Trisha
Such a cute project! The little pumpkins are so cute!
~Trisha
Katie
Thank you Trisha! I am so glad that you like it!
Charlene Asay
This is seriously the cutest idea. Thanks for sharing!
Teresa
How cute! Your painting tips are greatly appreciated; I have absolutely no talent in that area. Thank you for sharing. Pinned!
Katie
Ha ha! Thanks Teresa! It's a fun project.