



This post is sponsored by Let's Resin. All opinions expressed are my own.
Create a custom flower resin keychain with Let's Resin supplies. This beginner-friendly project makes a colorful handmade gift or everyday accessory.
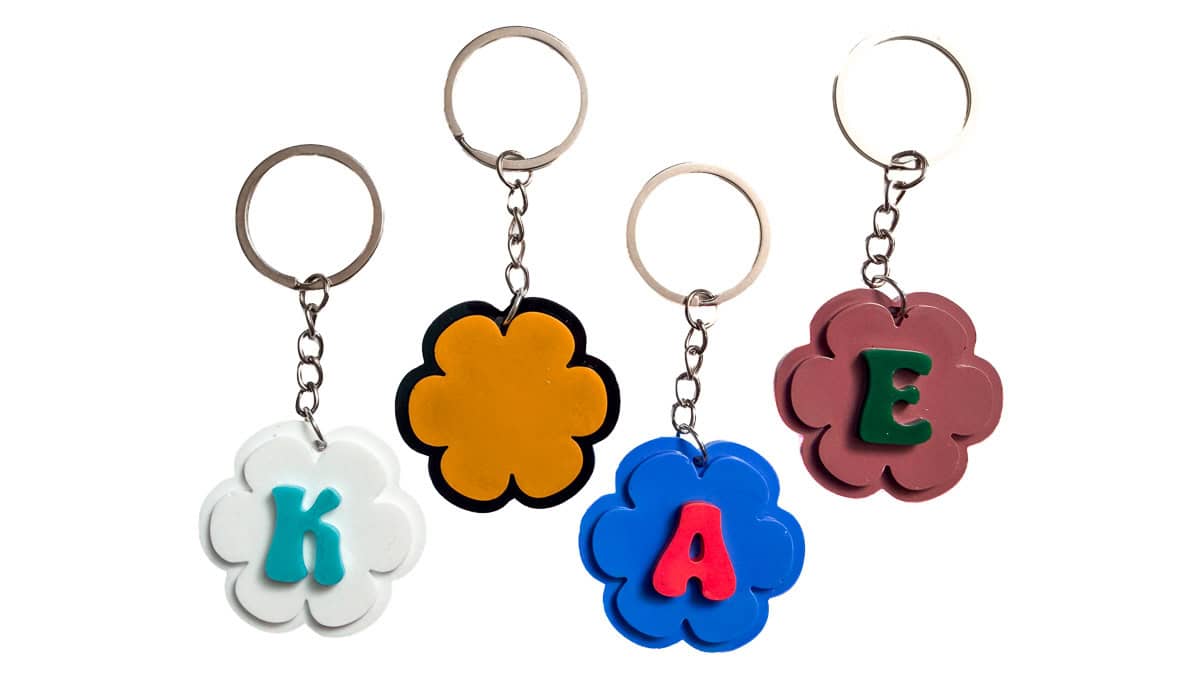
If you've been wanting to try resin crafting, this flower resin keychain is a fun place to begin.
These colorful letter keychains come together in just a couple of pours and make thoughtful handmade gifts for friends, teachers, or yourself.
I love that each one can be customized with different colors to match someone's personality or favorite shade.
Once you make your first one, you'll probably start thinking about all the other names, initials, and color combinations you want to create.
Jump to:
Skill Level: Beginner
Estimated Cost: $15-$20
Total Time: About 14 hours (including curing time)
Craft Tutorial Video
If videos are your thing, you're in luck-I've got a full tutorial ready for you!
Subscribe to my YouTube channel and stay inspired with every new project.
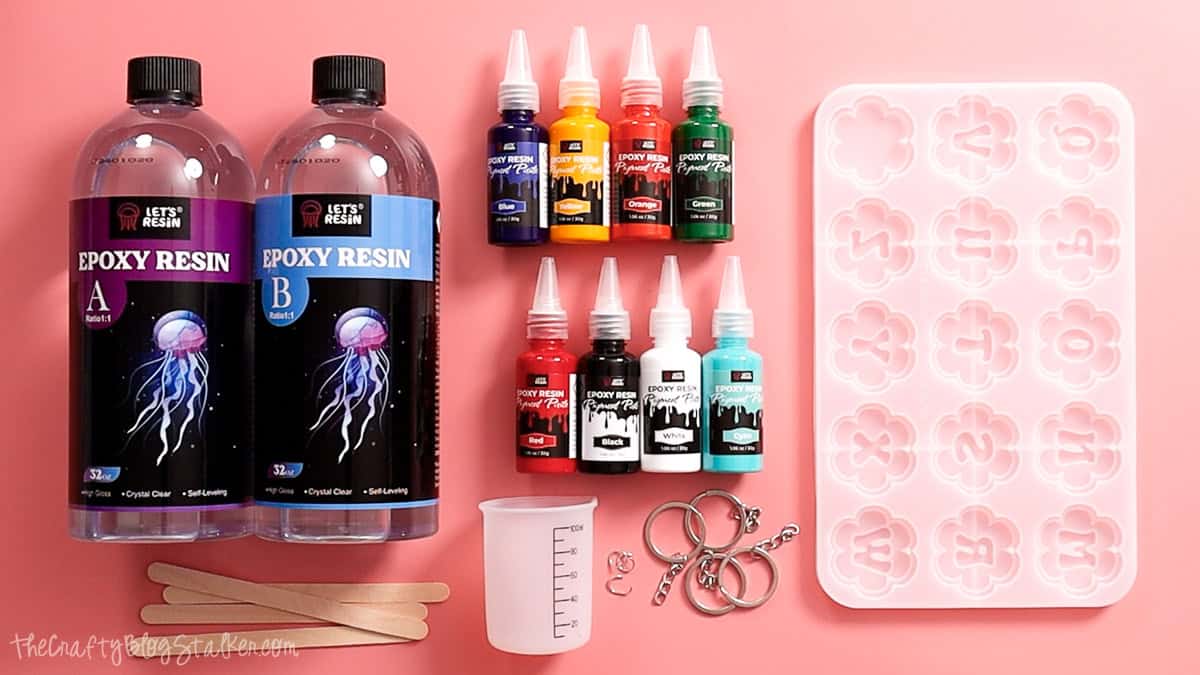
Before You Begin
Resin projects are easy once you understand the basics, but taking a few minutes to prepare your workspace makes the process much smoother.
Work on a level surface, wear disposable gloves, and open a window or work in a well-ventilated area according to the resin manufacturer's recommendations.
This project uses two pours to create layered letters, so be sure to allow the first layer to partially cure before adding the second.
Rushing this step can cause the colors to blend together instead of creating crisp, clean layers.
How Much Resin Do You Need?
One feature I really appreciate about these molds is that the resin amount is printed right on them.
However, I am not filling every mold, so I measured one cavity by filling it with water and pouring it into a measuring cup.
Each flower mold held about 5 milliliters, although I always mix a little extra resin just in case.
Having a small amount left over is much better than running out halfway through a pour.
Mix and Color the Resin
Mix the Resin Correctly
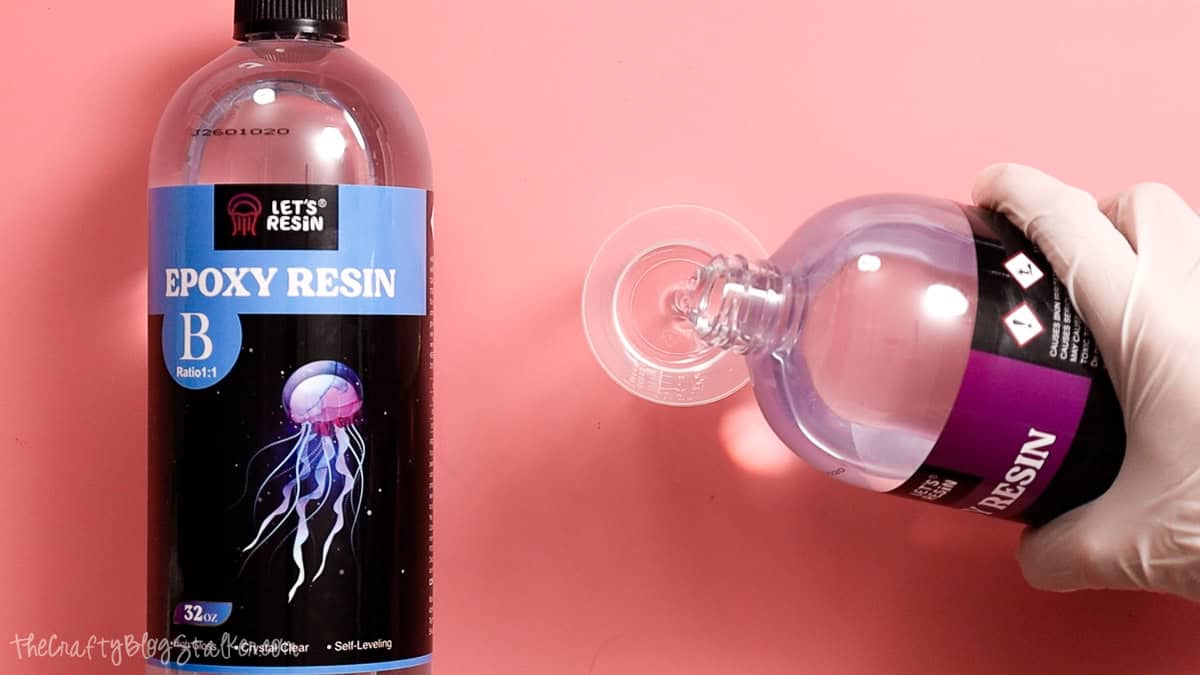
Epoxy resin requires an exact 1:1 mixing ratio between Part A and Part B. Measuring carefully is one of the most important parts of a successful project.
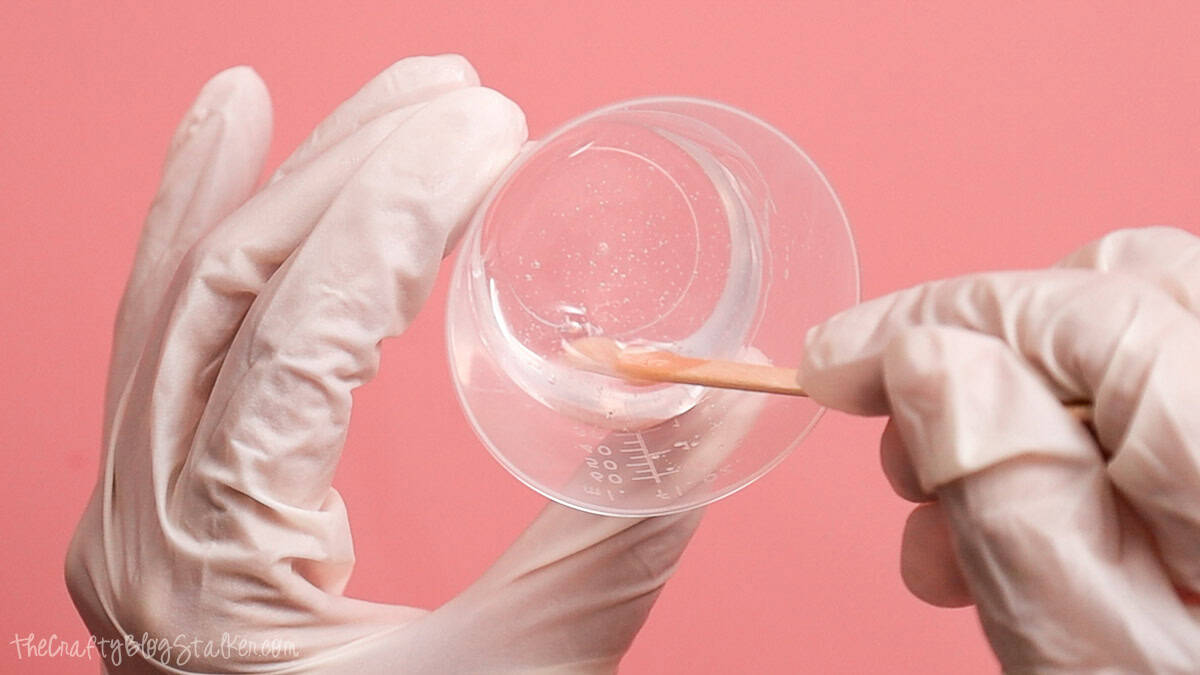
Stir slowly for about one minute, scraping the sides and bottom of the cup as you mix. Gentle stirring helps reduce air bubbles while still fully combining the resin.
Add Pigment Paste
A little pigment paste goes a long way. These colors are highly concentrated, so a single drop is often enough to create vibrant colors.
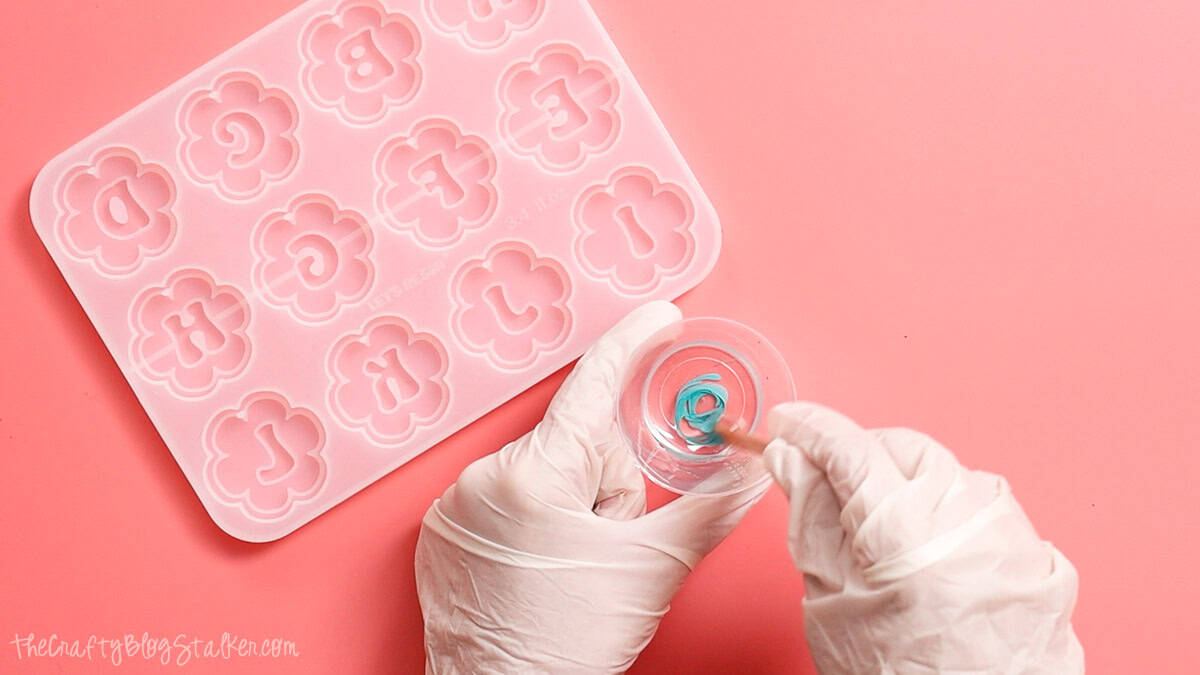
For this project, I made each letter a different color and then chose a coordinating background color for the second layer. It's a fun way to personalize each keychain.
Fill the Molds
For the small letter sections, I find that using a plastic pipette gives me much better control than pouring directly from the cup.
It made it easy to place the resin exactly where I wanted it without making a mess.
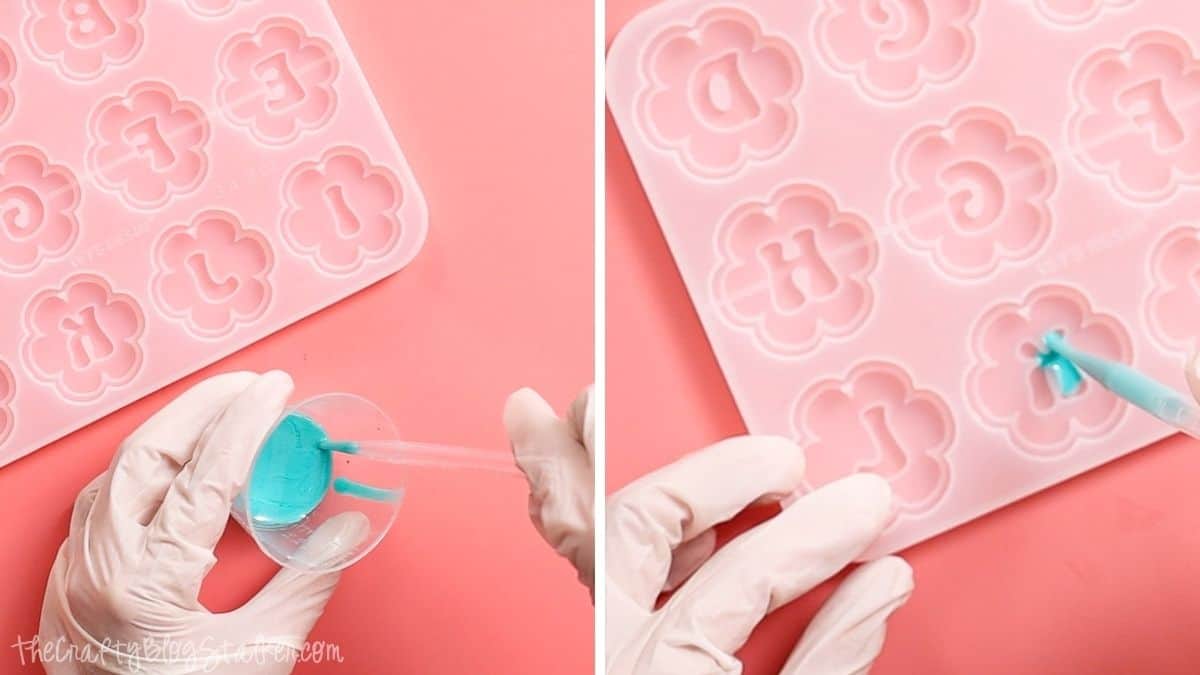
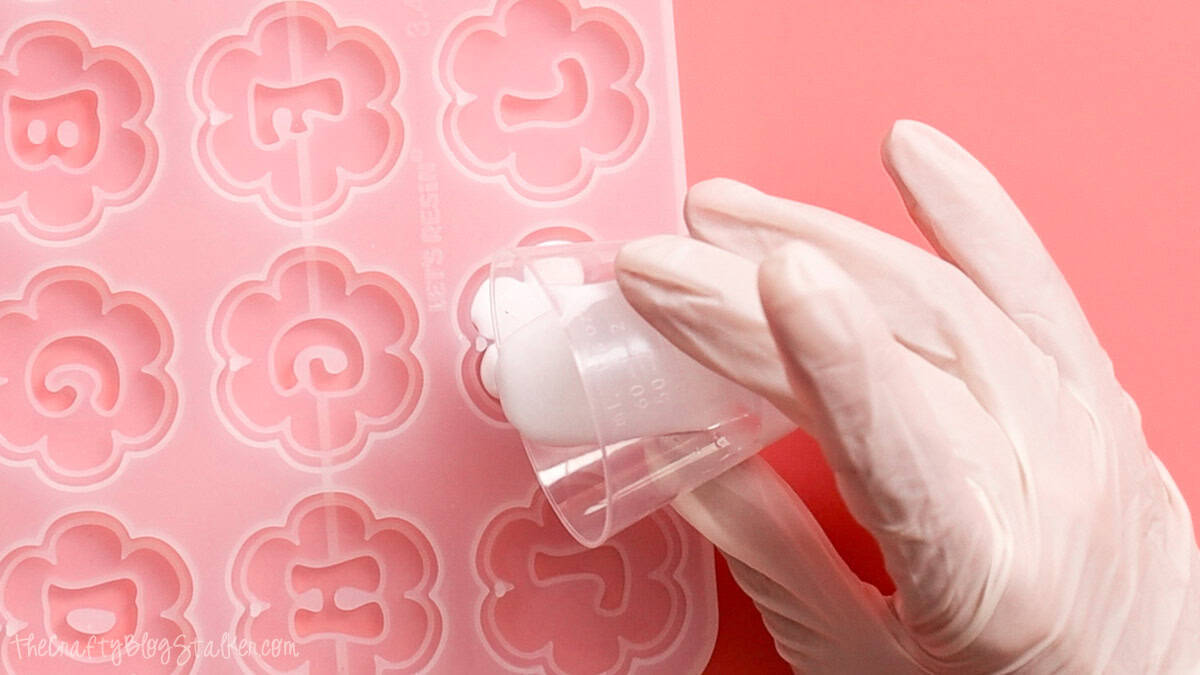
Once the first layer had cured for about four hours, I mixed a fresh batch of resin for the background color and carefully filled the remaining portion of each mold.
Remove Air Bubbles
Air bubbles are a normal part of working with epoxy resin, but they're easy to manage.
After filling the molds, gently tap or lightly drop them onto your work surface from a few inches above the table. This encourages trapped bubbles to rise to the surface.
A light mist of isopropyl alcohol quickly pops most surface bubbles.
Some resin artists prefer using a small butane torch, but I find alcohol works wonderfully and is already something I keep in my craft room.
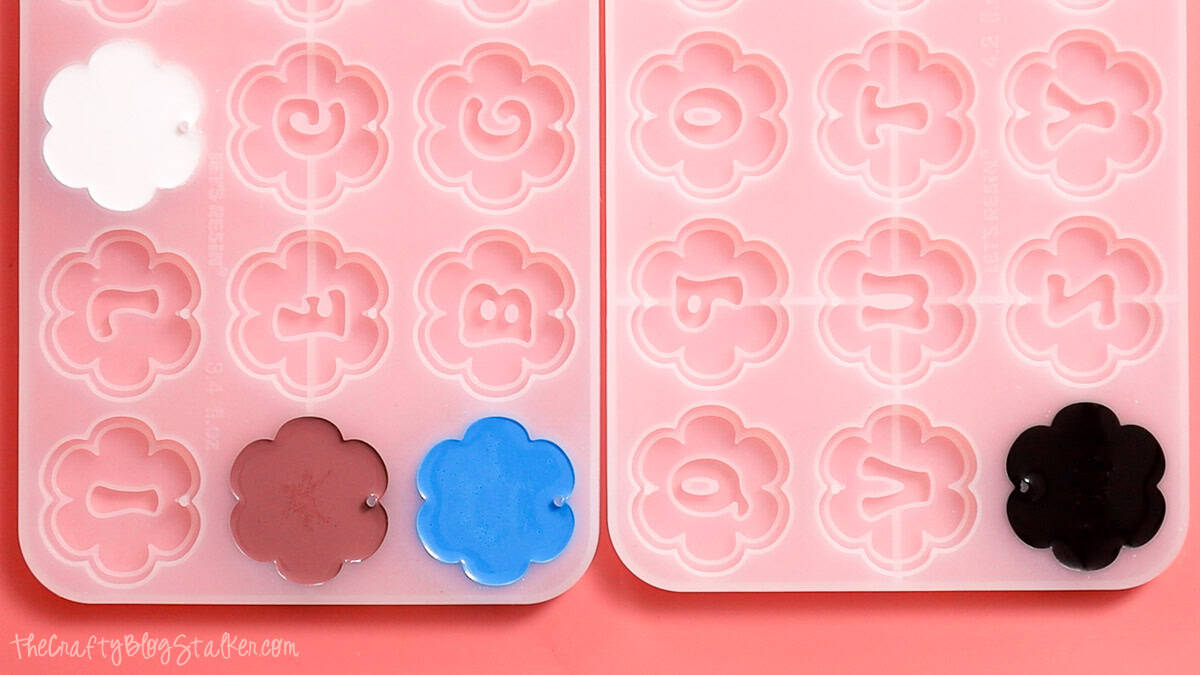
Allow the resin to cure completely before removing it from the molds. I let mine sit overnight for the best results.
Assemble the Keychain
Removing cured resin from the molds is easily my favorite part of the whole process. Seeing the glossy finished pieces pop free never gets old.
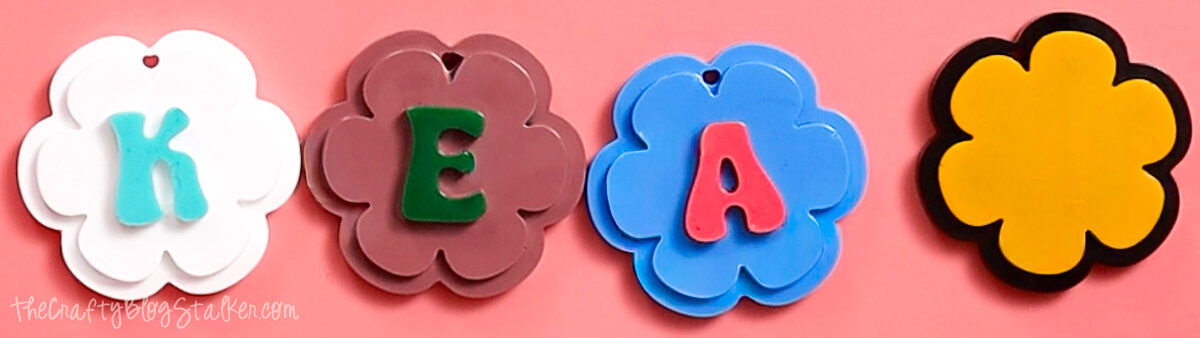
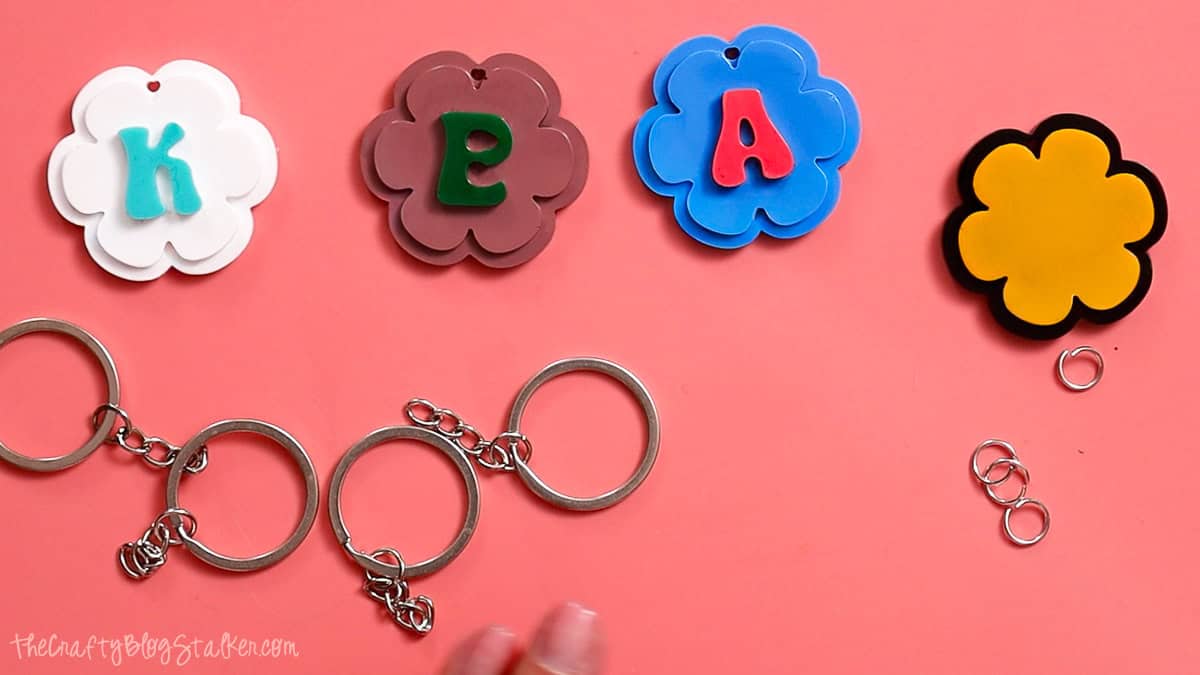
The Flower Alphabet Keychain Resin Molds include the keychain hardware, making assembly quick and easy.
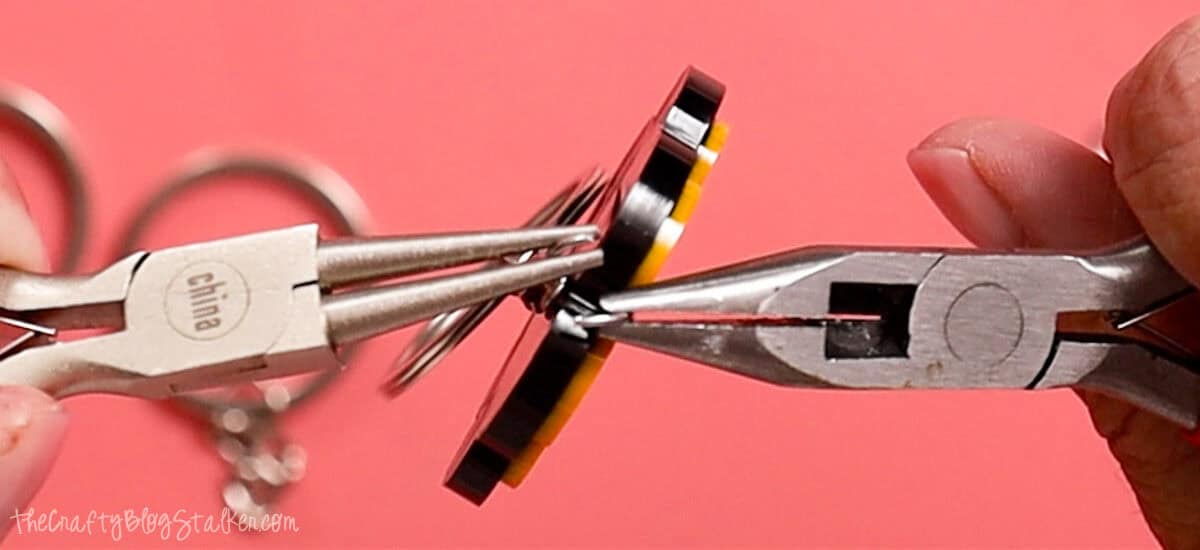
Using two pairs of jewelry pliers, gently twist the jump rings open instead of pulling them apart.
This keeps the rings perfectly round and makes them easier to close securely.
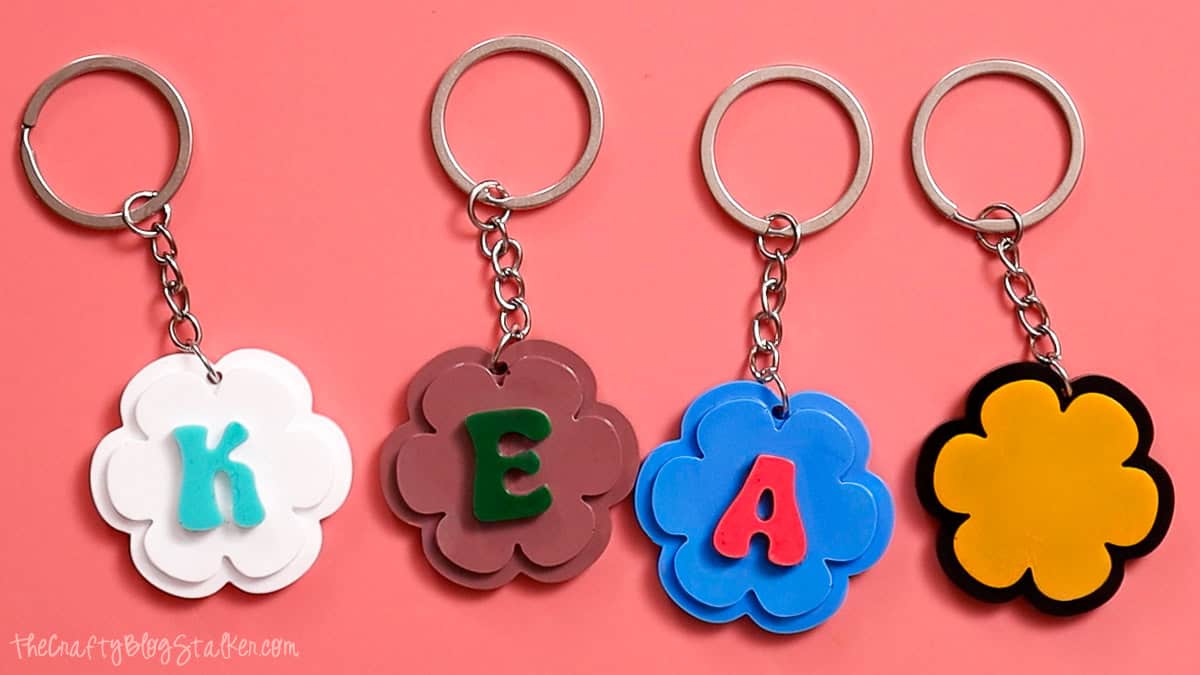
Attach the resin letter, keychain hardware, and any additional accessory pieces before twisting the jump ring closed again.
Helpful Tips
If you're new to resin, begin with just one or two molds until you're comfortable mixing and pouring.
Small projects like these are an excellent way for beginners to learn before moving on to larger epoxy resin projects.
Tweezers can also be helpful if you're placing dried flowers, glitter, or other small embellishments into your molds before pouring the resin.
Final Thoughts
I absolutely love how these flower resin keychains turned out.
They're colorful, lightweight, and make wonderful gifts that feel personal without taking all day to create.
The molds are easy to use, the Let's Resin products performed beautifully, and the finished keychains look polished enough to carry every day.
Frequently Asked Questions
Yes! This is an excellent first epoxy resin project because the molds are small, the pours are simple, and the hardware is easy to assemble.
No. This project uses two-part epoxy resin, which cures naturally over time and does not require a UV lamp.
Absolutely. Small dried flowers fit beautifully inside these molds and create one-of-a-kind designs.
Cure times vary by brand and room temperature, but I recommend allowing the keychains to cure overnight before removing them from the molds.
Besides keychains, these resin letters can be turned into necklaces, zipper pulls, backpack charms, ornaments, or other personalized accessories by swapping out the hardware.
Need help with this project?
Click a button below to ask AI how to prevent bubbles in epoxy resin.
More Resin Crafts
If you enjoyed this project, you'll love these other resin craft ideas. They're full of inspiration for handmade gifts, home decor, jewelry, and creative projects you'll want to make next.

Hi, I'm Katie!
I'm so glad you're here. Want to make something fabulous? I'm here to help!