This post may contain affiliate links. For more information, please see our disclosure policy.
Craft a unique faux stained glass ornament for your tree with acrylic, resin, and our free SVG. Perfect for elegant holiday decor!
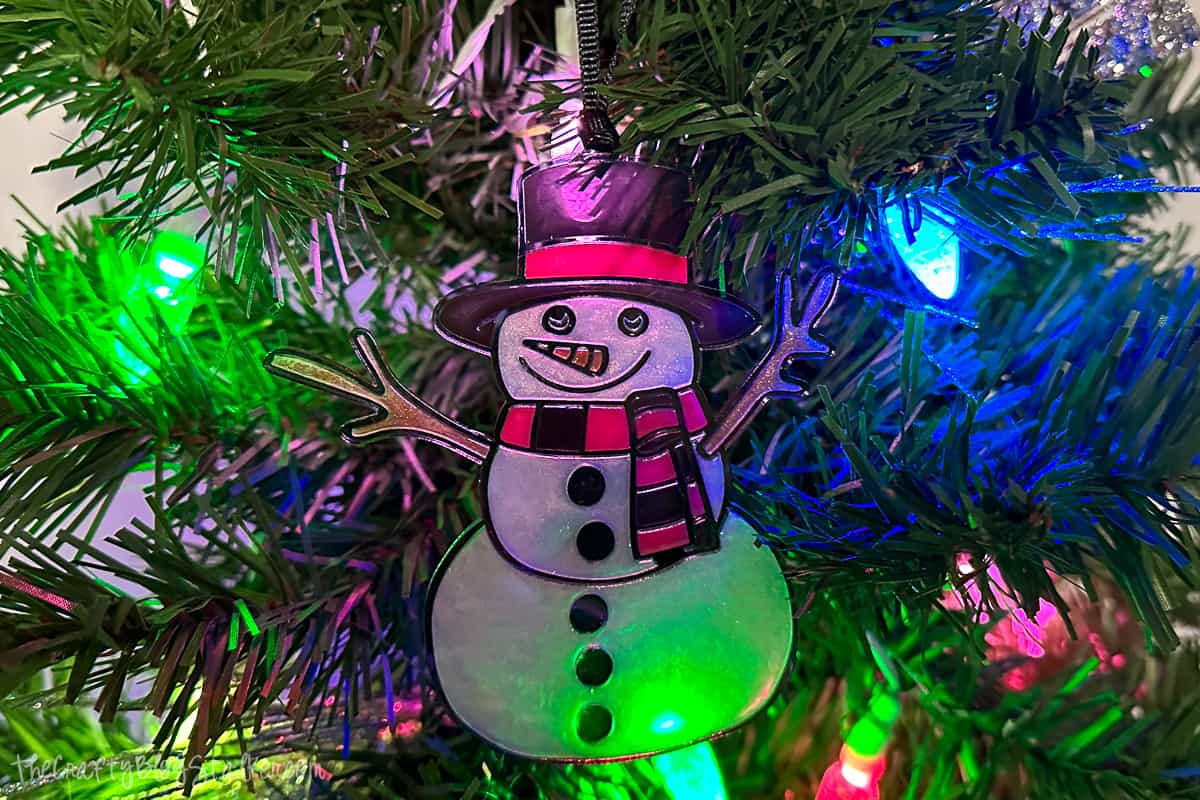
Today we're diving into the art of making faux stained glass Christmas ornaments, a perfect addition to your Christmas tree.
Using simple materials like acrylic and resin, along with our specially designed free laser SVG file, you'll learn how to craft an ornament that not only looks like traditional stained glass but also adds a unique and sophisticated touch to your holiday decor.
Whether you're a crafting novice or a seasoned DIYer, this tutorial is designed to guide you through each step, ensuring your ornament turns out as beautiful as the holiday season itself.
Let's get started and bring a piece of artistic charm to your festive celebrations!
Craft Video Tutorial:
Like videos? I have a video tutorial for you! Subscribe to my YouTube Channel so you don't miss any future videos!
Supply List:
Some links may be to similar items when exact items couldn't be found online.
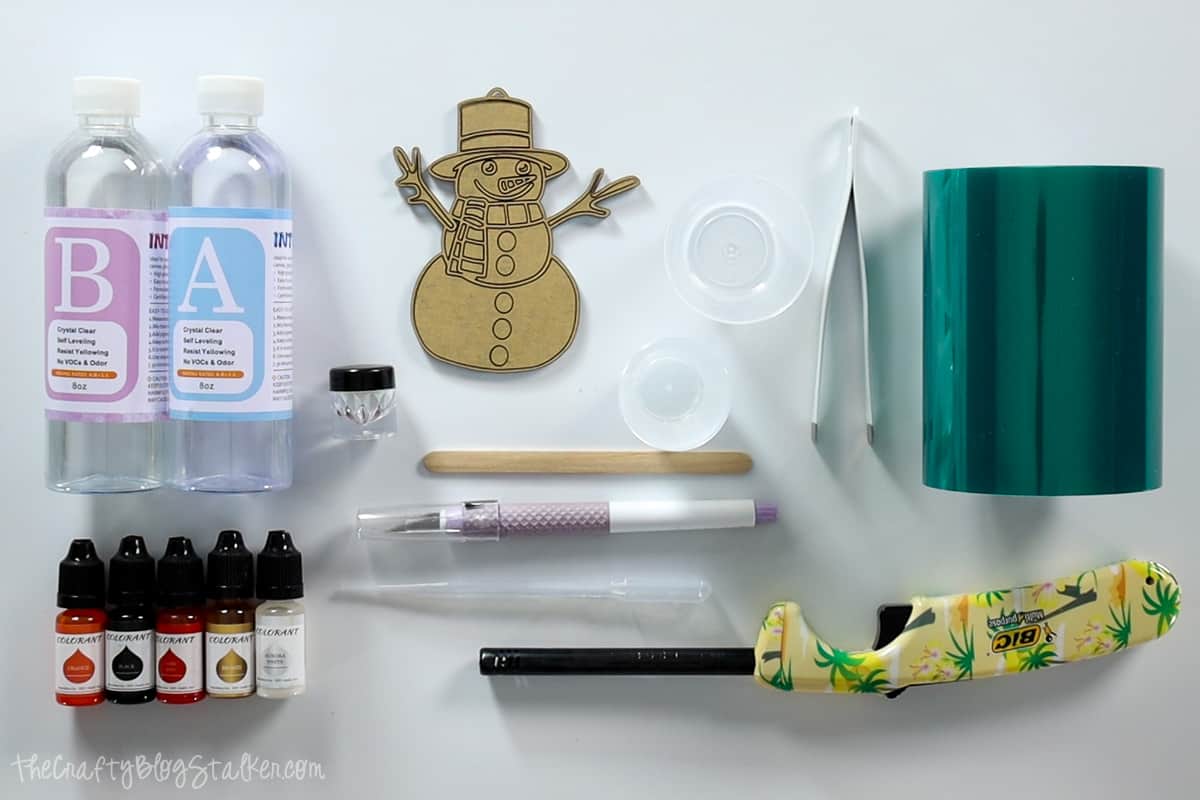
- Snowman Ornament Free Laser File
- Laser Cutter
- 3mm Jet Black Acrylic
- Casting Resin
- Fantasy Aurora Powder
- Resin Colorant
- Plastic Measuring Cups
- Resin Tape
- Disposable Pipettes
- Tweezers
- Lighter
- Black Ribbon
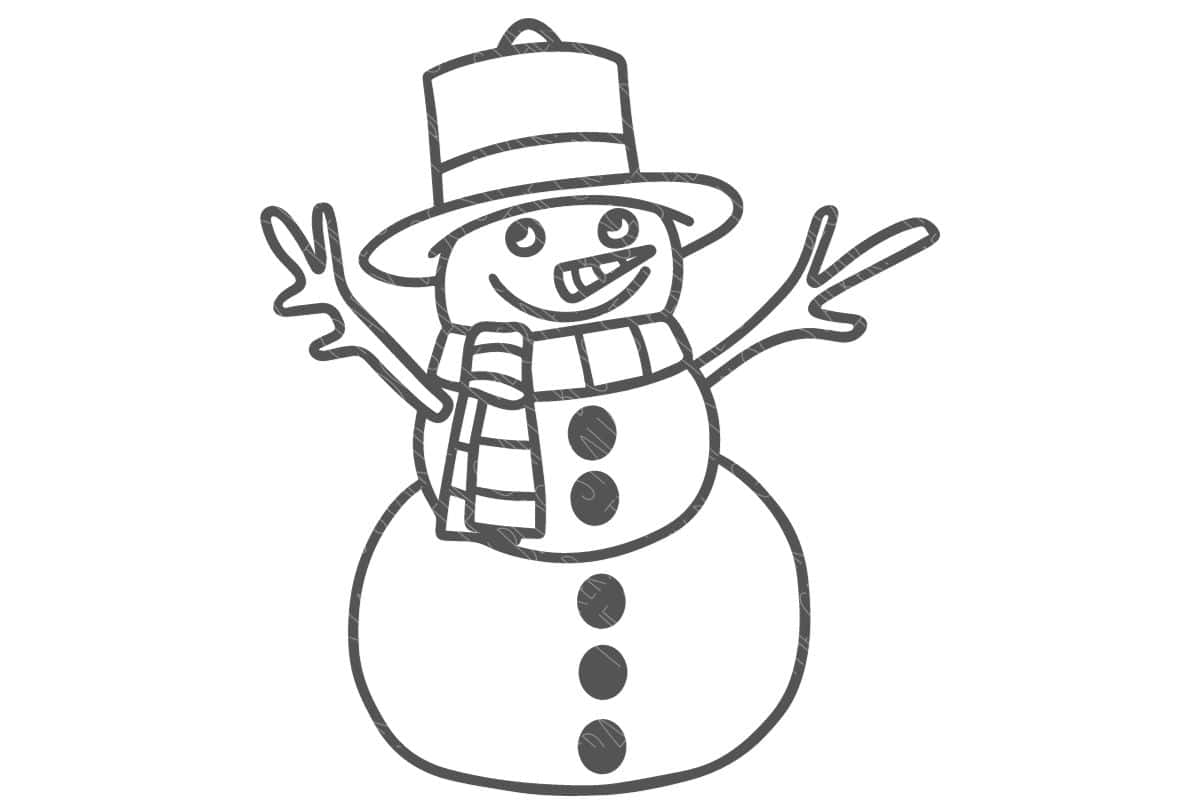
Grab the Free Laser File:
Laser Cutter:
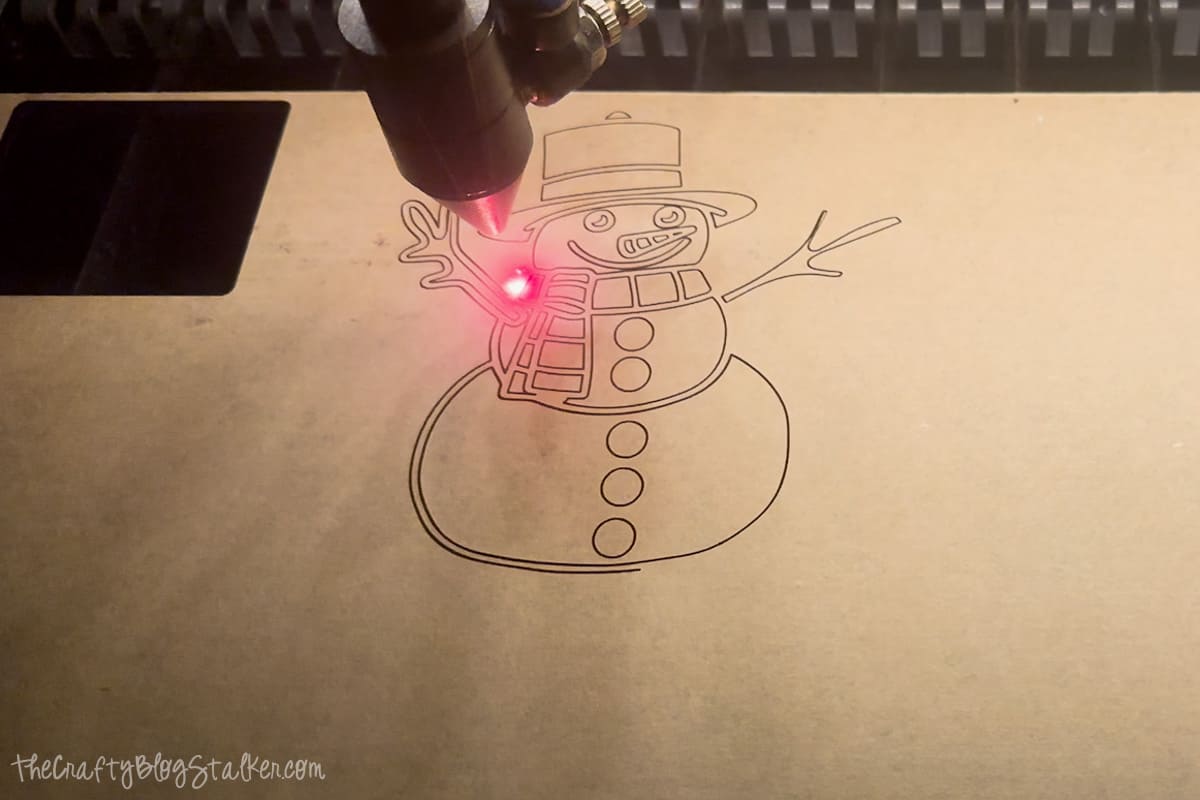
Pull the SVG file into your laser-cutting software.
You can resize the file as needed, but if you cut the design too small it may be more difficult to fill the pieces with resin.
I sized my ornament to 4.66 inches tall.
My snowman was cut on my OmTech 50w using Lightburn software, and 3mm Jet Black Transparent Acrylic.
Assembling the Snowman:
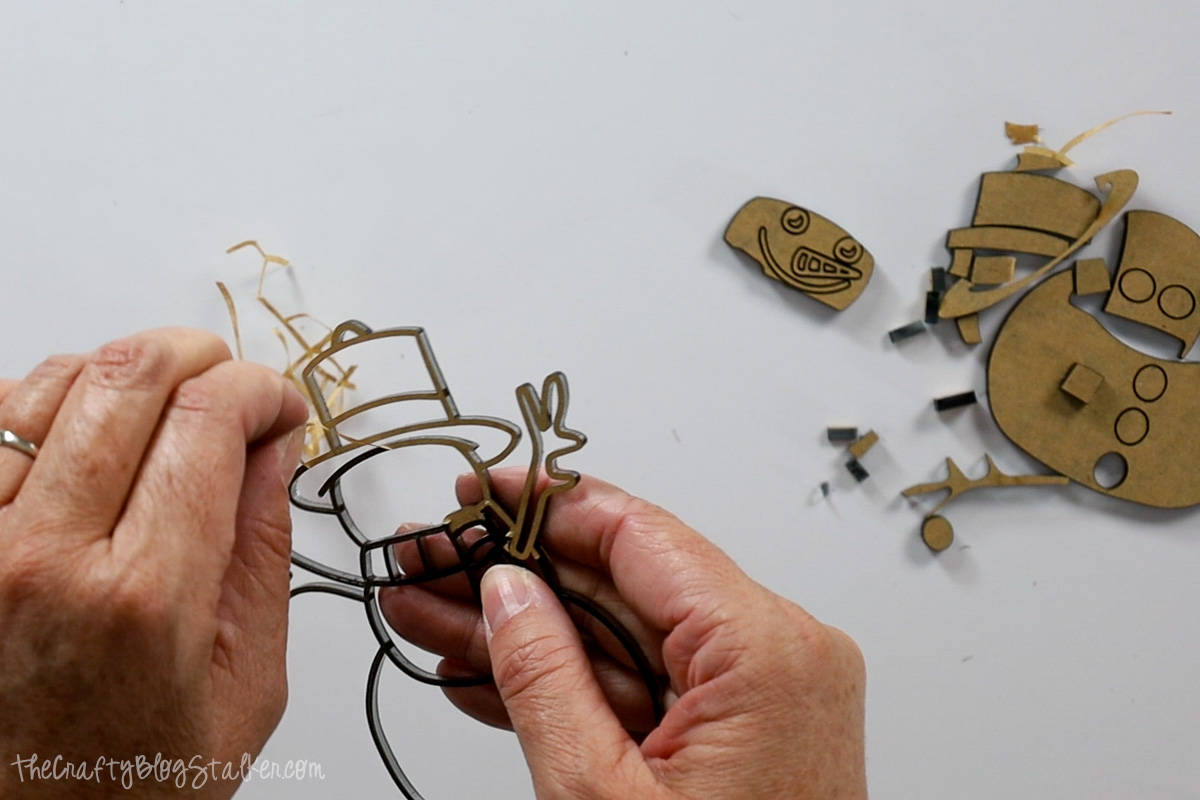
Gently push out all of the pieces of the snowman and peel back the protective liner.
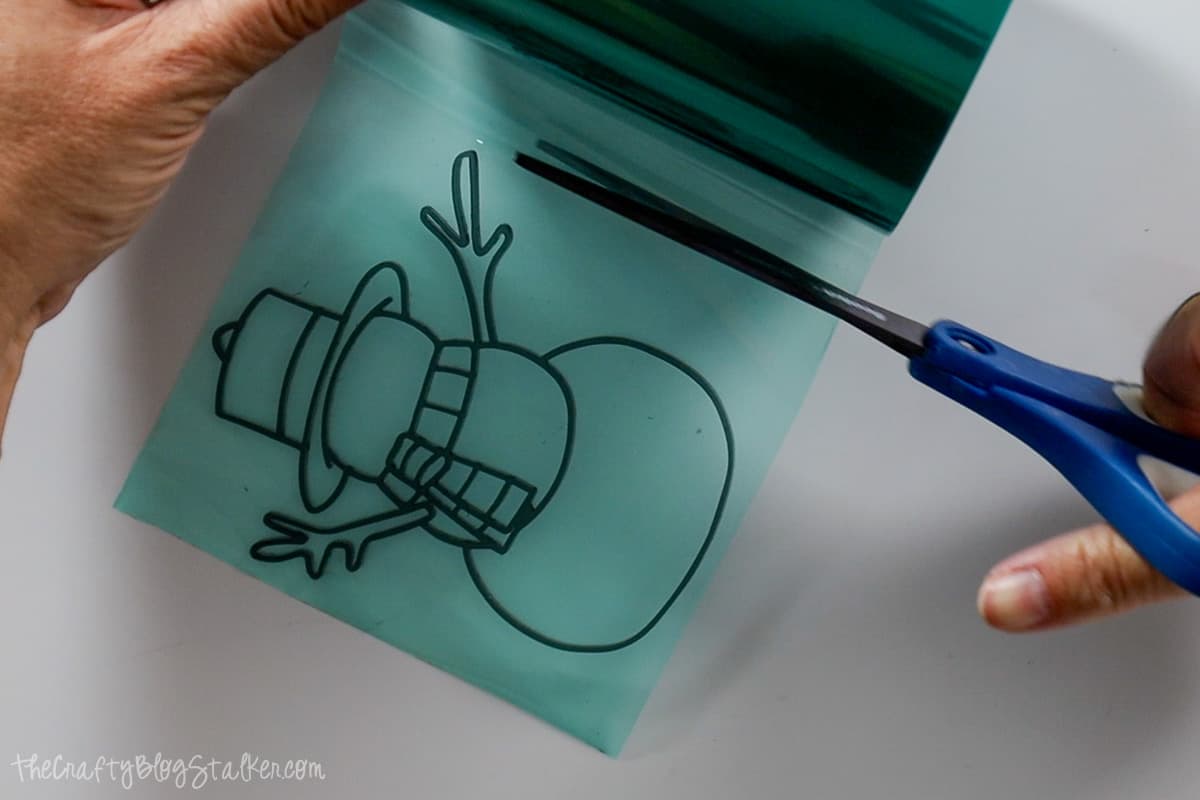
Place the acrylic snowman outline onto a strip of resin tape.
Add the buttons and face pieces to the snowman.
I found it helpful to use a pair of tweezers to place the small pieces.
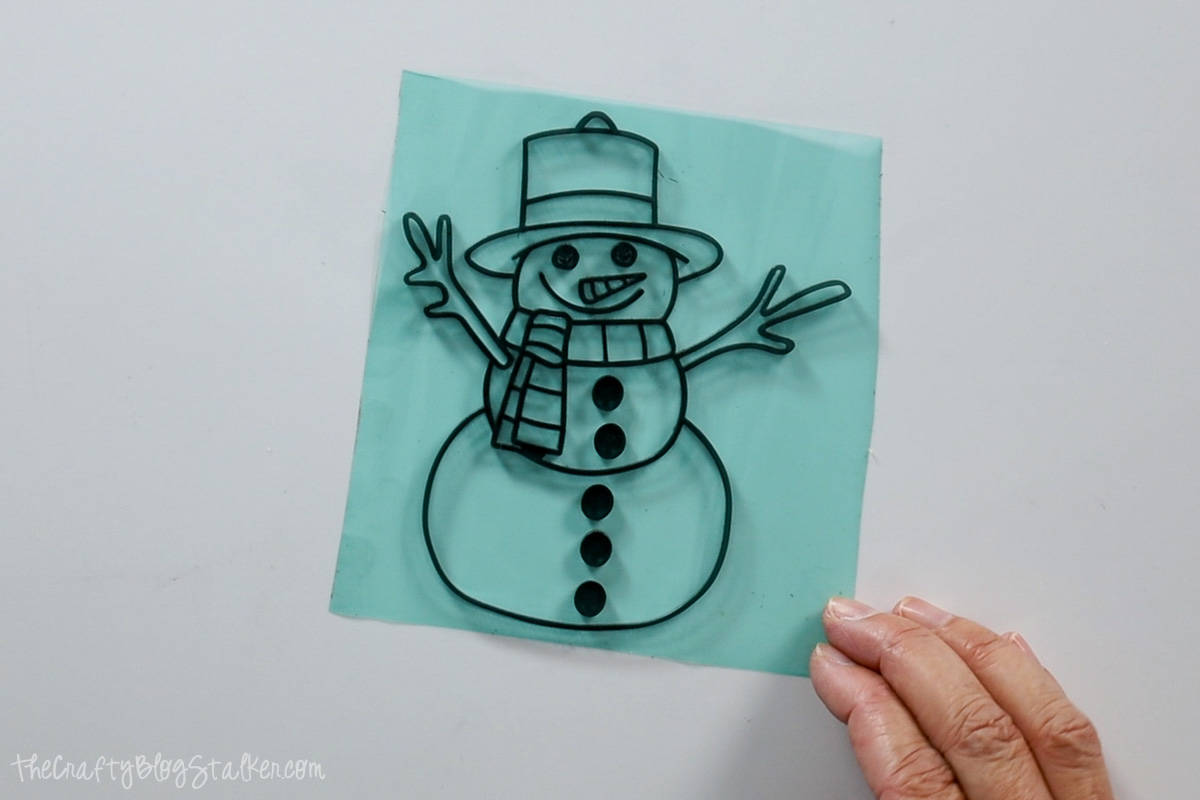
Press down on the acrylic pieces to make sure that they are securely stuck to the tape. You don't want any resin seeping underneath.
Adding the Resin:
I am using A B resin which comes in two parts and has to sit for 24 hours to cure.
For one snowman ornament, you'll need about 20 mL of resin, which means we are going to mix 10 mL of Part A and 10 mL of Part B.
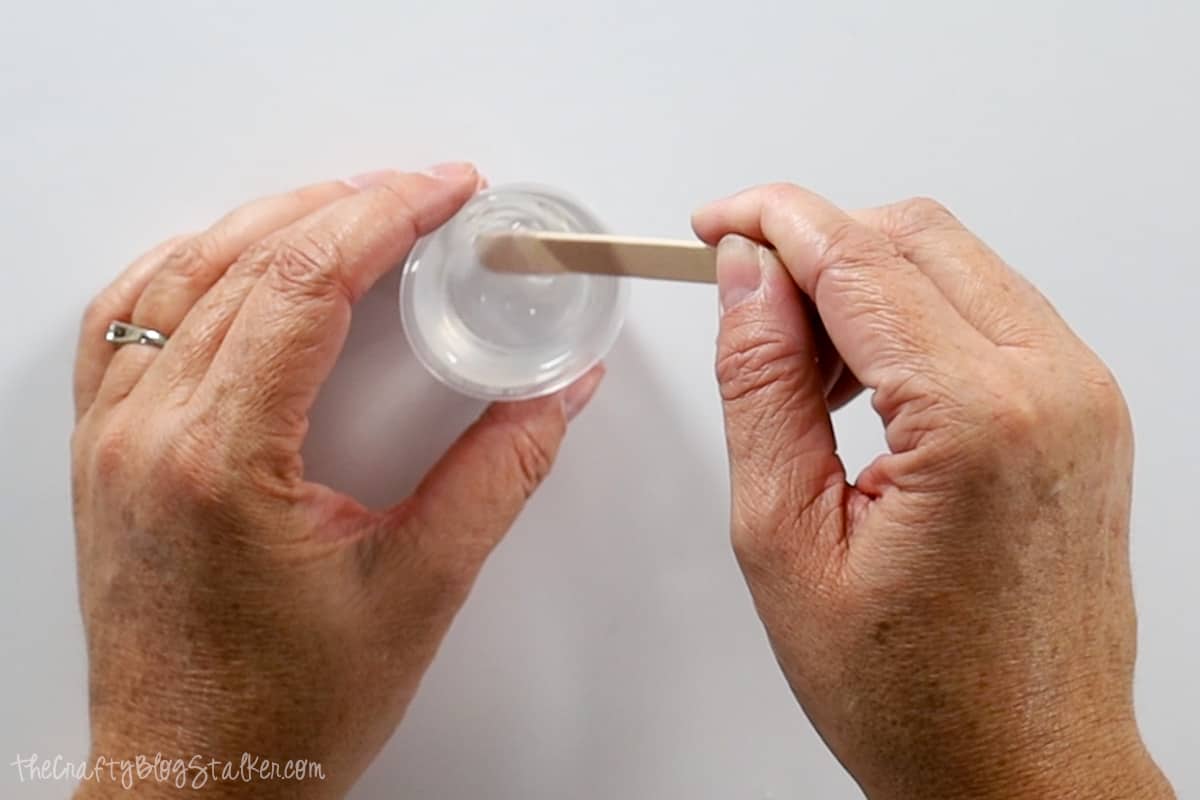
Stir for about 30 seconds or until well combined.
The slower you stir the fewer air bubbles you will get in the mixture.
We are going to use 5 different colors of resin dye; orange, black, red, brown, and white.
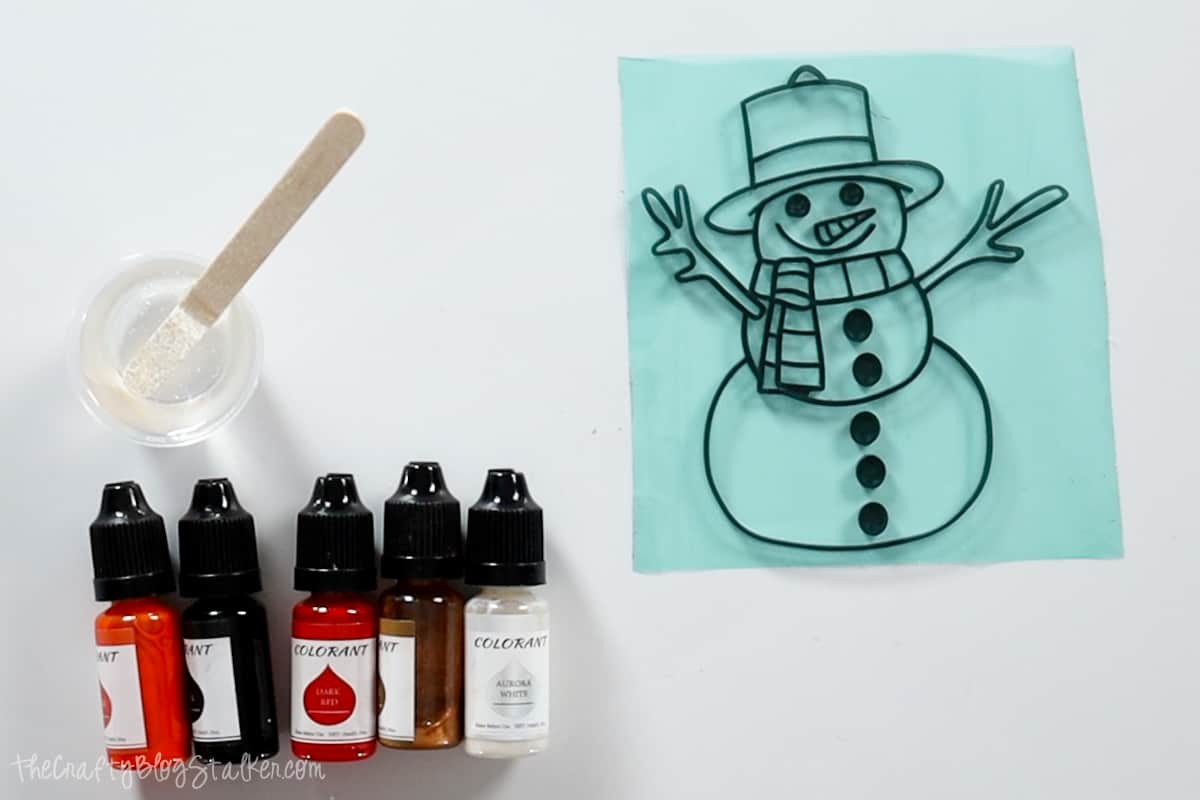
I am going to start with the smallest colors and move up to the largest.
The smallest color needed is orange for the carrot nose.
Use a popsicle stick to scoop just a little bit of resin into a new measuring cup.
Add one drop of orange, and stir the dye into the resin using the pipette.
When the dye is completely mixed in, suck the resin into the pipette by squeezing the bulb at the end.
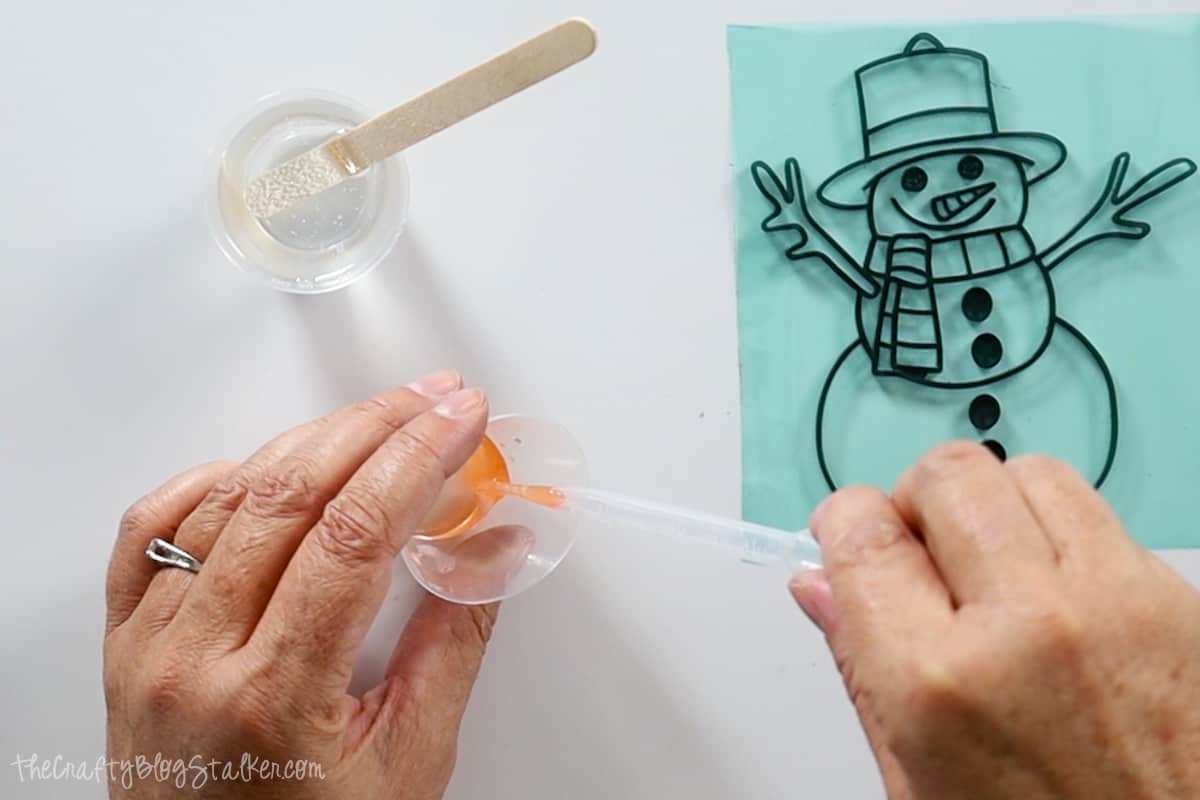
Then slowly and carefully squeeze the bulb to release the resin into the slits on the carrot nose.
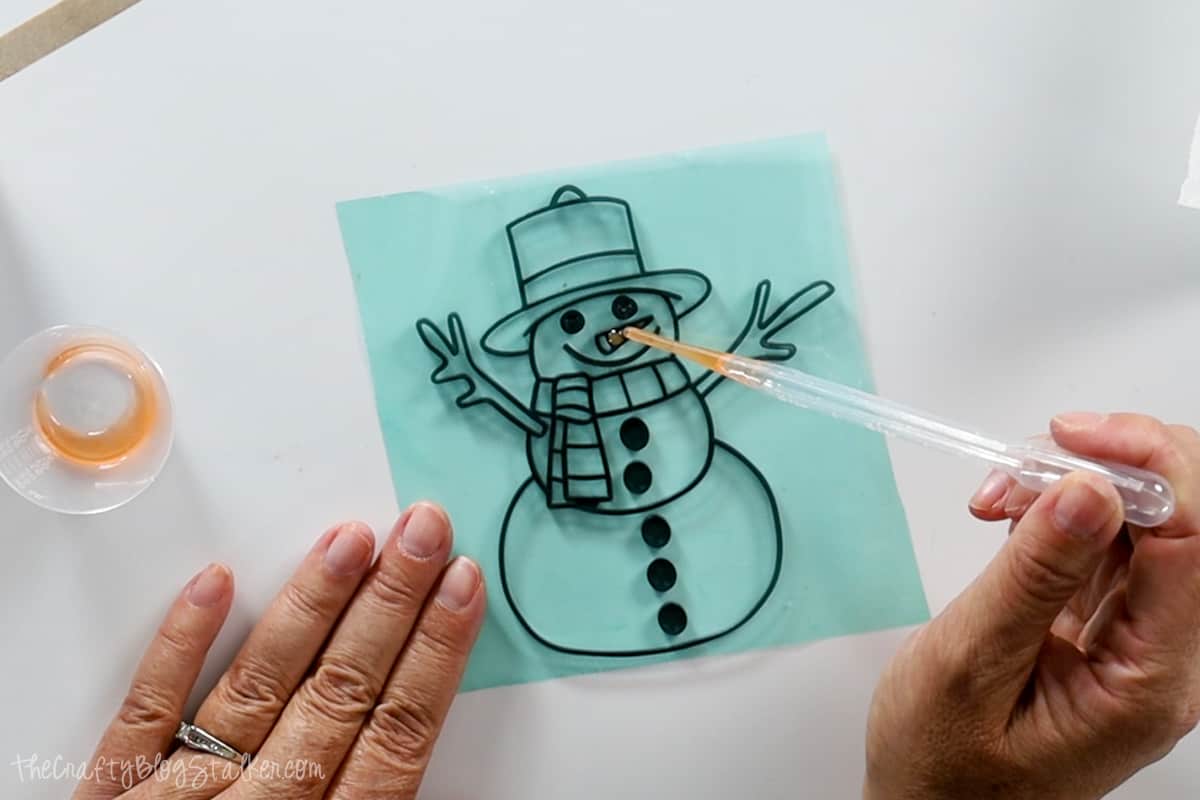
If needed, you can use a toothpick to help the resin into all of the corners of each section.
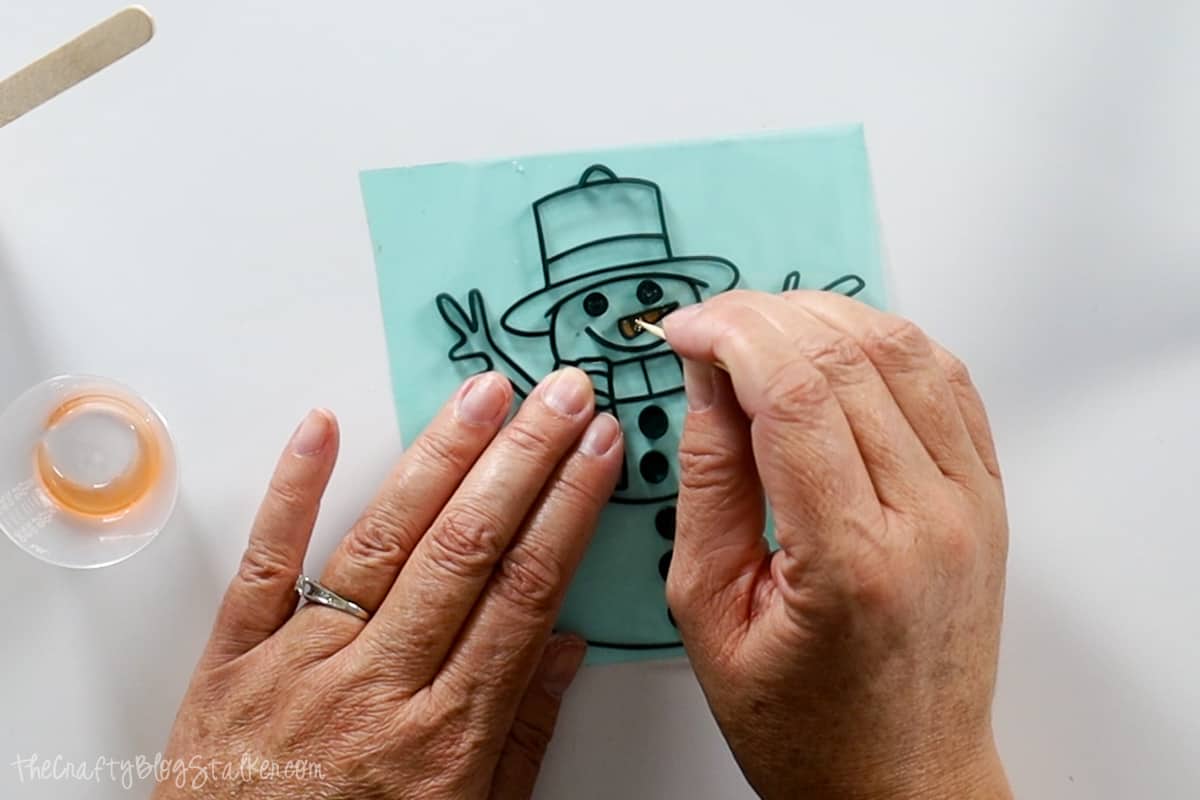
Quickly go over the top of the resin with a flame. This will pop any bubbles that are on the surface.
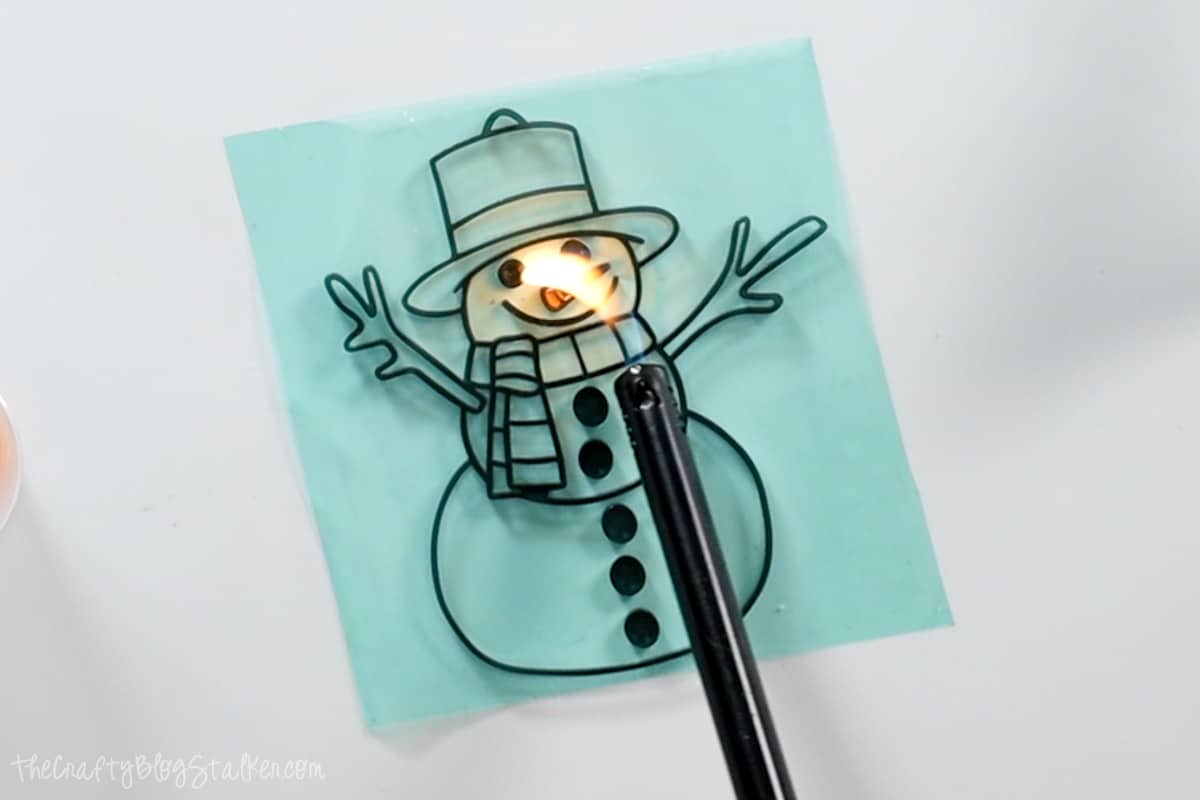
Next, let's do the brown twig arms.
Scoop a little bit of resin into a new measuring cup and add a couple drops of the brown dye.
Stir with a new pipette, pick up the resin the same as before, and carefully lay the resin into place.
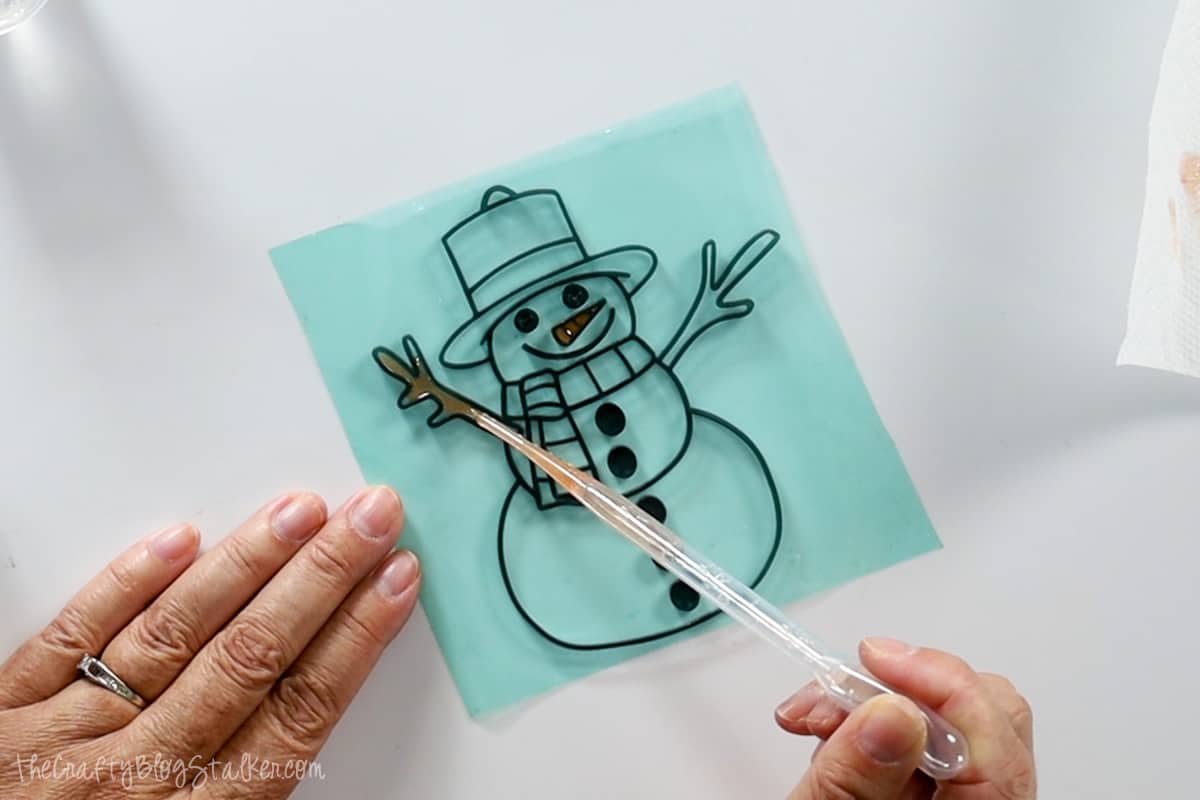
As you can see we are using a new cup and pipette for each color.
Repeat for the red and black stripes on the scarf and hat.
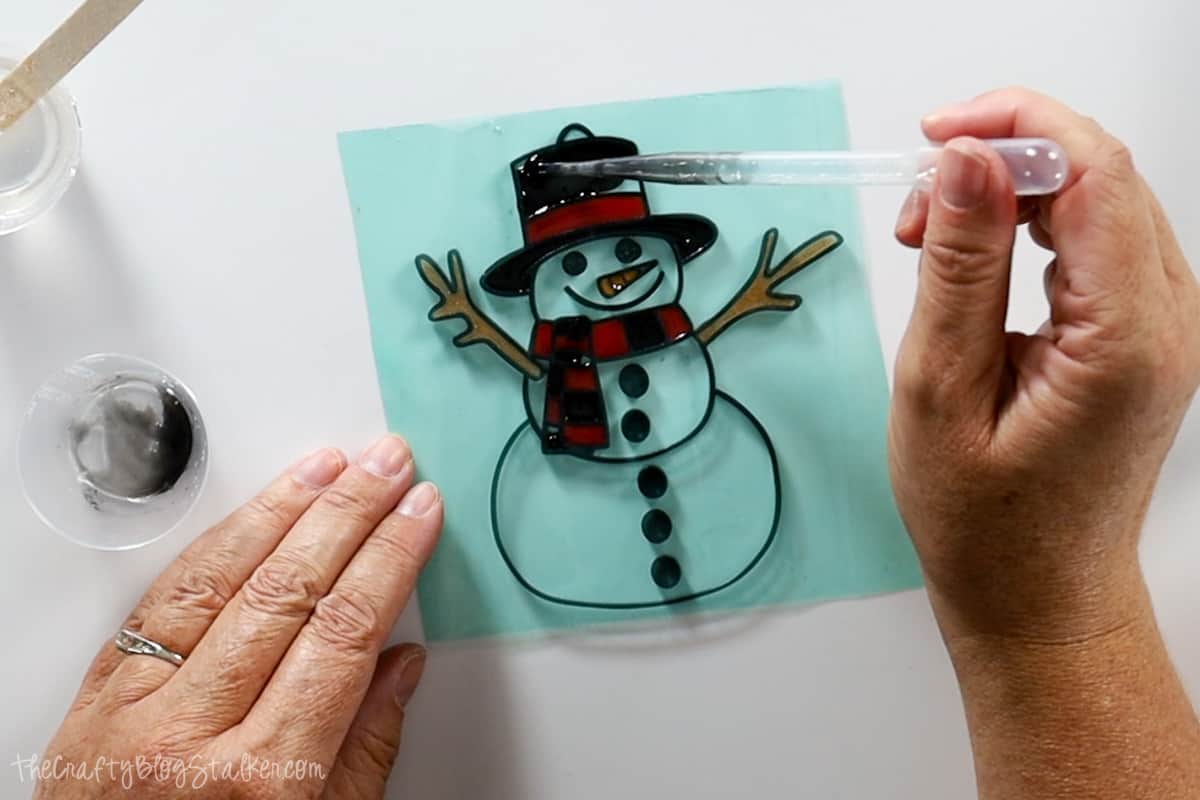
For the last white color, we don't need to put the resin in a new cup, because it's already in a cup!
Simply add some white dye and Aurora Powder and stir with a clean pipette.
Pipe the white resin into the face, but for the larger middle and base, you can just carefully pour it and then move it around to fill the areas with the pipette.
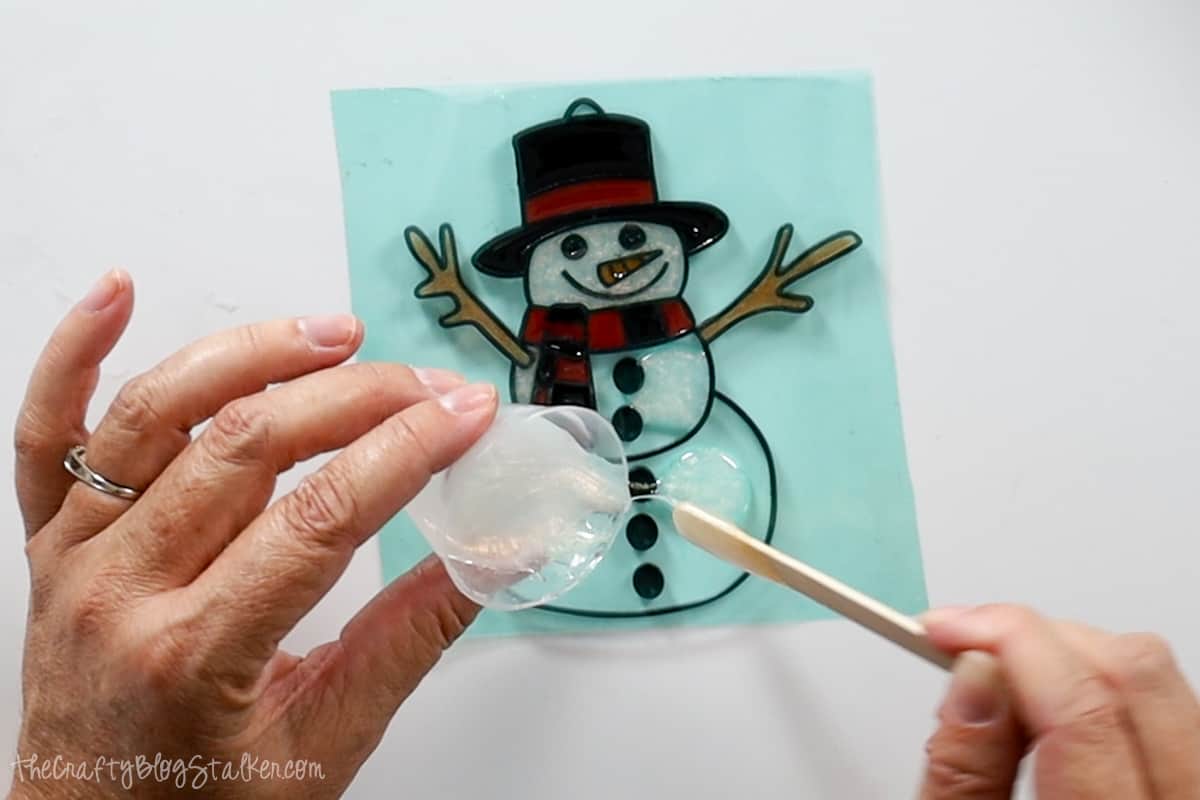
Go over the entire snowman one last time with the lighter, and let the cute snowman sit and cure for 24 hours.
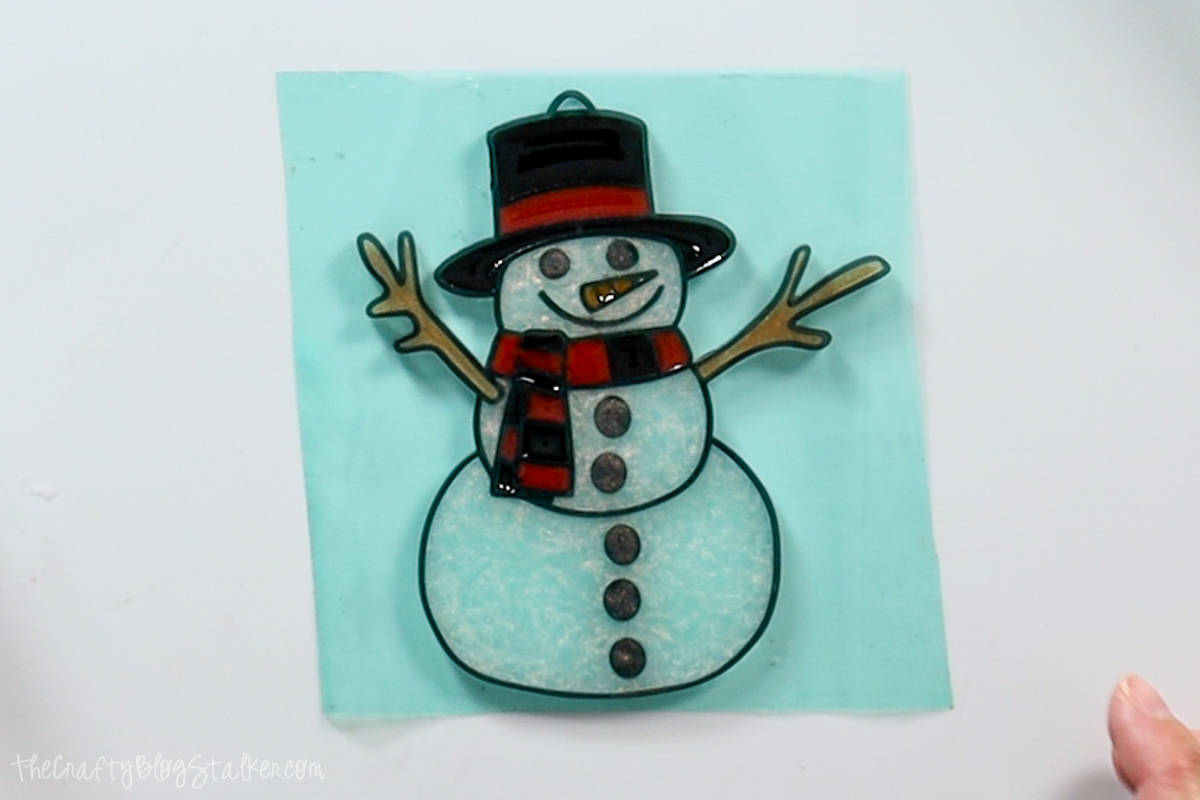
Finishing the Ornament:
Once your snowman ornament is completely cured, peel back the resin tape.
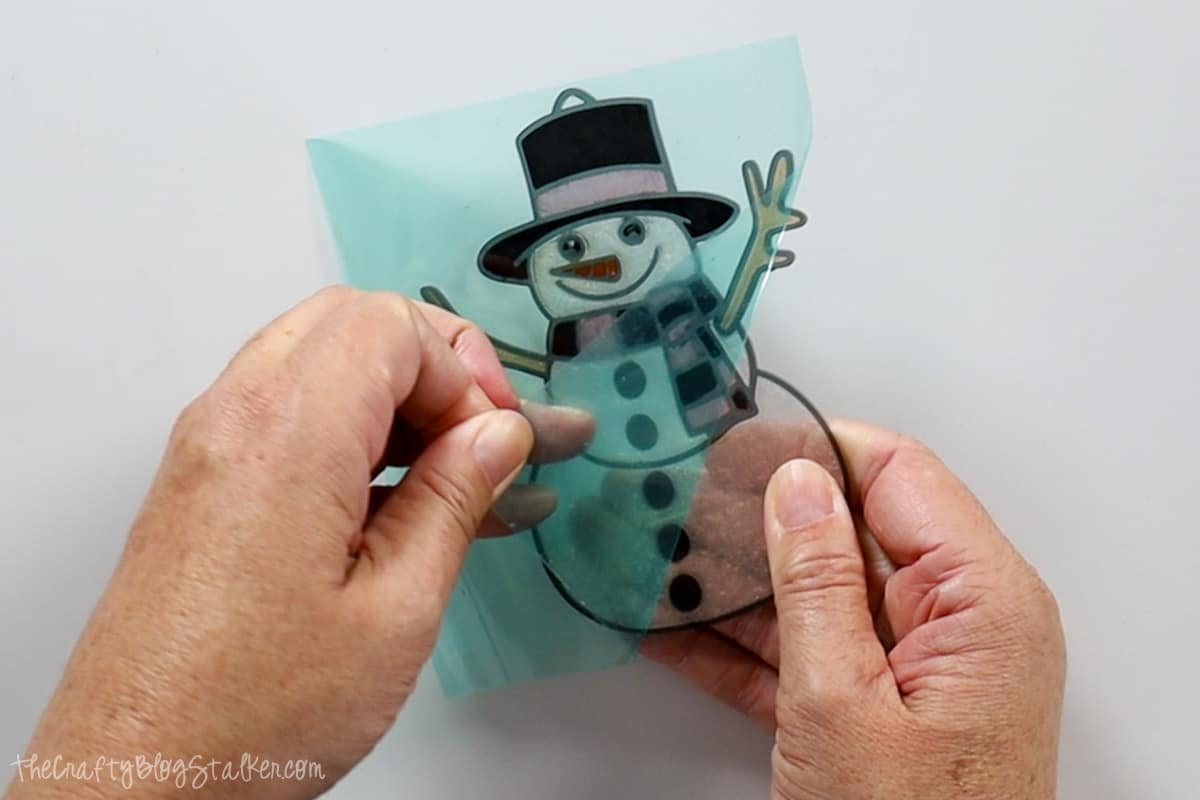
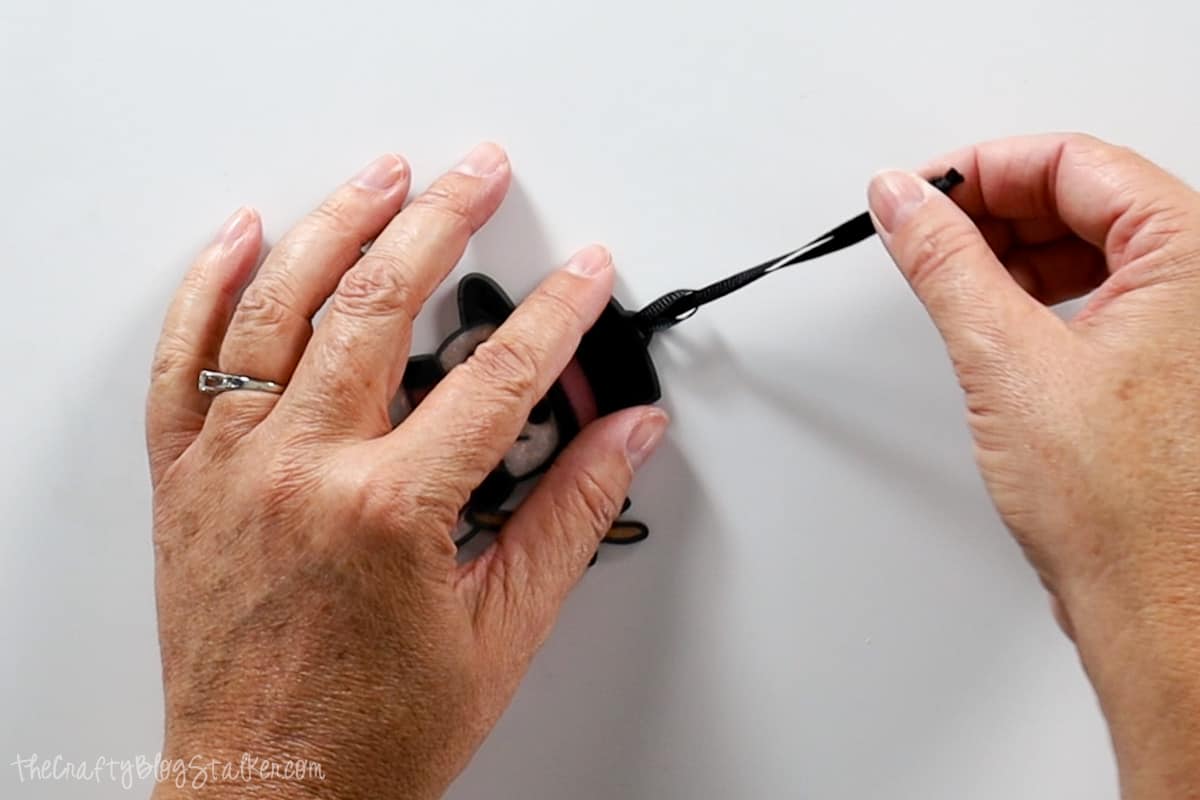
Cut a length of ribbon about 8 inches long. Bring the ends together and tie a knot.
Feed the folded end of the ribbon through the hole in the ornament, poke the folded end through the hole, and pull tight.
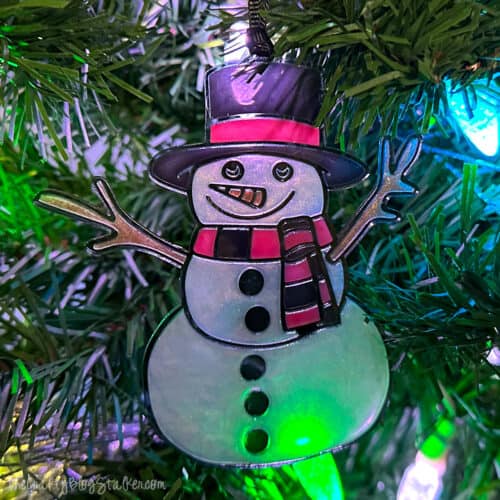
All that is left is to hang your new ornament on your Christmas tree.
I love how it really looks like stained glass and it changes colors with the twinkle lights behind it.
Our Laser Essentials:
- New to laser machines? I would highly suggest the xTool M1 Ultra! This machine is super easy to learn and helps you create beautiful projects!
- More experienced with lasers and want more power? I love my OmTech 50W, but they have all types of machines up to 150W!
- Craft Closet is my favorite shop for all of my laser materials. Their materials are high quality and have the lowest price, I can find anywhere!
- If you really want to get into lasers, I highly suggest you learn how to create your own files. Pen & Posh has a great course for this.




Leave a Reply