This post may contain affiliate links. For more information, please see our disclosure policy.
If you're a Pokémon Go enthusiast looking for a unique gift, consider this clock with a Pokemon theme that's constructed from laser-cut plywood. You can create your own by following these detailed instructions.
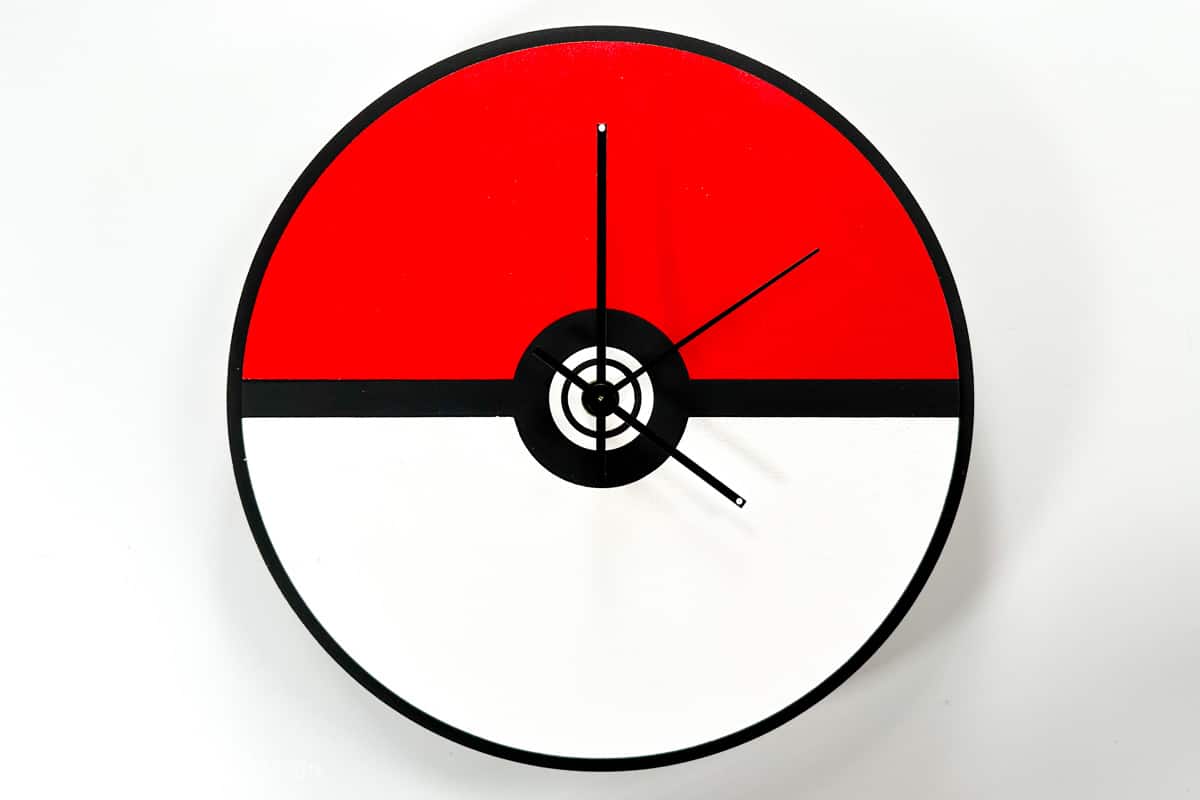
Attention all Pokemon fans! Have you ever wanted to make your very own DIY Poké Ball clock?
Look no further! In this tutorial, we'll take you through the step-by-step process of creating a homemade pokeball clock using our free laser-cut file.
Not only will this clock serve as a fun and functional addition to any room, but it also makes for a fantastic gift for any fellow Pokemon Go lover.
So let's get started and create your very own Pokémon Ball clock!
Supply List:
Some links may be to similar items when exact items couldn't be found online.
- Poké Ball Clock Free Laser Cut File
- xTool M1 Laser
- 3mm MDF
- Black Acrylic Paint
- White Acrylic Paint
- Red Acrylic Paint
- Embossing Tool
- Clock Parts
- Makeup Sponge
- Paper Plate
- Paper Roll
- Masking Tape
- 3in1 Adhesive
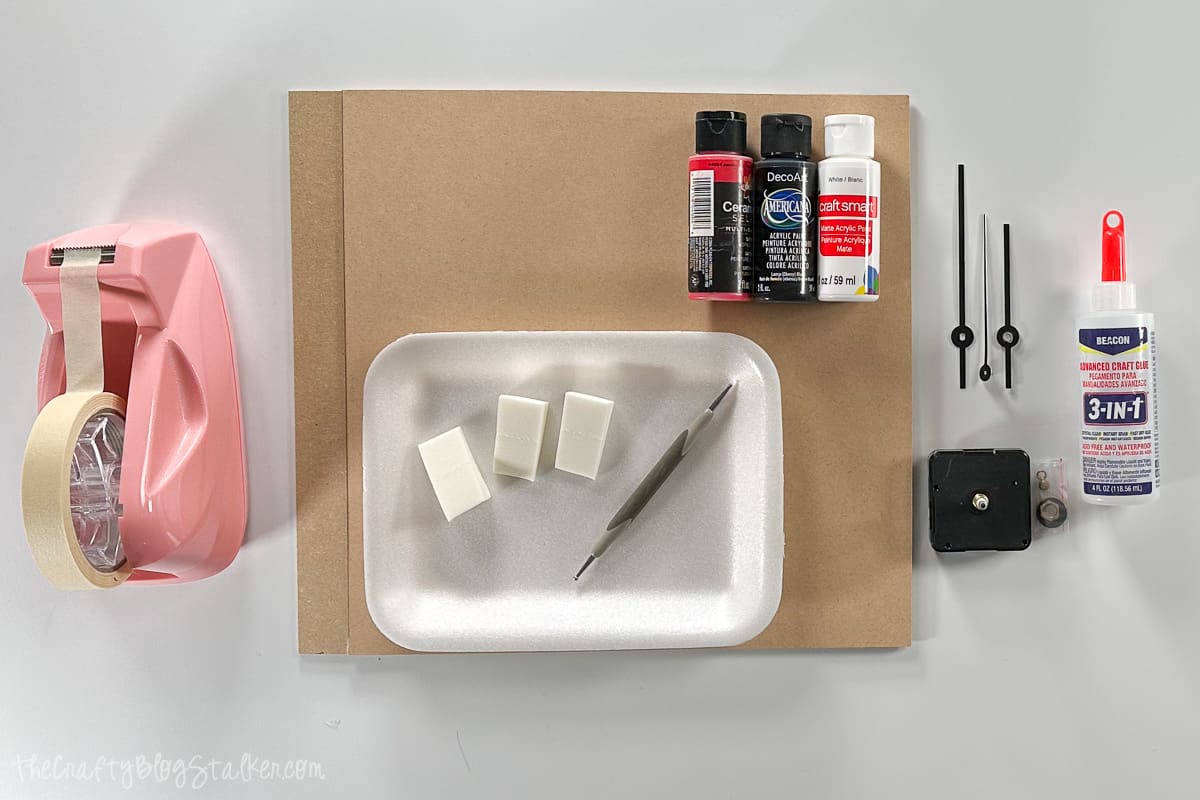
The finished diameter of this DIY Pokeball Clock is 10.5 inches.
Grab the Free Laser File:
The first thing to do is to grab the free Laser File.
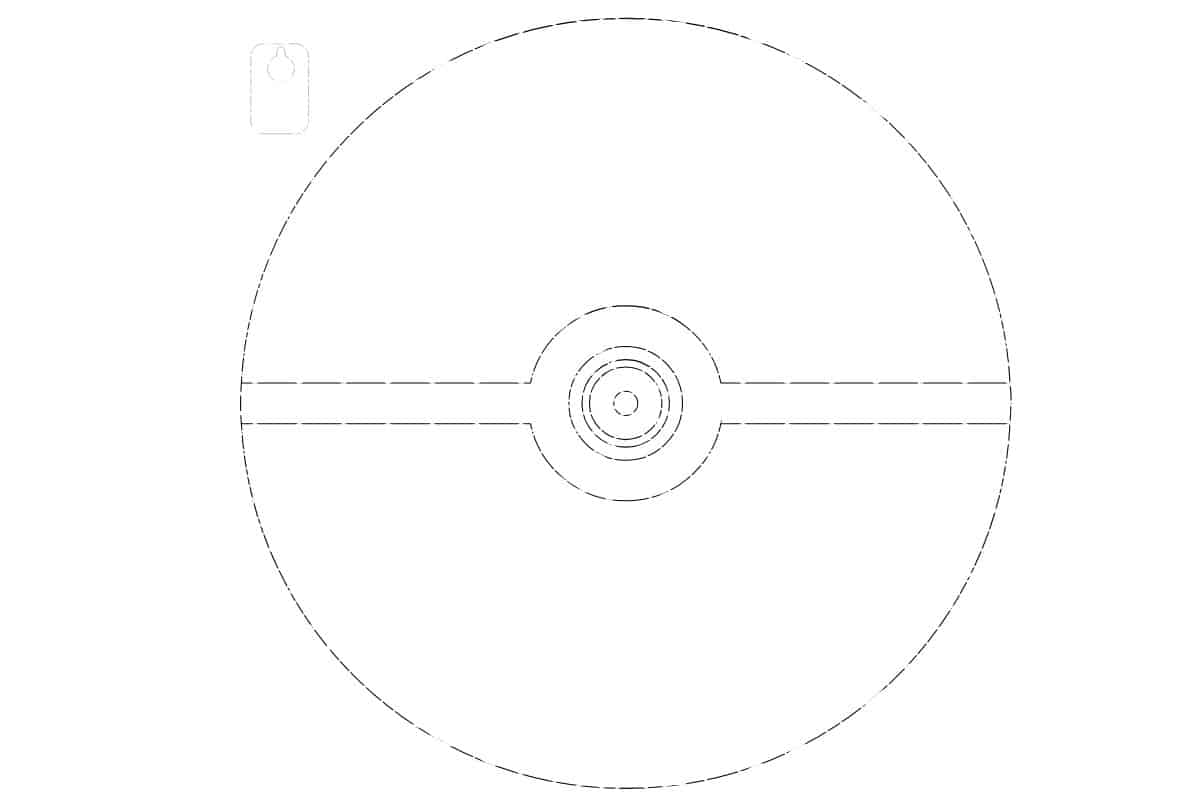
xTool Creative Space:
In Creative Space, drag and drop the SVG file.
Make sure that Laser Flat is selected, and then choose your material setting. 3mm MDF isn't in the choices, so instead, I chose 3mm Walnut Plywood.
Plywood is a harder material than MDF so I figured this setting would work just fine, and it did.
Under Height Raised, select Triangular Prism, and place the prisms on the bottom of the machine.
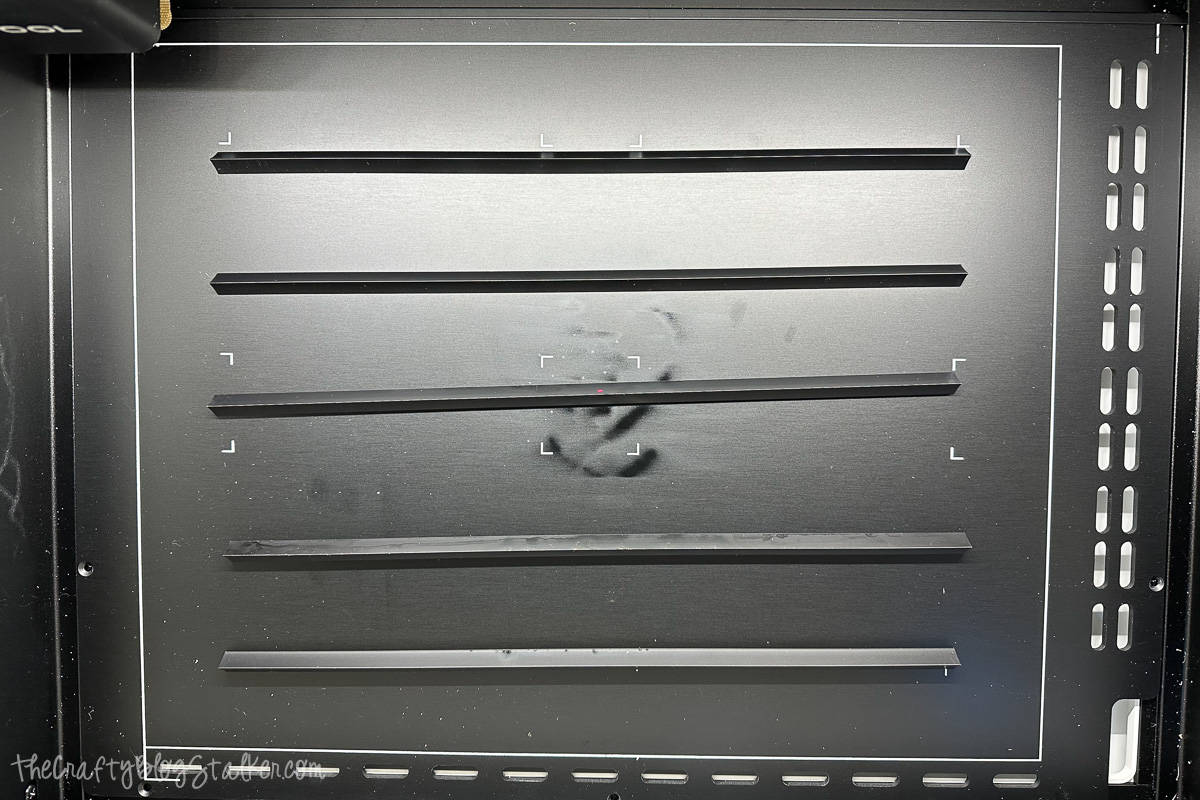
Place the MDF on top of the prisms and shut the lid.
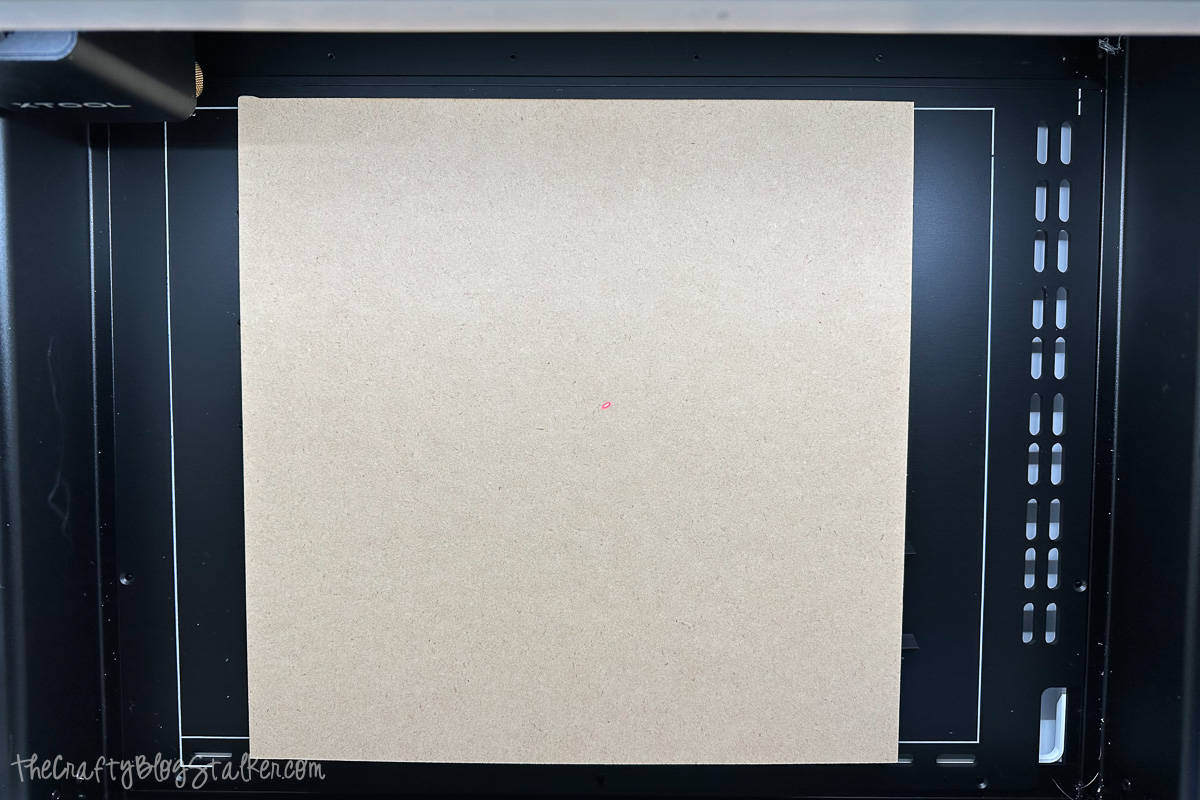
Back in Creative Space, you should now be able to see the placement of the MDF on the screen.
Drag the design so it is on top of the piece of MDF, and change the design to Cut.
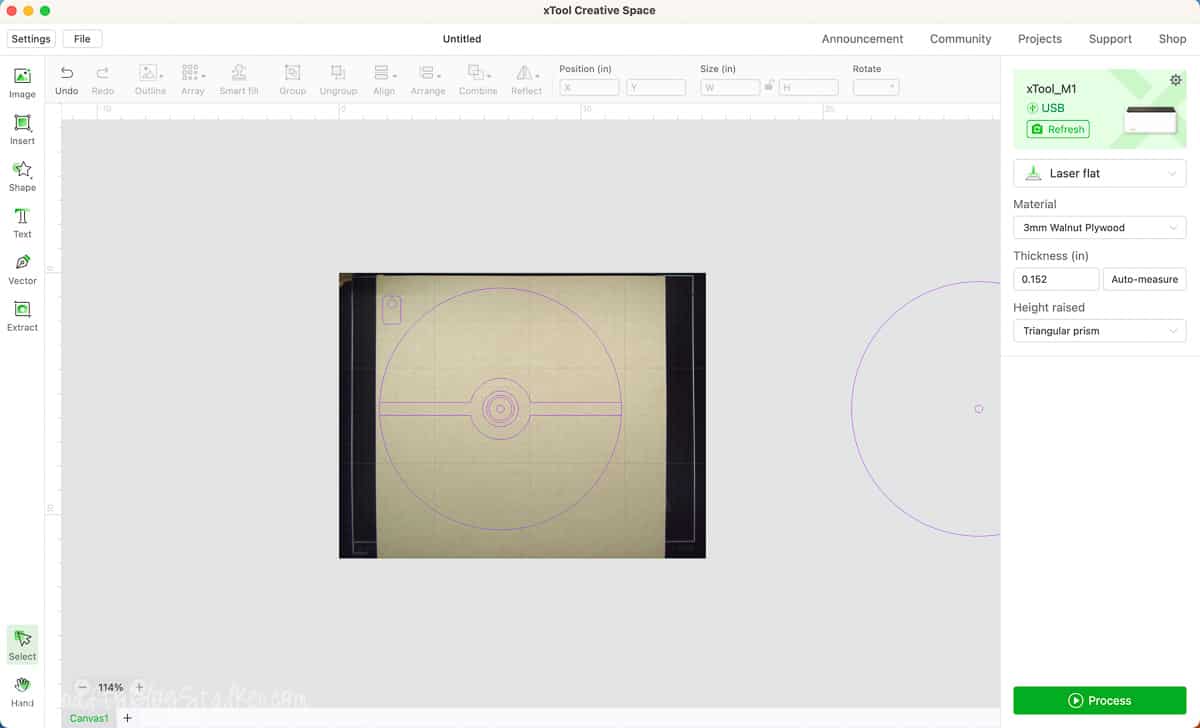
You will need to cut two layers of the MDF, one for the main circle, and on the other sheet, you will cut the differently shaped pieces.
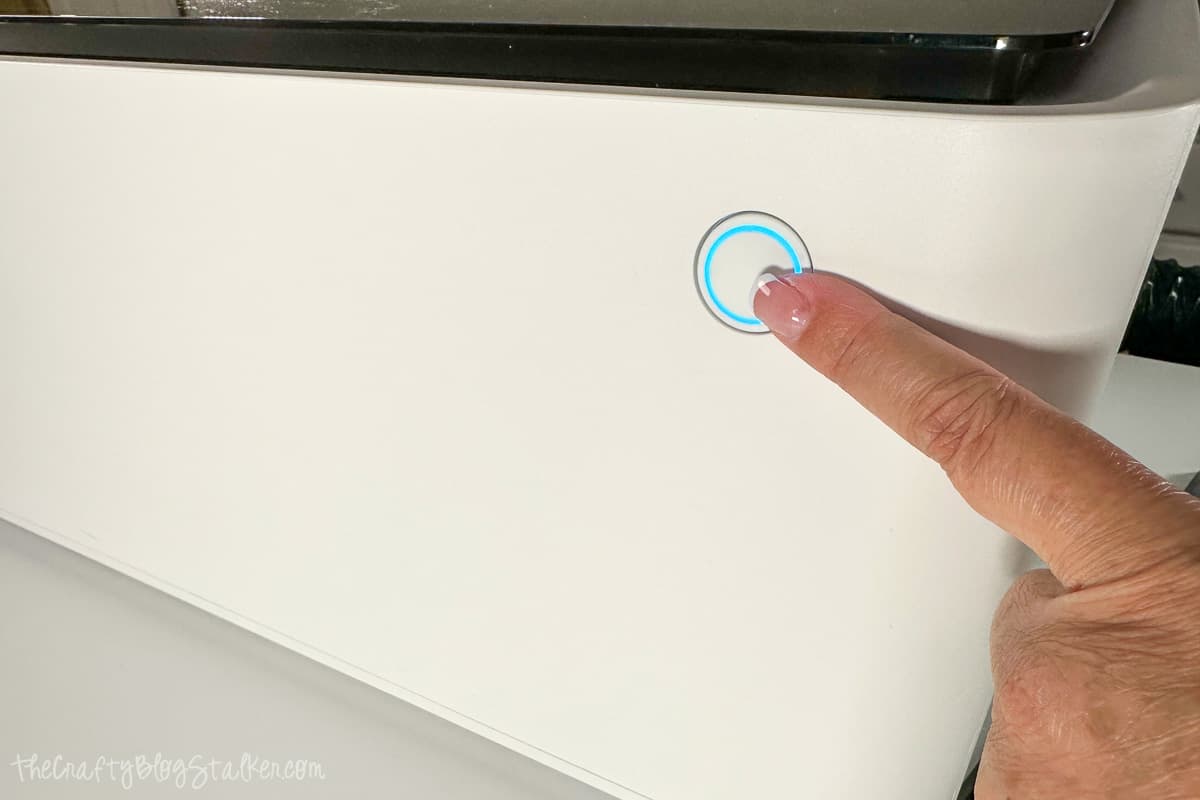
Select Process, Framing, and Start. Then press the Start Button on the front of the machine.
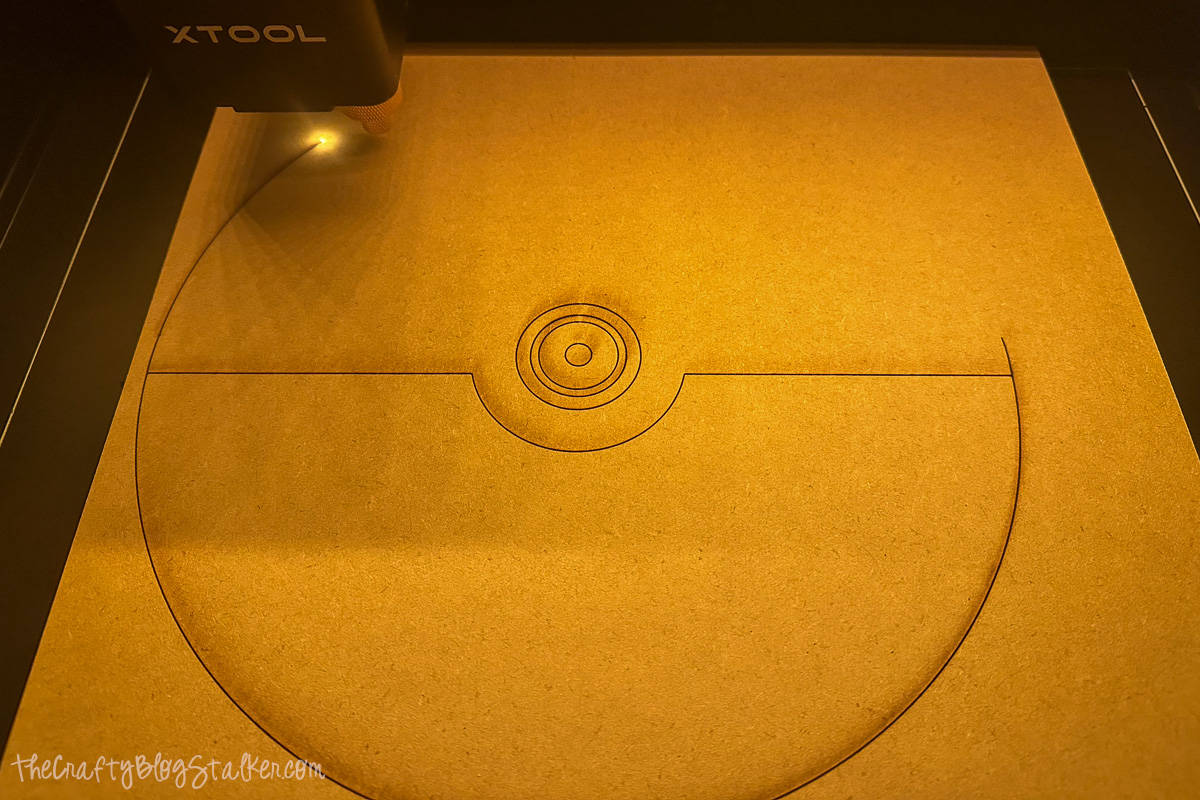
It is so fun to watch the machine run as it cuts out the design.
Painting:
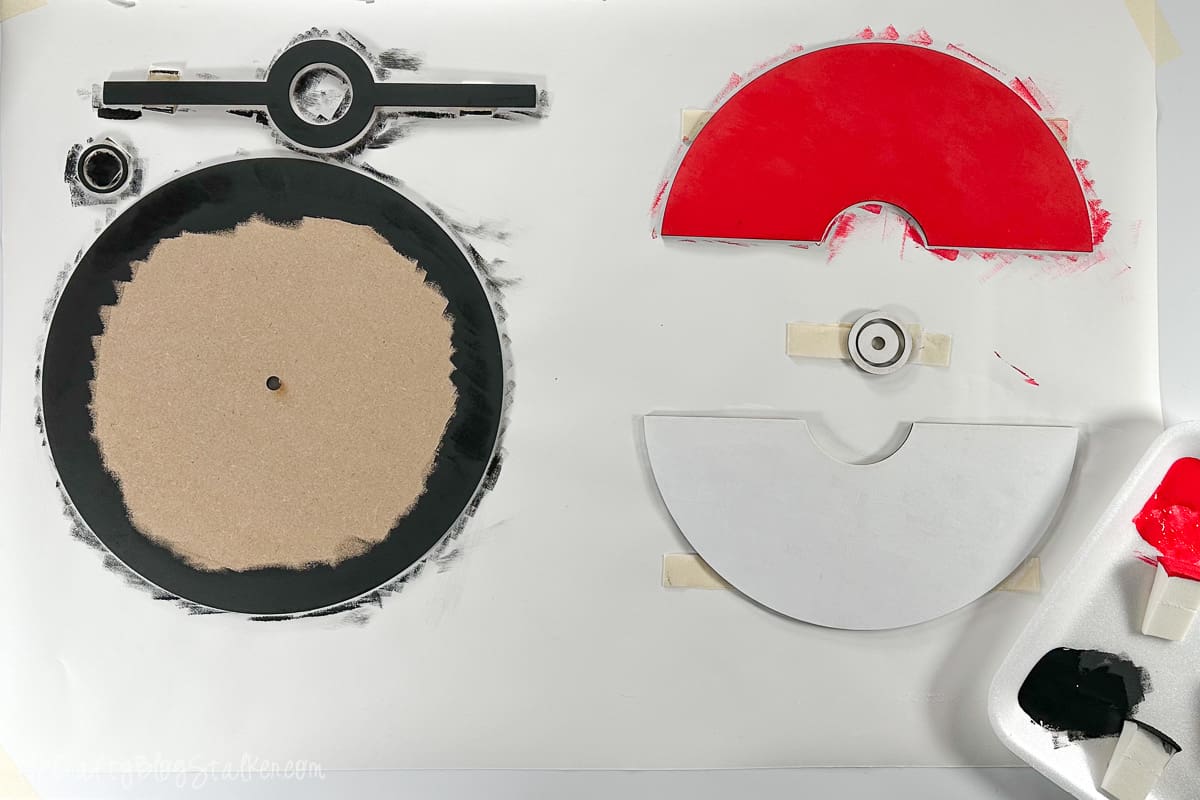
Once cut, you will have 8 pieces.
A great way to paint is to lay out a large piece of white easel paper and tape it down the corners on top of your crafting table.
Take a length of masking tape and fold it over on itself, and then place it on top of the paper.
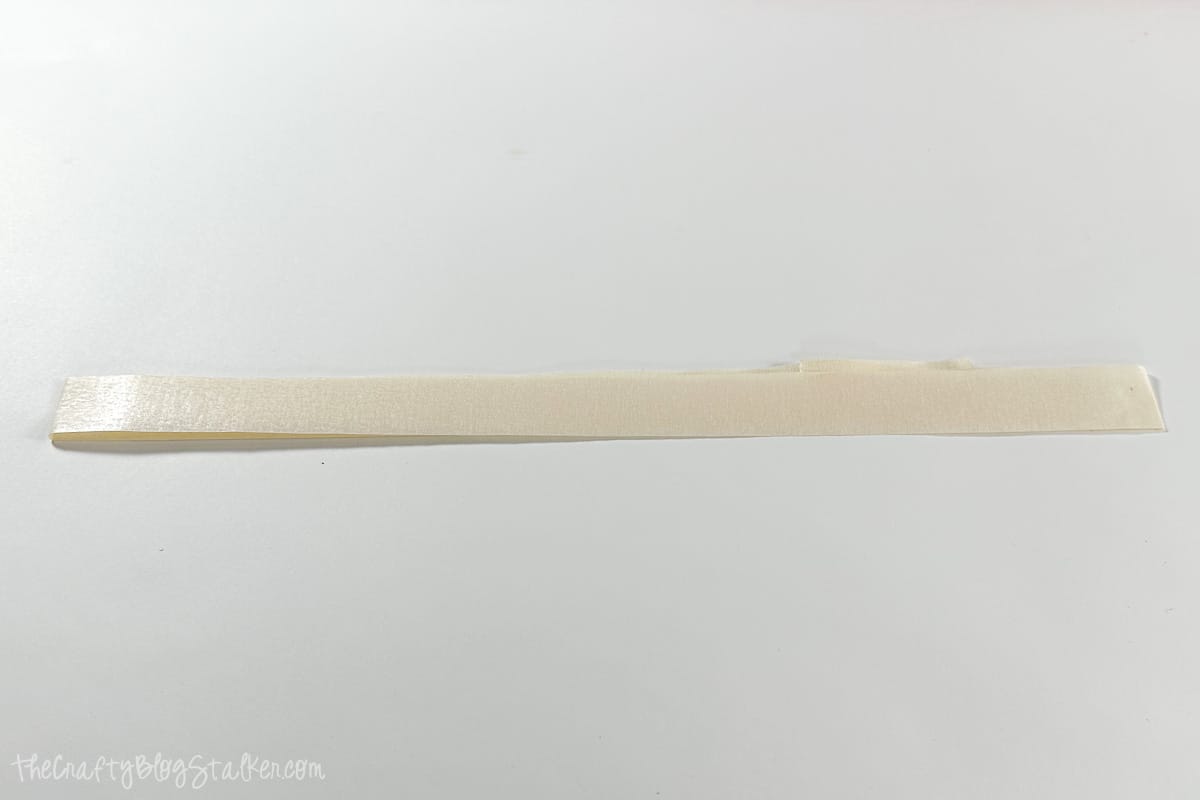
Then stick the pieces to the masking tape.
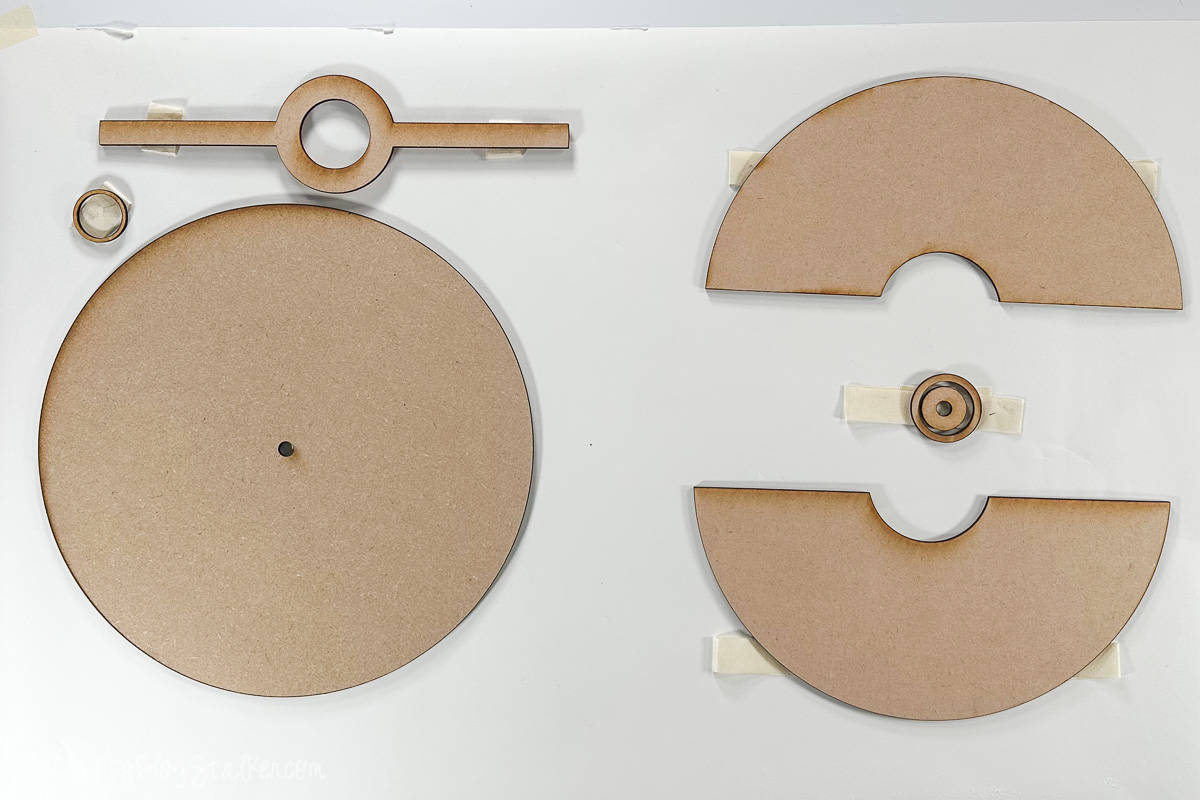
This holds the pieces while you paint, so you don't have to hold them and get paint on your fingers.
Use a disposable plate as your paint pallet, and squeeze your acrylic paint in the corners.
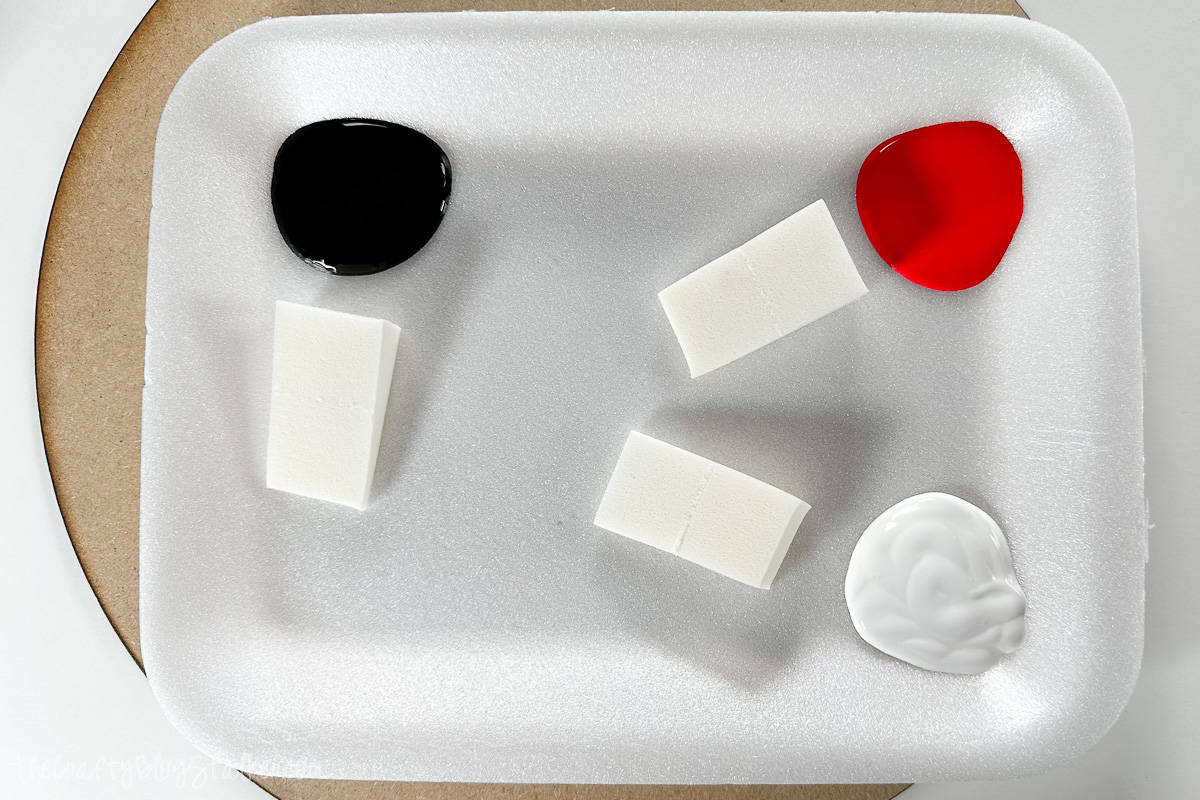
To paint, dip the fat end of a makeup sponge into the paint, pat the excess off, and then bounce the paint onto the pieces.
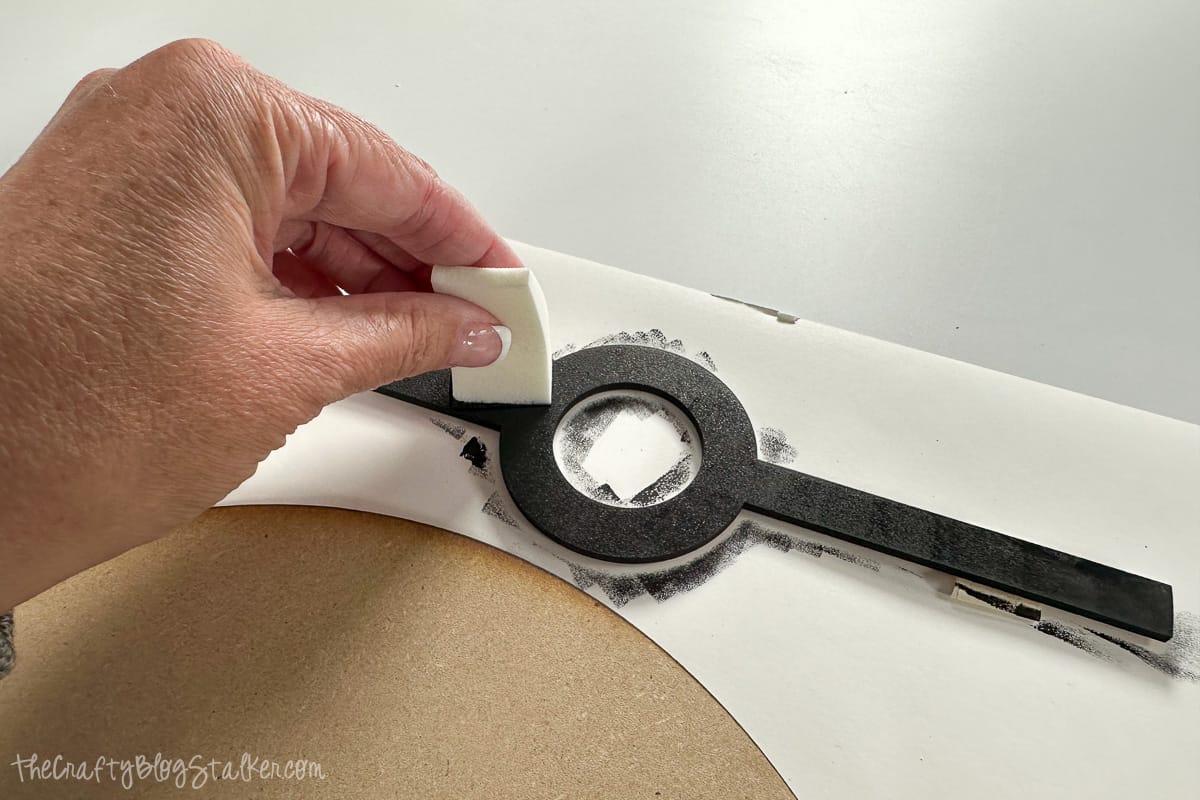
I love to use makeup sponges to paint because they are much cheaper than foam paintbrushes.
Paint all of the pieces fully, except for the black circle base. You only need to paint around the edges.
My black and red pieces got 3 coats of paint, while the white had 6 or 7 to fully cover.
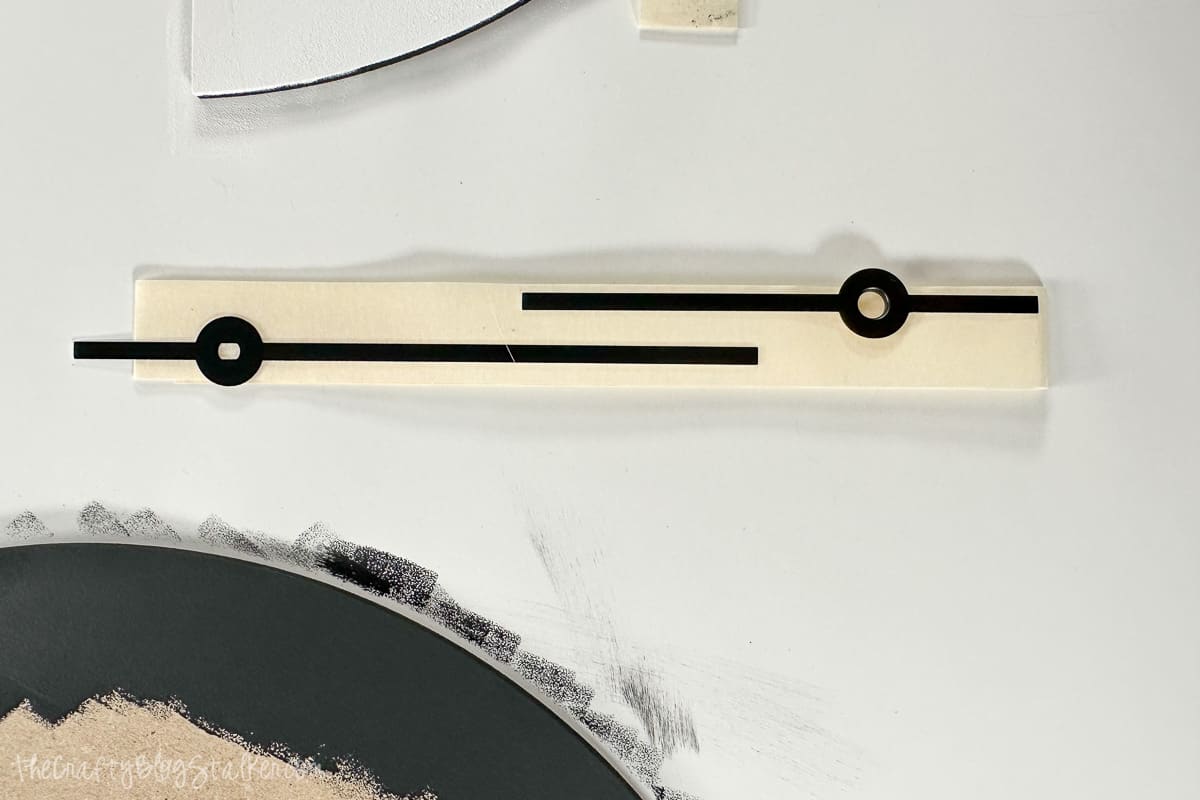
The clock hands are black, which means they can be difficult to see when they are on the black part of the Poké Ball.
Add another length of folded-over tape to the large paper sheet, and stick the minute and hour hands.
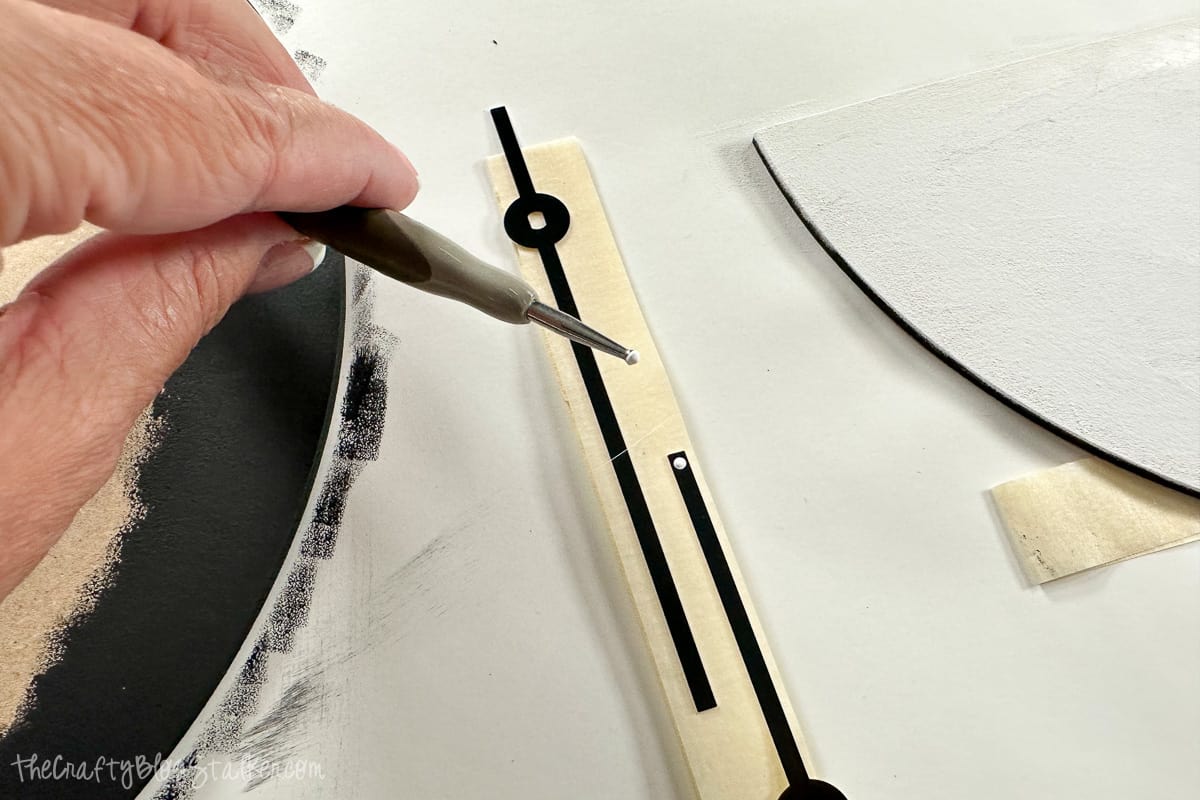
Dip the ball end of an embossing tool into the white paint, and add the dot to the end of each hand.
Allow the paint on all pieces to dry completely before you move on to the next step.
Gluing:
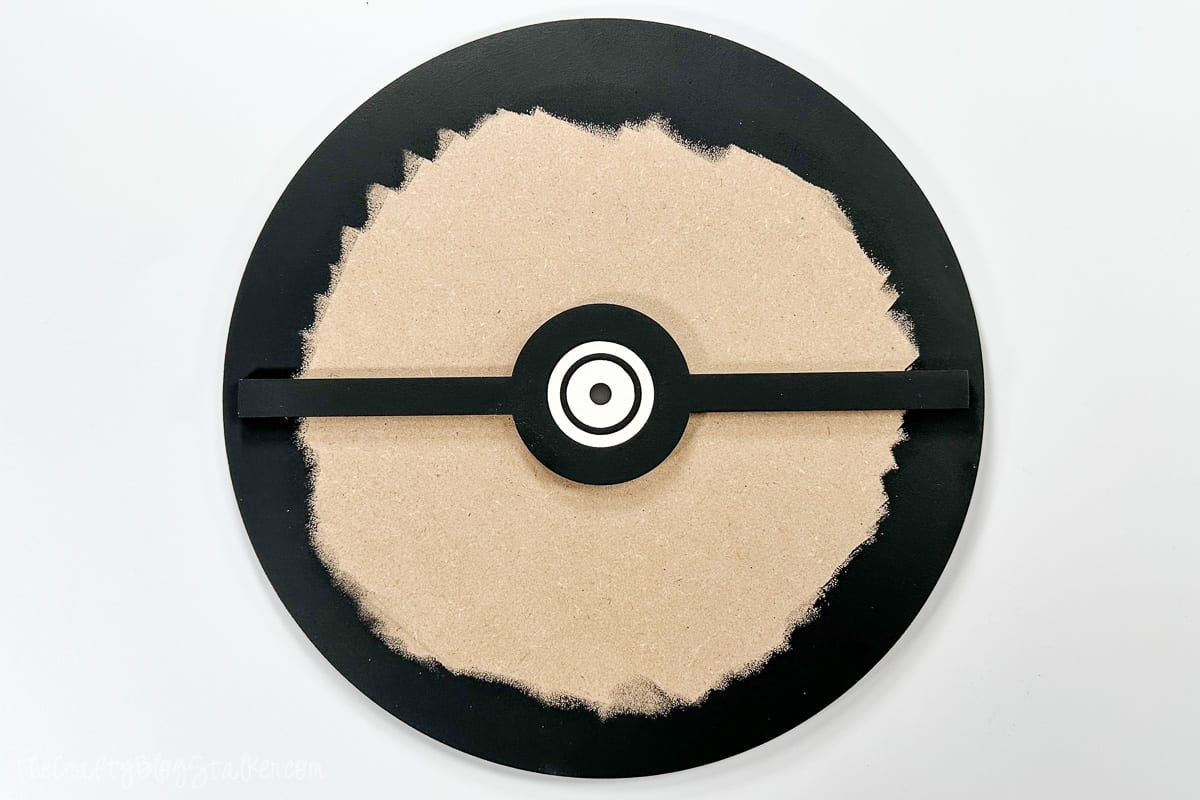
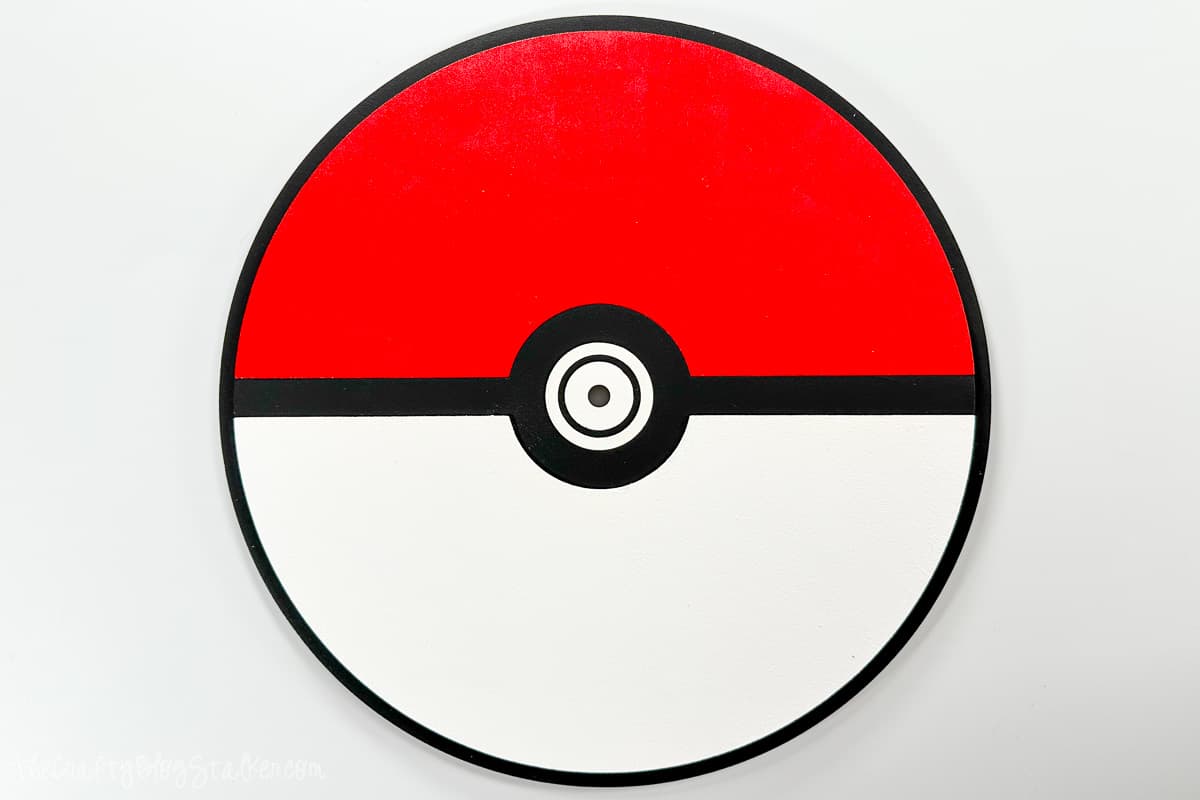
Remember, the large circle is the base.
Apply glue to the innermost white circle and center over the hole on the larger circle base.
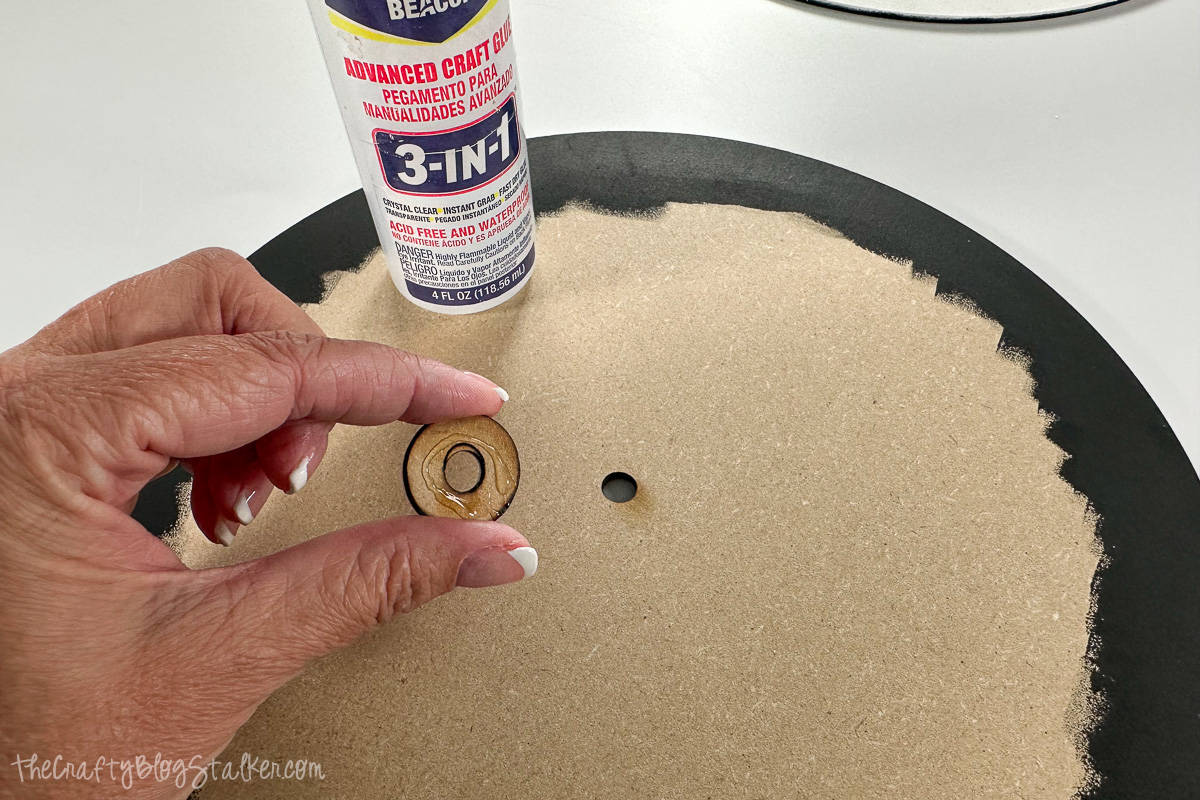
Move outwards, gluing each piece into place.
Assembly:
Lay out all of the pieces of the clock. There are a lot of little pieces so make sure you have everything.
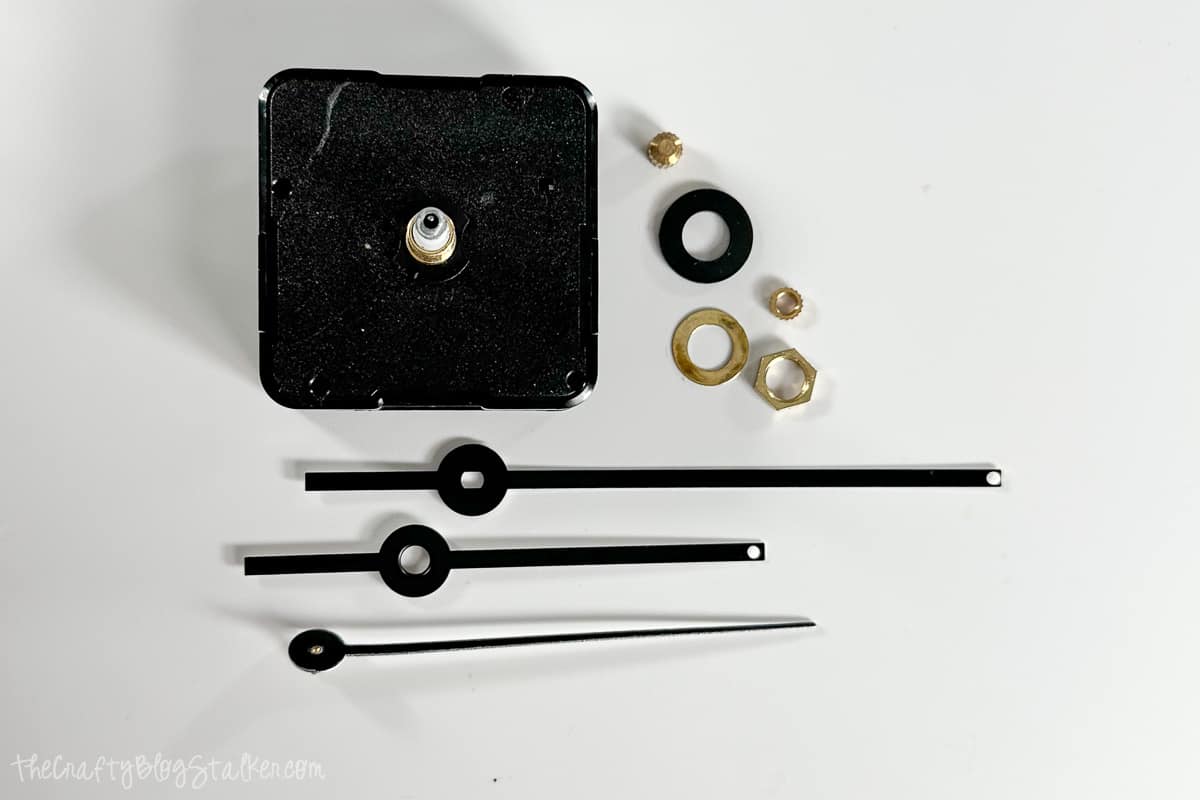
My clock pieces came with assembly instructions, so make sure to follow the instructions that come with your kit. They may be different than mine.
Place the rubber washer onto the pole base of the movement.
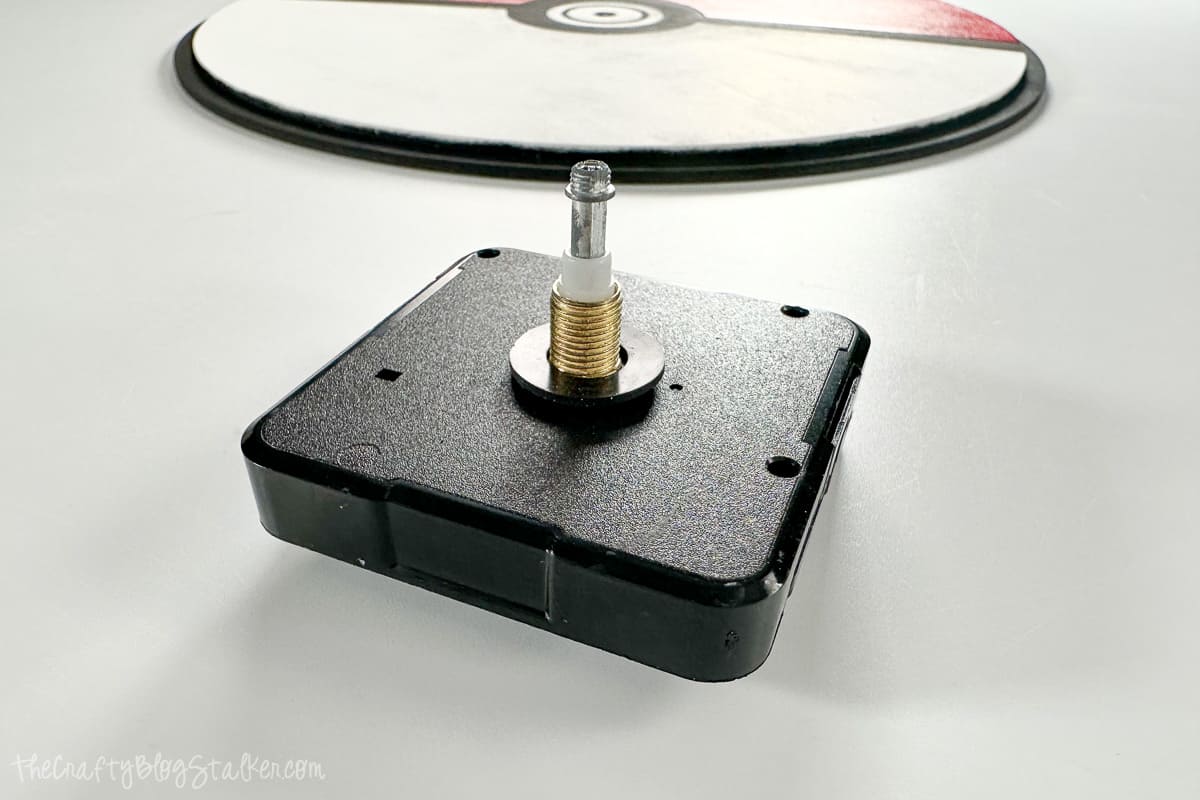
Insert the pole through the center hole of the clock.
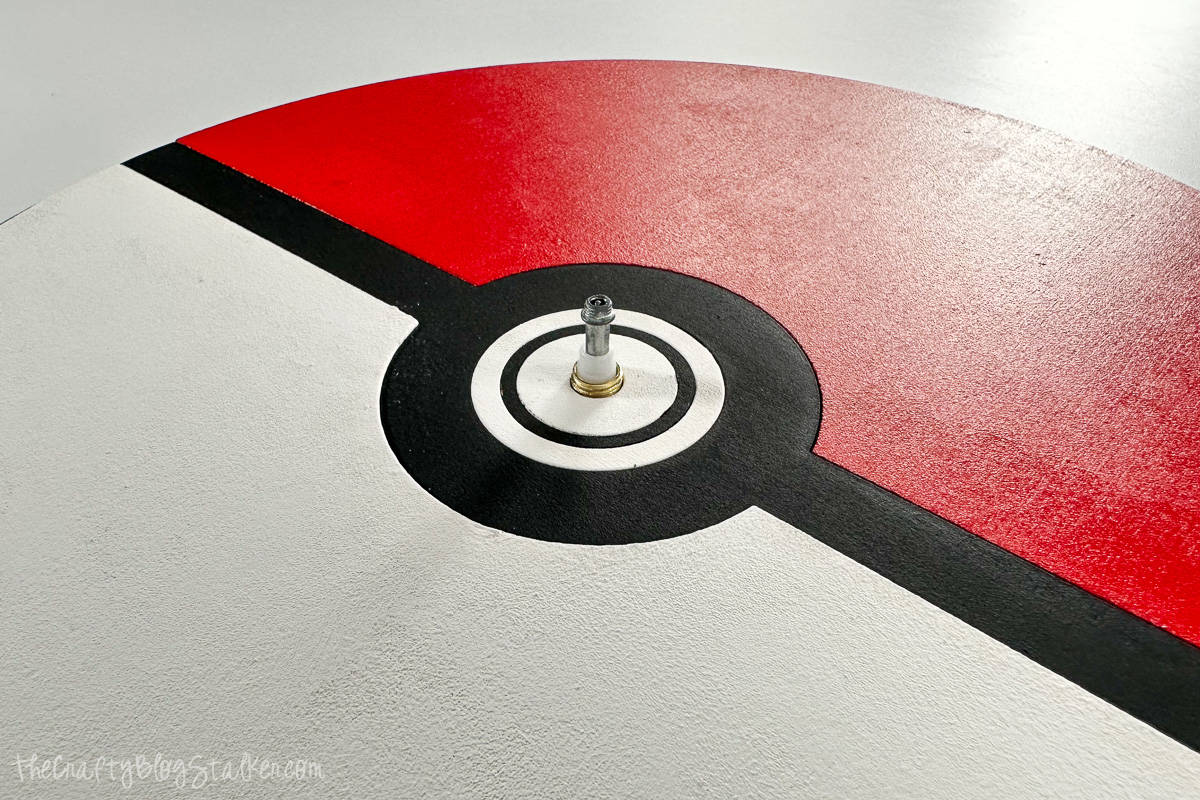
Slide the brass washer over the pole.
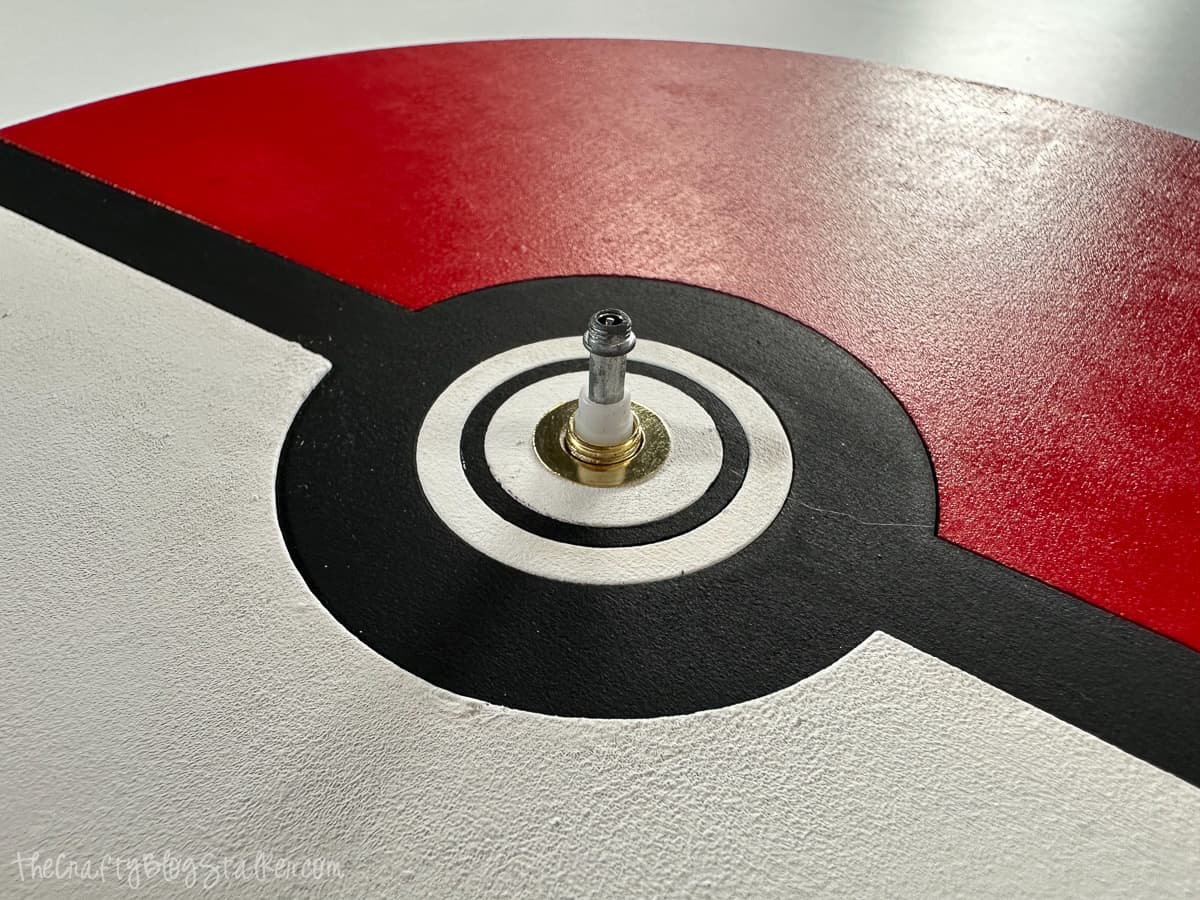
Screw the Hex nut onto the pole. Do not over-tighten.
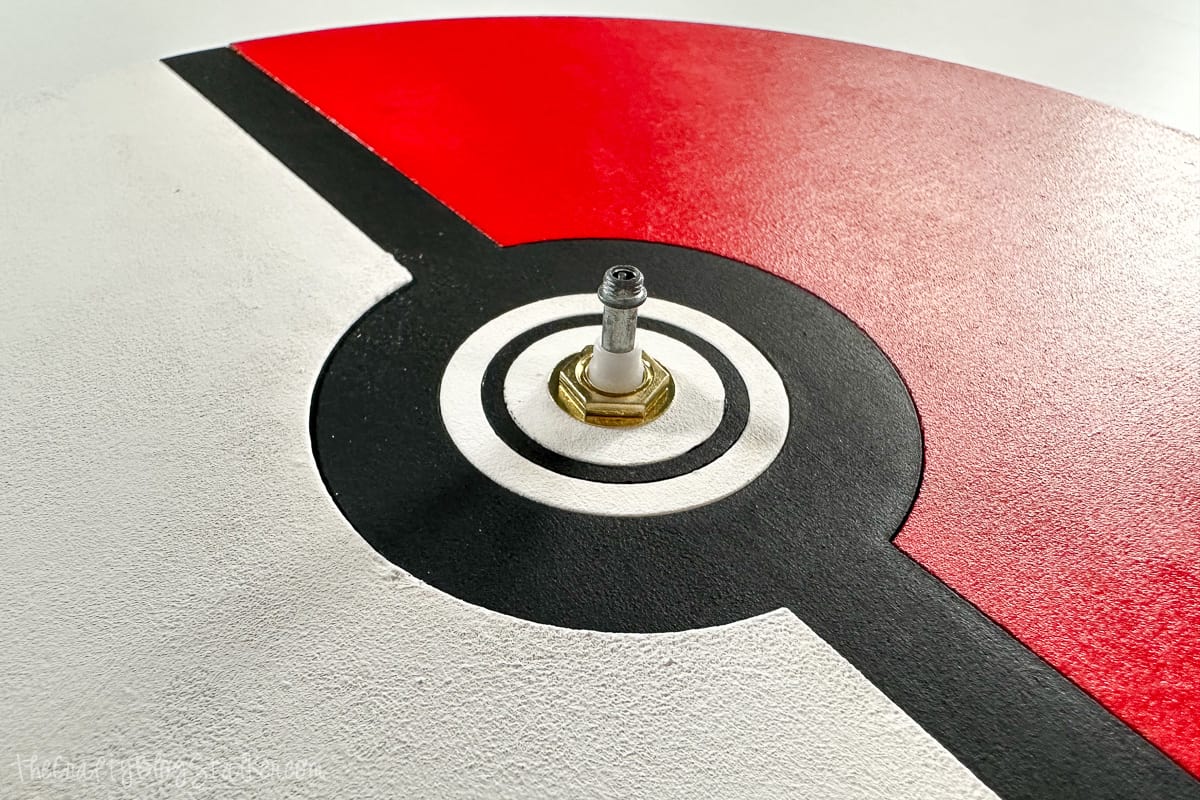
Slide the hour hand onto the pole, and press down until it stops. Turn to the 12:00 position.
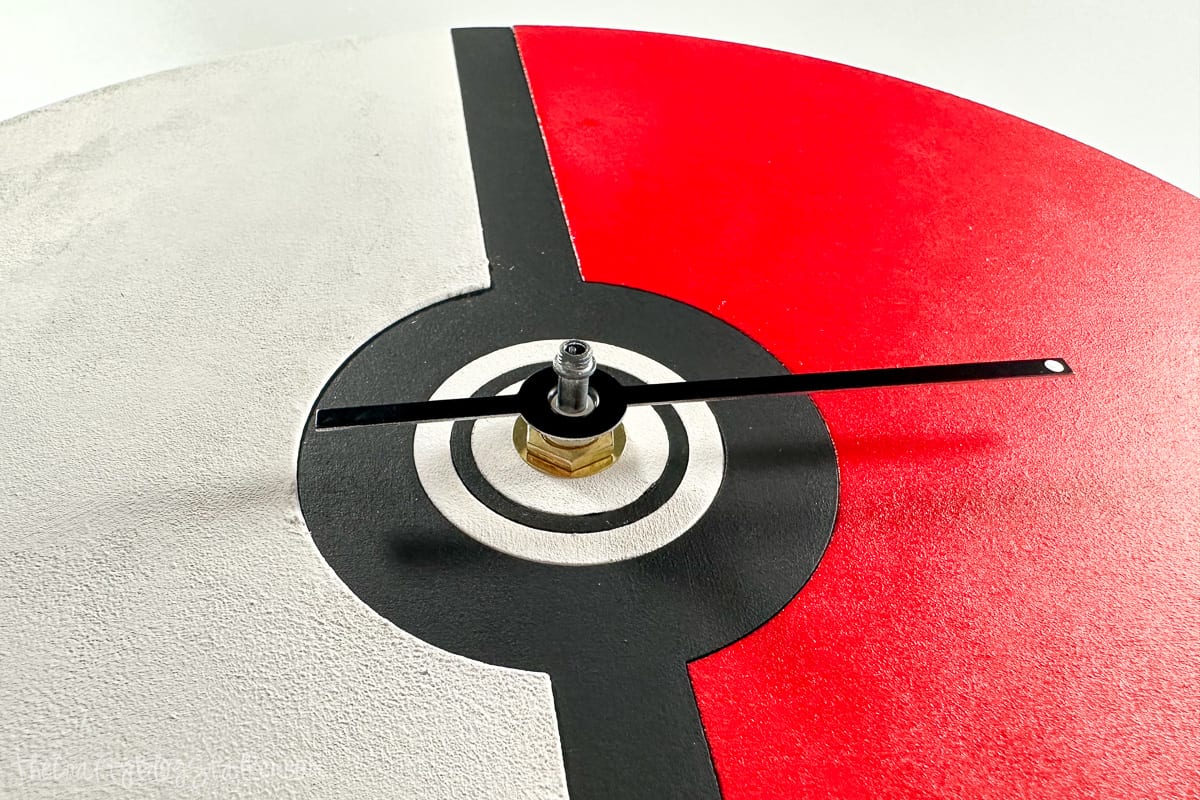
Align the minute hand over the pole, and press down until it stops. Turn to the 12:00 position.
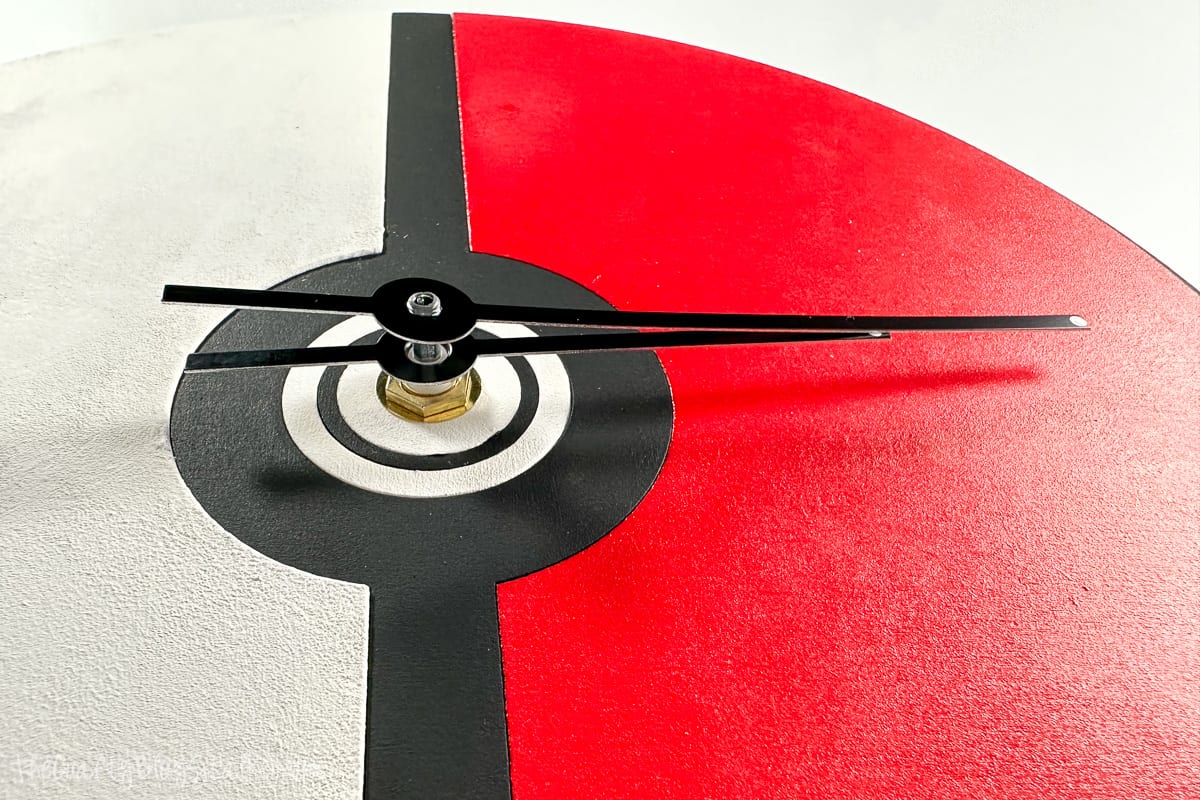
Screw on the minute nut, and do not over-tighten. Press the stem of the second hand through the top of the pole, and press down until it stops. Turn to the 12:00 position.
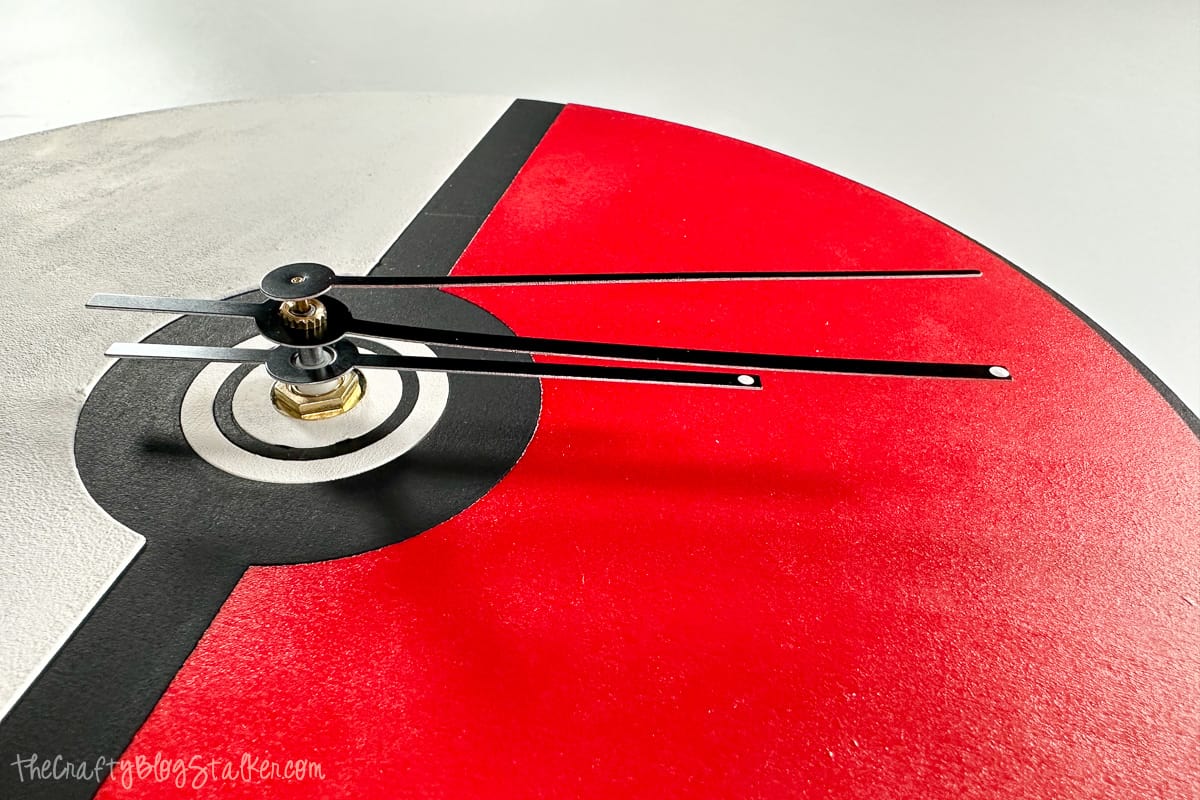
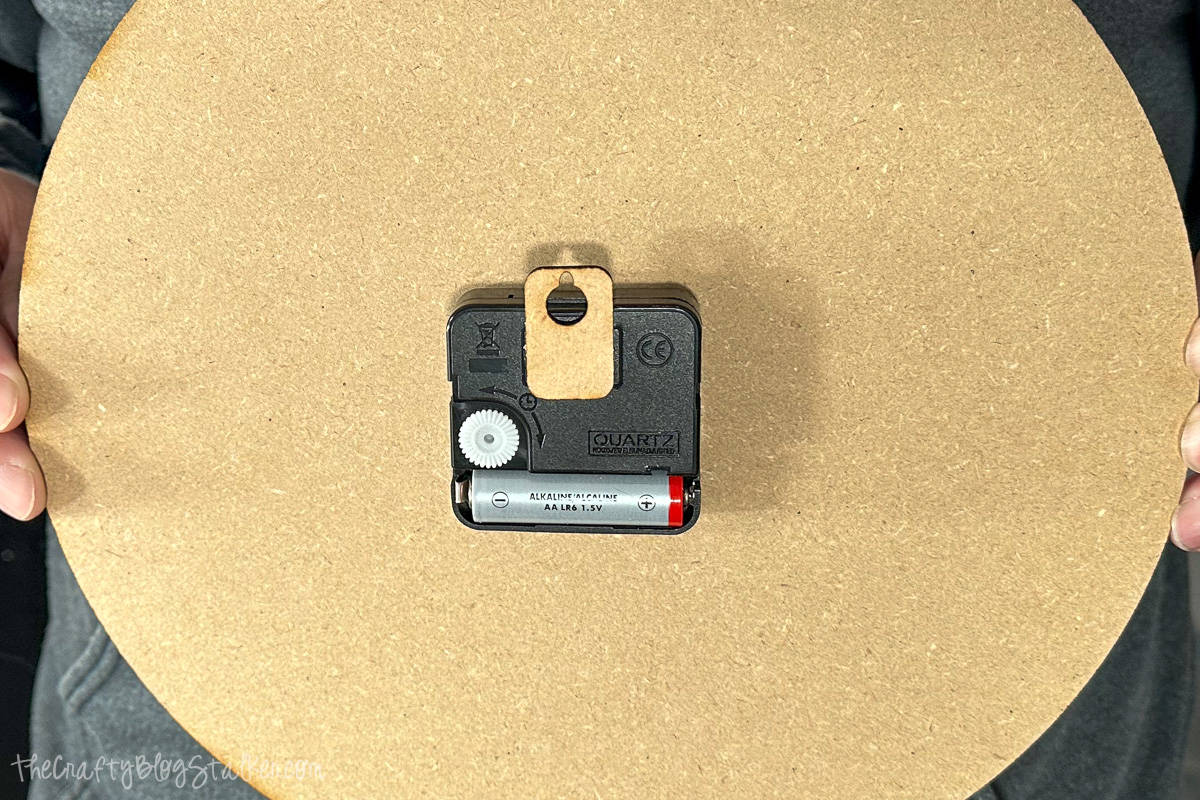
Insert 1 AA battery and use the dial on the back of the movement to set the time.
Make sure that none of the hands are bent because that can stop the hands from rotating correctly.
My movement back didn't have a hanger, so I glued on one that I cut out of MDF, but you may not need this piece if yours has a hanger.
And here is the finished Poké Ball clock! Isn't it great?

Who will you make this simple handmade clock for? This fun project would make a wonderful gift. It's great for kids' rooms, older kids, or any pokemon fan. In fact, my 22-year-old son has already claimed this one! 🤣
Substitutions:
Here are some easy substitutions you can use for items in the supply list.
- Glue - You can use really any type of glue here that works with paper and wood, like hot glue, E6000, and super glue.
- Paint - Choose different colors or use spray paint instead of craft paint to make different types of poké balls.
- Clock Hands - There are many different types of clock hands for you to choose from. personalize with your own style!
- Material - Cut from different woods or even Acrylic.
Variations:
Want to customize your project? Here are a few ideas.
- Concept - Don't make a clock, make it as wall art or even a Christmas ornament.
- Size - Try making it smaller with an easel back to sit on a desk or nightstand.
Equipment:
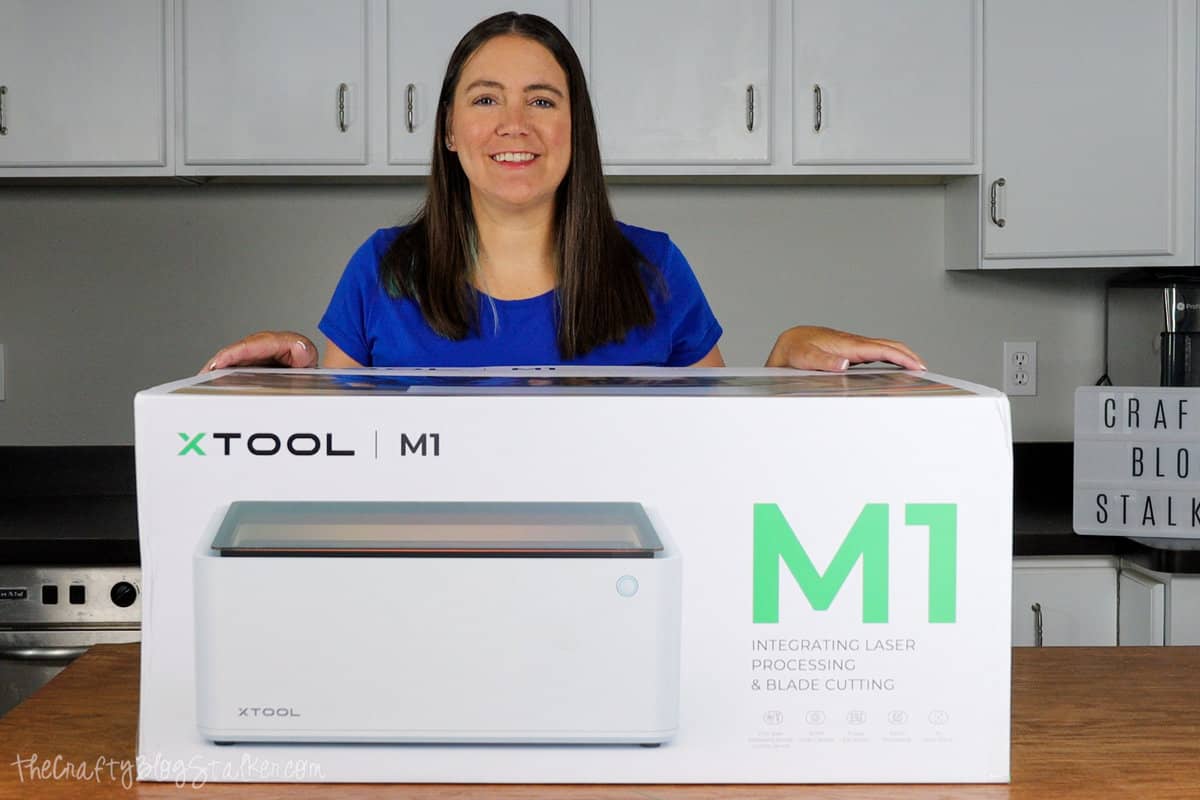
To learn more about the xTool M1 laser, visit my unboxing post where I share all of the steps to getting set up and ready to cut.
Our Laser Essentials:
- New to laser machines? I would highly suggest the xTool M1 Ultra! This machine is super easy to learn and helps you create beautiful projects!
- More experienced with lasers and want more power? I love my OmTech 50W, but they have all types of machines up to 150W!
- Craft Closet is my favorite shop for all of my laser materials. Their materials are high quality and have the lowest price, I can find anywhere!
- If you really want to get into lasers, I highly suggest you learn how to create your own files. Pen & Posh has a great course for this.




Leave a Reply