

Craft a unique countdown to Christmas with this Laser Cut Ornament Advent Calendar! Easy to make and is compatible with most laser cutters.
Hey there, crafty friends! Are you as excited about the holiday season as I am?
If so, you're going to adore today's DIY project.
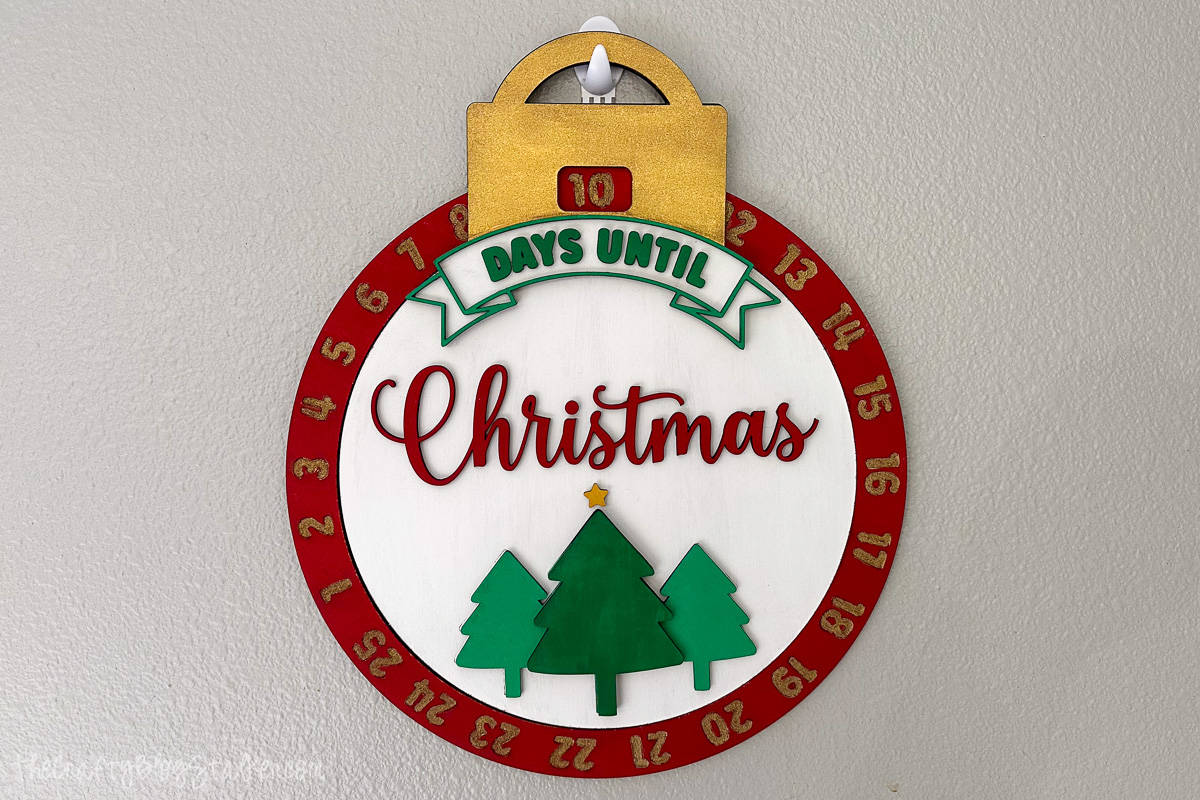
We're making a Laser Cut Ornament Advent Calendar that's not just a festive decoration but also a fun way to count down to the big day!
Trust me, this is a wood advent calendar you'll treasure for years to come.
Go to your laser cutter, and let's get crafting!
Craft Tutorial Video
If videos are your thing, you're in luck-I've got a full tutorial ready for you!
Subscribe to my YouTube channel and stay inspired with every new project.
Supply List:
Some links may lead to similar items when the exact item is unavailable.
Grab the Laser File:
The first thing to do is to grab the Laser File.
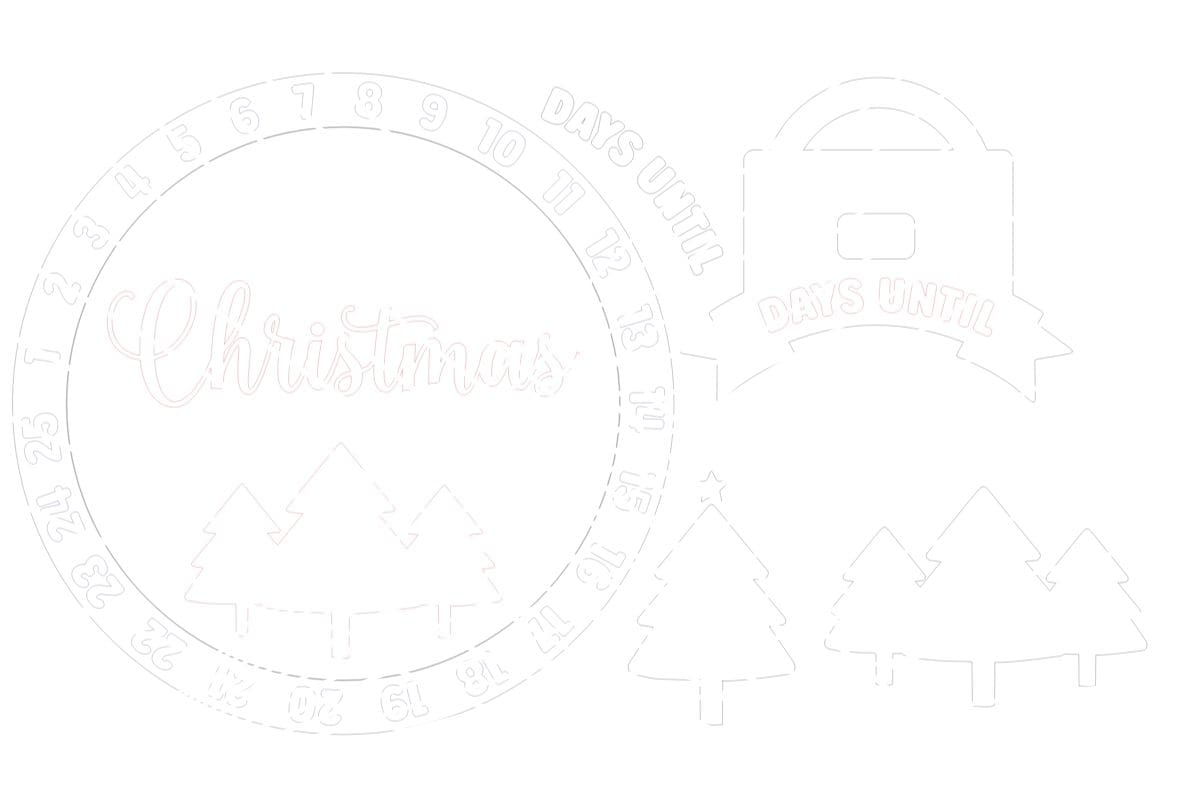
Your file will not have watermarks.
Laser Cutter:
Pull the SVG file into your laser-cutting software.
Cut the black lines.
Score or Engrave the red lines.
Fill in the Blue Lines.
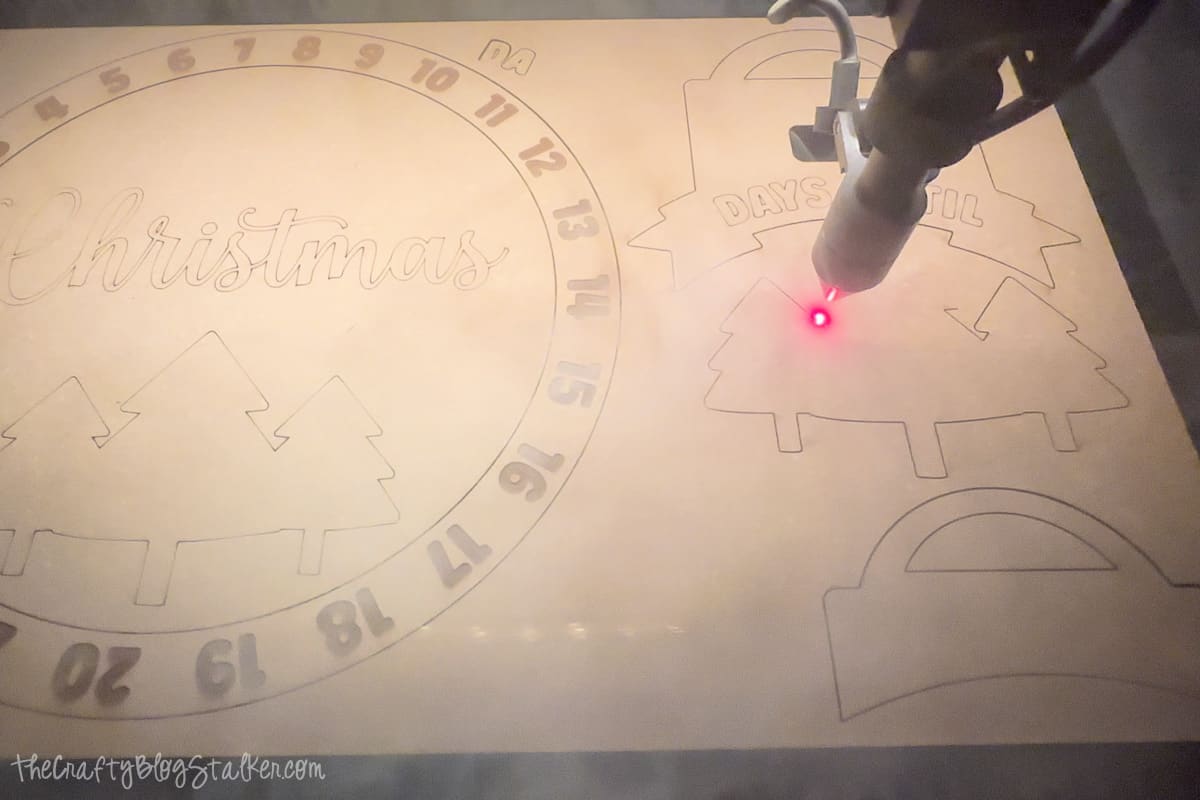
I suggest cutting a test card to find the right settings for your machine.
My pieces were cut on my OmTech 50w using Lightburn software, and it took two sheets of 12 x 19 inch 3mm MDF.
Painting:
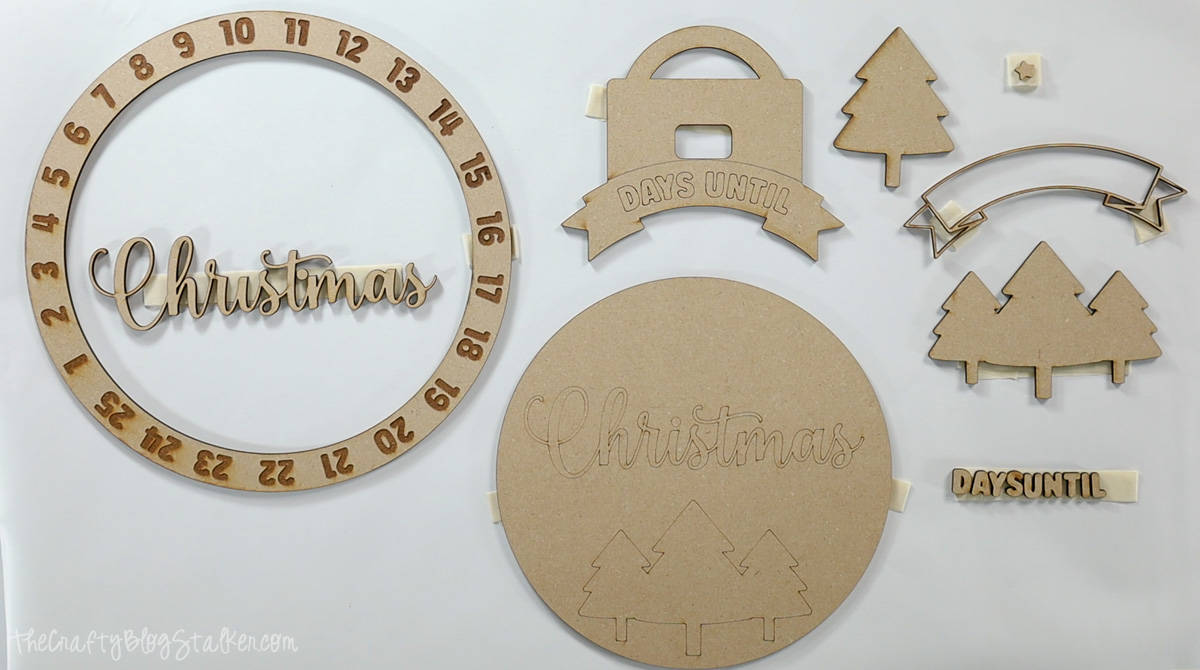
Lay out the pieces that need to be painted on top of a large sheet of paper. The paper is to protect your work surface.
Cut lengths of masking tape, fold them over, and use them to secure the cut pieces to the paper surface.
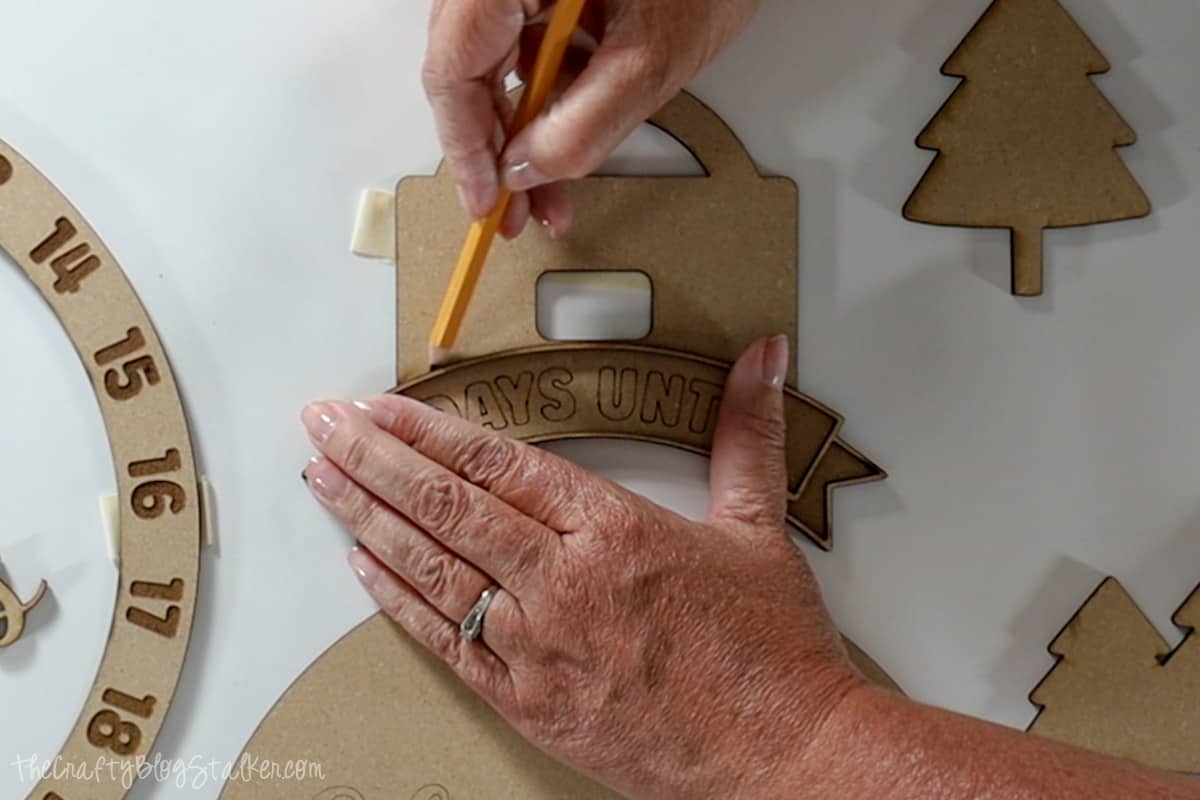
Align the outline banner piece over the ornament topper and trace the top line of the banner with a pencil. This will give you the paint line since this piece is painted with two different colors.
Paint all of your pieces with two coats or until they have the look you want them to have.
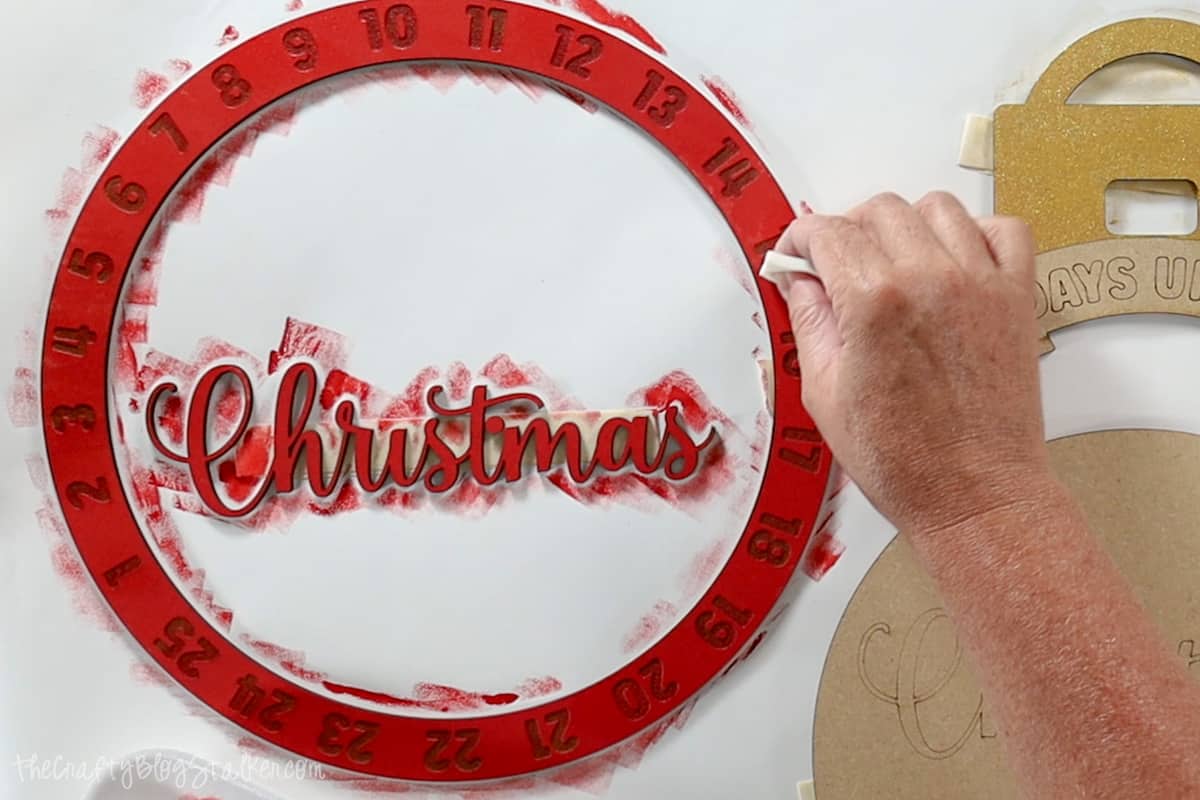
When painting large areas, I used a paintbrush, but for the smaller pieces I used a makeup wedge to dab the paint on.
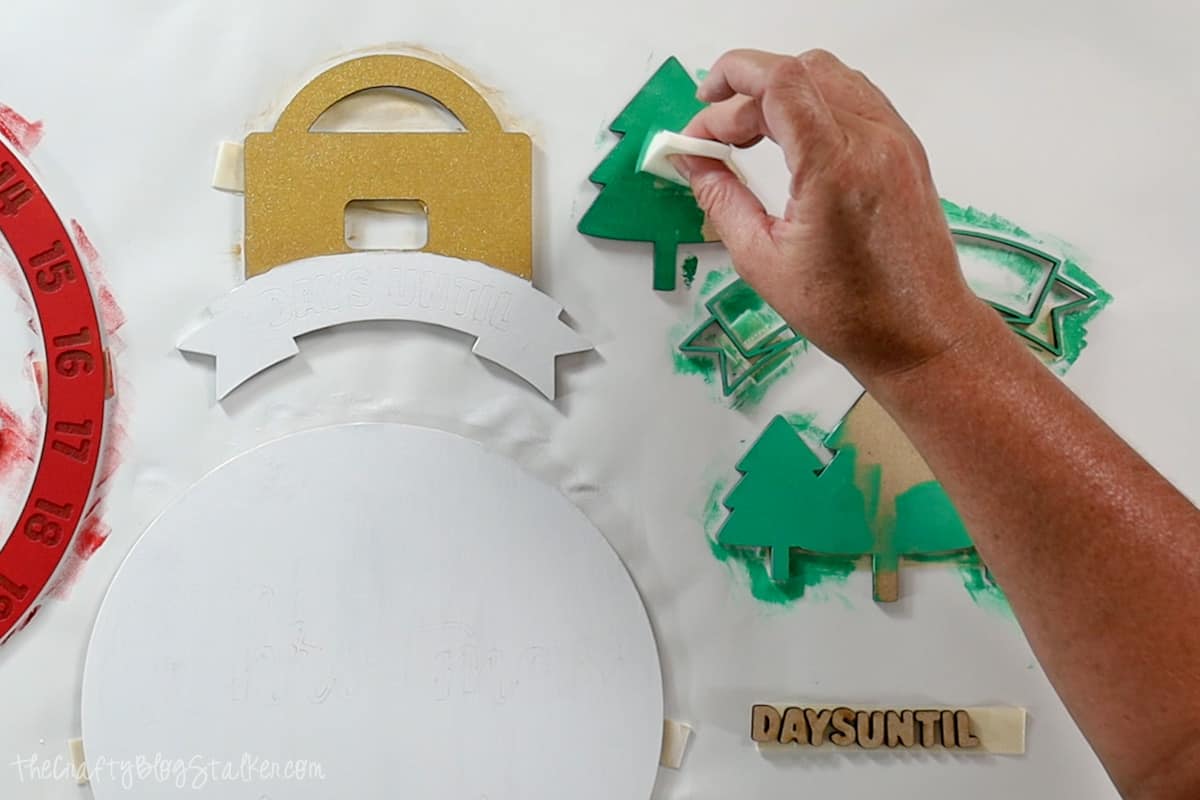
First, I painted the gold topper of the ornament.
Then I painted the number wheel and the word 'Christmas' with red paint.
The main circle is painted white along with the the bottom portion of the ornament topper.
The trees, 'days until', and the banner outline were all painted green. Although I did make the center tree a darker shade of green
Lastly, I painted the small star yellow.
Paint Marker:
The numbers on the outer ring are engraved into the MDF, and I wanted them to pop a bit more, so I filled them in with a gold metallic paint marker.
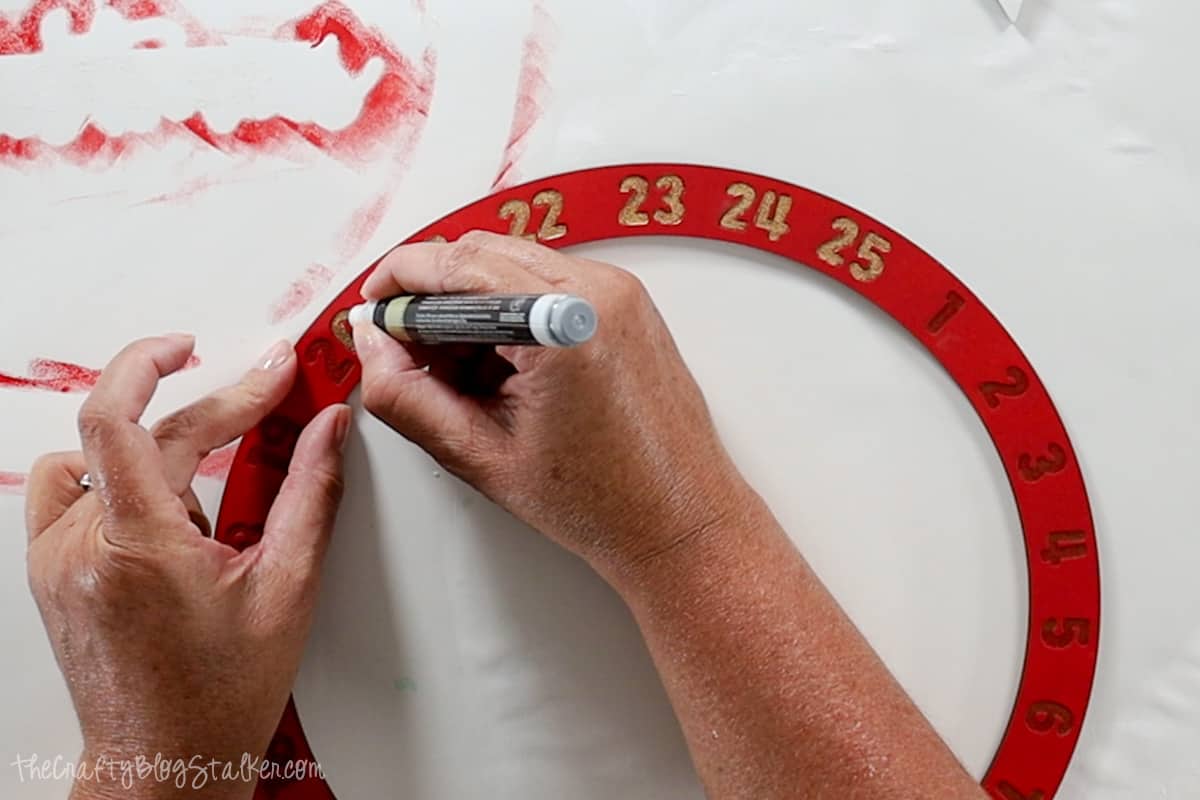
If you accidentally color outside of the line, you can clean it up with a damp cotton swab.
Let all of the pieces dry completely before moving on.
Sand the Edges:
You want the numbered ring to be able to rotate freely around the main circle.
Lightly go around the inside edge of the ring, and the outside edge of the circle with sandpaper.
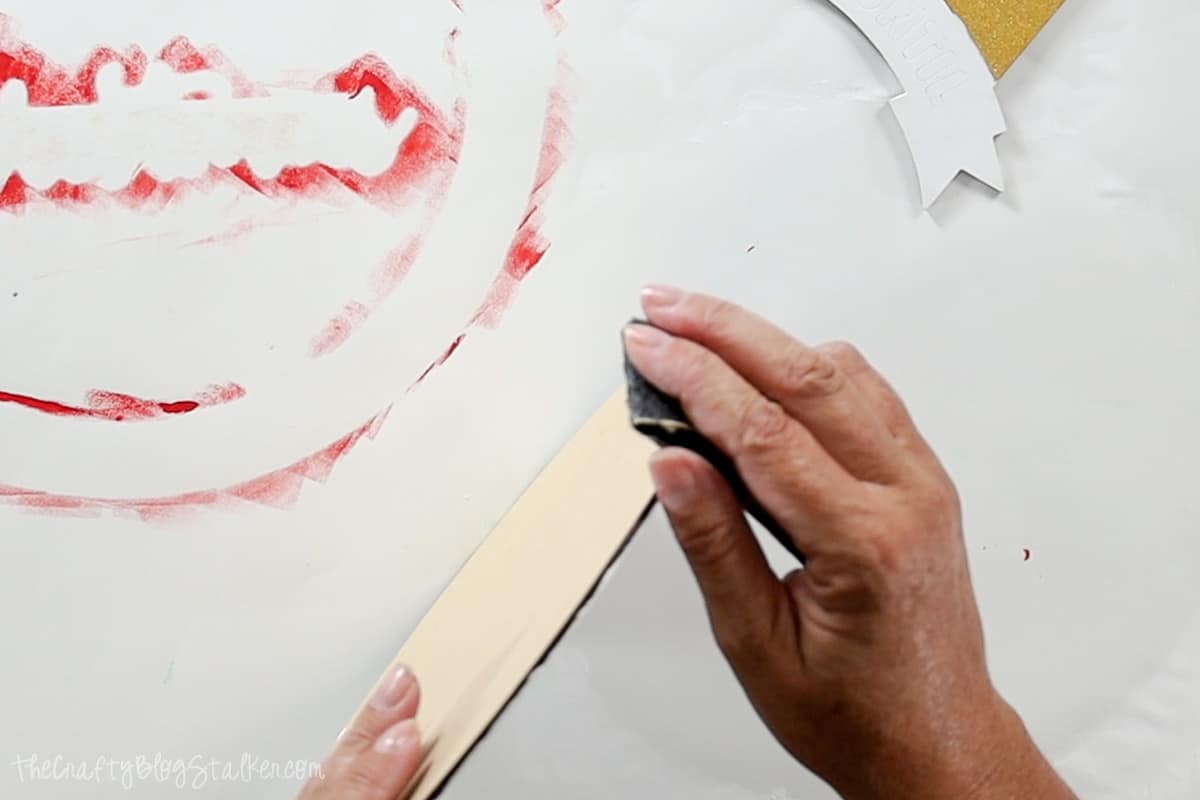
You don't want to sand so much that you change their shape, but you do want to remove any bits of paint.
Repeat sanding until the ring rotates all of the way around the circle.
Gluing:
Apply a dollop of glue to your paper worksurface.
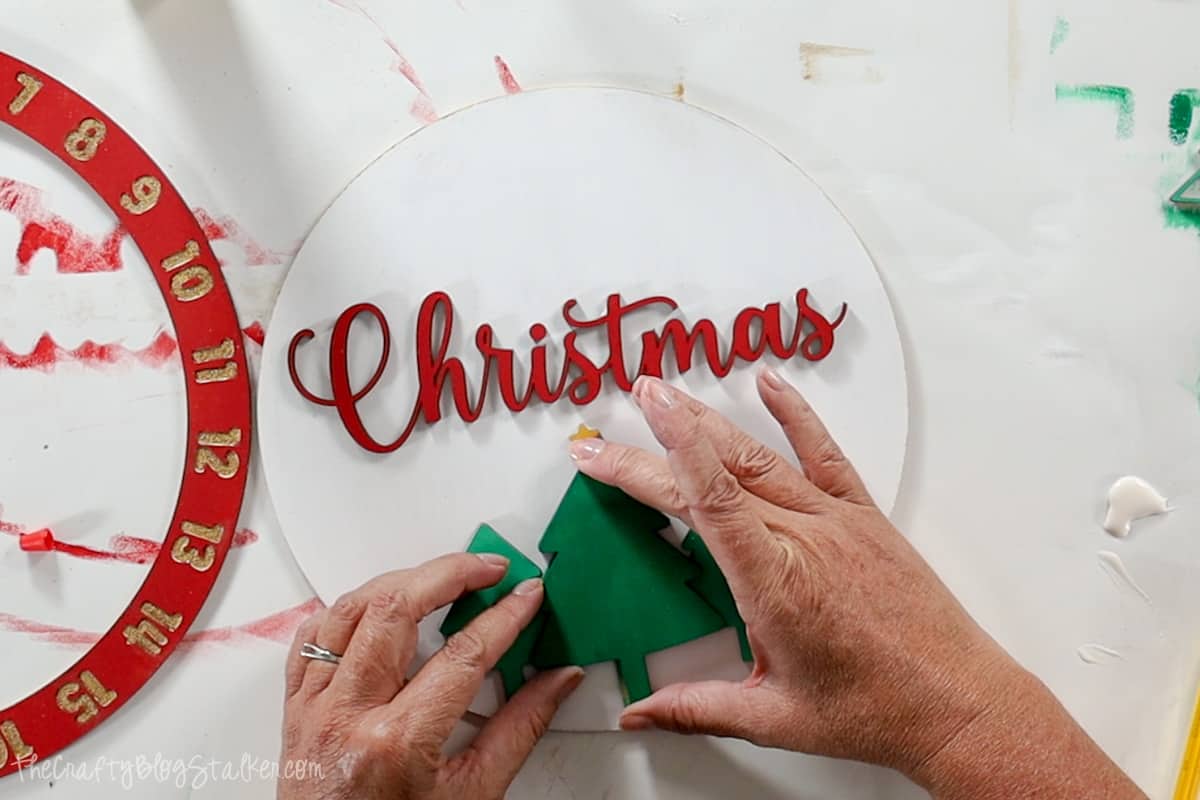
Dip a small paintbrush into the glue and paint it onto the back of the 'Christmas' word.
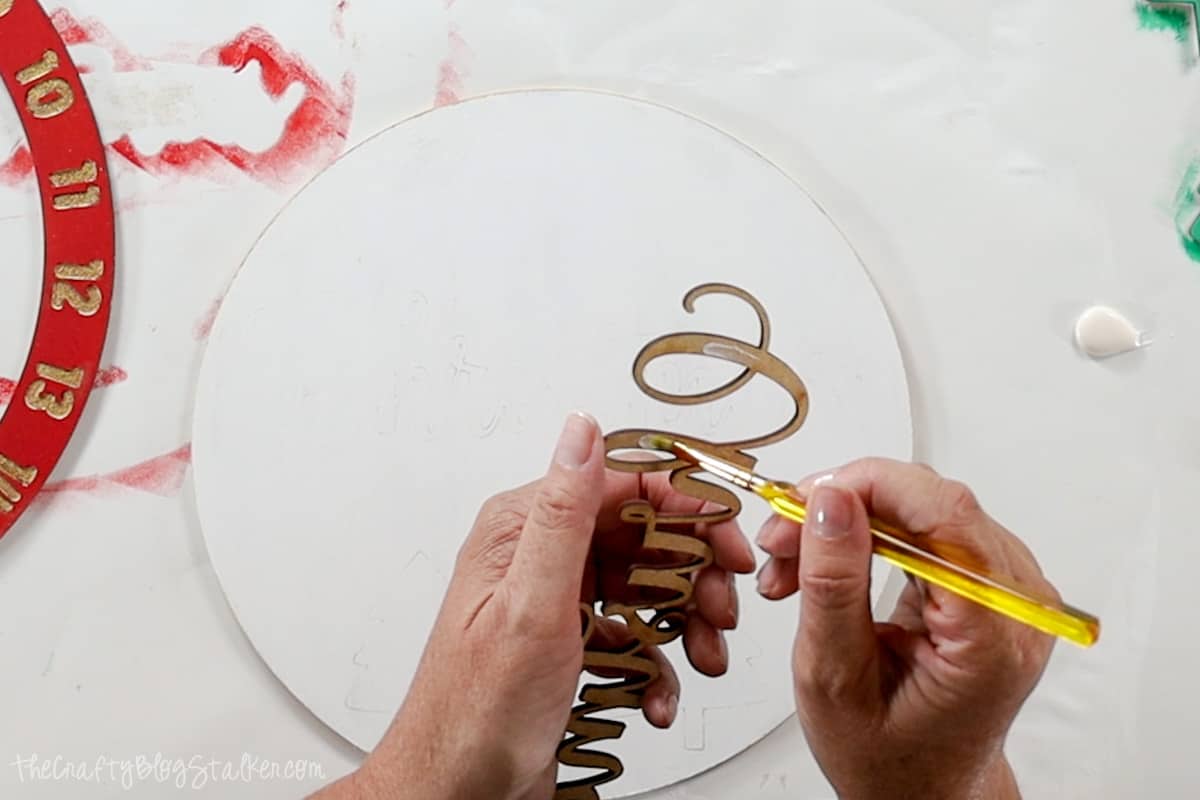
Align the word over the same scored piece on the circle.
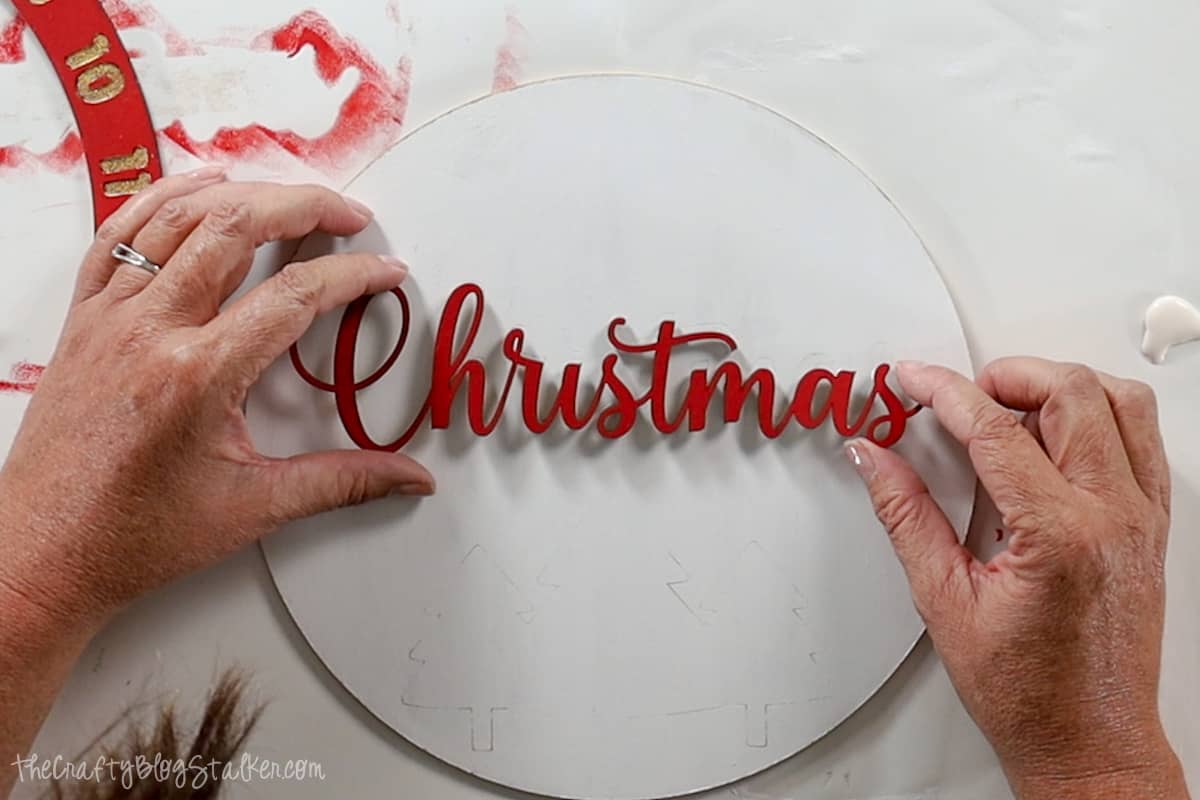
It is hard to see in the above picture, but if you go back up to the picture with all of the pieces, you'll see the scored word and trees on the main circle.
This is to help with piece alignment, and the pieces will cover up those lines when perfectly aligned.
Then adhere the triple tree, followed by the top yellow star.
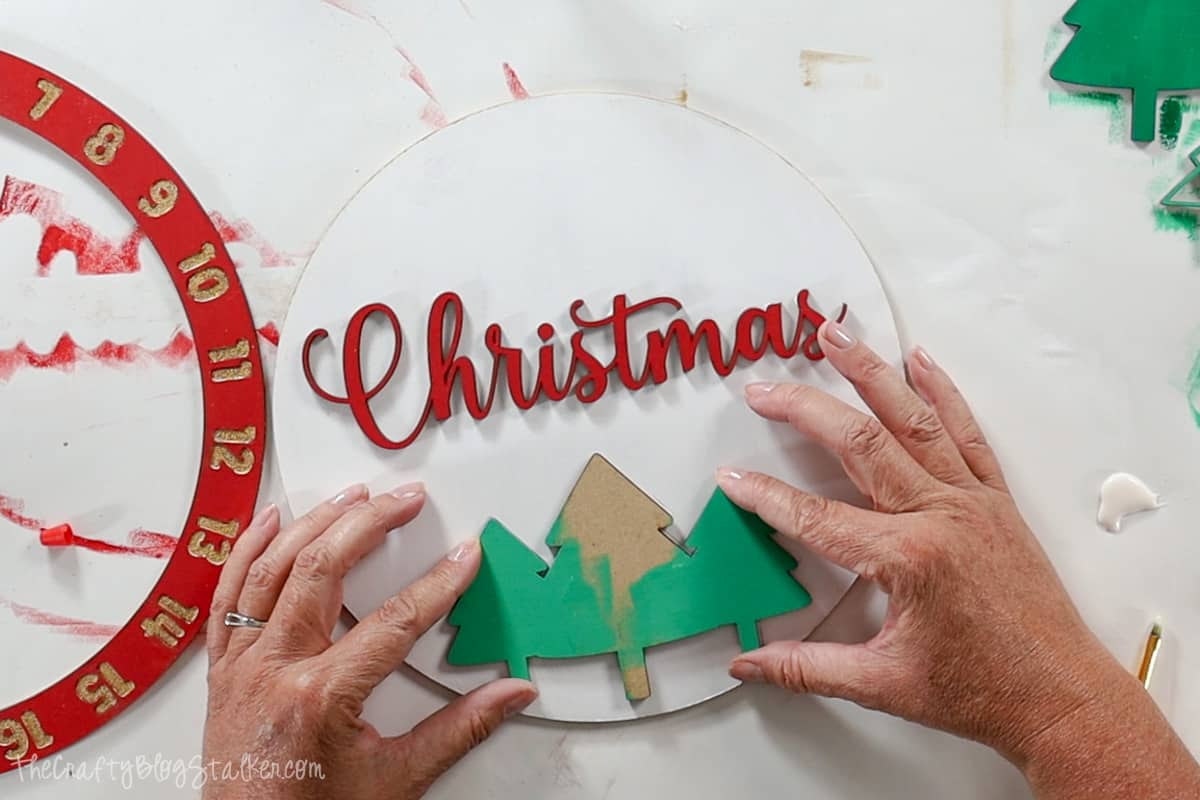
Top with the single Christmas tree, aligning it to the center of the triple tree piece.
Apply glue to each individual letter of 'days until' and adhere to the ornament topper, again covering up the same letter scorelines.
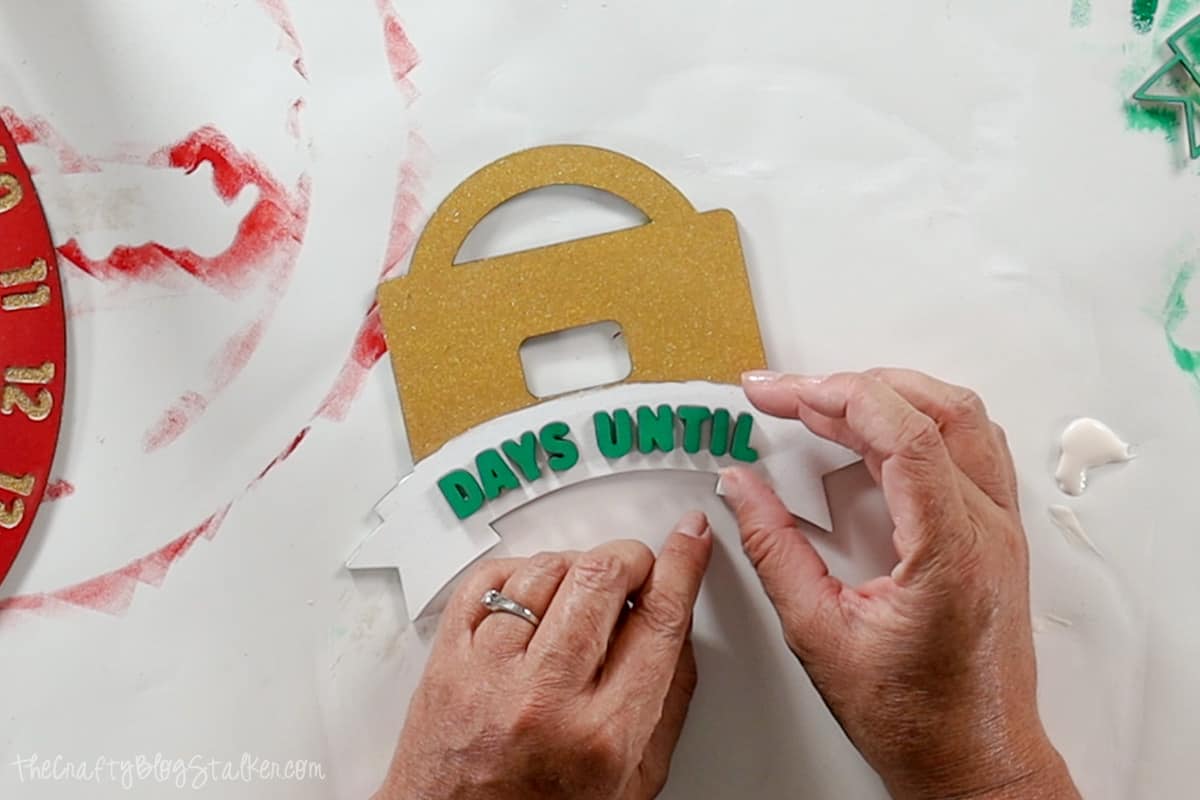
Then adhere the banner outline to the same piece.
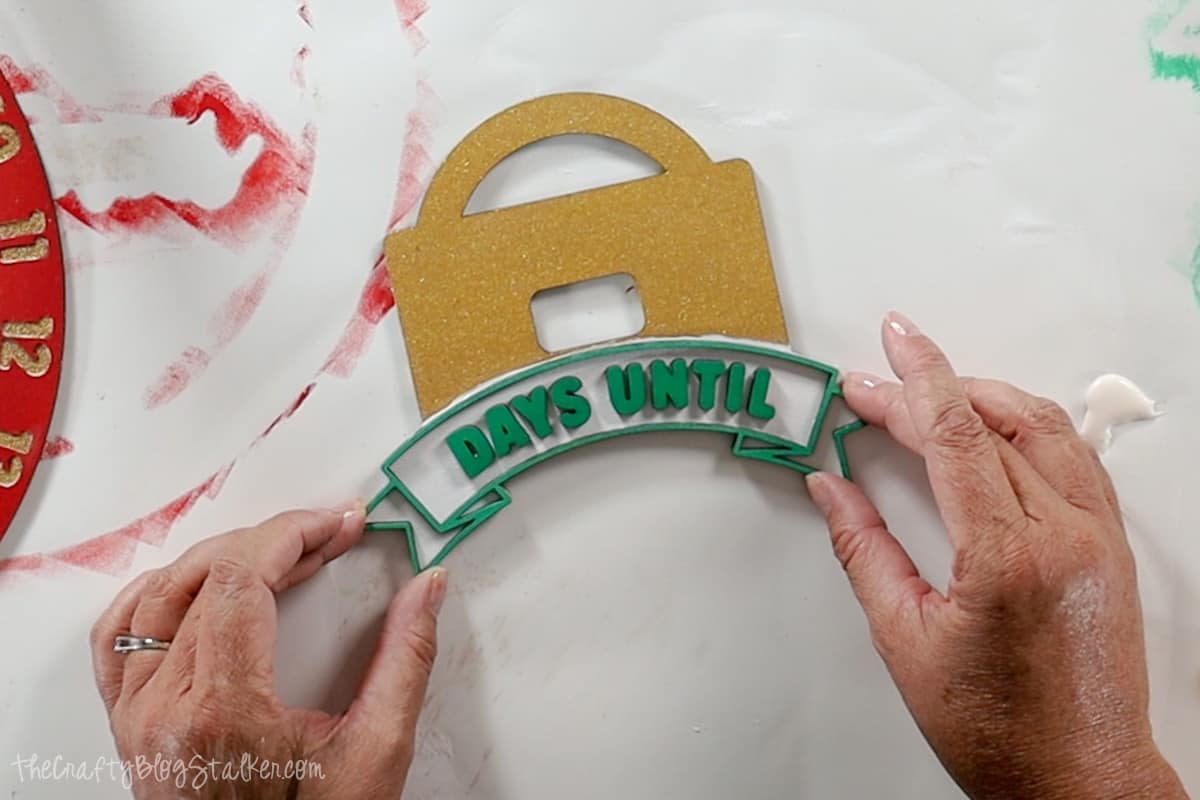
At this point, you can touch up with gold paint if you have too much white paint peeking out the top of the banner like I do.
Assembly:
The next few steps are also gluing, but it is crucial to glue these pieces correctly, otherwise, the ring won't rotate around the center circle.
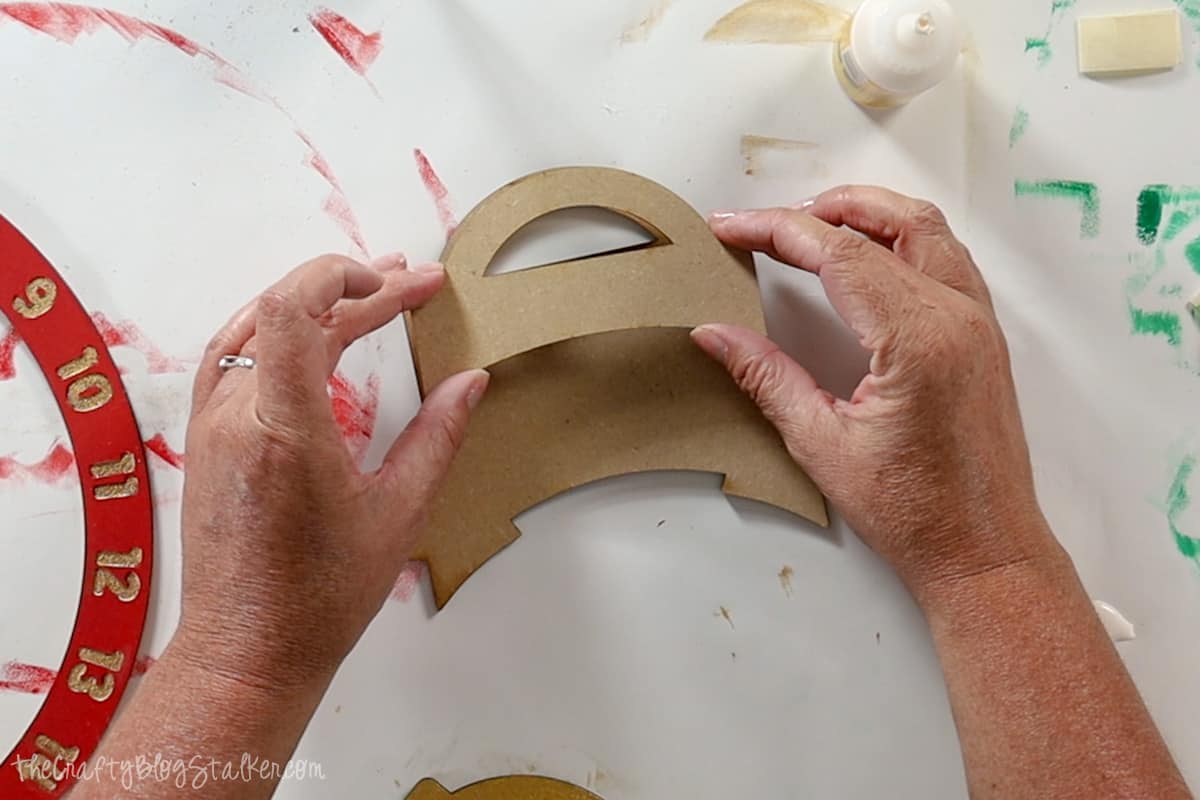
There are two pieces that we didn't paint. The ornament topper back and center pieces.
Apply glue around the top half circle of the back piece, and align the center piece on top.
Place the ring and circle onto the back piece, giving just enough space for the ring to rotate.
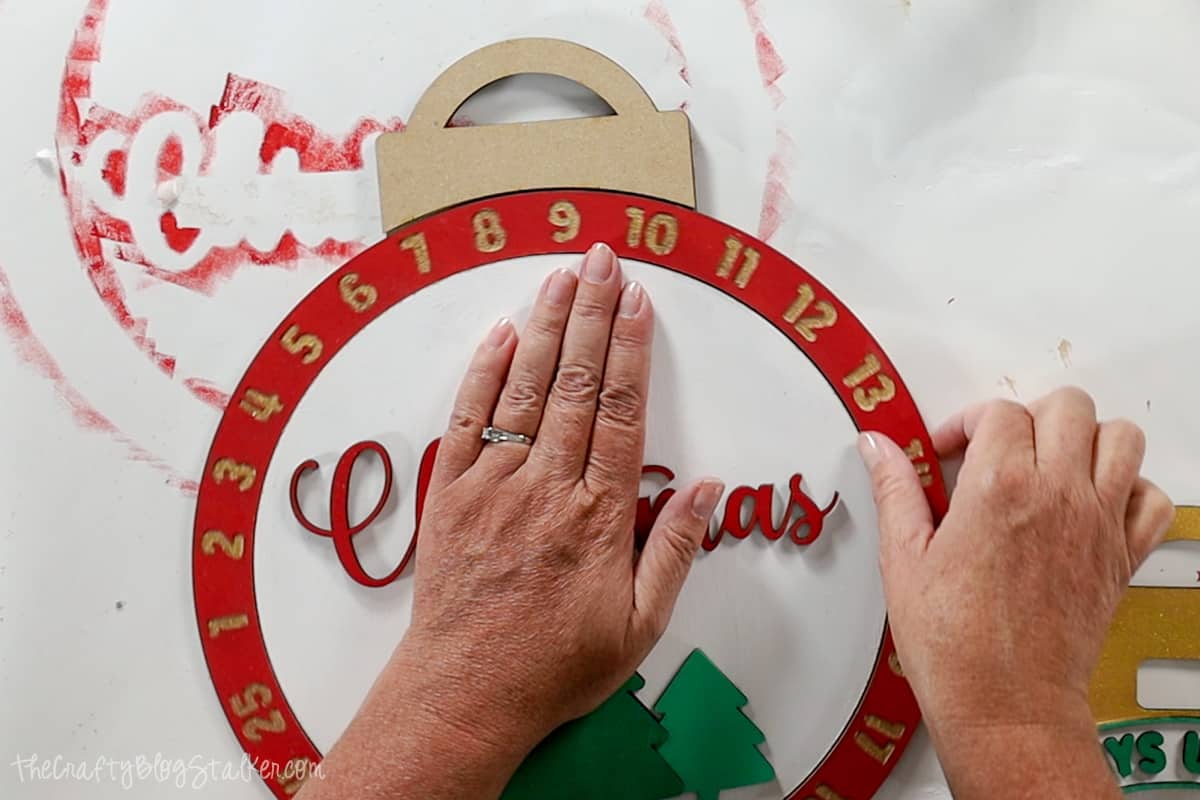
Without moving the ring, lift out the circle piece.
Apply glue to the bottom edge of the backer piece.
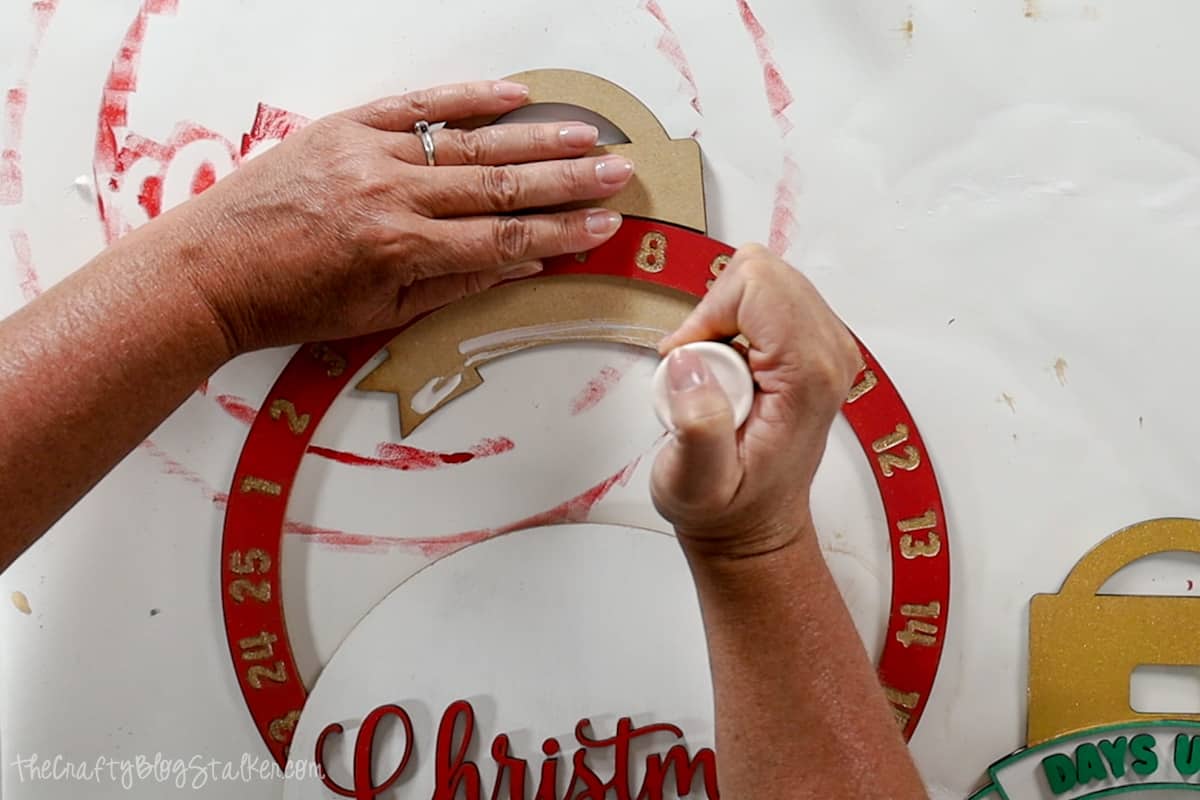
Be careful that glue will not ooze and touch any part of the ring, because we only want to glue the circle in place, not the ring.
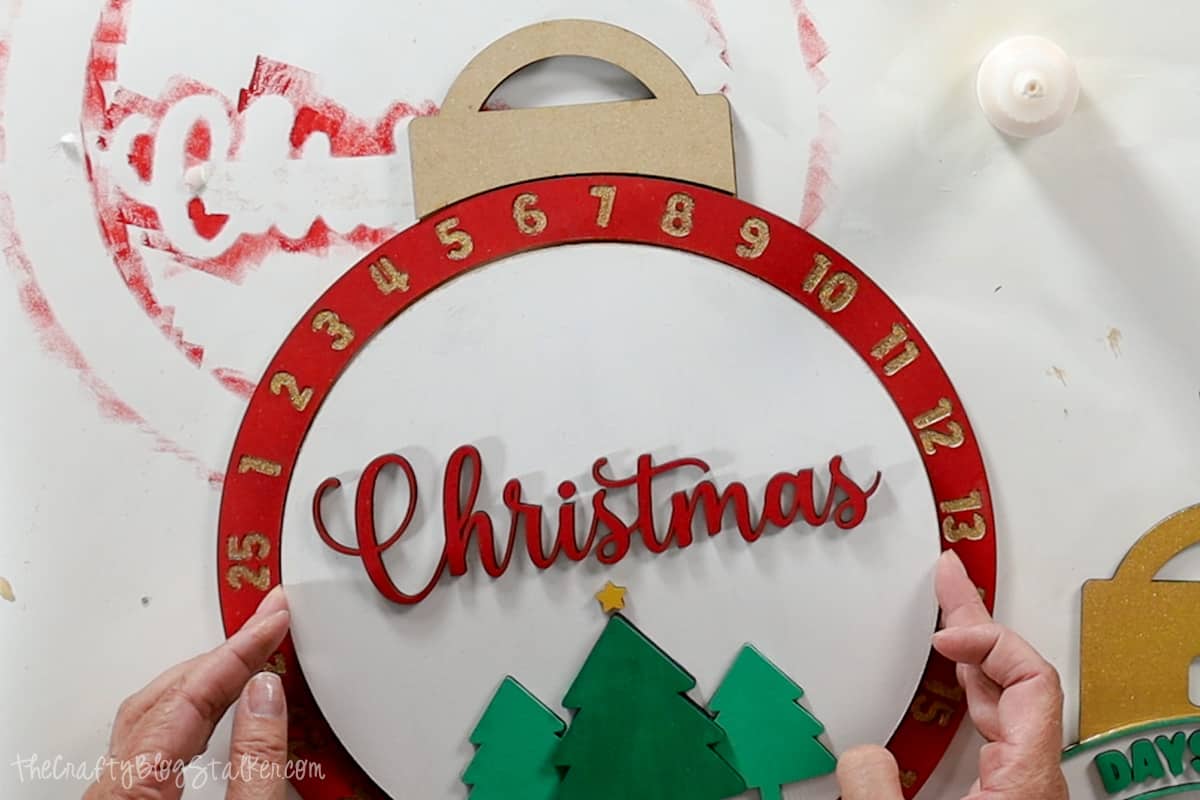
Gently place the circle back inside the ring, vertically align the word Christmas with the ornament topper, and press down to adhere to the backer, making sure the ring can still rotate.
Apply glue around the top circle of the backer and to the back of the ornament topper, again just to the bottom edge.
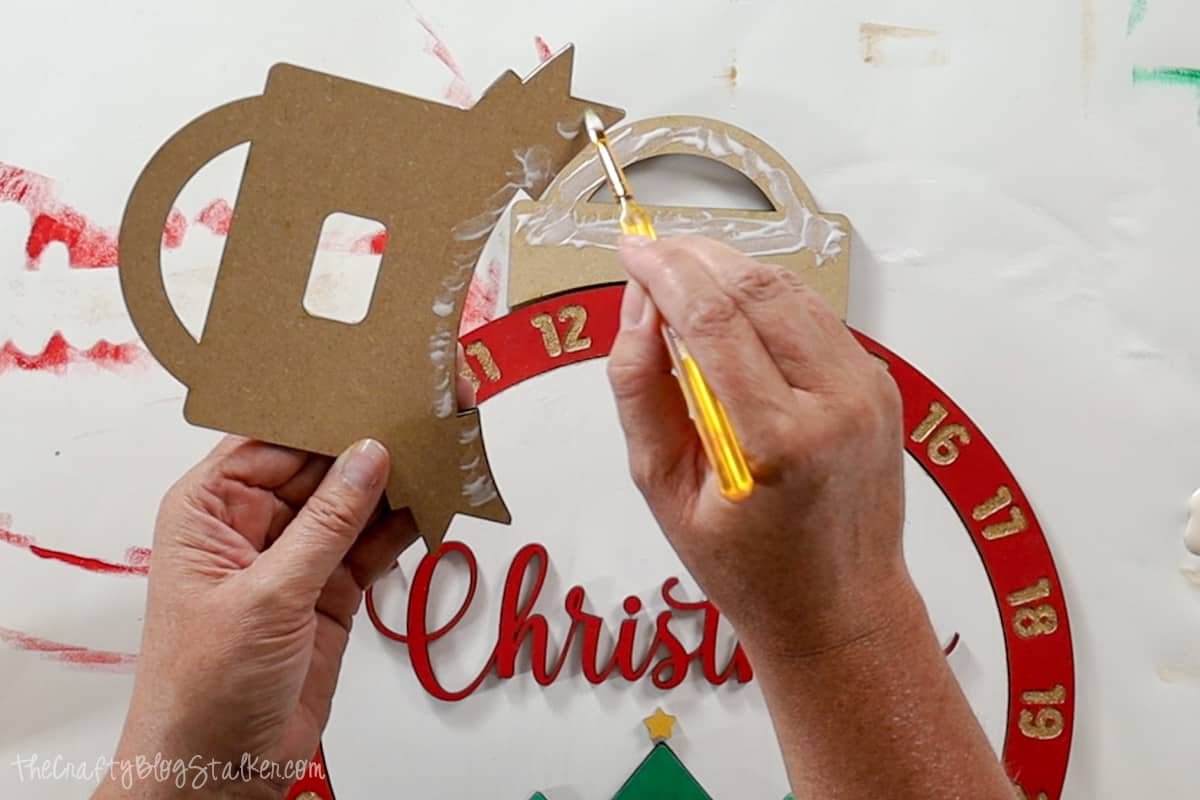
Again, make sure that no glue will touch the rotating ring.
Align the ornament topper and press it into place.
Let all of the glue dry.
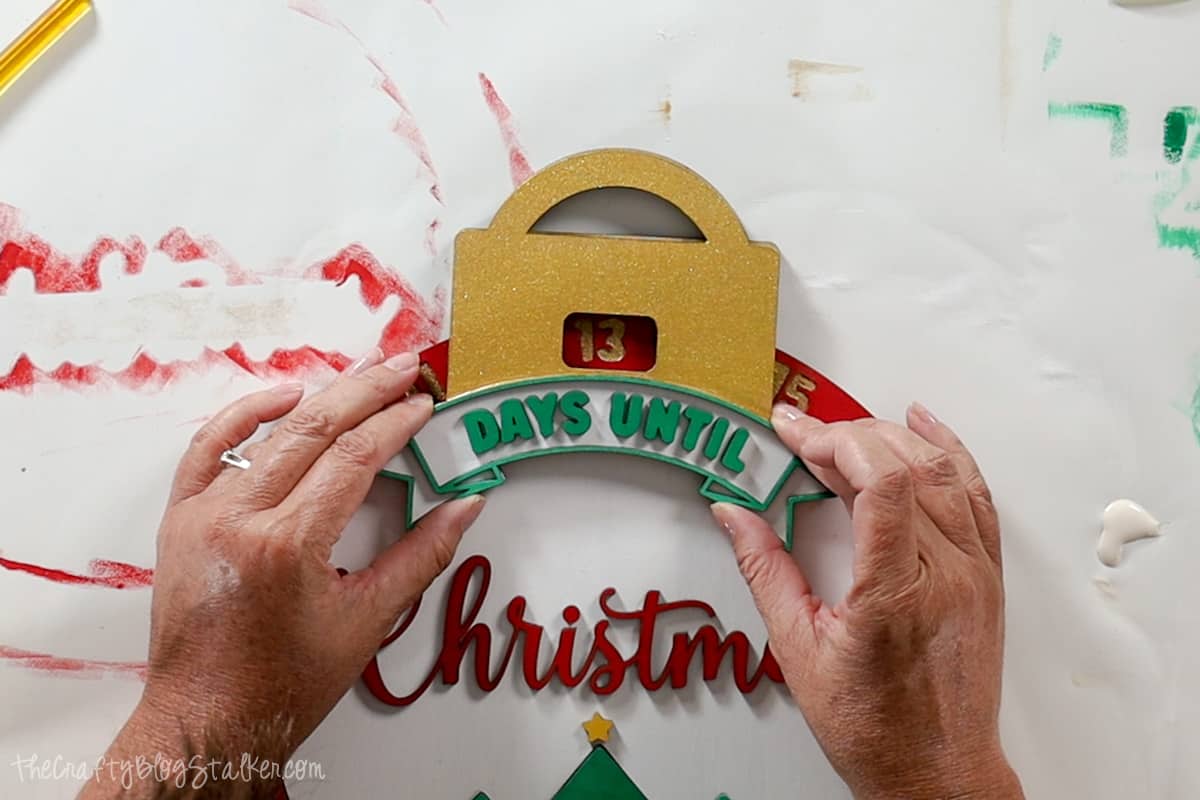
Now you can rotate the number wheel to reflect how many days are left until Christmas!
This is such a fun, interactive way to countdown December days to Christmas.
It makes a great gift that doubles as holiday decor.
I had so much fun making the first that I made a second one to try a different color scheme.

Which Christmas advent calendar do you like better?
Laser Essentials
- Are you new to laser machines? I highly recommend the xTool M1 Ultra! This machine is super easy to learn and helps you create beautiful projects!
- Are you more experienced with lasers and want more power? I love my OmTech 50W, but they have all types of machines up to 150W!
- Craft Closet is my favorite shop for laser materials. Their products are high-quality, and they have the lowest price I can find anywhere!