

Create a set of star coasters and brighten up your summer with this DIY craft using a Laser Cutting File. Find out how to create patriotic DIY coasters here.

If you live in the USA, I don't have to tell you how patriotic red, white, and blue are. Throw in some stars and you've got an American home run!
Throughout the summer you will see these iconic colors everywhere. They help celebrate Memorial Day, Independence Day, Veterans Day, and most State holidays and birthdays as well.
Craft Tutorial Video:
Like videos? I have a video tutorial for you! Please subscribe to my YouTube Channel so you don't miss out on any future video tutorials!
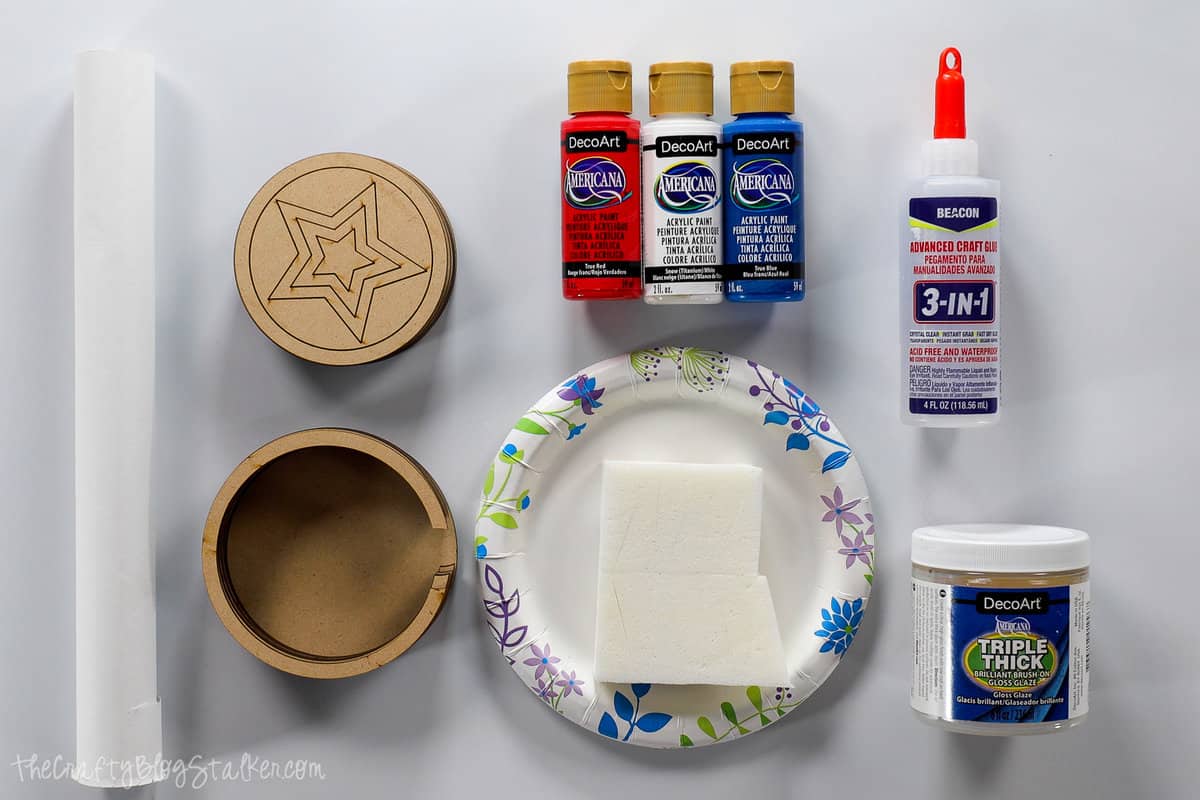
Supplies You'll Need to Create this Project:
Some links may lead to similar items when the exact item is unavailable.
- Laser Cutting Machine
- Star Coaster Set with Holder SVG File
- ⅛" MDF Board
- Red Acrylic Paint
- White Acrylic Paint
- Blue Acrylic Paint
- Triple Thick Gloss Glaze
- 3 in 1 Craft Glue
- Makeup Sponge Wedges
- Small Paper Plate
- Masking Tape
- Paper Roll (optional)

Cut Pieces on a Laser:
I cut my pieces using my OmTech 50W, but this SVG file will work with any laser-cutting software.
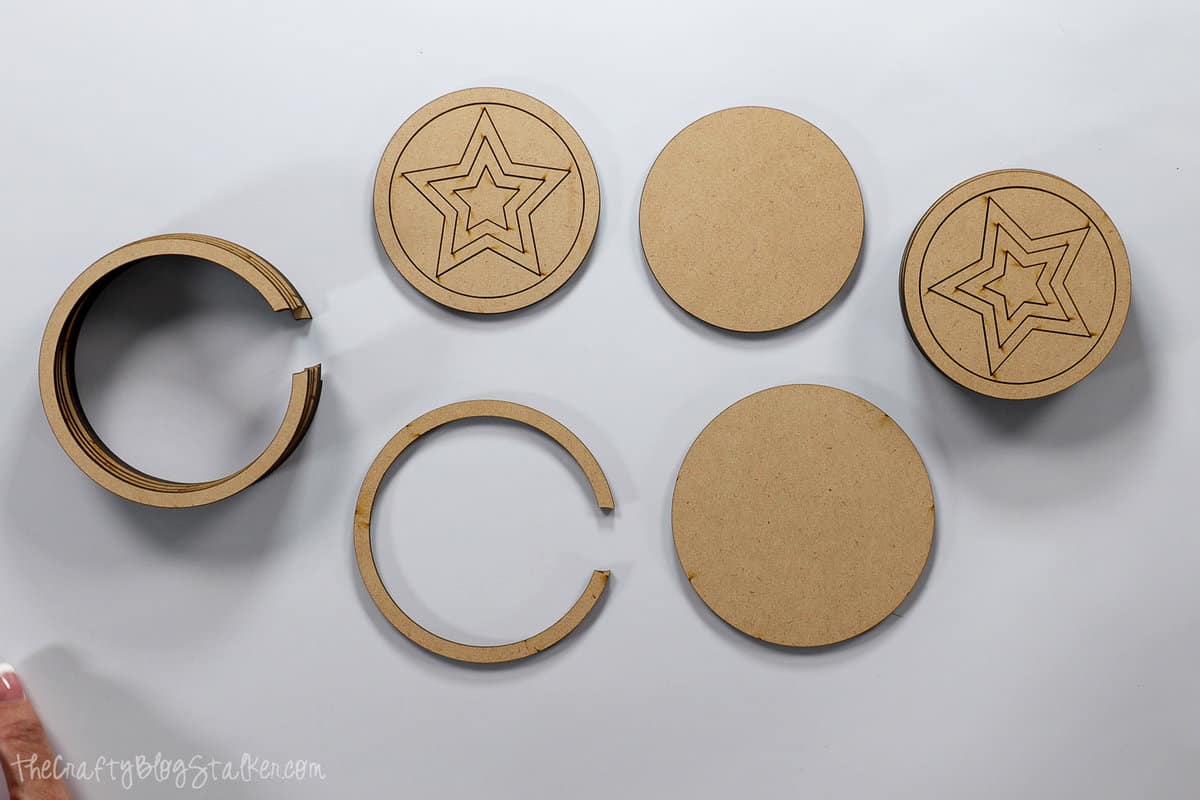
Each coaster consists of two layers. The base and the cut stars.
If you're cutting out the holder as well, you will need one holder base and two side pieces for each coaster. This means you can completely customize how many coasters you want to include in your coaster set.
The set I am making today includes four coasters, so I cut one holder base and eight side pieces, as well as the pieces for the four coasters.
Paint:
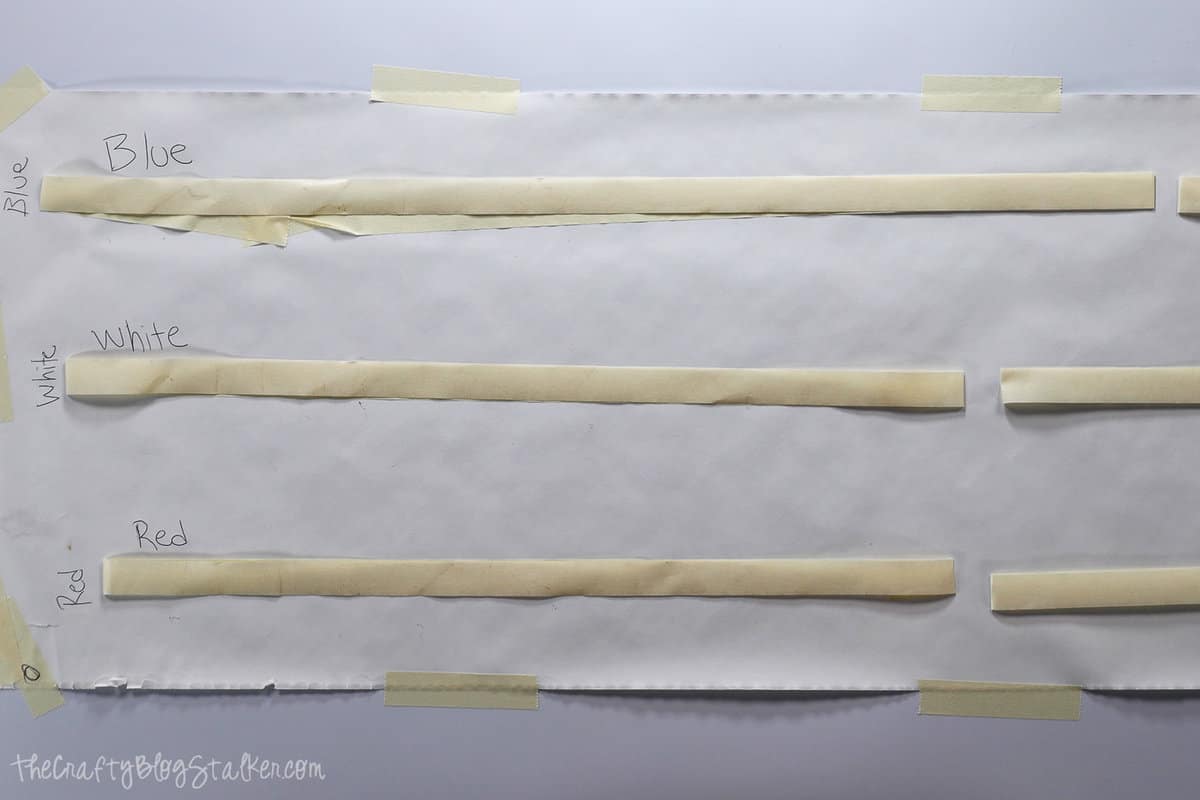
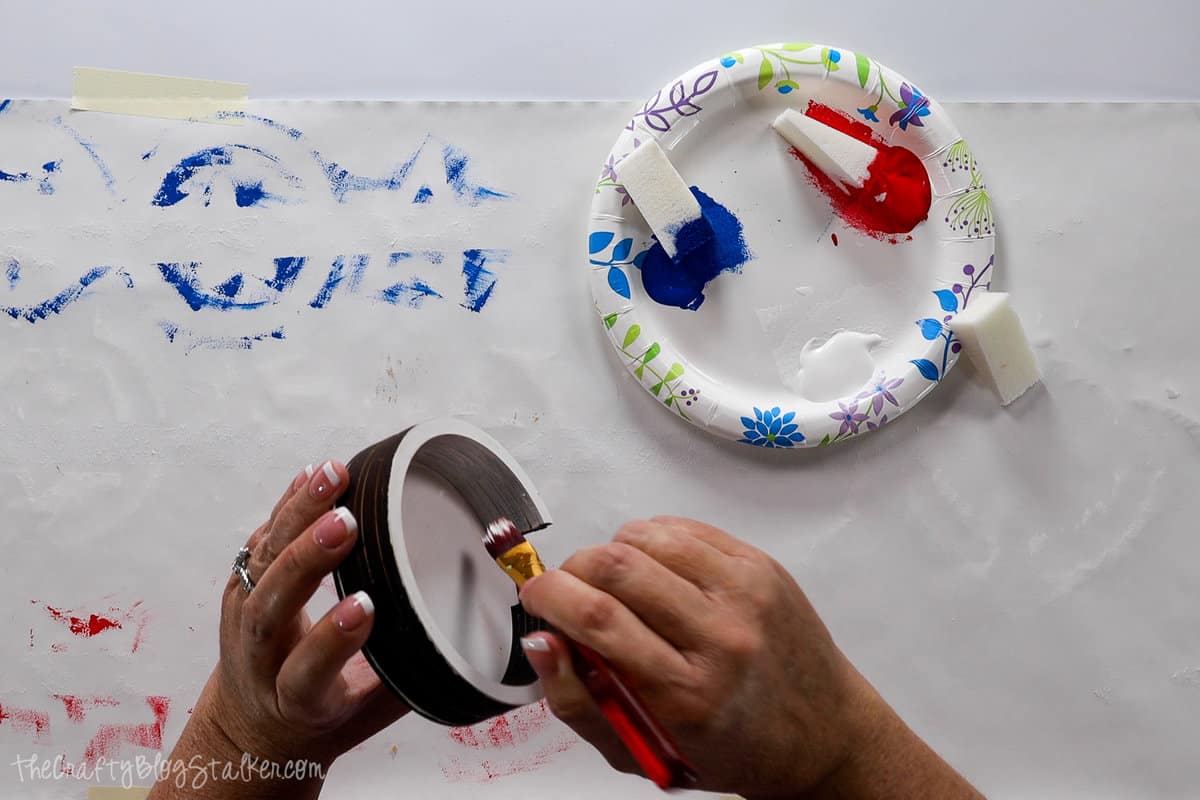
Cut a large length of the paper roll and secure it to your workspace with masking tape. This will protect your surface from paint.
Then take long strips of masking tape and fold the end over on itself to create big loops. Adhere these to the paper surface. These strips of tape are going to hold the wood pieces so you don't have to hold them and get paint all over your fingers.
I also labeled each line with red, white, or blue so I could keep track of what I was painting on each line.
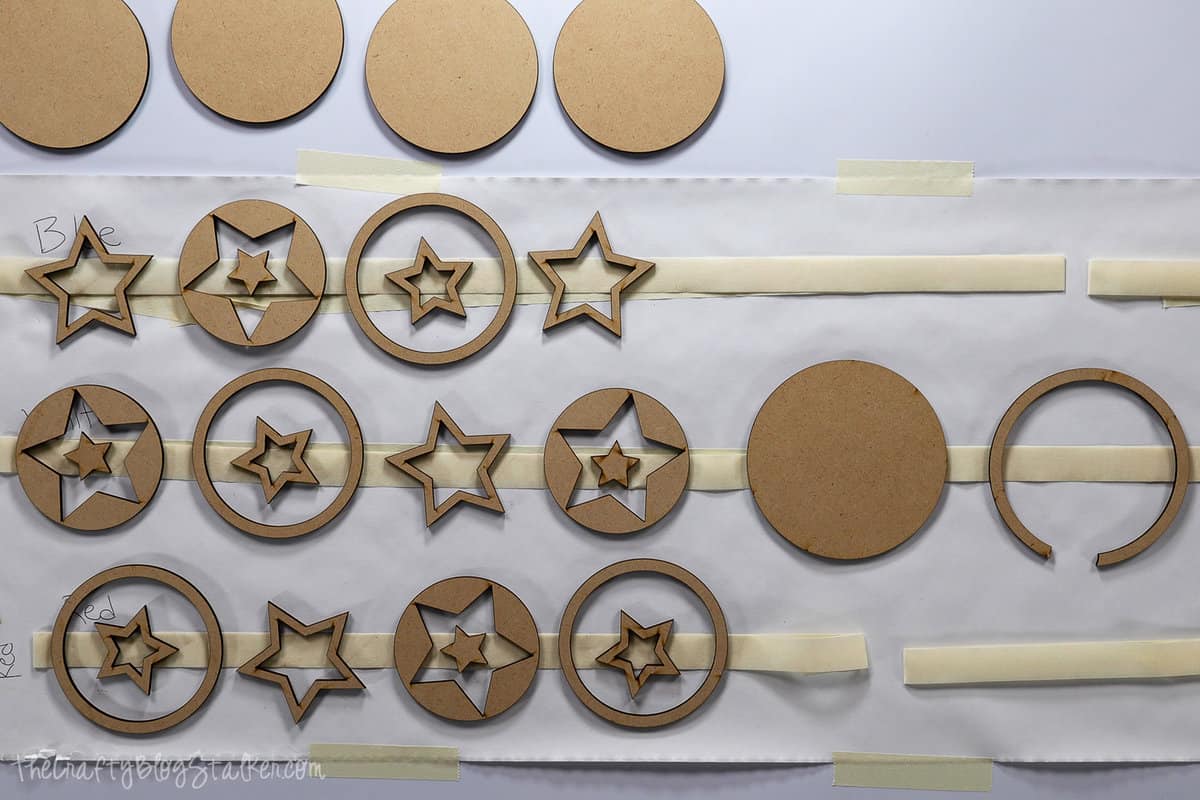
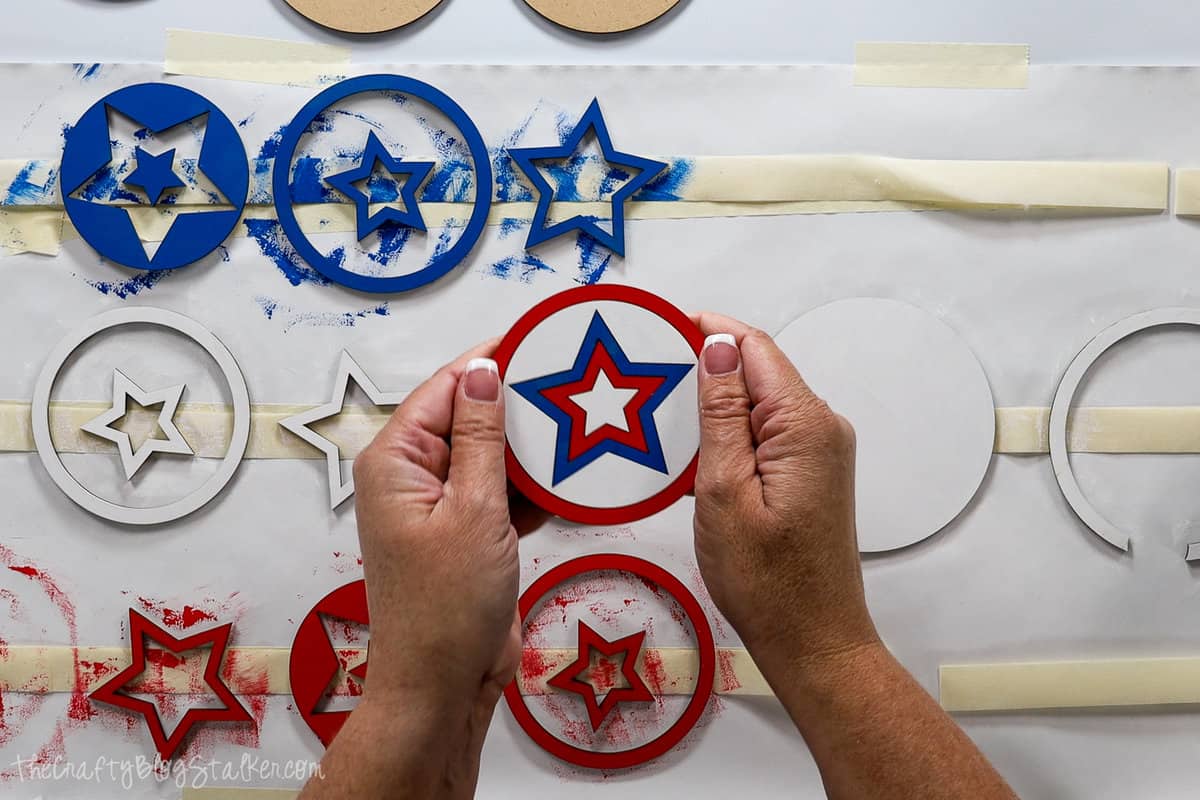
There are 6 wood laser-cut pieces to each coaster. We don't need to paint the solid base.
Lay the star coaster pieces out on the tape in alternating colors on the strips of tape.
Don't forget the coaster base and one frame piece. There is no need to paint all of the sides because they are stacked on top of each other.
Using the paper plate as your painter's palette, squeeze a small of each of the paints onto the plate.
Pick up some paint using the flat end of the makeup sponge and dab off the excess paint.
Paint each row of pieces with the corresponding color of paint.
I painted 2 coats, but you can paint as few or as many coats as needed to achieve your desired look.

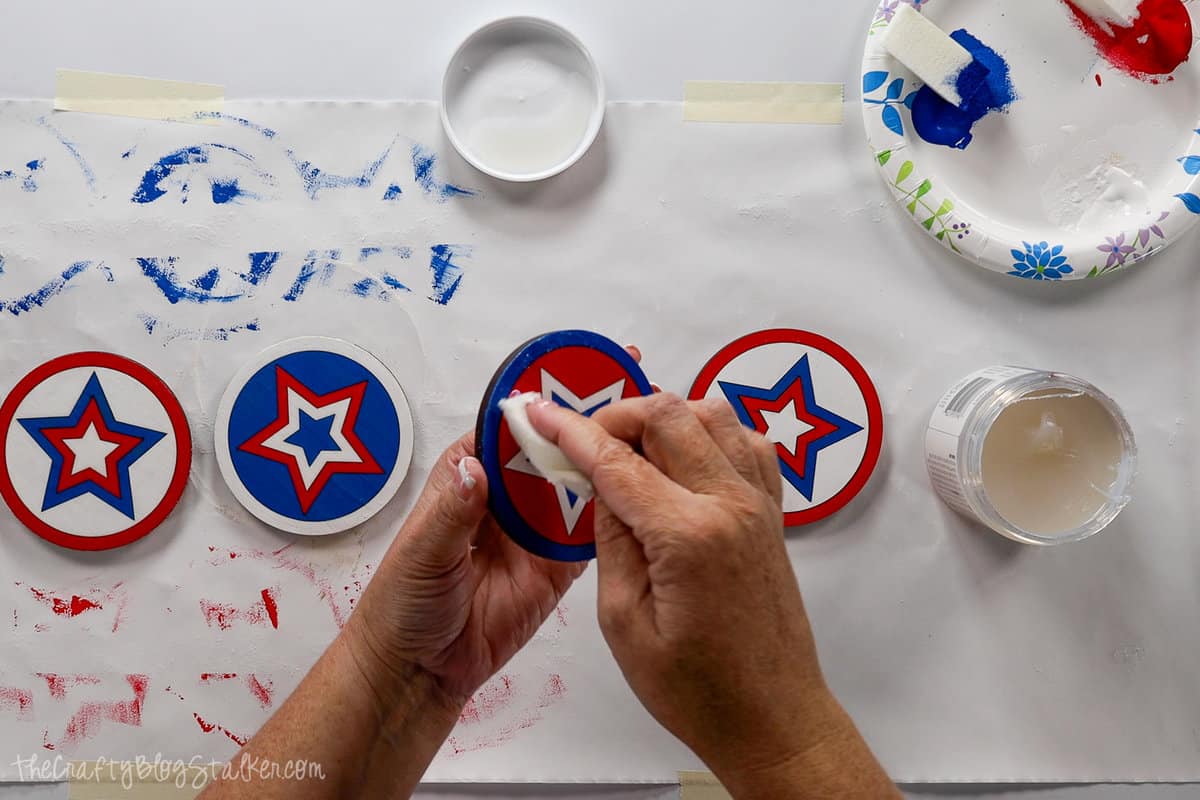
Assembling the Coasters:
When all of the pieces are completely dry it is time to assemble.
It is best to start with the outer ring and move inward so you can keep everything centered on the base coaster.
Apply a ring around the underside of the outside ring. Apply the ring to the coaster base keeping the sides flush.
Then move inward with the pieces, applying glue to the back of the shaped piece and inserting it into the coaster.
The pieces are all laser cut and fit perfectly together like a puzzle, but the stars fit perfectly in one direction. I find it easiest to find that direction before applying the glue to the back.
Wipe away any excess glue.
Assembling the Coaster Holder:
Assembling the holder is very similar to the coasters.
Take a non-painted side piece and apply glue to the bottom.
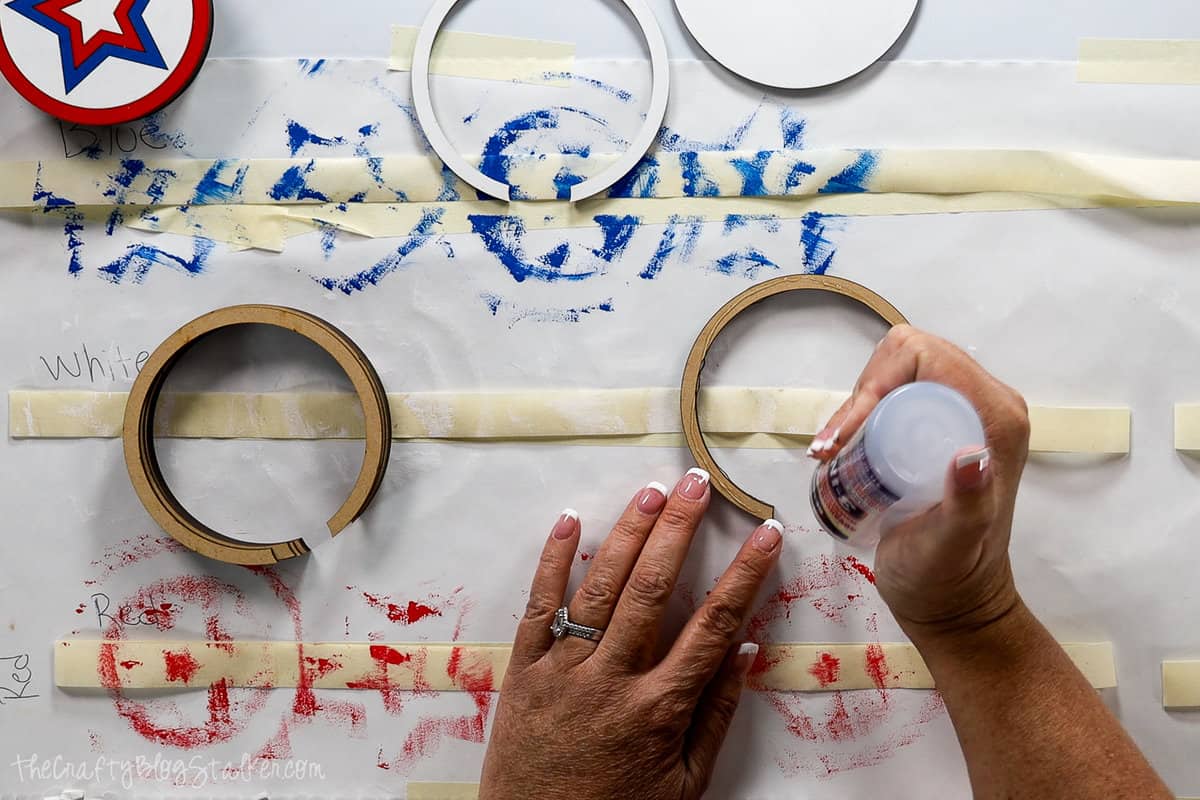
Turn that piece over and place it on top of another side piece. Make sure to align the sides and edges.
Continue stacking until all of the unpainted pieces are stacked.
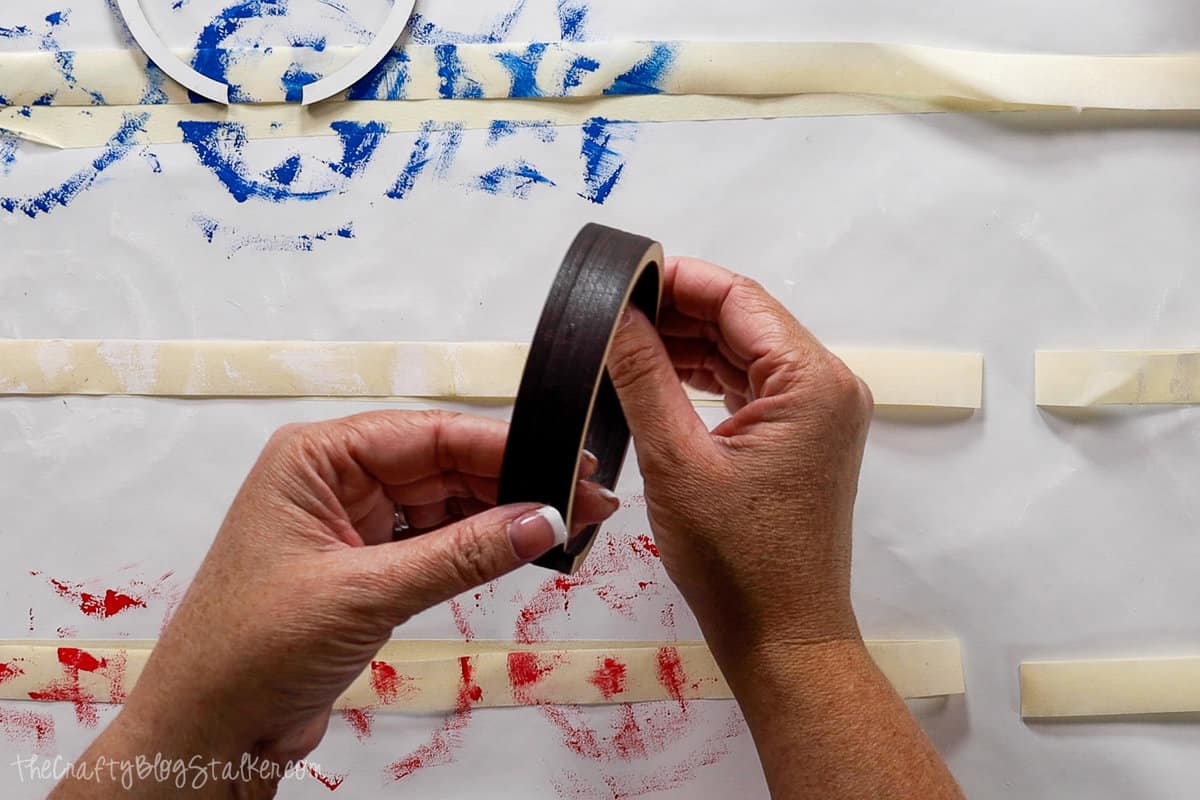
Apply glue to the back of the painted frame piece, and adhere it to the top of the stack.

Add a bead of glue around the base of that stack and adhere it to the holder base, paint up.
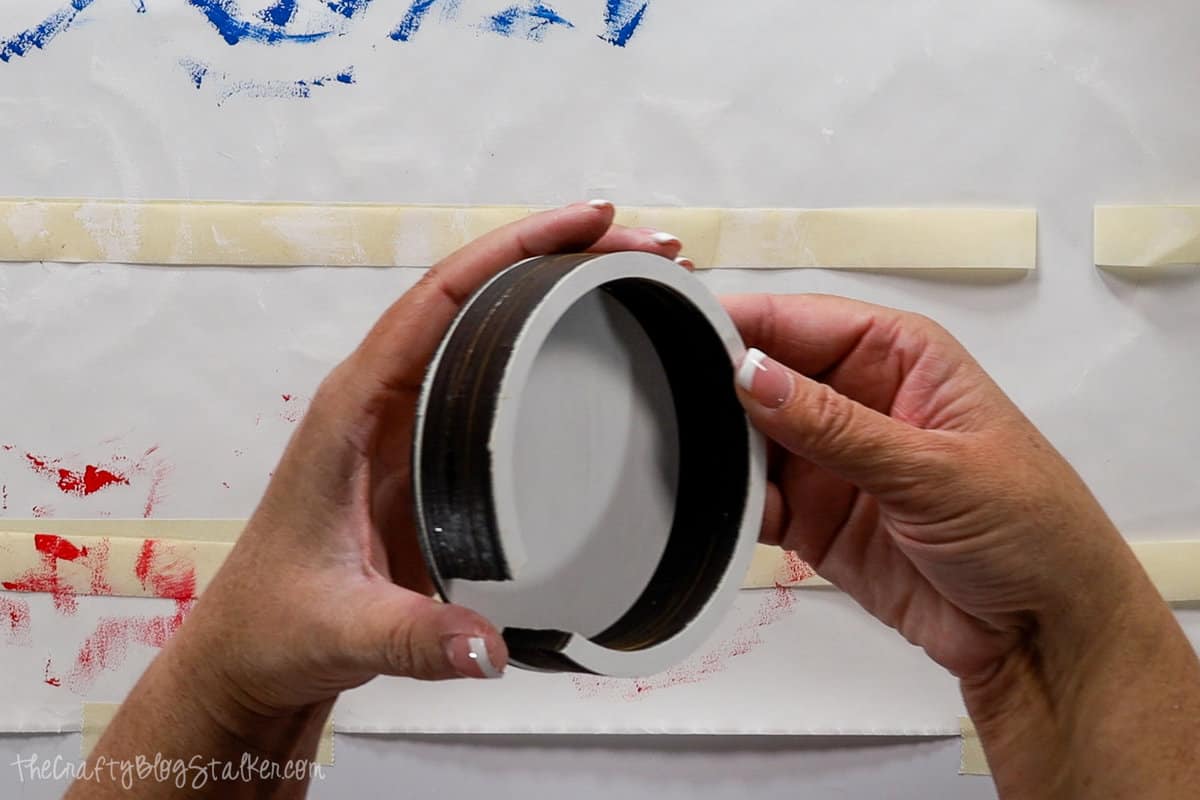
Paint the inside and edges of the coaster holder.
Sealing the Coasters:
We're nearly done! The next step is to seal the coasters and holder with a clear coat.
Make sure that paint is completely dry before moving onto this step or the clear coat will cause the paint colors to run.
As you are painting on the gloss, push the sealant into all of the little nooks and crannies to really seal the whole coaster. Don't forget the sides and the holder too!
Let dry.
That's all there is to it. Your new Star Coasters are finished!
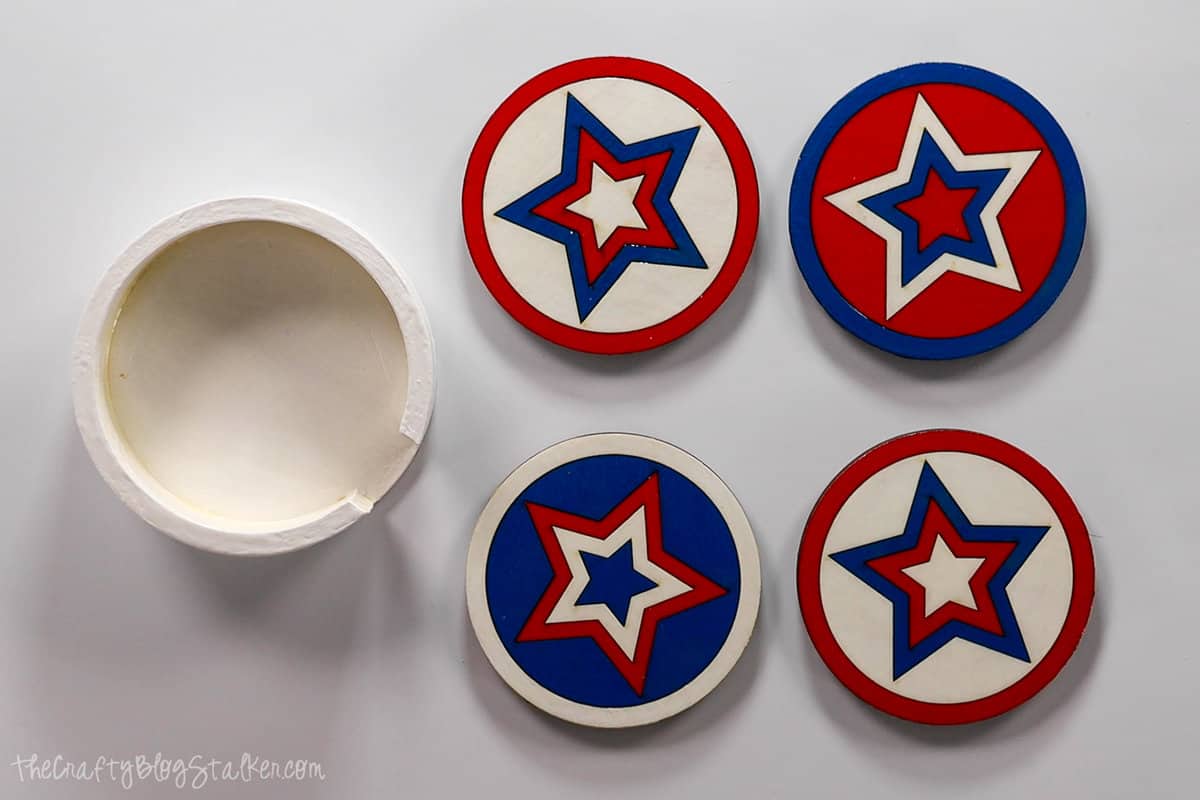
Keep them for yourself and celebrate the USA every time they are used. Or, give them away as a handmade gift.
Laser Essentials
- Are you new to laser machines? I highly recommend the xTool M1 Ultra! This machine is super easy to learn and helps you create beautiful projects!
- Are you more experienced with lasers and want more power? I love my OmTech 50W, but they have all types of machines up to 150W!
- Craft Closet is my favorite shop for laser materials. Their products are high-quality, and they have the lowest price I can find anywhere!
Cathy Lawdanski
These turned out so cute and I love the vivid colors. And who doesn't need more coasters. Nice addition to summer celebrations. Thanks for stopping by. #overthemoon
Katie
Thank you Cathy, I am so glad that you like them! Thanks for stopping by.
Ashleigh
Thanks for sharing on Peace Love Linkup! And a congratulations are in order because we will be featuring this post in our next link up which goes live tomorrow at 6! Stop by, grab a button, and share some more great content! : )
Katie
Thank you so much for featuring my coasters!
Dorothy Hastings
Hi Katie,
This is very nice post. It is the time to show our love to the nation and we can see it everywhere in America, the whole country colored with the match of three color red, white and blue. Making American Coasters is a good idea for celebrating the Independence Day.
Katie
Thank you Dorothy! I am so glad that you like these coasters!