This post may contain affiliate links. For more information, please see our disclosure policy.
Hosting a barbecue or picnic for the 4th of July? Get into the red, white, and blue spirit by decorating your reusable drink pouches with a free SVG cut file! If you make a purchase using the links included, we may earn a commission.
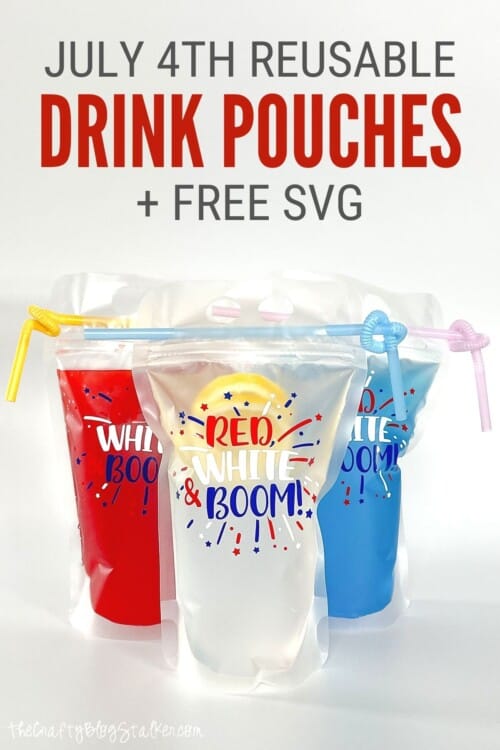
I am absolutely in love with these cute reusable drink pouches.
They are great for both kids and adults, when out and about, or entertaining at home.
You can even throw them in the freezer ahead of time so you have frozen drinks!
Craft Tutorial Video:
Like videos? I have a video tutorial for you! Please subscribe to my YouTube Channel so you don't miss out on any future video tutorials!
More Independence Day Crafts:
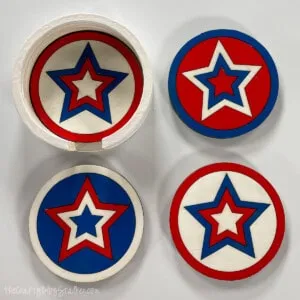
Crafting is so much fun, especially around holidays! We have lots of tutorials to show you how! Like these Laser Cut Star Coasters, this Wood American Flag Decor, and this Patriotic Bandana Wreath.
Be sure to look around the blog for more July 4th craft tutorials!
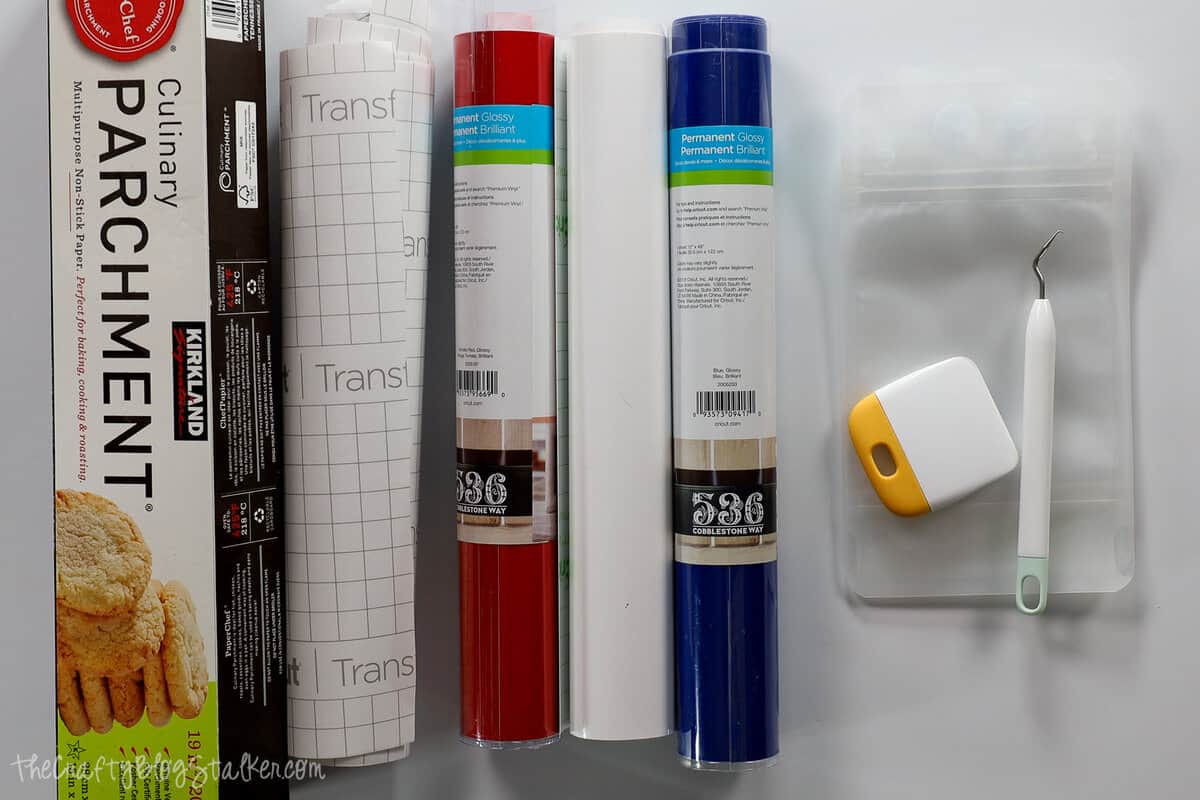
Supplies You'll Need to Create this Project:
- Reusable Drink Pouches
- Cricut Cutting Machine
- Red, White & Boom Free SVG Cut File
- Red, White, and Blue Adhesive Vinyl
- Weeding Tools
- Transfer Tape
- Parchment Paper
Free Red, White & Boom SVG Cut File:

Cut the Design out of Vinyl:
Upload the design into your cutting software. I have a Cricut, so I used Cricut Design Space. But this file works with Silhouette, Brother, or any electronic cutter that accepts .svg files.
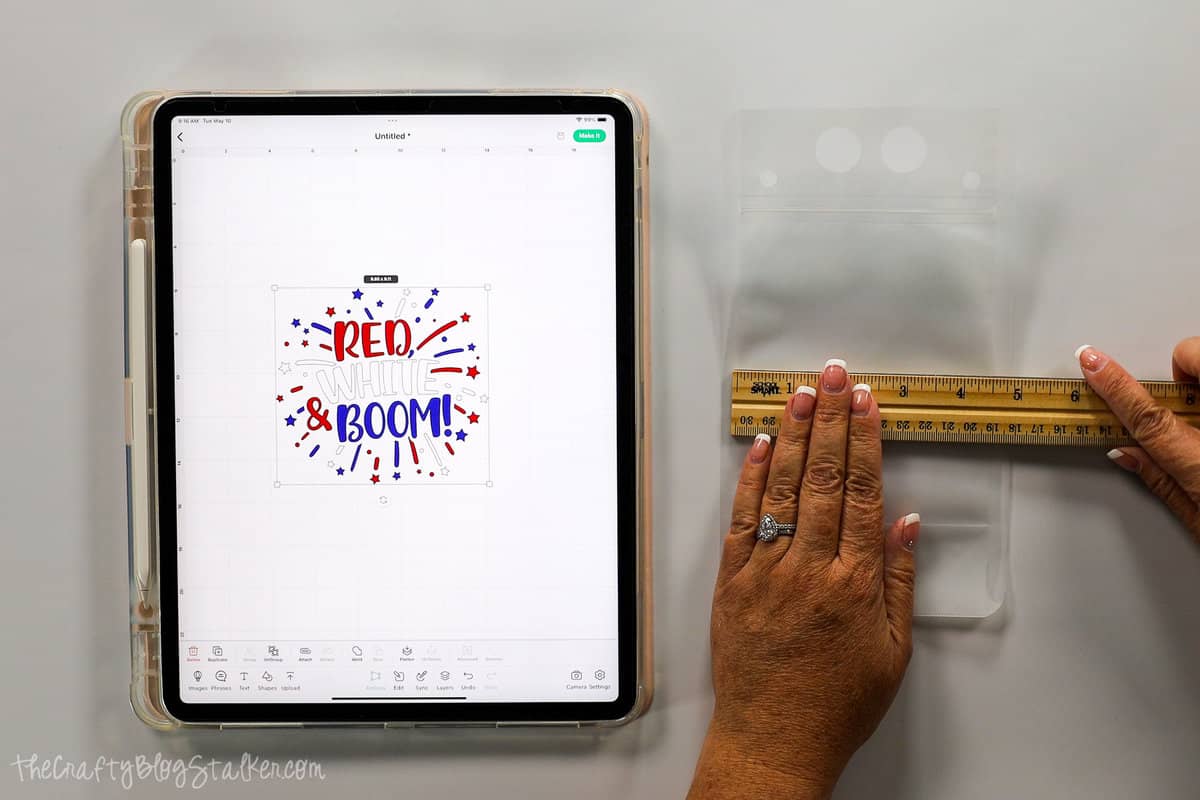
Measure the drink pouch so you know how big to cut the design.
The drink pouches measure about 5 inches across, so I sized the design to have a width of 3.75 inches.
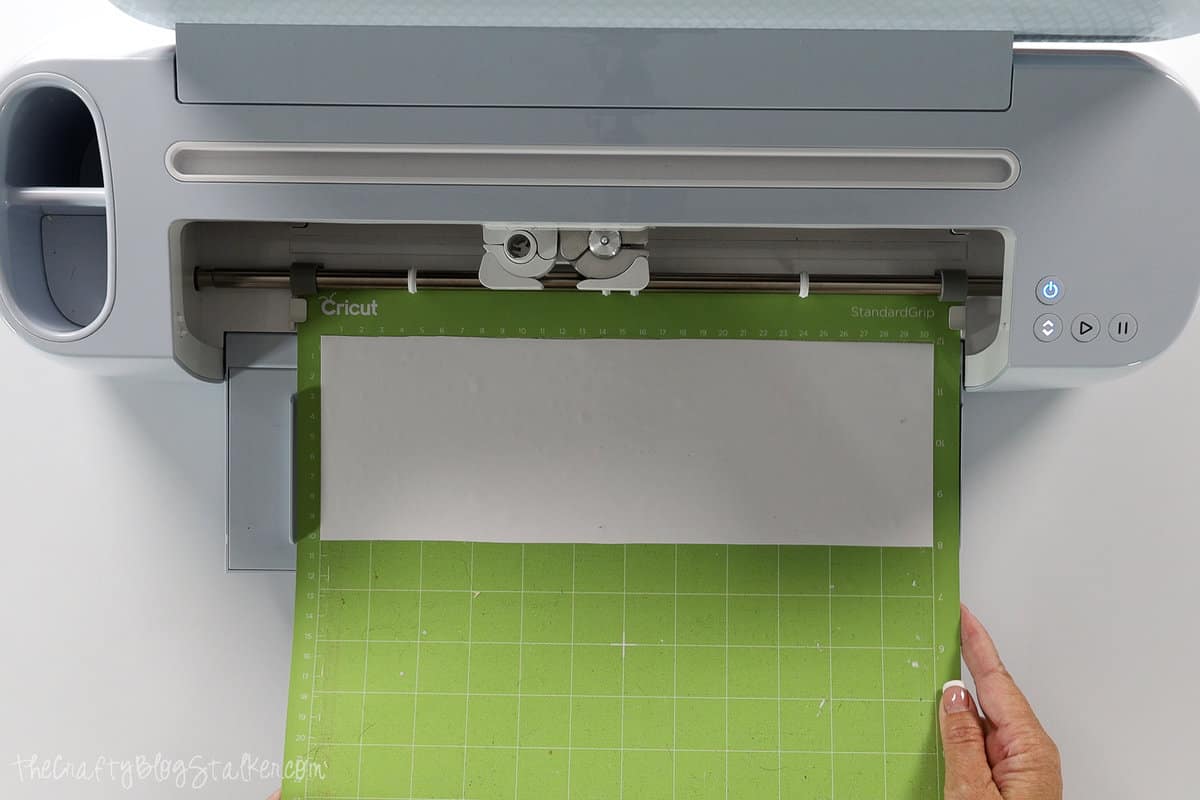
Since there are three colors to the design, you will have 3 cuttings mats. Each with red, white, or blue vinyl. Follow the prompts in CDS to know when to load which colored vinyl.
Once the different colors are cut, weed the excess vinyl, removing the outside of the design.
Layering the Vinyl:
Next comes the layering of the vinyl pieces together. If you are nervous about this step, I suggest watching the video above. It may be easier to see what I am doing than for me to explain it.
Cut a square of parchment paper a little bit larger than the design.
Apply a piece of transfer tape to the front of the white vinyl, apply pressure with the scraping tool, and slowly peel back the transfer tape. This will remove the white vinyl from its backing sheet.
Place the square of parchment paper behind the white vinyl and transfer tape, leaving an edge of the transfer tape exposed.
The parchment paper won't stick to the transfer tape, and you can see through it.
Slide the white vinyl piece until it is aligned with your blue vinyl piece. Press the exposed edge of the transfer tape down to the blue vinyl backing sheet and remove the parchment paper.
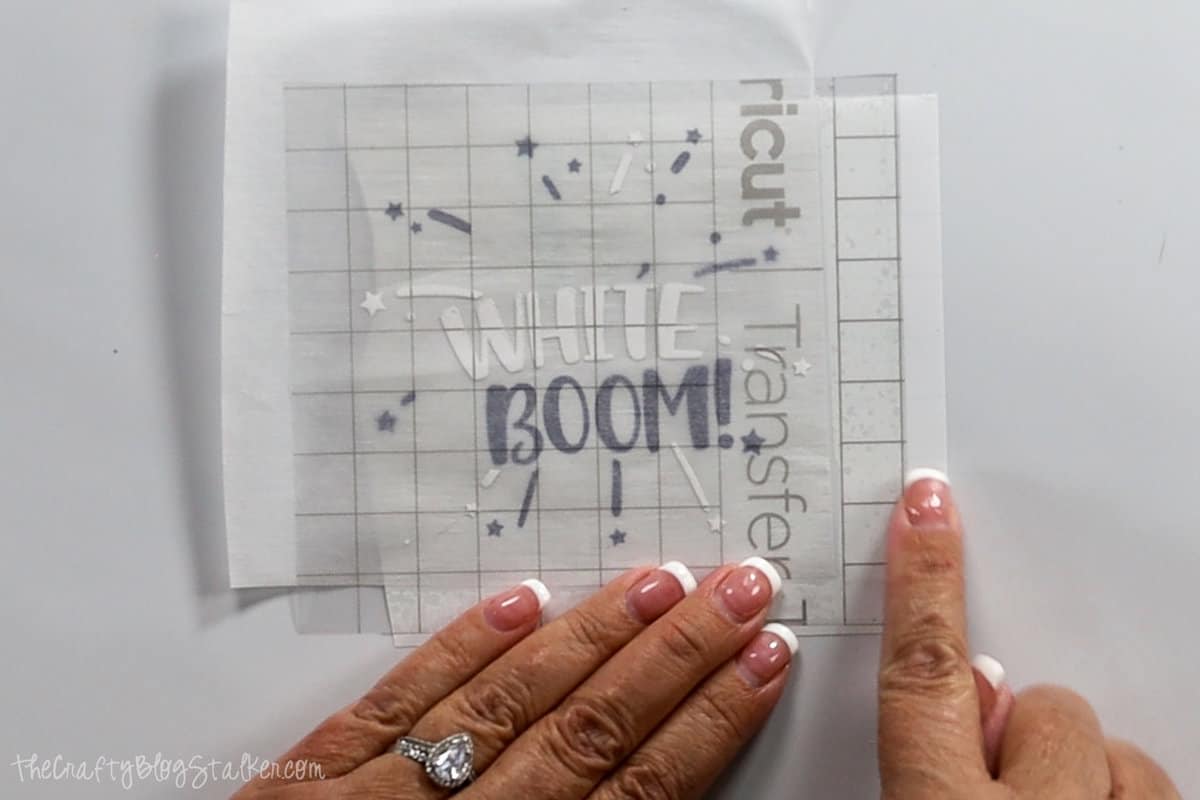
Using the scraper tool, press the transfer tape down over the entire design.
Peel back the backing paper and now the blue, and white vinyl pieces of the design are stuck to the transfer tape.
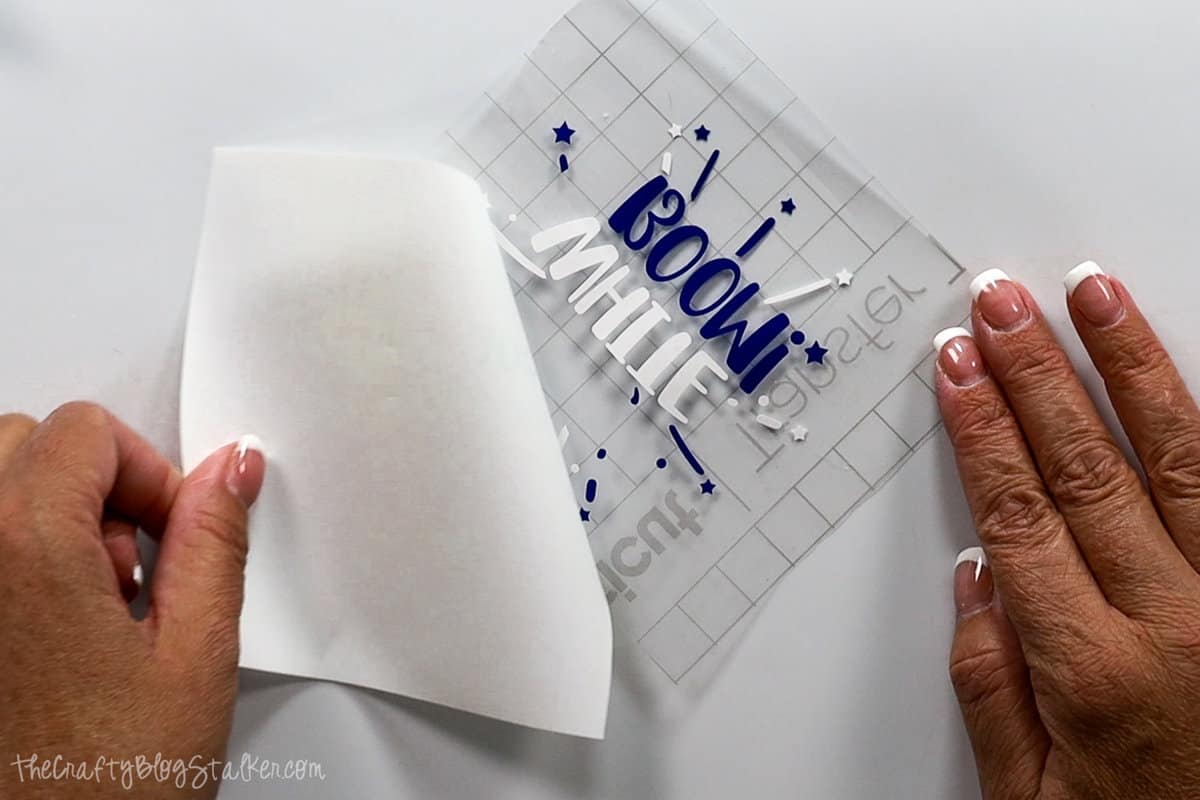
Repeat, this time putting the parchment paper behind the blue and white design on the transfer tape, and align onto the red vinyl part of the design.
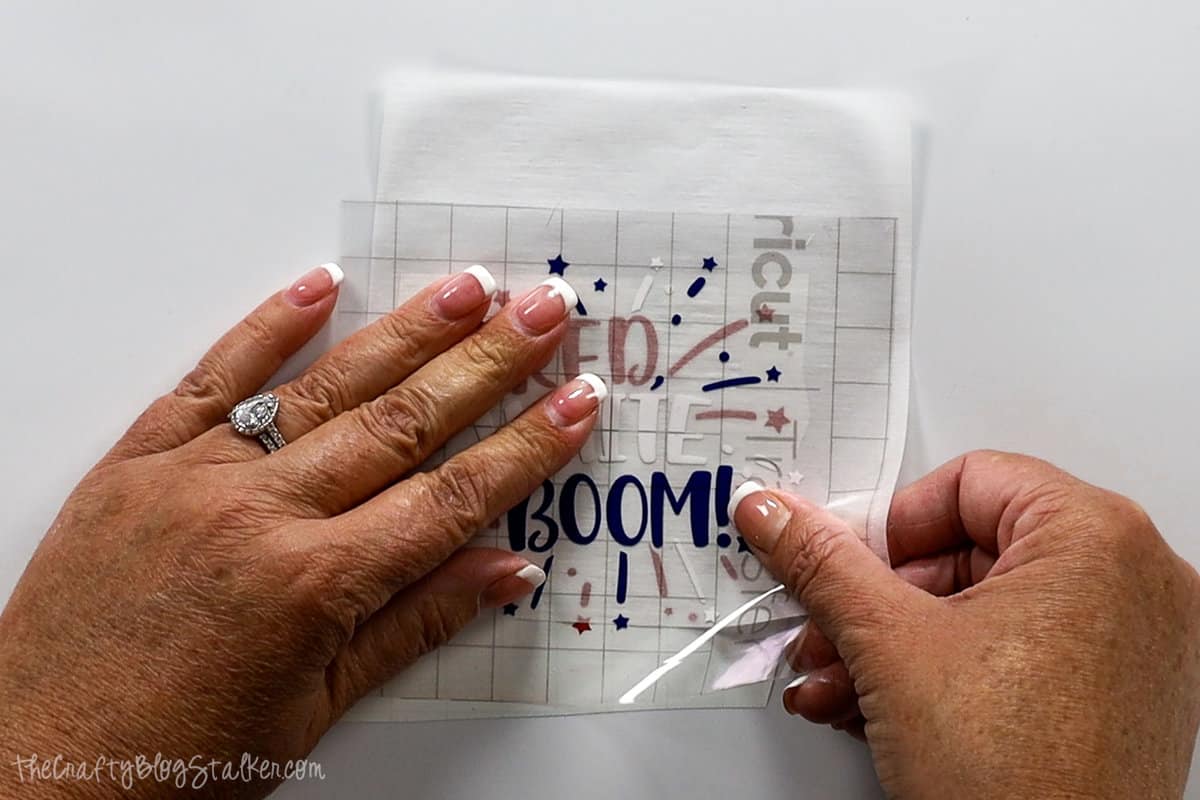
Once in place, press the exposed edge of the transfer tape down to the red vinyl backing sheet and remove the parchment paper.
Using the scraper tool, press the transfer tape down over the entire design.
Peel back the backing paper and now all of the colors of vinyl layers are stuck to the transfer tape.
Add the Design to the Reusable Drink Pouches:
Center the design over the front of the drink pouch and lay the design down in a rocking motion from left to right.
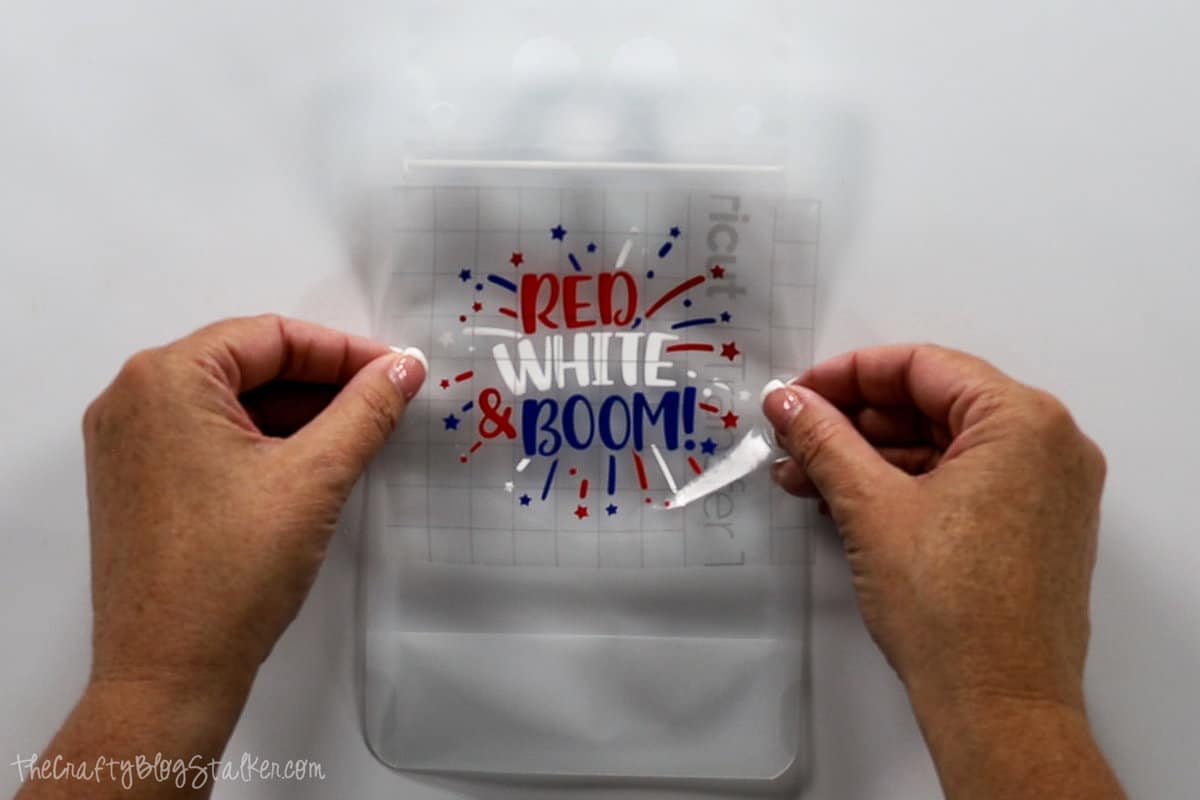
Using the scraper tool, press the vinyl design into the drink pouch.
Slowly peel up the transfer tape and the vinyl design should stick to the pouch. If any parts of the design pull up with the transfer tape, simply lay it back down and go back over that area with the scraper tool.
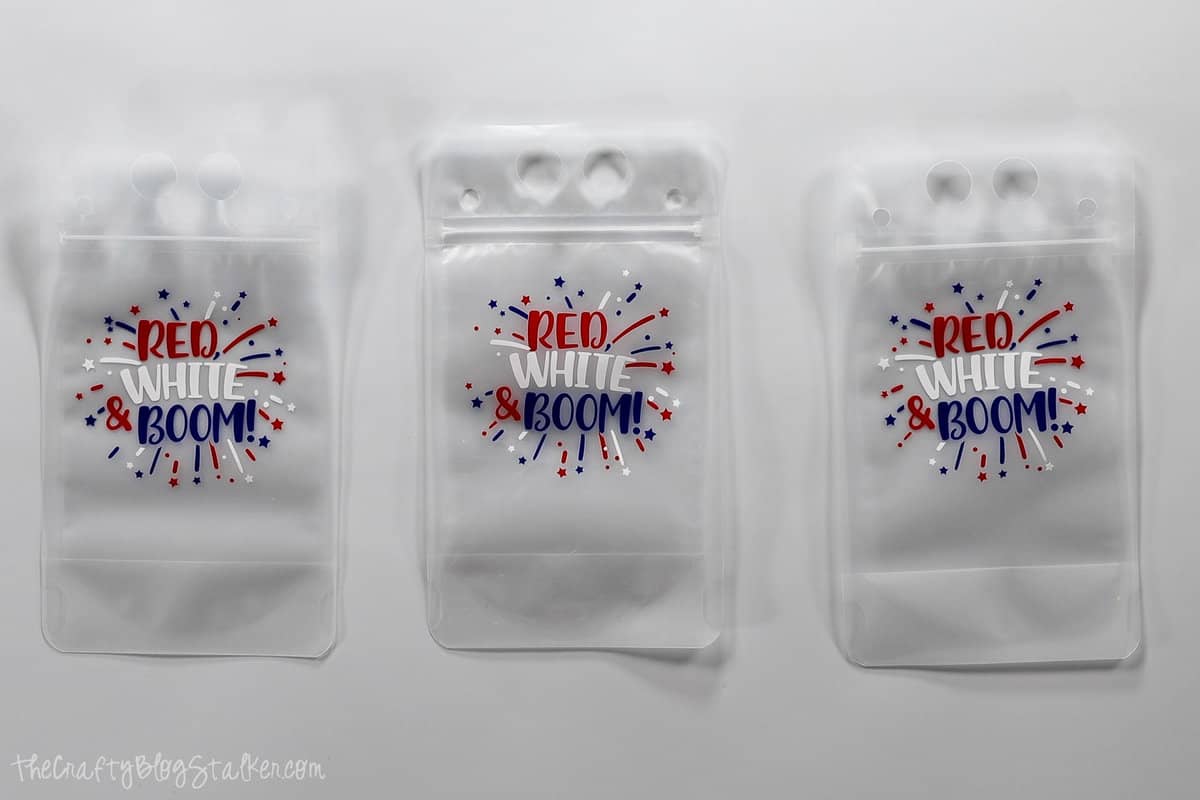
Now you fill them up with your favorite beverage, throw them in a cooler, fridge, or freezer, and you are ready to go!

I'd love to see how you use this SVG Cut file! Make sure to tag @thecraftyblogstalker when you share your cute project!
Our Crafting Essentials:
- The Cricut Cutting Machine is easily our favorite crafting tool. We use it in so many of our tutorials!
- These MakerX Crafting Tools are perfect for keeping in the craft room and are always ready when needed!
- This Fiskars Paper Trimmer is easy to use and cuts nicely without frayed edges.
- These Scotch Precision Scissors cut like a dream, and you get multiple pairs in a pack!


Leave a Reply