



This easy-to-follow tutorial shows you how to use the xTool M1 Laser to create a heart puzzle keychain for you and that special someone.
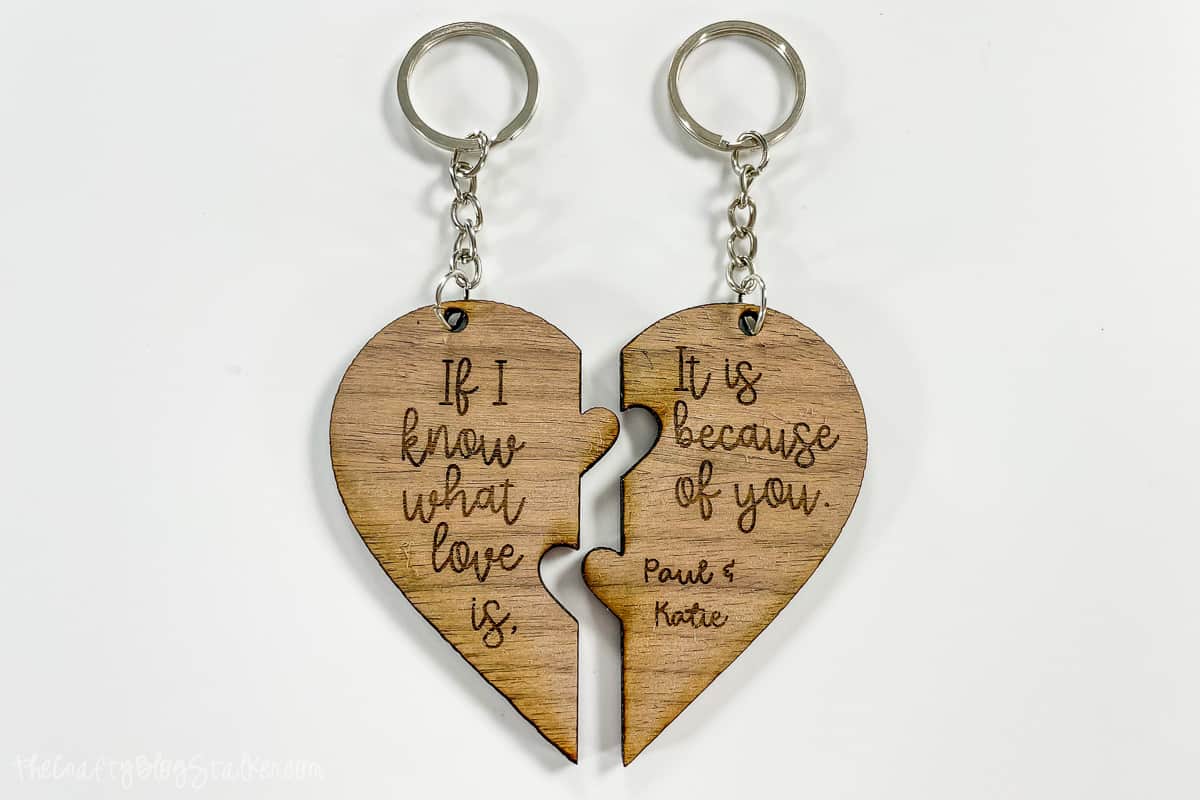
Valentine's Day is the perfect time of year to make a heartfelt gift for your favorite someone.
This year, I made a set of heart puzzle keychains as my Valentines Day gift to my husband. It is a great gift idea because we can both carry around half of the heart that reminds us of each other.
This DIY project is an easy craft, especially if you have the xTool M1 Laser.
Don't have a laser yet? That's ok. Check out this simple tutorial to learn more about it!
Craft Tutorial Video
If videos are your thing, you're in luck-I've got a full tutorial ready for you!
Subscribe to my YouTube channel and stay inspired with every new project.
Learn More:
Join me as I unbox my xTool M1 Laser for the first time. I set it up and created my first couple of projects!
Supplies You'll Need to Create this Project:
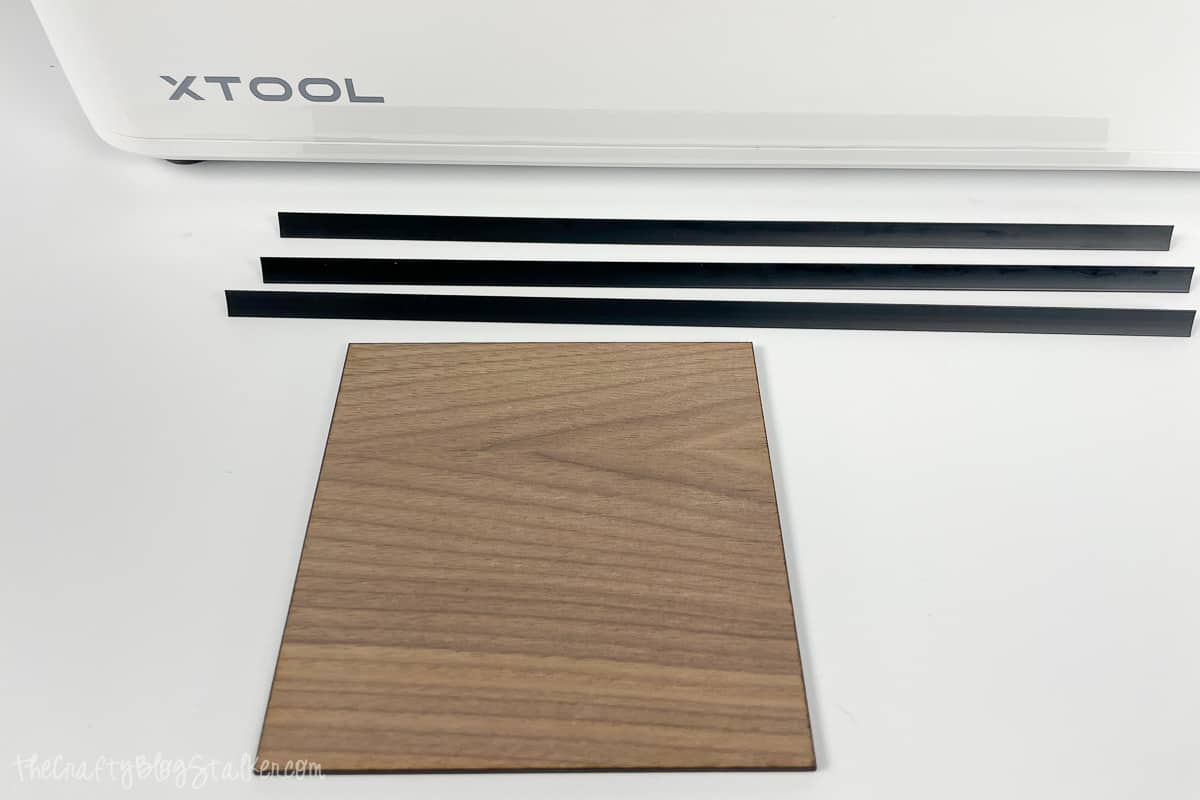
I am using 3mm walnut, but any type of wood or acrylic will work, though you may need to adjust some settings.
You should be able to get the keychain hardware at your local craft store but you may have to go online to find the wood.
Heart Puzzle SVG Design:
To begin, grab the Heart Puzzle SVG design.

xTool Creative Space:
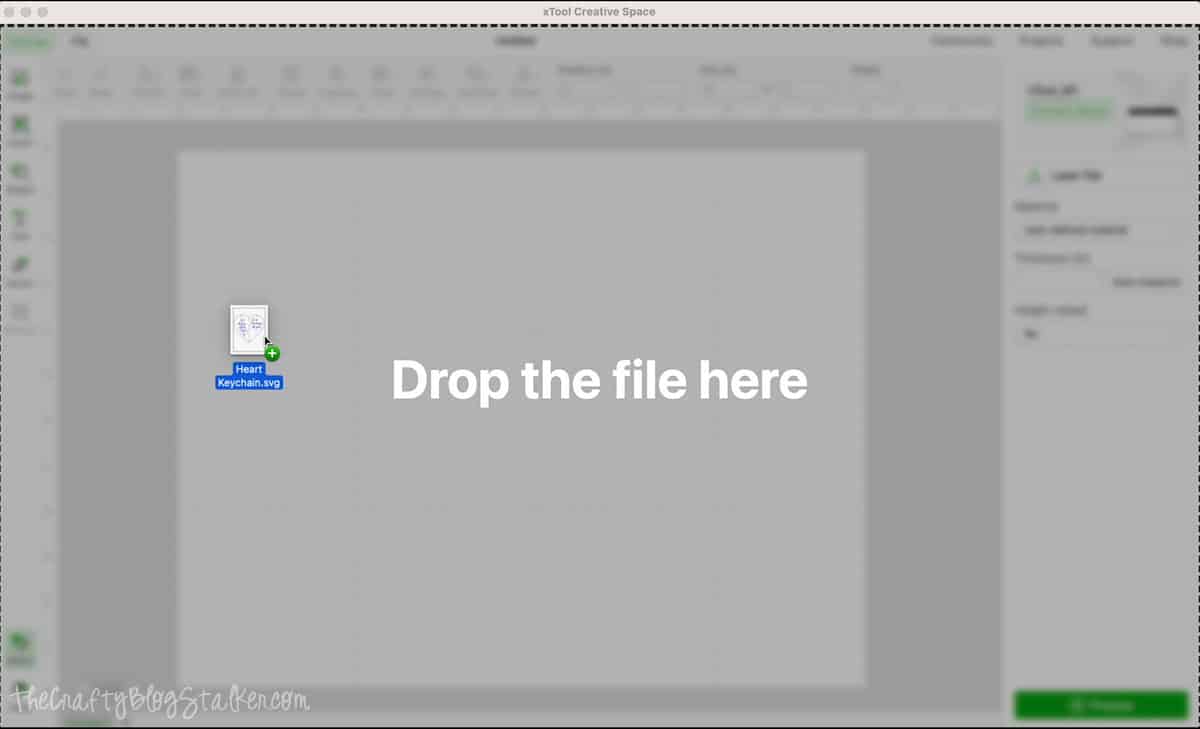
Open xTool Creative Space and drag and drop the SVG onto the project area.
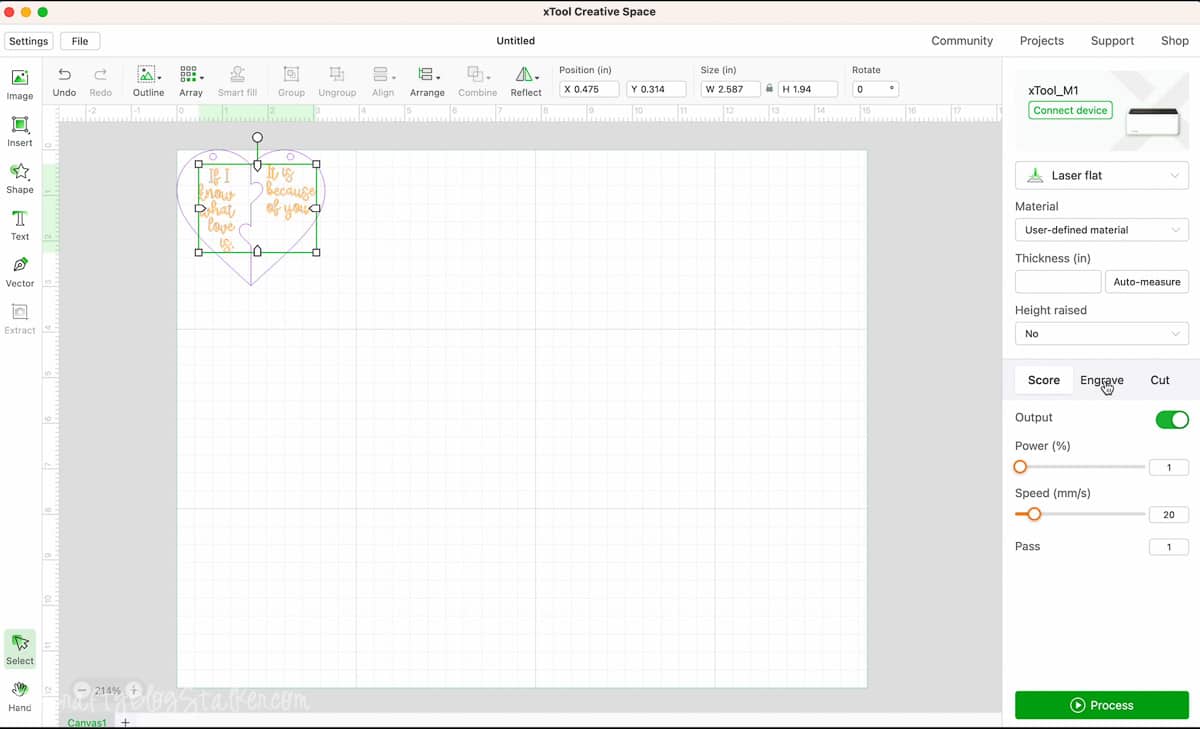
There are two parts to this design. The heart shape and the text.
We are going to cut the heart shape, so highlight it and select "cut" from the sidebar menu. This will change that outline to purple.
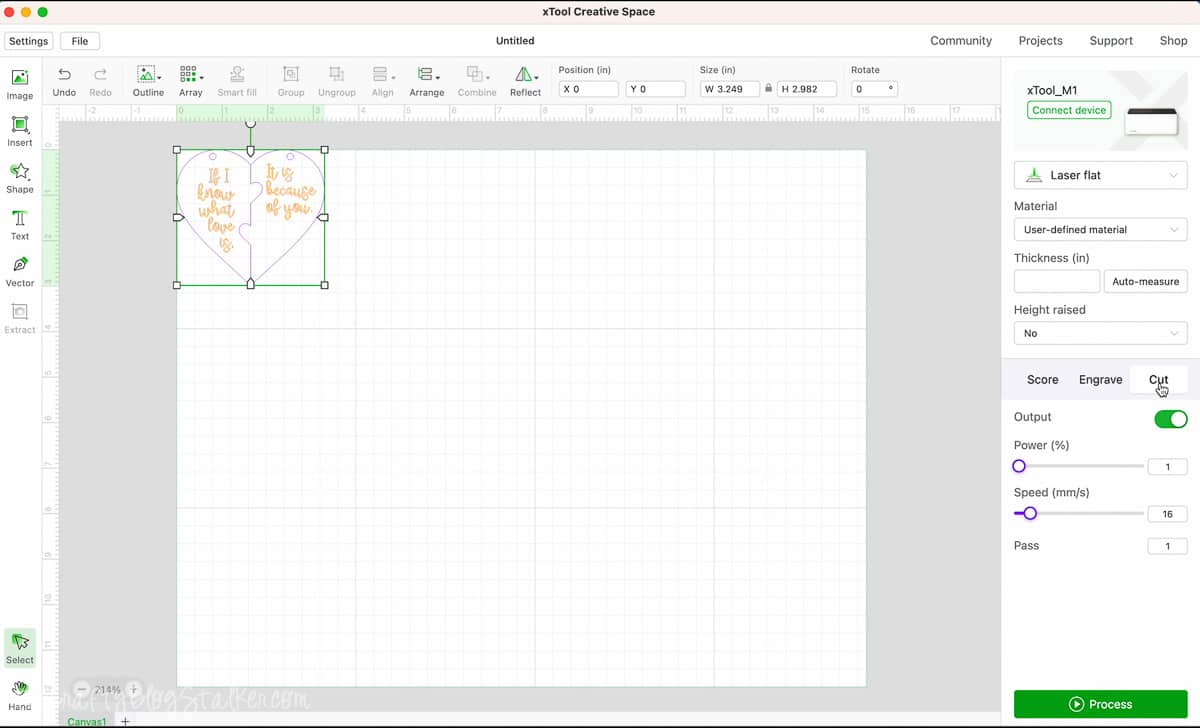
To engrave the text, highlight it and select "Engrave" from the sidebar menu.
I am going to add some text. This step is completely optional, but it is a great way to personalize your item.
Open a text box from the left side menu.
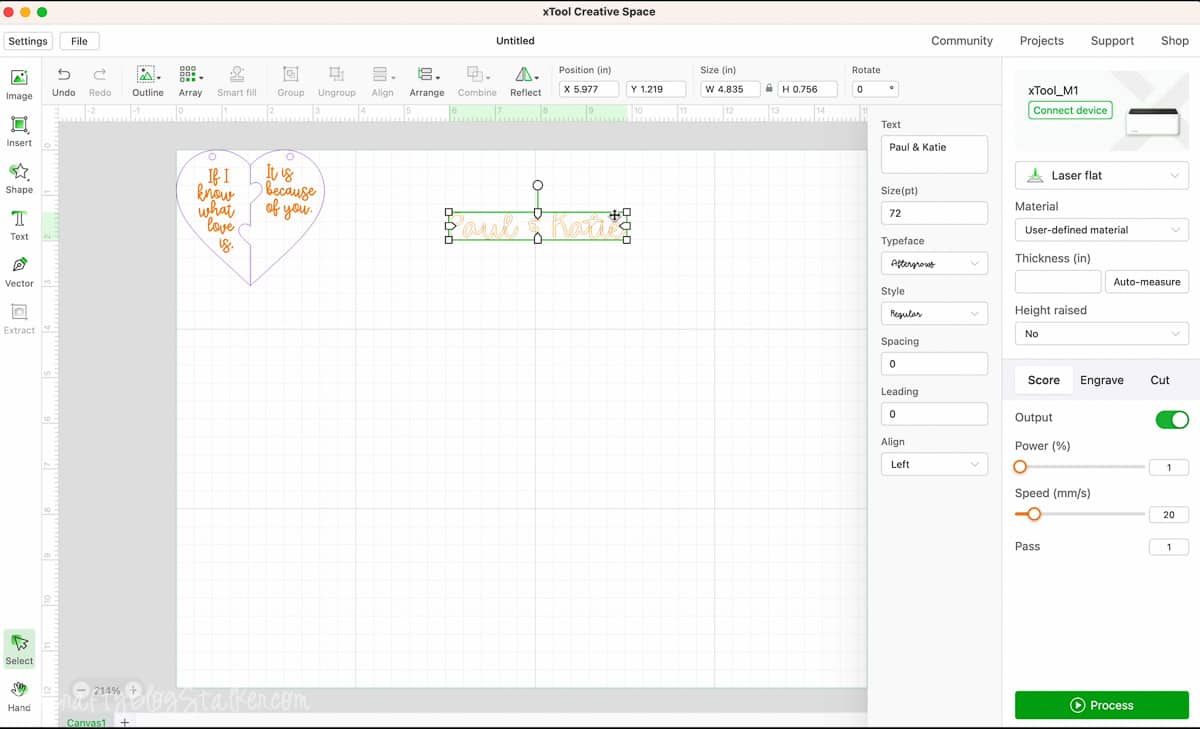
On the right, you enter what you want your text to say. You can also select a font and adjust your text size.
I typed my and my husband's names and then sized them to fit in the blank area on the keychain.
Make sure that this text is also set to "Engrave".
Prepare to Cut:
At this point, I turned on my M1, but this can be done at any time.
Open the lid and place some triangular prisms along the floor of the machine. I used 3, but if you are making a larger project, you would probably want more.
Then place the 3mm wood piece on top of the triangle prisms.

When you close the machine's lid, you will see in Creative Space an actual picture of your project.
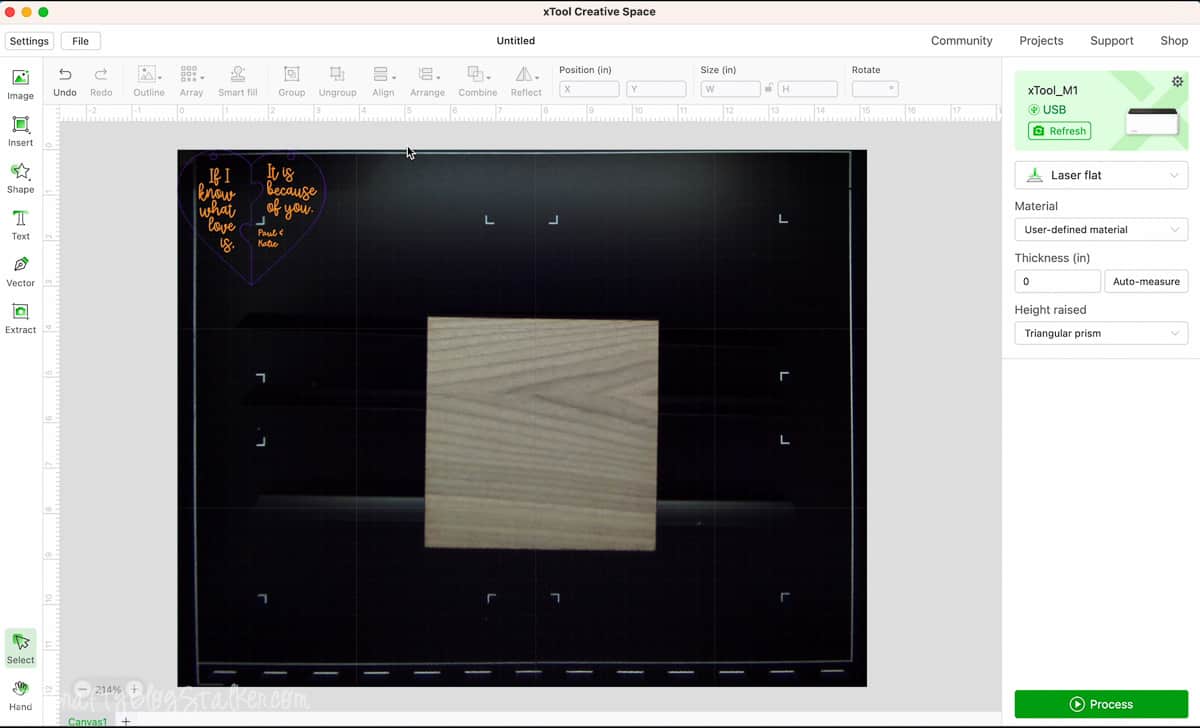
Drag the design so it fits onto the wood piece in the machine.
Cut:
Now we are ready to cut!
In the right-side menu, there are machine settings we need to check before we continue.
Select "Laser Flat", becue the project we are lasering onto is flat.
The material we are using is 3mm Walnut Plywood, so we don't need to customize any settings, as that material is already available.
Select "Auto Measure" so the machine knows the thickness of your material.
Lastly, select "Triangular Prism" under Height Raised.
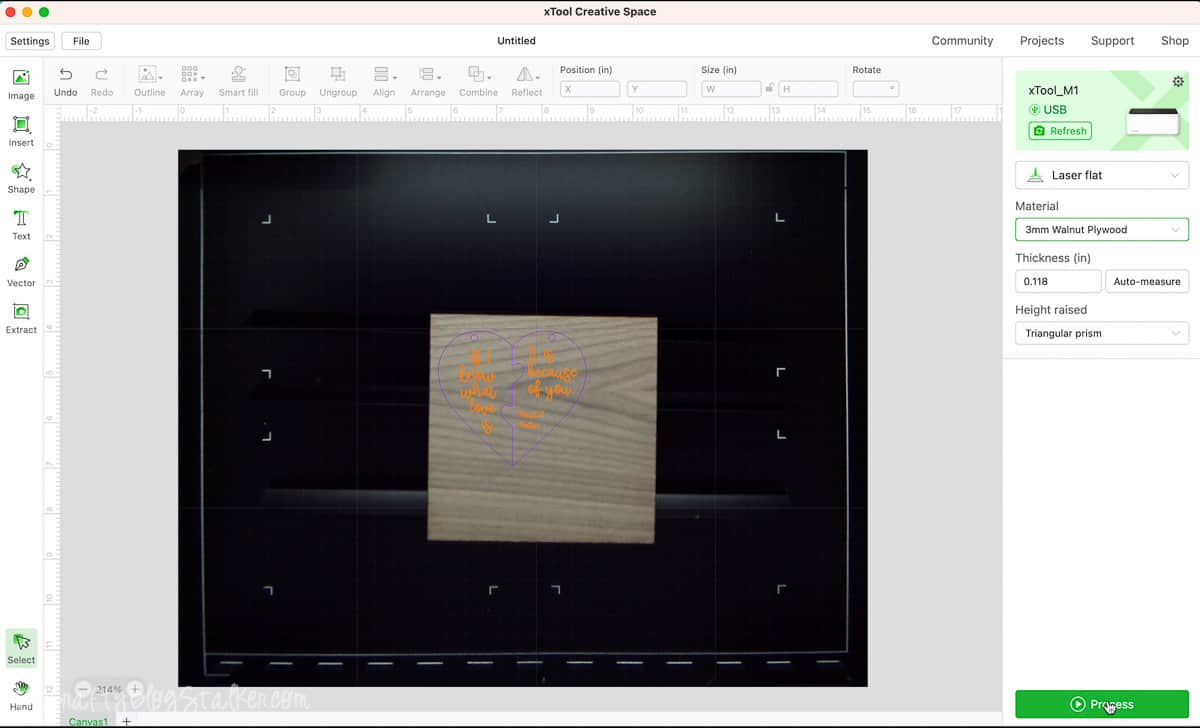
Then select "Process".
On the next screen, you'll be prompted to select "Framing", and "Start", and then hit the button on the front of the machine.
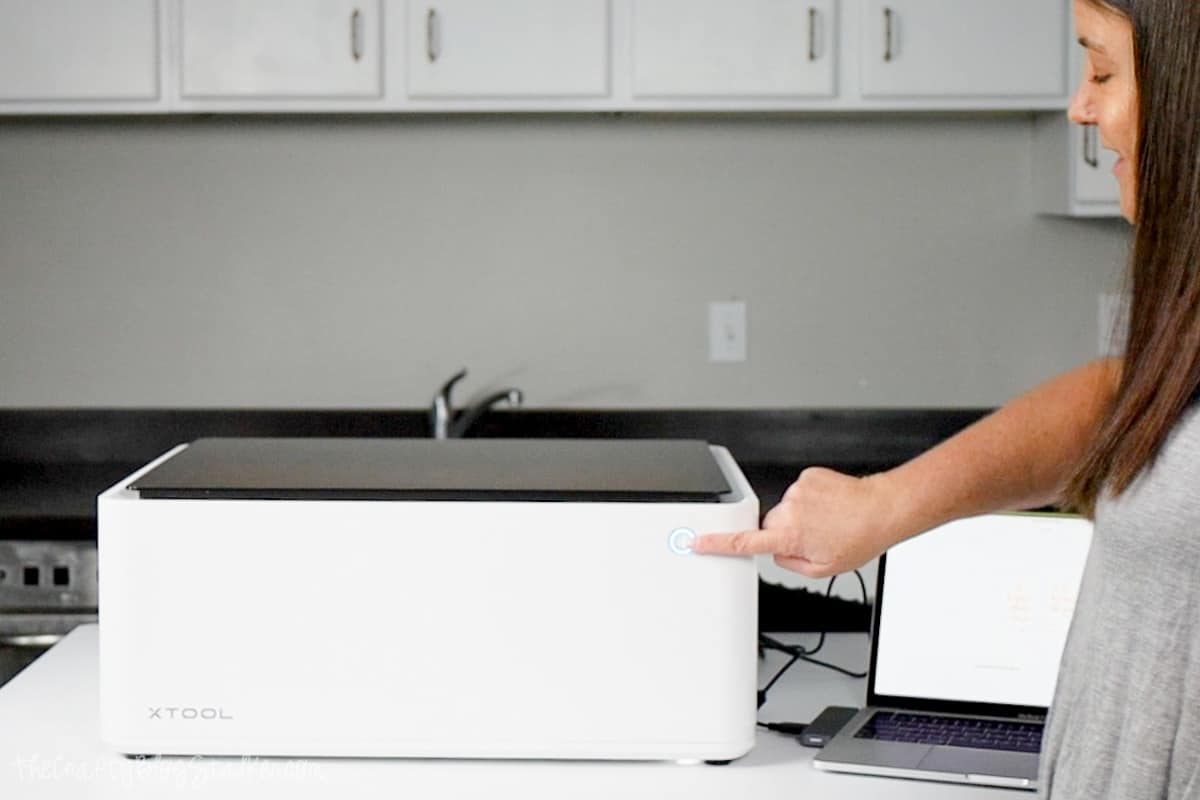
The machine took about 18 minutes to cut and engrave.
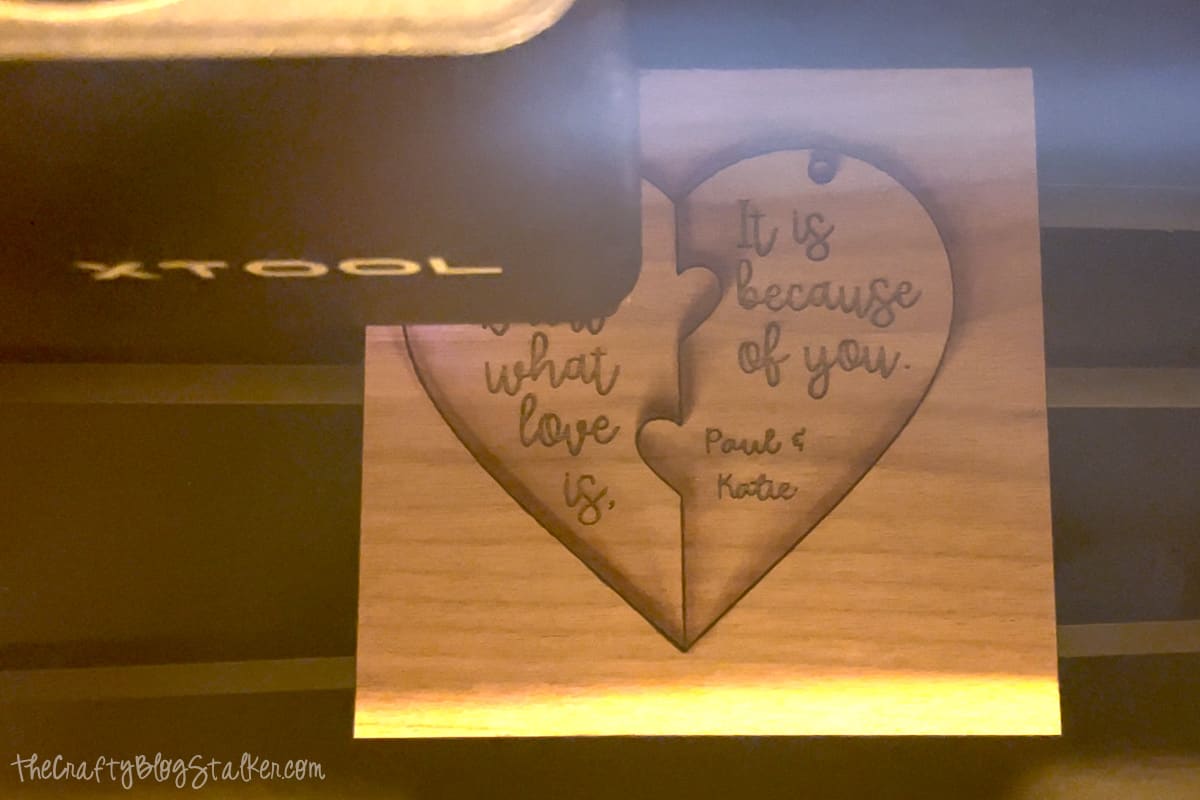
It is so much fun to watch it work!
Assembly:
Since I was cutting and engraving on real wood, it is completely normal for a little sap, mixed with a little char to be present around the edges of the cut pieces.
This can easily be cleaned up with a wet wipe. I just use Lysol Wipes, but really any type of wet wipe should work.
The holes at the top didn't fall out on their own, so I just lightly pushed at them with my jewelry pliers, and they fell out easily.
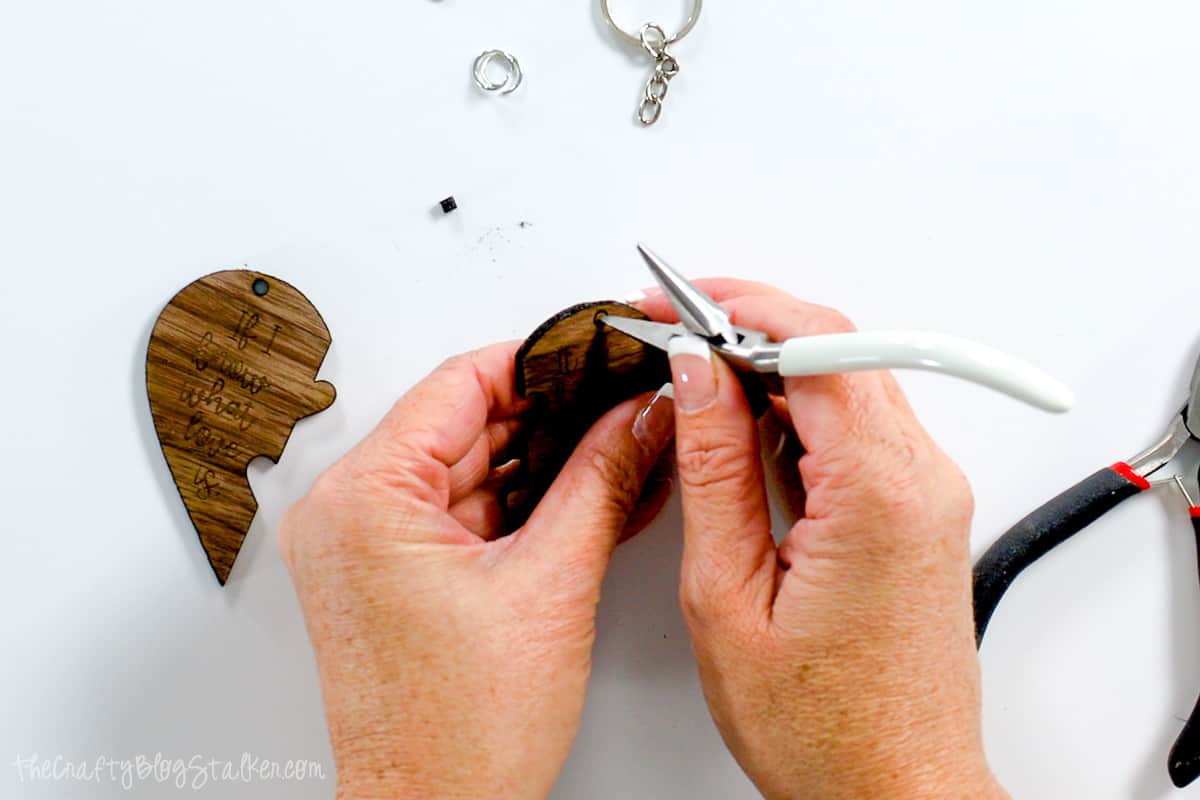
To add the key ring, grab the split ring, place it through the hole on the wood piece, and attach the key ring chain.
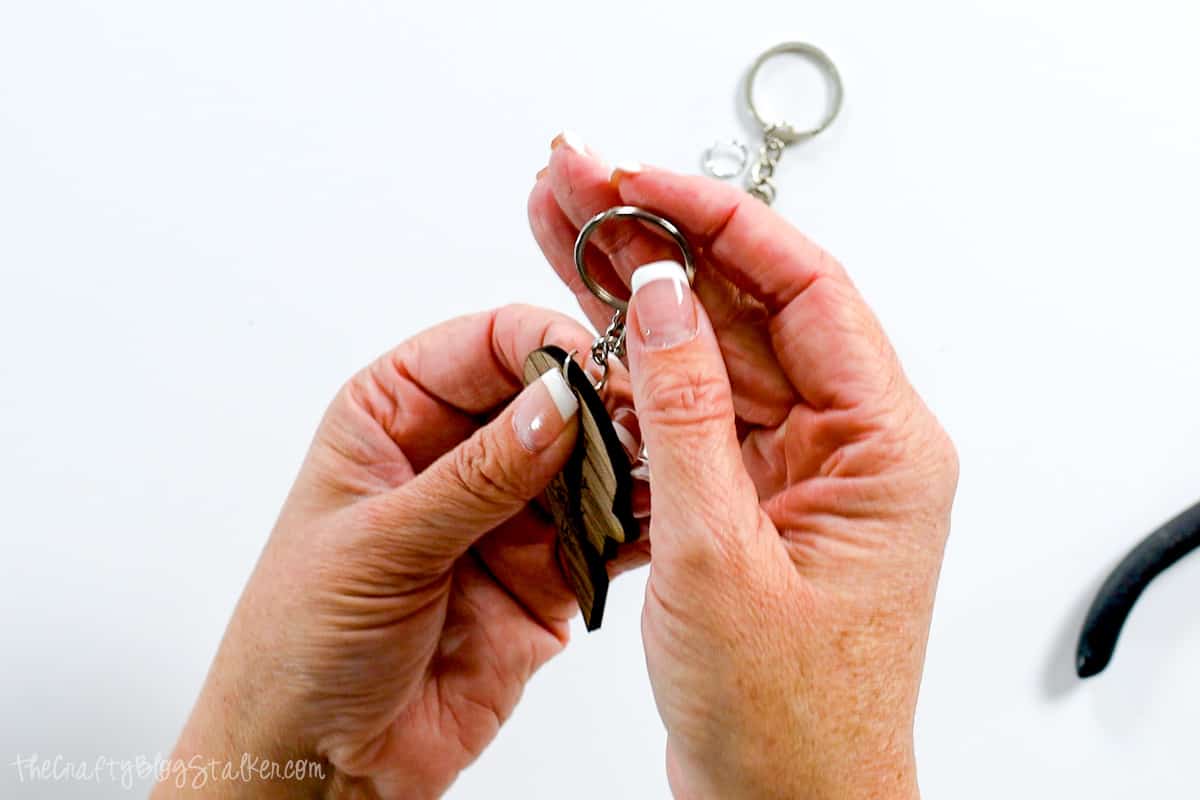
Using two pairs of pliers, one for each hand, grab each side of the jump ring, and then twist closed using your wrists.
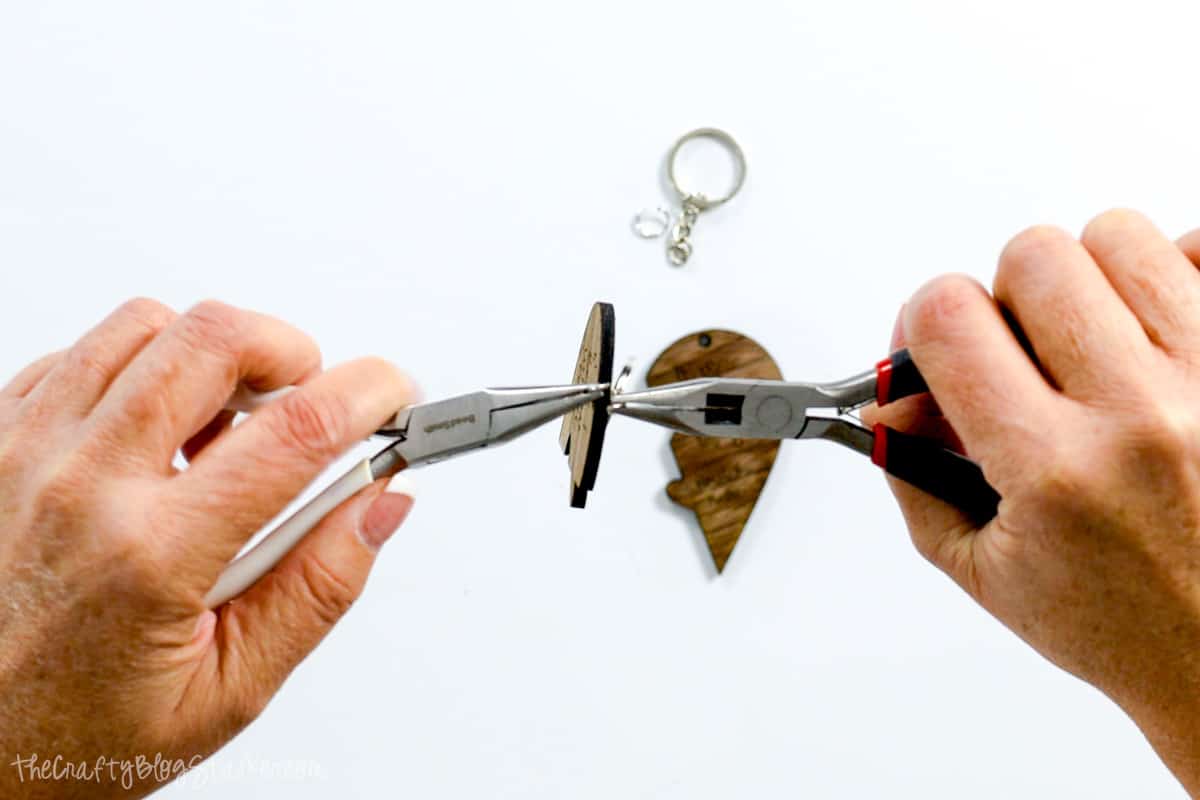
Repeat with the other side of the homemade keychain.
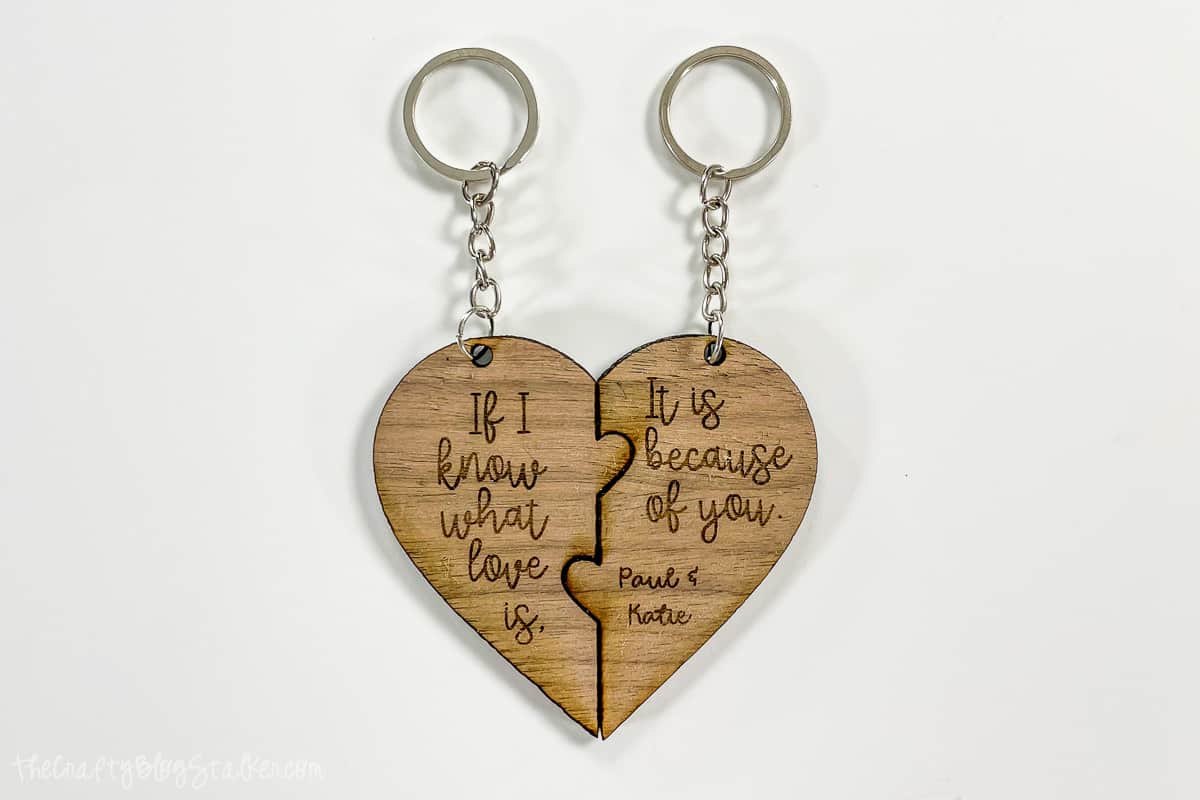
Now your own DIY handmade gift is ready to be given, and the best part is, both sides really do come together and fit perfectly.
They really are great gifts. A cute keychain for you and one for them!
Frequently Asked Questions:
How do I attach an acrylic keychain?
If you were to cut this design in acrylic instead of wood, you could still attach the key ring the same way, since you would cut the holes with the xTool M1 Laser.
Can I make these keychains a different size?
Yes, in Creative Space, you can resize the design to fit your specifications if you want it larger or smaller.
Can I change the text?
Yes, you can delete the text in Creative Space and add new text so your keychains can say whatever you want.
Can I add tassels to my keychain?
Yes, and adding a tassel is such a great idea!
You would add the tassel before closing the jump ring for the key ring.
Can I cut this on my Cricut Explore Air?
No, you cannot cut this the same on a Cricut machine.
While the design is an SVG file, the xTool M1 has laser capabilities that let you cut thicker materials, such as the 3mm walnut used in this tutorial.
Laser Essentials
- Are you new to laser machines? I highly recommend the xTool M1 Ultra! This machine is super easy to learn and helps you create beautiful projects!
- Are you more experienced with lasers and want more power? I love my OmTech 50W, but they have all types of machines up to 150W!
- Craft Closet is my favorite shop for laser materials. Their products are high quality, and they have the lowest prices I can find anywhere!