This post may contain affiliate links. For more information, please see our disclosure policy.
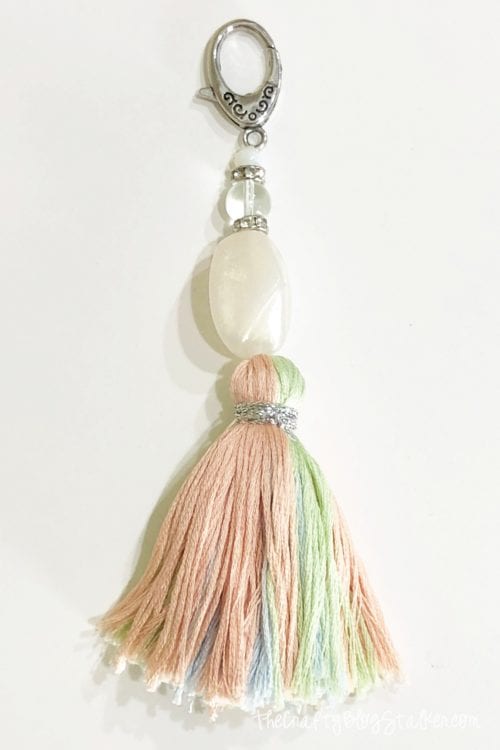
Learn how to make a keychain and create this beautiful boho tassel key ring. A complete step by step tutorial with a video!
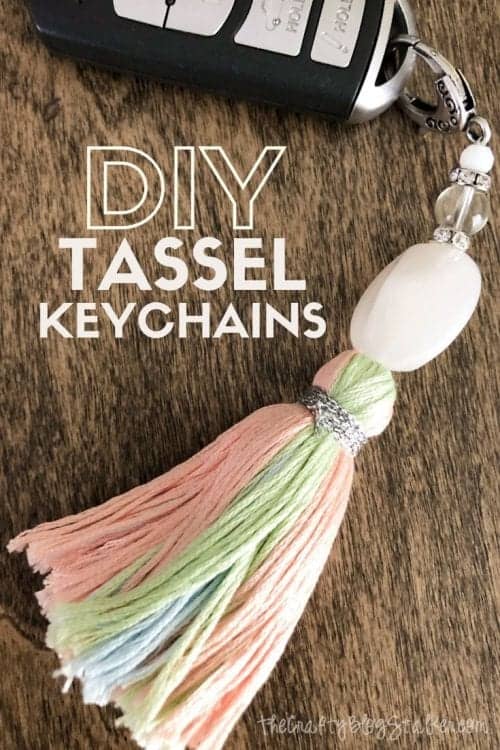
I love to create, but even more when it is something I can actually use!! Aren't these boho tassel keychains cute? You can even customize them and make them in any color to match your personality!
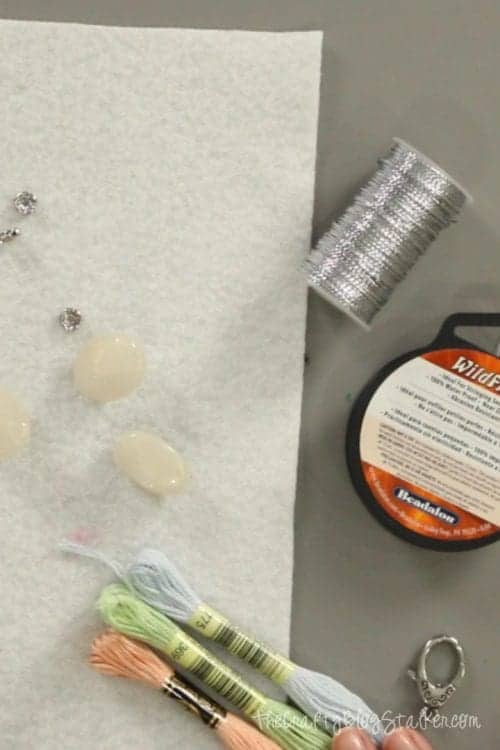
Supplies Used to Make your DIY Tassel Keychain
Some links may be too similar items when exact items couldn't be found online.
DIY Tassel Keychain Tutorial Video
Like videos? I have a video tutorial for you! Please subscribe to my YouTube Channel so you don't miss out on any future video tutorials!
String the Beads for the Keychain
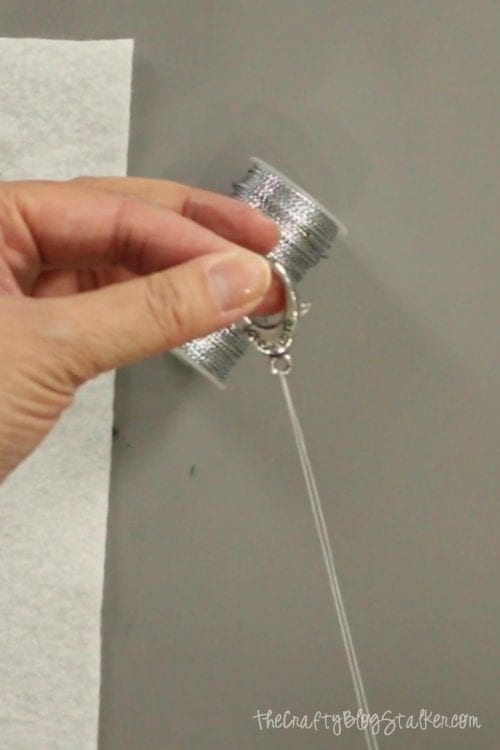
Begin by cutting a piece of beading thread about 12 to 14 inches long.
Bring the two ends of the strand together and string through the hole of the lobster claw. Then pull those ends through the loop in the center of the thread. This is called a larks head knot.
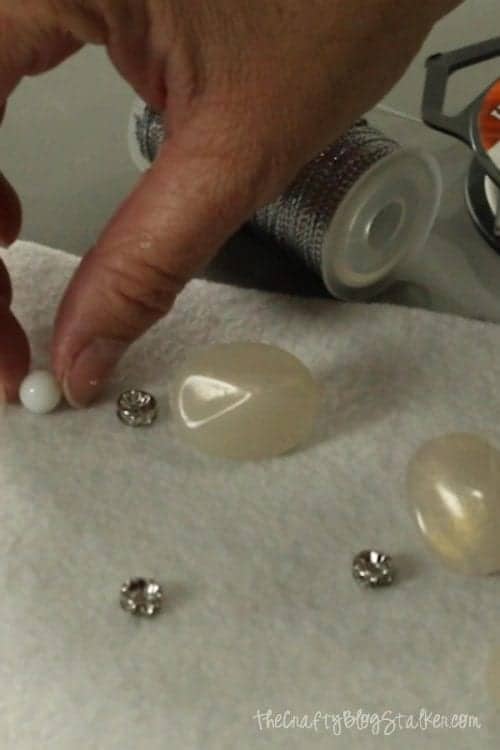
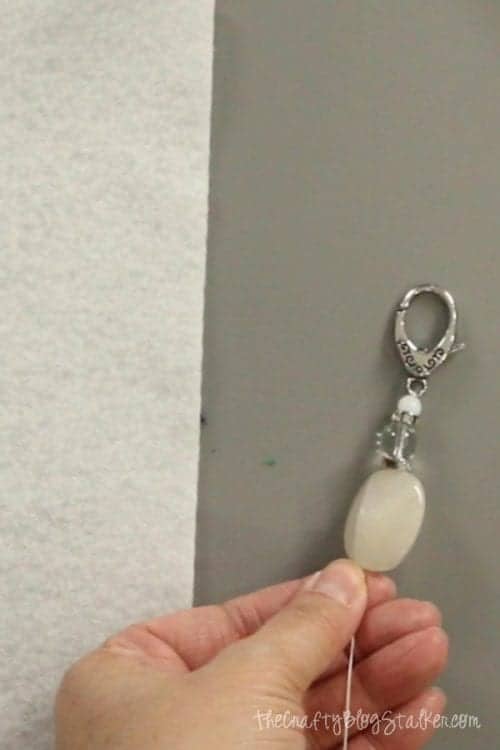
Go through your bead assortment and select anywhere between 3 to 8 beads. I like to have one large bead and then a couple more beads that are smaller and complimentary.
Arrange in the order you want to string them. A sheet of felt can be helpful here to keep the beads from rolling all over the table.
Once the beads are in the desired order, string them onto the beaded thread.
Adding the Tassel
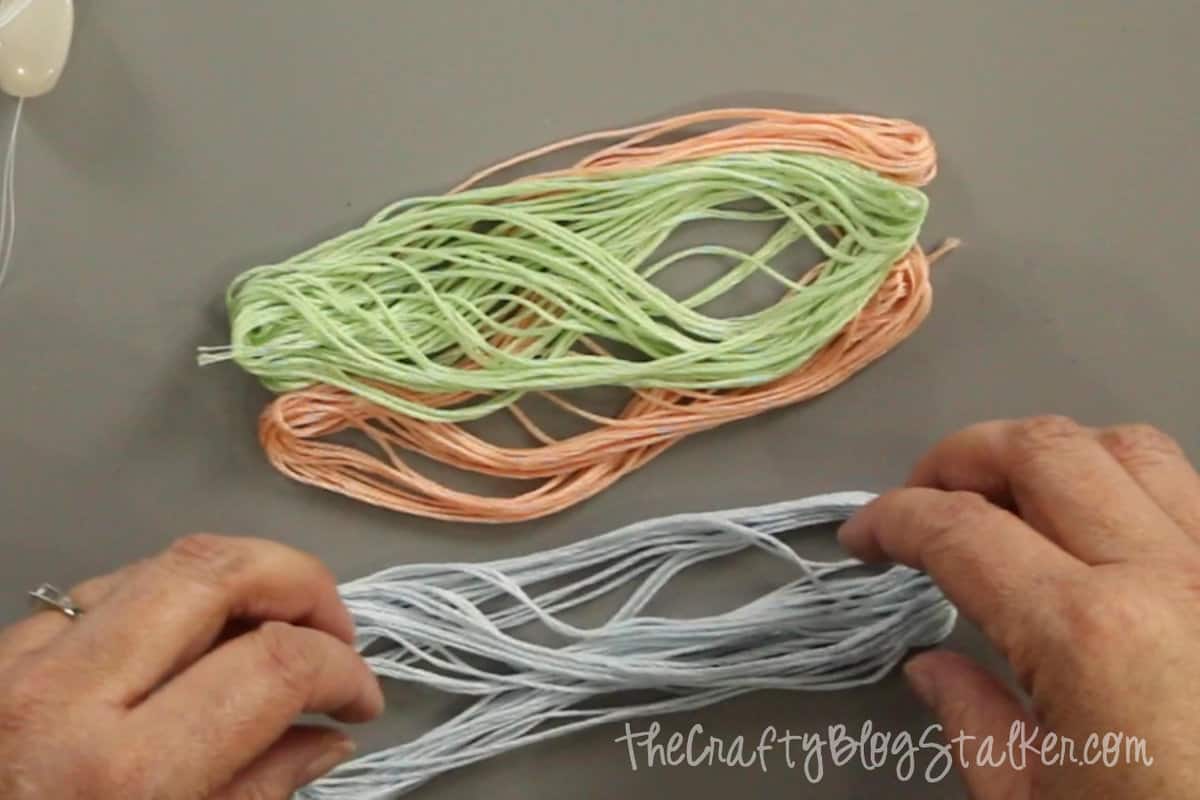
Remove the paper packaging from the DMC floss. It should slide right off.
Separate and flatten the bundles and then lay on top of each other. This will mix the colors together. Or you can use all the same color and then there is no need to mix the colors of the floss.
Combine the strands back together.
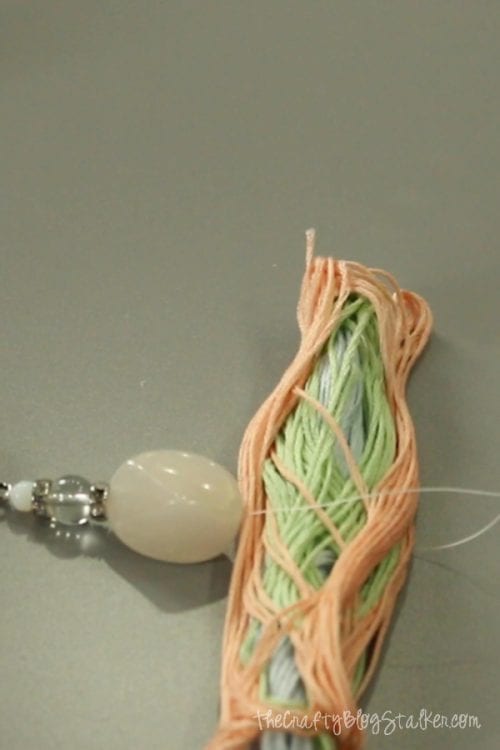
Go back to your key chain, find about the center of your floss bundle and lay between the two strands of beading thread.
Tie a knot with the beading thread as tightly as you can around the center of the floss bundle. Trim off the excess beading thread close to the knot.
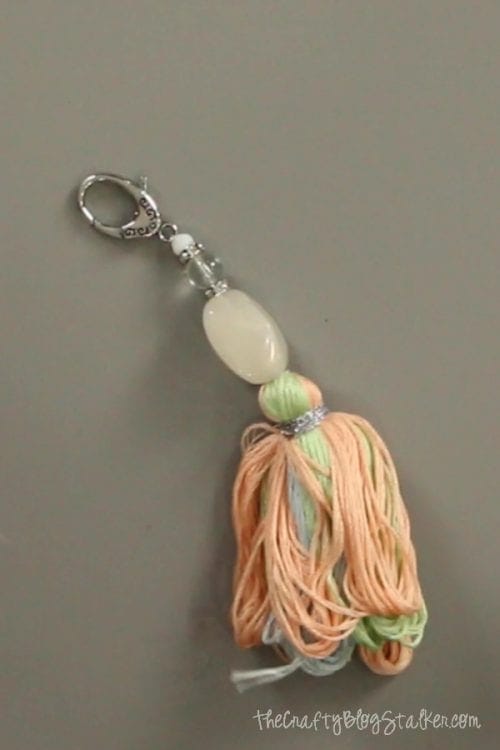
Fold the ends of the floss bundle down.
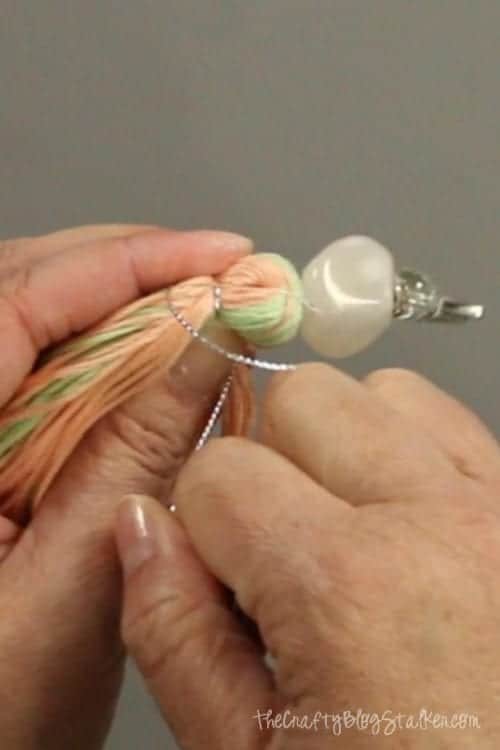
Cut a strand of metallic cord about 12 - 14 inches long and wrap around the top the tassel several times, nice and tight. The wrap should be about ½-inch below the top of the tassel.
Secure the metallic cord with a couple knots and cut off the remaining cord close to the knot.
Trimming the Tassel
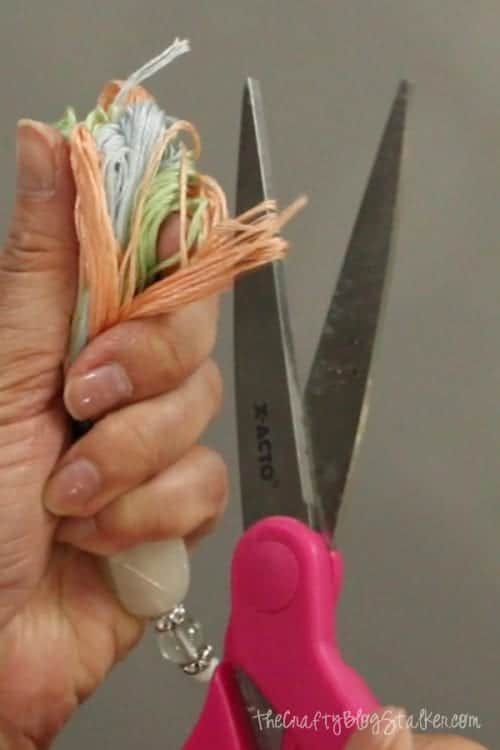
Using a pair of scissors, cut the loops open at the base of the tassel.
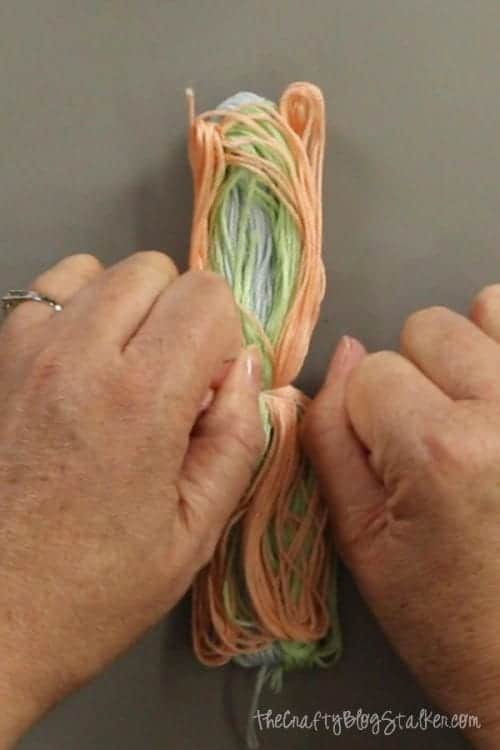
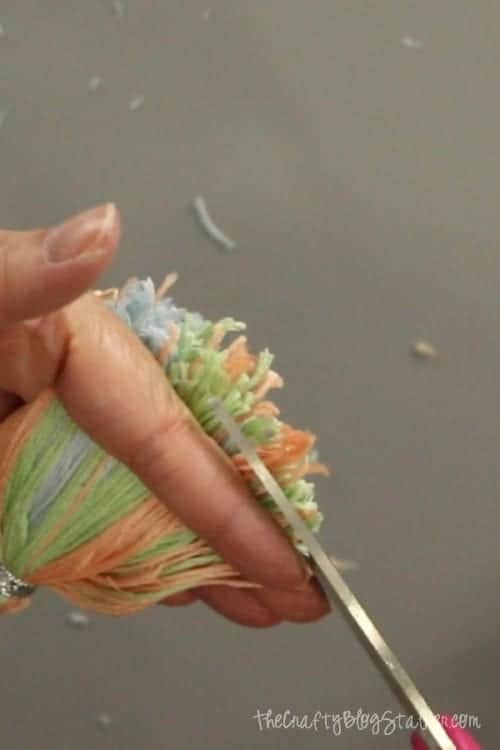
To even up the ends, flatten out the tassel by running it through your stretched out fingers a couple of times and cutting along the edge.
Rotate the tassel and repeat until the base of the tassel is pretty uniform and straight.
Now your tassel keychain is finished and ready to be used!
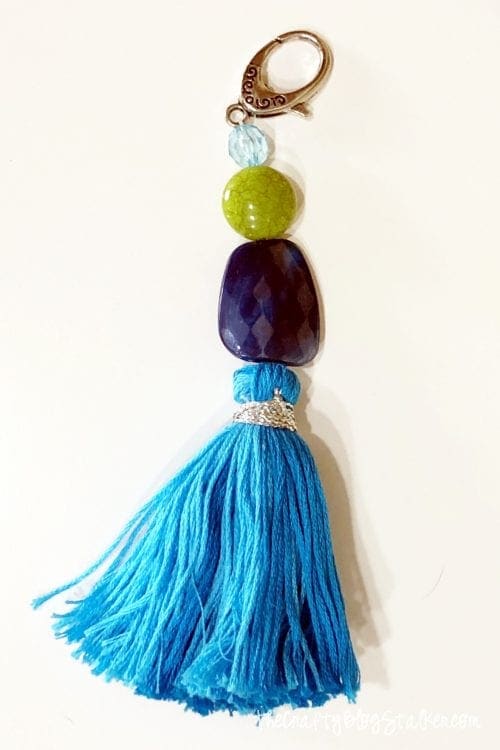
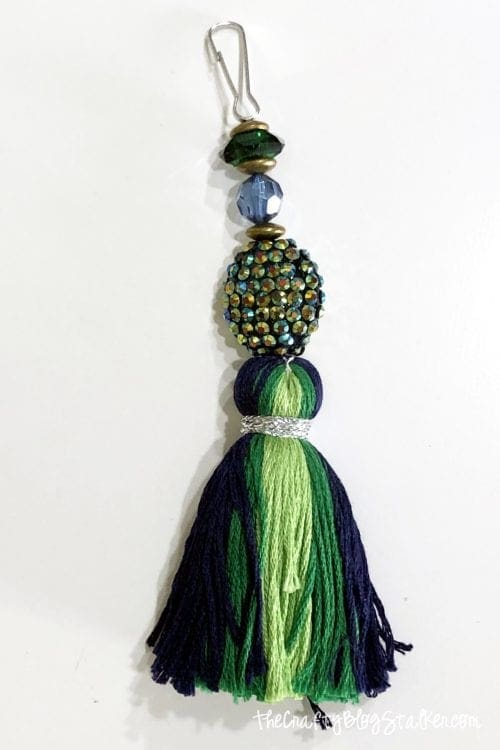
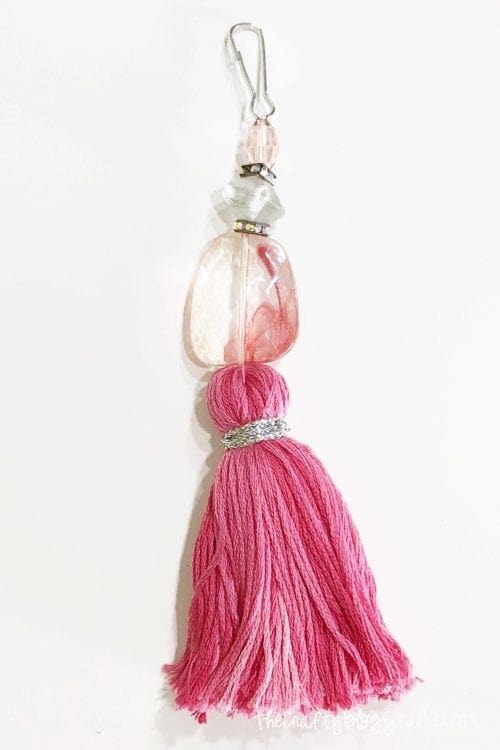
I had so much fun making this one that I made a couple more!
Which color is your favorite?
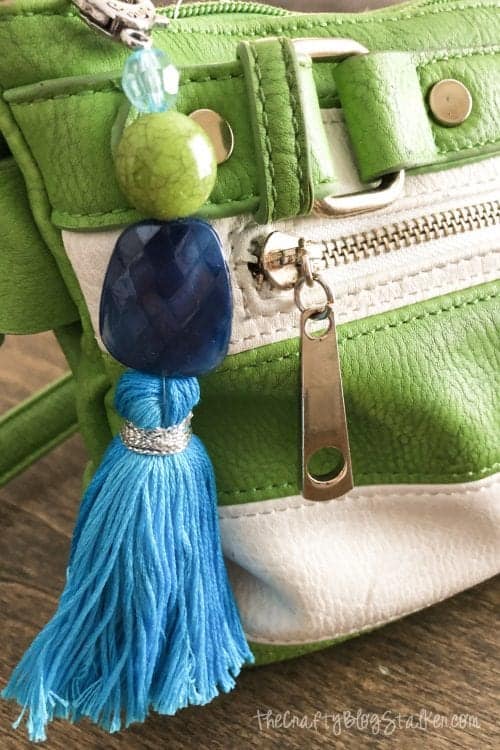
BUT they aren't just for keys! They look great hanging off a purse too!
What color theme tassel keychain would you make to match your personality?
Our Crafting Essentials:
- The Cricut Cutting Machine is easily our favorite crafting tool. We use it in so many of our tutorials!
- These MakerX Crafting Tools are perfect for keeping in the craft room and are always ready when needed!
- This Fiskars Paper Trimmer is easy to use and cuts nicely without frayed edges.
- These Scotch Precision Scissors cut like a dream, and you get multiple pairs in a pack!



Leave a Reply