This post may contain affiliate links. For more information, please see our disclosure policy.
Create your own Candy Cane Christmas Countdown with our easy-to-follow guide and downloadable SVG laser file. Perfect for holiday crafting!
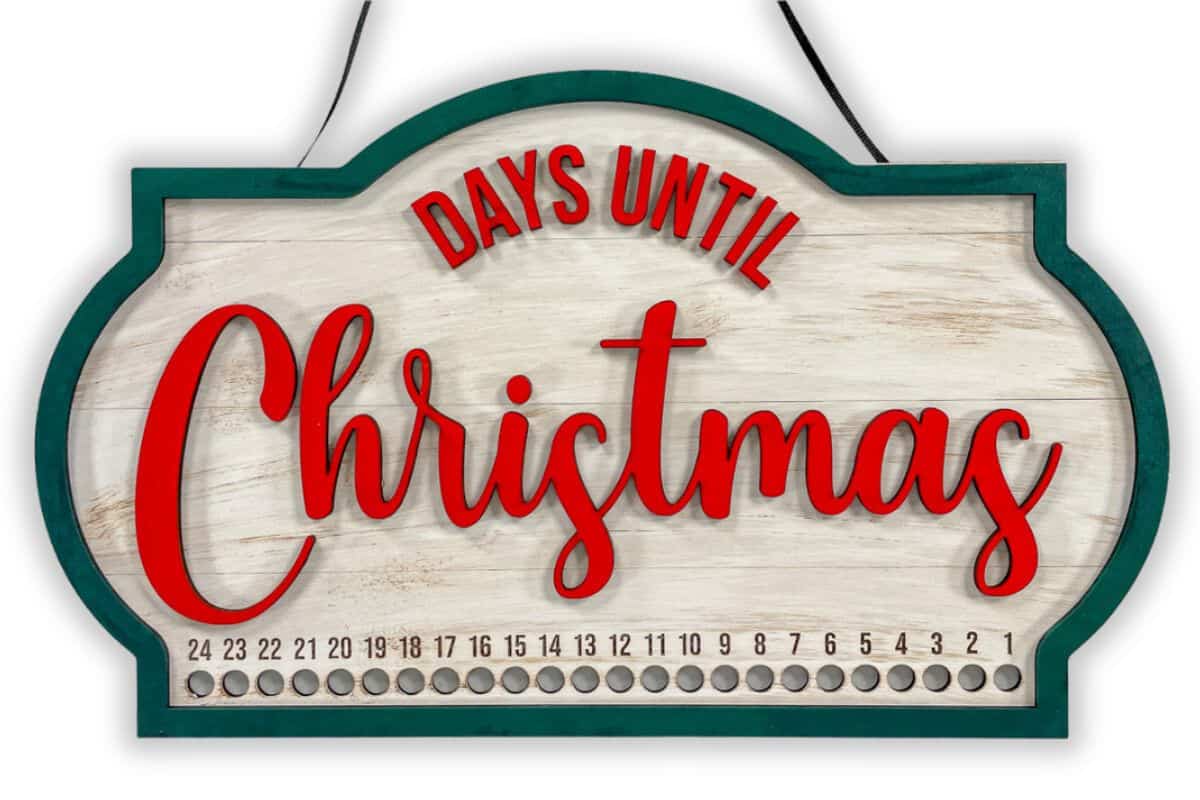
The holiday season is just around the corner, and I've got the perfect project to get you in the Christmas spirit.
With our downloadable SVG laser file and easy-to-follow instructions, crafting your own Candy Cane Christmas Countdown has never been simpler.
So turn on your laser cutter and let's dive into some festive crafting fun!
Craft Video Tutorial:
Like videos? I have a video tutorial for you! Subscribe to my YouTube Channel so you don't miss any future videos!
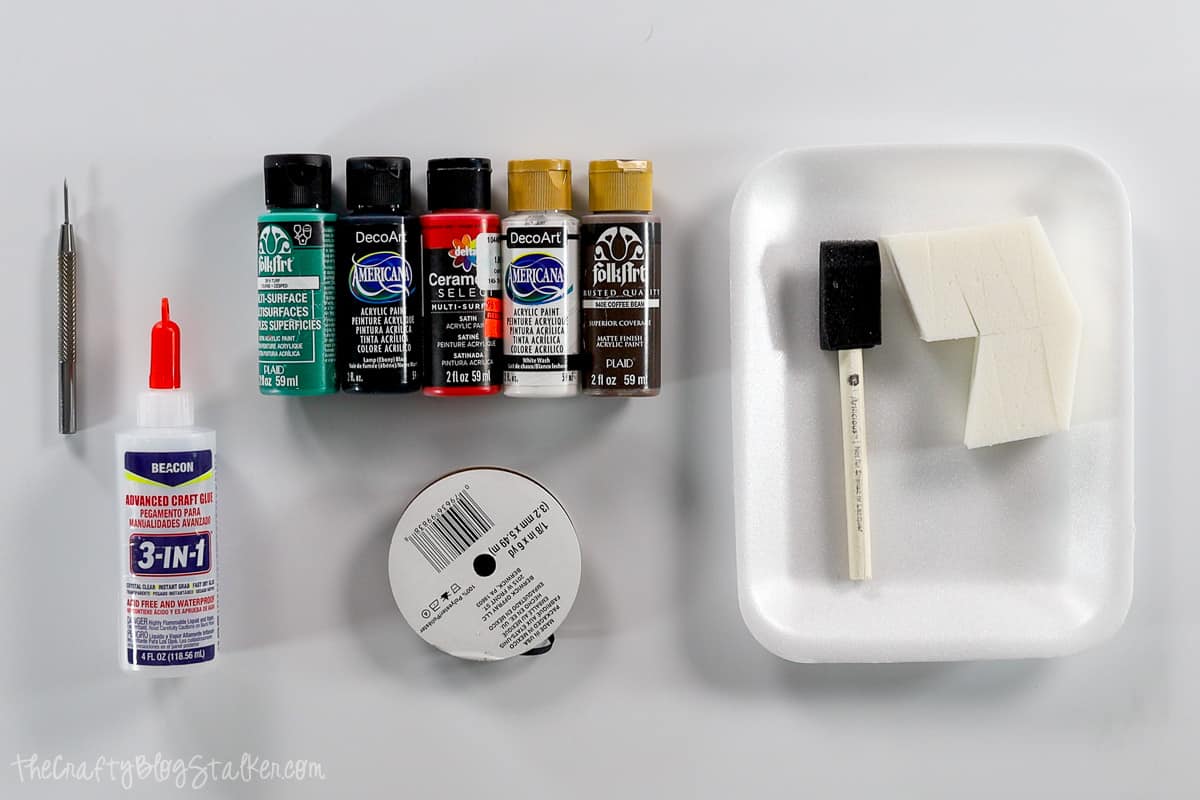
Supply List:
Some links may be to similar items when exact items couldn't be found online.
- Candy Cane Countdown SVG Laser File
- Laser Cutter
- 3mm MDF
- Acrylic Paints
- Ultra Fine Point Sharpie Marker
- Masking Tape
- Foam Brush
- Make-up Wedges (optional)
- Wood Glue
- Awl
- Ribbon
Grab the Laser File:
To start, you'll need to grab the Laser File.
Laser Cutter:
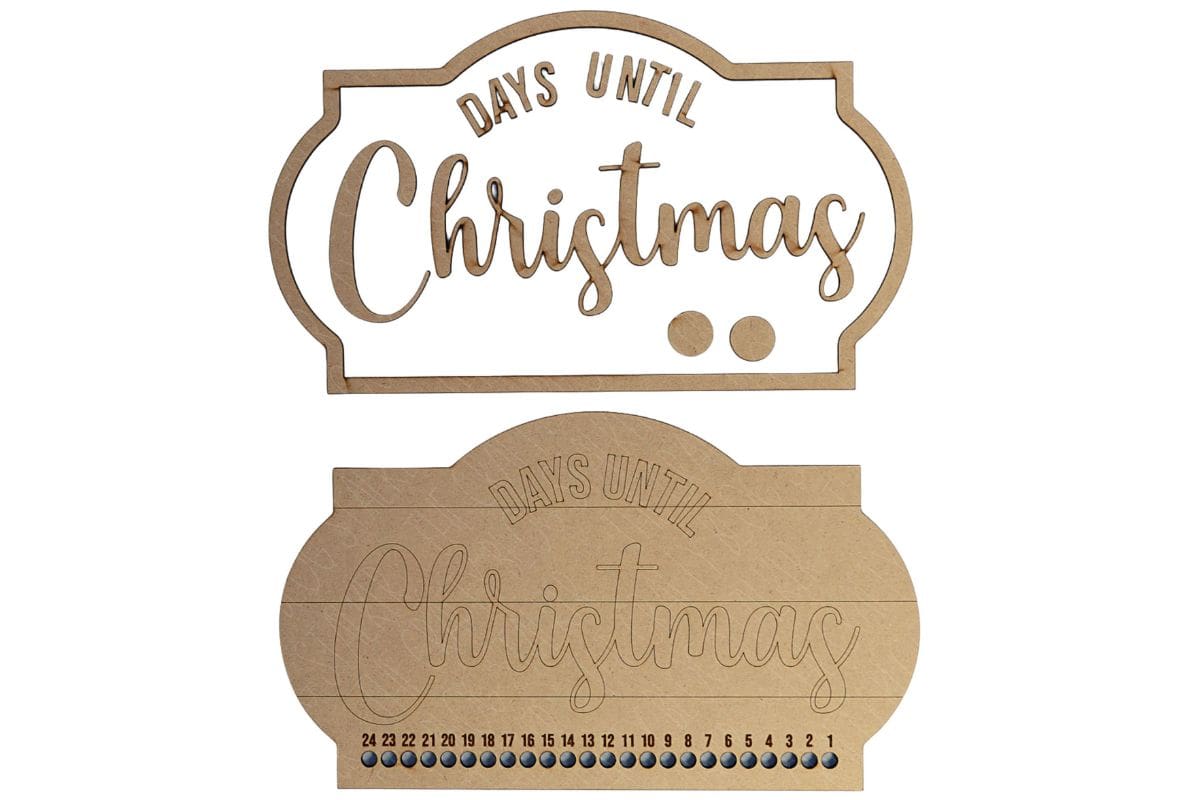
Pull the SVG file into your laser-cutting software.
Do not resize the file, as it will cause the candy cane holes to be either too big or too small.
Cut the black lines.
Score or Engrave the red lines.
Etch Fill the Blue Lines.
I suggest cutting a test card to find the right settings for your machine.
My pieces were cut on my OmTech 50w using Lightburn software, and it took two sheets of 12 x 19 inch 3mm MDF.
Painting:
The great thing about this project is that you can paint and customize this sign however you want. You don't have to paint it the same way that I did.
However, I am going to take you through my painting steps just in case you want to duplicate my method.
To begin, I covered my workspace with a large sheet of paper to protect my table top.
I want to give the sign a vintage look, so I am going to start with whitewashing.
Add a pile of paint to your palette, I used a disposable plate. Add some water to thin the paint out.
Then unevenly begin applying the paint to the sign with a foam brush. It is okay to see brush strokes, and I didn't want full coverage with the paint.
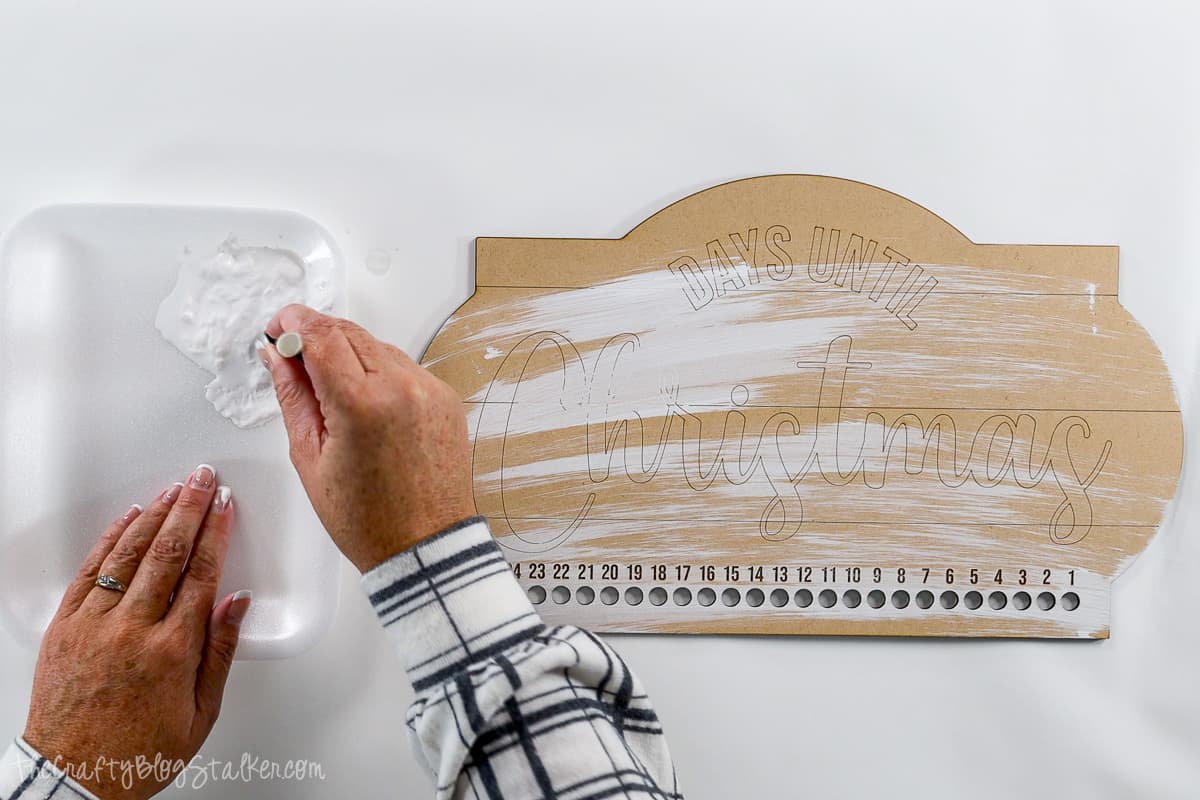
Once most of the sign is painted, let the first coat dry.
Go in with an Ultra Fine Black Sharpie marker and fill in the etched numbers.
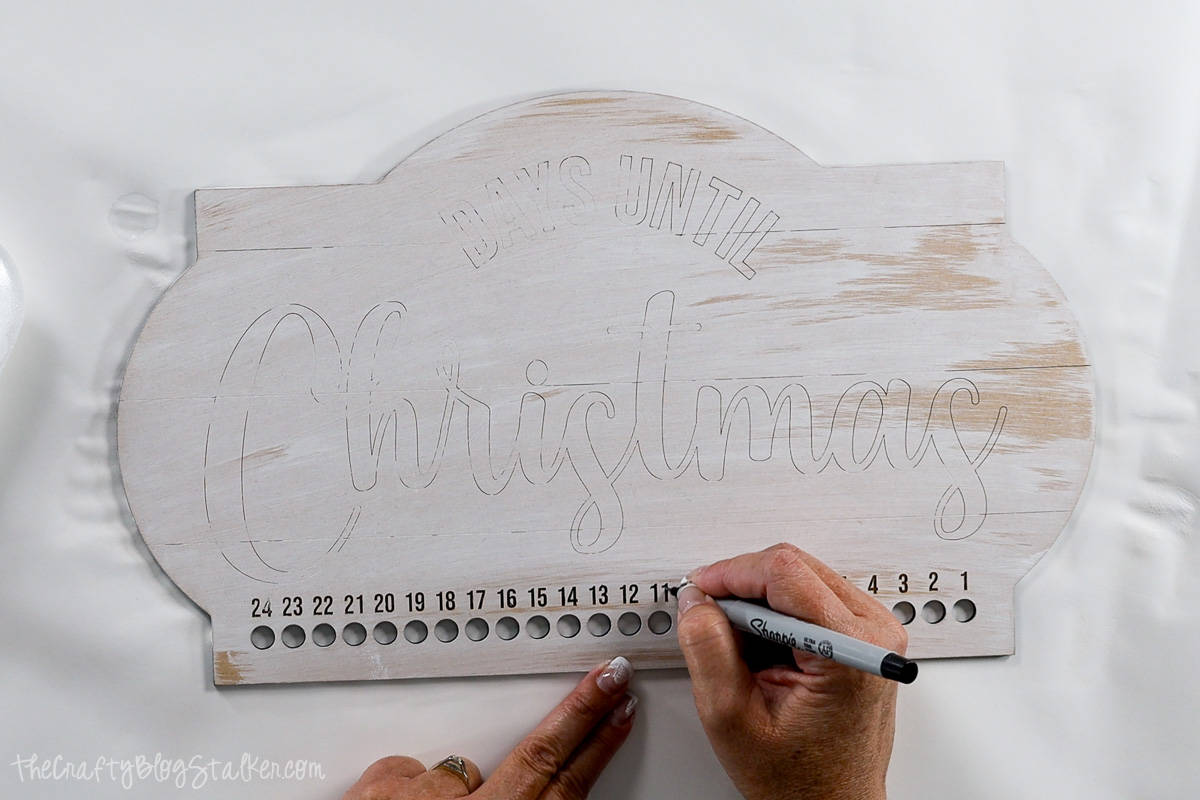
You can skip this step, but I think the darker numbers really pop on the finished sign.
Add a second coat of whitewash, this time even lighter than the first. I still wanted to see the natural MDF through the paint.
Use a dry brush with just a tiny bit of paint to add wood grain to the top of the painted sign.
It only takes a couple of strokes, so don't overdo it.
Watch the video above if you need more instructions on how to dry brush.
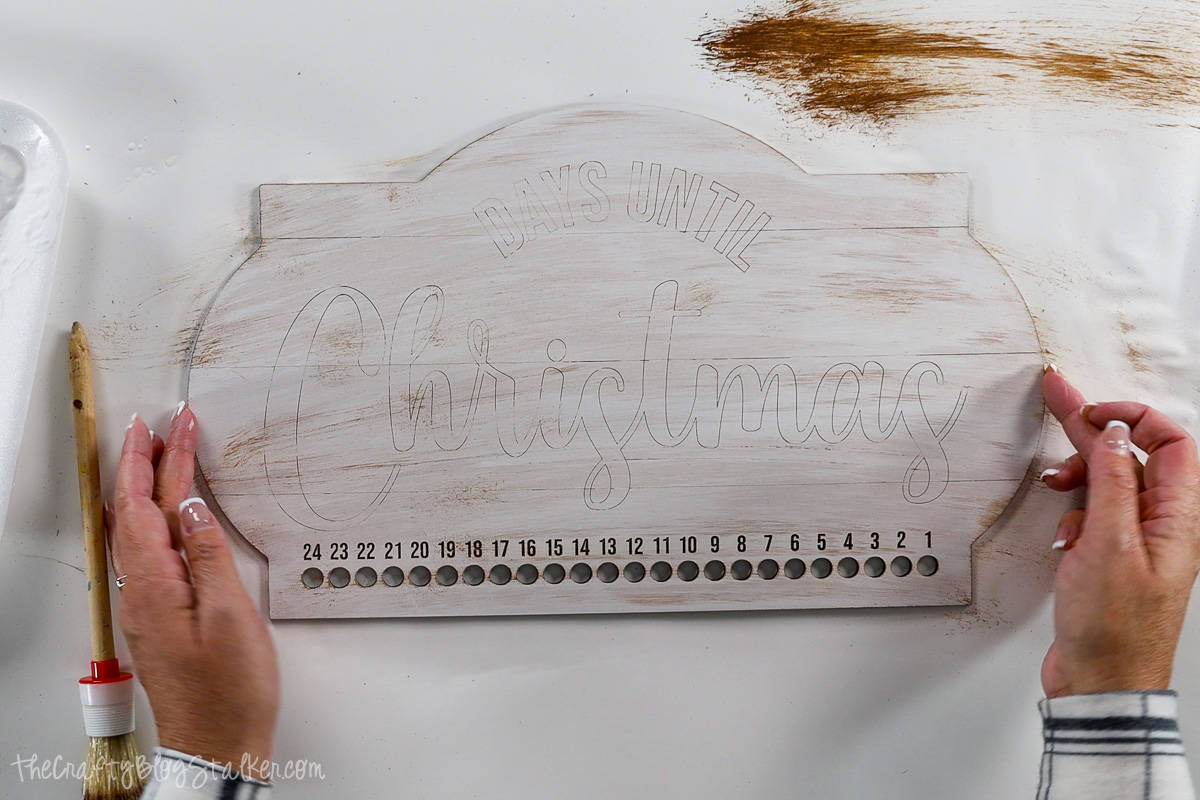
Next, I am going to paint the frame and word pieces.
I like to tape them to my surface with a piece of looped masking tape.
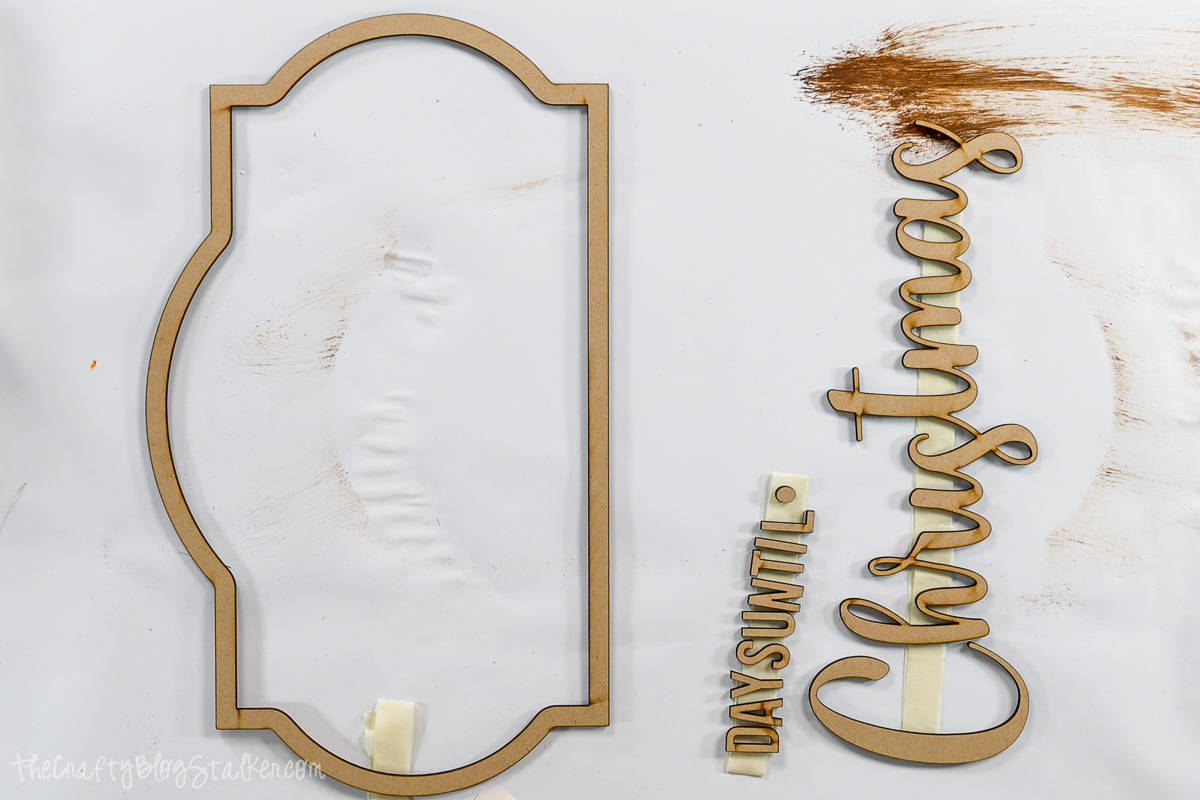
When painting individual letters, always stick them to the tape in word order.
This way it is easier to catch the correct direction of the letters and you don't paint the back of the N instead of the front. Yes, I have done that so many times!
Use a makeup sponge to lightly dab the paint onto the MDF pieces.
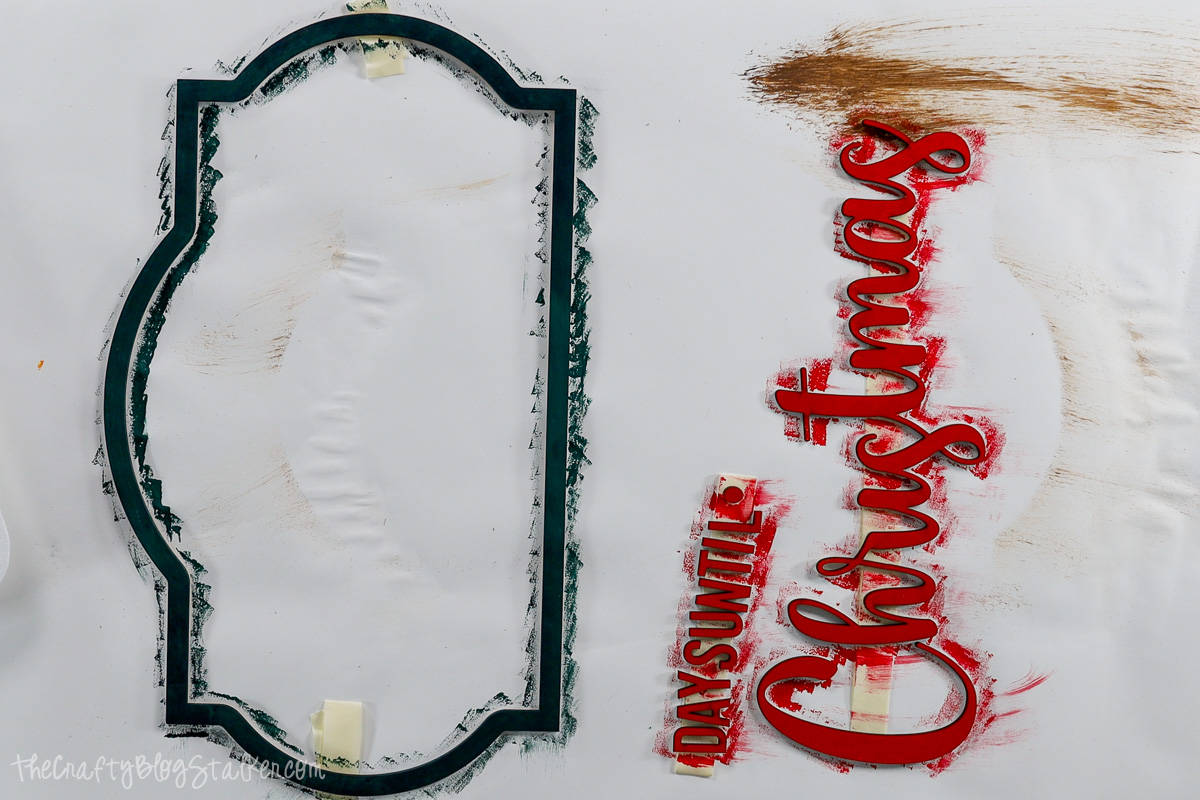
I applied two coats of paint to all of the pieces, and then let them dry completely.
Assembly:
Take your awl, and quickly run it through the groves of the main sign. This helps it look more like assembled shiplap boards than a solid piece.
Apply glue around the back of the frame piece.
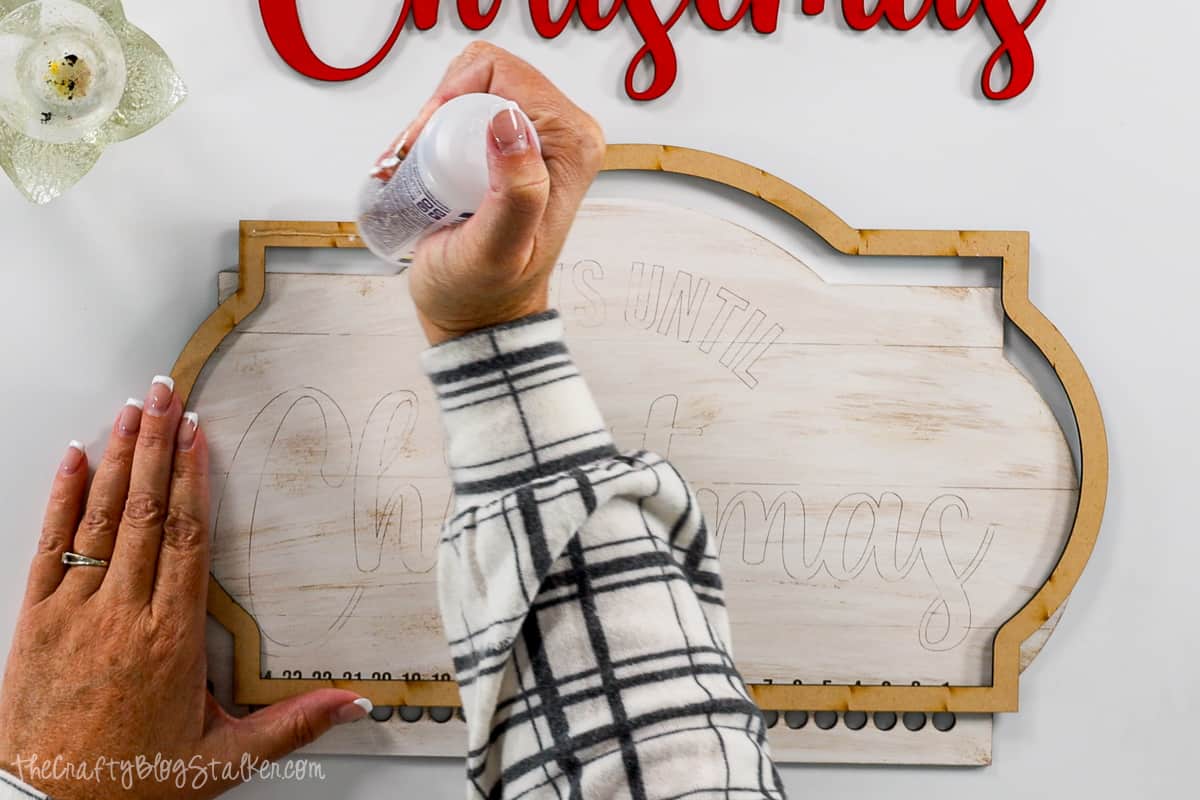
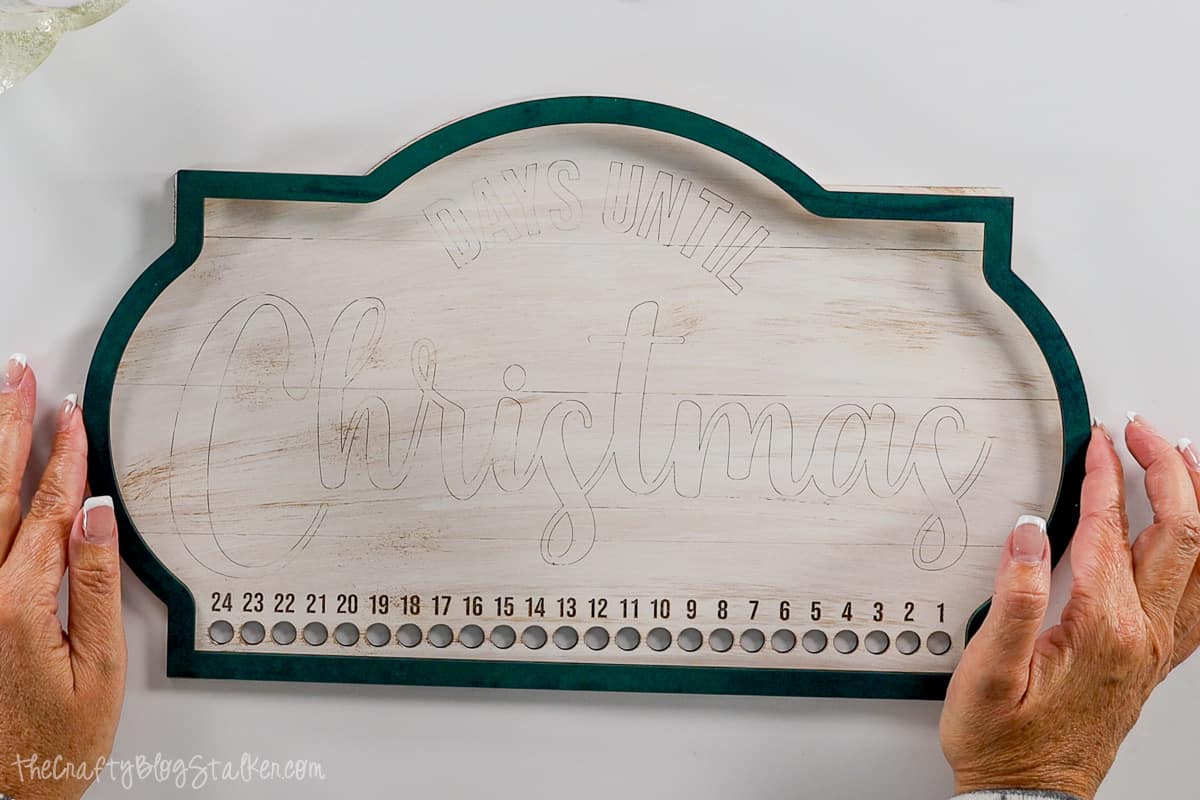
Then align it onto the front of the sign, making sure all of the sides are flush.
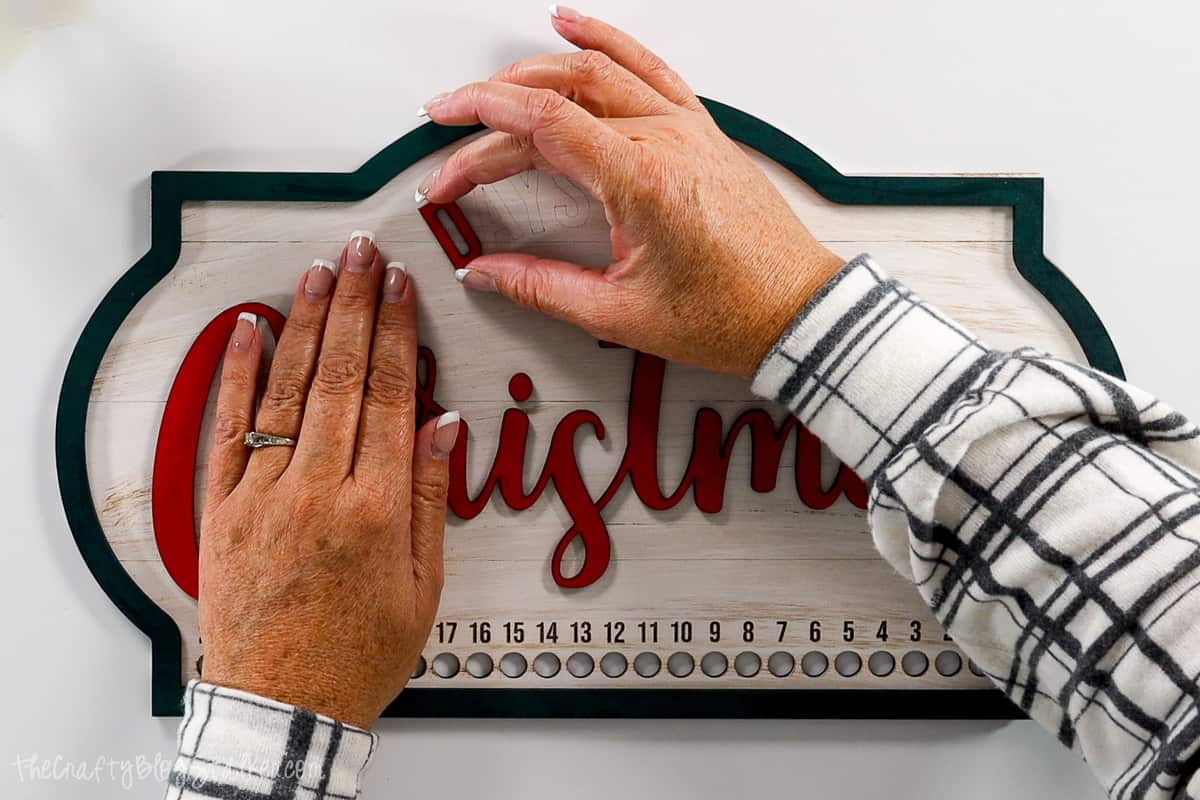
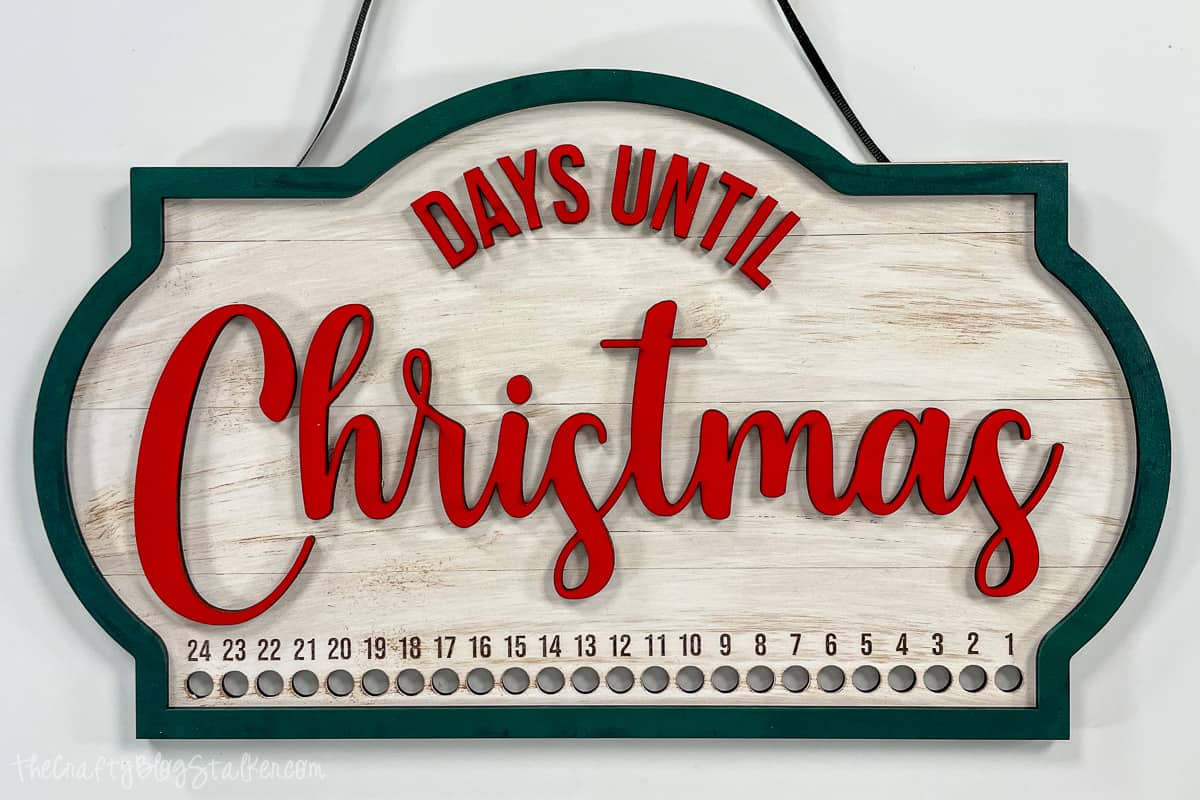
Next, glue the letters in place. The outline is etched slightly larger, so the pieces should cover the lines completely when correctly placed.
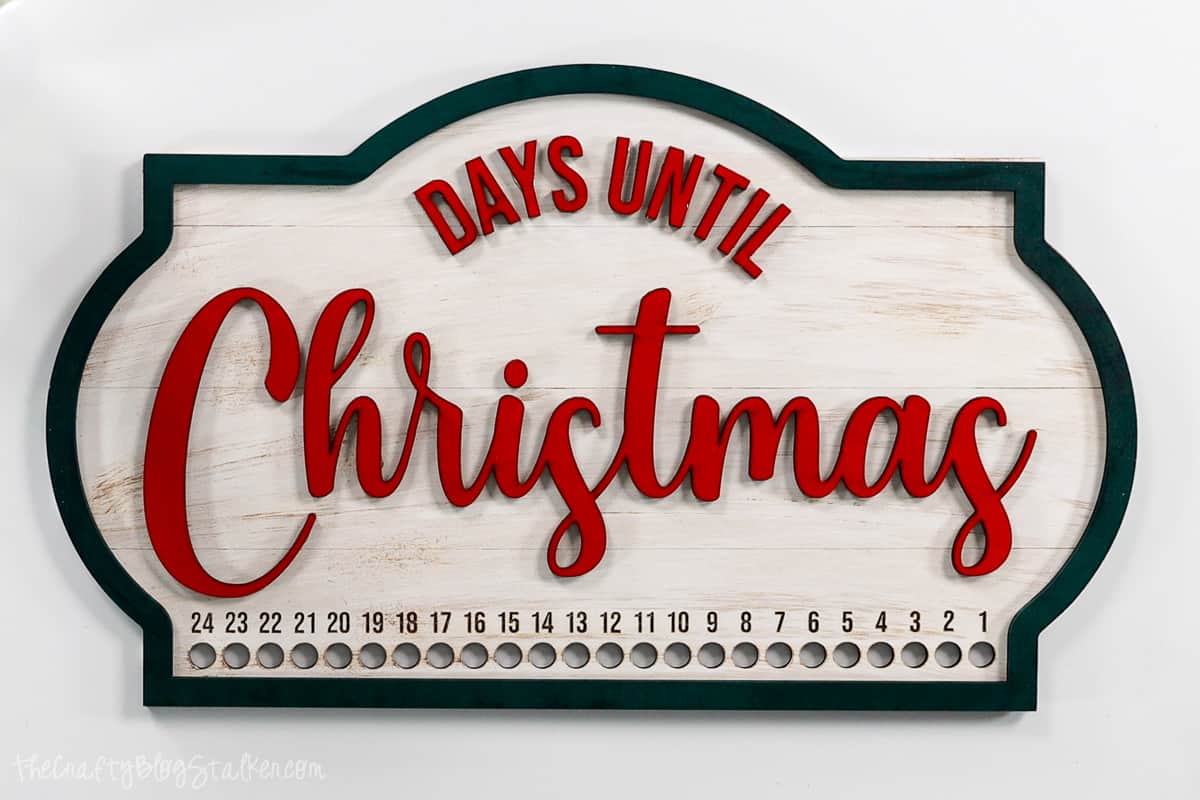
Isn't it cute? Although we aren't done yet!
Adding the Hanger:
Cut a length of ribbon about 24 inches long.
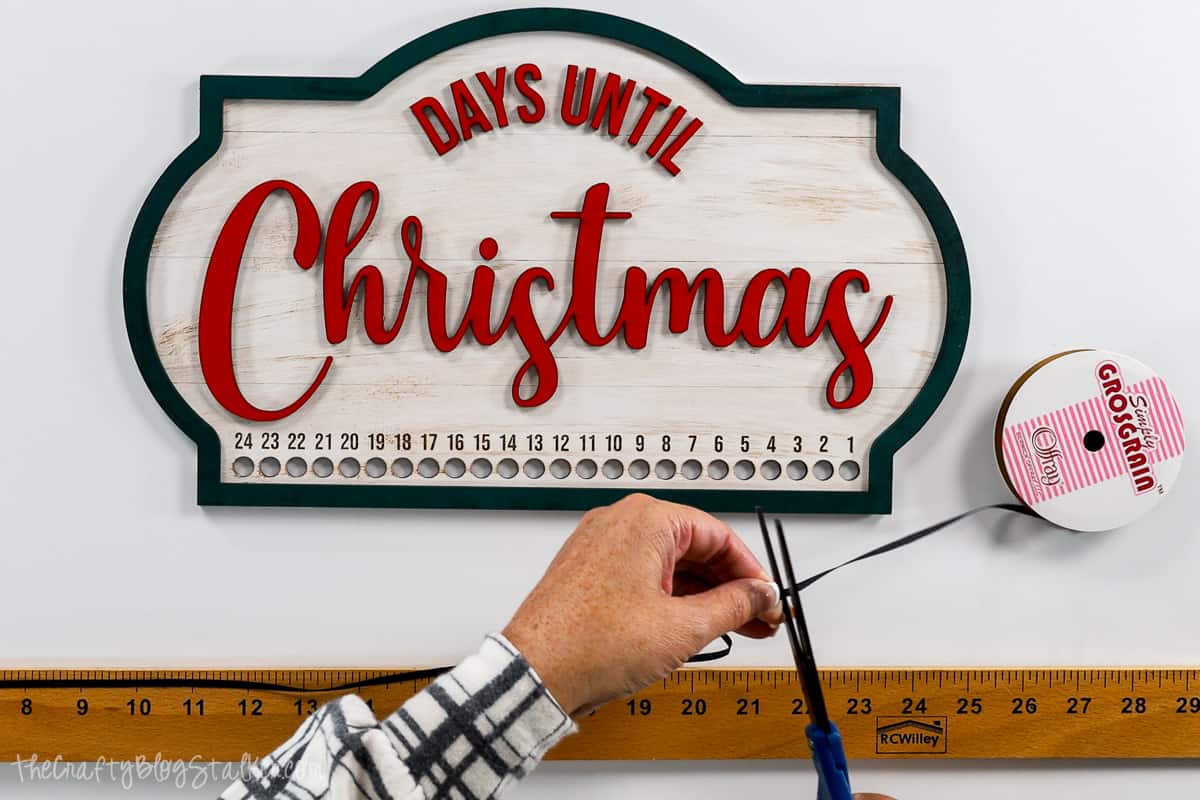
Tie a double knot at each end trimming off the tails.
Place the ribbon on the back of the sign where it looks like both ends are in the same place on each side.
Apply glue to a cut circle and place it down over the ribbon, just slightly higher than the knot. Repeat on the other side.
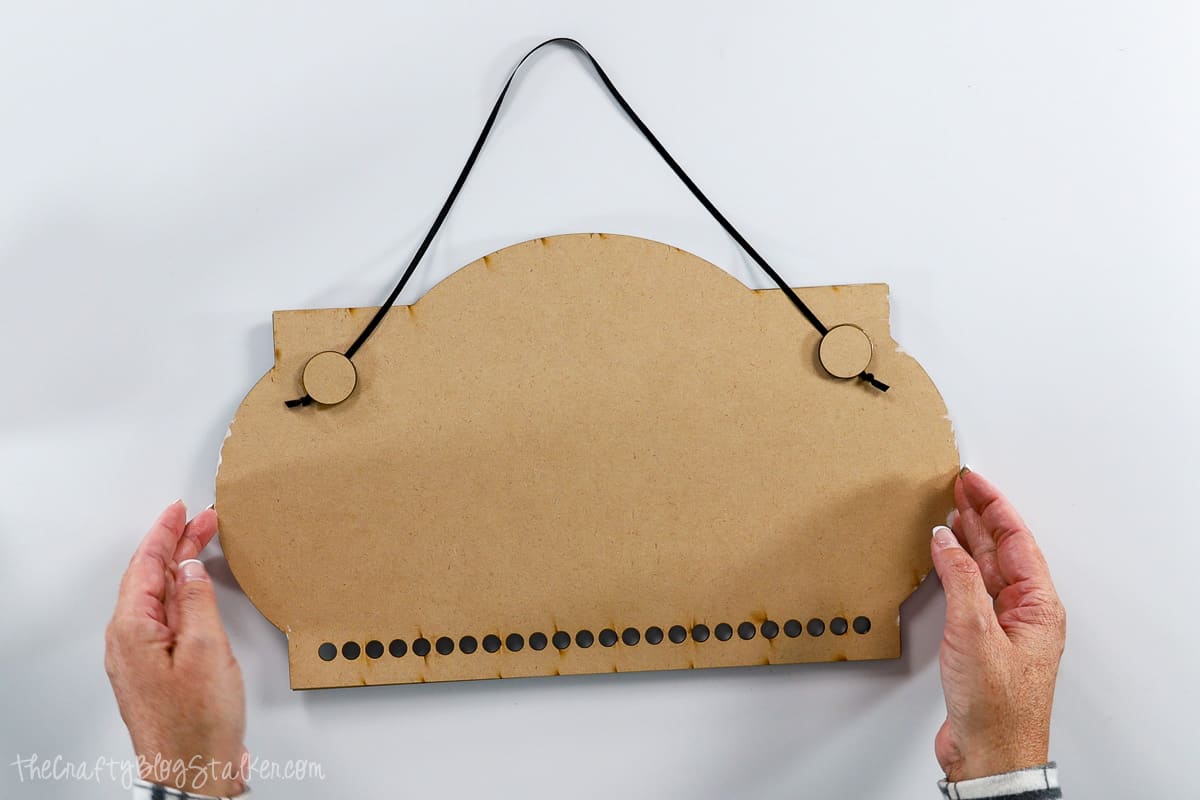
Most wood glues are not instant, so I recommend letting the glue harden for a couple of hours before use.
But once it is completely dry, your new advent calendar is ready to hang, and start counting down the number of days to Christmas day!
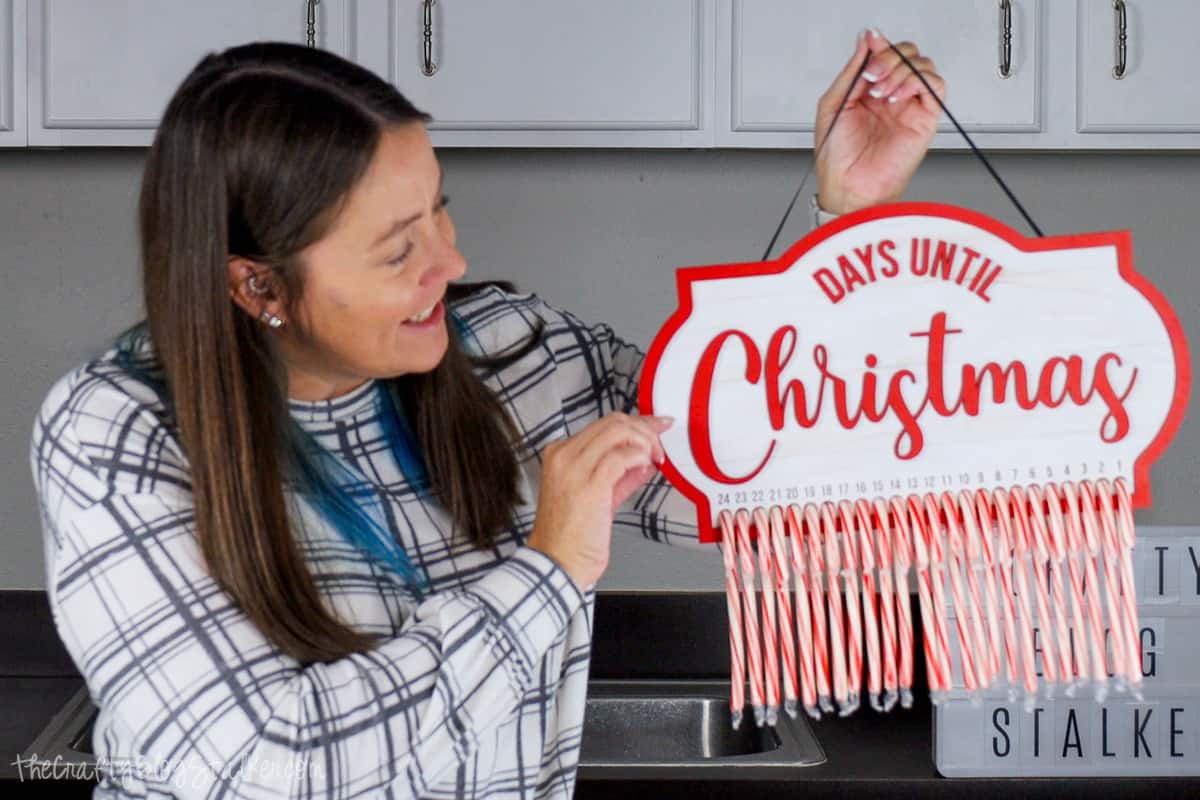
Here is another Christmas countdown I made with only white and red paint. What do you think? Which one is your favorite?
Our Laser Essentials:
- New to laser machines? I would highly suggest the xTool M1 Ultra! This machine is super easy to learn and helps you create beautiful projects!
- More experienced with lasers and want more power? I love my OmTech 50W, but they have all types of machines up to 150W!
- Craft Closet is my favorite shop for all of my laser materials. Their materials are high quality and have the lowest price, I can find anywhere!
- If you really want to get into lasers, I highly suggest you learn how to create your own files. Pen & Posh has a great course for this.








Diane R.
I think I would like to see the sign if the colors were reversed. Otherwise I think I like the all red one. Thank you for the files and tutorial.