This post may contain affiliate links. For more information, please see our disclosure policy.
Make a canning lid Christmas wreath for the front door, made with washi tape! A tutorial with video instruction.
Christmas is my favorite season to craft! There are just so many things you can make. Ornaments, seasonal home decor, handmade gifts, stockings, and especially wreaths! A handmade wreath is a perfect way to greet your holiday guests!
In today's tutorial, I am going to show you how to make a fun festive Washi Tape Christmas Wreath!

Wreath Tutorial Ideas:
Wreaths are so much fun to make and are a great way to decorate for holidays and special events! We have shared many wreath tutorials along the way, like this Patriotic Bandana Wreath, this Fabric Wreath for Fall, and this Easy Garland Winter Wreath.
Be sure to look around the blog for more Christmas craft tutorial ideas!
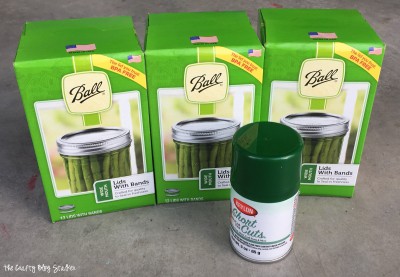
Supplies You'll Need to Make This Craft:
This post contains affiliate links.
Craft Tutorial Video:
How to Make a Washi Tape Christmas Wreath
Begin by spray painting the canning lid rings. These will need to be completely dry before you can move onto the next step.

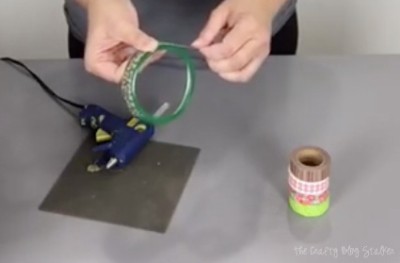
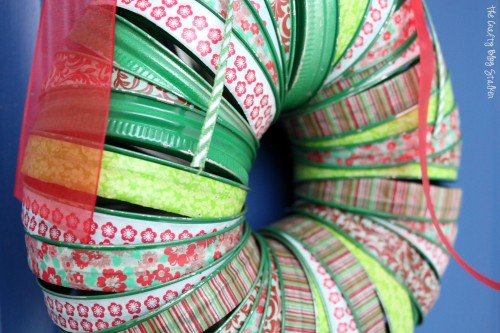
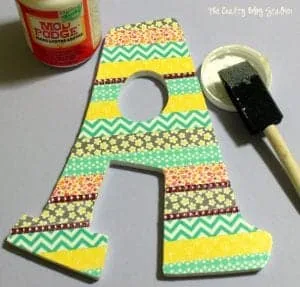
Wrap the tape around the outside edge of the lids. Secure the end with a dot of hot glue to keep the ends of the washi tape from rolling up.
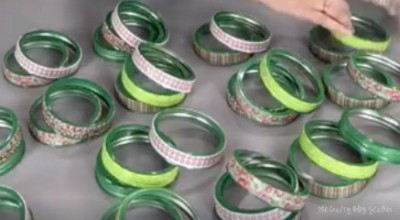
Arrange of the lids in small stacks of 2 or three making sure that none of the same patterns of washi tape are next to each other.
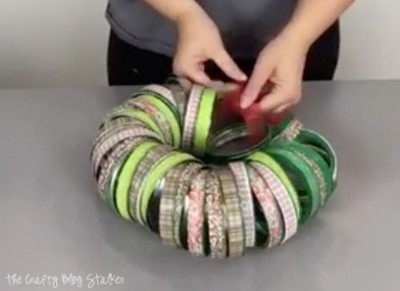
On a long piece of ribbon, string all of the lids making sure that the lids are all facing the same direction.
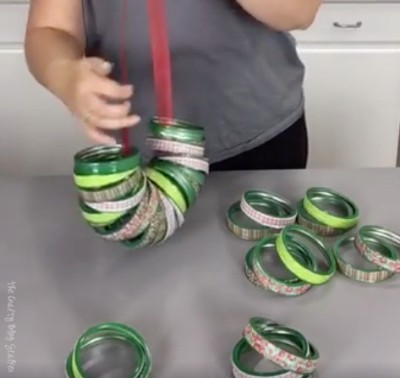
Bring the two ends of the ribbon together and tie them as tightly as you can It is helpful to have a helper for this step so you can get the ribbon tied nice and tight.
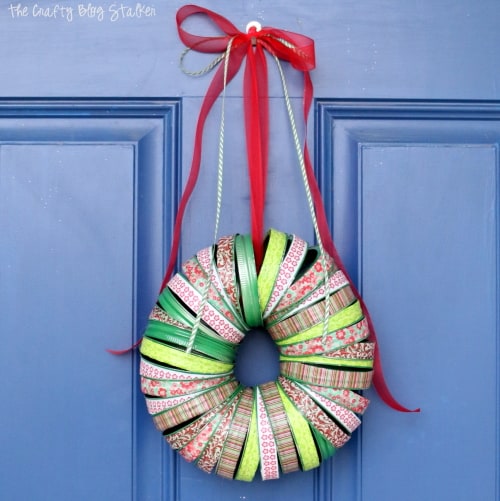
After the knot, you are left with the tails of the ribbon. Bring those together to tie a knot at the top.
Using matching ribbon tie a simple bow and hot glue it to the knot at the top of the wreath.

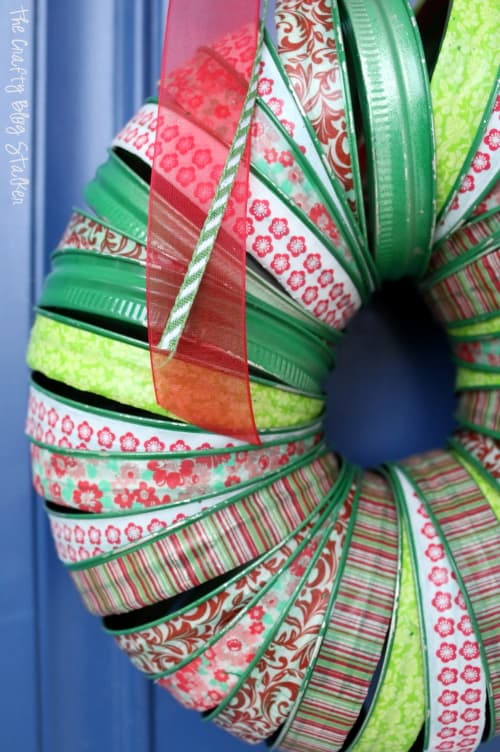
Ta Da!! The washi tape wreath is complete!

You can hang the wreath outside on the front door, or keep it inside for some seasonal wall decor.
Our Crafting Essentials:
- The Cricut Cutting Machine is easily our favorite crafting tool. We use it in so many of our tutorials!
- These MakerX Crafting Tools are perfect for keeping in the craft room and are always ready when needed!
- This Fiskars Paper Trimmer is easy to use and cuts nicely without frayed edges.
- These Scotch Precision Scissors cut like a dream, and you get multiple pairs in a pack!
When you make this Washi Tape Wreath please share a photo! We'd love to see what you've made.
Recommended Posts


Nisha
Wow..... After completition it is looking just amazing. I am just loving it. I am definitely going to make this kind of wreath in Christmas to decorate my home.