Craft paper banners like a pro with our easy guide. Ideal for parties, home décor & more! If you make a purchase using any affiliate links below, we may earn a commission.
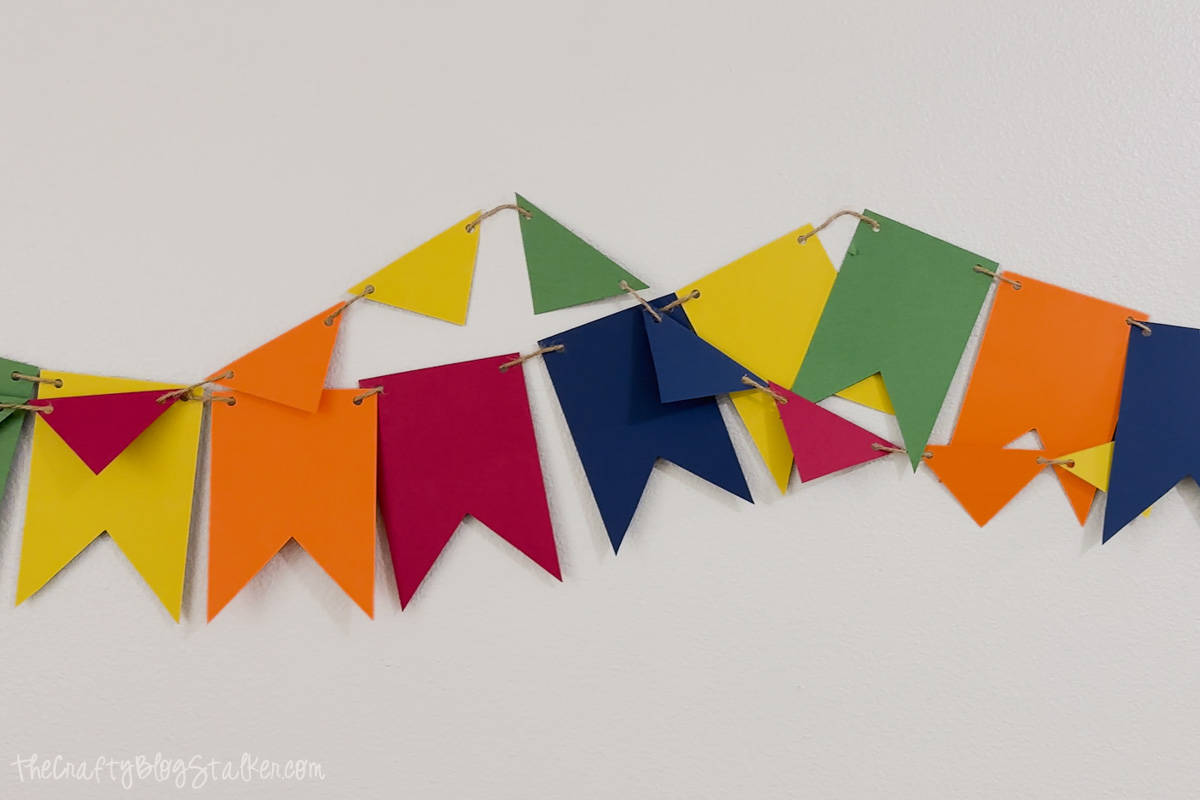
Today we're unraveling the simple secrets behind crafting stunning paper banners that can grace any occasion or space.
Whether you're prepping for a special event, personalizing your home décor, or diving into a weekend craft project, mastering the art of paper party banners is a skill worth having in your creative arsenal.
My favorite feature of this banner is that it is really 2 banners! The small triangle banner is actually the triangles cut out of the larger flags - so smart!
Follow our straightforward instructions accompanied by detailed photos, and create a splash of color with your own handmade banners. Let's get started!
Craft Video Tutorial:
Like videos? I have a video tutorial for you! Subscribe to my YouTube Channel so you don't miss any future videos!
Supply List:
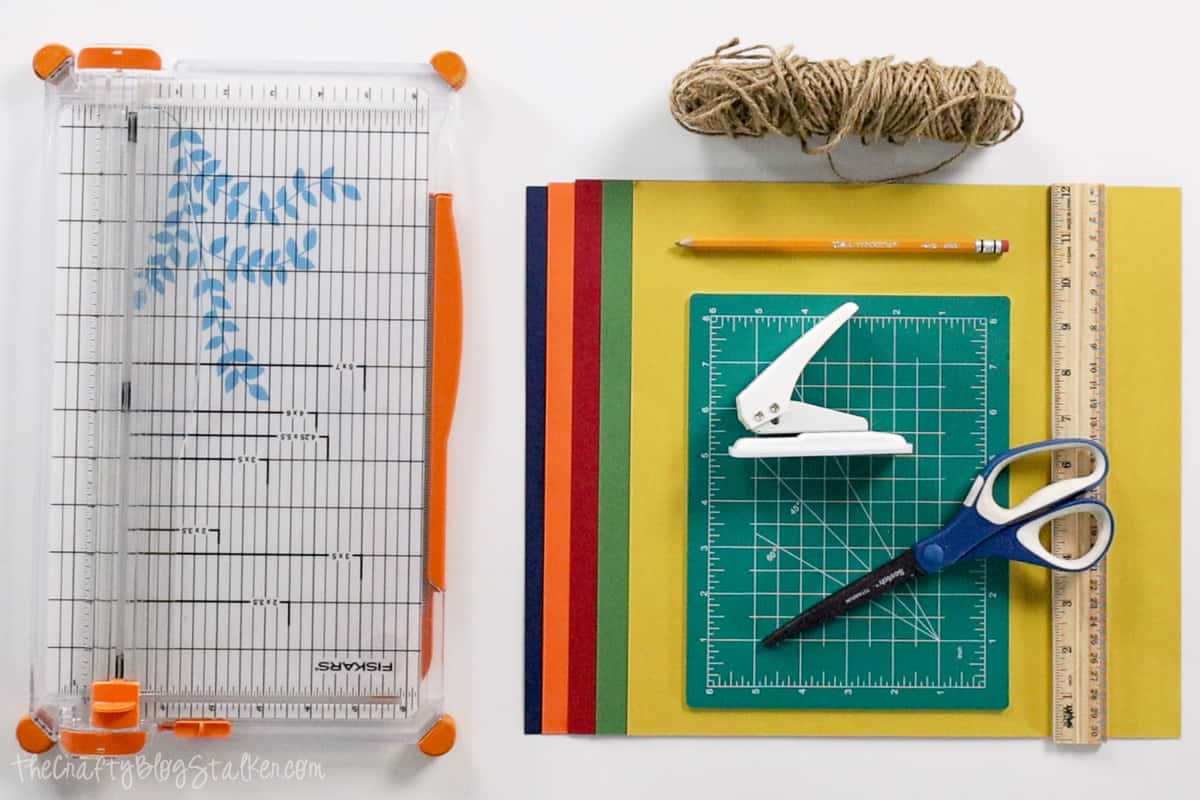
Of course, you can use any combination of solid colors or patterned papers to match your celebration or style. For this tutorial, I went with a fall theme.
Banner Template:
The first step is to create the banner template piece.
My banner flags are 4x6 inches, but this tutorial could easily be adjusted to create different-sized flags.
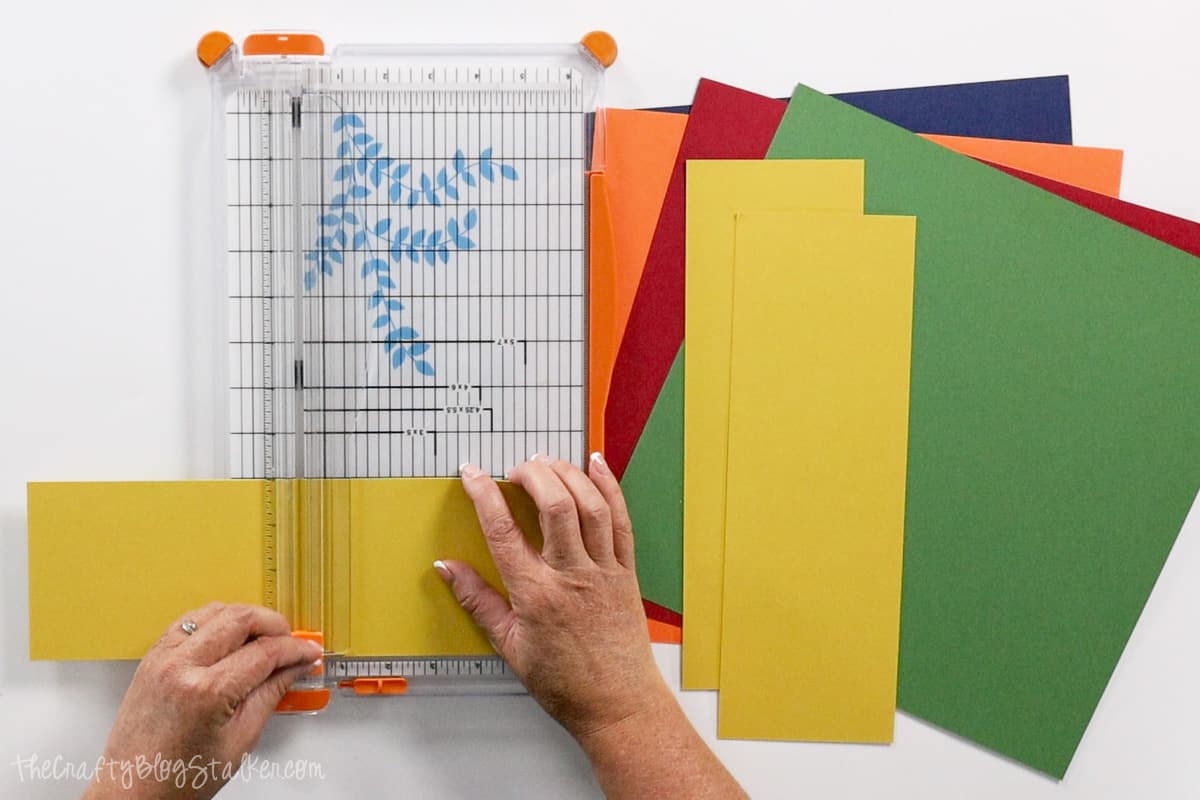
Using a paper trimmer, cut a rectangle that measures 4x6 inches.
Measure 2 inches down from the top and draw a line with a pencil.
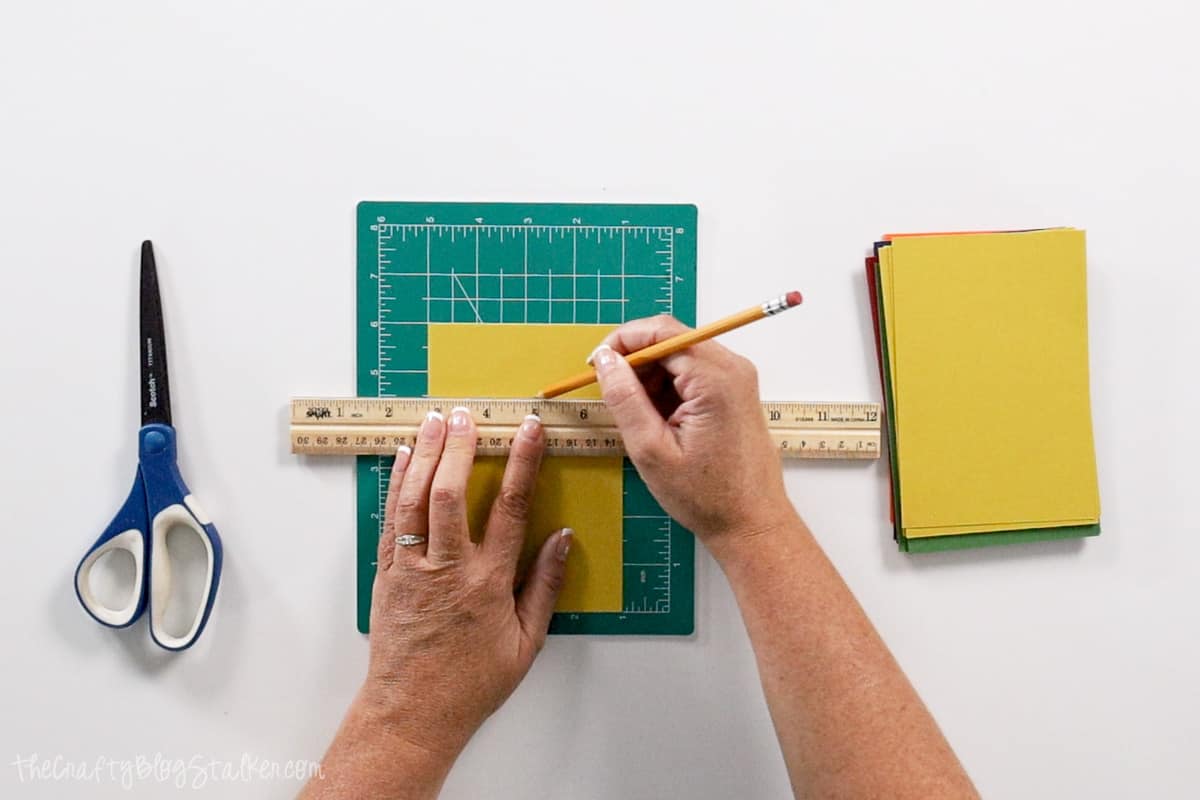
Draw a diagonal line from the top left corner of the line to the bottom right of the rectangle.
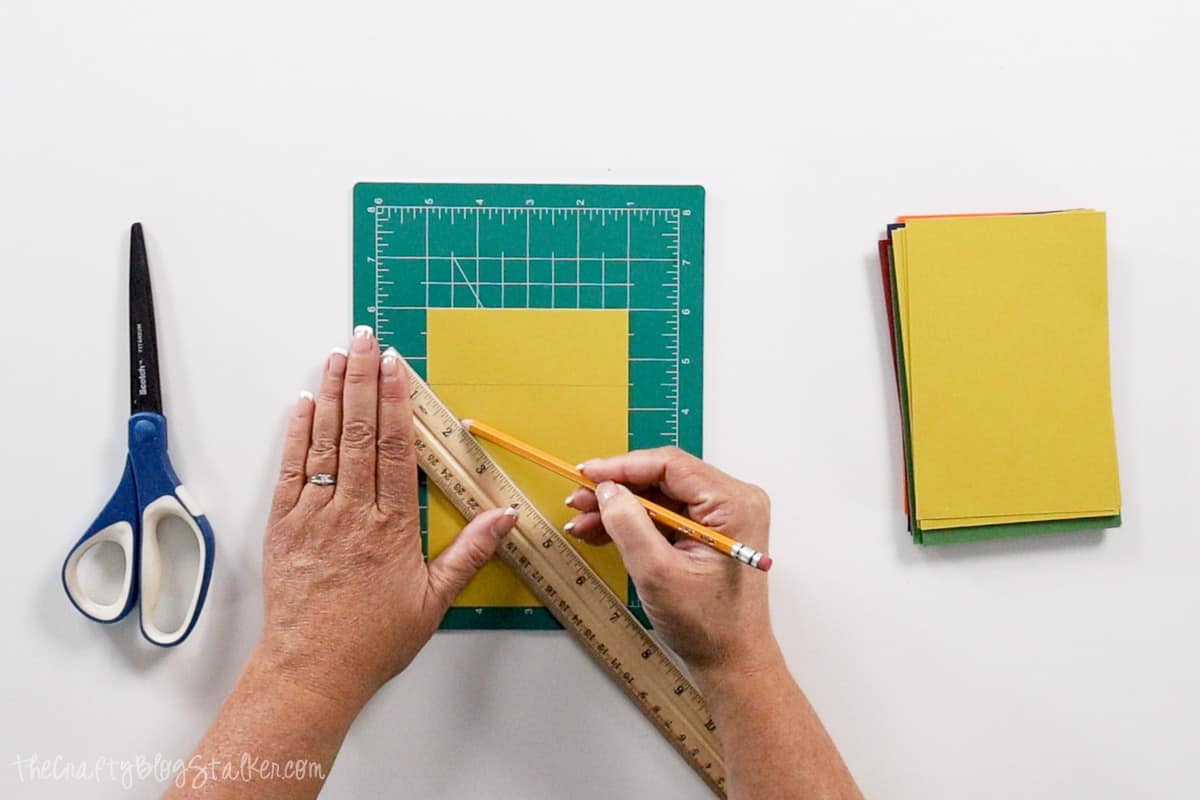
Repeat, drawing a line in the opposite direction. You have drawn an X.
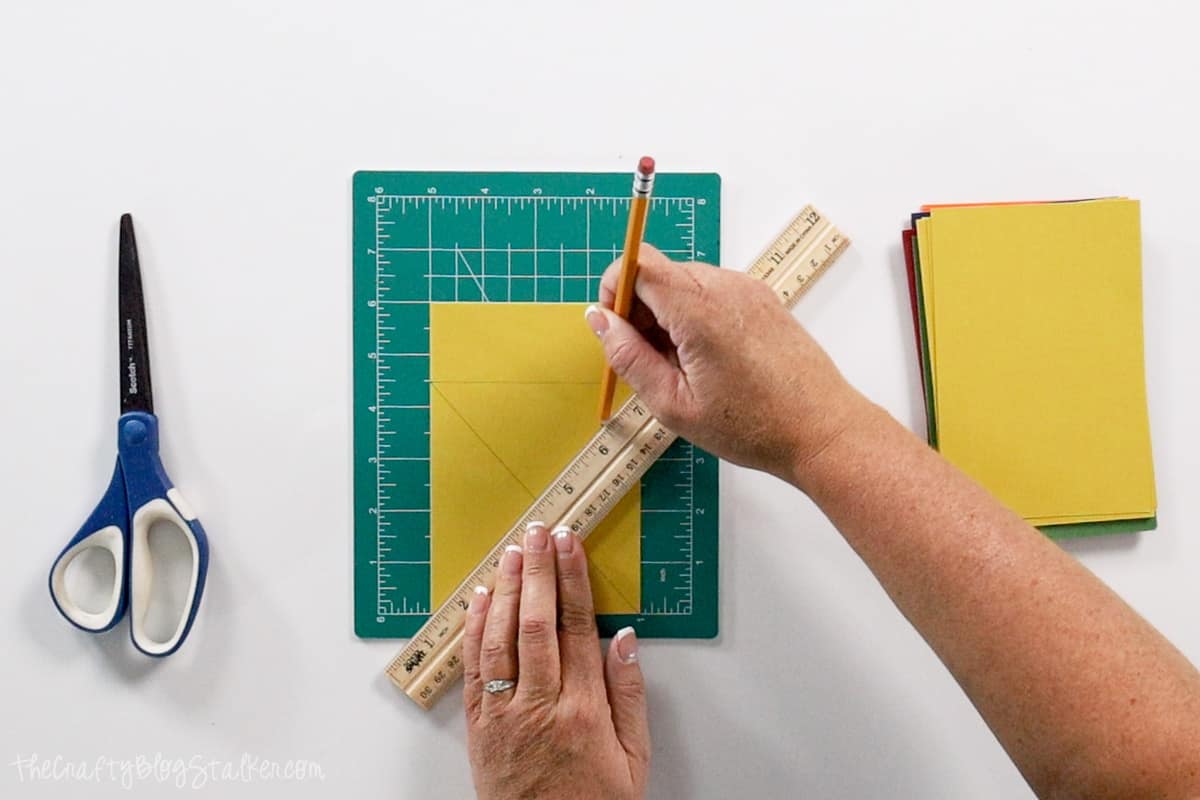
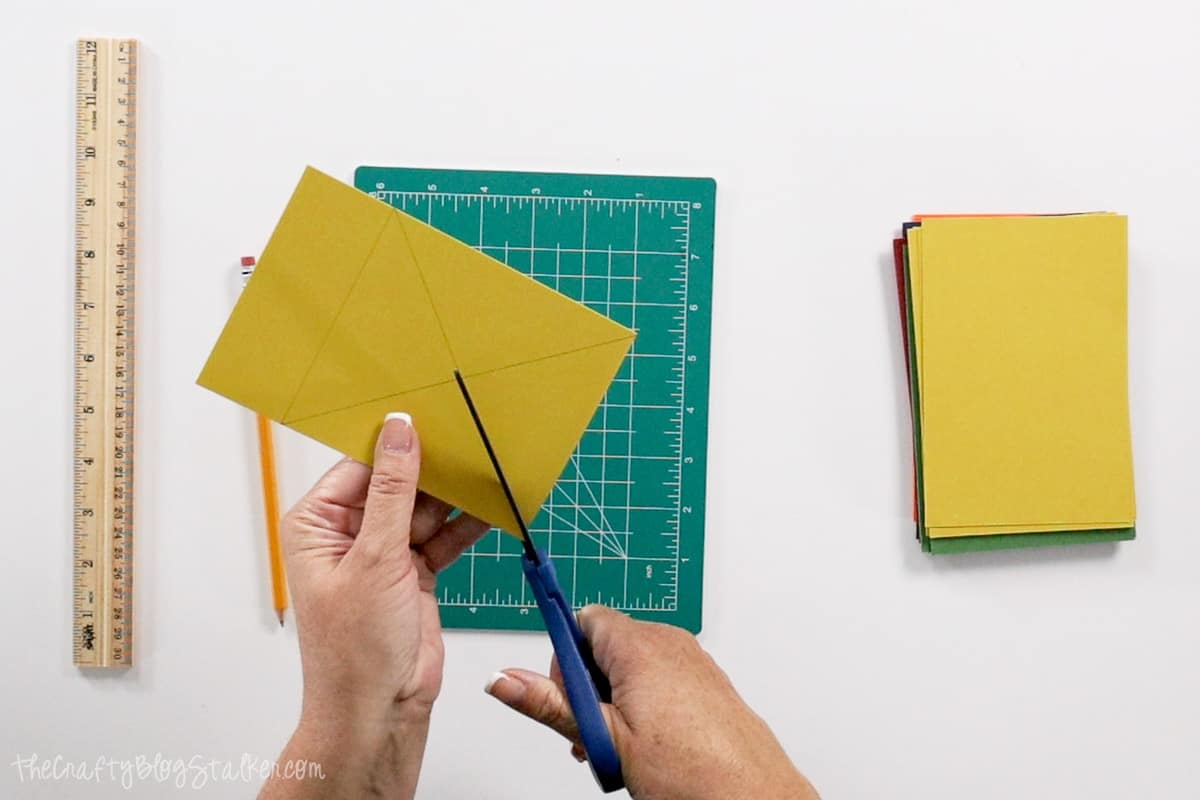
Use a pair od scissors to cut out the bottom triangle from the drawn X.
You are left with a flag banner piece and a pennant banner piece.
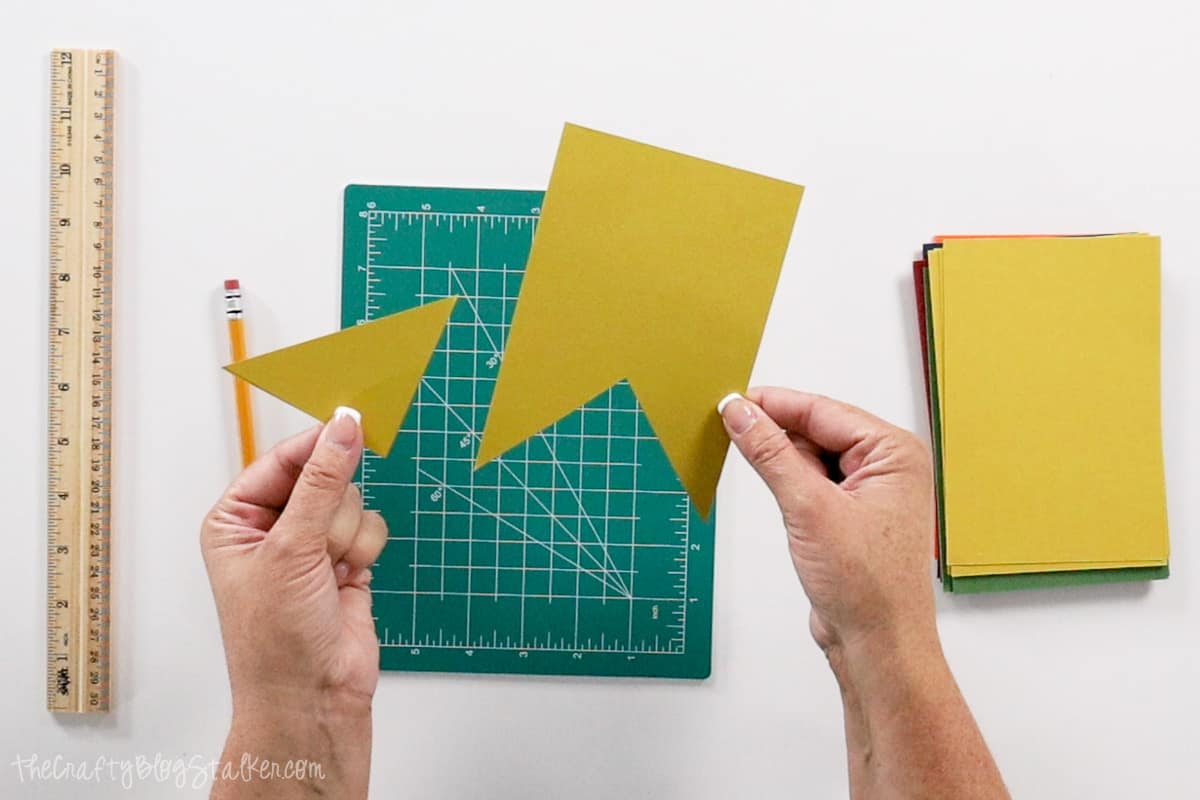
Cut banner piece with pencil lines on the back is now your banner template.
Cutting Banner Pieces:
Cut your paper into 4x6-inch rectangles using a paper trimmer.
I like to use 12x12-inch paper because you can cut six 4x6 rectangles and use the entire sheet.
Place the banner template on top of a rectangle piece and follow the cut lines with a pair of scissors to cut a banner flag.
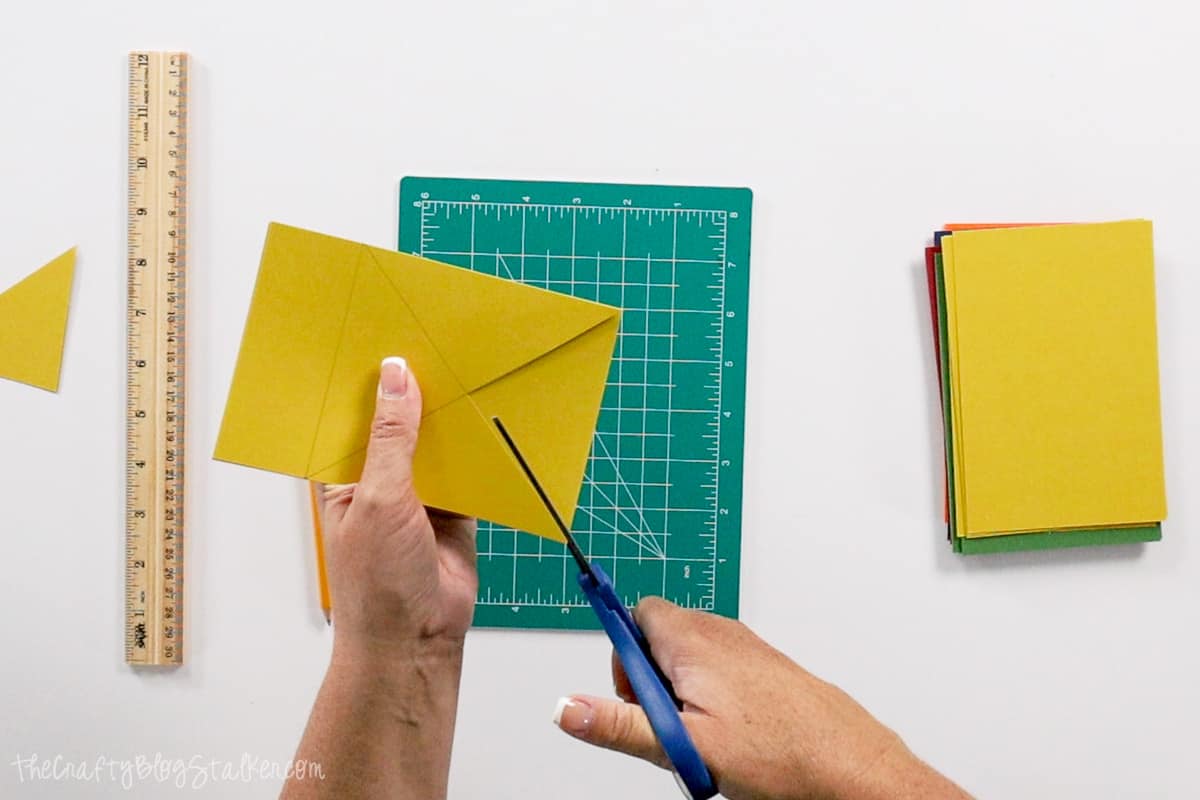
Make sure to keep both the triangle piece and the flag piece.
Hole Punch:
Here are all of the banner pieces once they are cut out.
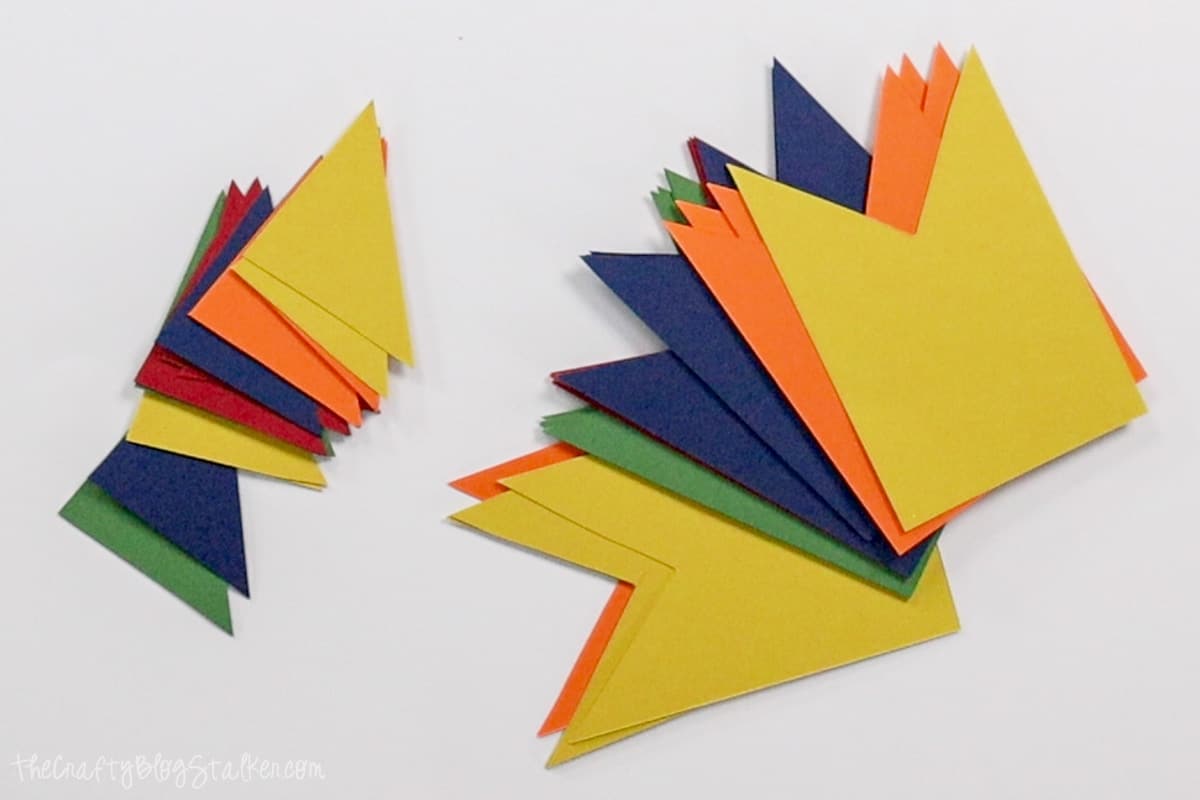
Use a hole punch to create holes in the top two corners of all of the banner pieces.
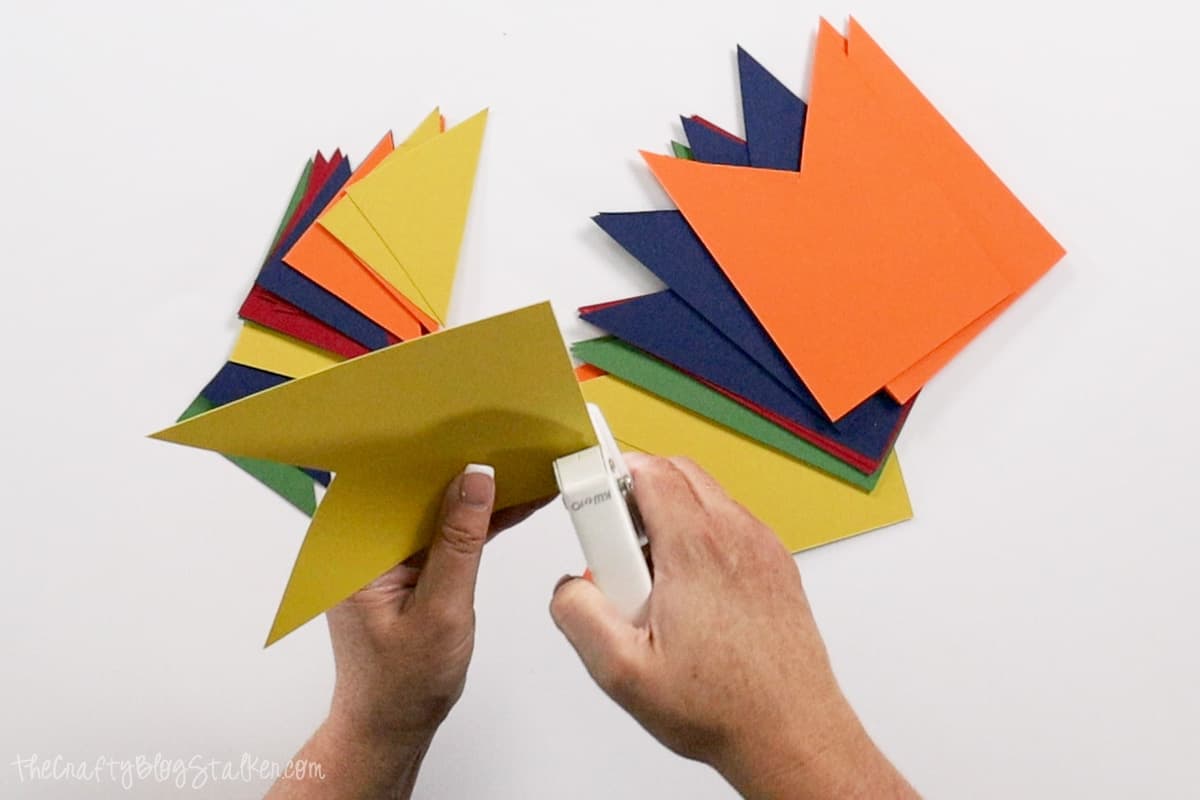
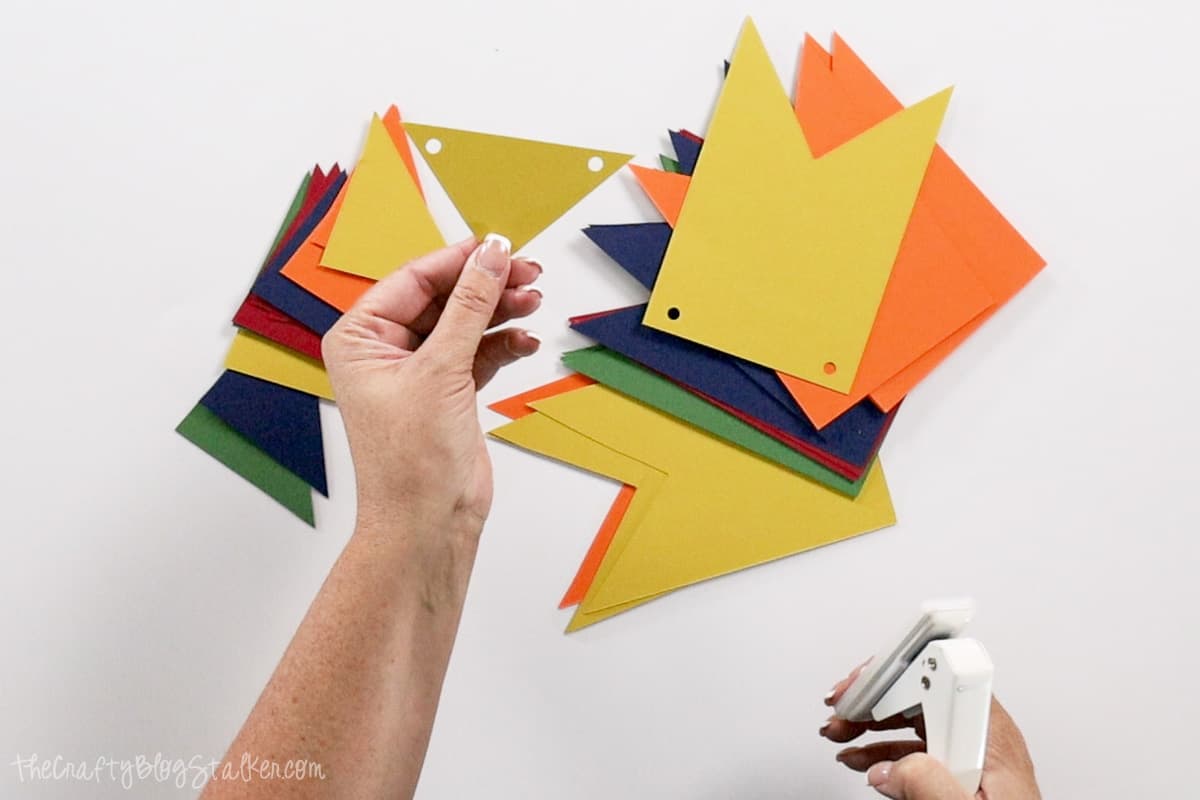
Don't forget the wholes in the triangle pieces too!
Stringing the Banner Together:
I wasn't exactly sure how long to cut my twine, so I didn't. I simply unwound a good length and left it attached to the spool.
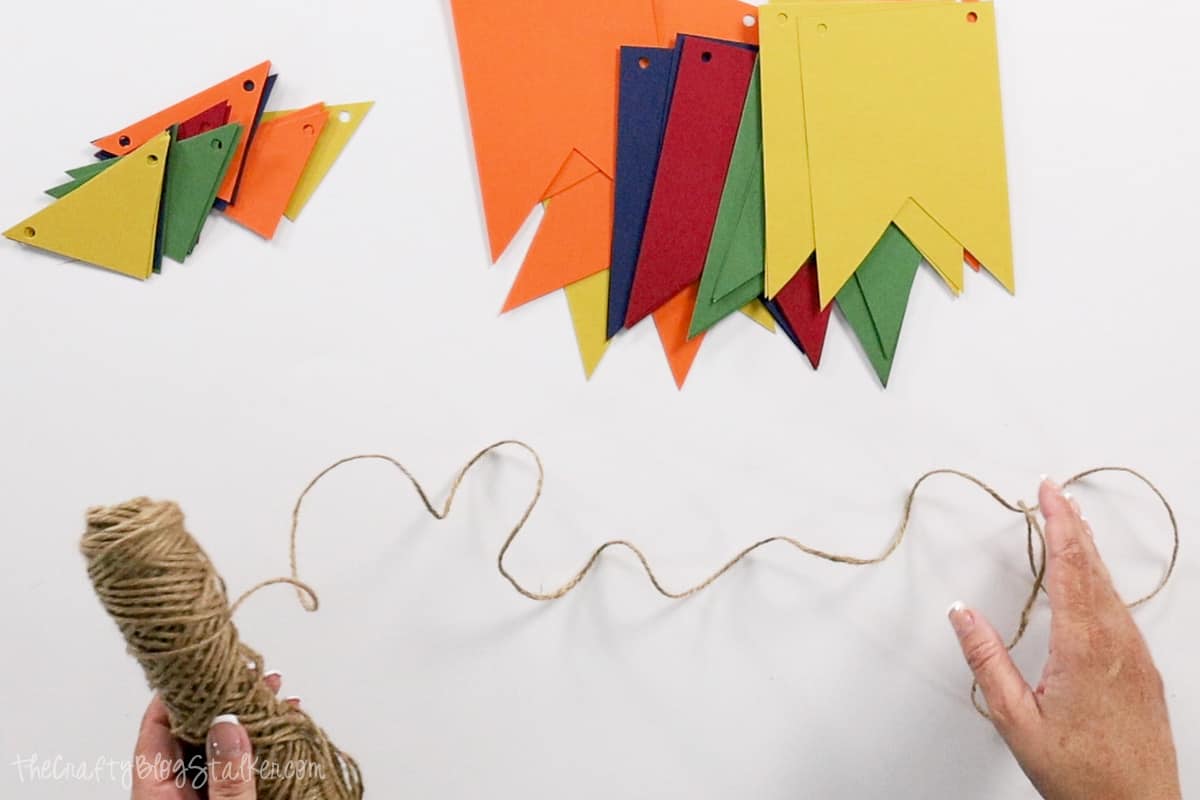
Cut a small piece of tape and wrap it around the end of the twine. This will help it from unraveling while stringing the banner together.
I didn't string the colored flags in any particular order but feel free to go with any order you would like.
Just weave the string in through one hole and out the other side. Just make sure you repeat for all flags so they are strung the same way.
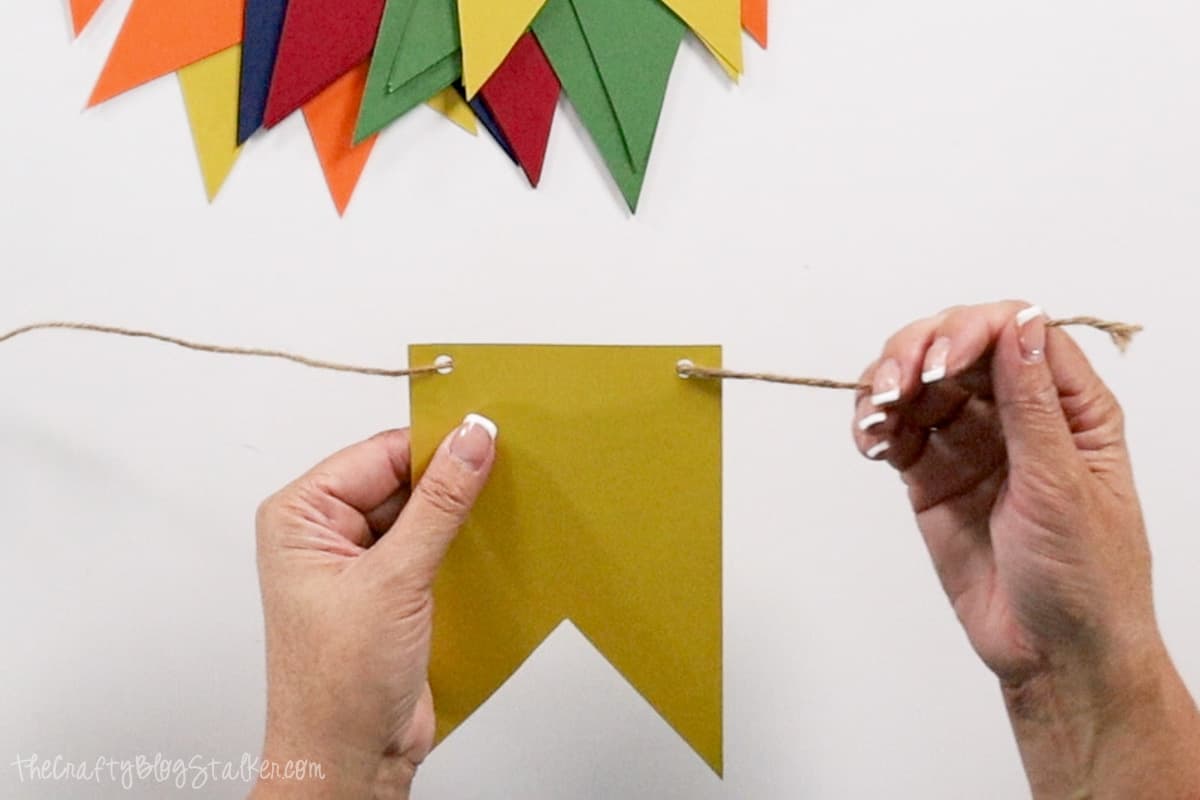
When the desired length is met, or you run out of flags, cut the twine from the spool and your banner is finished!
But don't forget to string the coordinating pennant banner, the same way you did before.
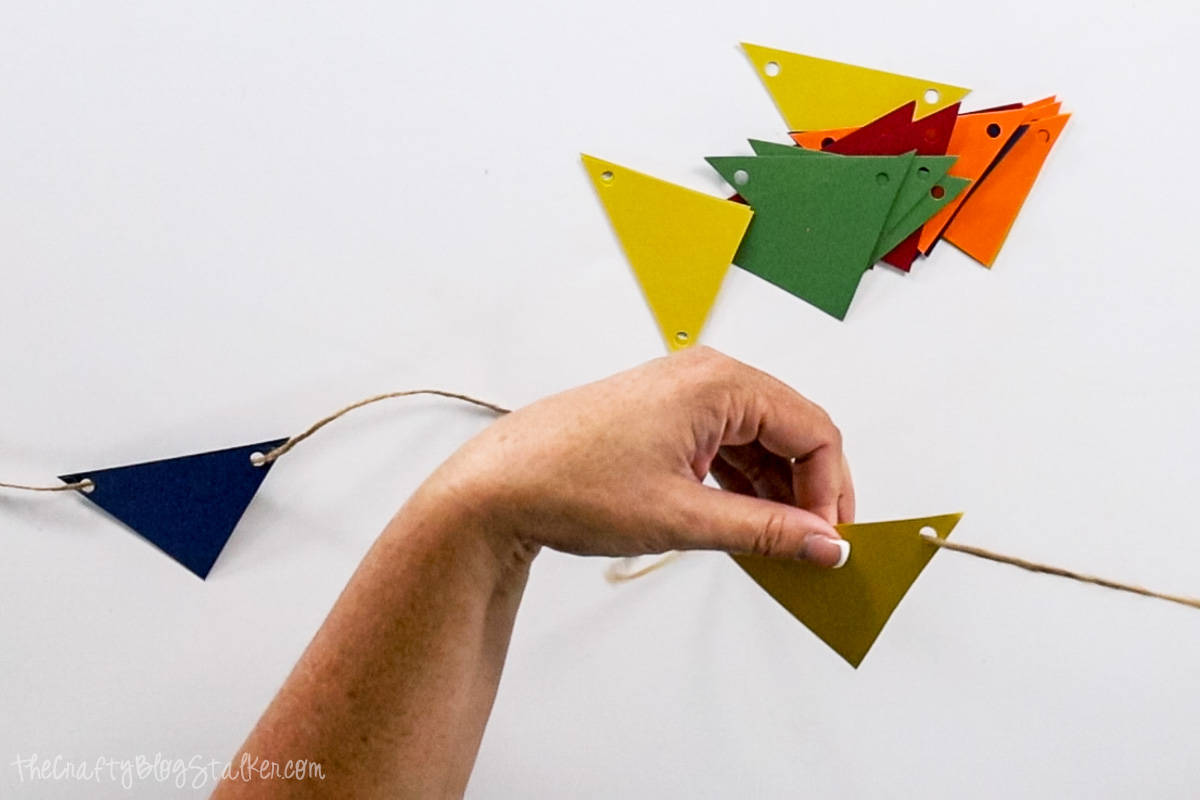
Hanging the two banners together looks really nice. They really complement each other.
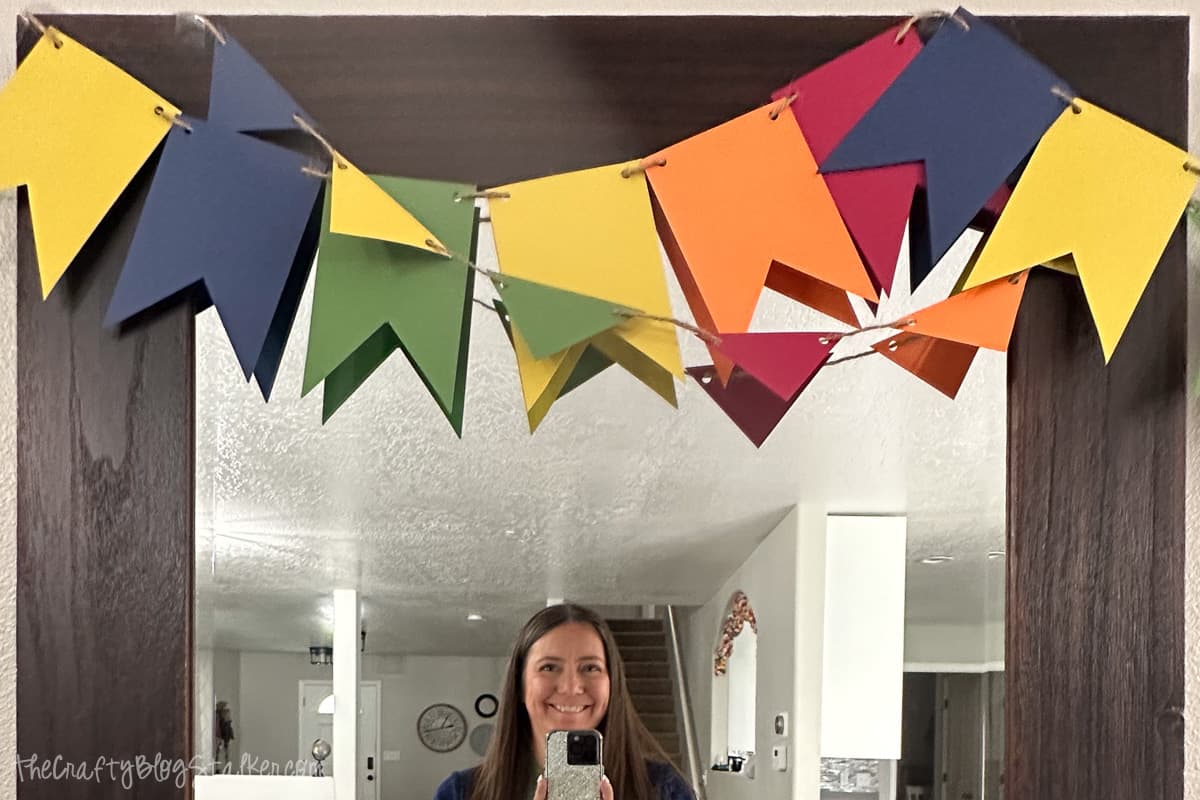
This banner design works perfectly as the base for a party decoration banner as well. Think high school graduation, birthday party, bridal shower, and more!
Since this banner is made of paper, it is best for indoor use or a sunny day if intended for outdoor use.
Frequently Asked Questions:
Cardstock or other heavyweight paper is great to use as the main material for a paper banner. However, when it comes to decorating the banner you can use photos, fabric, tissue paper, and more!
Our Crafting Essentials:
- The Cricut Cutting Machine is easily our favorite crafting tool. We use it in so many of our tutorials!
- These MakerX Crafting Tools are perfect for keeping in the craft room and are always ready when needed!
- This Fiskars Paper Trimmer is easy to use and cuts nicely without frayed edges.
- These Scotch Precision Scissors cut like a dream, and you get multiple pairs in a pack!



Linda Bouffard
Very lovely. I love that it is not symmetrical. Linda PINNING.
dorothysueandmillieb
Love this... I have never sewed paper, but think I'm going to attempt it now. I must have one of these!!!
Suzie @ Dorothy Sue and Millie B's too
Summer Rumsey
Katie this is very fun! Love the fall colors!
Joy @ Yesterfood
So Cute!! I like that you sewed them together- I would never have thought of sewing paper. Thanks for sharing this with us at Treasure Box Tuesday- pinned! 😀
Michelle (The Ribbon Retreat)
This is such a cute project so great for any holiday, season, or everyday use! Thanks for sharing! PINNED!
Laura Irion // Avery Street Design
This is really cute!!! I just love how much you can do (and so inexpensively!) with paper.
Carin
Visiting from the makers. I really like this banner. I love that you reused the triangles to become part of the banner 🙂
bar
hi, your measurements or paper counts are off. You cant get 6 4x6 pieces out of a 12x12 piece of paper. Do you mean 4 pieces?
Katie
You actually can get 6, 4x6 pieces out of a 12x12 sheet. Cut the paper in have so it's 6x12 and then cut each half into three 4x6 pieces.