



Turn an ordinary medicine cabinet into an organized magnetic storage space with galvanized metal and a few simple supplies.
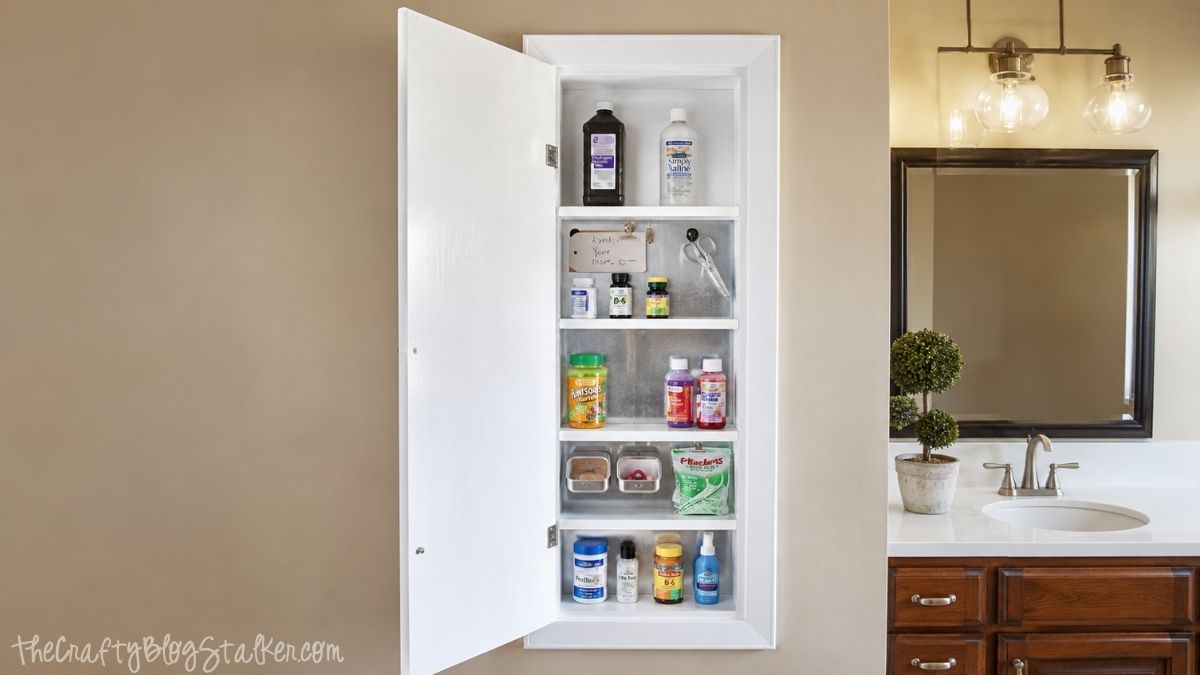
Bathroom organization has never come naturally to me, but I definitely appreciate a space that feels tidy and easy to use.
I'd much rather spend an evening with my family than worry about a sink full of dishes or a basket of laundry waiting to be folded.
Since my house doesn't magically organize itself, I've learned that simple DIY projects can make a big difference.
This magnetic medicine cabinet is one of my favorite upgrades because it makes everyday items easier to find while giving the cabinet a fresh new look.
Skill Level: Beginner
Estimated Cost: $20 - $30
Total Time: 2 hours plus dry time
Plan Your Custom Medicine Cabinet
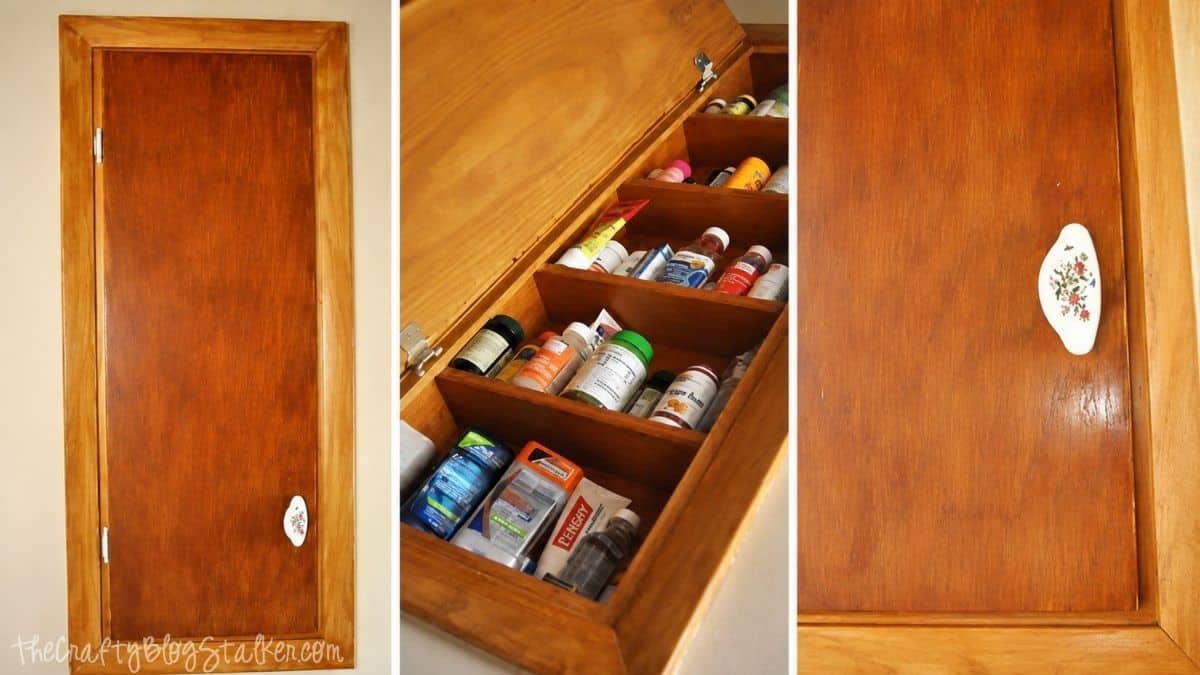
Before adding the galvanized metal, I gave my medicine cabinet a fresh coat of paint. I did this the same way I painted the wood trim in my dining room.
If your cabinet already looks the way you want, you can skip that step and move right into measuring the inside.
Every bathroom and medicine cabinet is a little different, so take a few minutes to look at how yours is built before cutting the metal.
If your shelves can be removed, you may be able to install one large sheet across the entire back. My shelves were fixed in place, so I measured each section separately and cut individual pieces to fit between the shelves.
Taking accurate measurements now will save time later and help your finished project look much cleaner.
Cut and Install the Metal
Measure Carefully
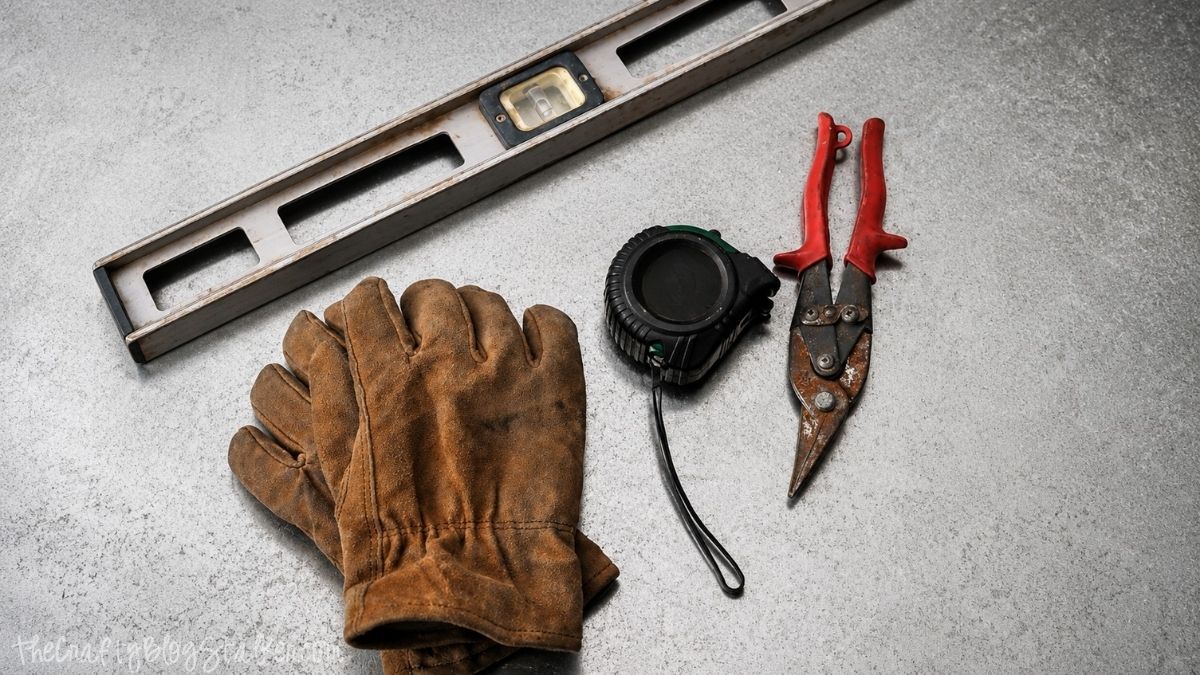
Use a tape measure to determine the size of each section that will be covered with galvanized sheet metal.
Transfer those measurements to the back side of the metal with a Sharpie and use a straight edge to draw your cutting lines.
I recommend double-checking every measurement before making your first cut. A few extra seconds here can save you from wasting material.
Cut the Galvanized Sheet Metal
This is definitely the most physically demanding part of the project. Tin snips work well, but cutting galvanized metal takes patience and a little hand strength.
Wear protective gloves while cutting because the freshly cut edges can be extremely sharp. Slow, steady cuts usually produce the cleanest results and are much easier to control than trying to rush through the metal.
Don't worry if your edges aren't perfectly smooth. Most of them will be hidden once the pieces are installed inside the cabinet.
Attach the Metal
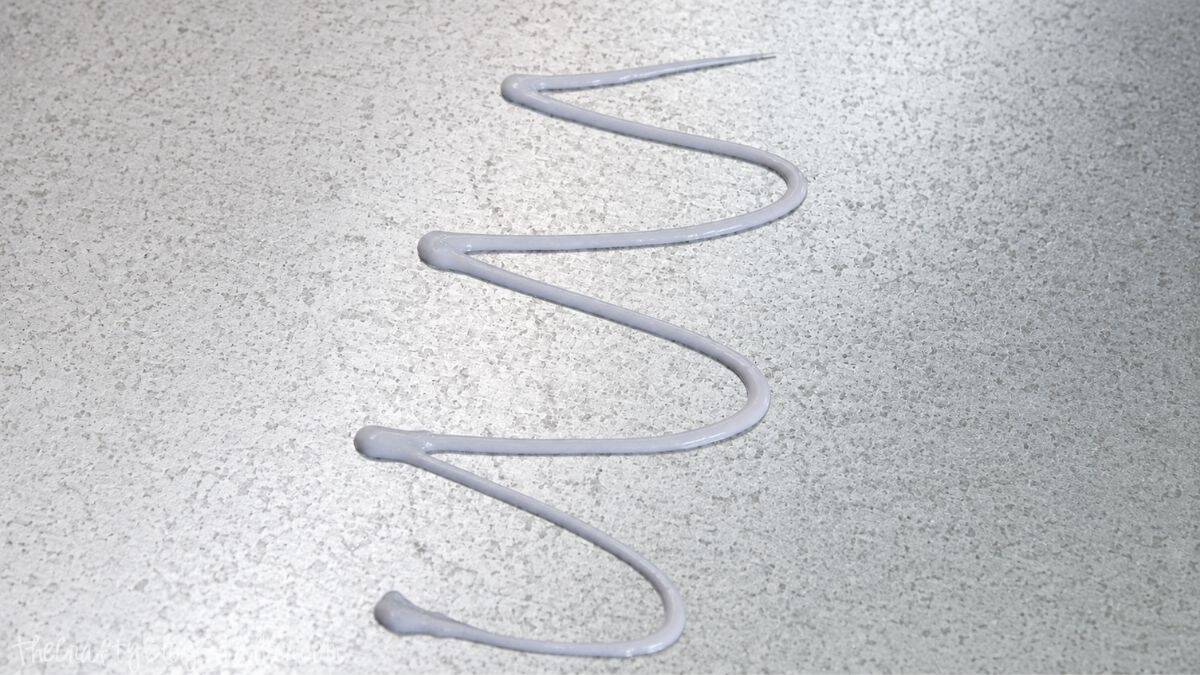
Once every piece has been cut, spread an even layer of Elmer's Glue-All onto the back of the galvanized sheet metal and carefully press it into place inside the medicine cabinet.
Because my cabinet had just been painted, I didn't want to use tape that might damage the finish.
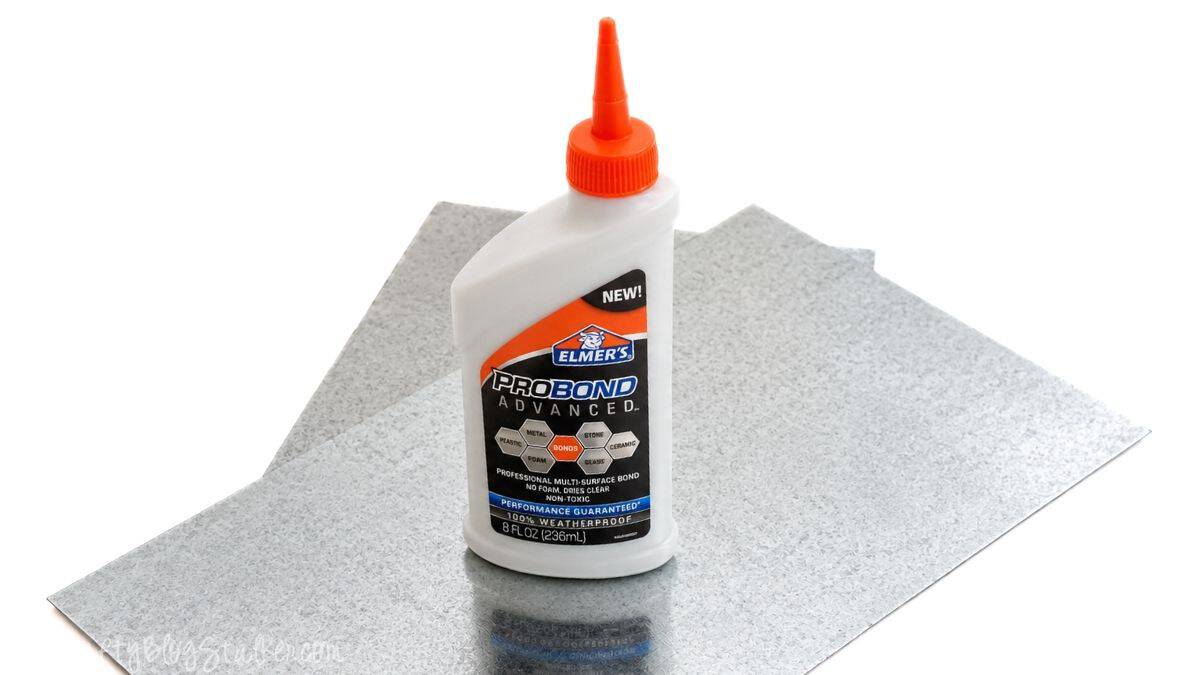
Instead, I simply held each piece in place for several minutes while the adhesive started to grab.
Organize Your Bathroom
Now comes the fun part!
Once the metal is securely attached, your bathroom medicine cabinet instantly becomes a magnetic organization station.
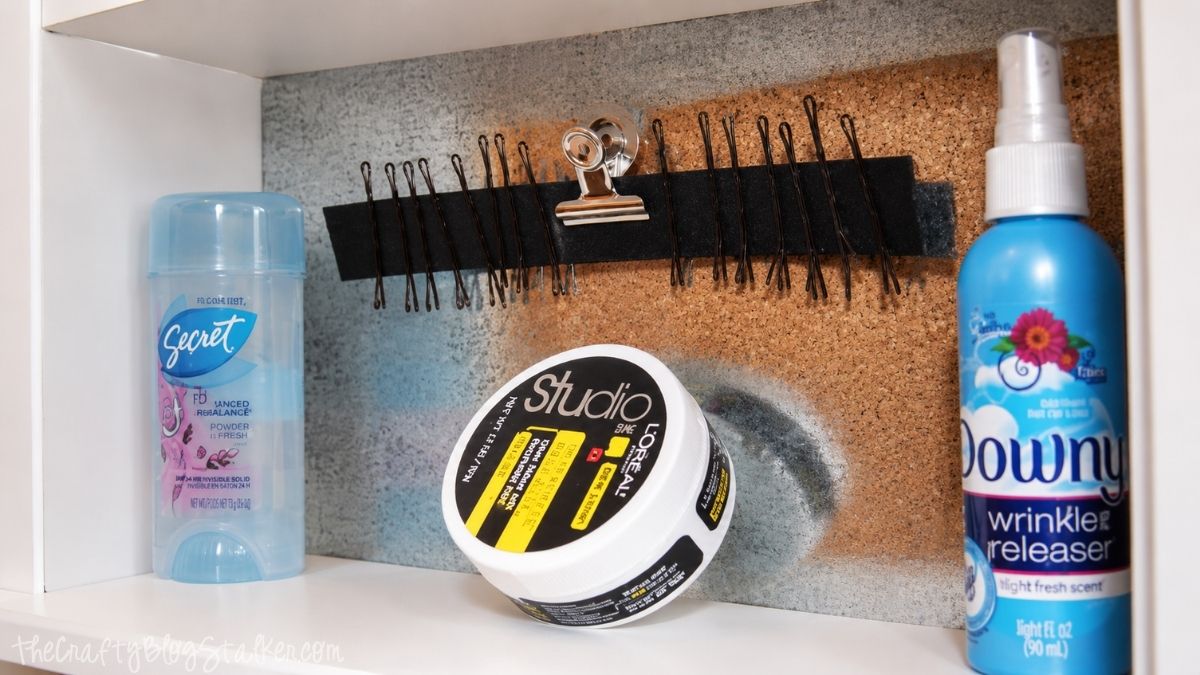
Magnetic containers can hold cotton swabs, tweezers, nail clippers, bobby pins, makeup brushes, and other small items that usually end up rolling around on the shelves.
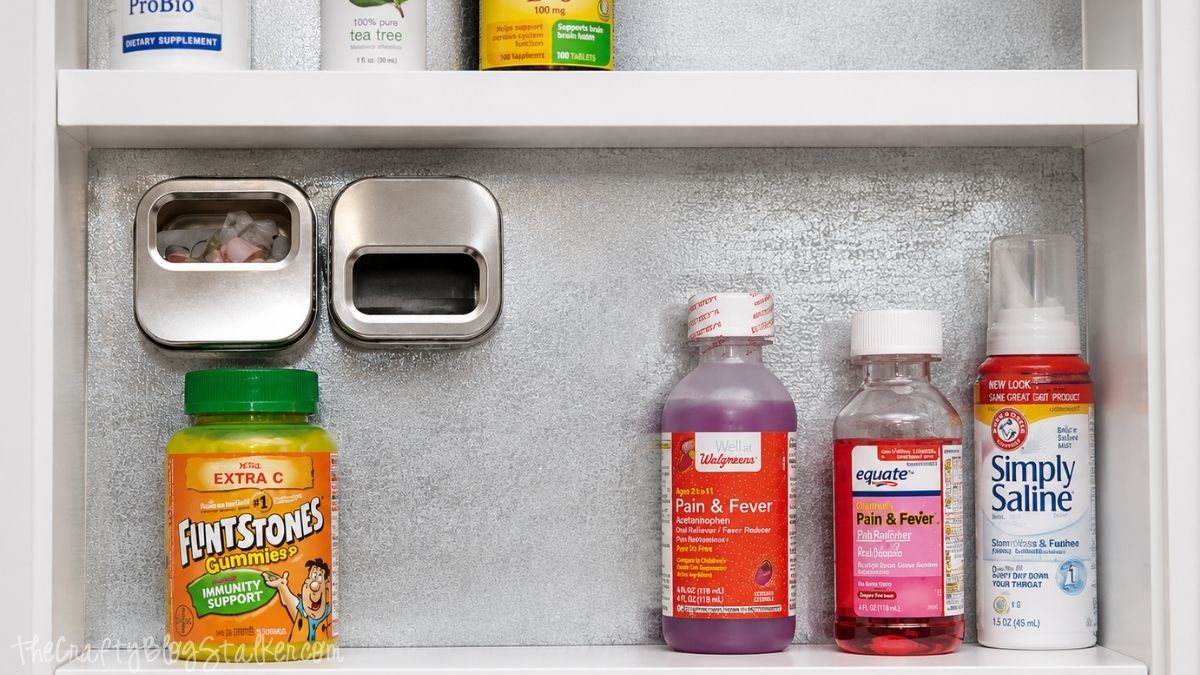
Keeping frequently used items attached to the back of the cabinet also frees up shelf space for taller bottles, medications, and other bathroom essentials.
It's a simple change, but it makes the cabinet feel much more organized and easier to use every day.
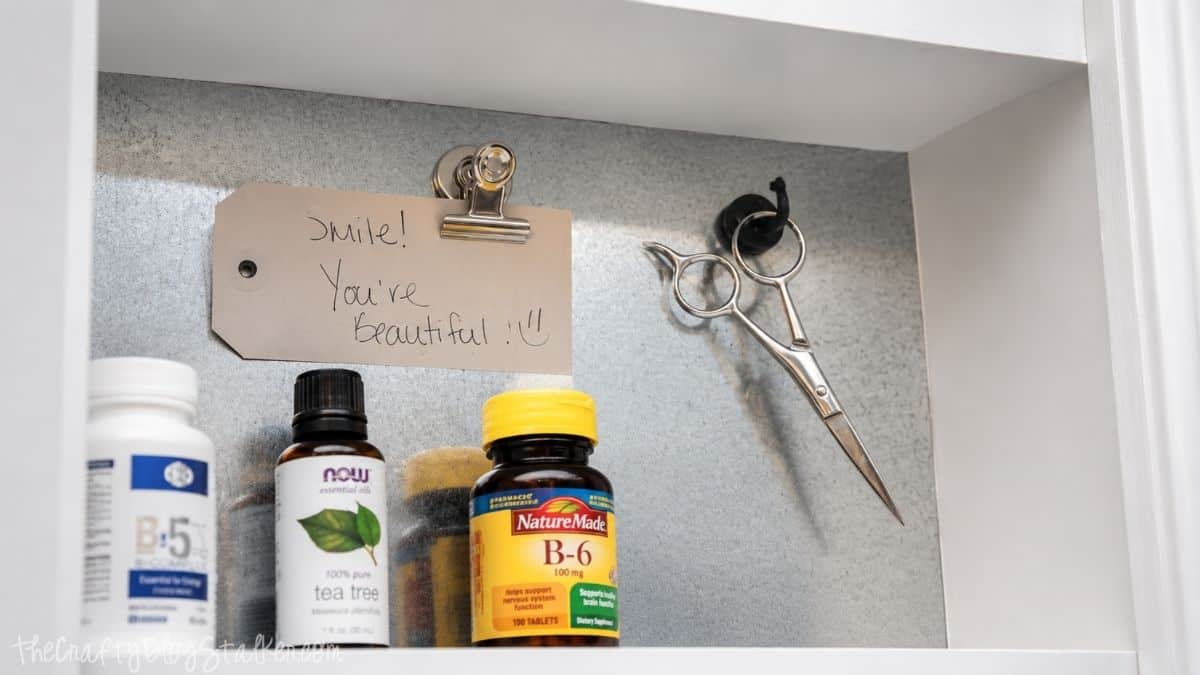
As your storage needs change, you can move the magnetic containers around without making any permanent changes.
That's one of my favorite parts of creating a custom medicine cabinet like this.
Helpful Tips
If your galvanized sheet metal has fingerprints or residue on it after installation, simply wipe it down with a damp cloth before organizing your supplies.
Strong magnets work much better than inexpensive craft magnets, especially if you're storing heavier items.
If you're replacing an older medical cabinet, consider painting the inside before installing the metal. A fresh coat of paint helps the finished project look clean, bright, and completely updated.
Frequently Asked Questions
Yes! As long as the back of your cabinet is flat enough to attach galvanized sheet metal, this project can be adapted to fit almost any medicine cabinet.
Galvanized metal gives magnets a surface to stick to while adding an industrial look that pairs well with many decorating styles.
Yes. Choose a strong construction adhesive or metal-safe glue that works with both wood and metal if you prefer something other than Elmer's Glue-All.
No. The metal is glued directly to the inside back of the cabinet, making this a permanent upgrade, but it won't affect the outside appearance.
Help Me With This Project
Click a button below to ask AI how to cut galvanized sheet metal safely.
More DIY Organization
If you enjoy simple DIY projects that make your home more functional, you'll find even more inspiration below.


Hi, I'm Katie!
I'm so glad you're here. Want to make something fabulous? I'm here to help!
Valerie | From Valerie's Kitchen
This is so clever! I'm so attracted to DIY projects like this and thankfully have a husband with tons of tools who I can enlist to help me. Poor guy 🙂
Crystal
Awesome!! I love the magnetic cabinet. I don't have a medicine cabinet, but I do have a floor cabinet. This would be perfect on the inside door to make it magnetic. I love the strip with your bobby pins on it. That's genius!! I'm always fumbling in a little container to get them out. Very frustrating. Love the organized, sleek look of it. Thanks for the tutorial 🙂
Theresa M
Every house needs this!!! It is one of those ,Why didn't I think of that????
Bonnie Mauney
Such a great Idea! love the addition of the magnetic clips!!
Katie
Thanks Bonnie! The clips are fun to leave little notes in there for the kids and the hubby : )
elizabeth
Thanks for sharing