This post may contain affiliate links. For more information, please see our disclosure policy.
Make a Chalkboard Banner using the Banner Punch Board. A complete step-by-step for this party banner tutorial.
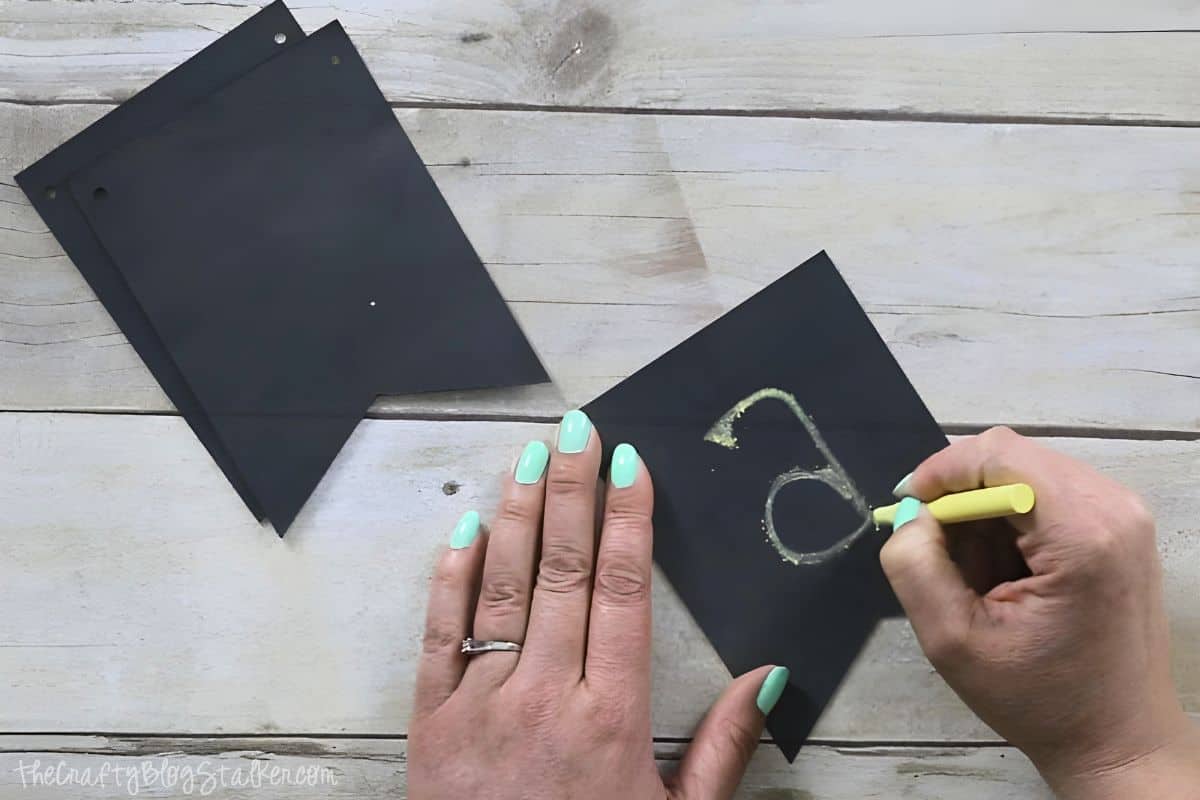
Everywhere you look you see banners, and why not? They are perfect party decorations for any party or event and, let's face it, they are just so darn cute!
I love making banners and find myself making them all of the time because everyone wants their own personalized banner for each event or reason to celebrate.
That is why I decided to make this chalkboard banner. It's one banner that I can use over and over again. It's brilliant if I do say so myself.
Craft Tutorial Video:
Supplies You'll Need to Create this Project:
Some links may be to similar items when exact items couldn't be found online.
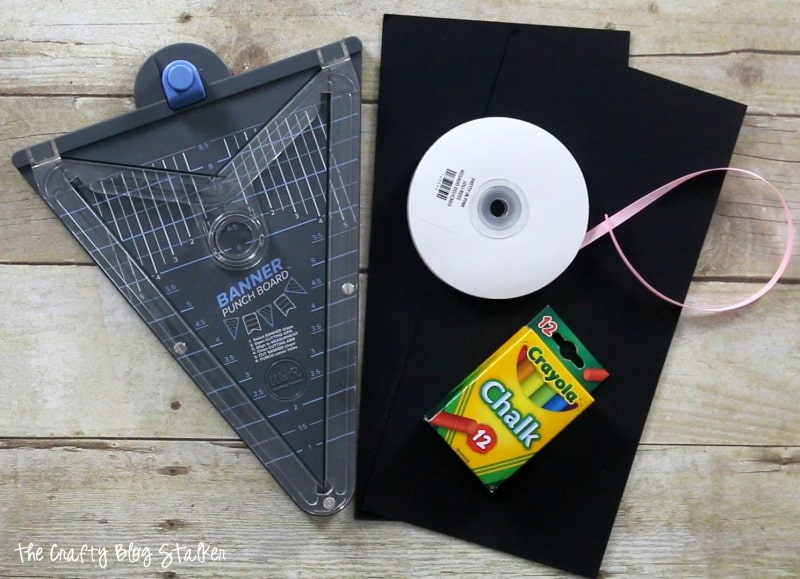
If you have never used the Banner Punch Board it is a pretty awesome little tool. It is made by We R Memory Keepers and allows you to quickly cut two different shaped banners in a lot of different sizes.
How to Make a Chalkboard Banner:
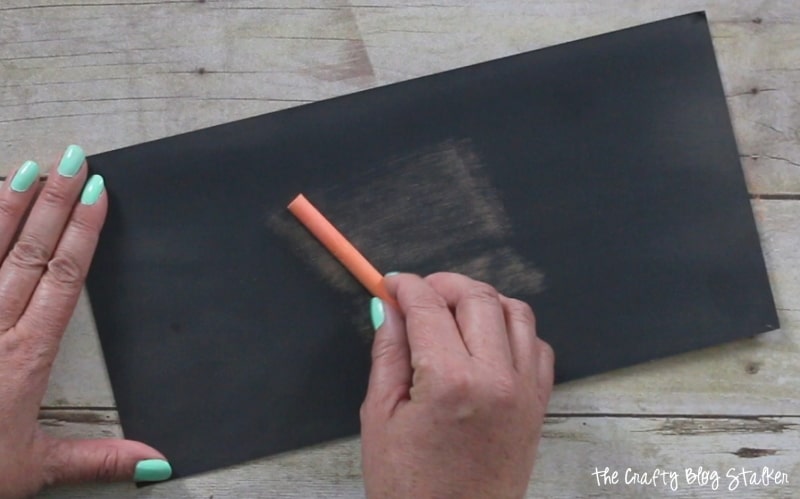
Before any cuts are made, prep the chalkboard cardstock by running chalk all over the sheet and then wiping clean. This helps the chalk stick to the cardstock better.
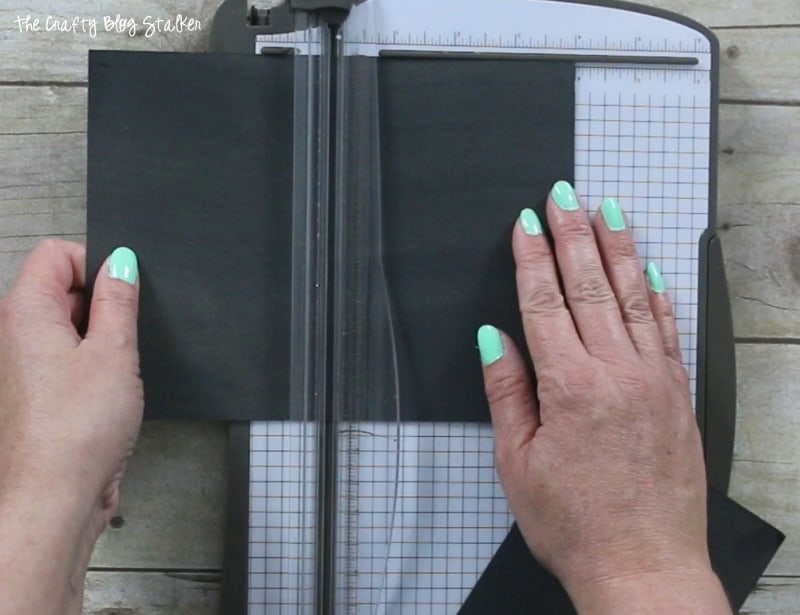
The chalkboard cardstock came in sheets of 6 x 12 inches. To get three banners out of one piece, cut 3 rectangles per sheet that measure 4 x 6 inches.
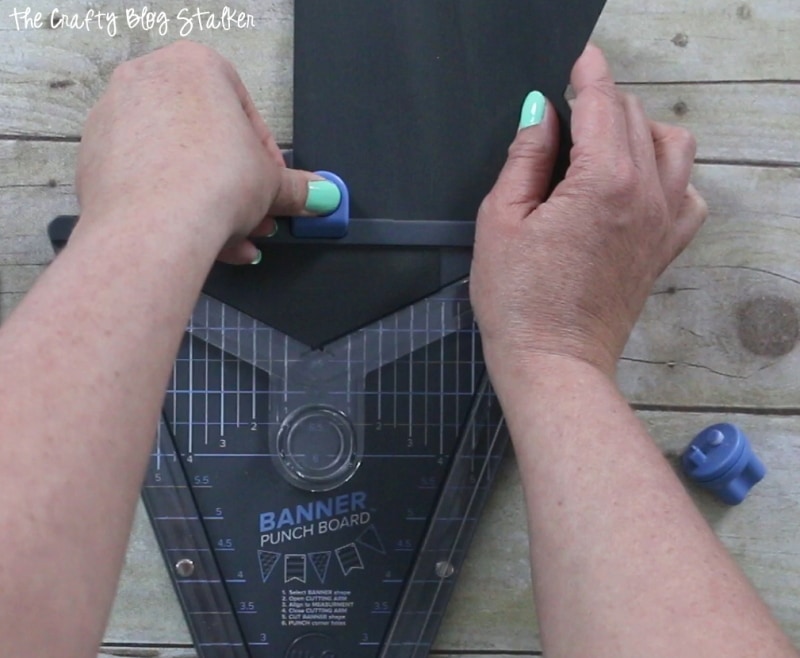
The Banner Punch Board really is very easy to use. There are measurements printed on the punch board to make sure you get the perfect banner every time.
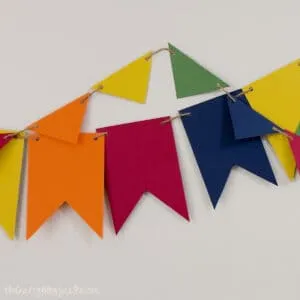
We are doing a flag shape, or what I like to call the dove-tail.
Line the cardstock up according to the grid lines on the board and the cut with the swivel blade that is included.
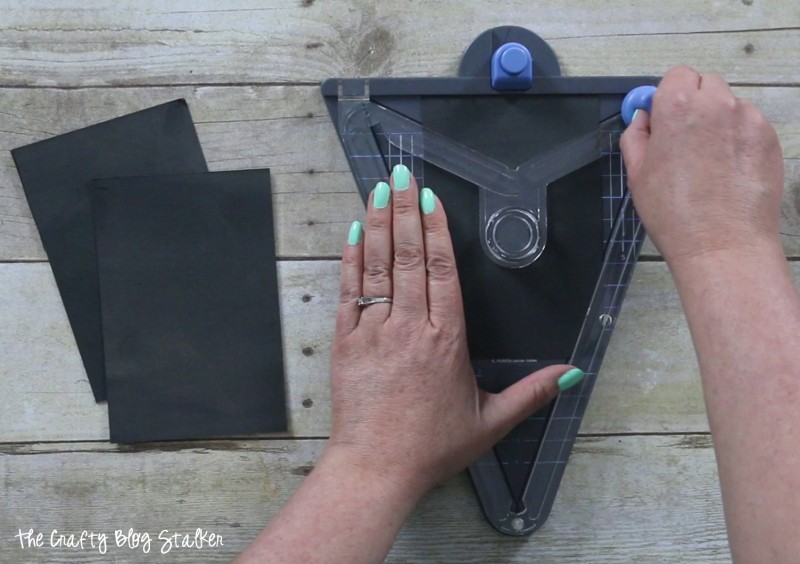
There is also a hole punch on the top so the holes are perfectly aligned without having to get out extra tools.
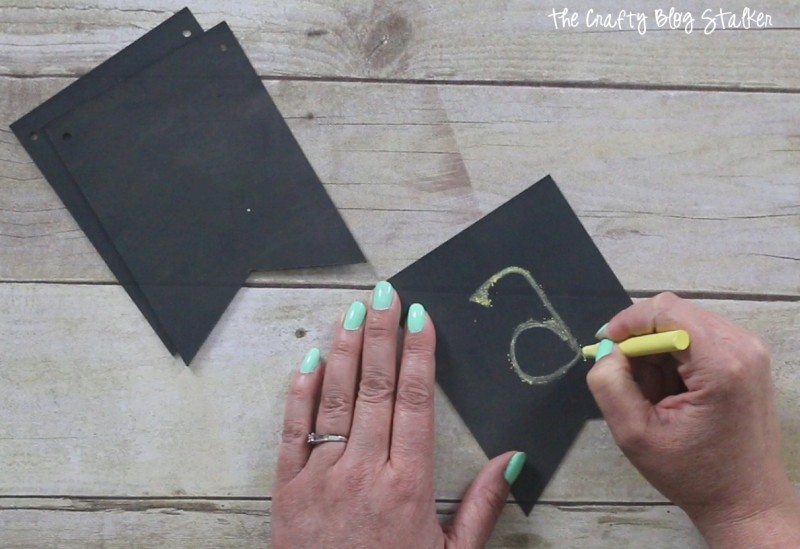
Using chalk, spell out the word for your event or a word that inspires you. Today, our banner is going to say celebrate.
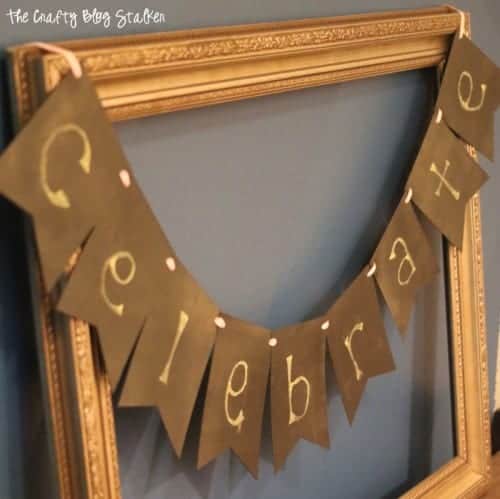
Using some ribbon, string the pennants together and the banner is complete!
It really is that easy!
Interested in learning more about the Banner Punch Board? We have a tutorial video that will give you step-by-step instructions. Plus see other types of banners that you can make!
If you love this easy banner tutorial, please give it a five-star review and help me share it on Facebook and Pinterest!
Our Crafting Essentials:
- The Cricut Cutting Machine is easily our favorite crafting tool. We use it in so many of our tutorials!
- These MakerX Crafting Tools are perfect for keeping in the craft room and are always ready when needed!
- This Fiskars Paper Trimmer is easy to use and cuts nicely without frayed edges.
- These Scotch Precision Scissors cut like a dream, and you get multiple pairs in a pack!


creativejewishmom/sara
Great tool and great idea! thanks for sharing on craft schooling Sunday!
Morgan @ Morgan Manages Mommyhood
So cute! I love how simple it is!
Life Loving
You have opened my eyes to something very new. I have never heard of a banner punch board, but I now really really want one. You must have so many good buntings and banners with that. Amazing. Your chalkboard banner looks really nice!
Sally @ Life Loving
#LifeLovingLinkie
Teri@The Freshman Cook
Just love your banner, and your video is fantastic, professional and easy to follow! Thanks so much for sharing at Celebrate It!
Pam@over50feeling40
Really cute! I am going to share with my daughter in law and I thank you for sharing with the Thursday Blog Hop!!
Lisa @ Recreated Designs
What an adorable banner Katie!! And I am looooving the Banner Punch Board! I will have to hunt one of those up in Canada 🙂 Thanks so much for linking this up to the Bewitchin' Projects Block Party. Hugs, Lisa
Betsy @ Happily Ever After, Etc.
Wow, I never knew there was chalkboard cardstock... and your banner is so cute! Thanks for linking up with us at Welcome Home Wednesdays last week... we can't wait to see you tomorrow morning!
Allison
What a great idea!! Love it! Thanks for sharing!
Charlene Asay
So cute. Love how simple and fun this is.
Katie
Thank you Charlene! I am glad you like it!