

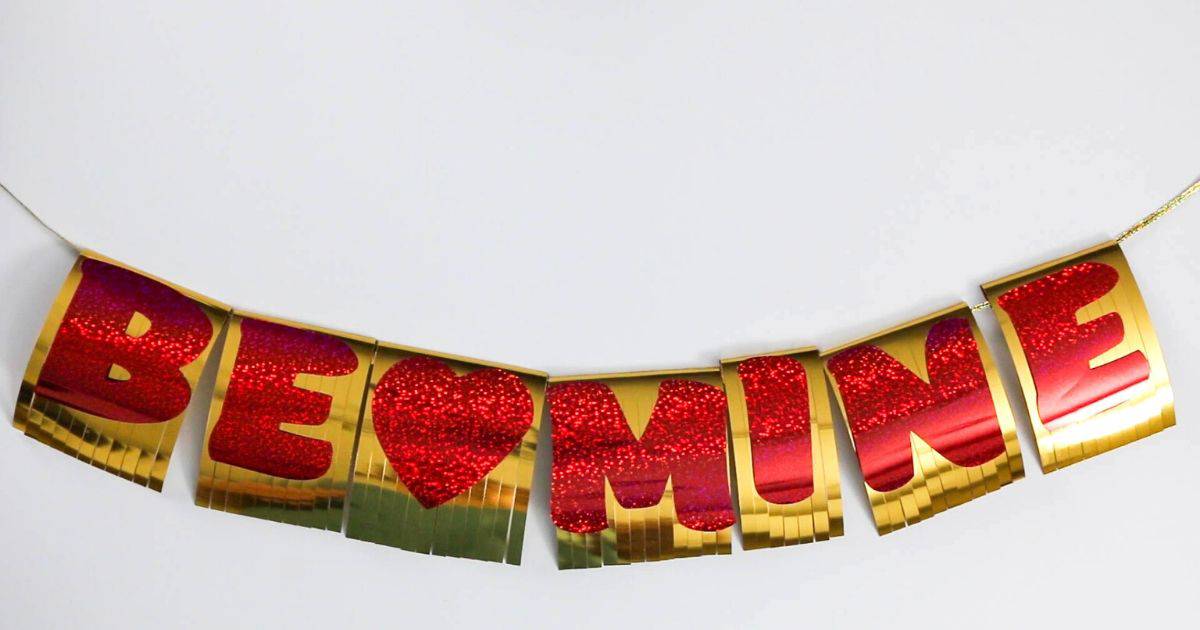
You can make your own party decorations for your Valentine's Party like this Be Mine Valentine's Day Banner made with Cricut!

Valentine's Day is such a fun day to celebrate. It doesn't matter if you are creating a romantic evening for two or throwing a party for all of your family and friends.
Make that celebration special with DIY Decor that you can make! Put it up for the party or decorate for the whole season. Whatever fits your style.
Supplies Used to Make your Be Mine Valentine's Day Banner
Some links may be on similar items when exact items couldn't be found online.
- Be Mine Valentine's Day Banner - Cricut Design Space
- Cricut Cutting Machine
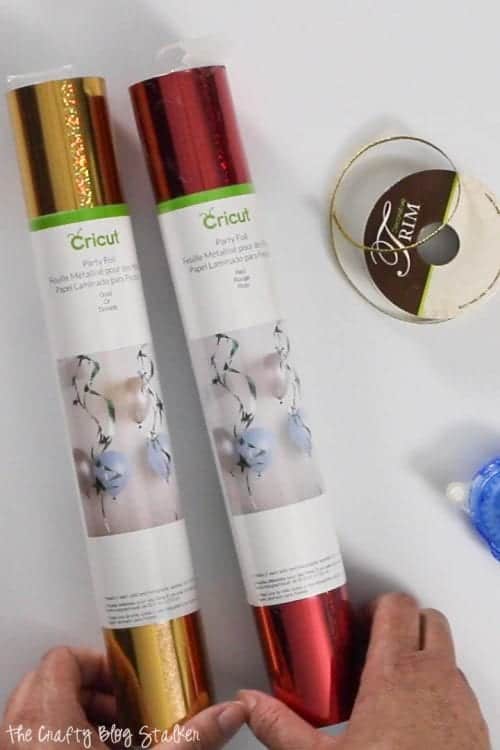
- Mylar Tissue Paper - Red and Gold
- StandardGrip Mat
- Gold Ribbon
- Double-Sided Crafter's Tape
- Scissors
- Transparent Tape
Be Mine Valentine's Day Banner Video Tutorial
Like videos? I have a video tutorial for you! Please subscribe to my YouTube Channel so you don't miss out on any future video tutorials!
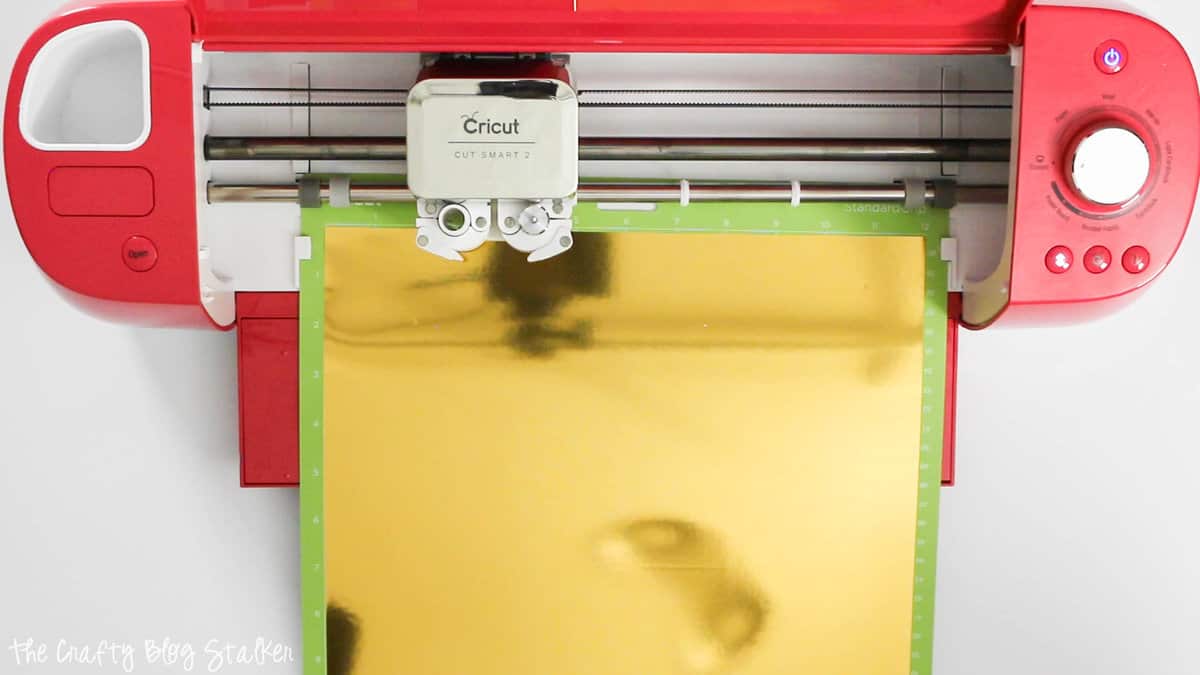
Cutting the Design with Cricut Explore Air 2
Open the "Be Mine Valentine's Day Banner" Canvas in Cricut Design Space.
Each of my letters measures at the 340 font size and the fringe pieces are each about 3.75 x 6 inches, but you can reside the design however you need.
Simple select the entire design and drag a corner to resize. Just make sure you have the entire design selected so every piece is still proportioned correctly.
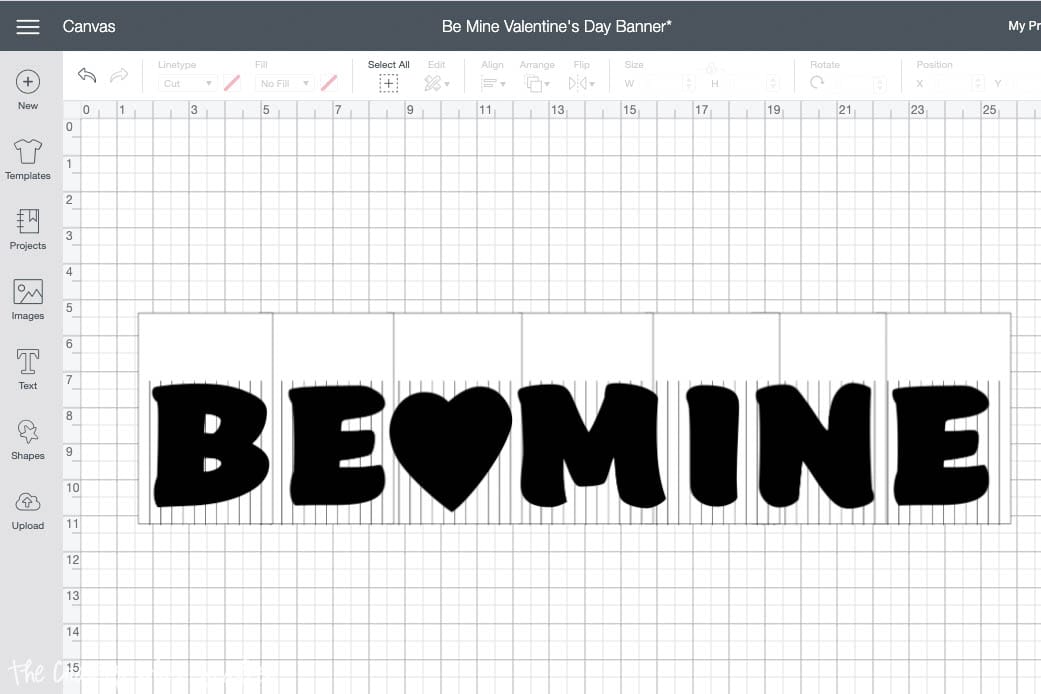
Follow the prompts from Cricut Design Space and when the arrow button blinks on the machine, load the mat.
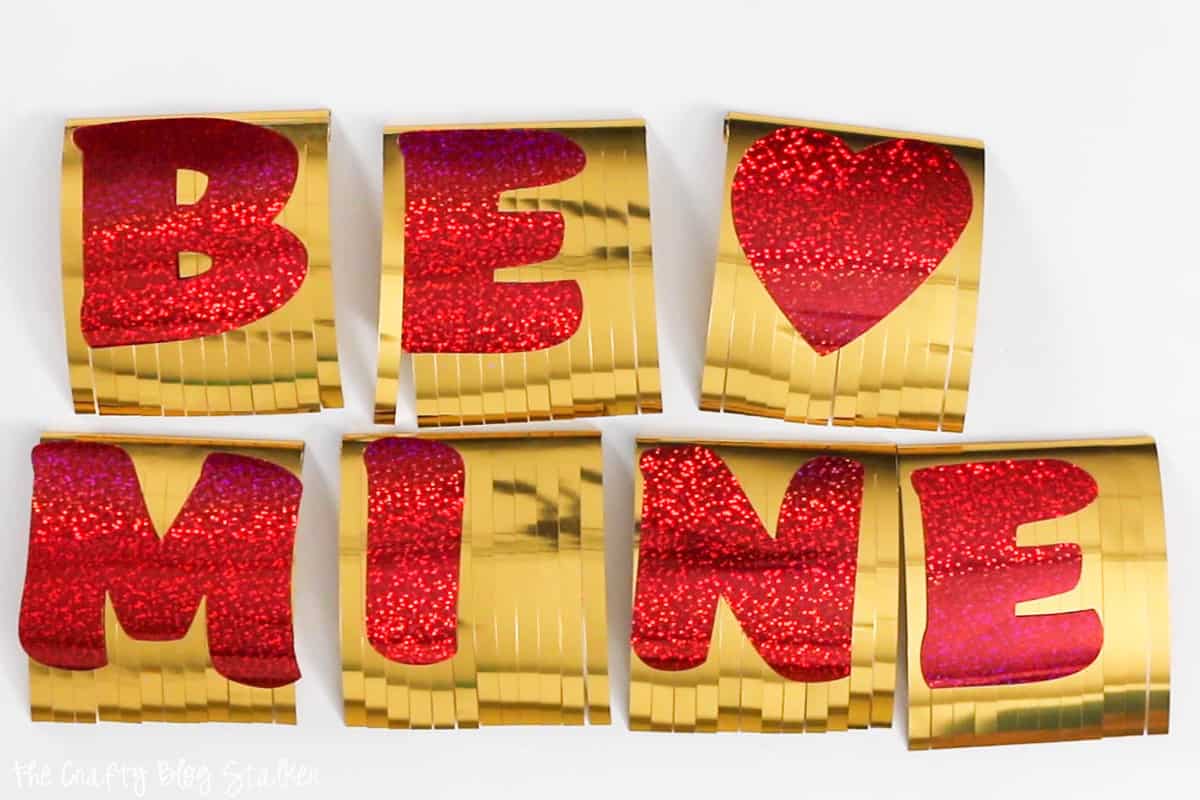
Assembling the Be Mine Valentine's Day Banner
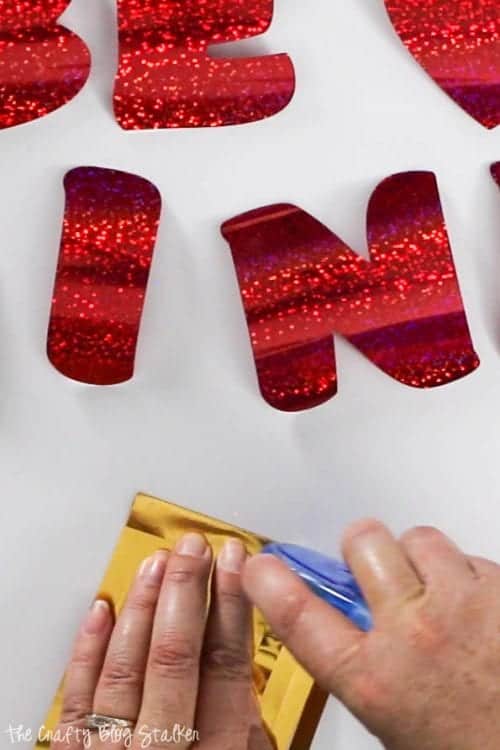
Here are all of the pieces after they have been cut with the Cricut Explore.

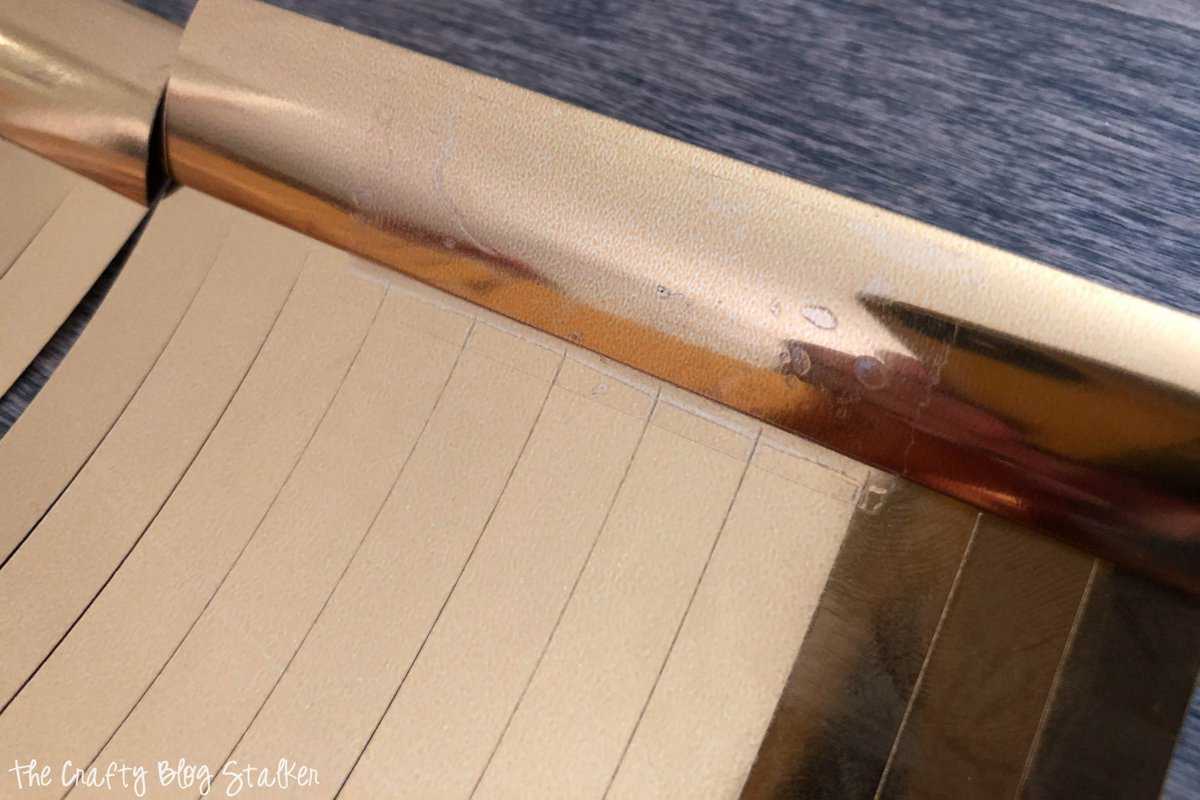
Let's start with the fringe background pieces.
Fold the non-cut top end in about a ⅓-inch. Then fold that edge over so it meets where the fringe begins.
The mylar tissue paper is very slick, making it a bit hard to hold without it slipping out of your hands, but it can be done.
I had a couple of fringe pieces that would not stay folded and glued, so I applied a strip of transparent tape to help hold them in place.
Next, add the letters to the front of the fringe pieces.
Apply a strip of craft tape along to the top back of each letter and press it into place on the front of the fringe piece.
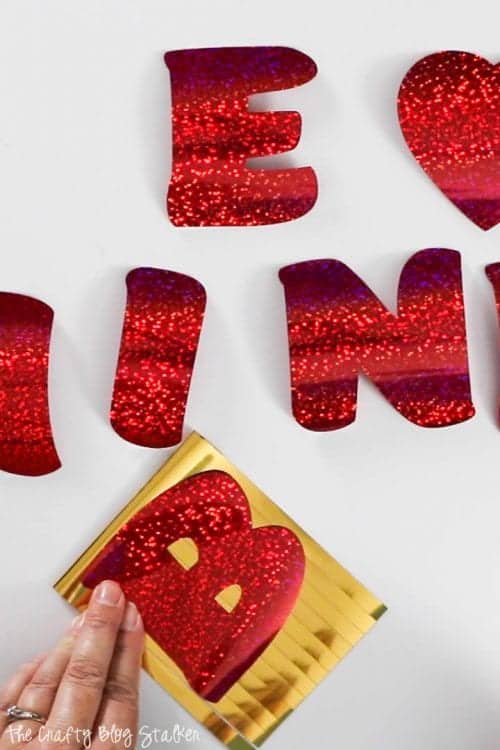
I left-aligned my letters so I could trim some of the fringes on my smaller-width letters. with a pair of scissors.
Take a long length of ribbon and string it through the top fold of the fringe pieces.
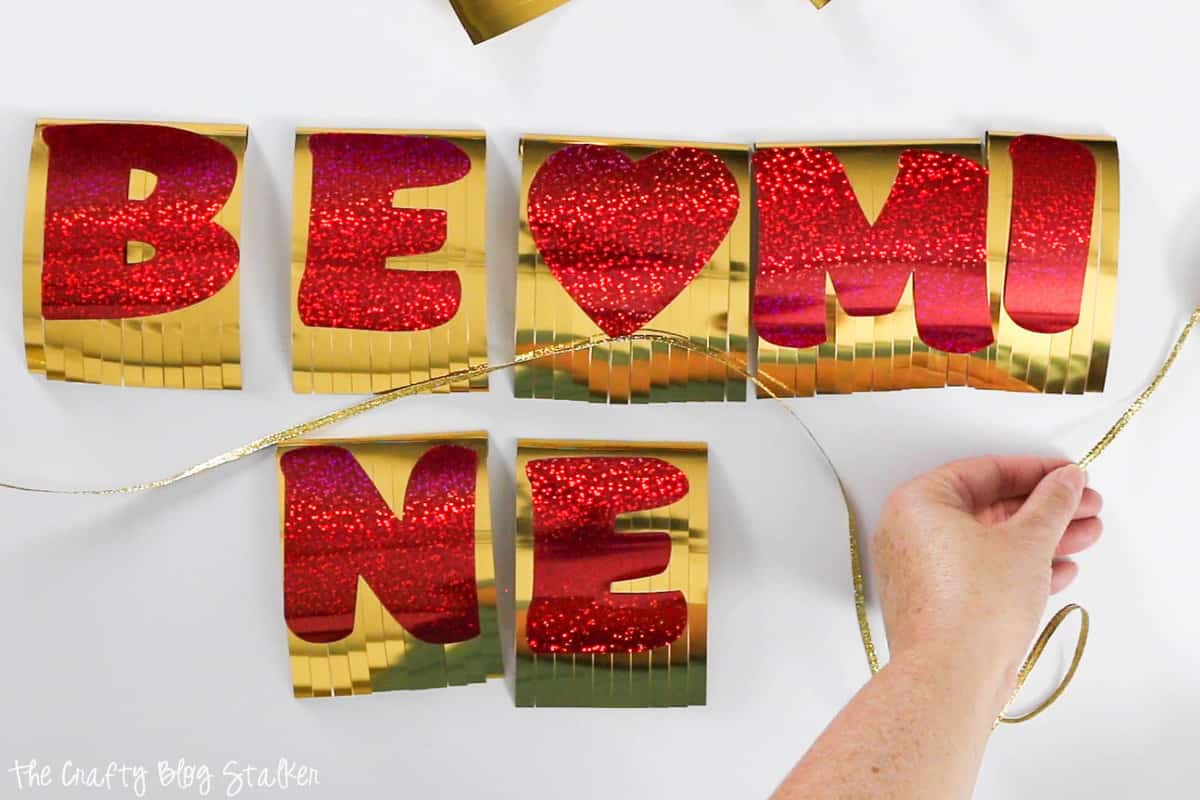
The Banner is finished! Easy Peasy, right?
I hung mine over a large mirror I have in our living room.
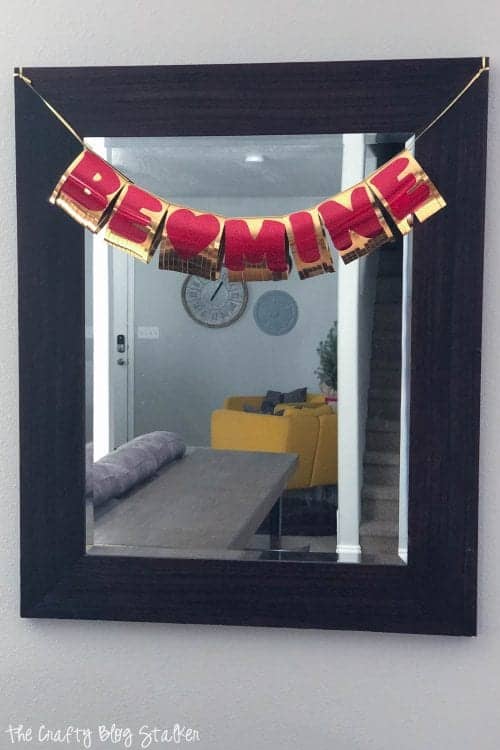
Where will you hang your Be Mine Valentine's Day Banner?
Crafting Essentials
- The Cricut Cutting Machine is easily my favorite crafting tool. We use it in so many of our tutorials!
- These MakerX Crafting Tools are perfect for keeping in the craft room and are always ready when needed!
- This Fiskars Paper Trimmer is easy to use and cuts nicely without frayed edges.
- These Scotch Precision Scissors cut like a dream, and you get multiple pairs in a pack!